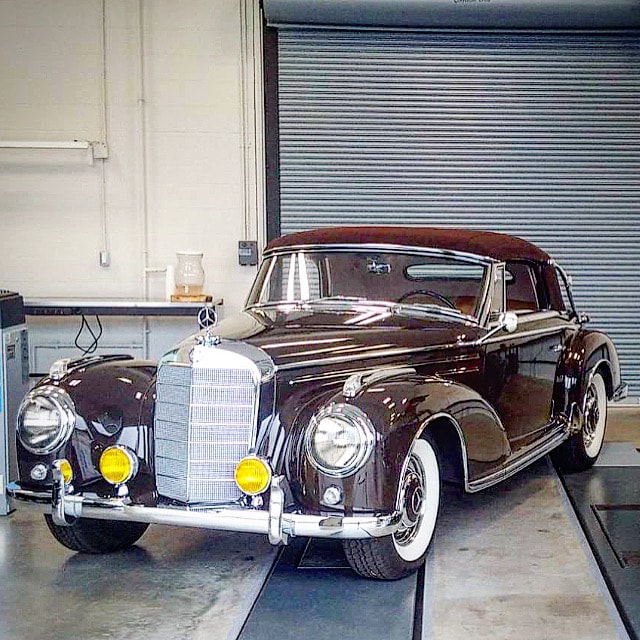
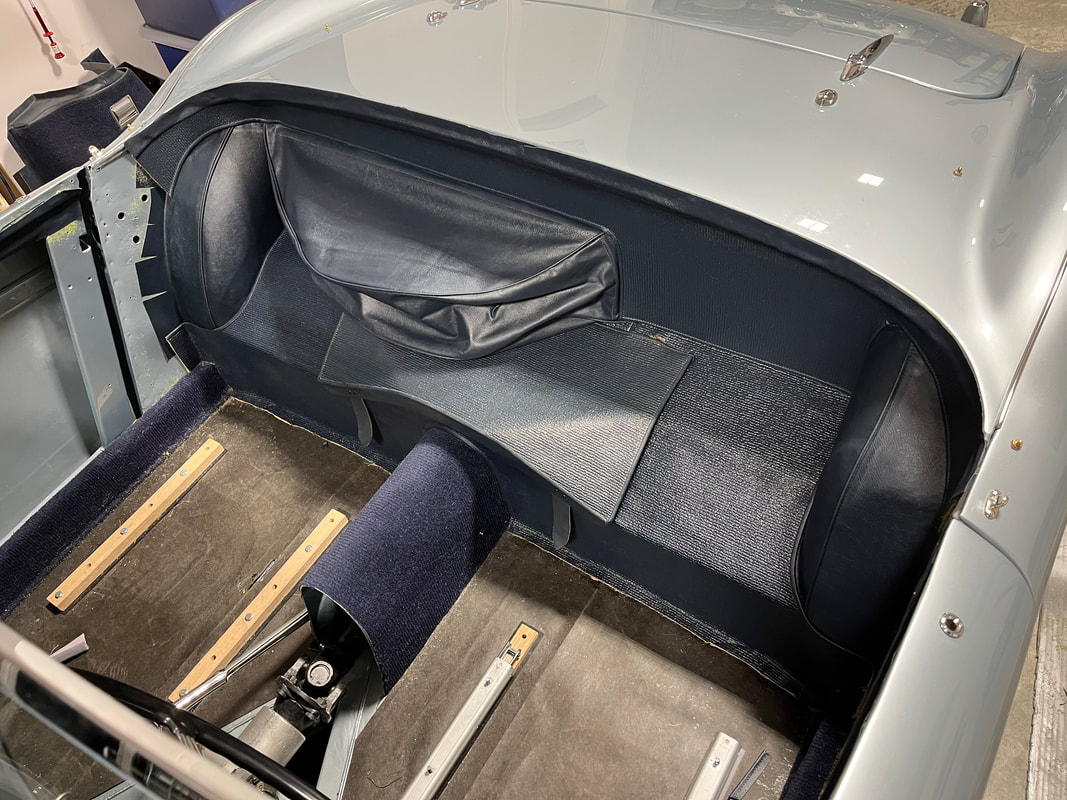
 On Thursday I got the go ahead to proceed on a big project that I've been diligently working on, on and off for much of the year... The car that I'm doing is a 1955 Mercedes 300SC - Cabriolet. A rare car, it shared the same engine that the 300SL gullwings had then. They only built 49 of these 300S Cabriolet versions. Cabriolet refers to the big style of fold down top these cars had which included headliner (as opposed to the roadster which had a lighter un-padded top and no headliner) I started doing this car back in early spring this year. I was able to buy accurate leather seat kits for re-trimming the seats, as well as kits for doing the top. However I had to buy the raw materials and make all the carpets and all the interior panels from scratch. So far over the past several months I've been able to finish making and installing all of the carpets, as well as the rear storage boxes, and rear seats that neatly fold down together into a carpeted luggage shelf -
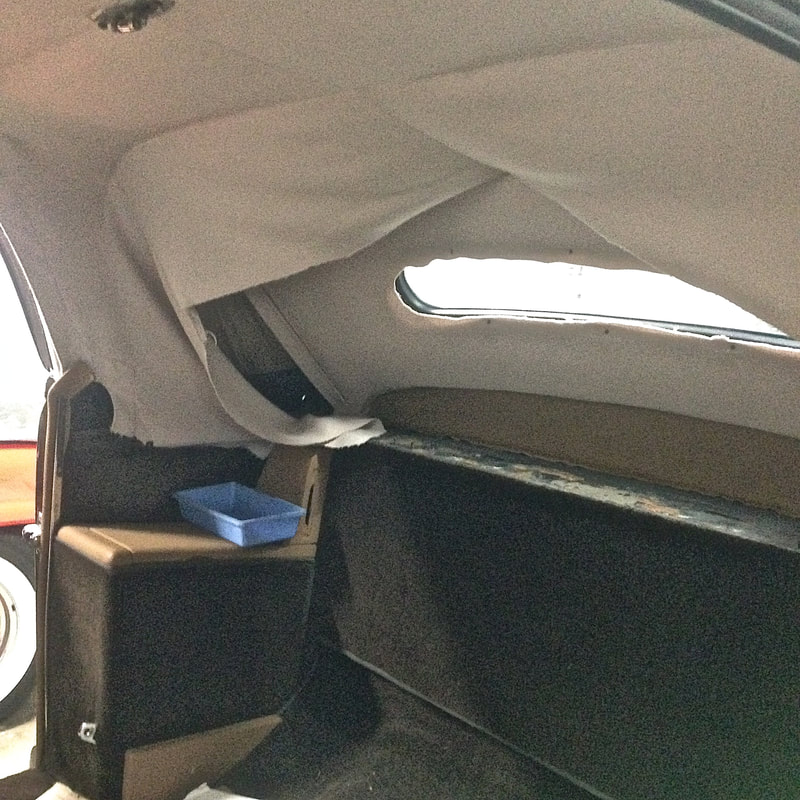
Finally it was time to get on with trimming/installing the headliner and top on this rare 1955 Mercedes 300SC Cabrio. The first days were spent installing the wool cloth headliner: The front seats - even with good kits to use these still took major hours to get done. There is a ton of tedious hand stitching and careful foam work involved on this style of seats. But with patients they turned out like pieces of art - and man are they ever comfortable! 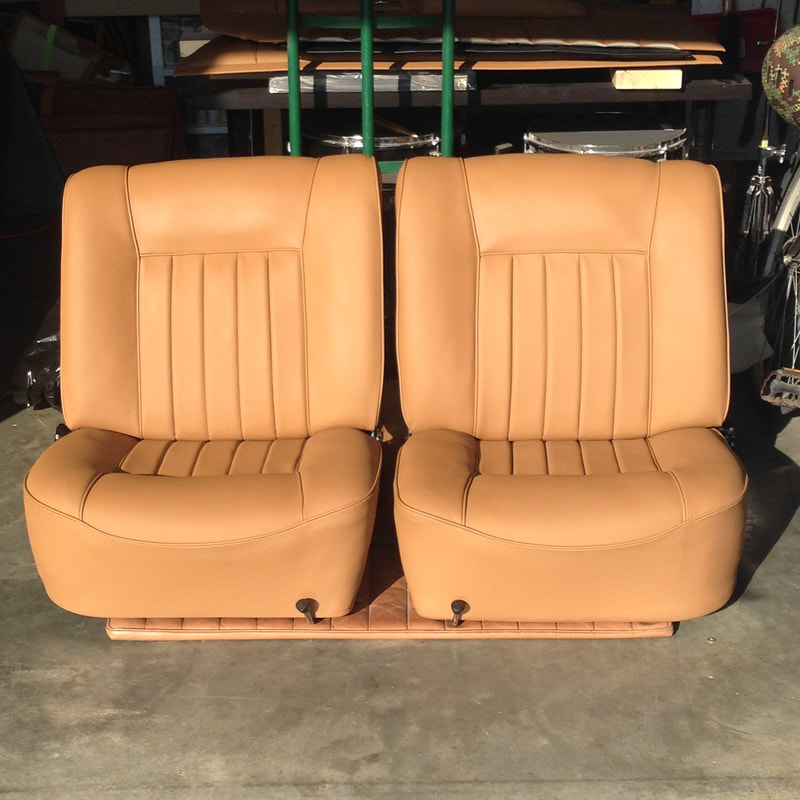 I also managed to make all the new interior panels. The door panels were some of the most elaborate and time consuming pieces I've ever attempted. There is a lot of steps involved making the big padded door pockets with its folding lids, wool cloth on the inside of the pocket boxes and a big pleated panel across the top half of the panels. Nothing beats German engineering! - and in the classic auto world that is so very true! 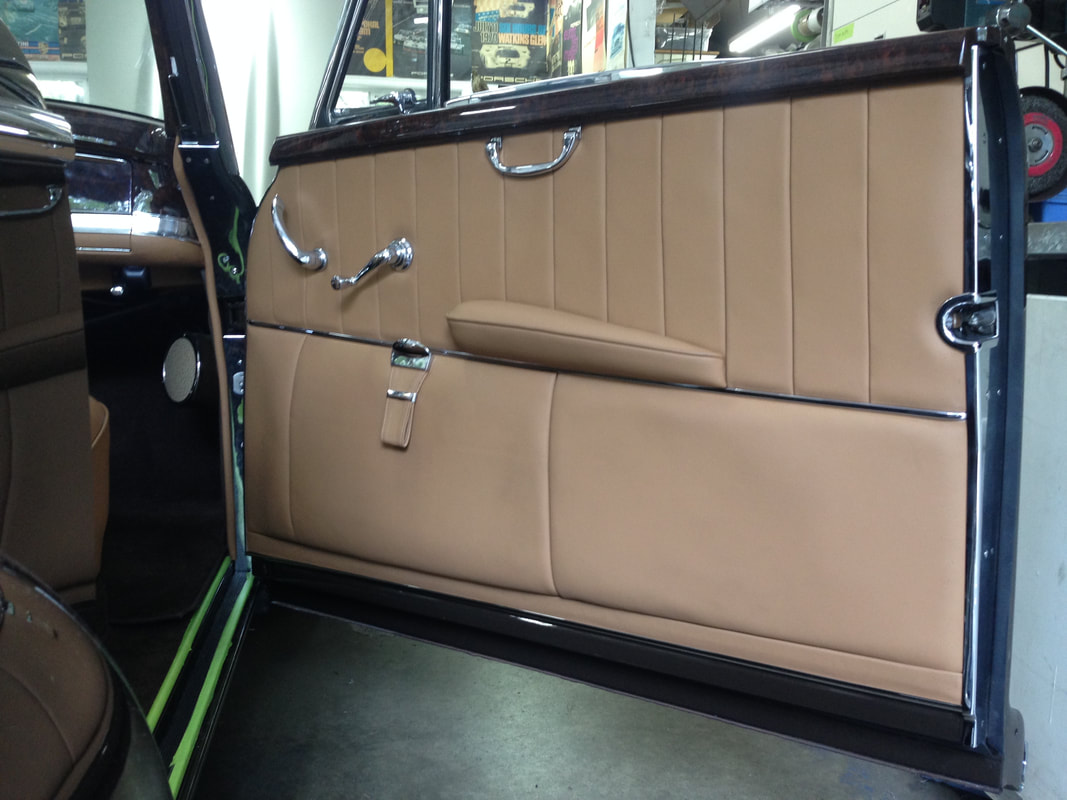 A few months ago I had to halt my progress because the guys restoring the car still had to do a ton of other work first before I could proceed installing panels etc. Some of the work they had to do first included installing all the body chrome. One unique detail found on this car was this extra fine piping that was wrapped around the edges of the body chromes. I was given the task of sourcing some special materials to try and reproduce this super fine piping. I used a paper thin marine vinyl that I glued and sewed around some heavy gauge fishing line! Here you can see some of the black detail piping I made around the edges of the chrome, and below is some heavier standard sized piping (in brown)I made for along the body panel joints. Again - it's all about the details on these old German cars! 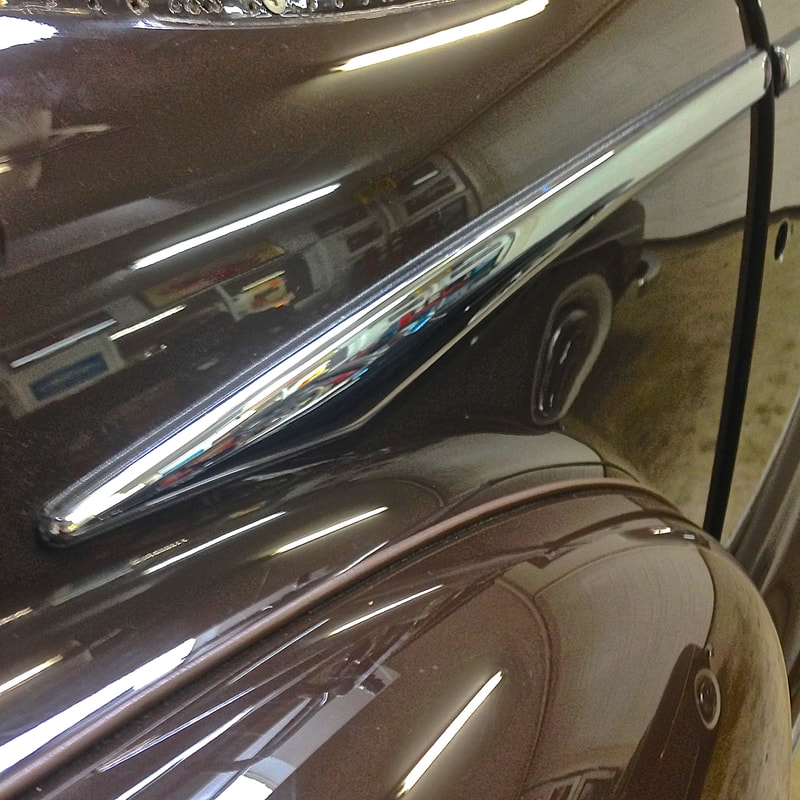 I also added new leather to the wood dash pieces and fully re trimmed the glove box compartment. The guys have been working hard to get all of the dash assembly installed in the car so that the windshield and side windows could also be put in... 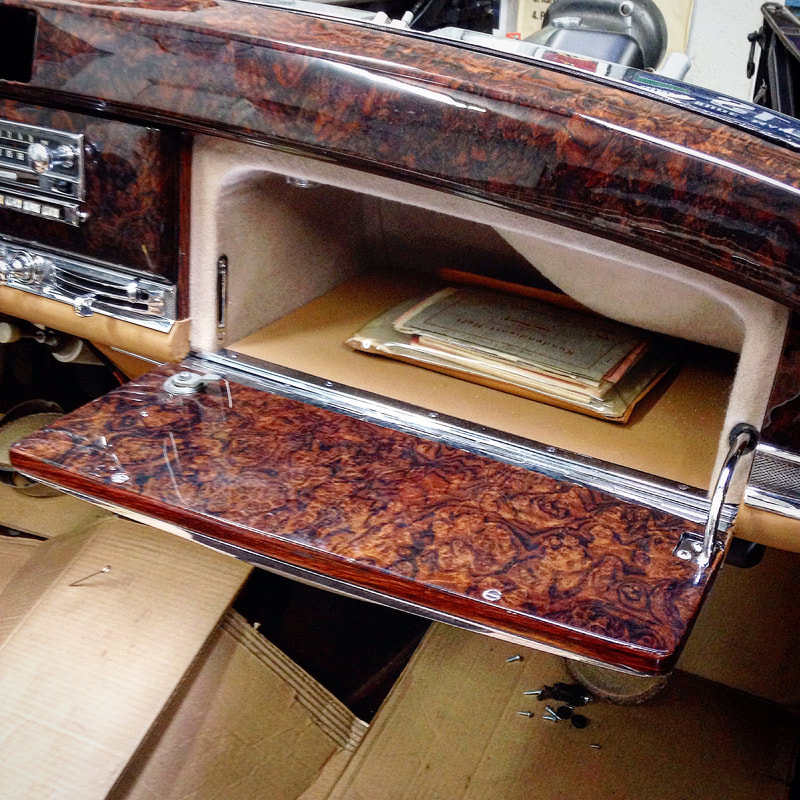 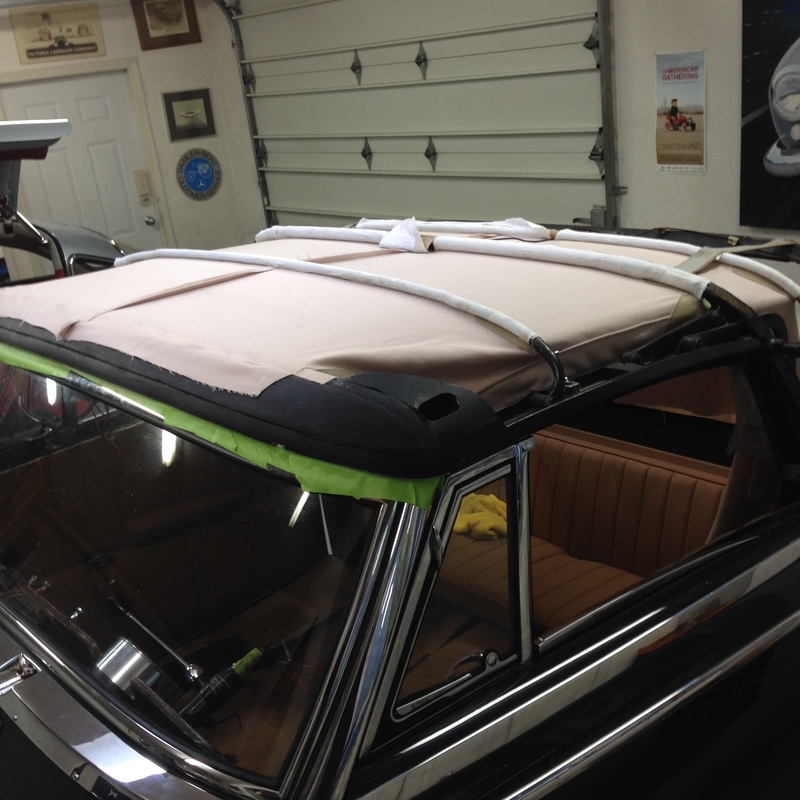  The next few days were spent building up and shaping the big foam pad that goes on top of the headliner/under the top to give the top its smooth shape... 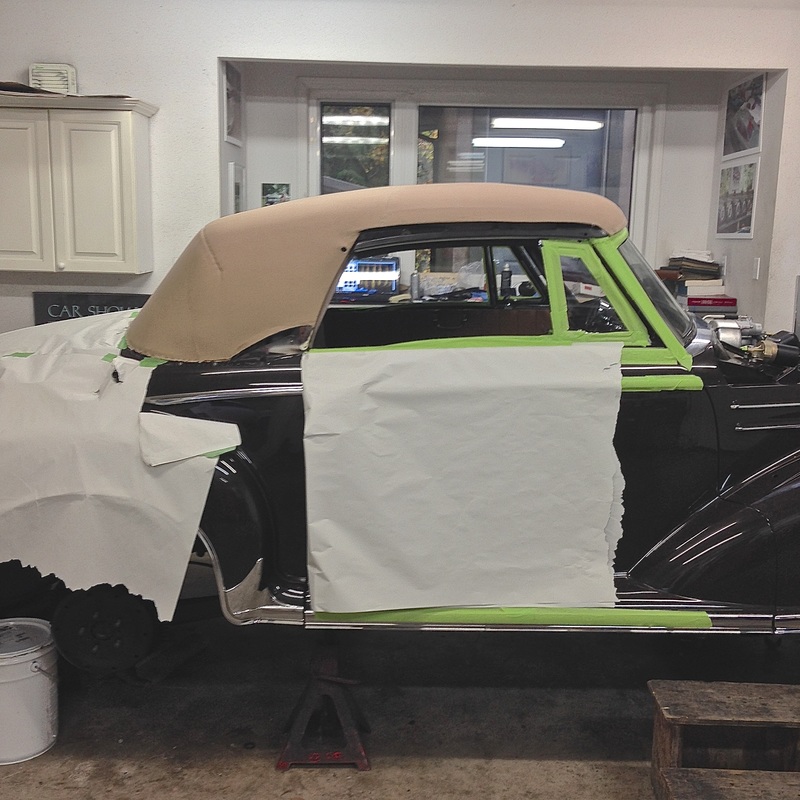 The top pad required a lot of hand stitching and shaping to get the right shape and to fill out the finished top properly. After I was happy with it on Friday I finally started fitting the top itself. It was a tight fit, but she's looking really good so far. 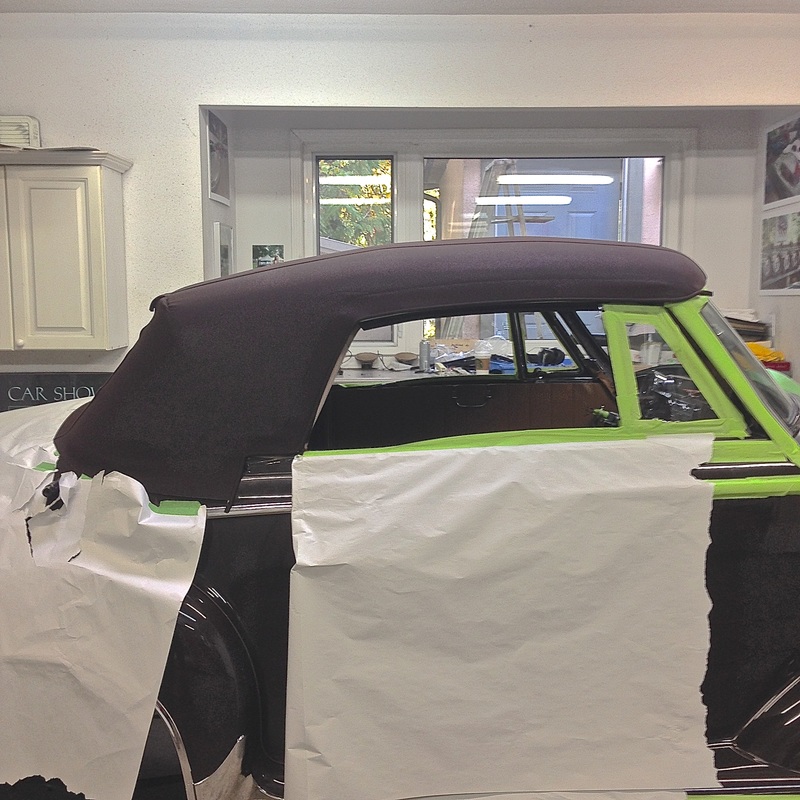 I continued fitting the top by hand tacking the rear section in place using existing factory pin holes through the steel body into a tack strip inside. In order to do this I had to mark the exact location of each hole to find it through the top material with my tacks. This took some patients... 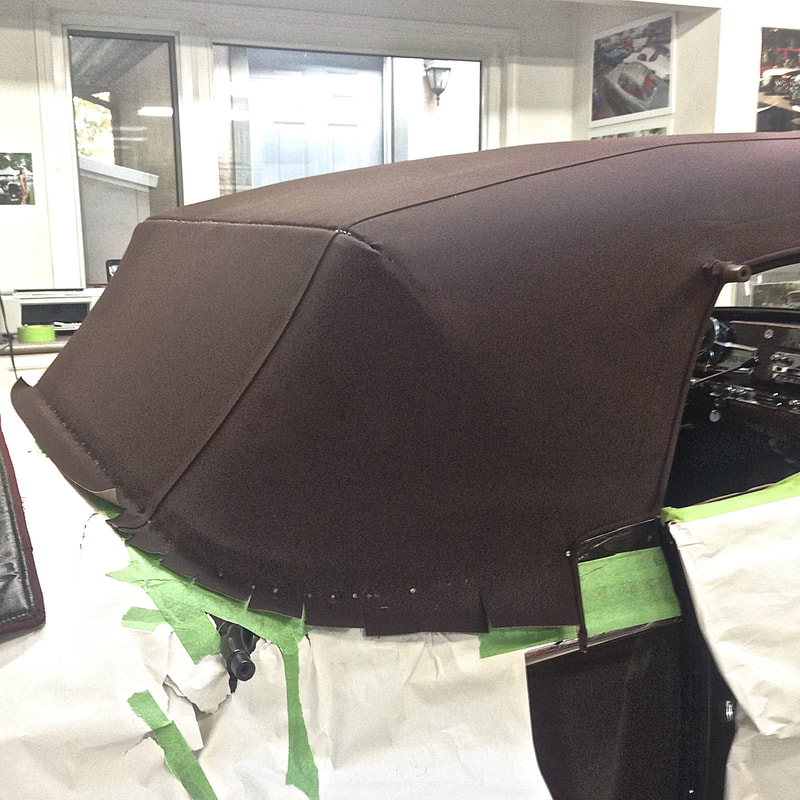 After tacking it all in place, I marked out the location of the rear window and cut and installed the window in place. Fitting the frame first and then installing the glass with a new rubber seal and chrome trim. Here you can also see the chrome trim installed to cover the tacks and finish the bottom edge of the top. As well as the big hinge finishers that aid in folding the top up and down. 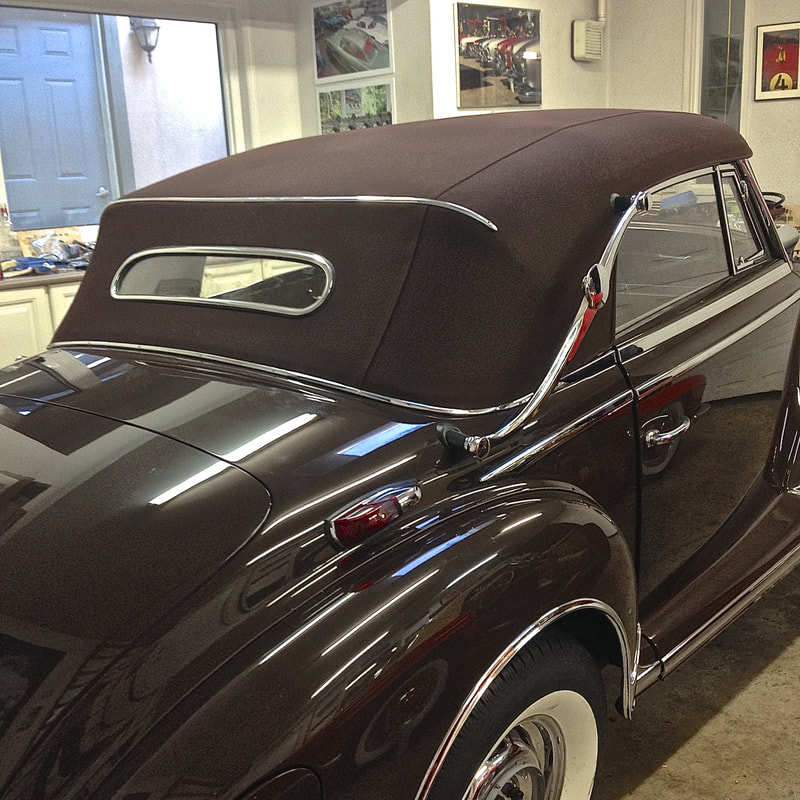 With the rear window installed I was able to start finishing off the rear headliner sections that are all hand tacked and hand stitched in place...
With the top finished, I was able to continue installing the rest of the rear panels, all the seats and then make a custom boot cover! 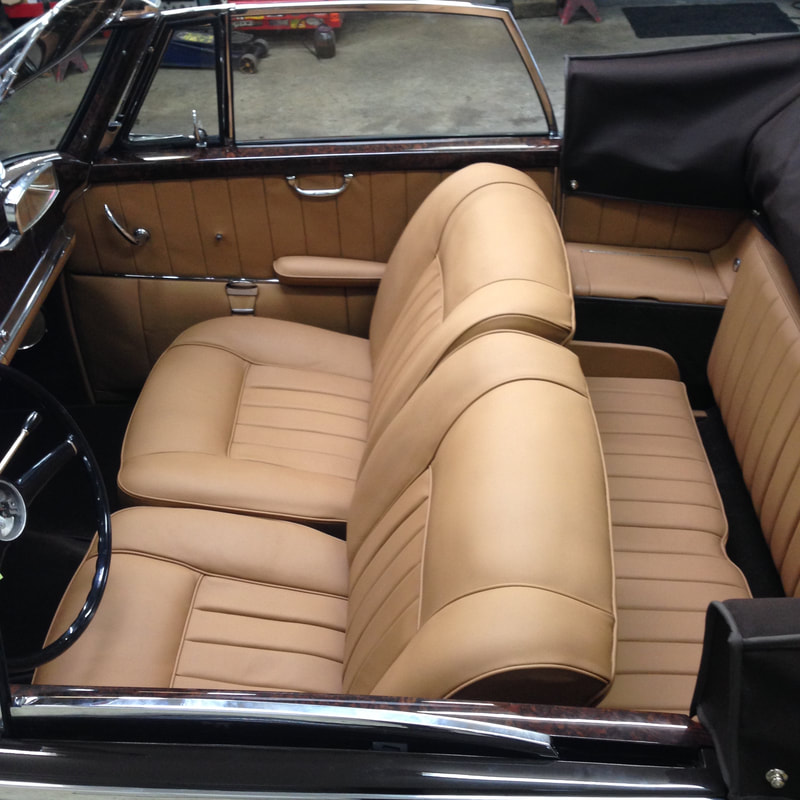 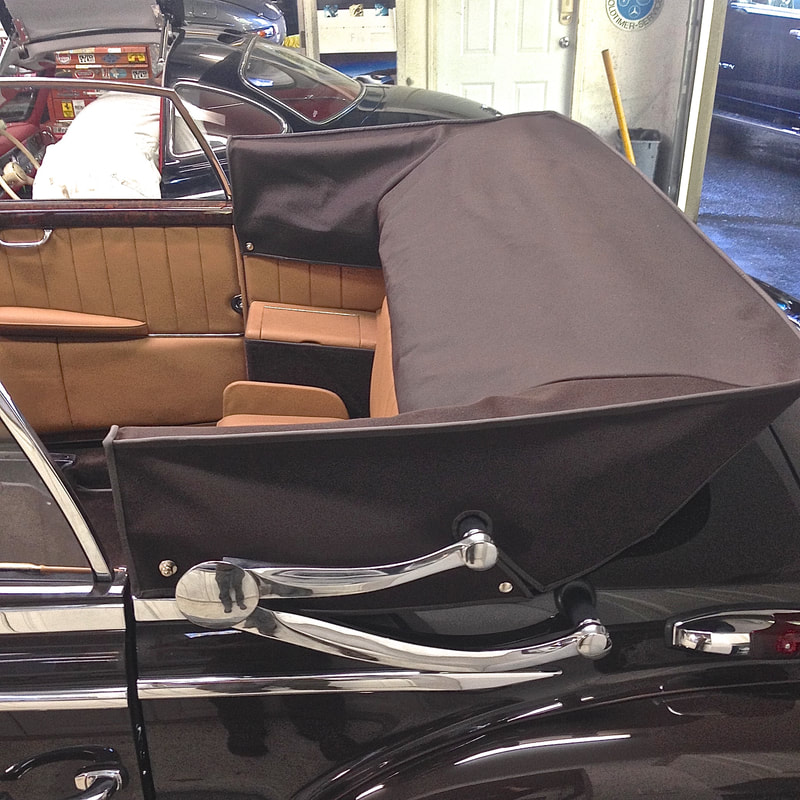 Without question this is the most elaborate and time consuming interior I have ever had to fit, in fact everything on this car has been the same story. You just don't see the level of craftsmanship that Mercedes had on much of anything else. But at the end of the day, time, patients and attention to detail have made this job go smoothly and with stunning results. I've become a better trimmer for it! 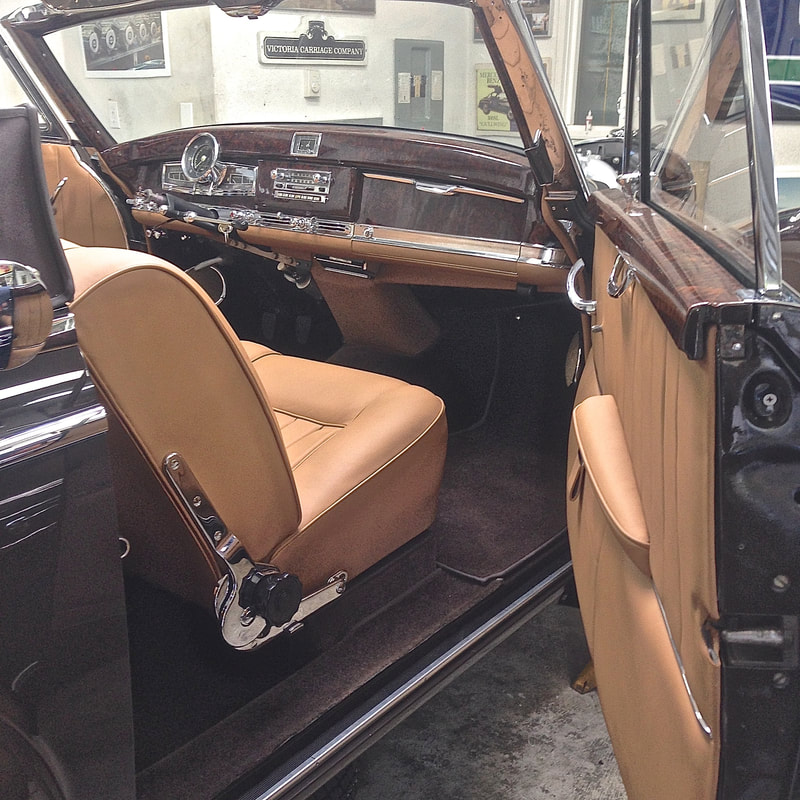 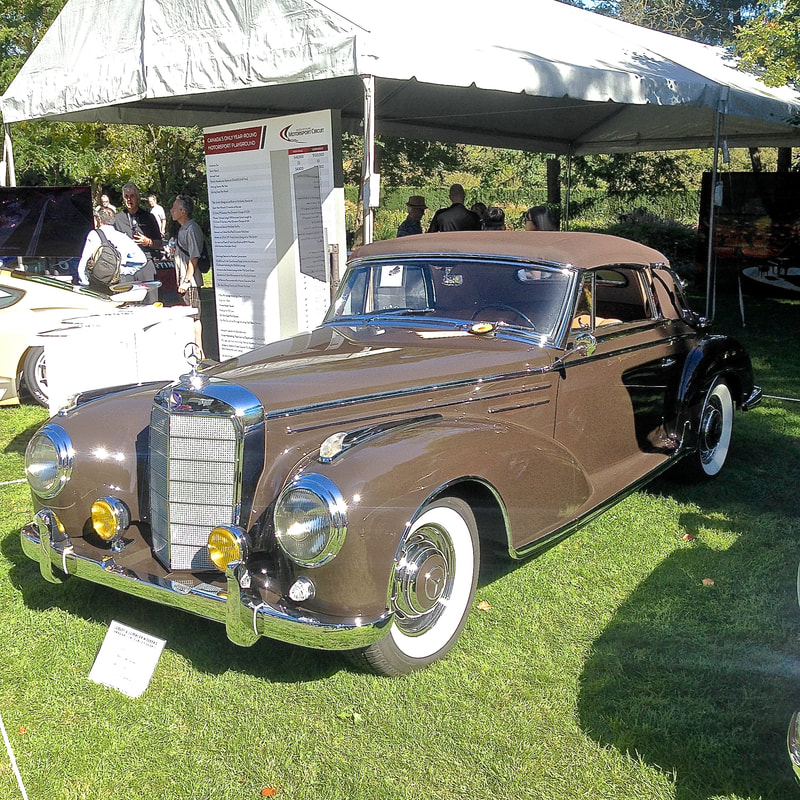 Until next time -
1 Comment
Ryan
11/1/2015 12:33:53 am
Your comment will be posted after it is approved.
Leave a Reply. |

Archives
December 2023
|

 RSS Feed