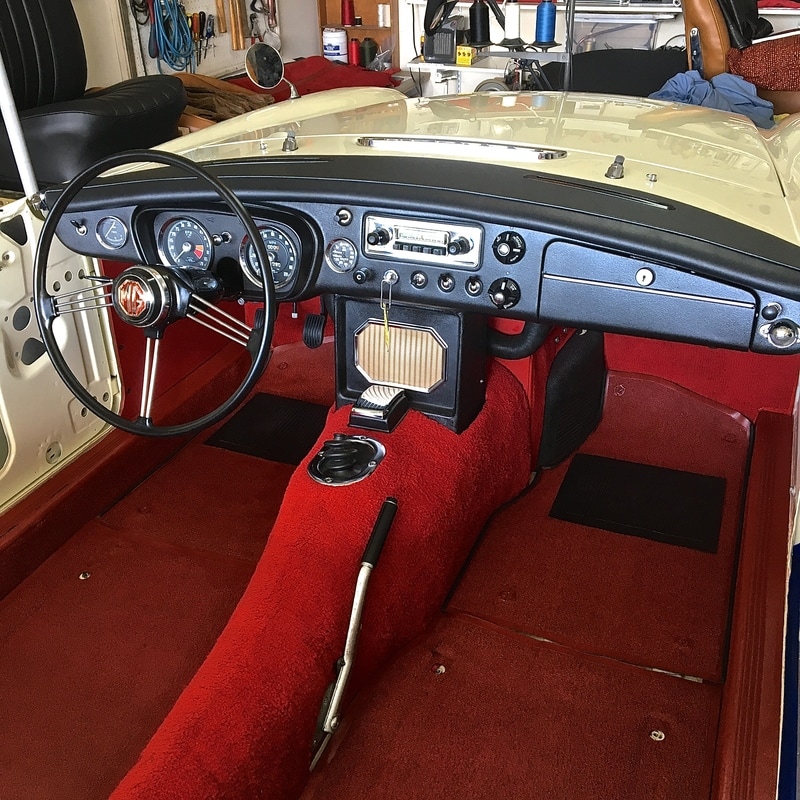
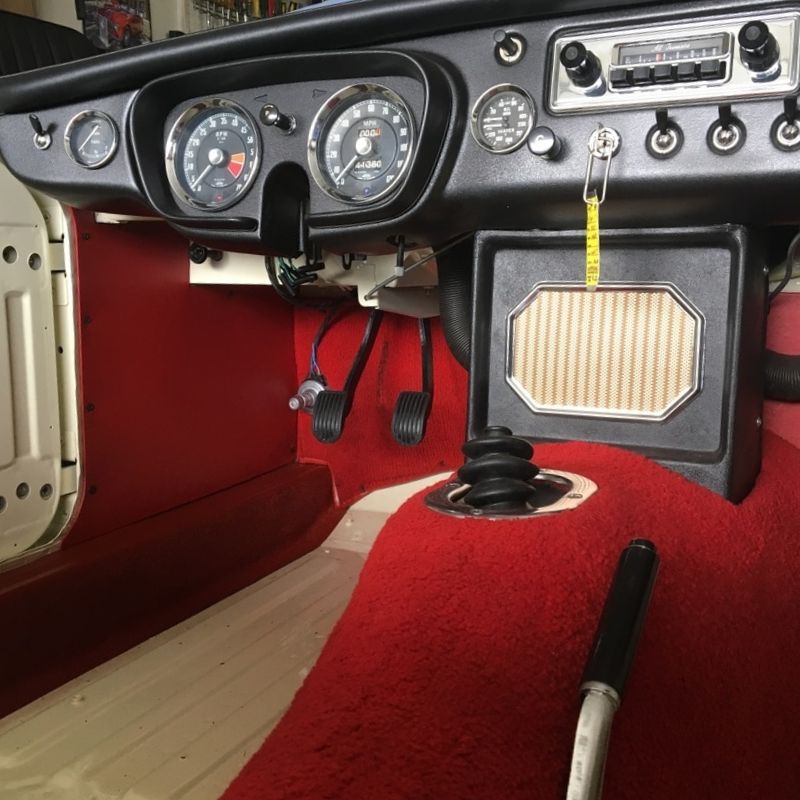
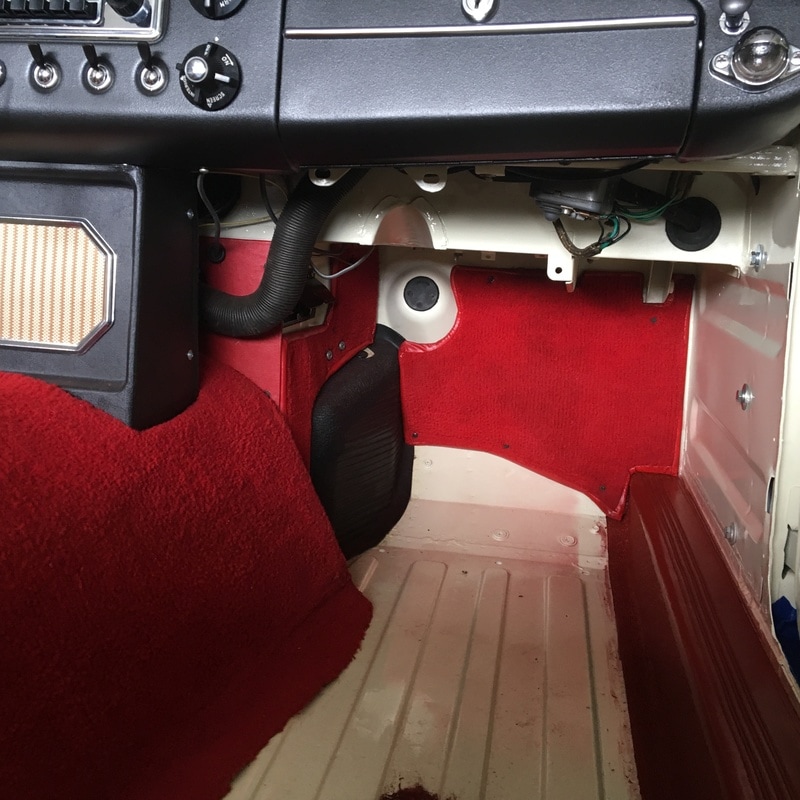
 Another busy week has come and gone with a bit more progress on the B, This week I finished the dash top by adding the padded crash rail along the top edge. If I ever do this again, I would install the dash top and crash roll Before I install the dash! - reaching the nuts and washers under the dash and wiring was a tedious job! I also installed the rubber sill covers and all the original front foot well carpets with their jute backings. The sill covers were new ones from Moss (the only rubber mats available still are the sills) They only come in black, so I had to dye them with SEM colour. Unfortunately I learned the hard way that they need to be thoroughly cleaned with brake cleaner to remove any residue or release agent before they're sprayed with colour. My first attempt didn't stick very well so I had to clean them off and try again. 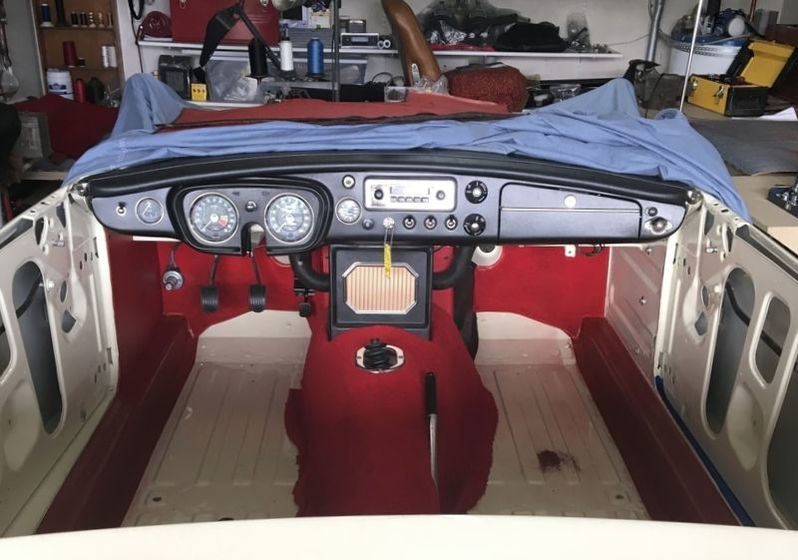
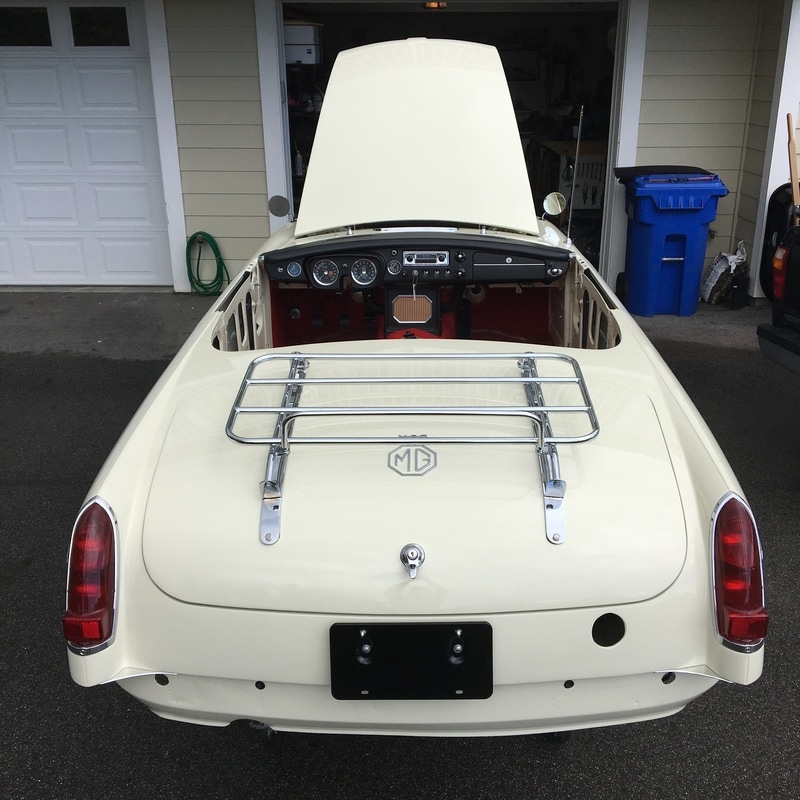
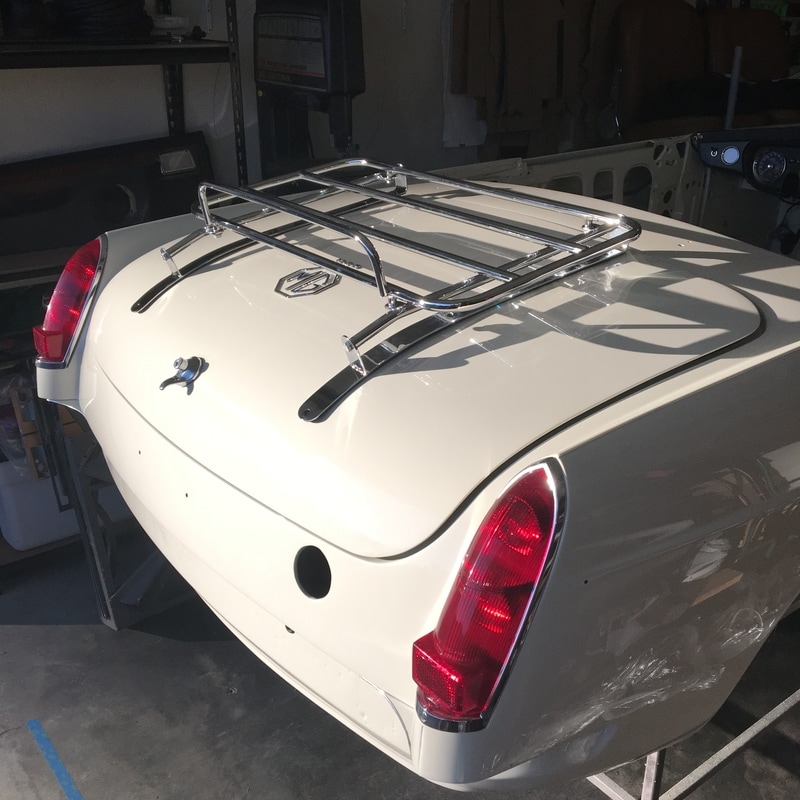
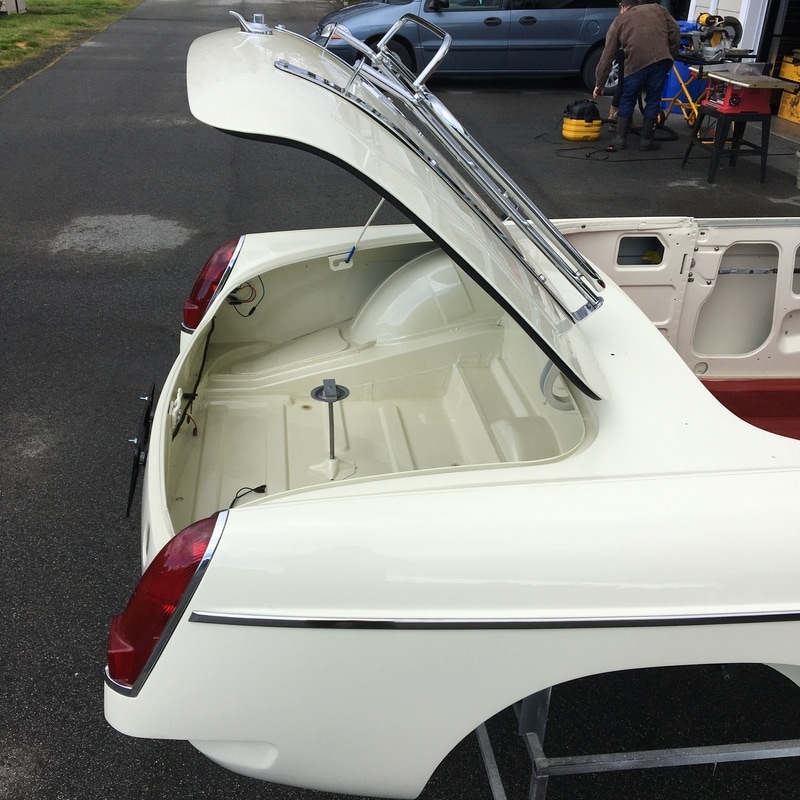
I also glued in the original rear wheel arch carpets. All of the carpets on this car are original pieces that I carefully cleaned and re-dyed with SEM colour spray dye. It will be one of the few cars out there with all original carpet - a fine, unbacked, loop pile type of carpet that is no longer produced or available. 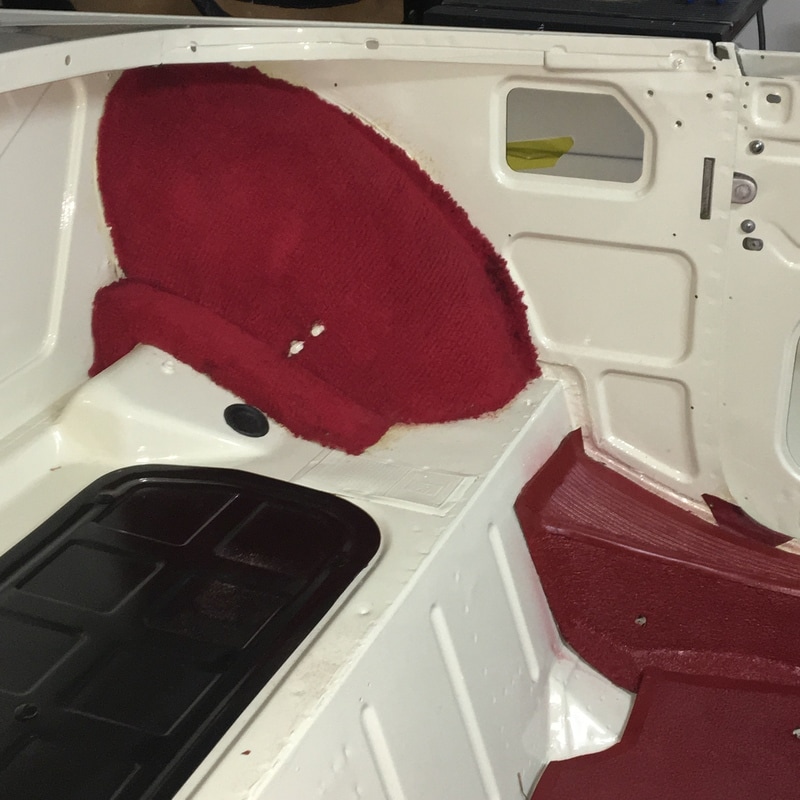 I also got into installing some of the outer bright work like the stainless trim strips along the sides of the body, and the original Lucas fender mirrors. I had purchased a new set of stainless fender strips from MOSS with new clips and rivets, but unfortunately I found that 2 of the strips had fine manufacturing marks/blemishes in the steel. I'll have to return those ones and find a few better ones to finish the set. It's crucial that the rivets used to hold the mounting clips are installed nice and tight - any play or slop will result in gaps between the strips and the body. 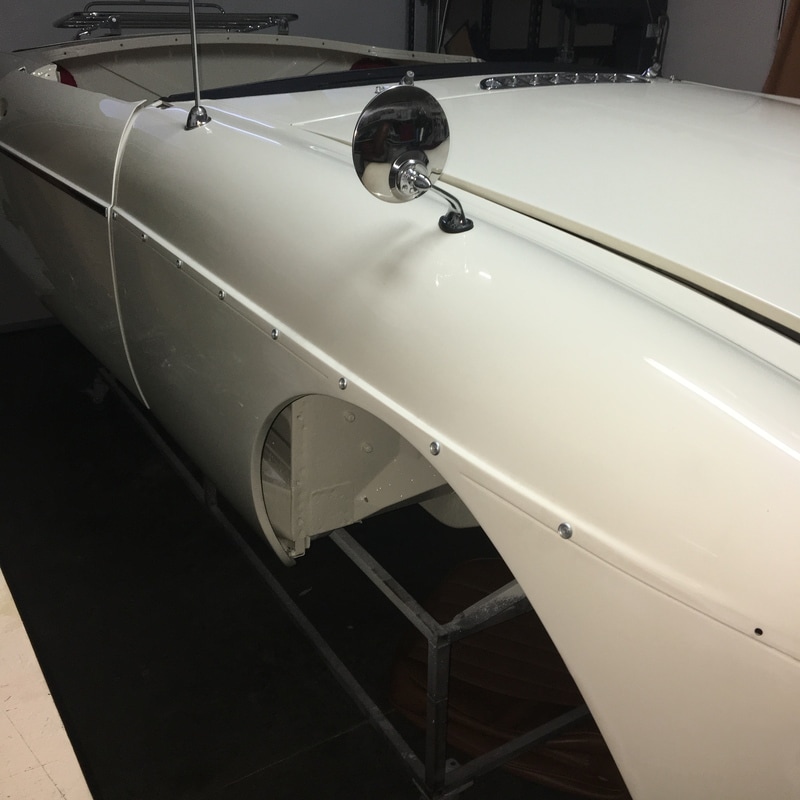 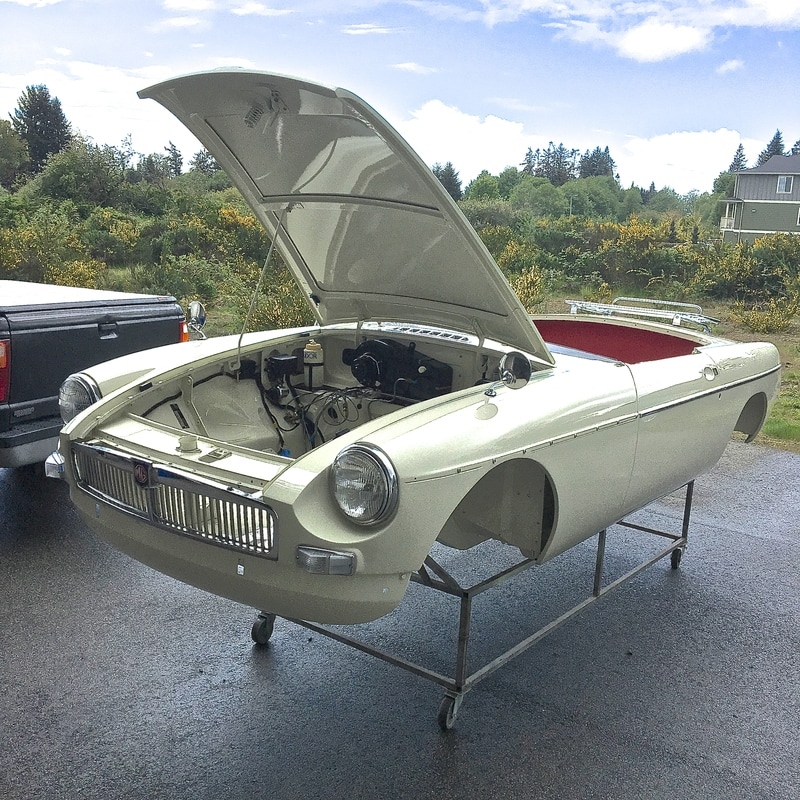 In keeping with the bright work, I also fit the original AMCO luggage rack that came with the car - likely installed sometime back in the 60's, it's an original one. I made new rubber buffer strips to protect the chrome and paintwork.
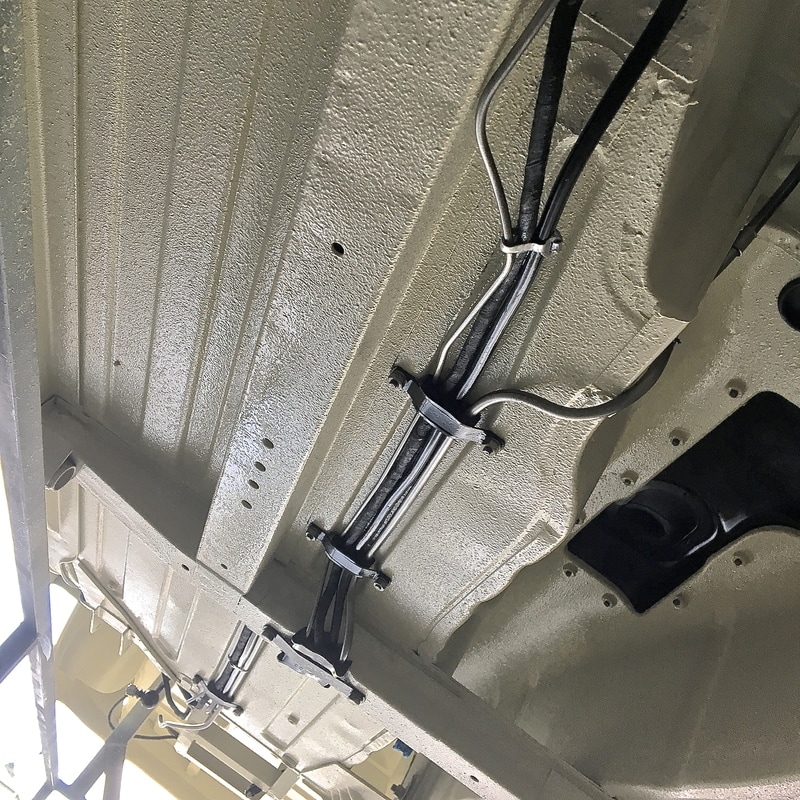
 The next big steps will be getting the car off of it's rolling cart and back onto it's own wheels/suspension. I've got everything about ready to go but I'm stuck trying to install the coil springs in the front suspension unit. I'll need to borrow a proper style spring compressor to do it safely. In the meantime I did install the rear shocks and bump stops today - 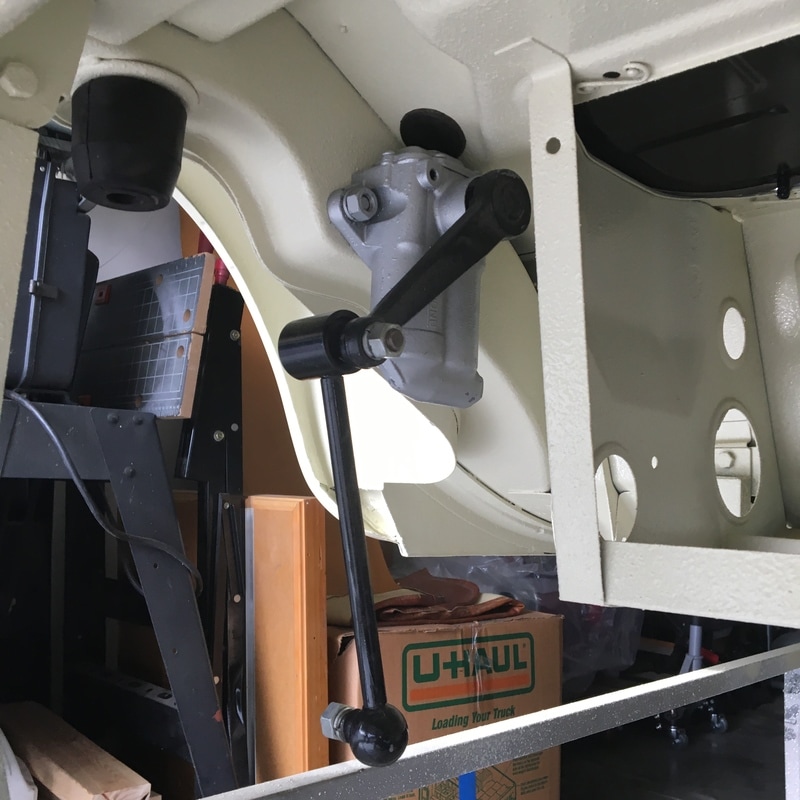
Until next time -
0 Comments
Your comment will be posted after it is approved.
Leave a Reply. |

Archives
December 2023
|
 RSS Feed