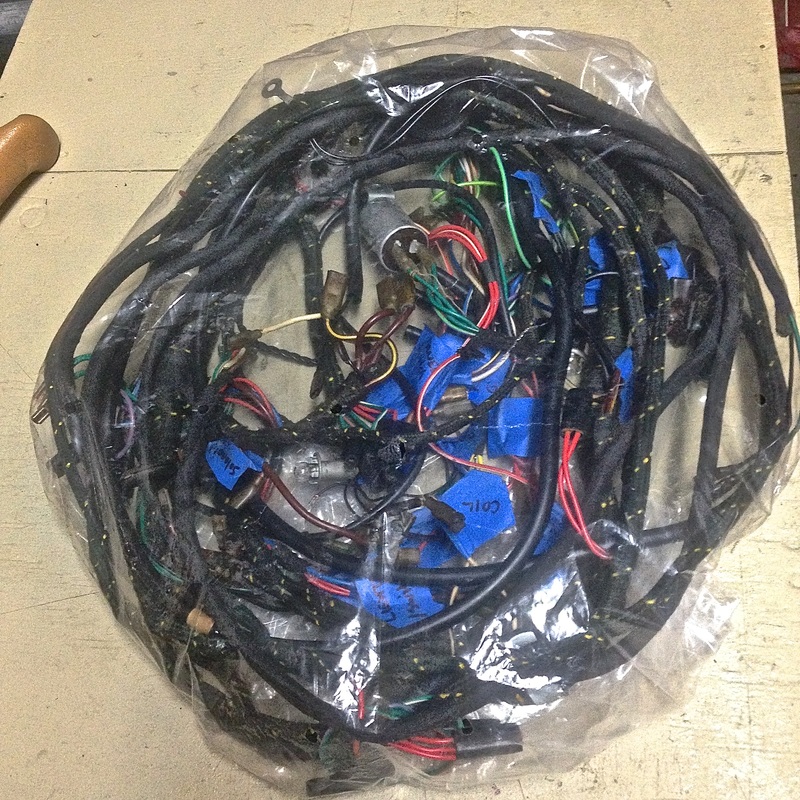
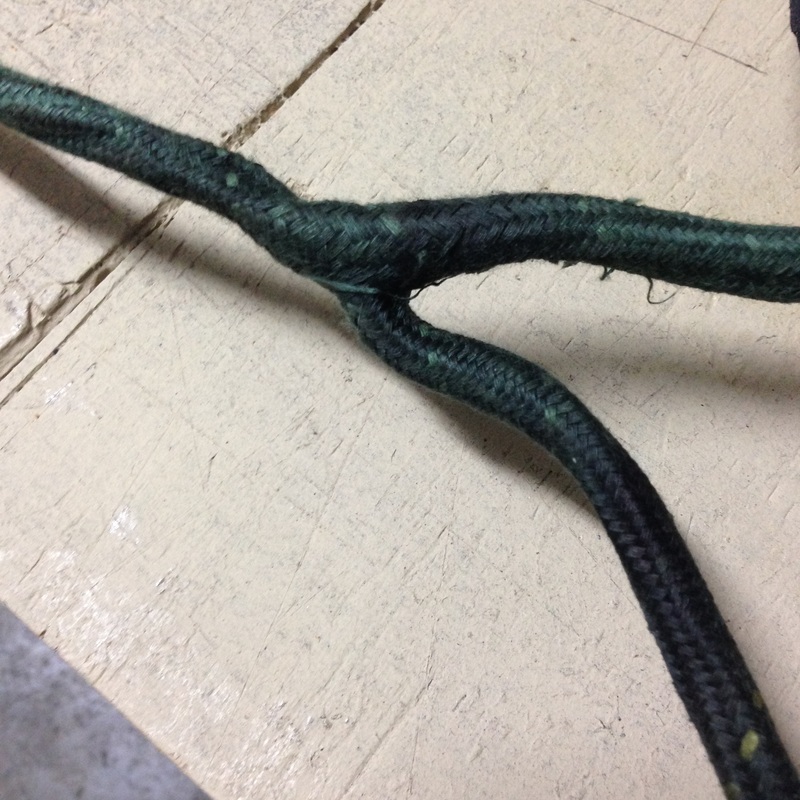
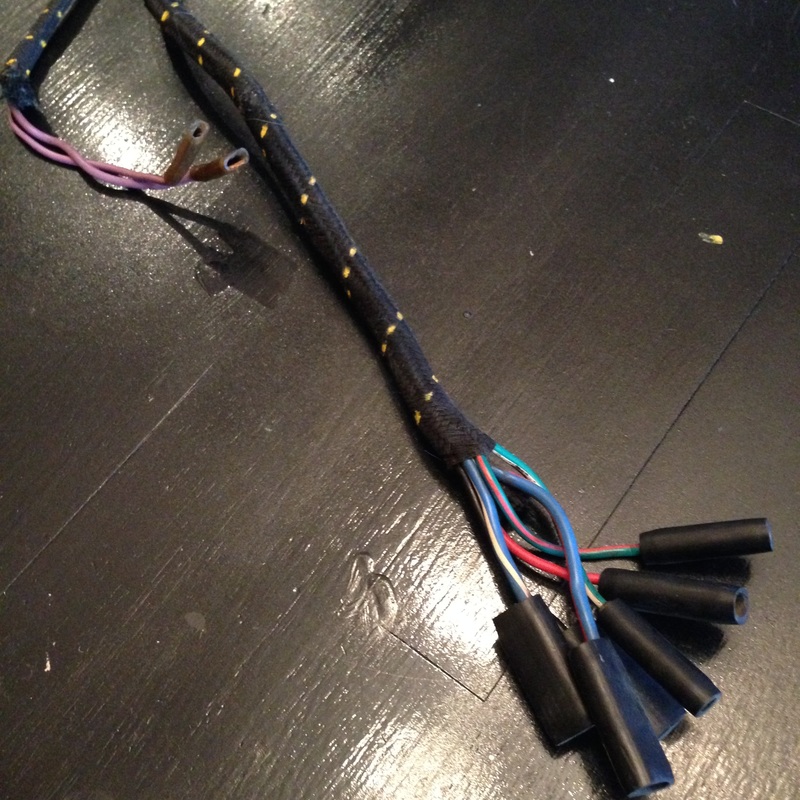
 Another busy week of work has come and gone. I only really had time to work on the MGB on Saturday, but I managed put in a full day on some of the more tedious projects... To start with, I've been racking my brain over what to do about my wiring harness. My original harness, which was in good working order when I removed it, has many issues with the woven cloth covering that in many areas has gone to tatters or has faded out to a dull earthy colour. The actual wires and connectors are still in great shape and totally reusable, it's just the aesthetics of the cloth that needed mending. Originally my harness was woven black cloth with a yellow tracer running through it. A new harness from Moss or British wiring costs over $600 Cad. and the new ones have a white tracer through them instead of the correct yellow one - hardly worth the money to still look incorrect! So I decided to tackle refurbishing my harness as best I could myself before deciding if a new one is the better option. I had already cleaned the harness a few weeks ago, so from there I first mended the areas that were tattered with some black cloth hockey tape. Next, I masked off the coloured wires and sprayed the old cloth and repaired sections in a satin black upholstery dye. This made the harness cloth a uniform black again and helped my tape repairs blend in. Then came the really tedious part, I sat down at the table with a tiny modelers brush and some yellow paint, and hand painted the yellow tracer threads back in! Yes - I'm crazy, but it worked! In most areas I was able to barely make out the original tracer through the black that I had sprayed over so it was easy to just touch it back in. Areas that were taped, I faked it, continuing the same pattern of tracer line over the tape. This made my repairs blend right in and the harness looks almost new again. To finish it off I sealed my work with a fabric sealer. The entire process took me about 4hrs, which was well worth the effort in my opinion. 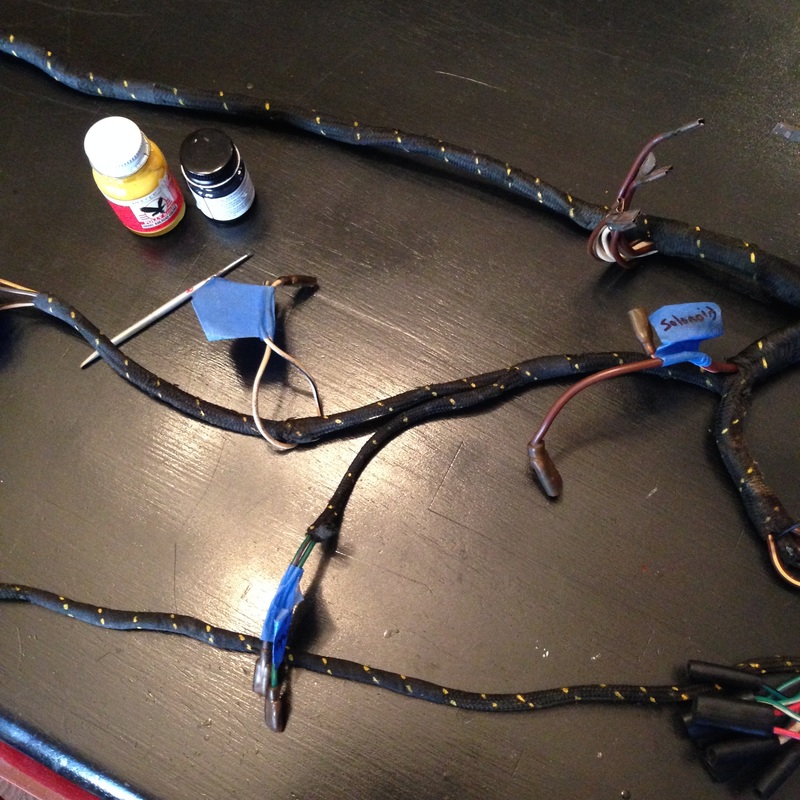
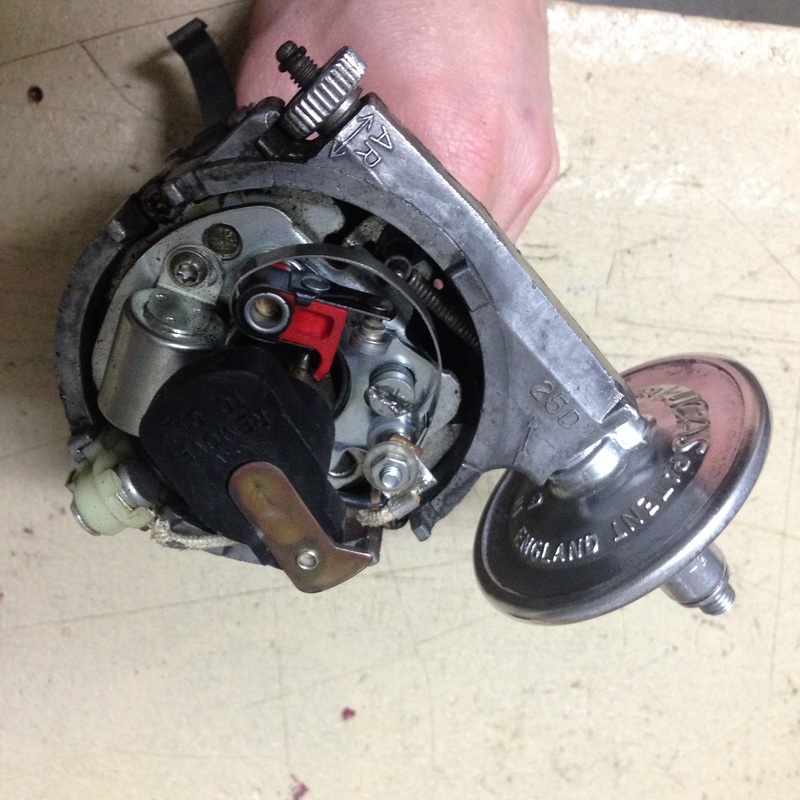
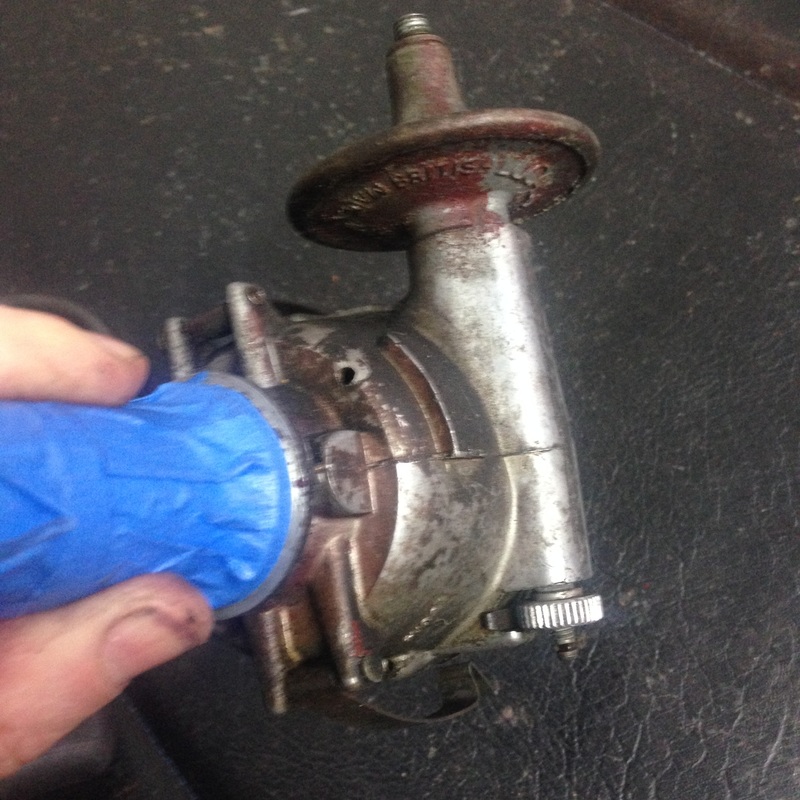
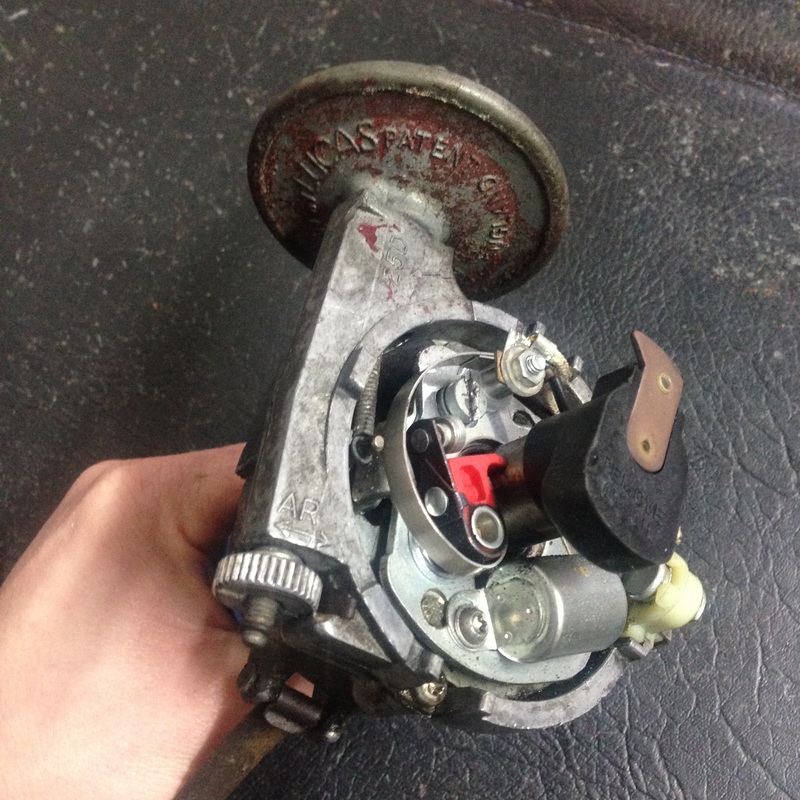
 With the wiring harness restored, I moved on to my distributor and plug wires. I first took some good pics to illustrate how much over spray of engine paint was on my distributor body - even inside under the points and condenser. Was this factory over-spray? - I don't know but I've never seen another B with engine paint on these components, have you??
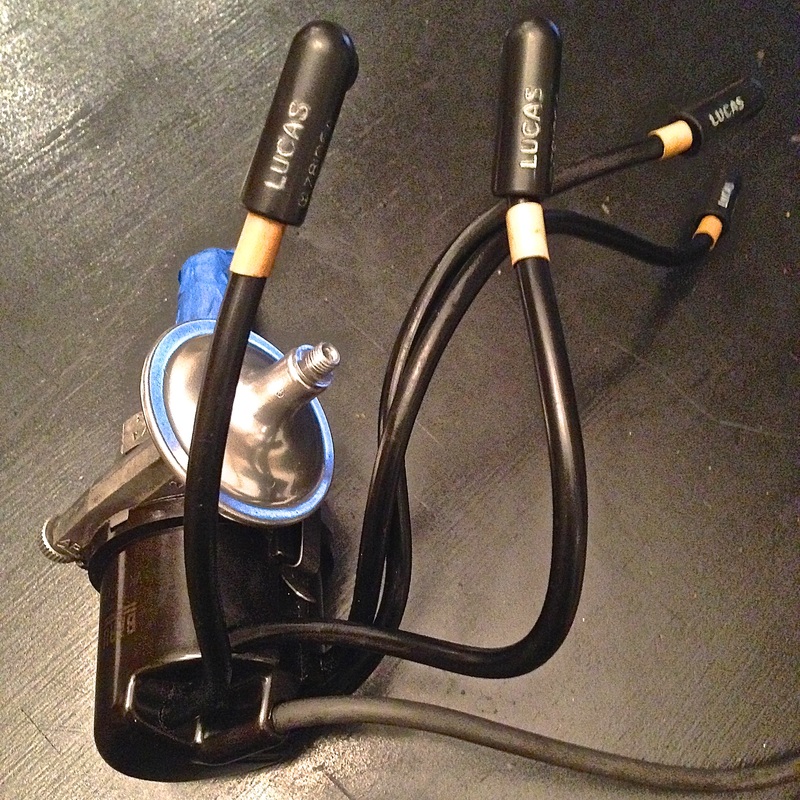
I decided not to keep the over spray and gently cleaned the entire body of the distributor by hand. I polished and painted the vacuum unit with a chrome paint to give it a new shine. I'll replace the rotor, points and condenser as well. I cleaned my original Lucas plug suppressors and hand painted the little Lucas logo's in white again with my little modelers brush. I've ordered new wires, as well as the yellow numbered labels and the small rubber organizer that the wires will thread through.
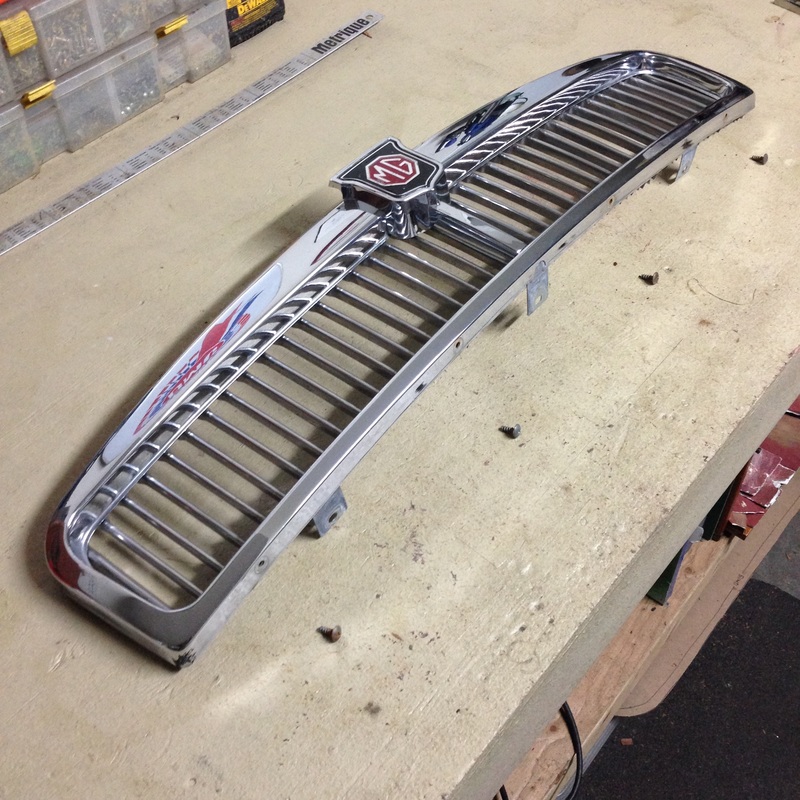
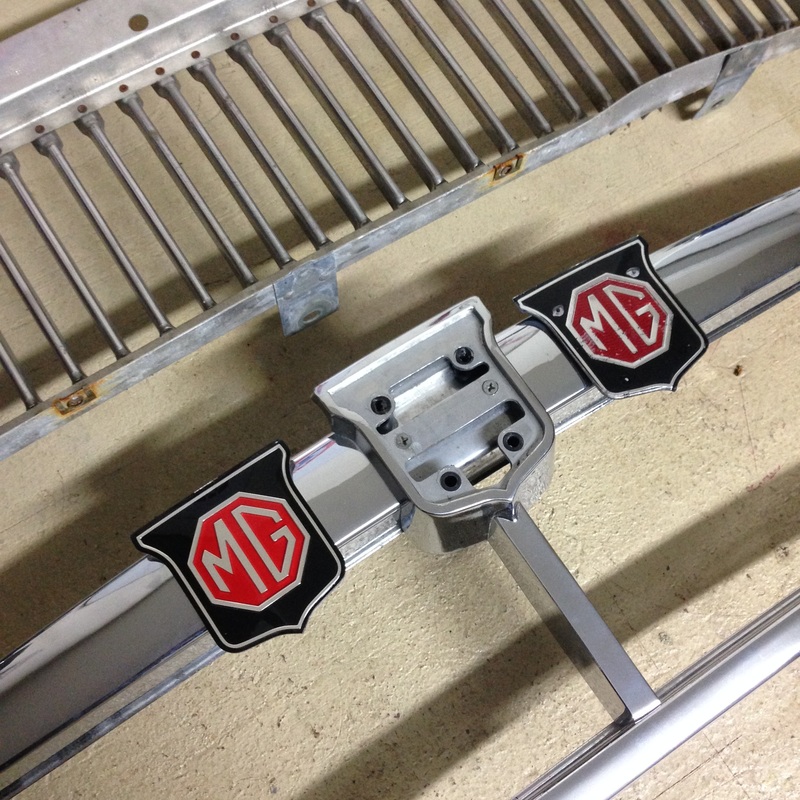
With the distributor job set aside for now, I moved onto cleaning/refurbishing my grill. I took apart the grill and proceeded to hand clean and polish all the stainless grill teeth. Mine being an original early grill, these teeth were all individually riveted in place, and the rivets were all looking brown with age. After cleaning off the corrosion, I carefully picked out the head of each rivet with some aluminum coloured paint on my trusty little modelers brush to protect and make them look new again. The chrome grill surround and badge support have just enough fine pitting to warrant a re-chrome, so they will be sent out along with my bumpers at a later date. In the meantime I've got a new badge and the teeth look like new again.
To cap off the day, I cleaned my gas tank up and gave it a new coat of gloss black. It wasn't in bad shape - in fact an old Moss label was found half peeled off on top so I know it's a replacement. 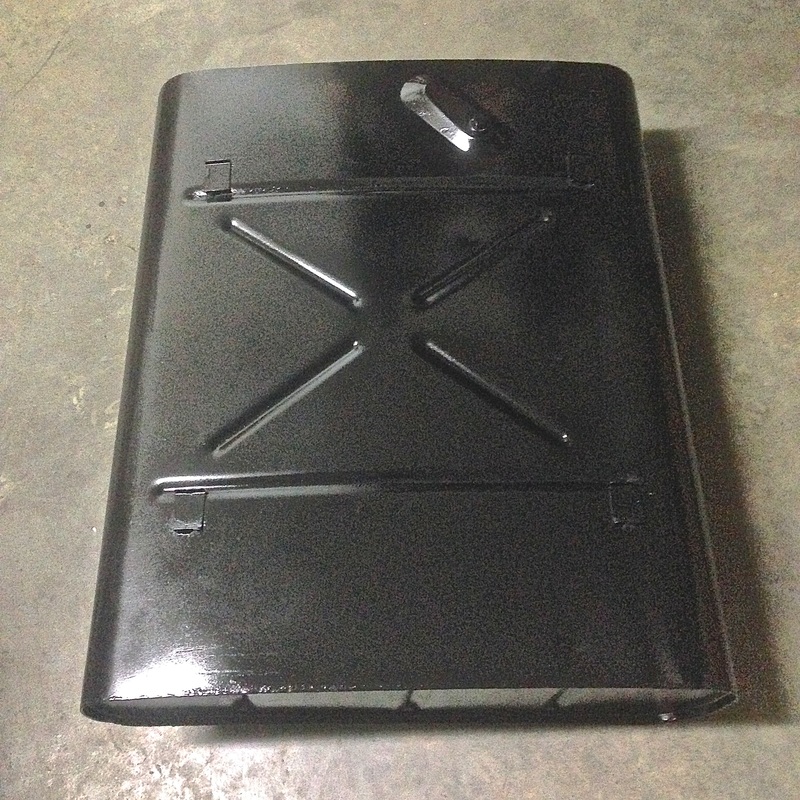 In the mail this week I received an original British Motor Corporation radio - I found it on e-bay for $25! It will need to be serviced obviously, but will make a nice touch to the finished dashboard when it's done. I think I might know a certain father in law who might be perfect to handle this job... ;) 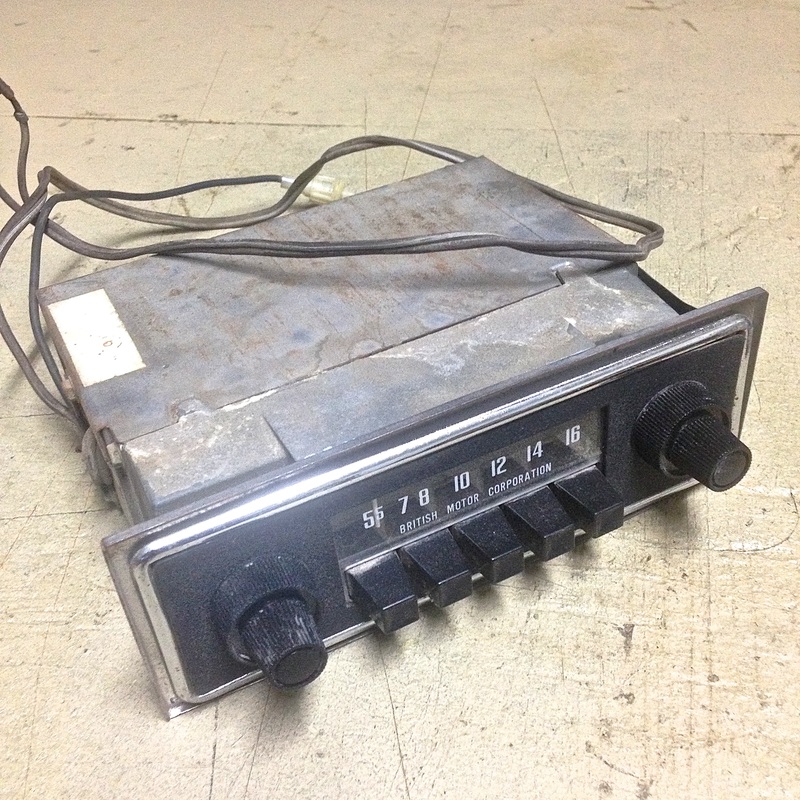 In other news, I am very happy to say that I'm one step closer to having my metal and paint work done! I have been debating for months over how and who to do it, I've finally decided it's going to be done once and and done right. I'm going to have Coachwerks here in Victoria handle the job rotisserie style so the underside will be properly painted like the topside. Over the next few months I'm eager to see the cars transformation. I've done several upholstery jobs with Coachwerks over the past few years as they handle most of the metal and paint for Rudi and Company. They're the best of the best in what they do, so I know I'll be in good hands!
Until next time -
1 Comment
Don Scott
2/28/2016 05:03:23 pm
Geoff, you will have a very unusual MGB when you are done. Even the professional shop-restored ones I have seen (and nearly purchased) do not come close to the detail of what you are doing. Your comment will be posted after it is approved.
Leave a Reply. |

Archives
December 2023
|
 RSS Feed