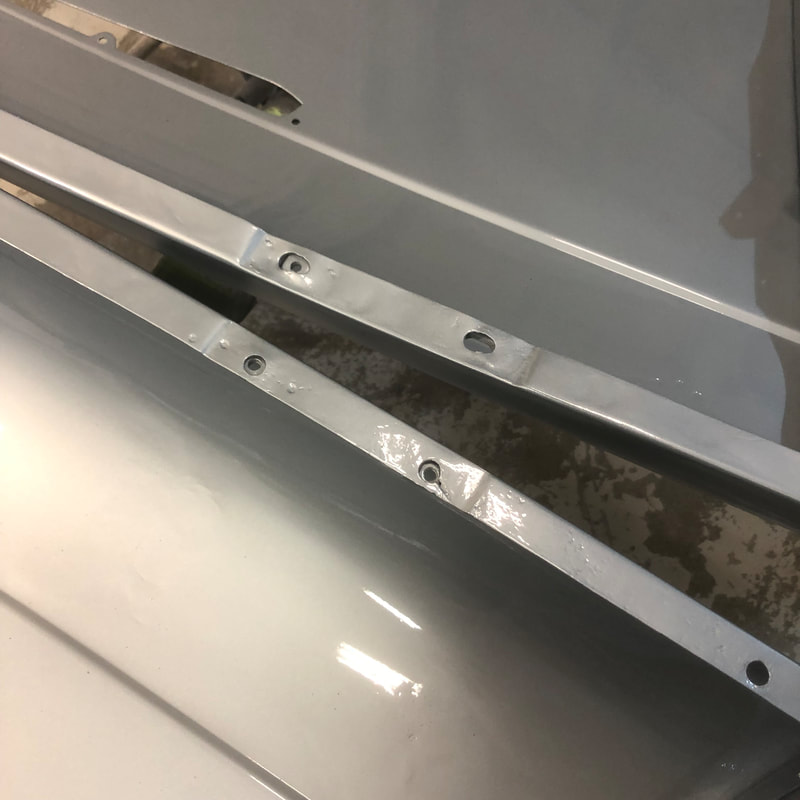
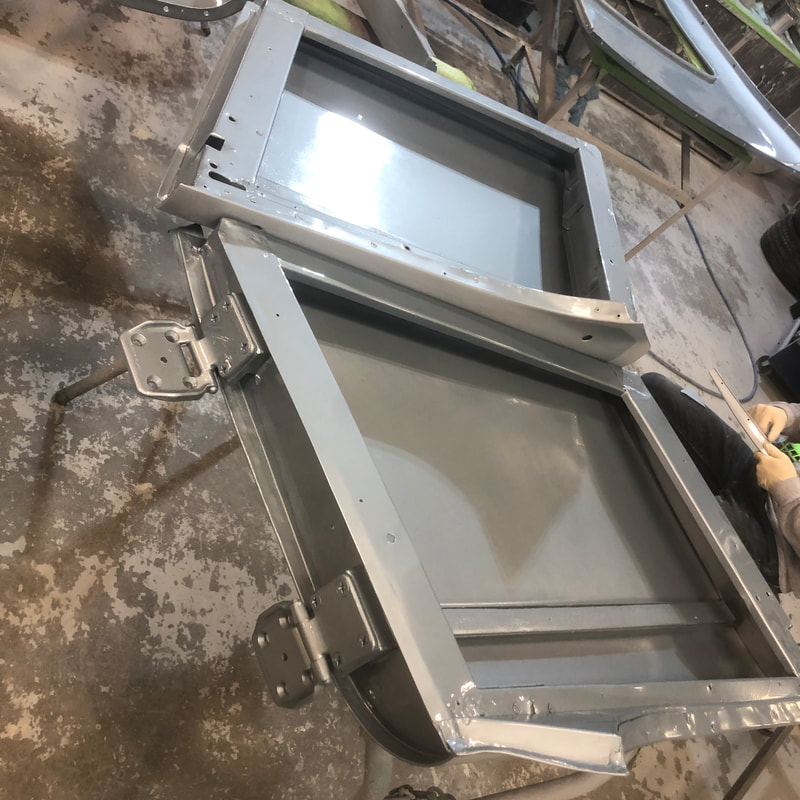
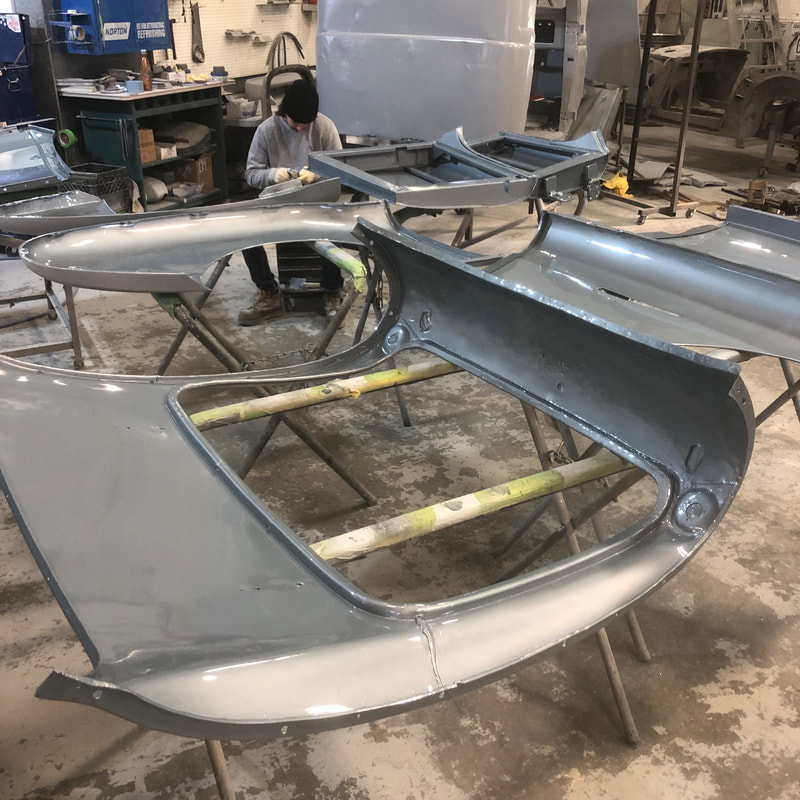
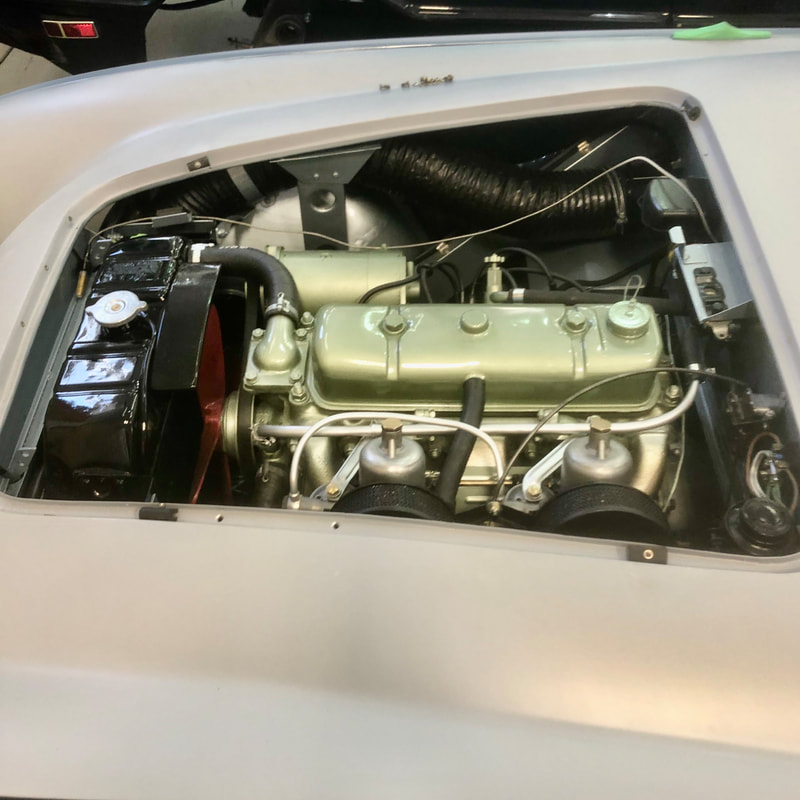
 Well as the rain season has begun here in the Northwest, the guys at Jetstream have been busy prepping the outer body panels and getting the car close to final paint of the outer body. Here's some pics of the outer body panels painted on the inside before assembly to the chassis...
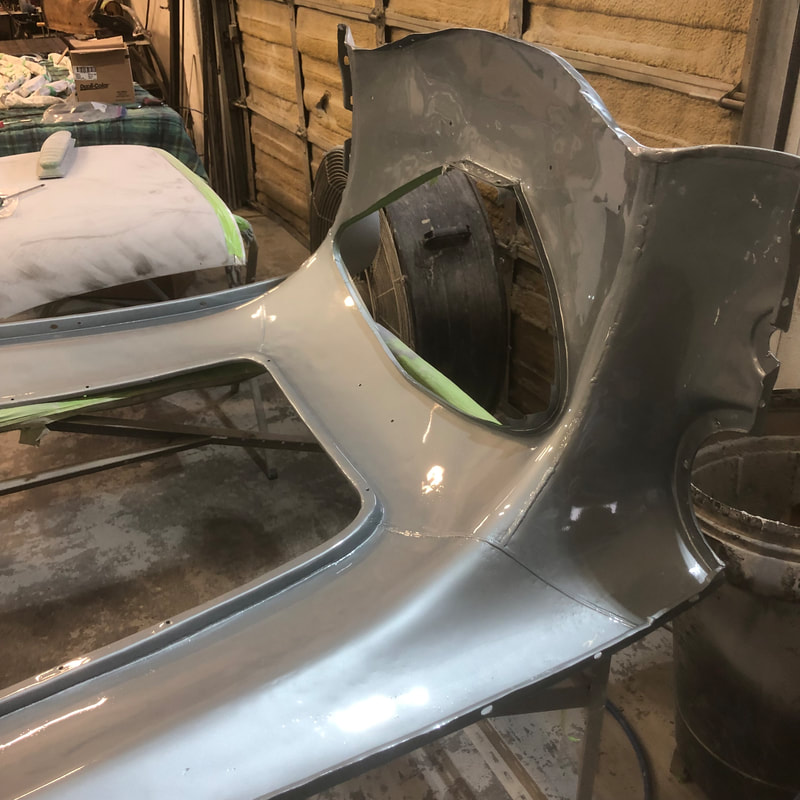
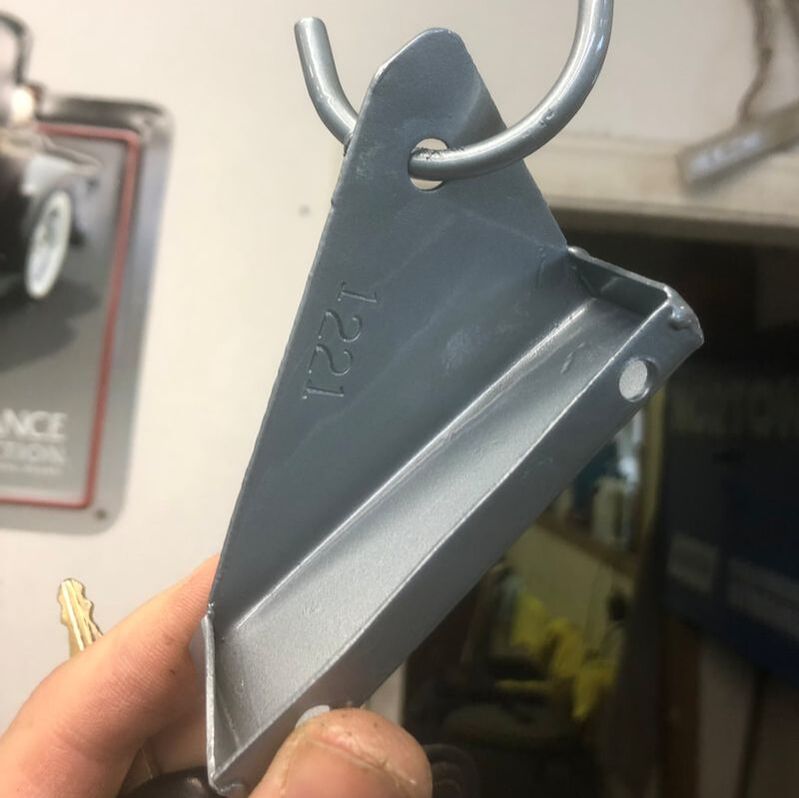
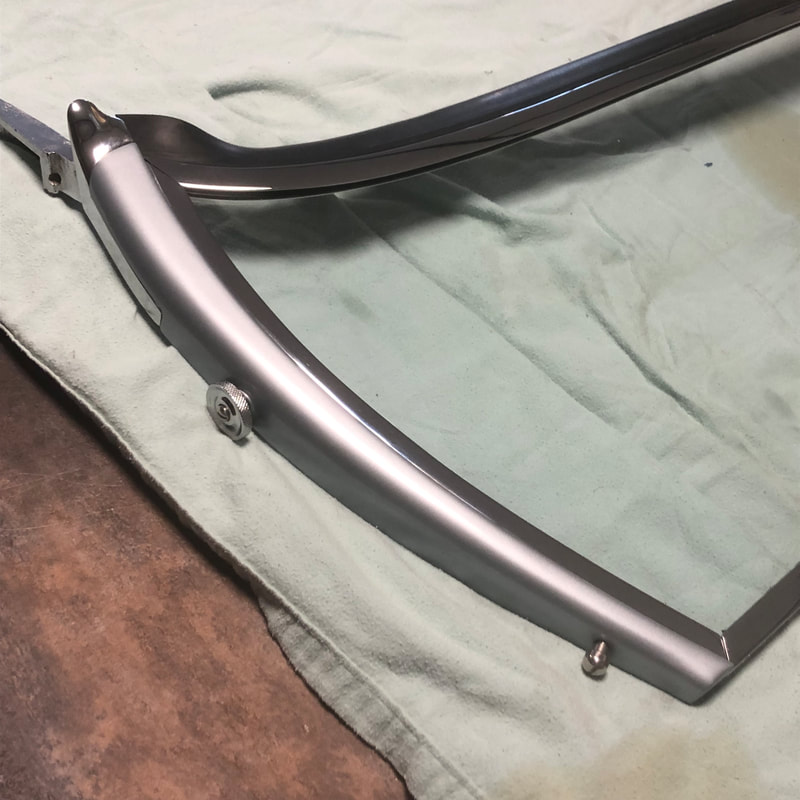
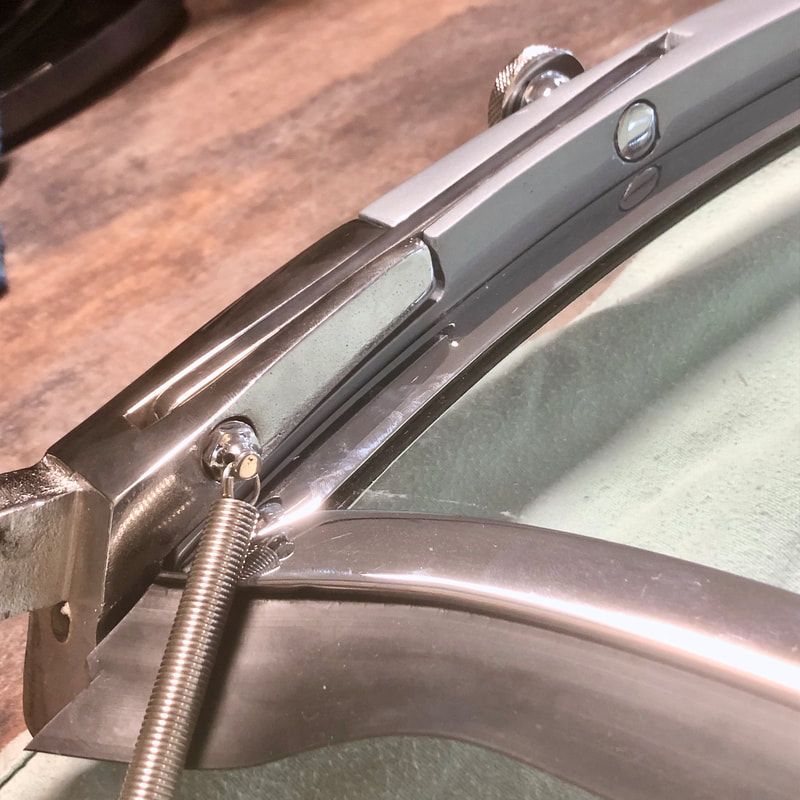
This week Jetstream skilfully assembled the shrouds and rear fenders... I've been fussy with them in making sure we're using all the correct original hardware throughout, getting the rivets looking just right etc.. - thank you Jason for your patients with me on this! - It's so nice to be working with professional craftsmen who are used to the level of accuracy I'm trying to achieve. I know that 99% of the population would never notice or care if some hardware was a little different than factory, but the way I see it, this is a personal passion project for me - a therapeutic endeavour I've been relishing in as each step brings me closer to the memories of my late Father, who originally taught me how to do this work and appreciate these cars. I'm enjoying getting the details right now because I can. I have a lifetime of knowledge that I'm finally getting the opportunity to put into practice and it gives me a tremendous sense of satisfaction and accomplishment - and hopefully will earn me a Gold when the car is finally judged next year - just like Dads restorations most often did! 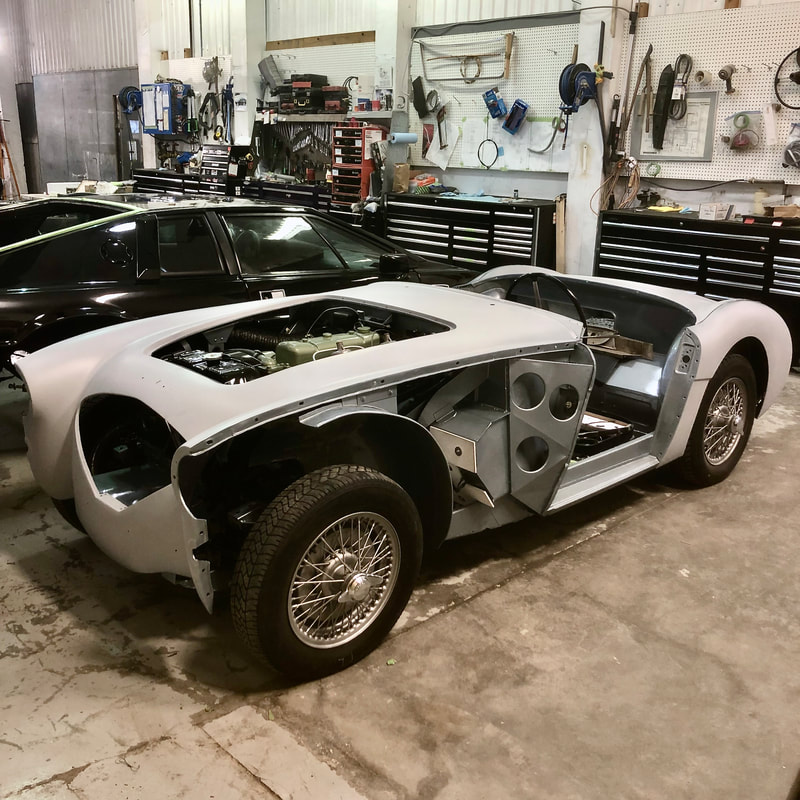  Throughout my progress on my BN1, I've also been quietly following the progress of a similar early BN1 being restored in Europe by a fellow named Karl who hosts 'the Austin Healey Channel' on YouTube. In recent episodes Karl has run into some major fitment issues with his assembled windshield not lining up to it's lowered position feet. His nail biting dilemma prompted me to prioritize finishing my own windscreen sooner than later so I could test its fit and function before assembling the front fenders next week... Sooo,.. 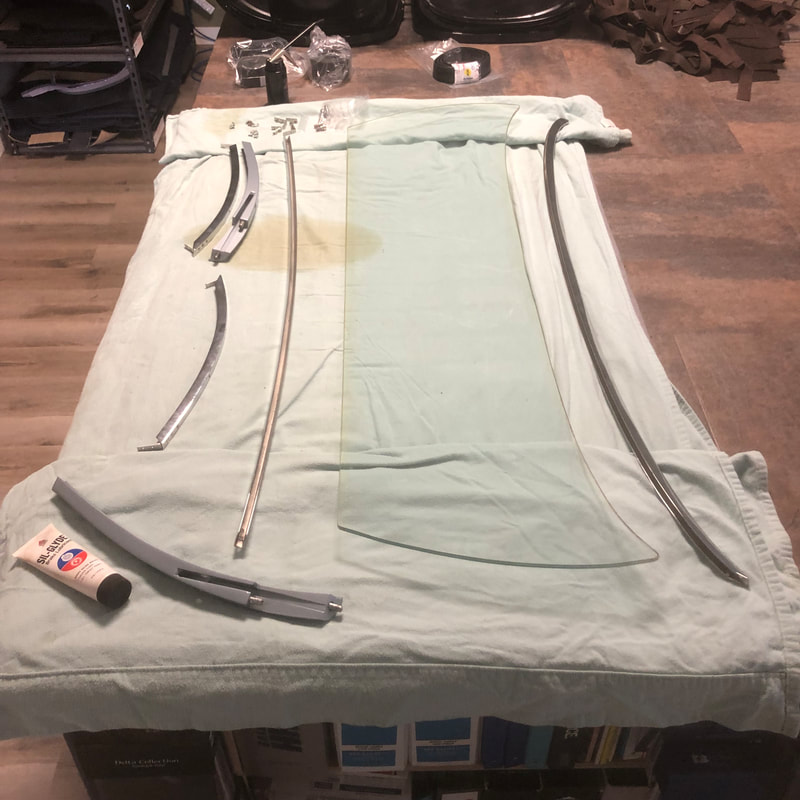 The first step is to assemble the corner brackets to the chrome post channels, and then assemble the channels to the painted posts. I used some clear silicone to seal these joins from water, and used my original brackets with new screws ground down to the proper length (as shown in my last video e13)... 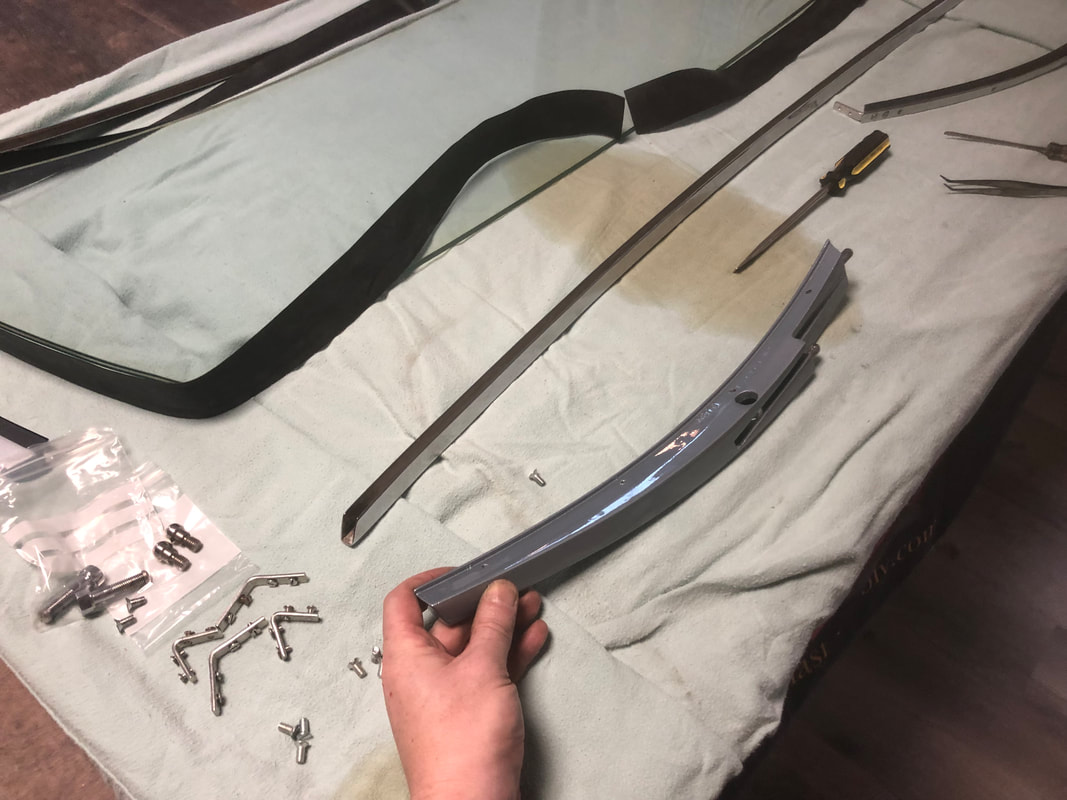 Then with the posts assembled I fit them to the glass with the new rubber seal being evenly wrapped around the glass edge and pushed into the channel. I coated the rubber with some clean oil to help it slide, but also the oil will slowly cause the rubber to swell and seal properly... 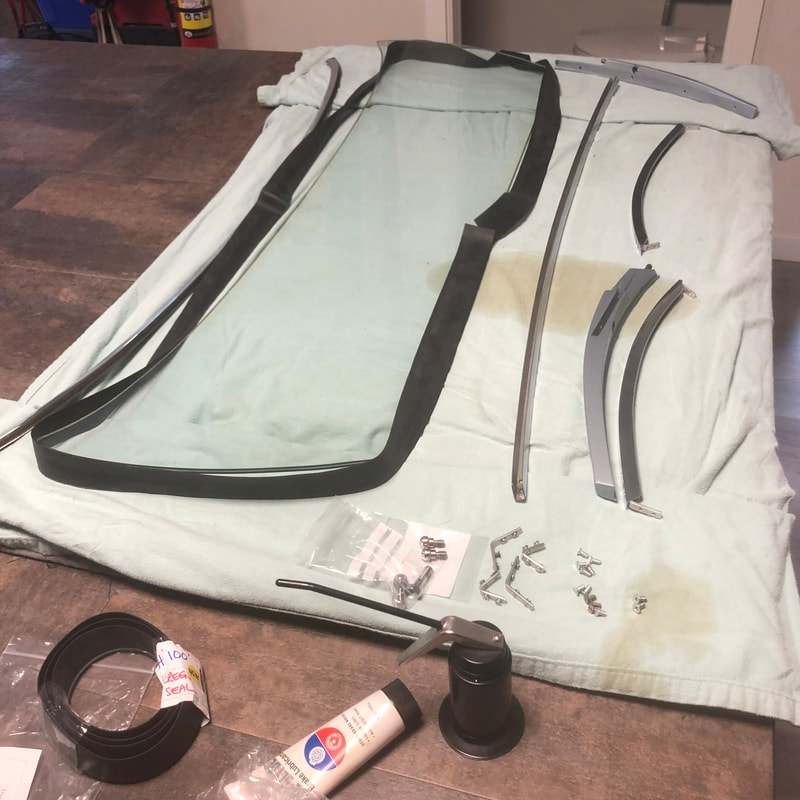 With each post squeezed home, I fit the upper and lower channels the same way and screwed the corners together. Then I carefully hammered the lower channel on using a plastic sand filled mallet, and also used some ratchet straps to help squeeze the channels home tightly. The excess rubber was then cut away with a razor blade even with the chrome...
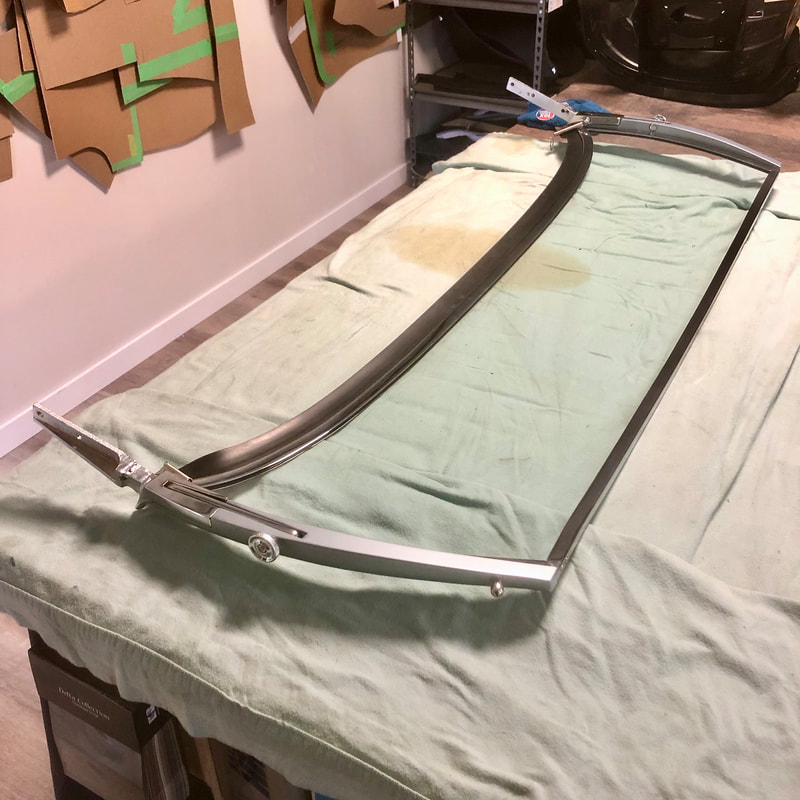
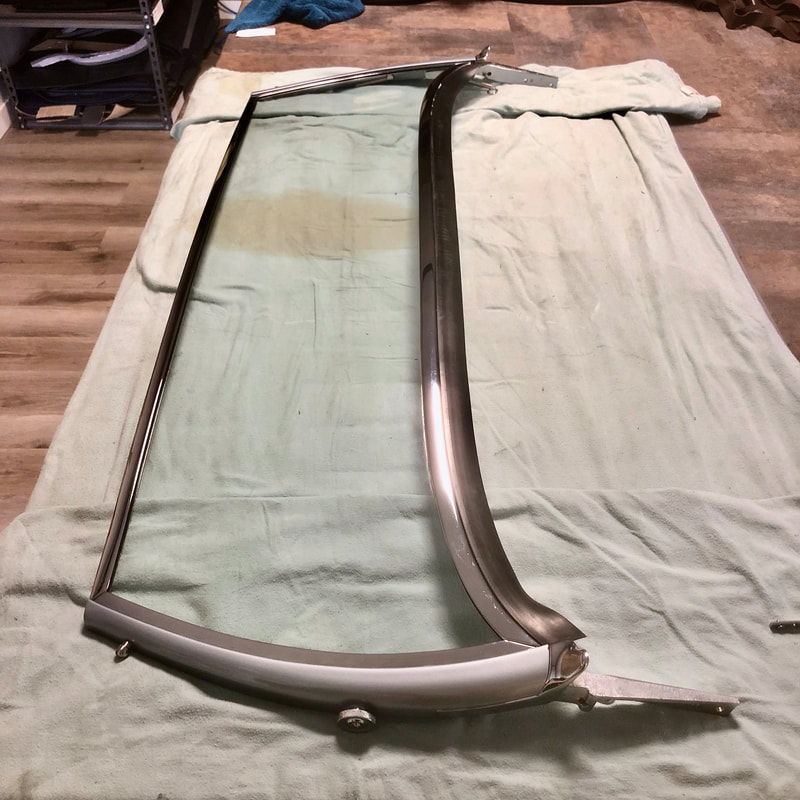
I then finished the screen by installing the new lower rubber seal, trimming the edges and fitting the chrome legs and link hardware...
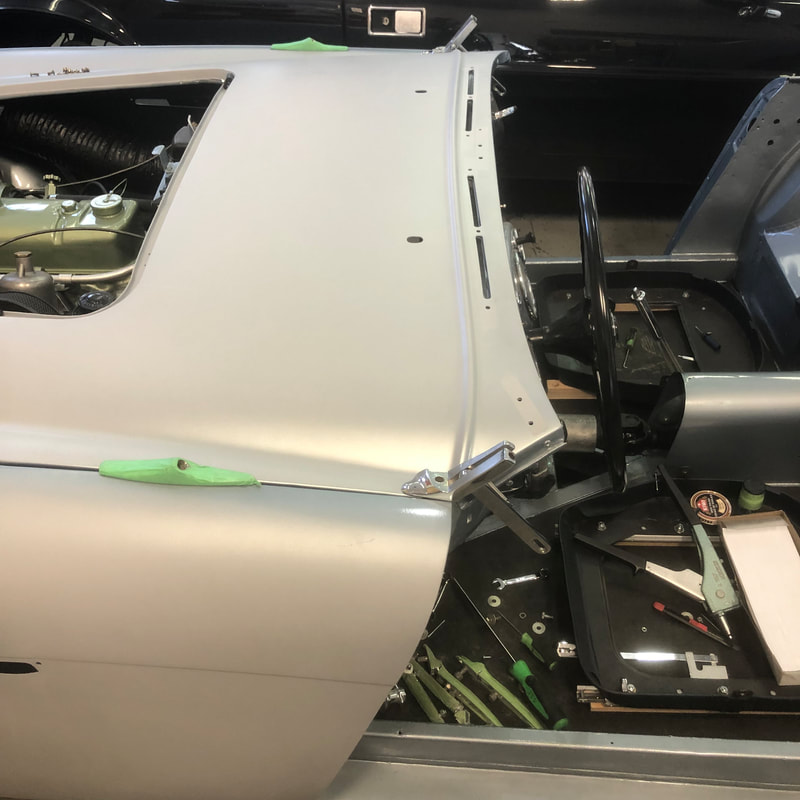
With the windshield assembled, I can bolt up the mounting brackets and feet to the car and check the fit and function of both positions before final finish and paint.. 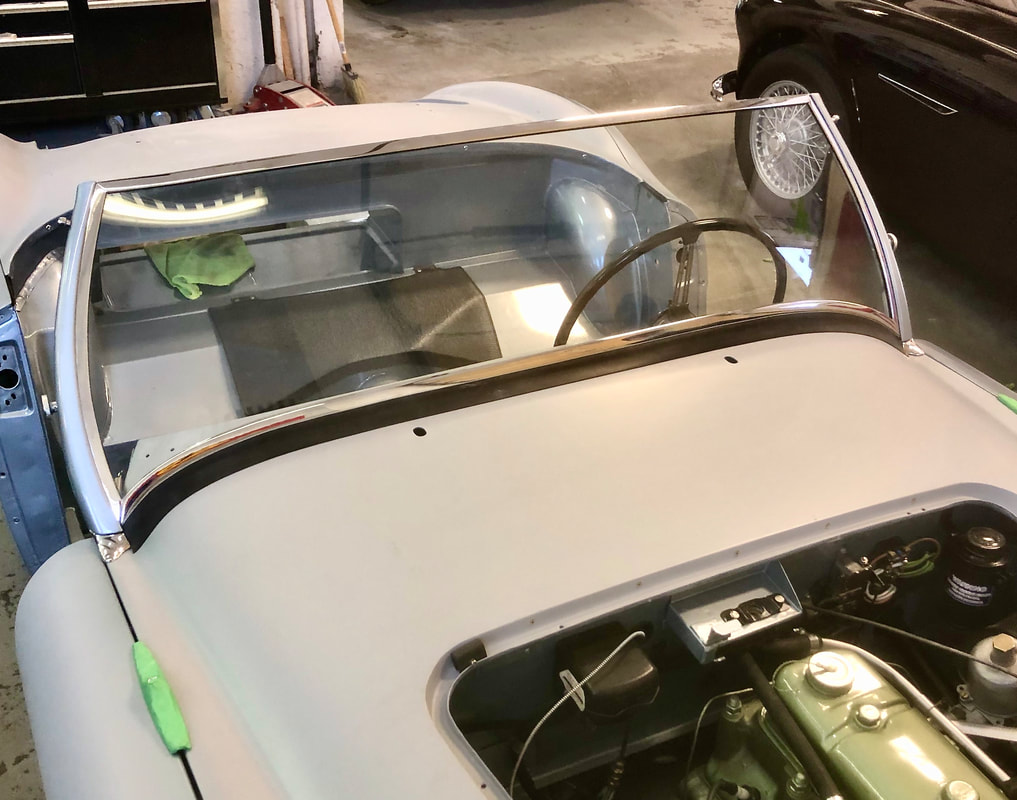 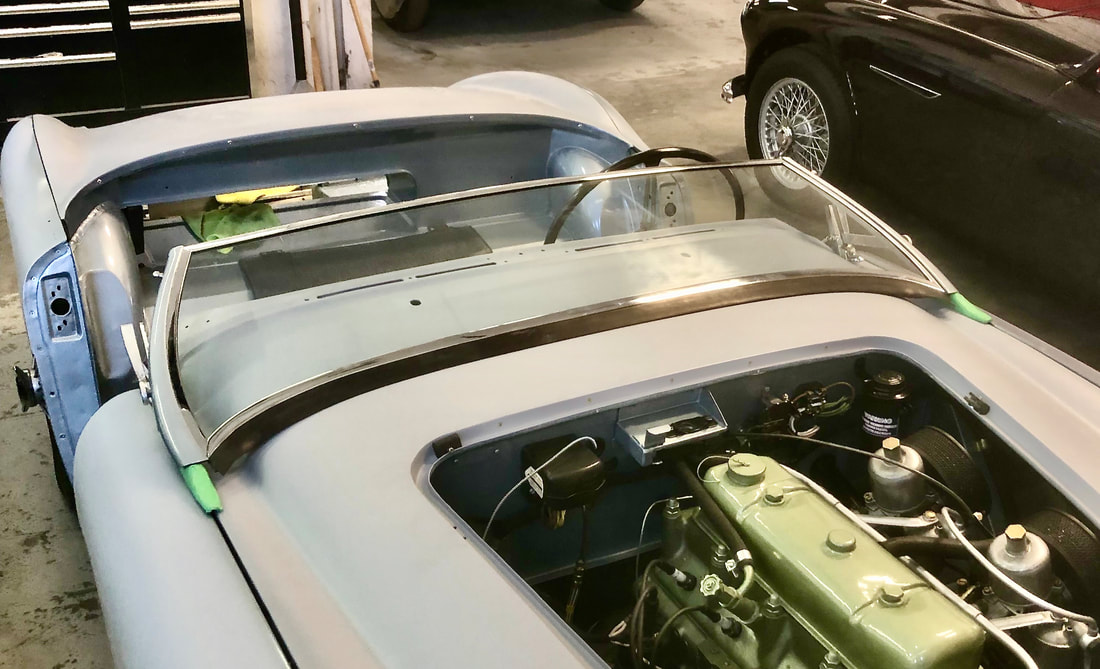
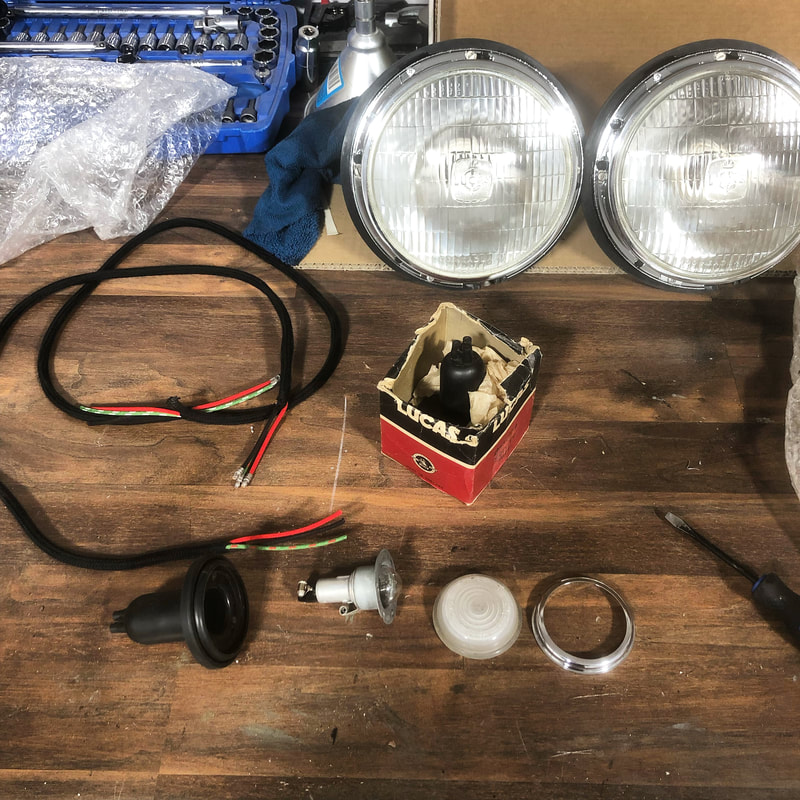
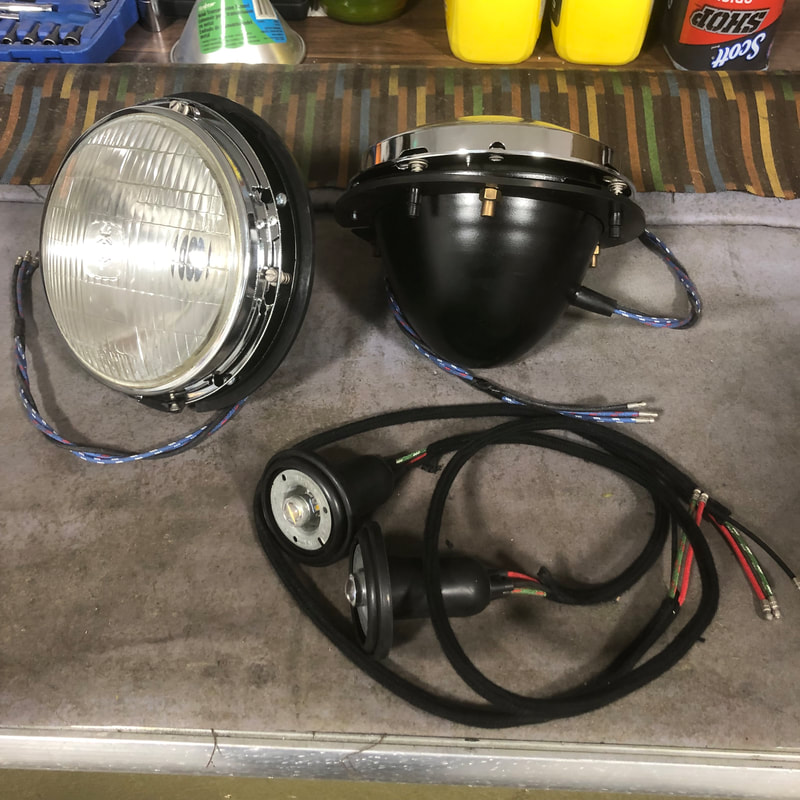
We took the opportunity to also fit the grill once again just to recheck the fit and eliminate and gaps... 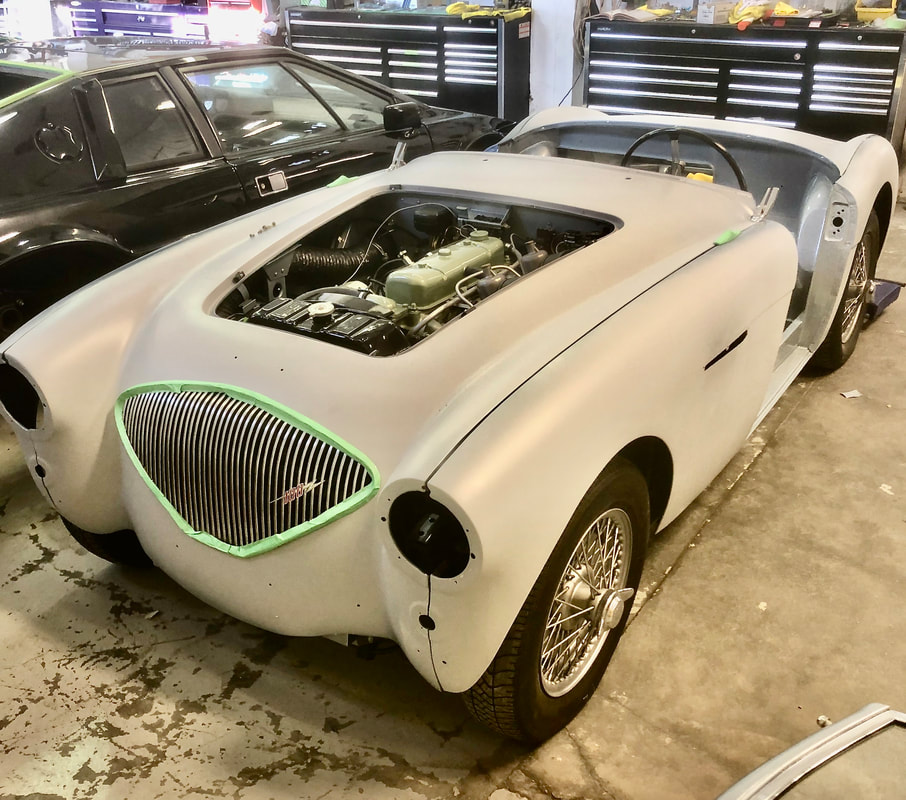 Meanwhile I've been preparing the lighting, interior, and chrome on my end for when the car returns from paint.
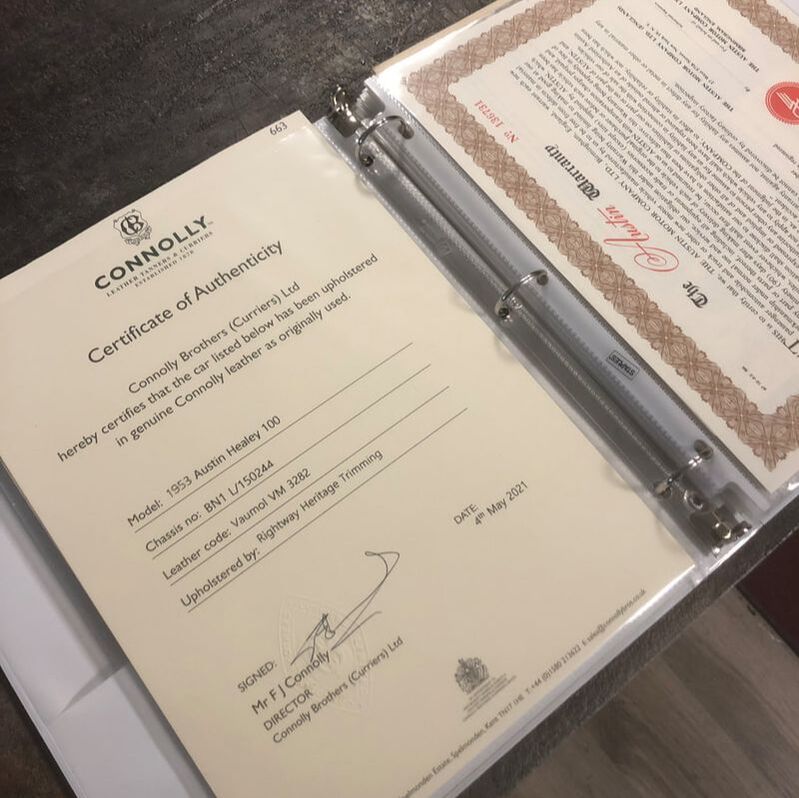
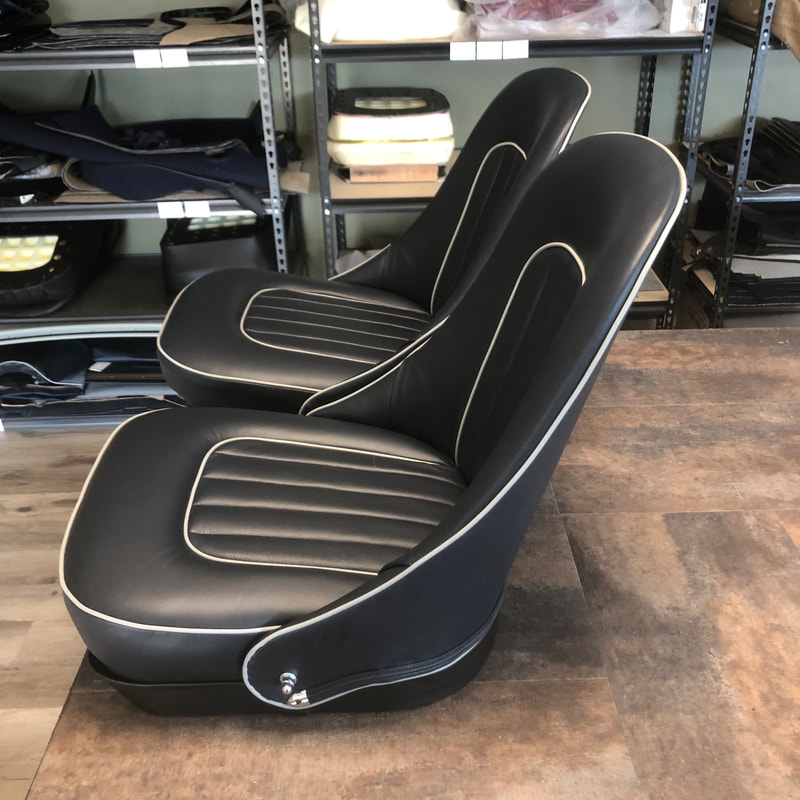
I actually re-did my front seats over again with new covers I made using authentic Connolly leather that I'm now able to source and provide with a certificate of authenticity: 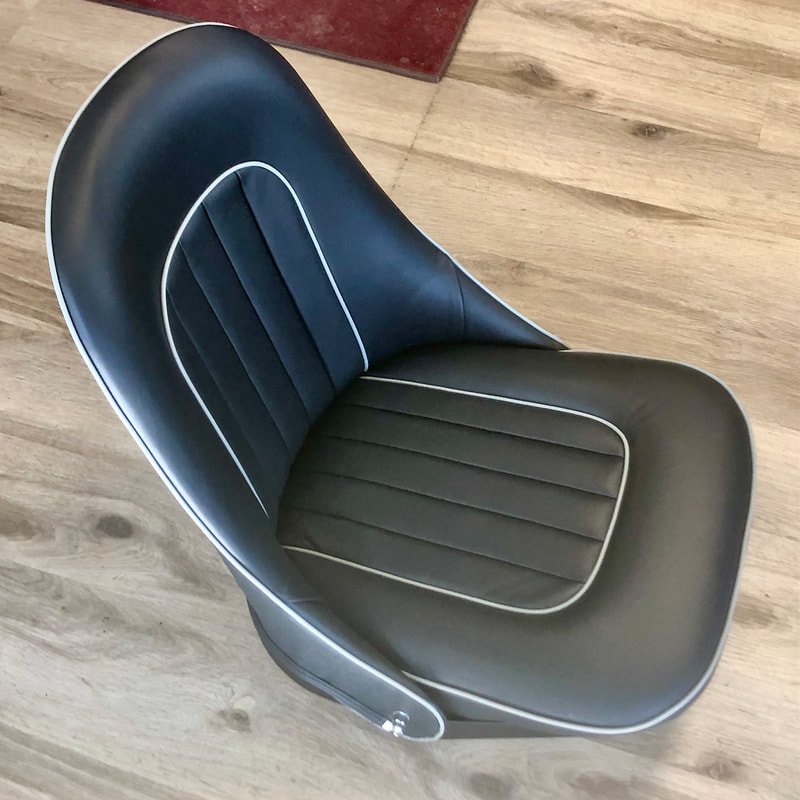
New door panels I made in baltic birch plywood with correct English vynide as original: 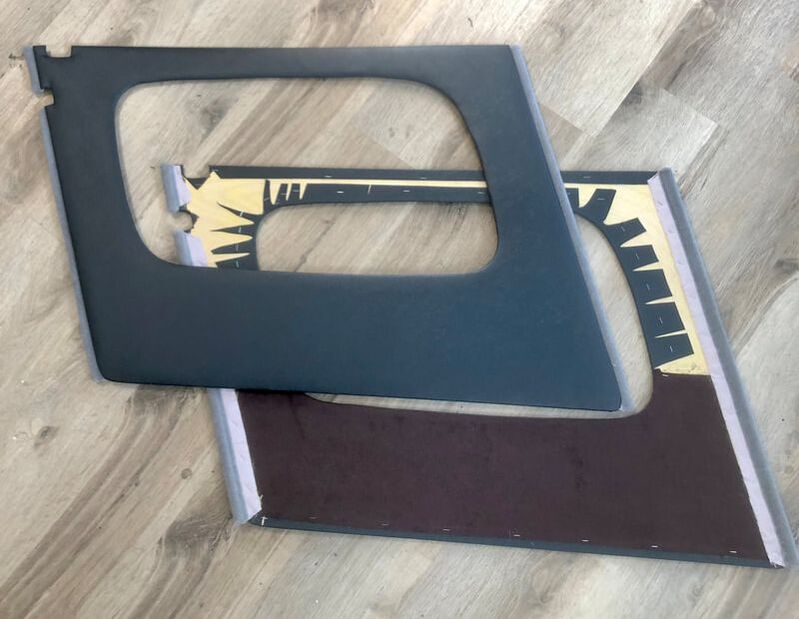 Final paint is just around the corner, I can hardly wait to install my new interior and finish all the outer chrome and lighting!
Until next time -
4 Comments
Jim lesher
11/14/2021 03:31:03 pm
Always the best work completed!!!
Harry Watson
12/11/2021 12:45:10 pm
Looks fantastic Geoff. Especially the rubber fit at the edges of the window to the shroud. Really looking forward to making another visit to see it in the shop. 9/2/2023 09:24:20 pm
It takes a special kind of auto body pro to install windshield's on these older cars. So glad you were able to do it without hiccups. 10/14/2023 03:37:21 pm
Looks like you did a spectacular job on this. Congrats! Your comment will be posted after it is approved.
Leave a Reply. |

Archives
December 2023
|

 RSS Feed