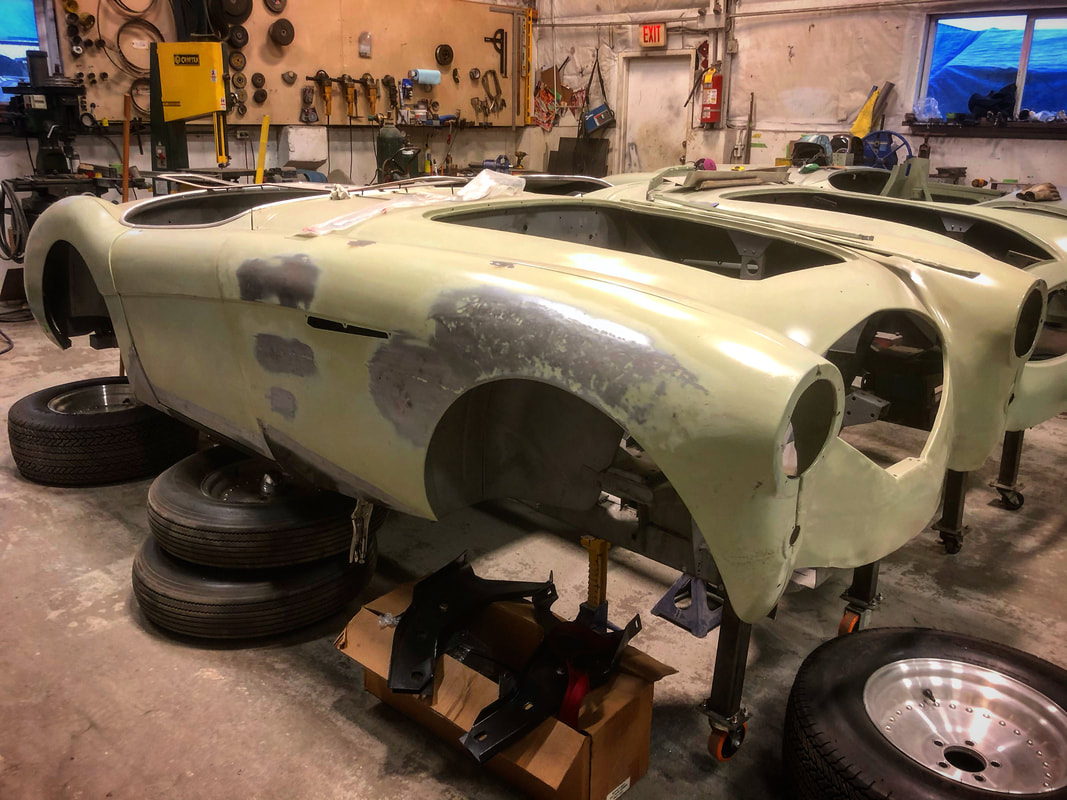
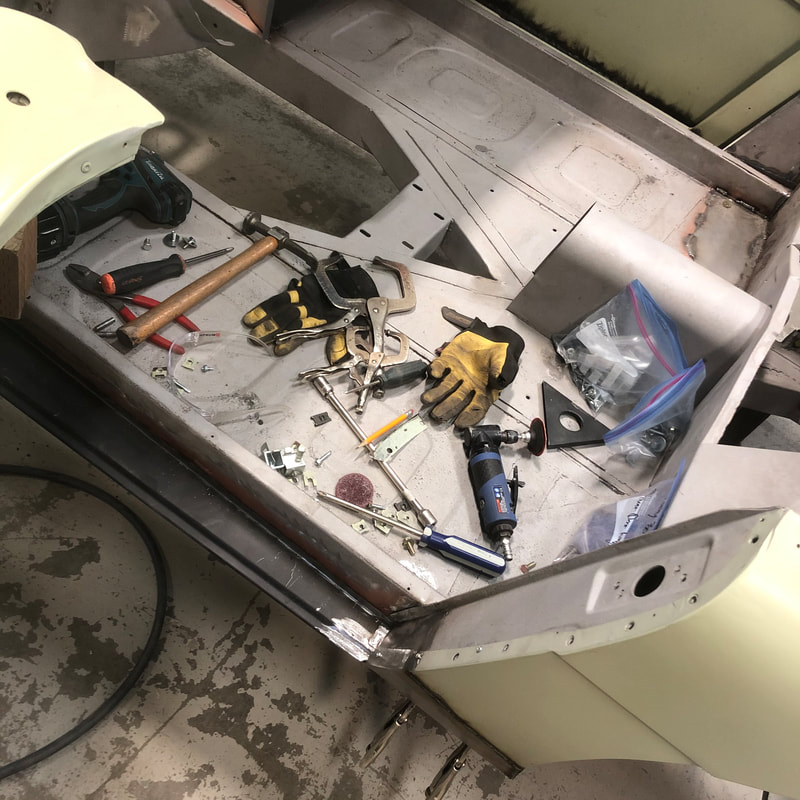
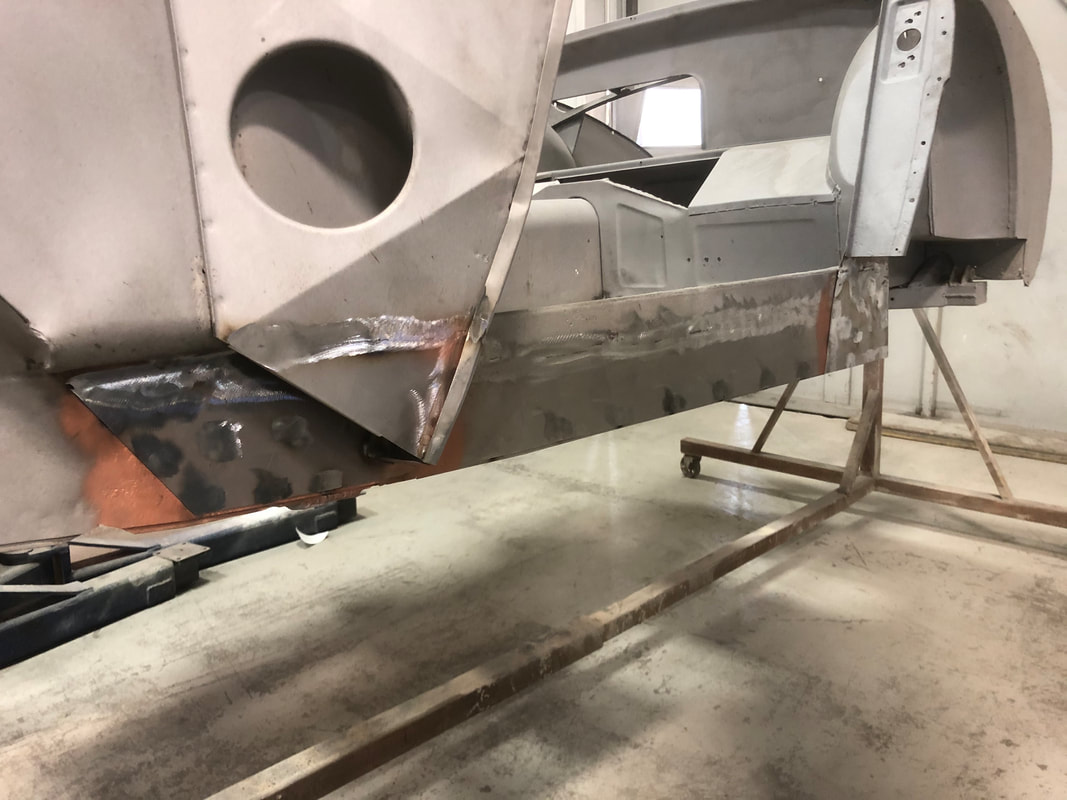
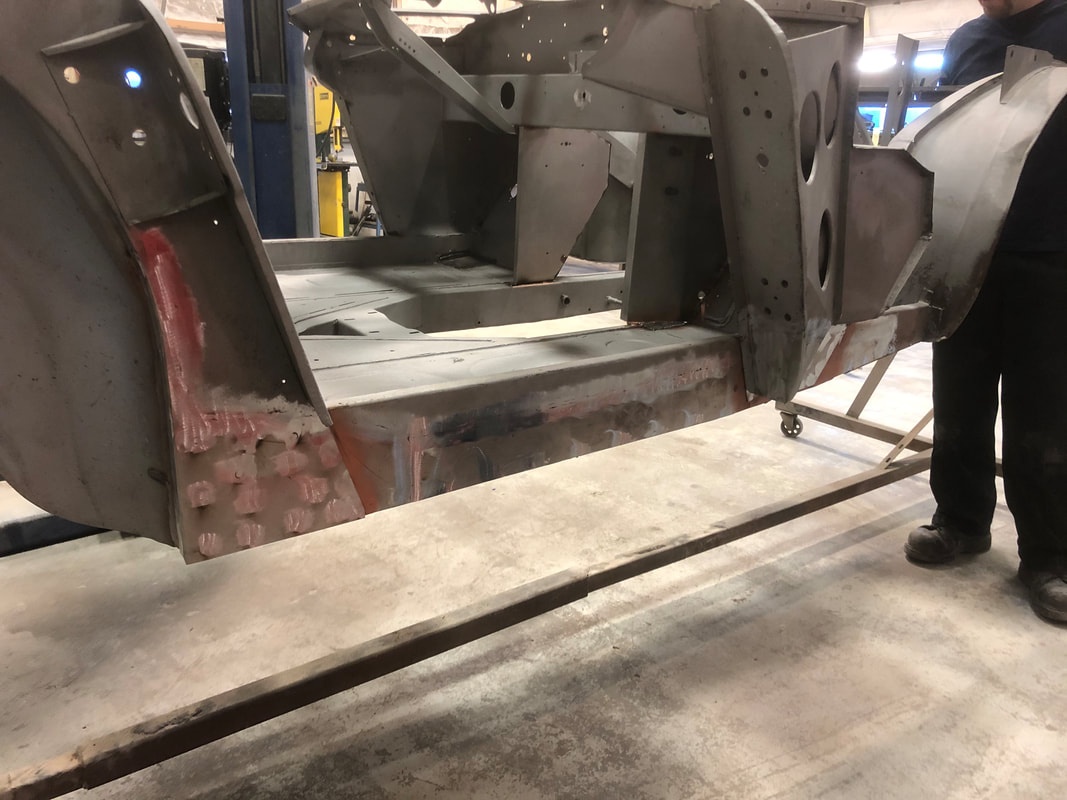
 As we've entered the month of December, work on my BN1 is at an all time high! The guys up at Jetstream Auto and Custom have been making great progress with the metal work. In fact when you step into their metal fab shop now, you'll see not just one but four Healey's all on rotisseries getting the same expert treatment... Here's a few pics of the progress on mine, there's still lots of careful hammer & dolly work ahead to work out all the dents on the outer body panels, but much has been done already as you can see - 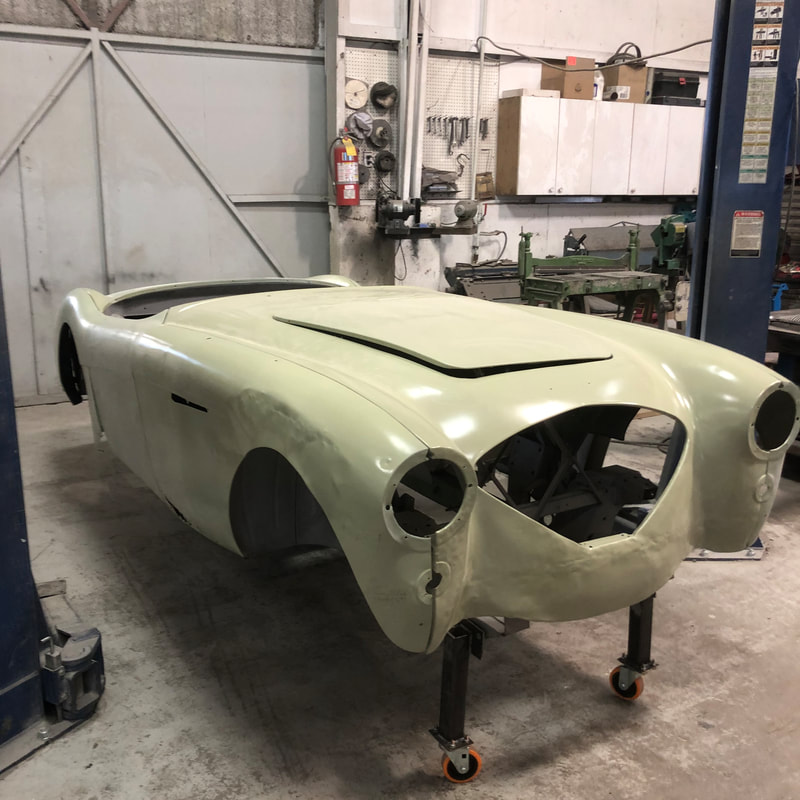 The new front cross member is in, and both foot boxes have been restored, - if you remember these foot boxes had been hacked open and then screwed back together - probably to make room for a larger engine at some point. 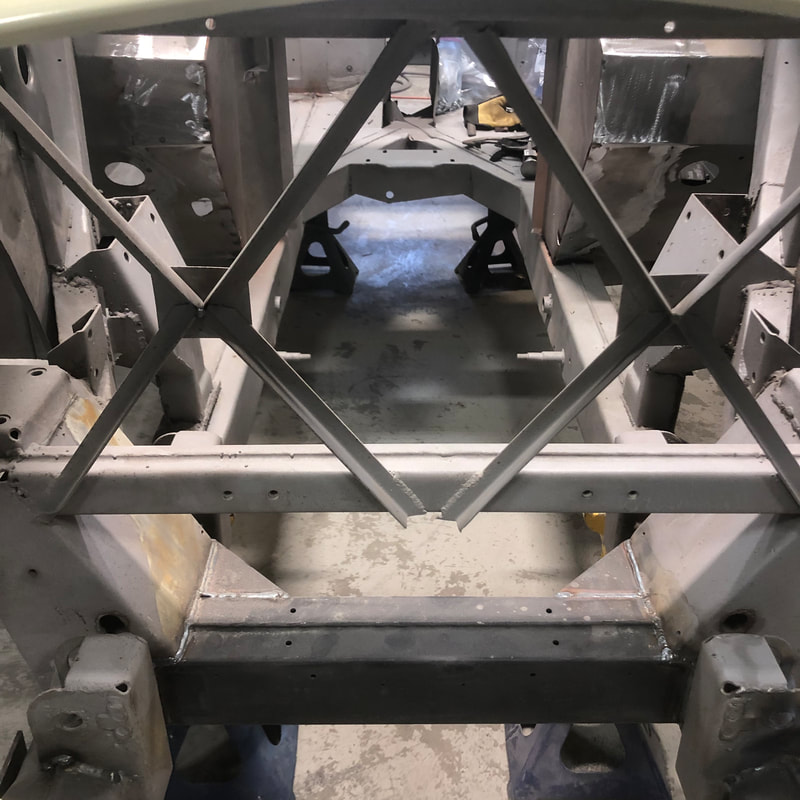 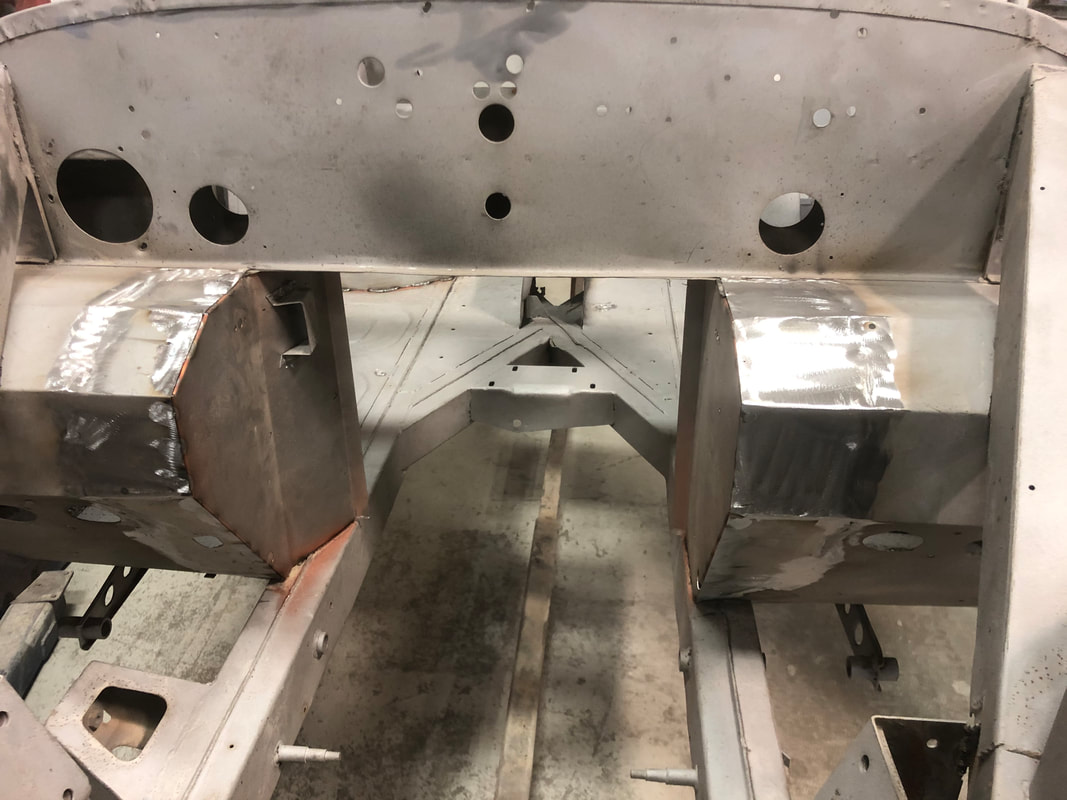 The inner and outer sills have all been repaired and replaced as well as the lower sections of the door posts, and the lower sections of the front and rear fenders. Everything fits and lines up beautifully thanks to the expert workmanship by Jetstream!
 As mentioned before, this right side especially had quite a lot of dents and damage to be worked out mostly by hammer and dolly - but it's already looking much better! It's tricky working the bigger dents out of the steel fenders because of the inevitable stretching that's occurred and needs to be shrunk back. 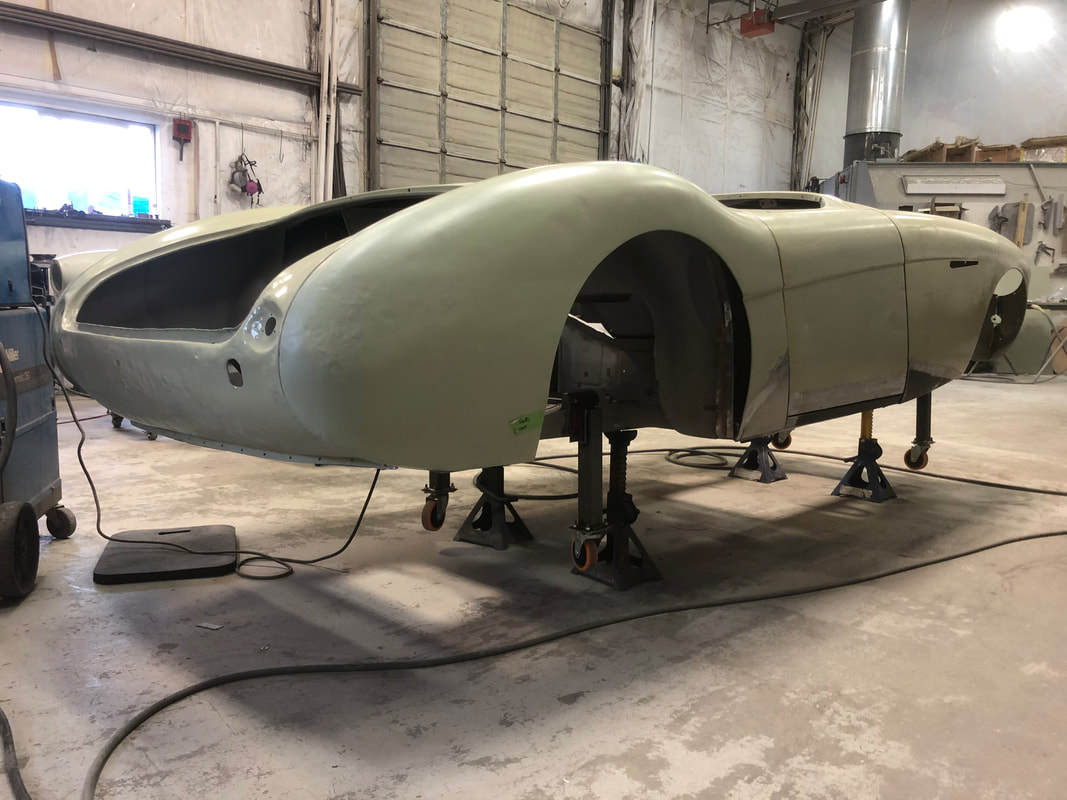
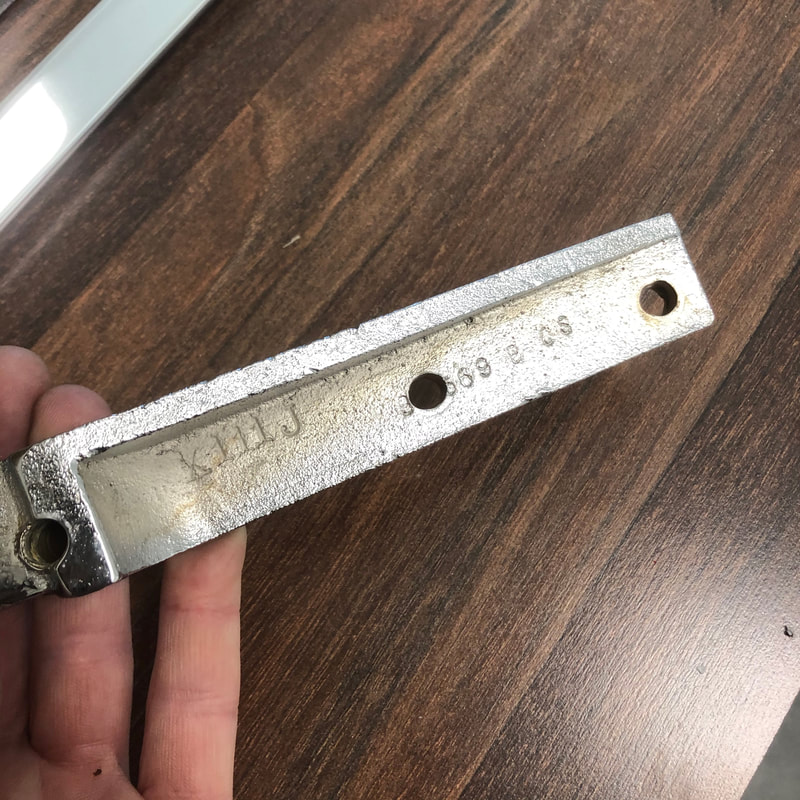
In the meantime, the guys up at Mid Island Machine have been restoring my head and engine block. They've re-sleeved the cylinders to bring it back to original spec. so I've ordered a new set of original spec pistons. The crankshaft has been all re-ground .020" under, so I'll get new .020 over bearings to suit. I ordered these components from our Healey specialist friends at Autofarm in Ontario. The head has all new hardened valve seats, new valve guides, and all new valves. Of course the head and block joint will be made perfectly flat and smooth again too. It will be virtually a brand new engine when it's all done! 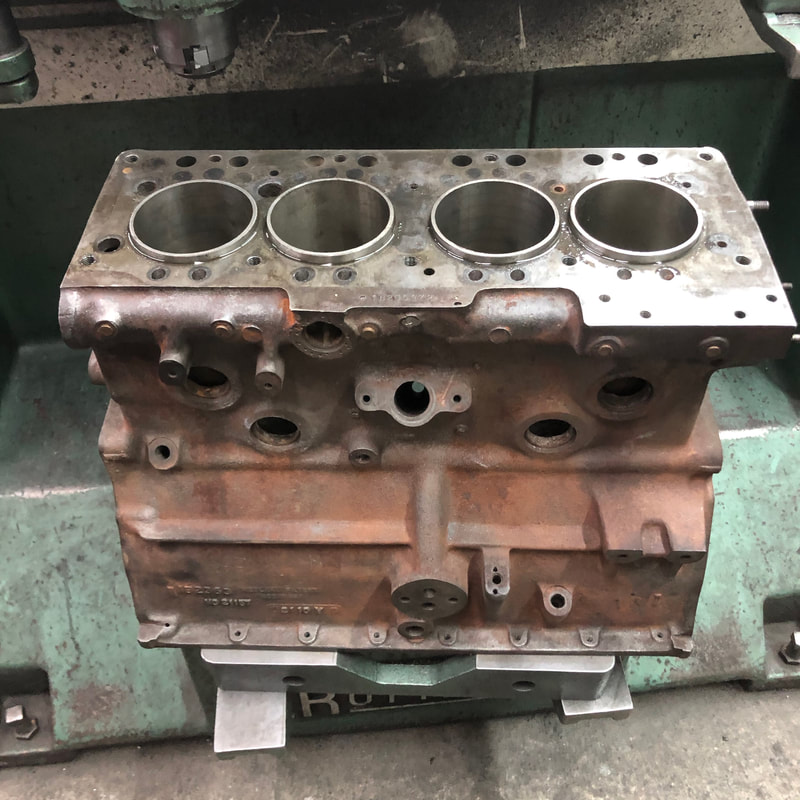 Tom Munro has been working away on my BN1 gearbox rebuild. I was very lucky to have been able to buy a second set of gearbox parts from Trevor that was in much better shape than mine was. What we quickly realized though is there are essentially 2 different sets of BN1 gears over the years (early and late) The gears are very similar in appearance but are cut at slightly different angles and will only work with gears of the same generation/angle. So inevitably I've replaced all of my early style gears with the later style ones. Michael Salter illustrated these differences beautifully in this blog article from a few yrs ago: While Tom has been sorting out the gearbox, he sent me home with all its hardware to be re-plated. For this I decided to try some black phosphate re-finishing. I used a great article about this process written by my friend Curt Arndt as one of the concours guidelines supplements. -I first glass-bead blasted all the parts to clean bare steel, and wiped clean each piece with some isopropyl alcohol. Wearing latex gloves so as not to get any oils from my hands on the clean parts! -I warm the parts up with a heat gun, and then I applied some Super Blue liquid Gun-bluing solution which immediately turns them black. I let them soak in this for about 2min and then dunk them into fresh water to neutralize the acid. -Then I thoroughly dry them off and give them a healthy coating of fluid film rust protection. Fluid film is an oily/greasy film that never really dries out. It's compatible with oil, won't interfere with electrics, and provides lasting protection against moisture - it's even recommended as an invisible vehicle undercoating. Curt's article recommends using white lithium grease instead of the Fluid-Film but I decided to try the Fluid-Film first because I was impressed with its performance in my last restoration. Time will tell how it stands up in this application - There will be many more pieces of hardware to be finished in this black phosphate, as early Healey's especially used this finish on much of the undercarriage hardware. 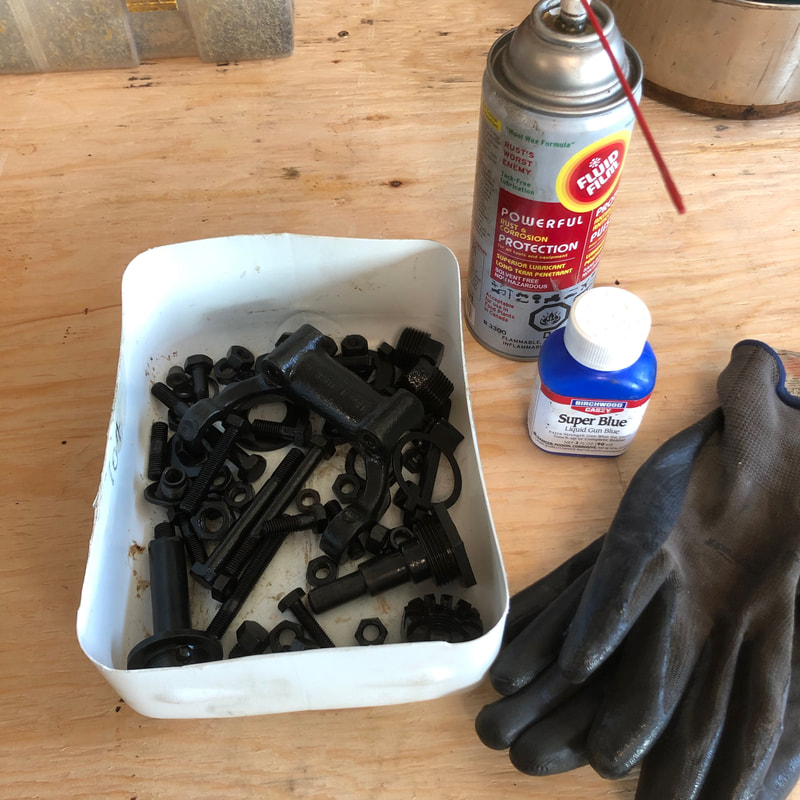 On Friday last week I went and picked up all my fresh new chrome pieces from Electroshine Plating in Sydney. As usual they did an outstanding job with everything and it felt like Christmas unwrapping all the individually wrapped parts from the newspaper wrappings.. 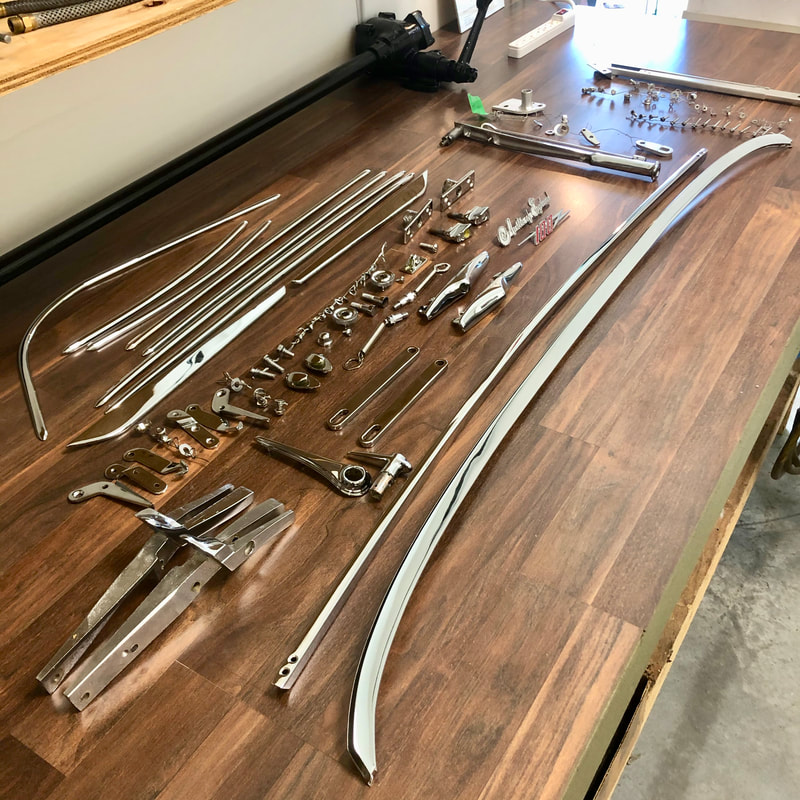 One curious detail I've noted is the different style of number stamping on my original windshield posts - normally they're seen with numbers stamped on the front flat face - visible when the windshield is lowered... But mine is blank in that spot, and instead has numbers stamped on the underside - visible only in the door opening. - Anyone else run into this style?
There's lots of exciting work ahead as I expect to be getting my engine back from the machine shop soon and my finished gearbox - so stay tuned!
Until next time -
1 Comment
Your comment will be posted after it is approved.
Leave a Reply. |

Archives
December 2023
|


 RSS Feed