|
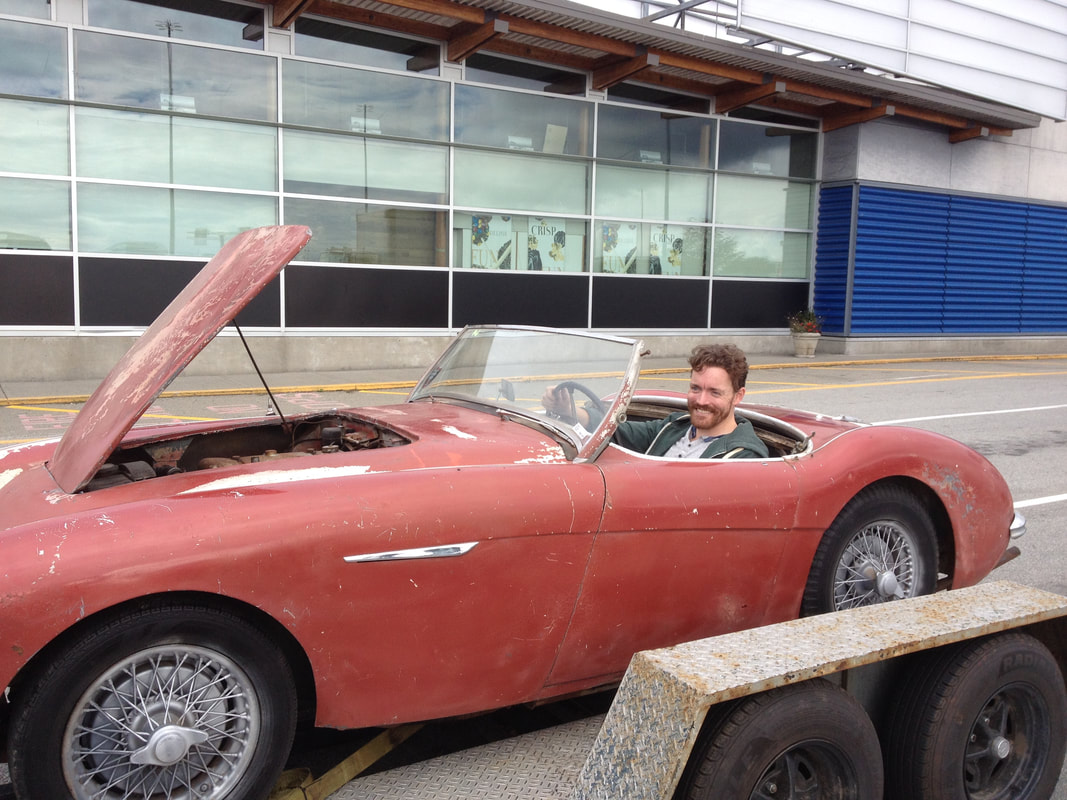
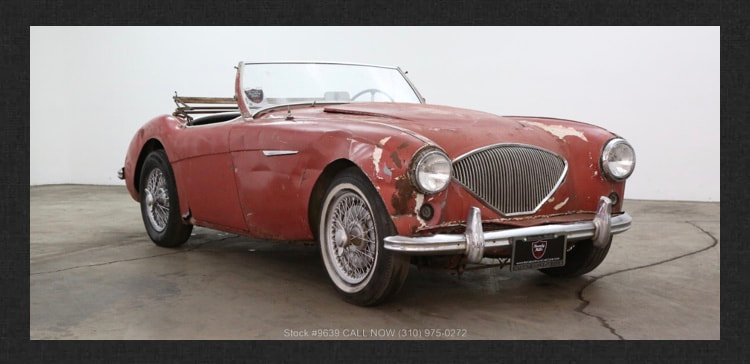
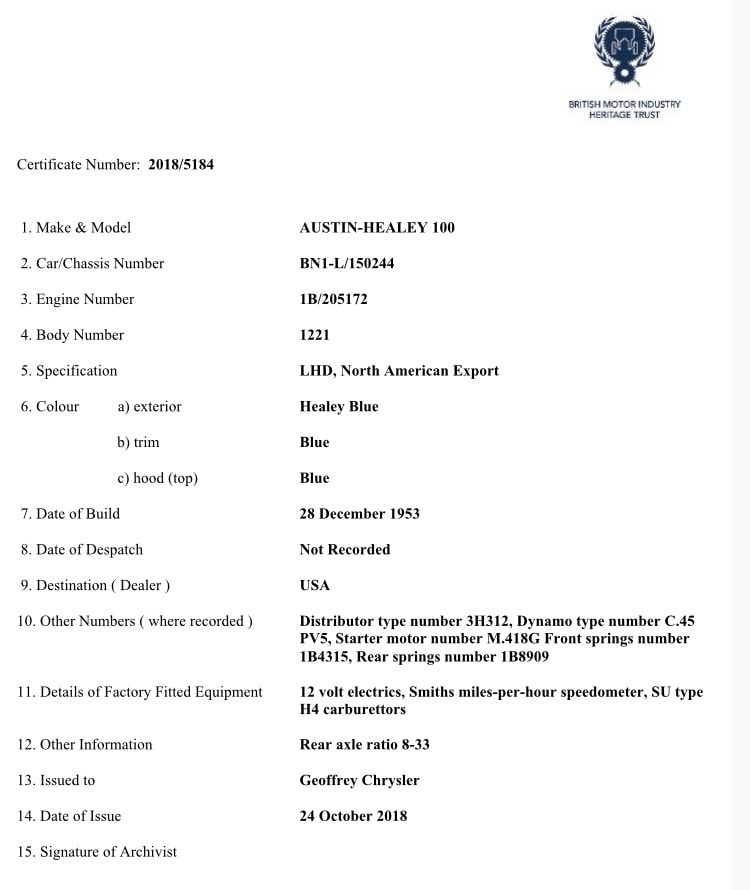
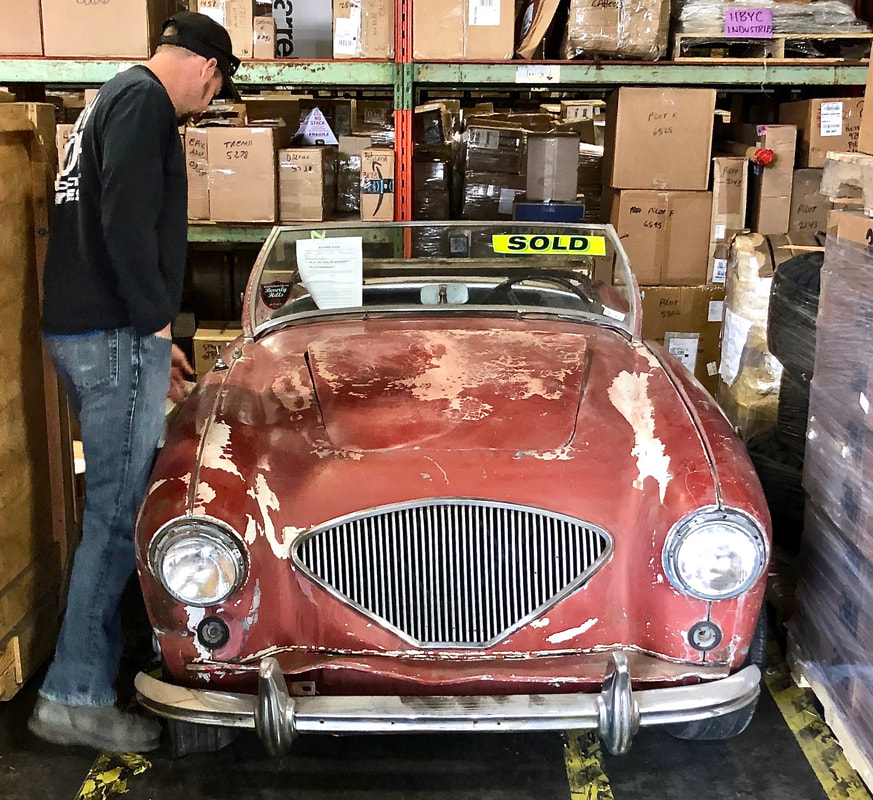
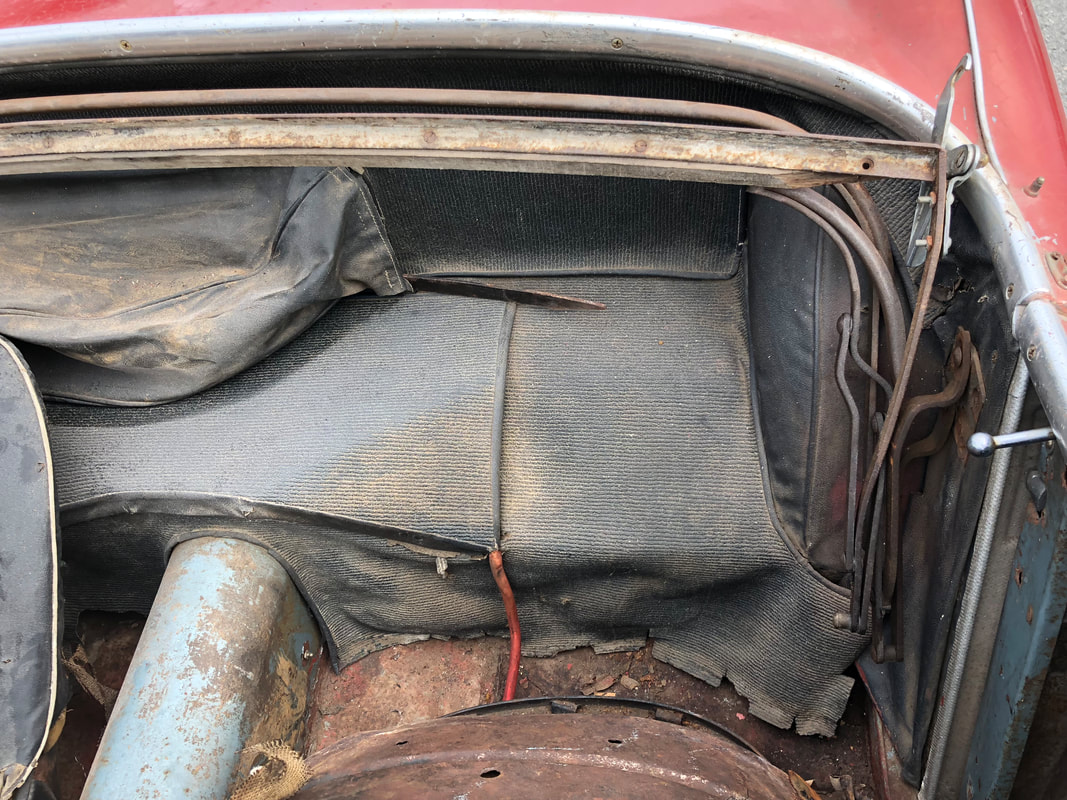
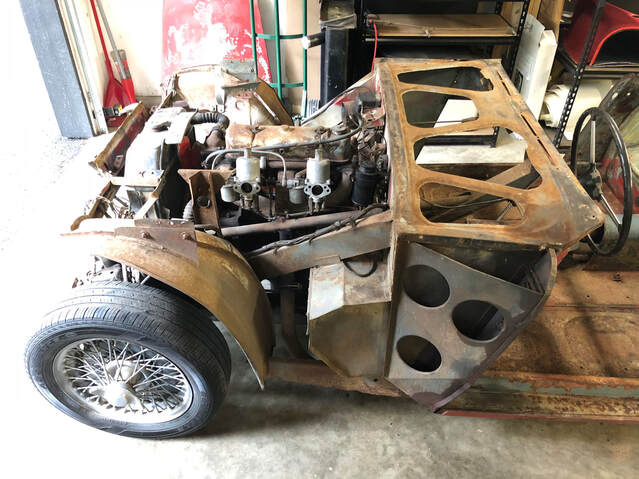
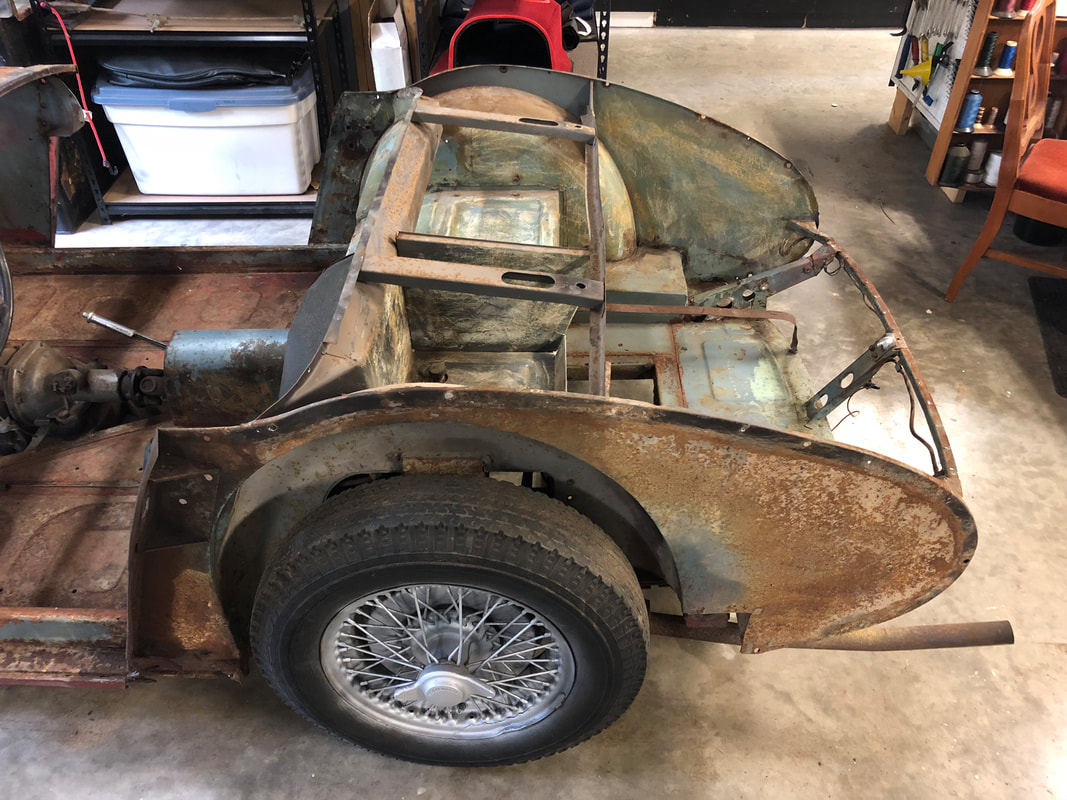
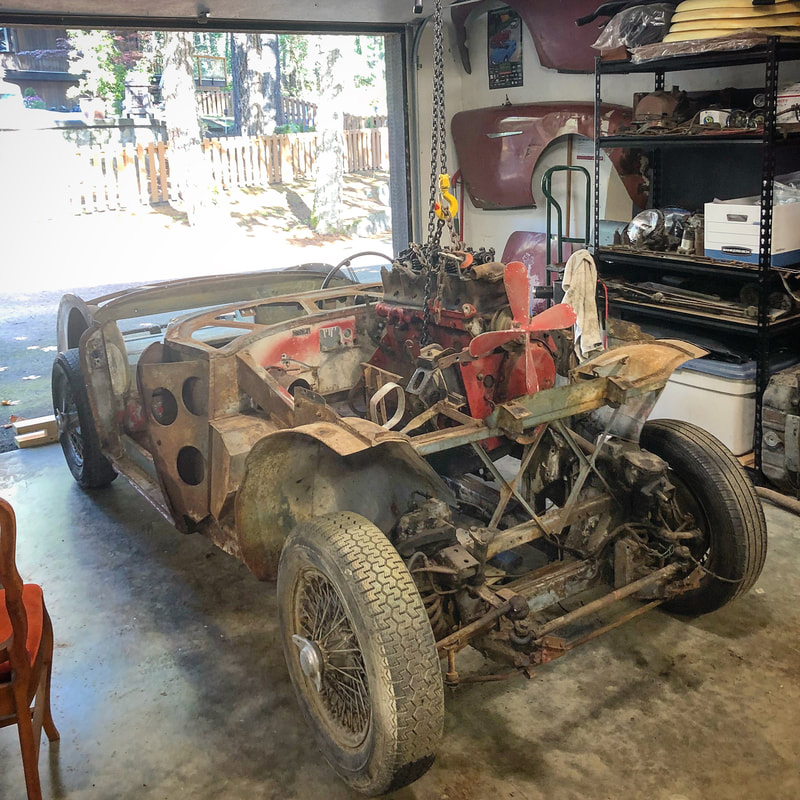
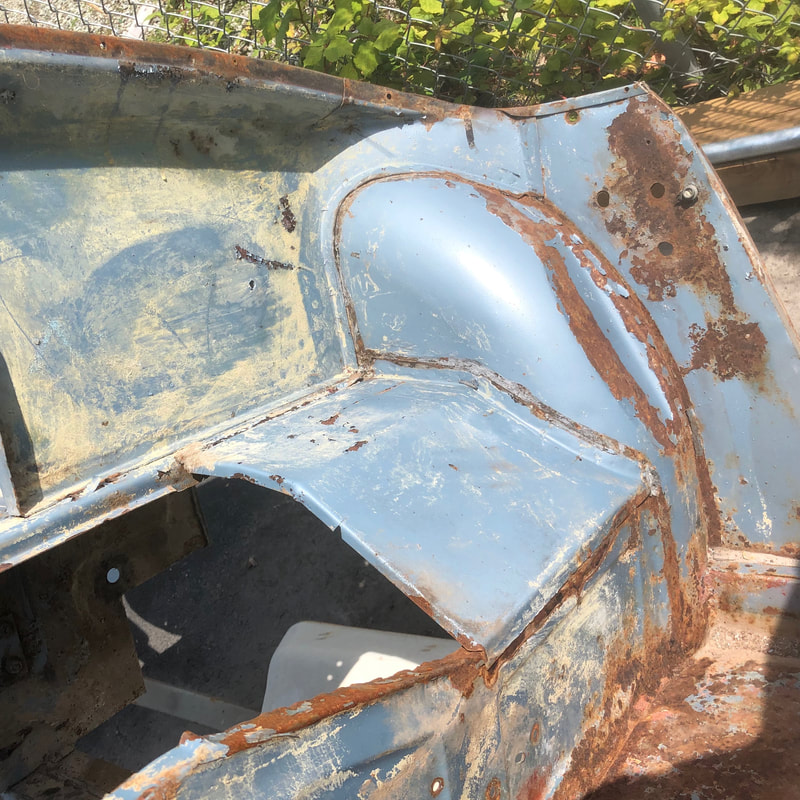
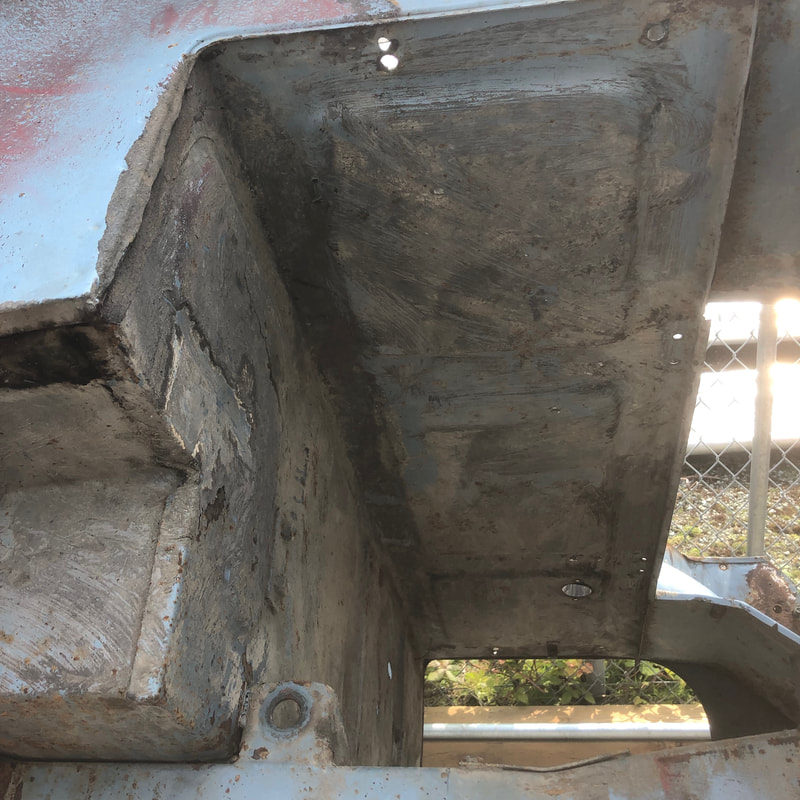
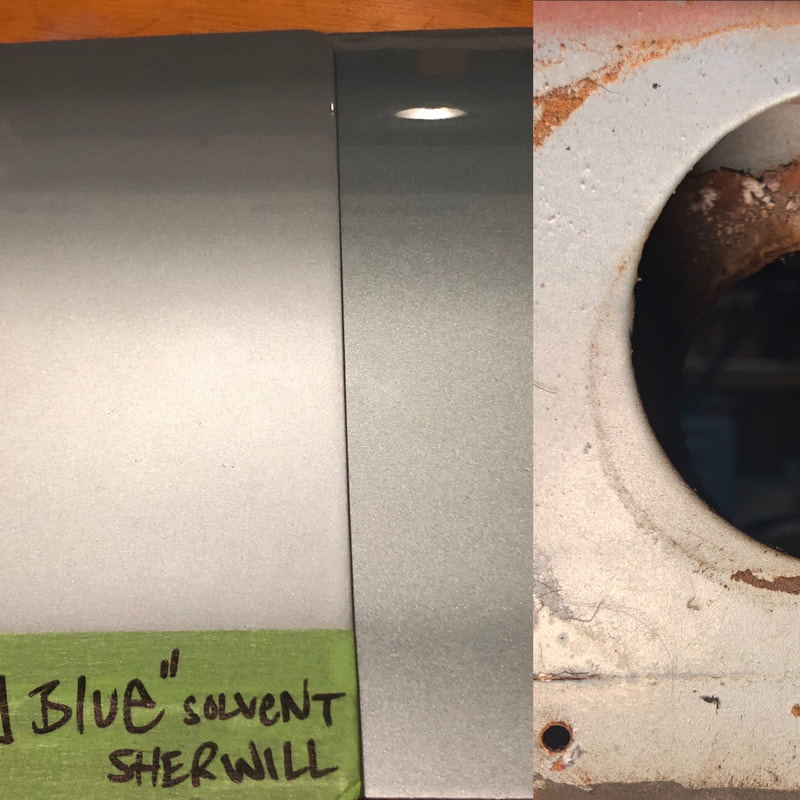
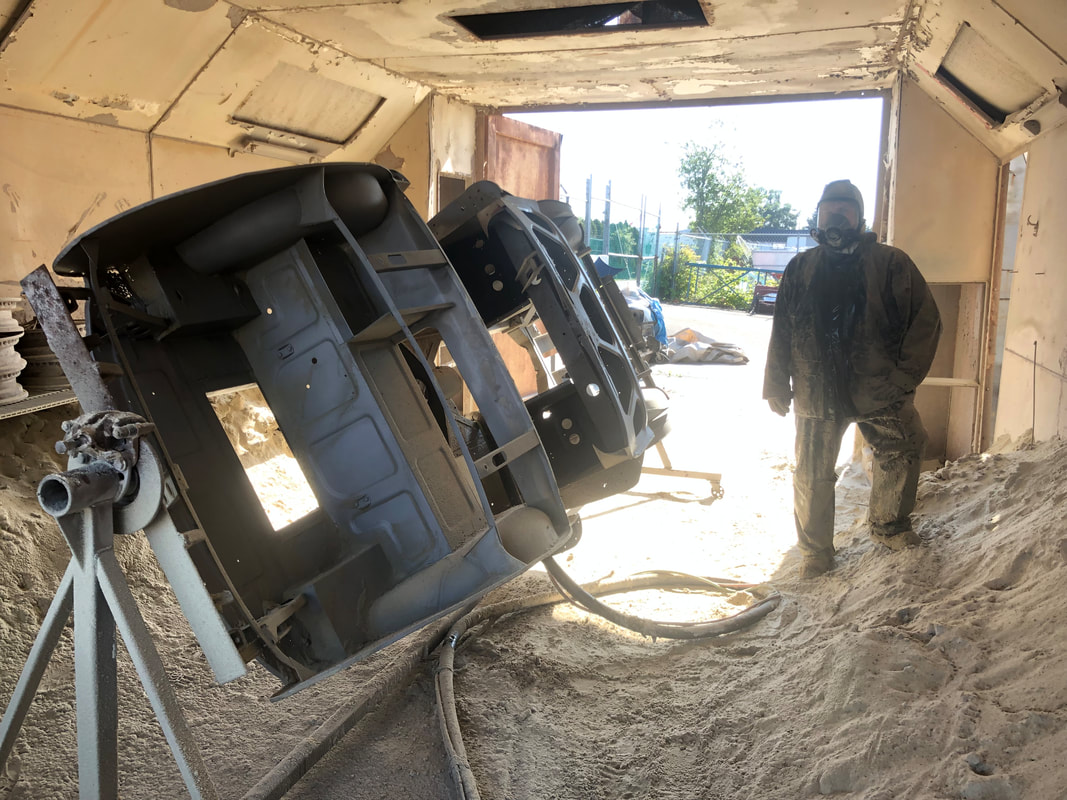
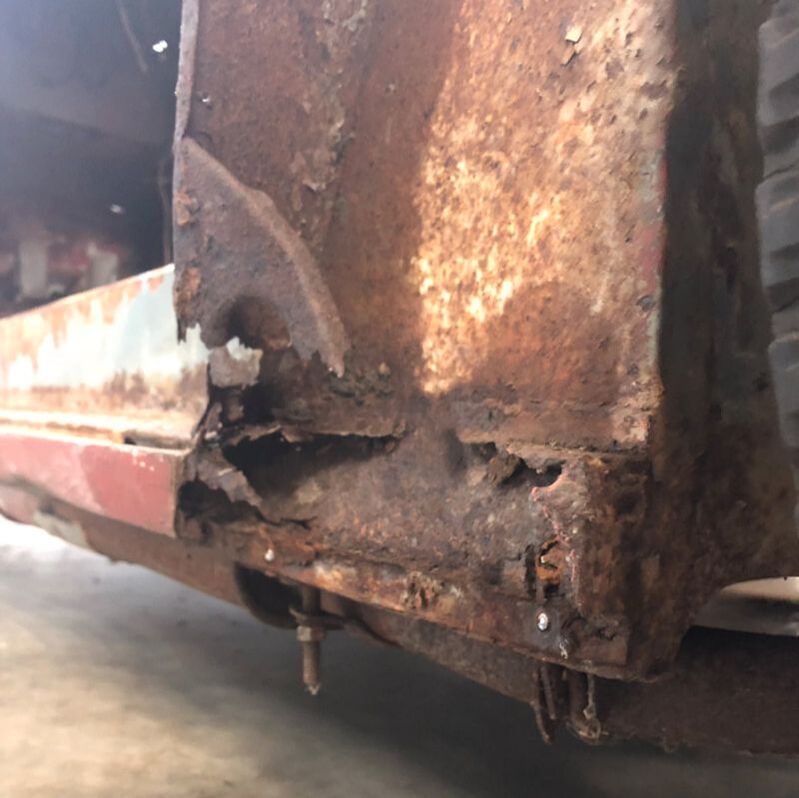
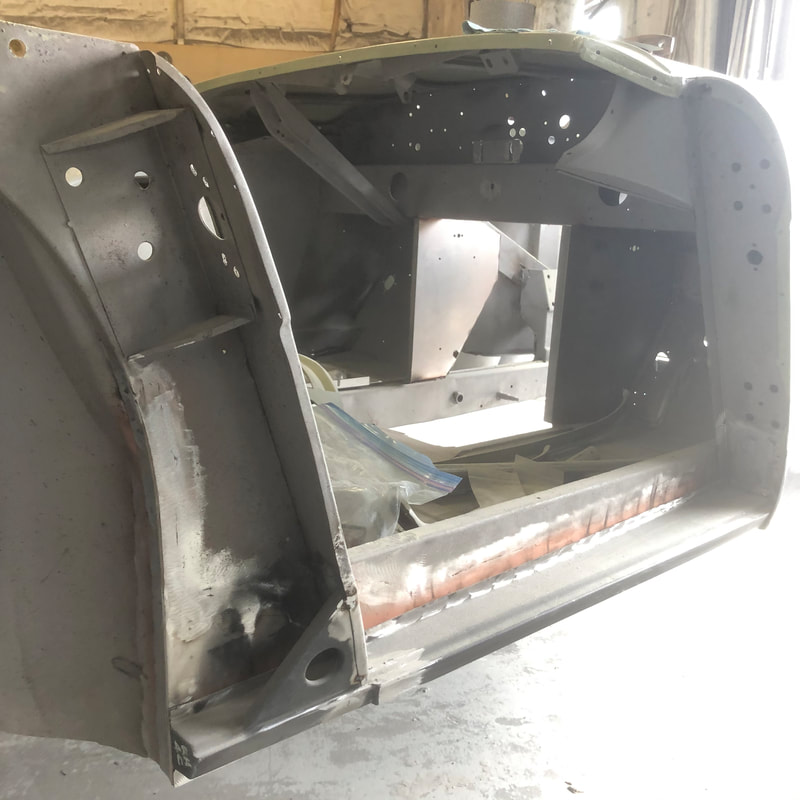
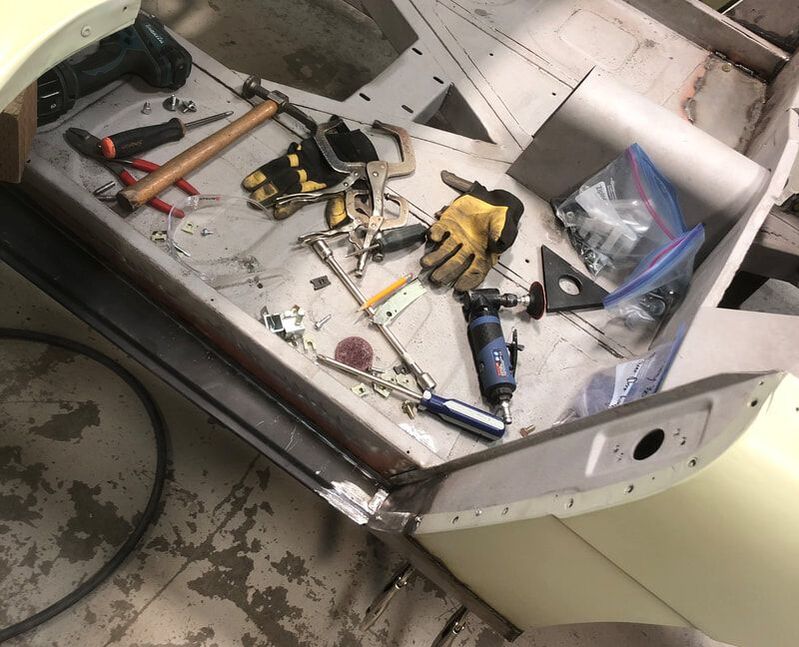
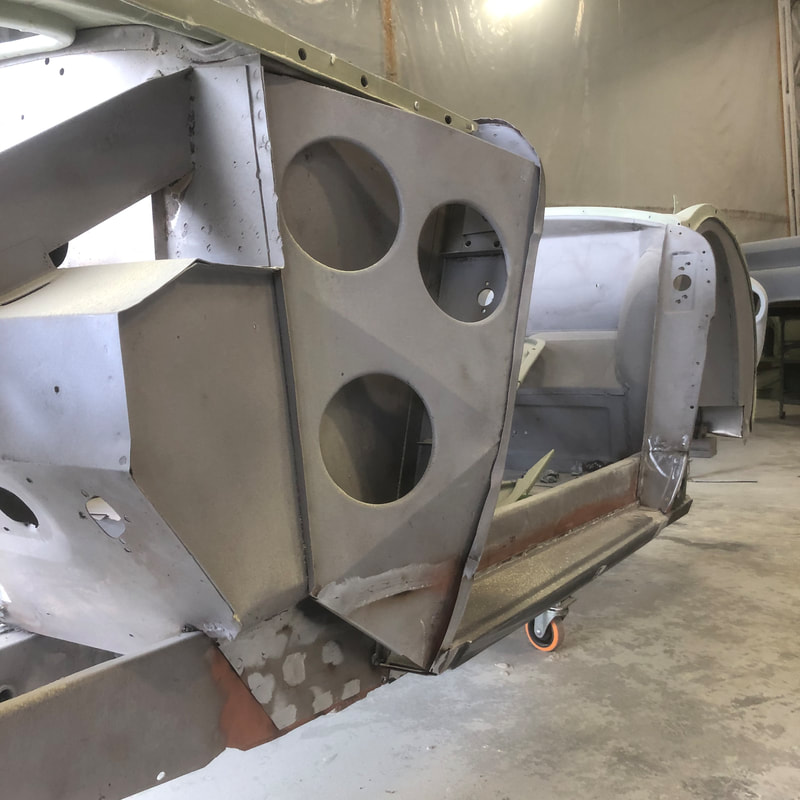
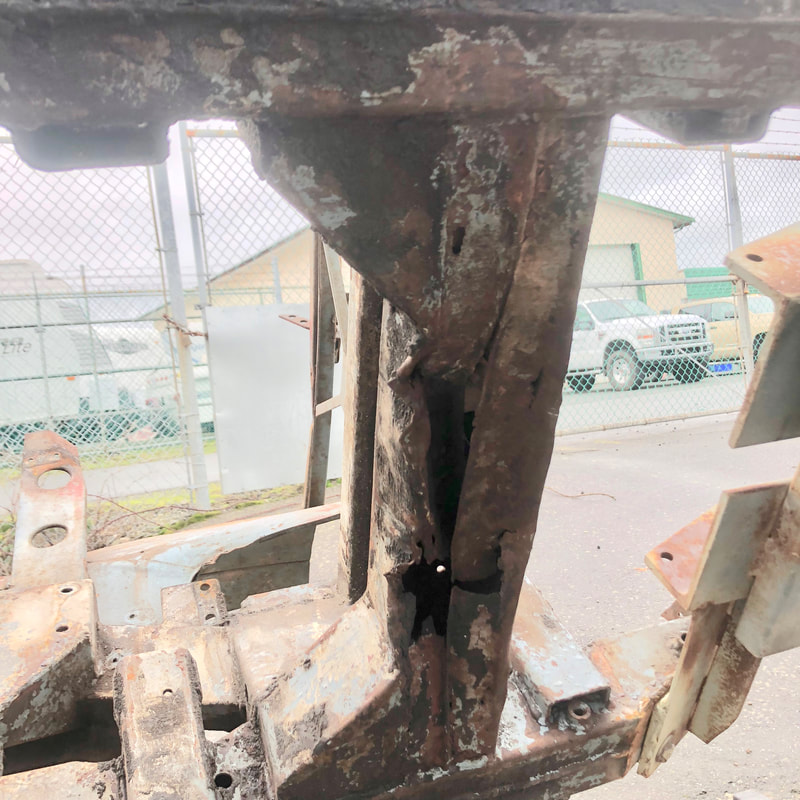
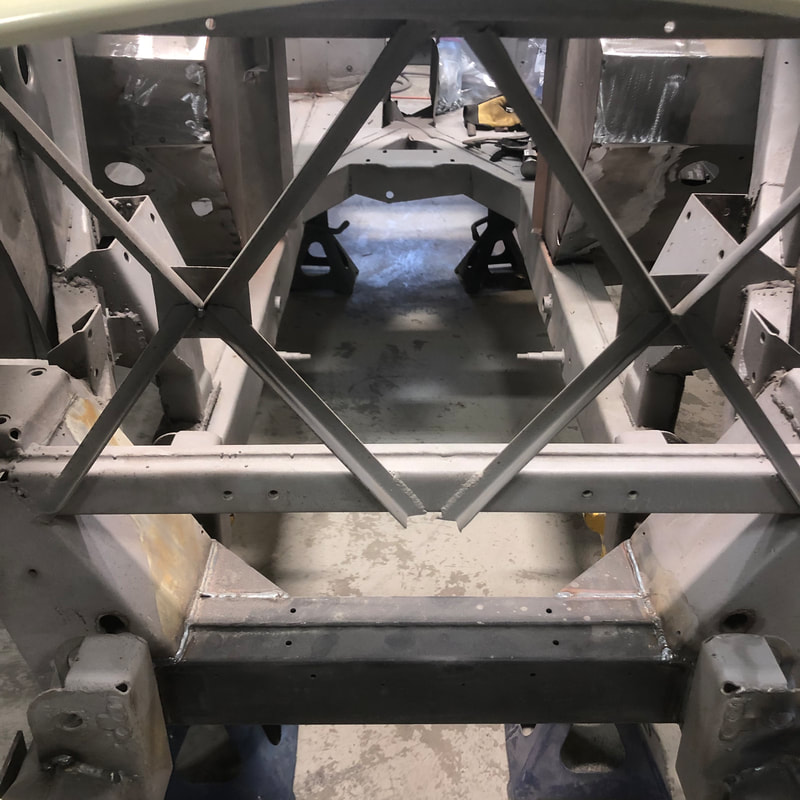
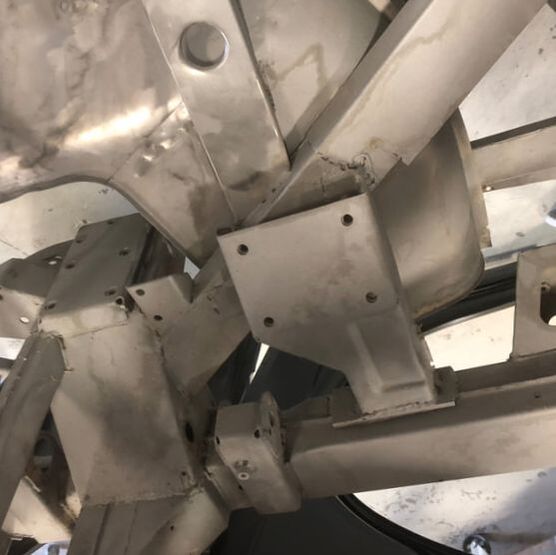
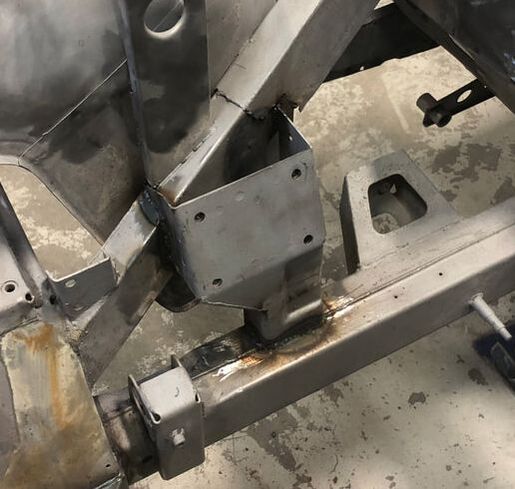
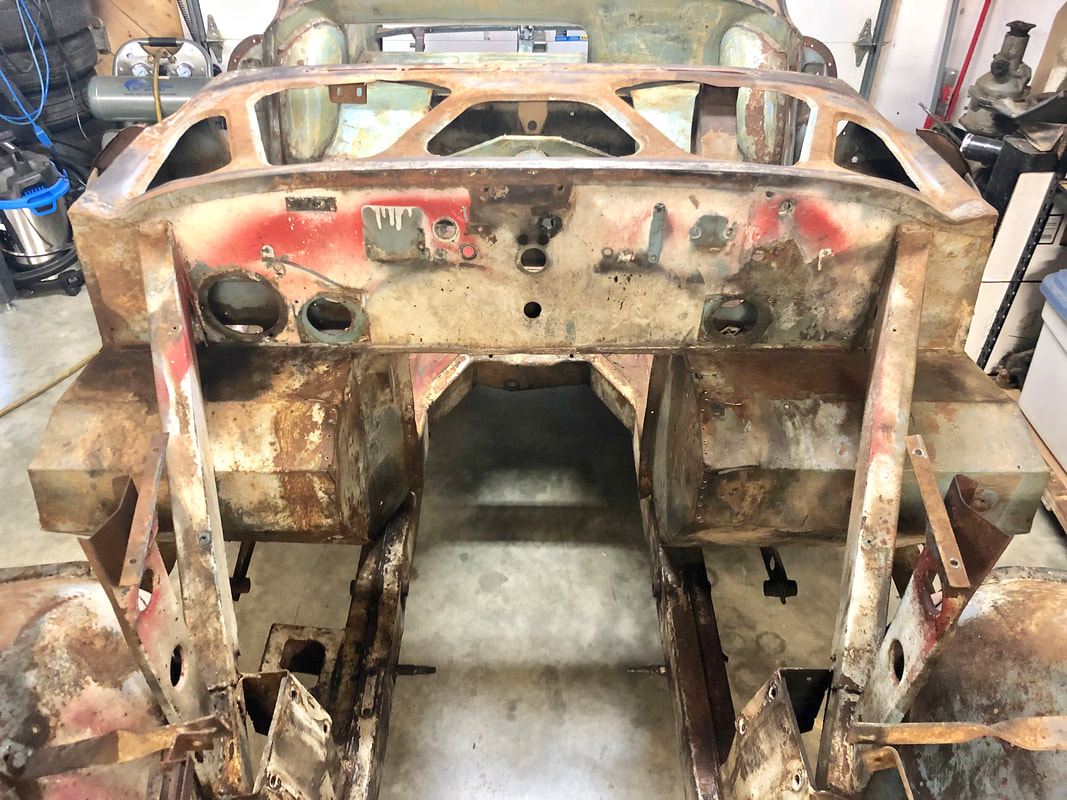
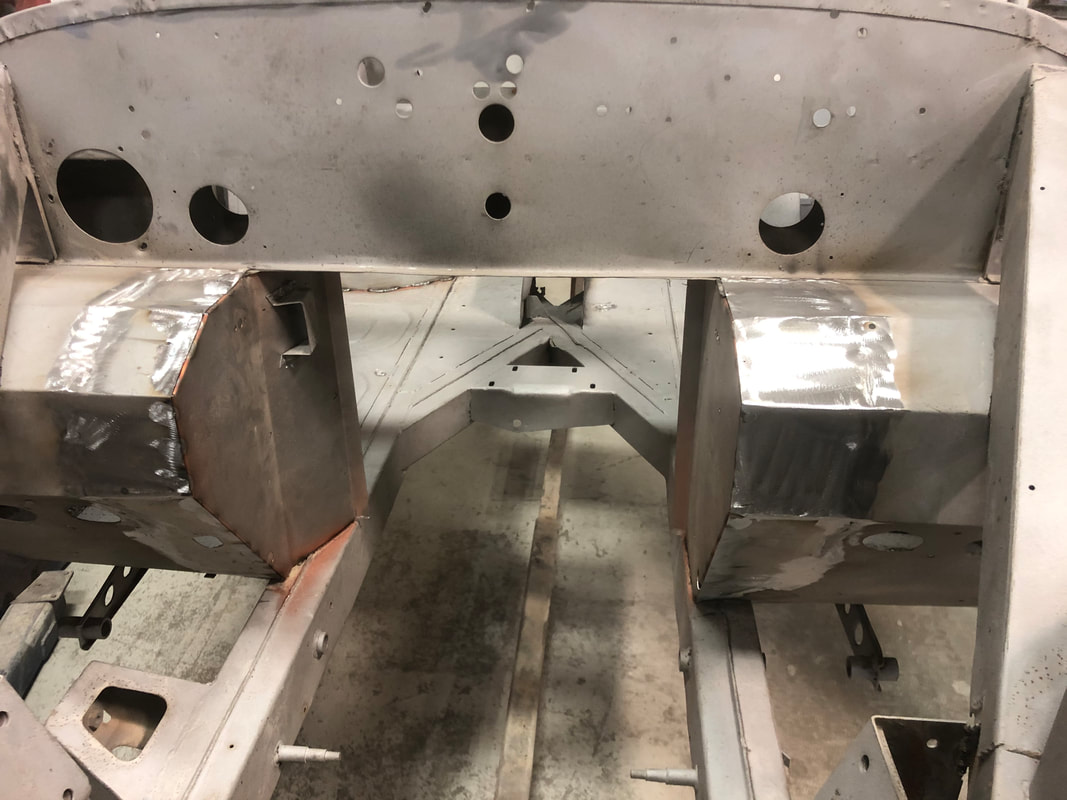
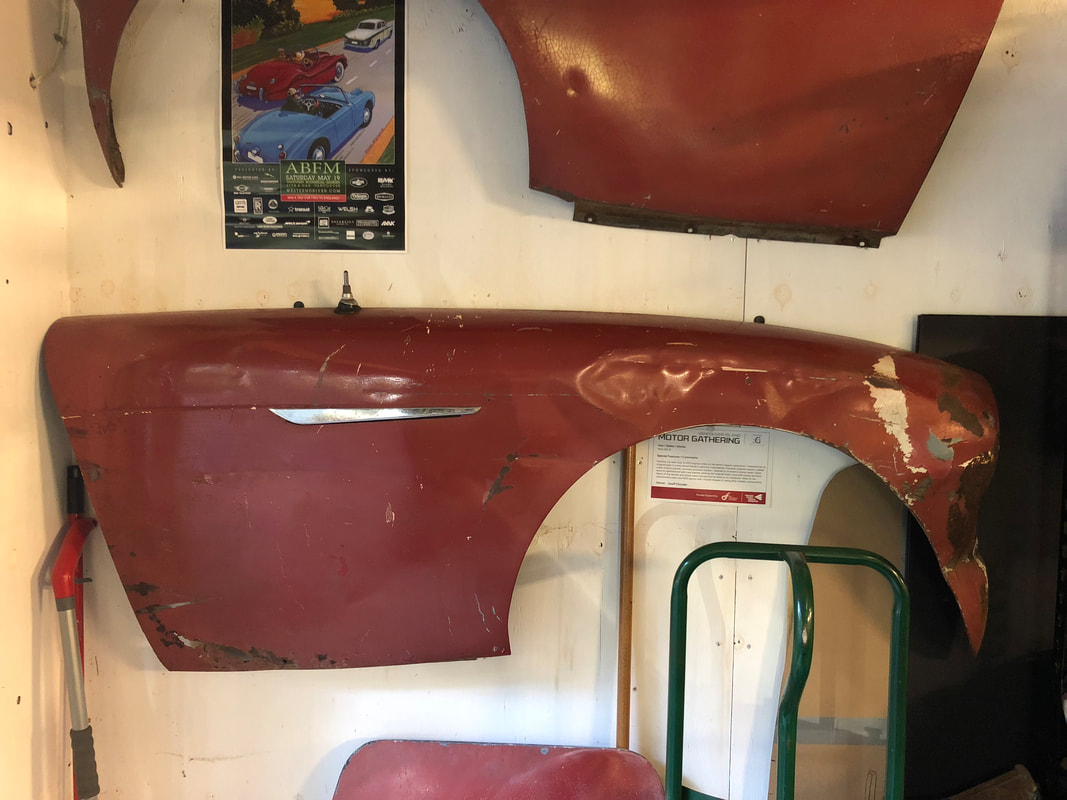
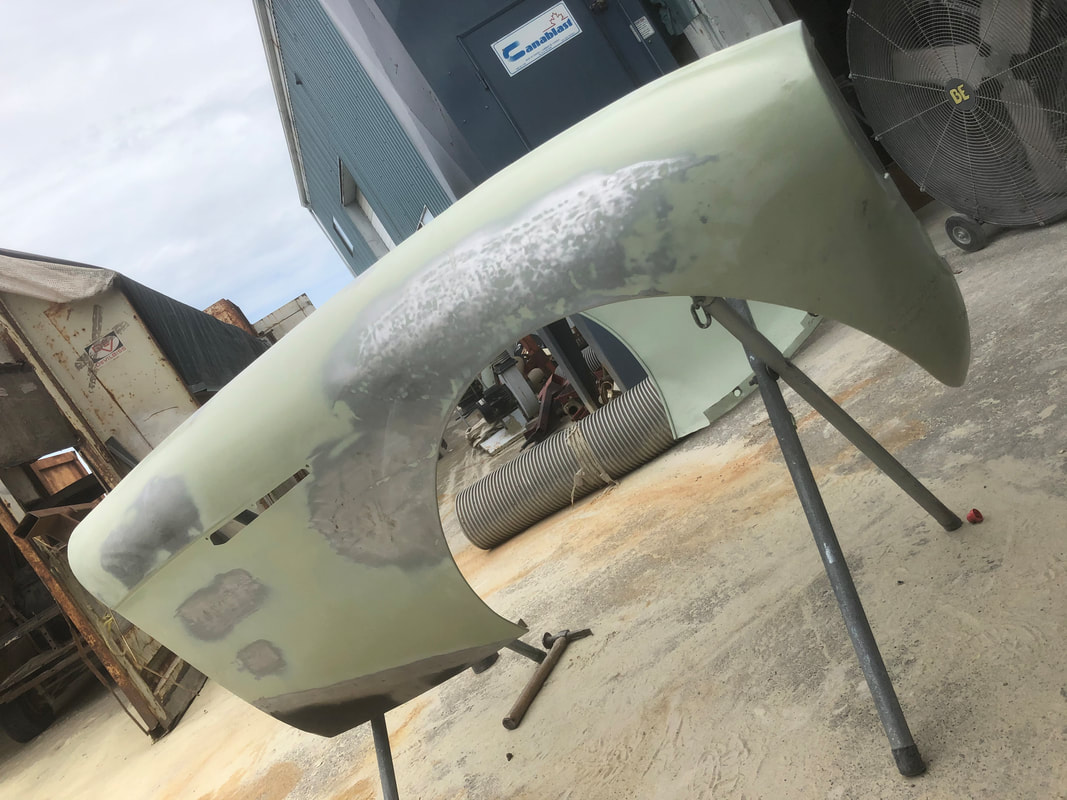
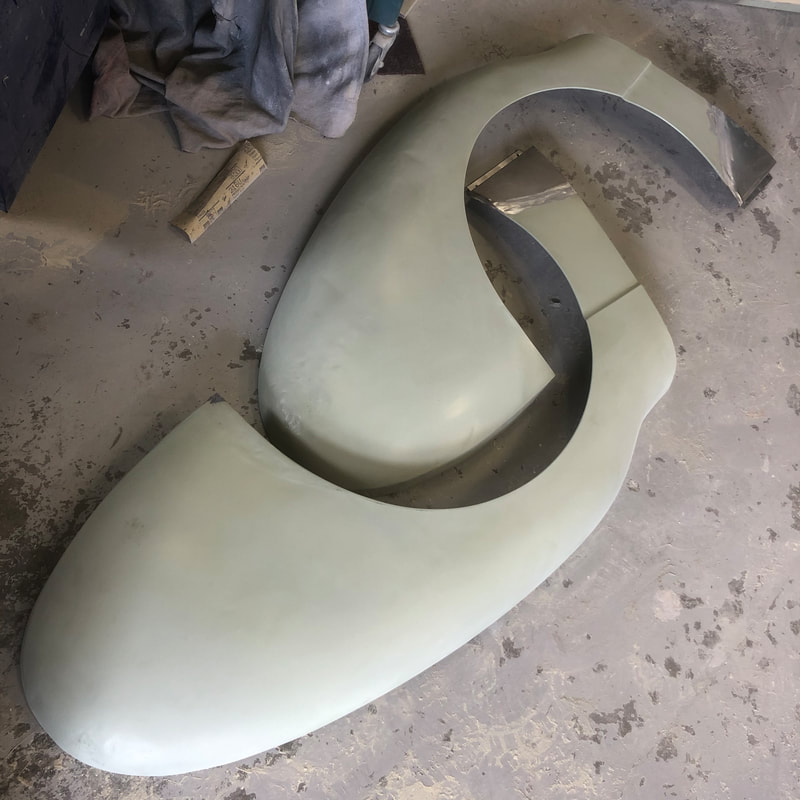
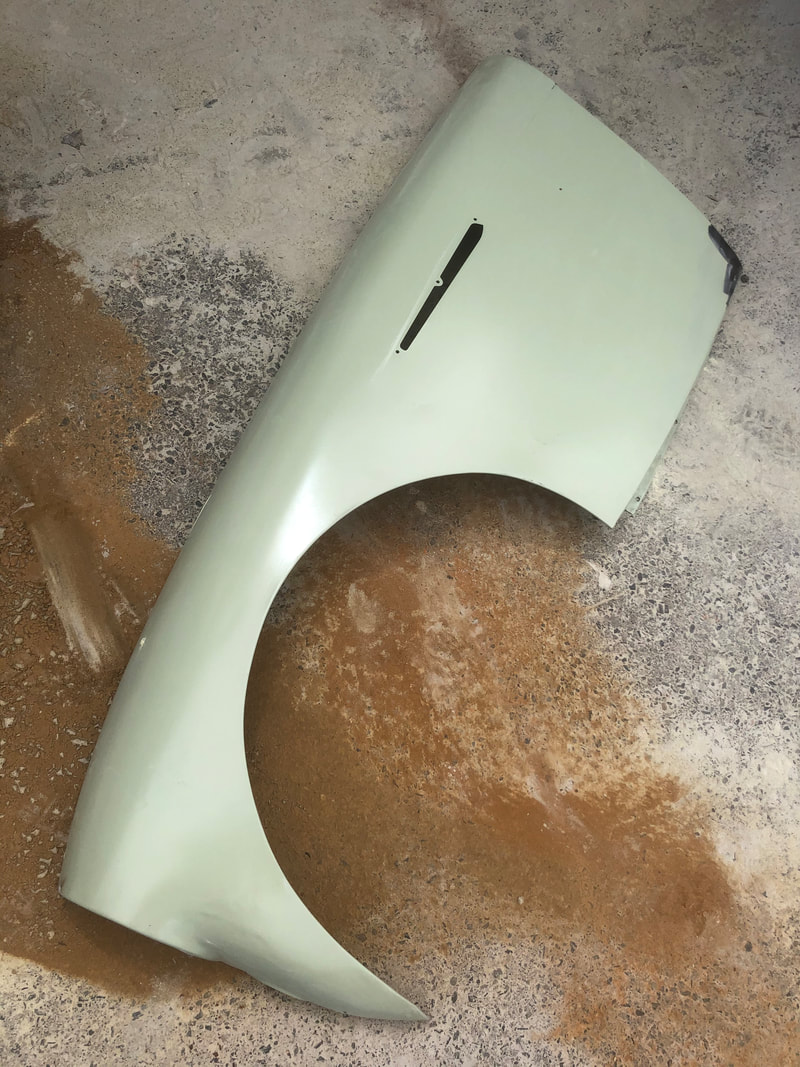
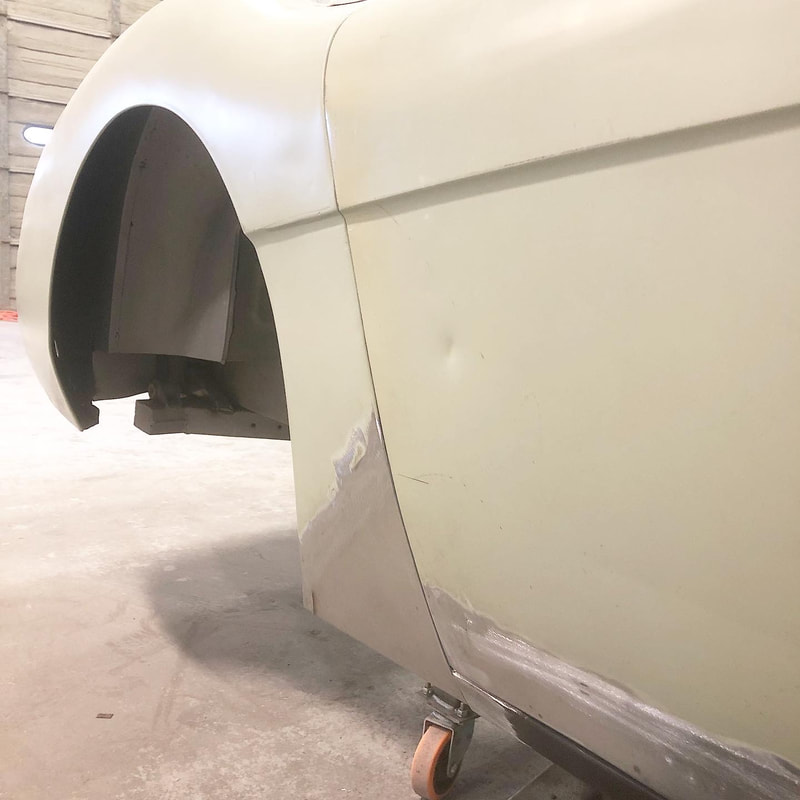
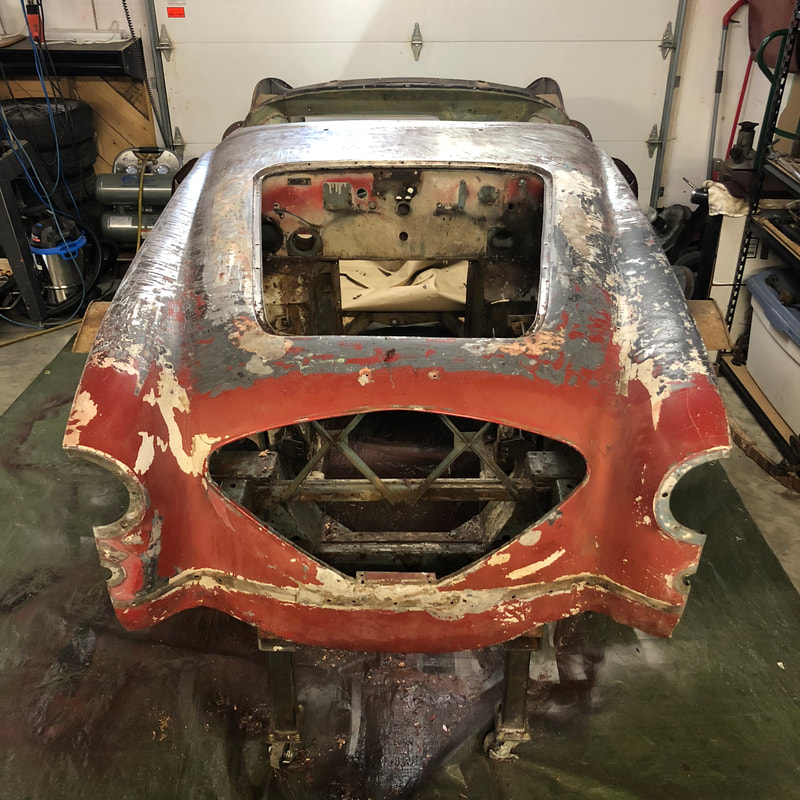
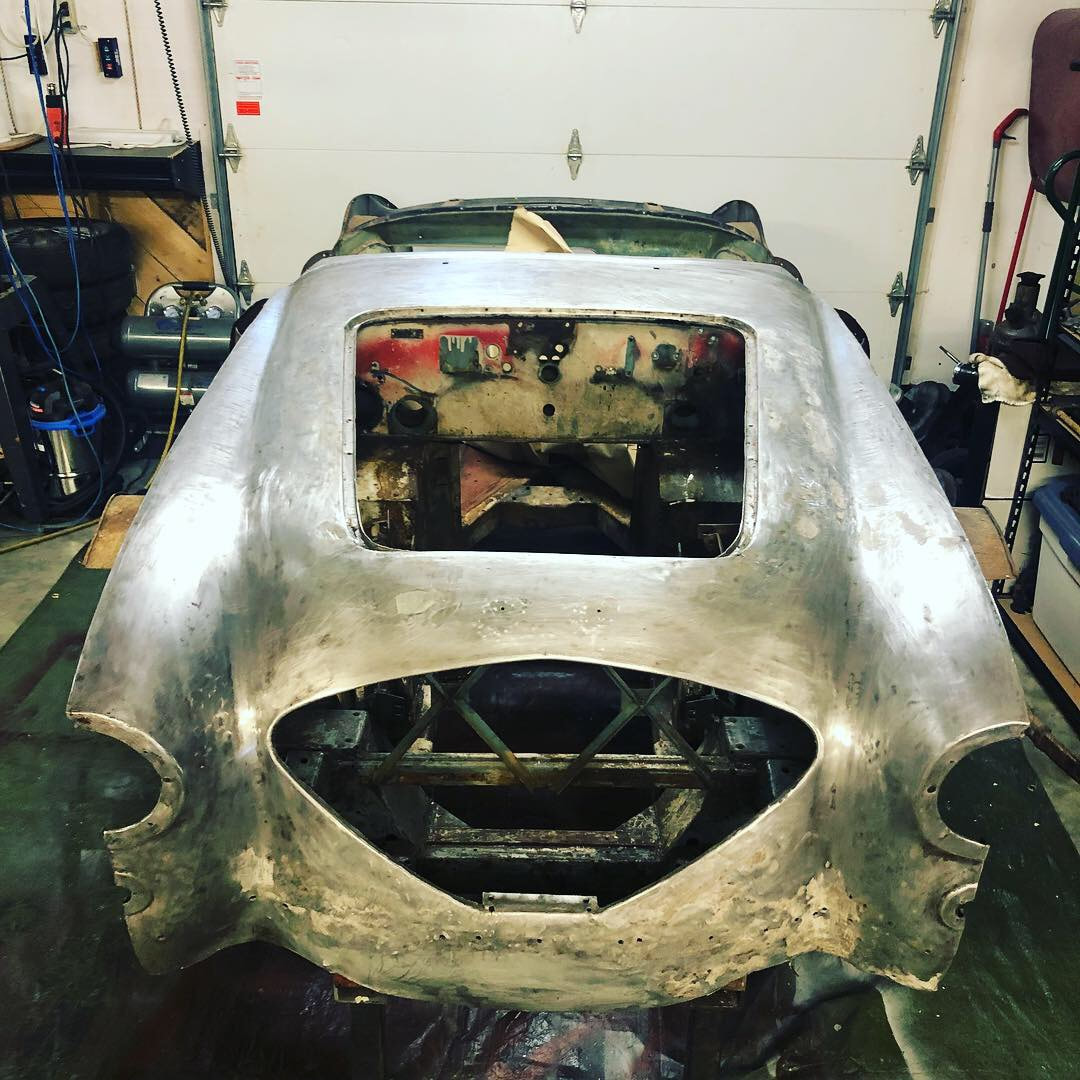
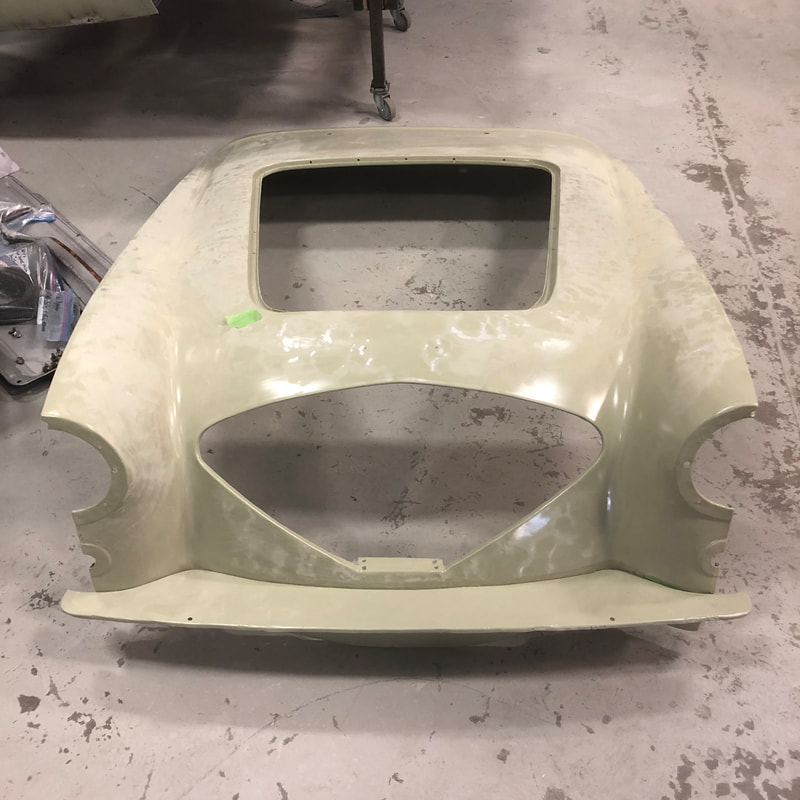
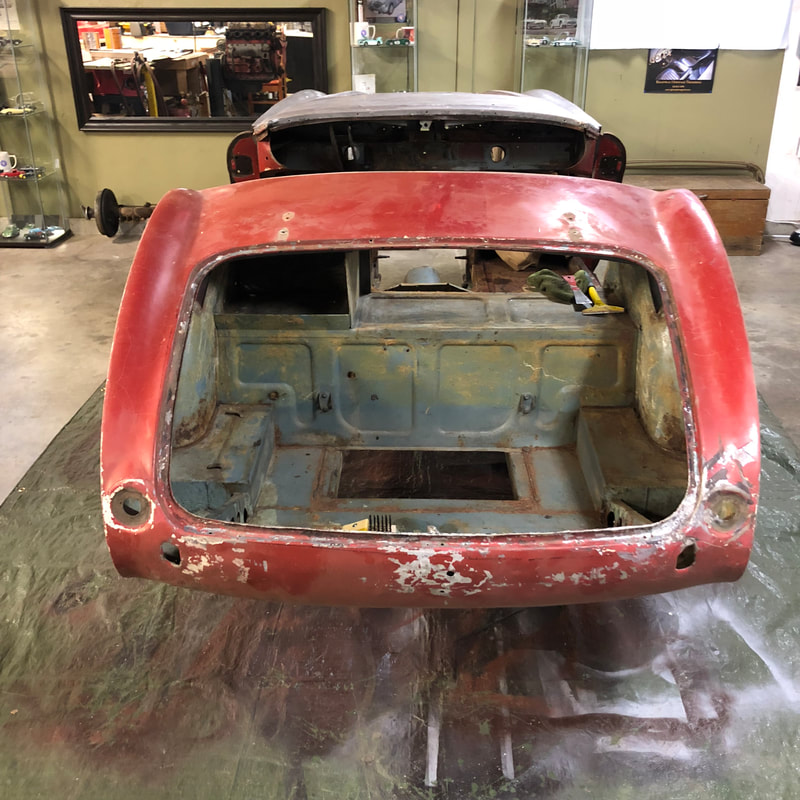
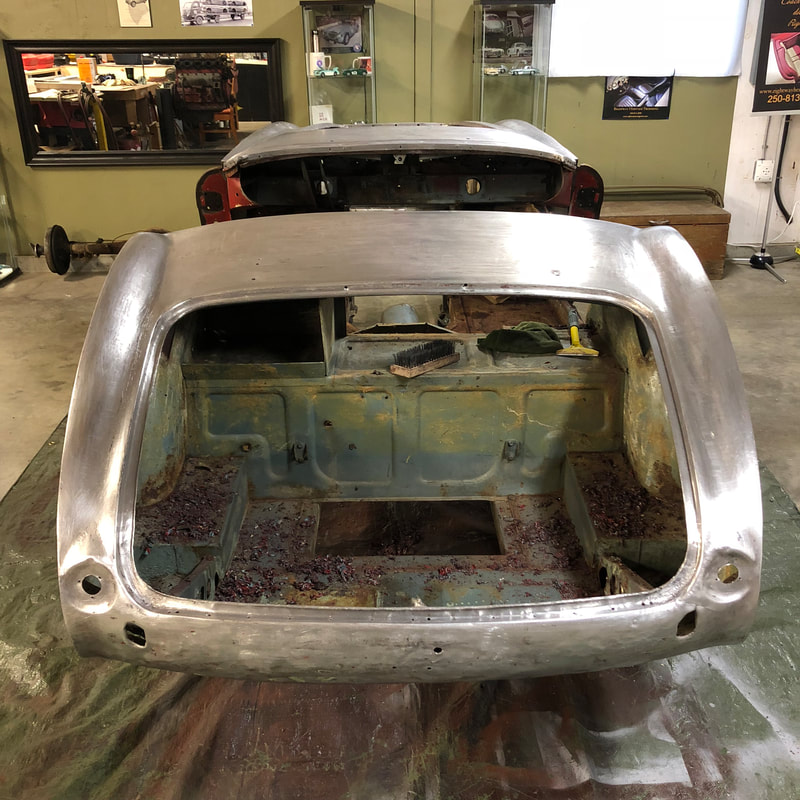
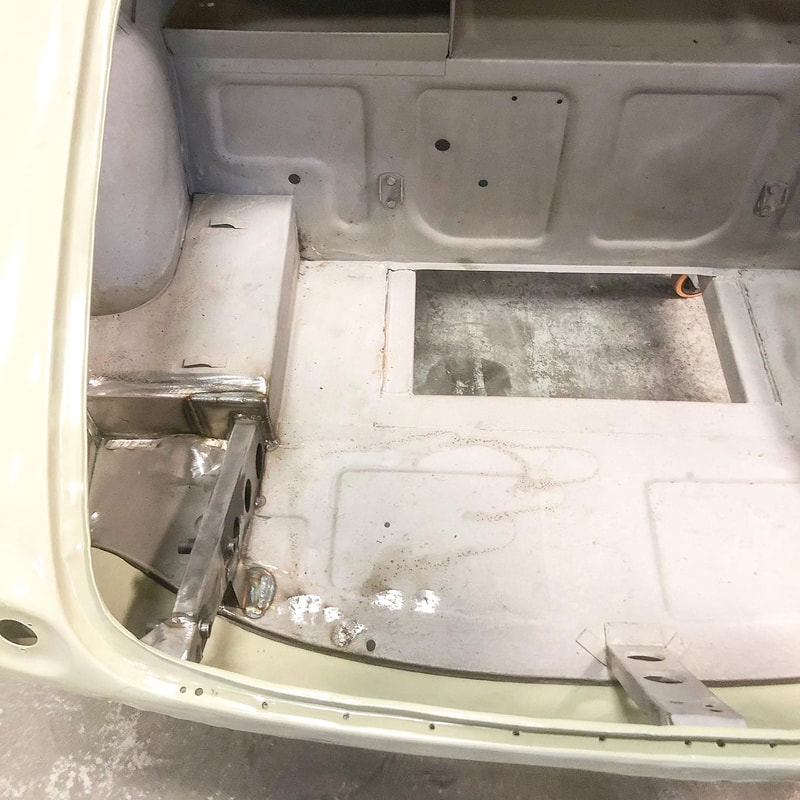
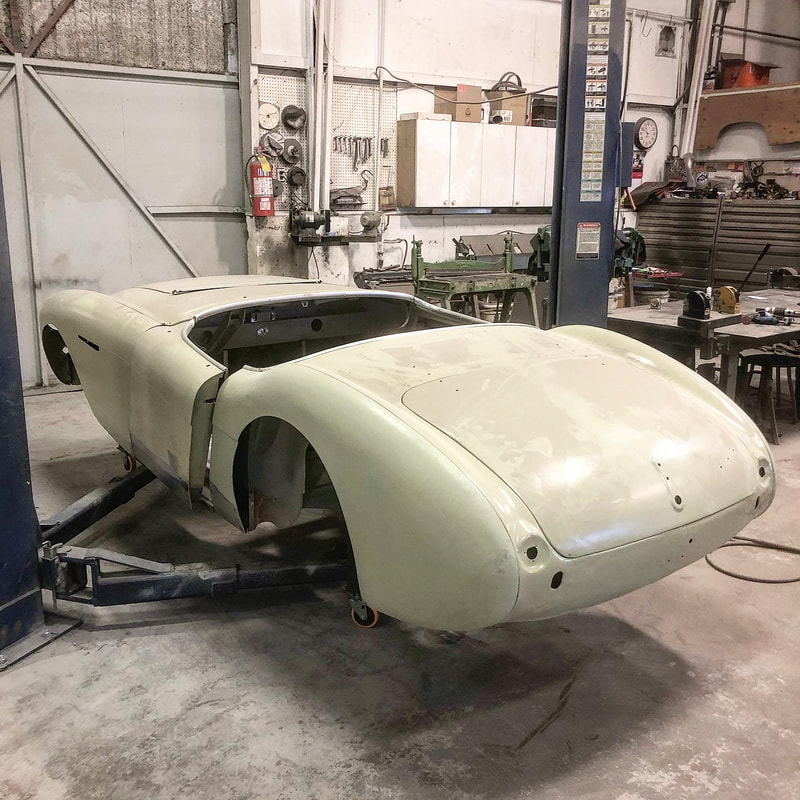
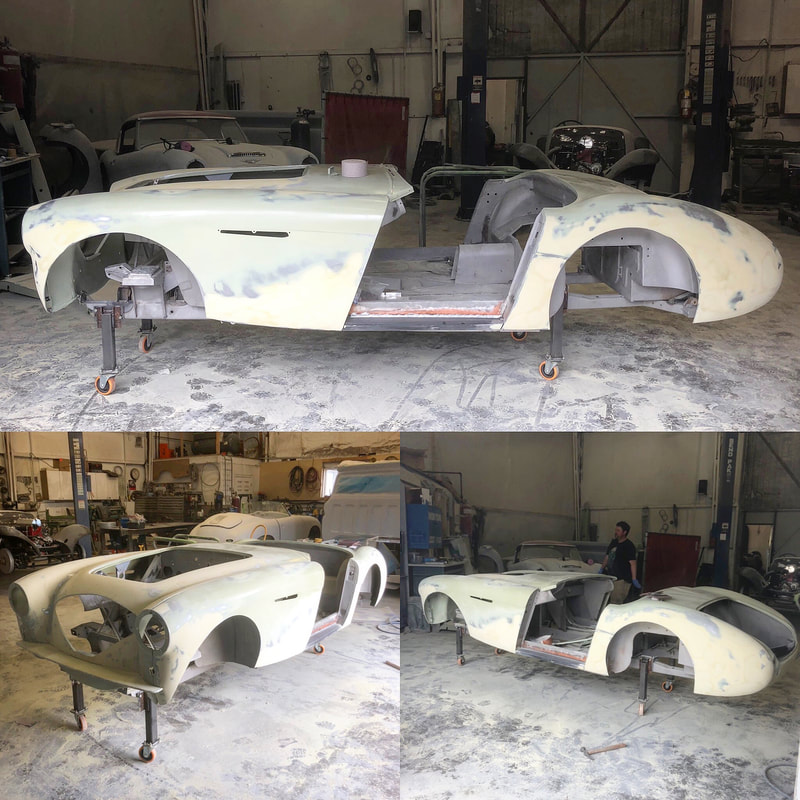
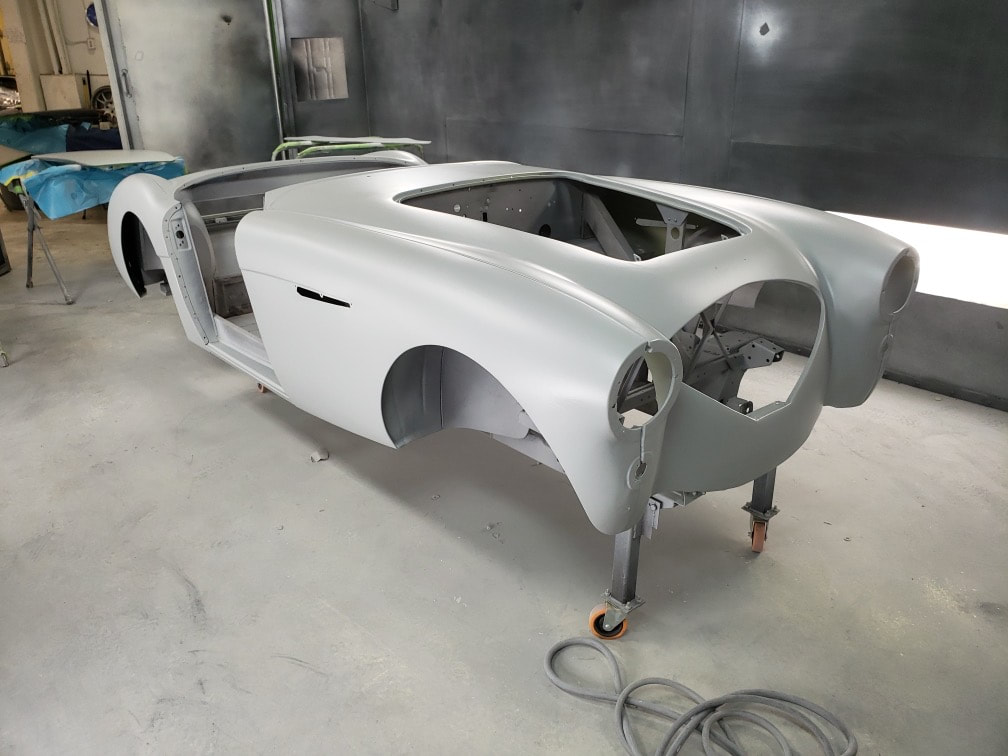
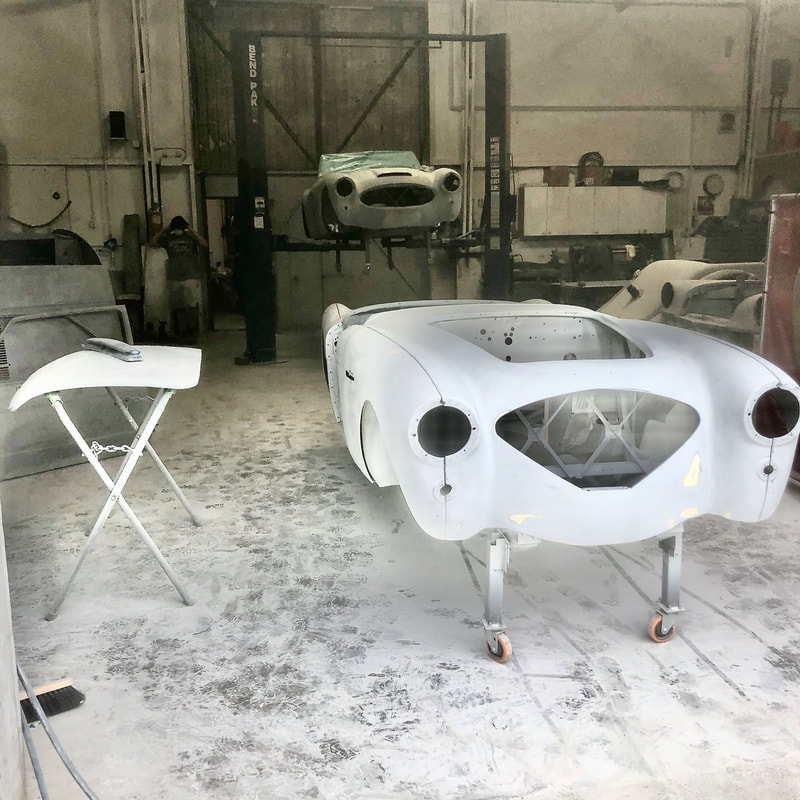
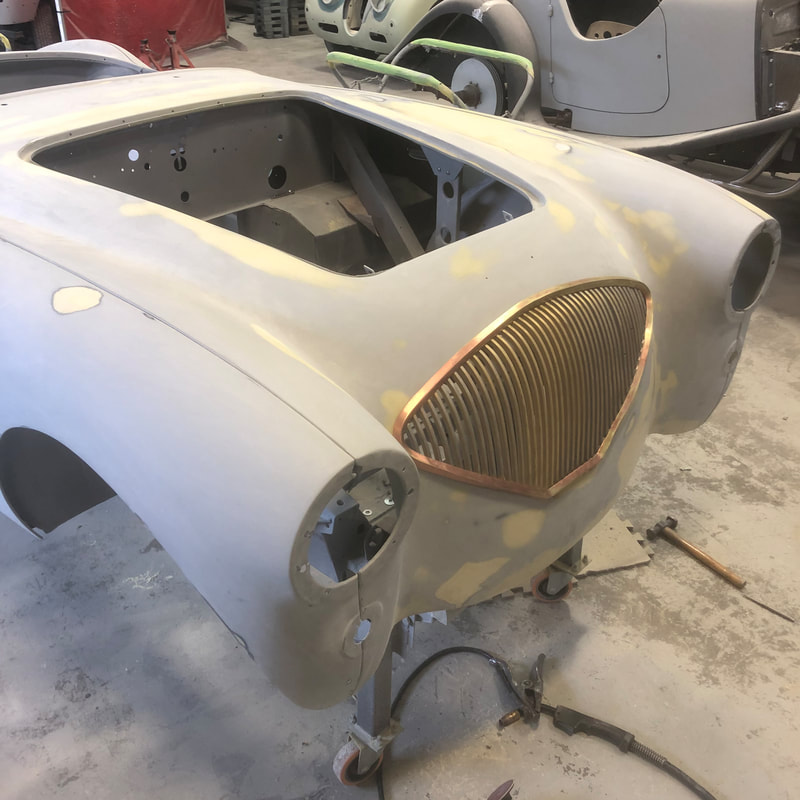
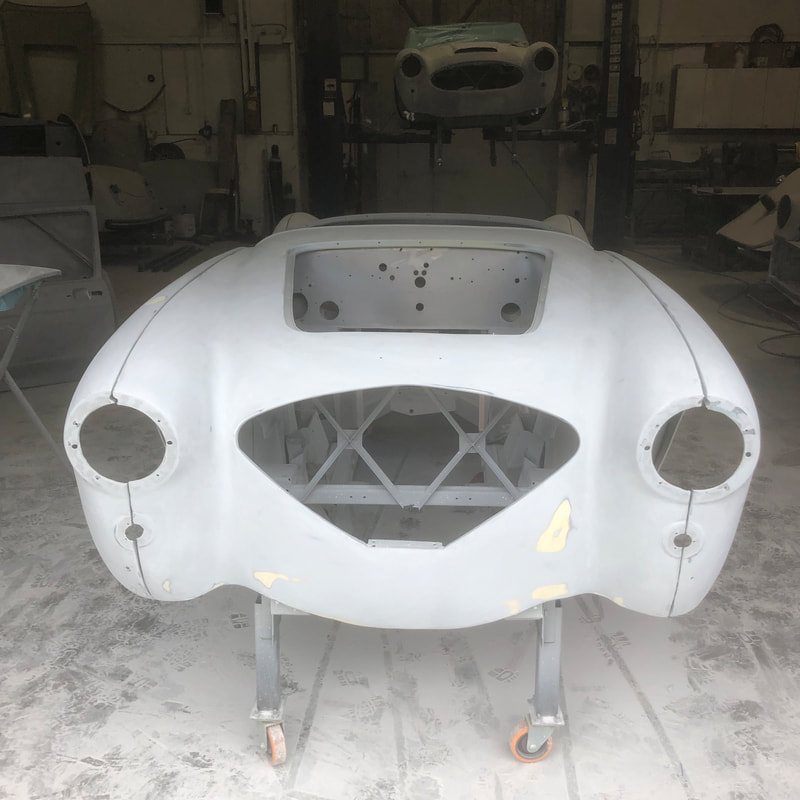
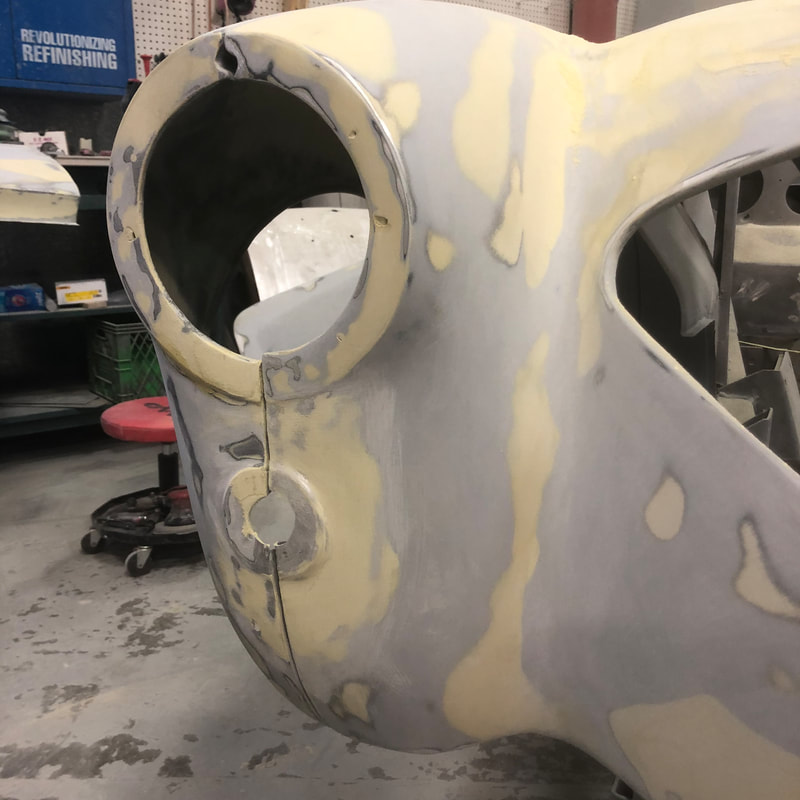
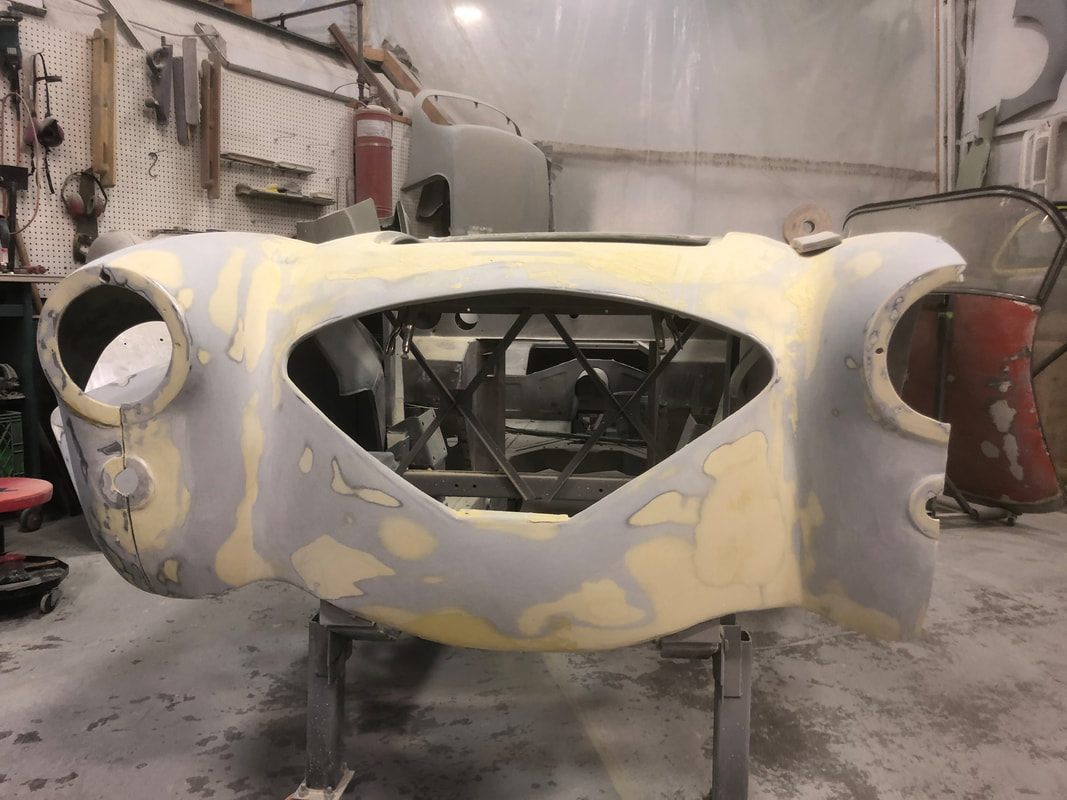
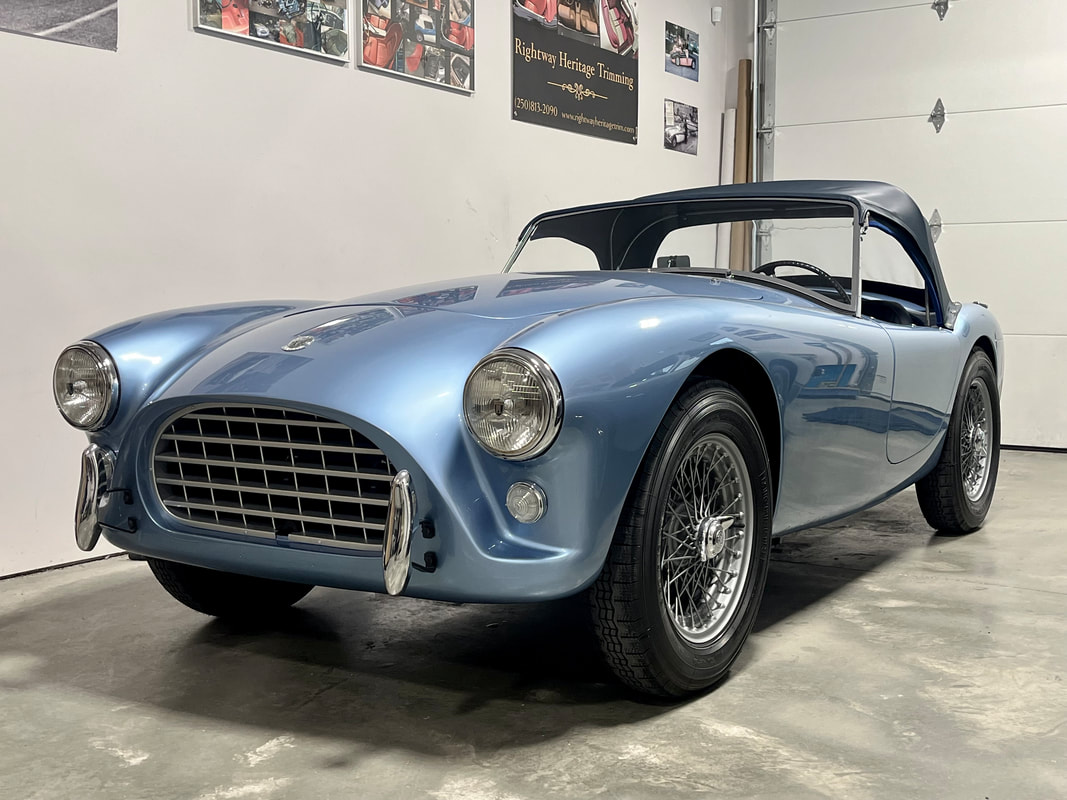
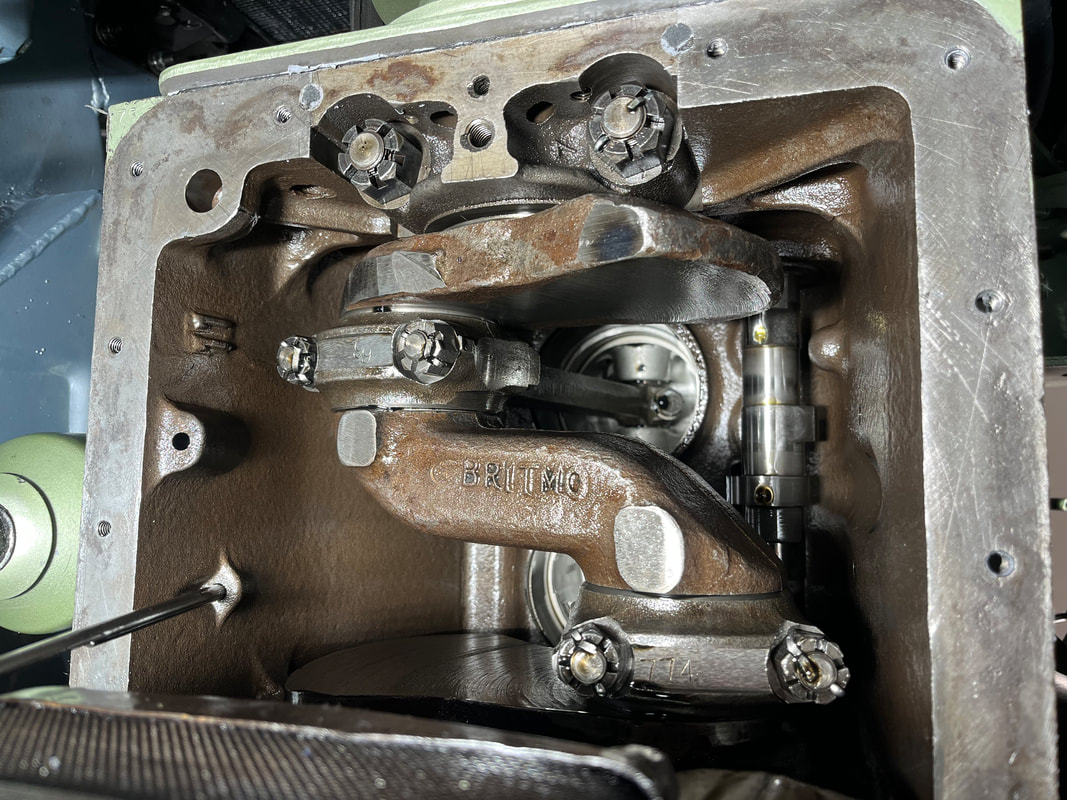
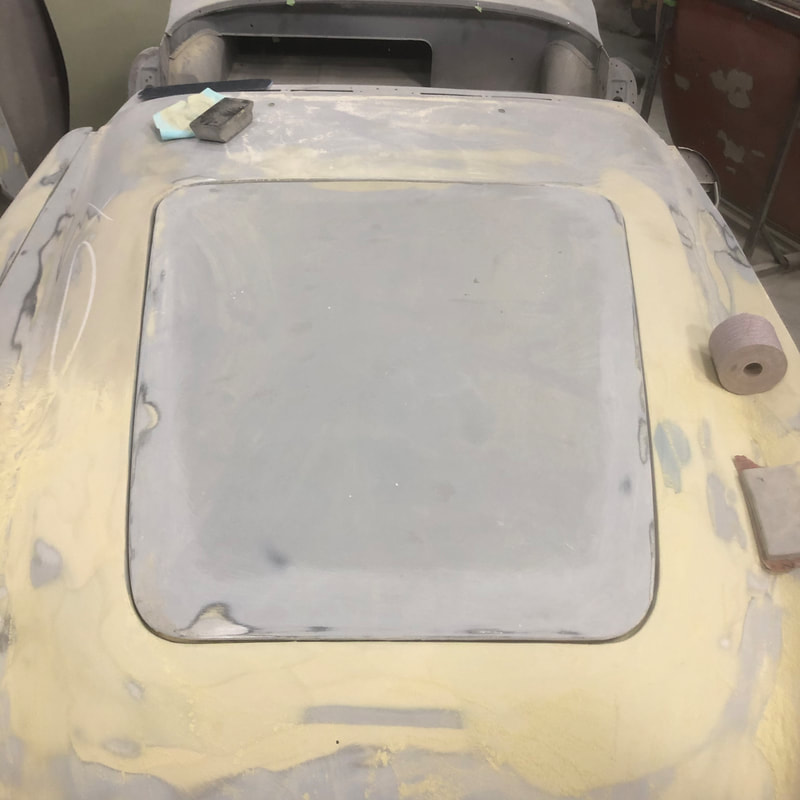
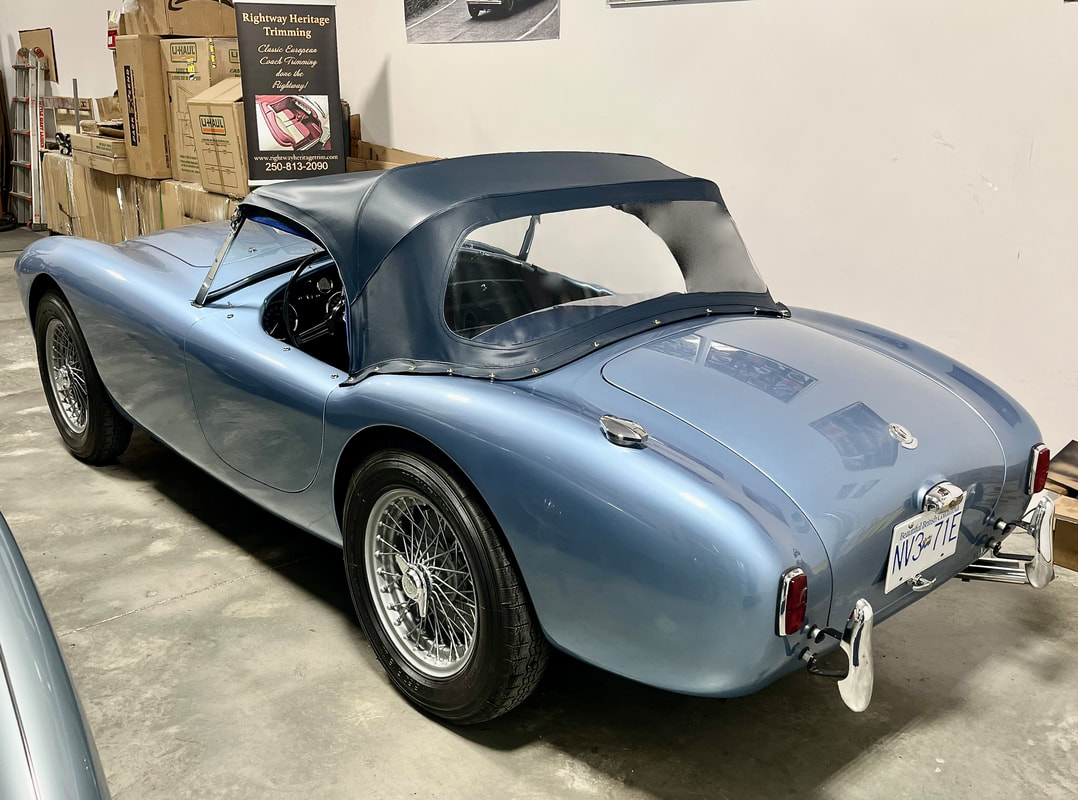
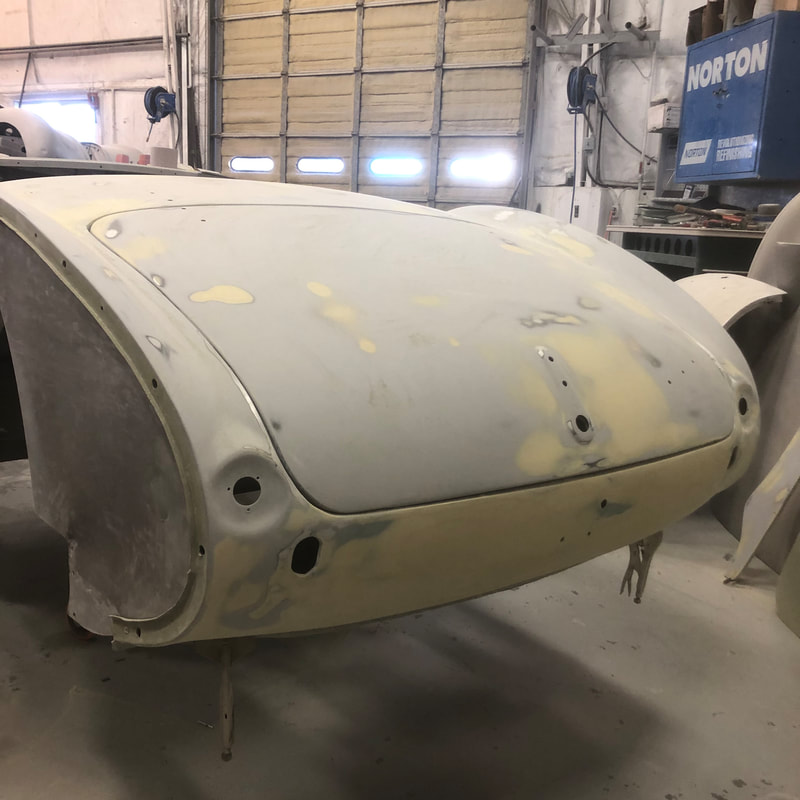
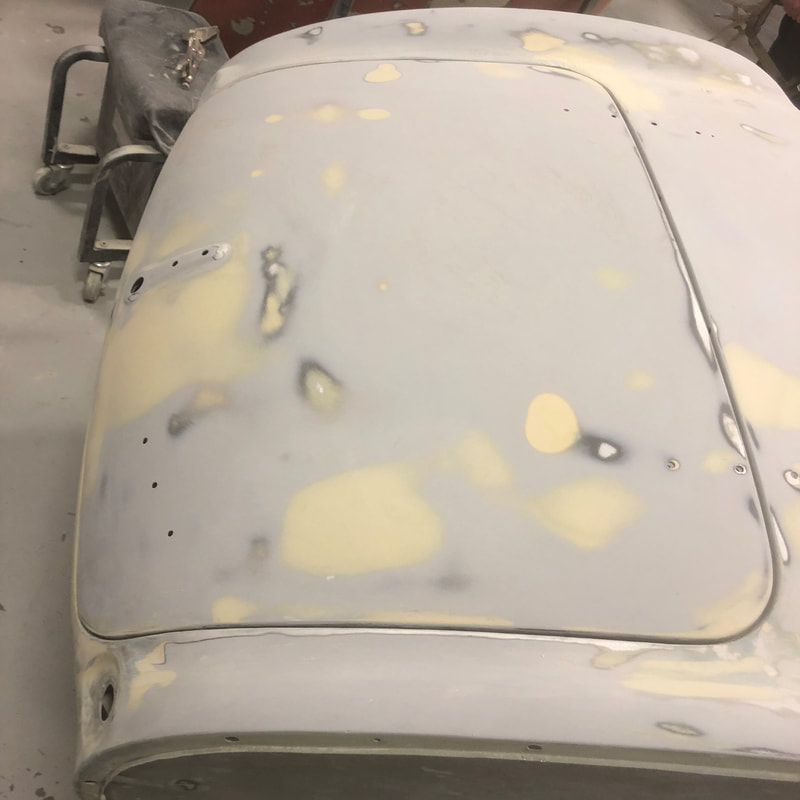
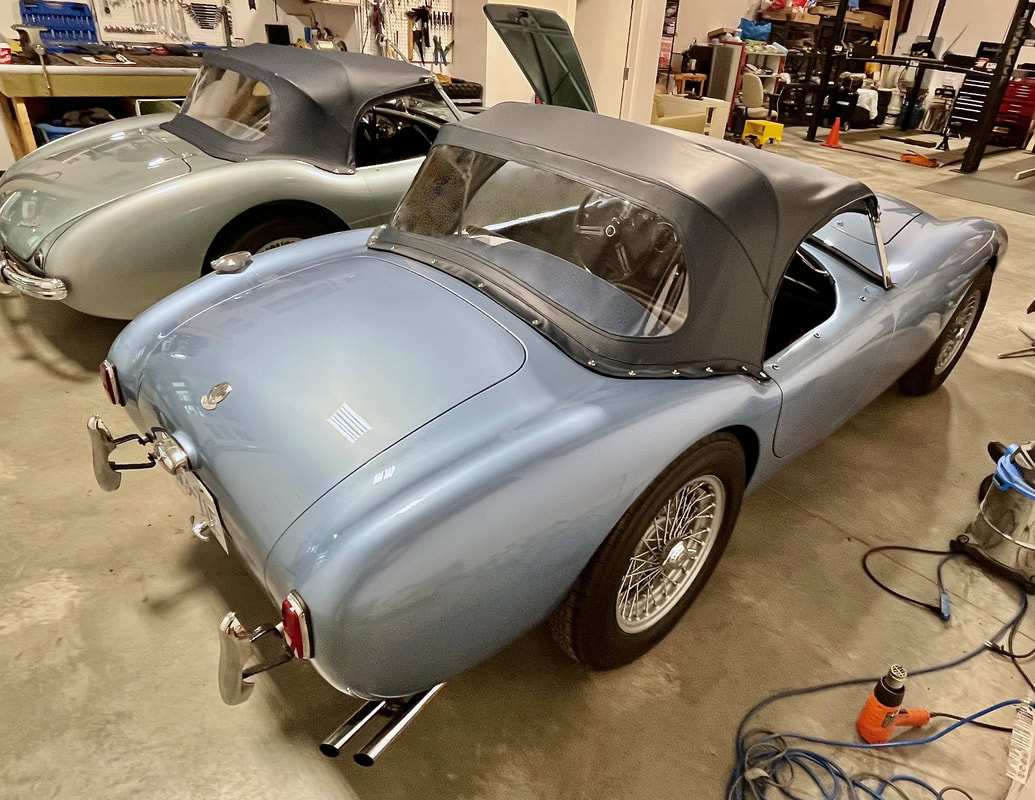
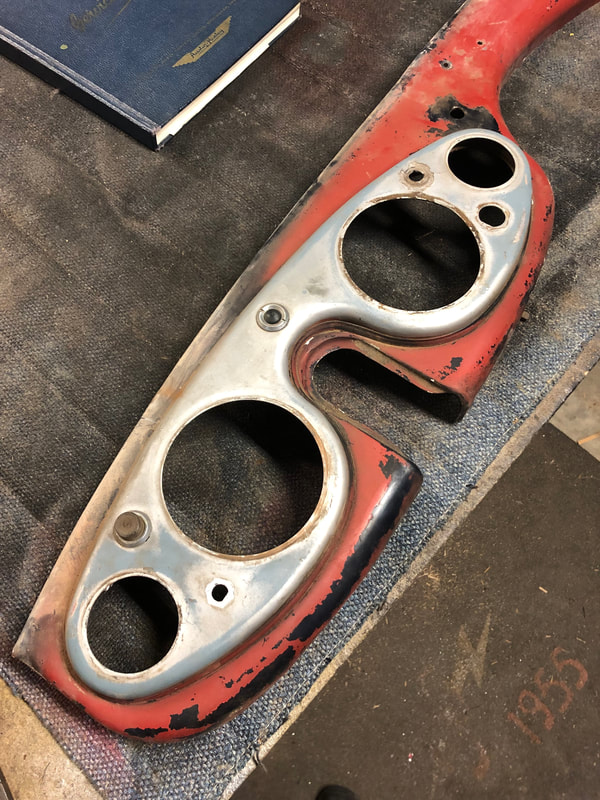
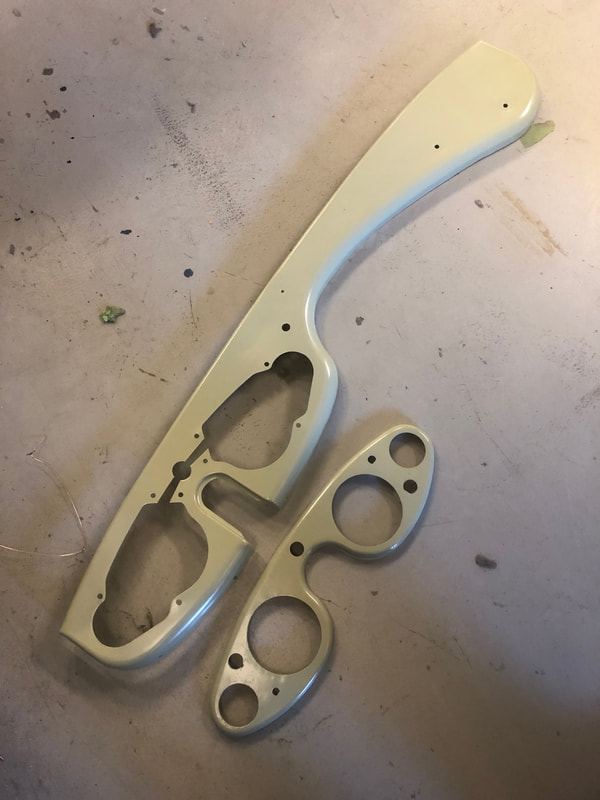
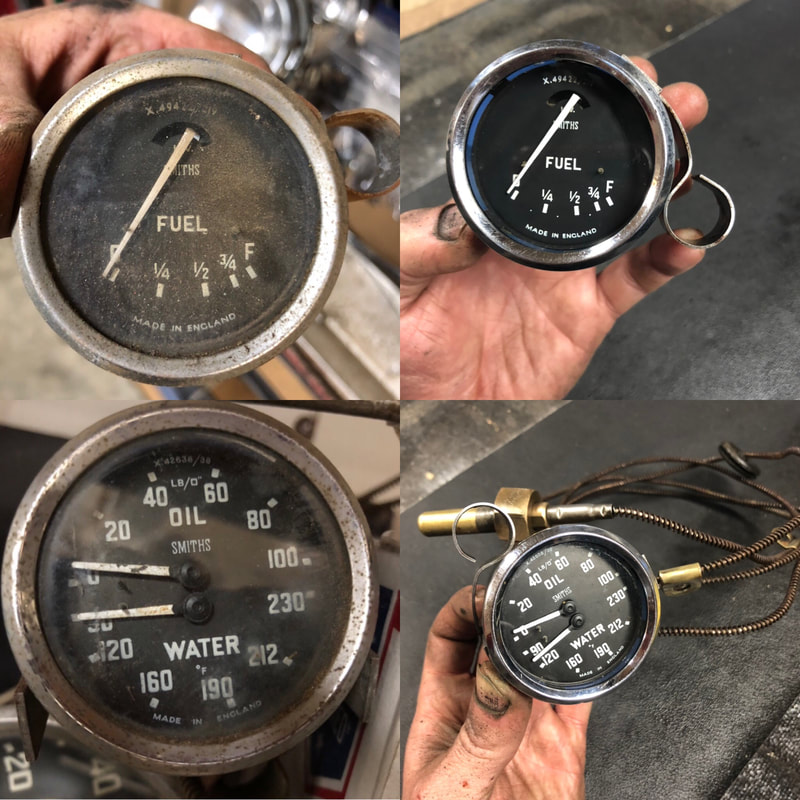
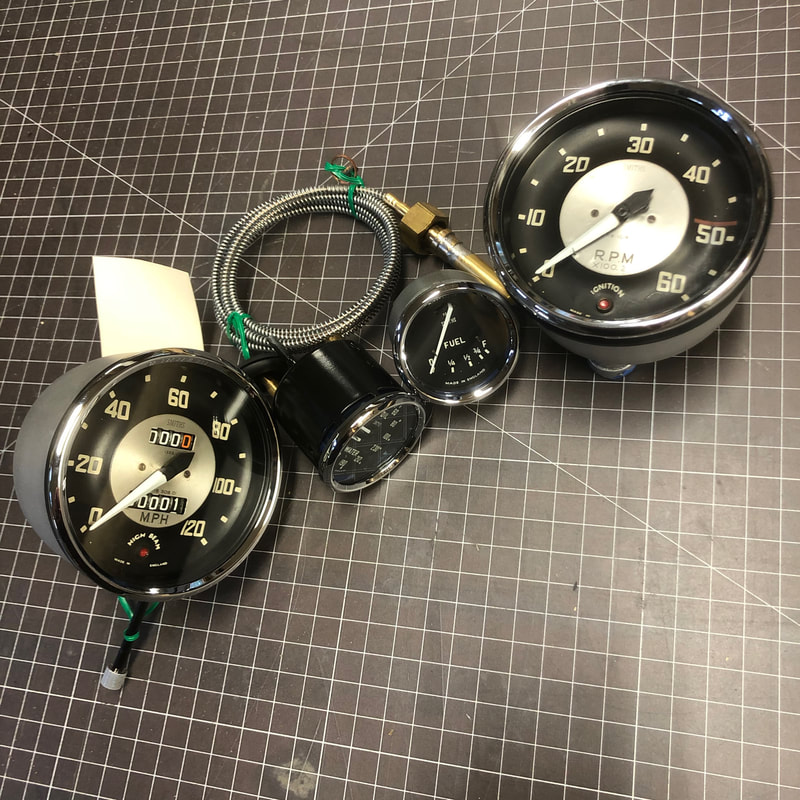
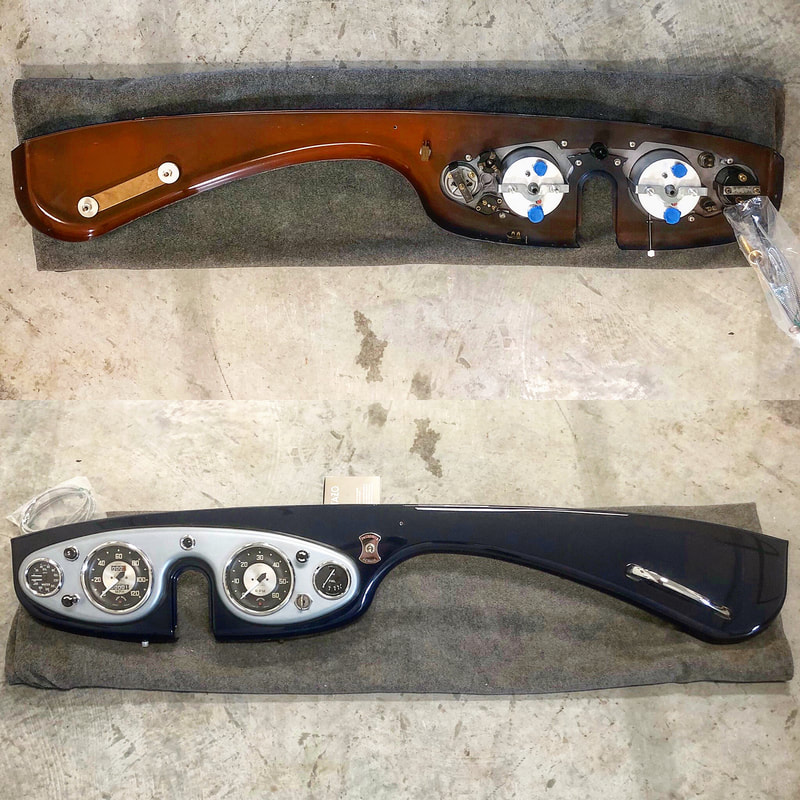
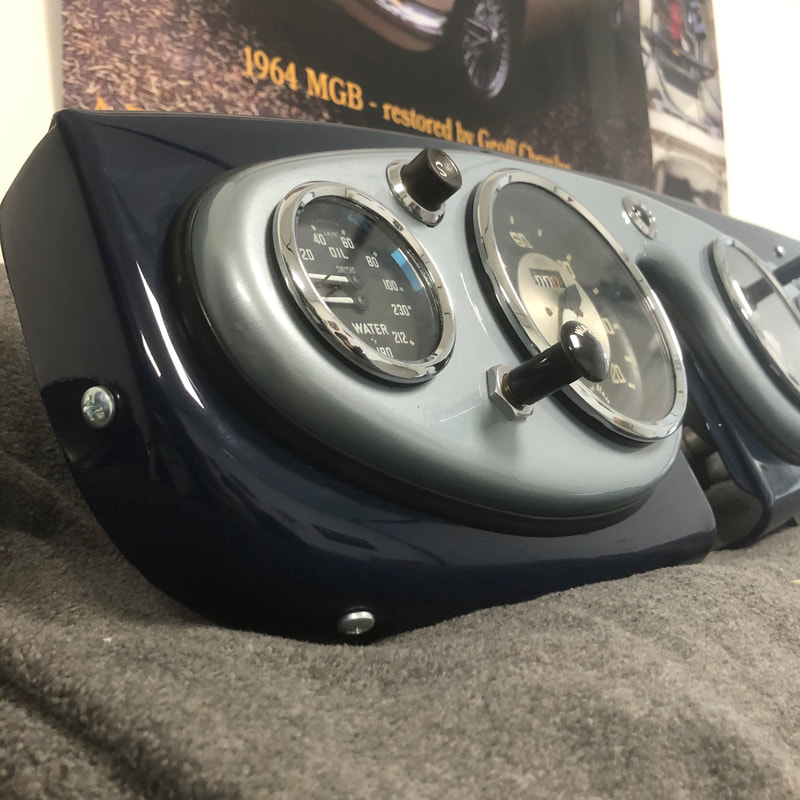
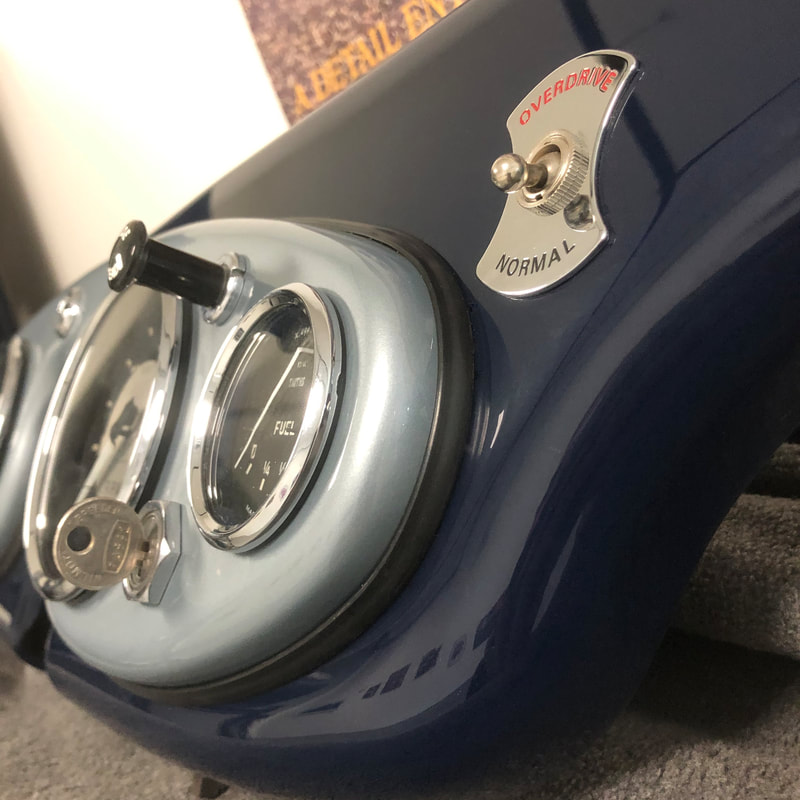
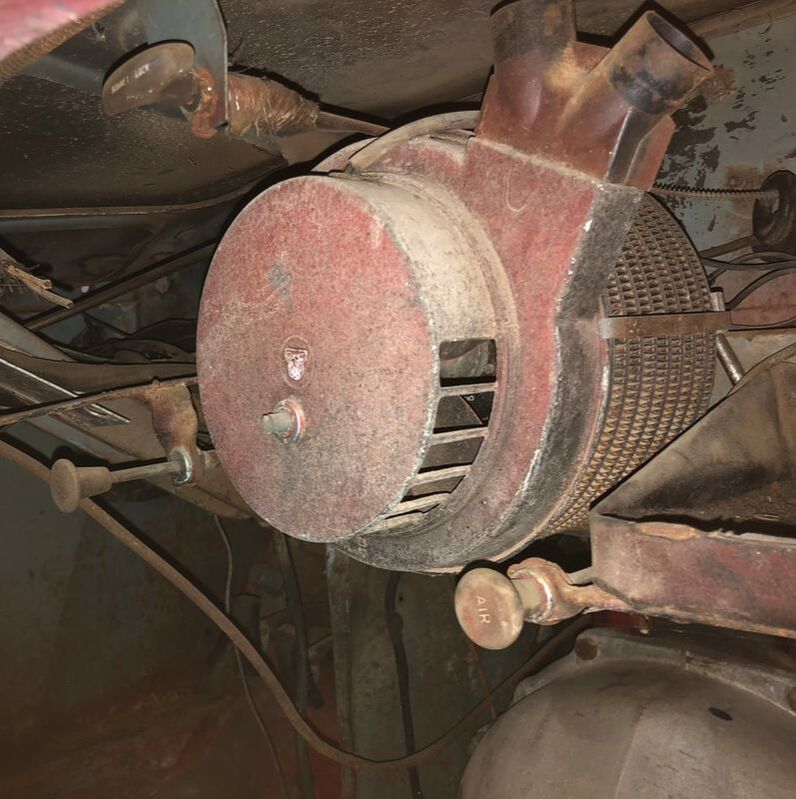
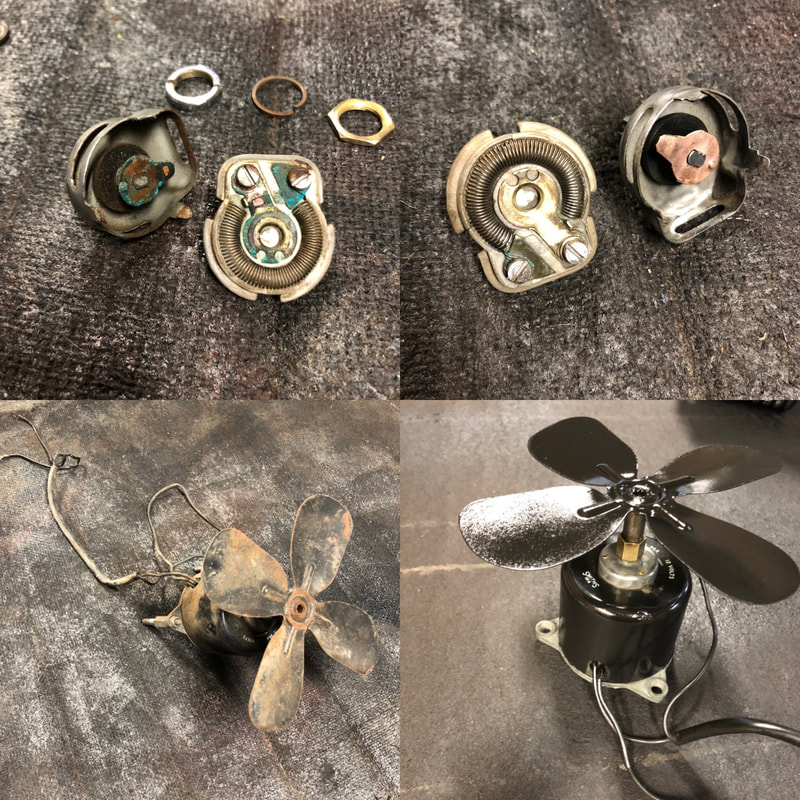
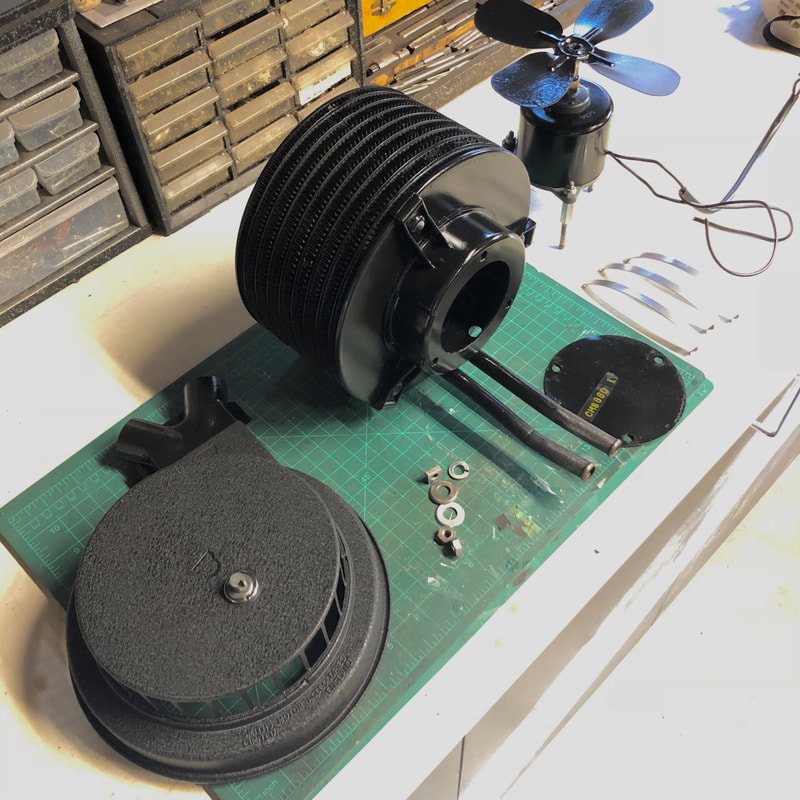
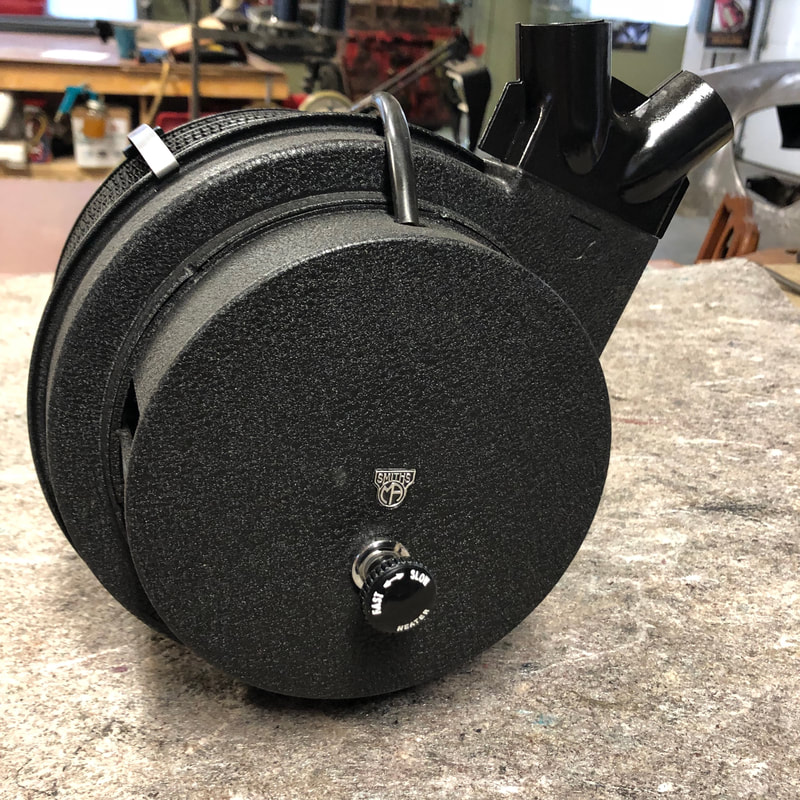
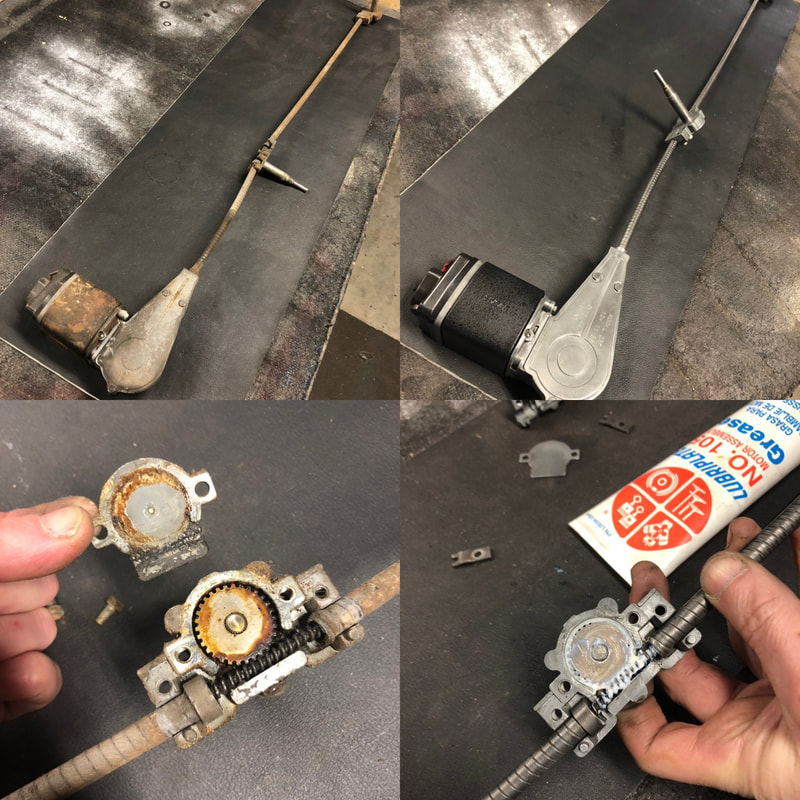
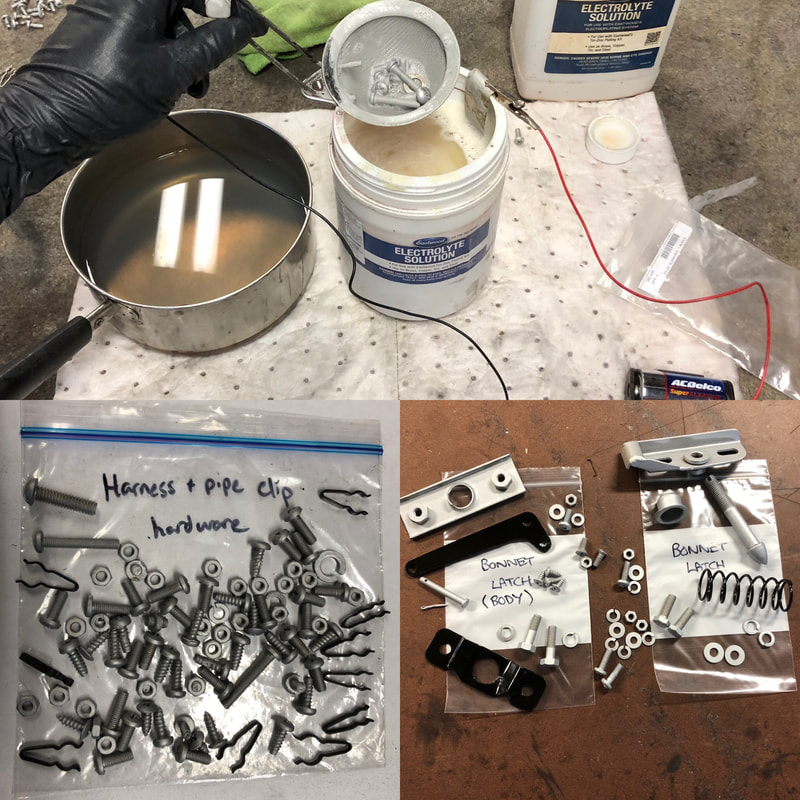
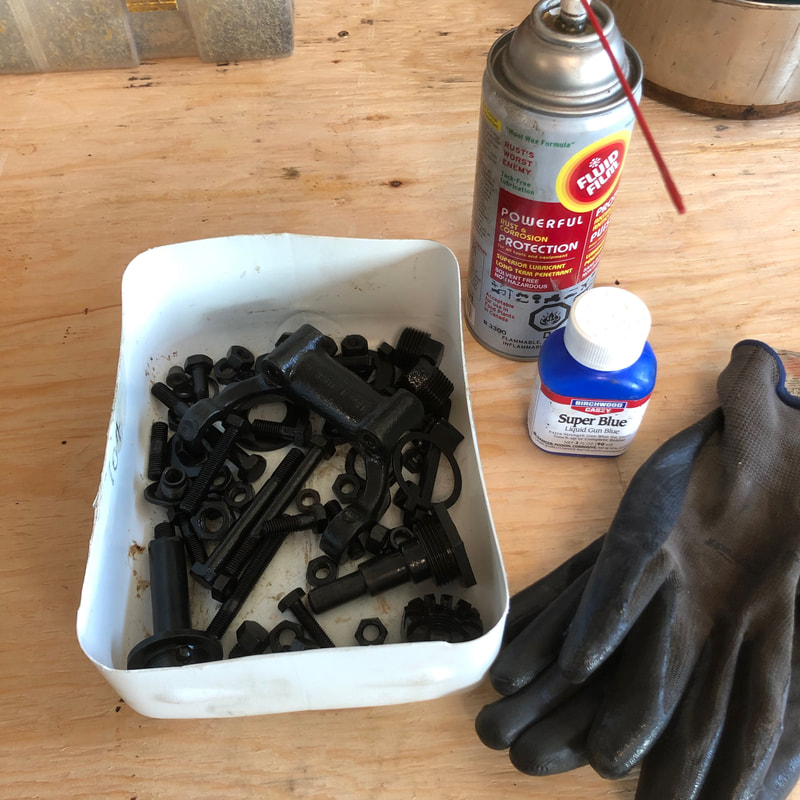
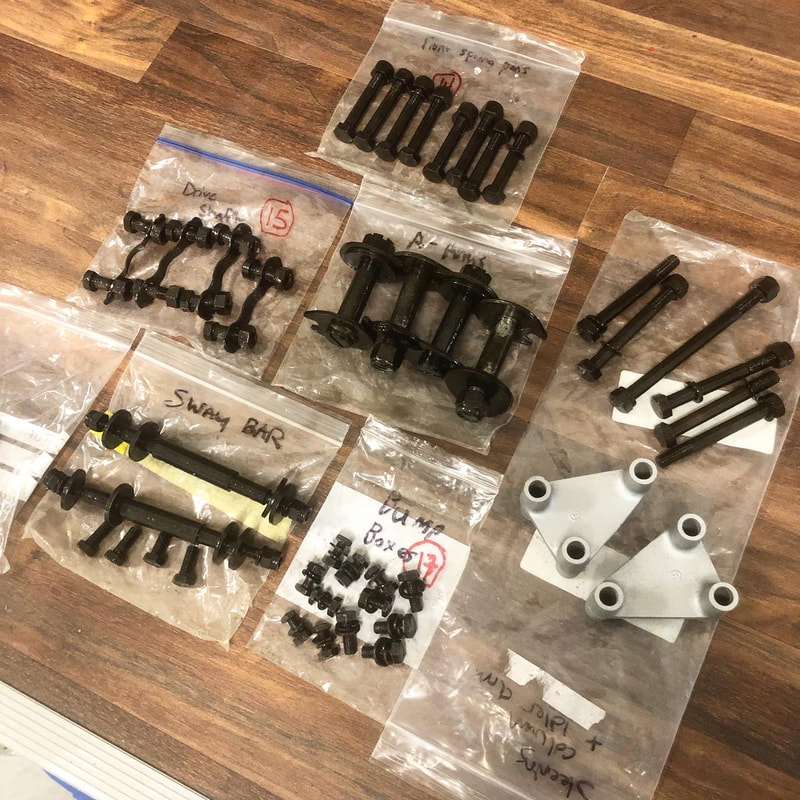
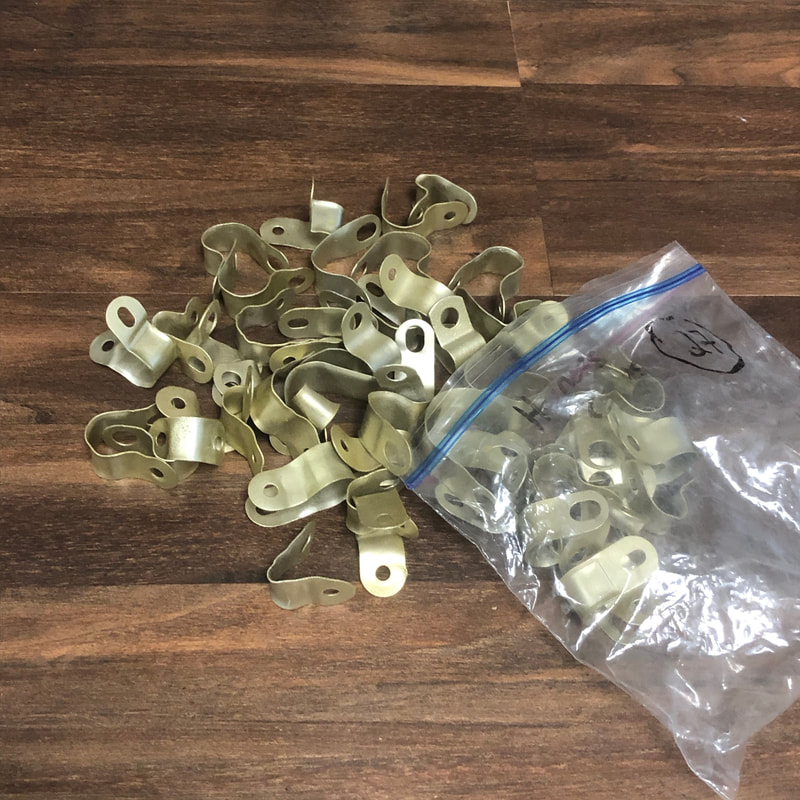
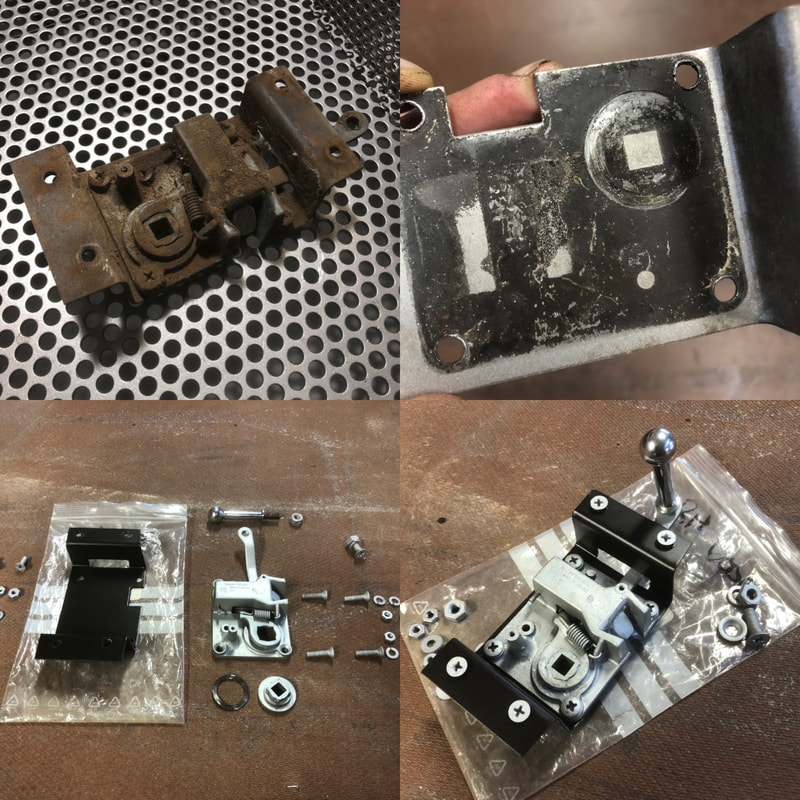
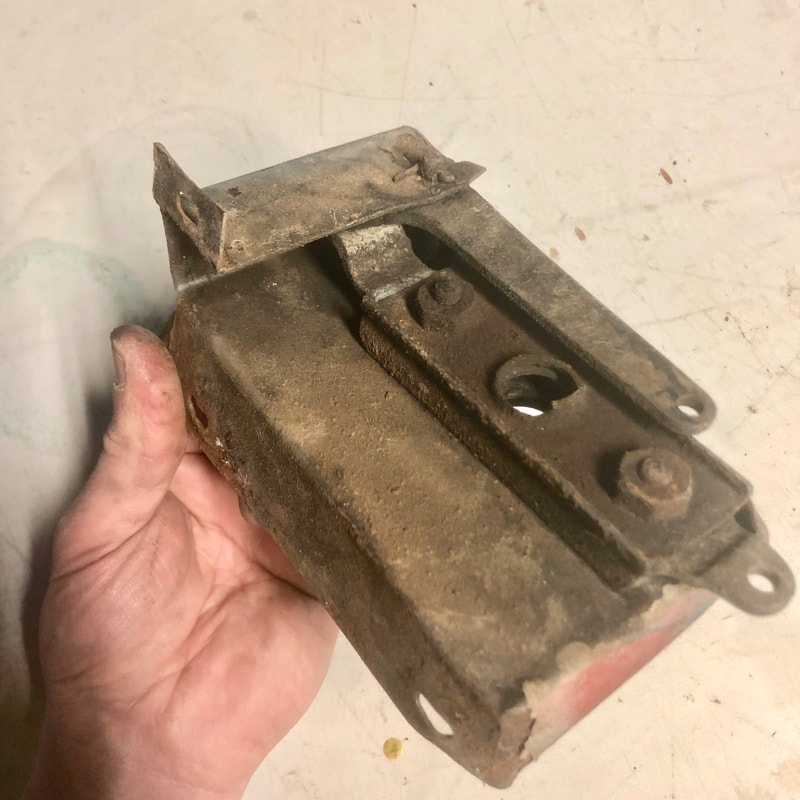
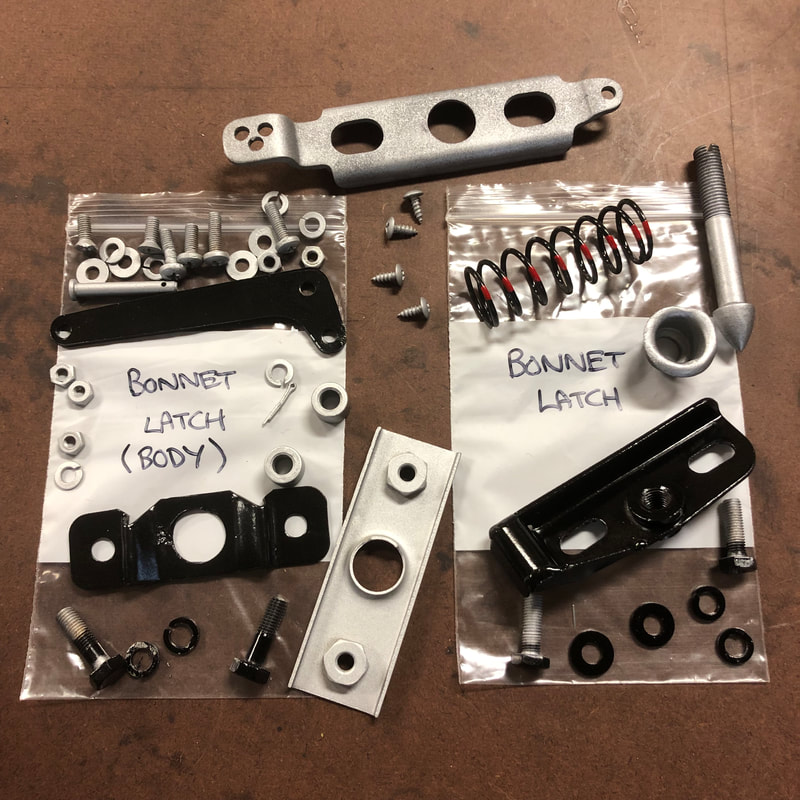
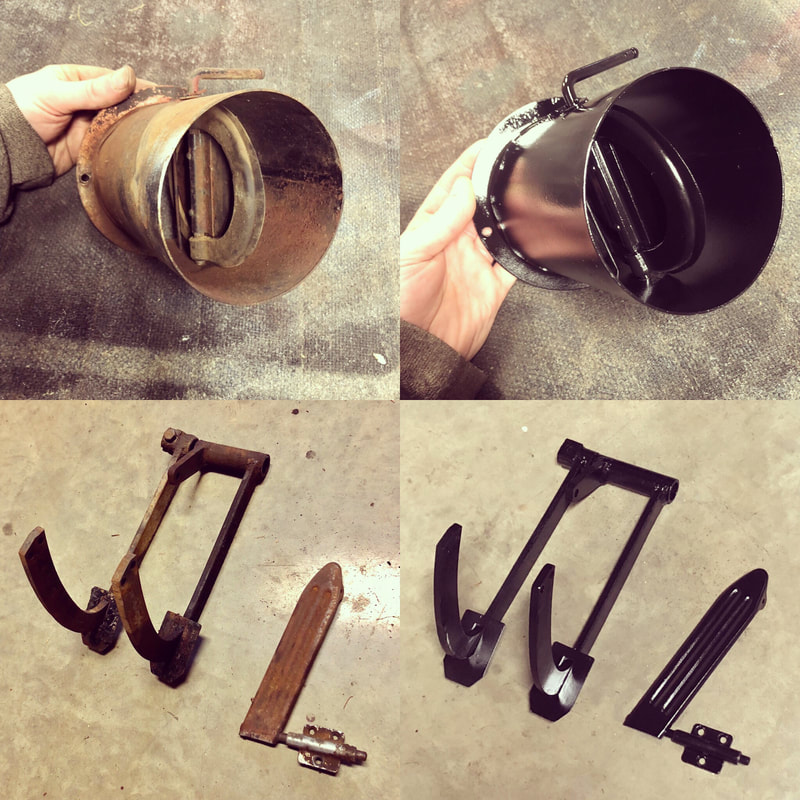
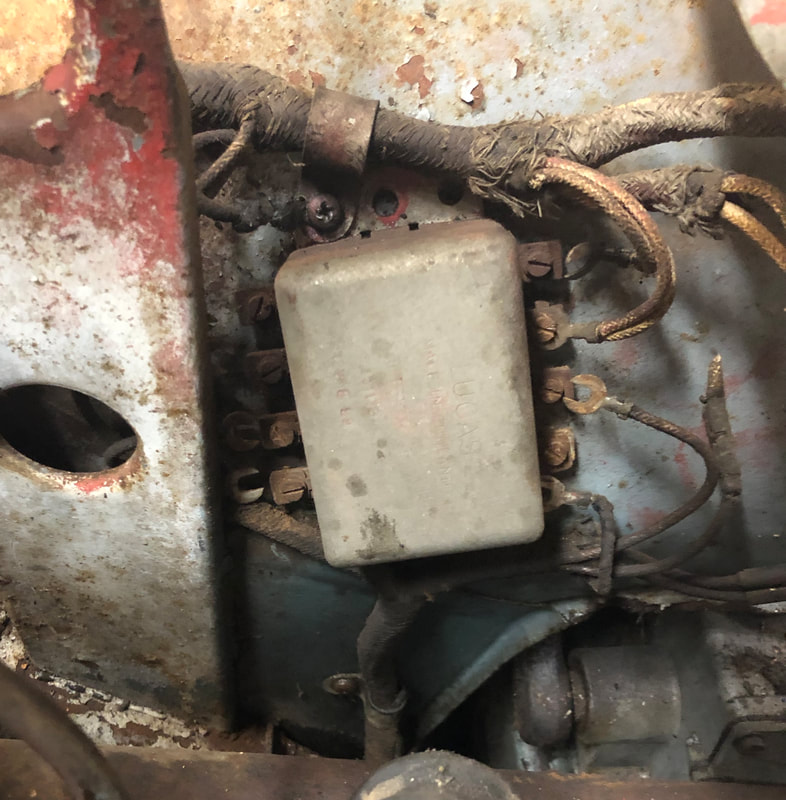
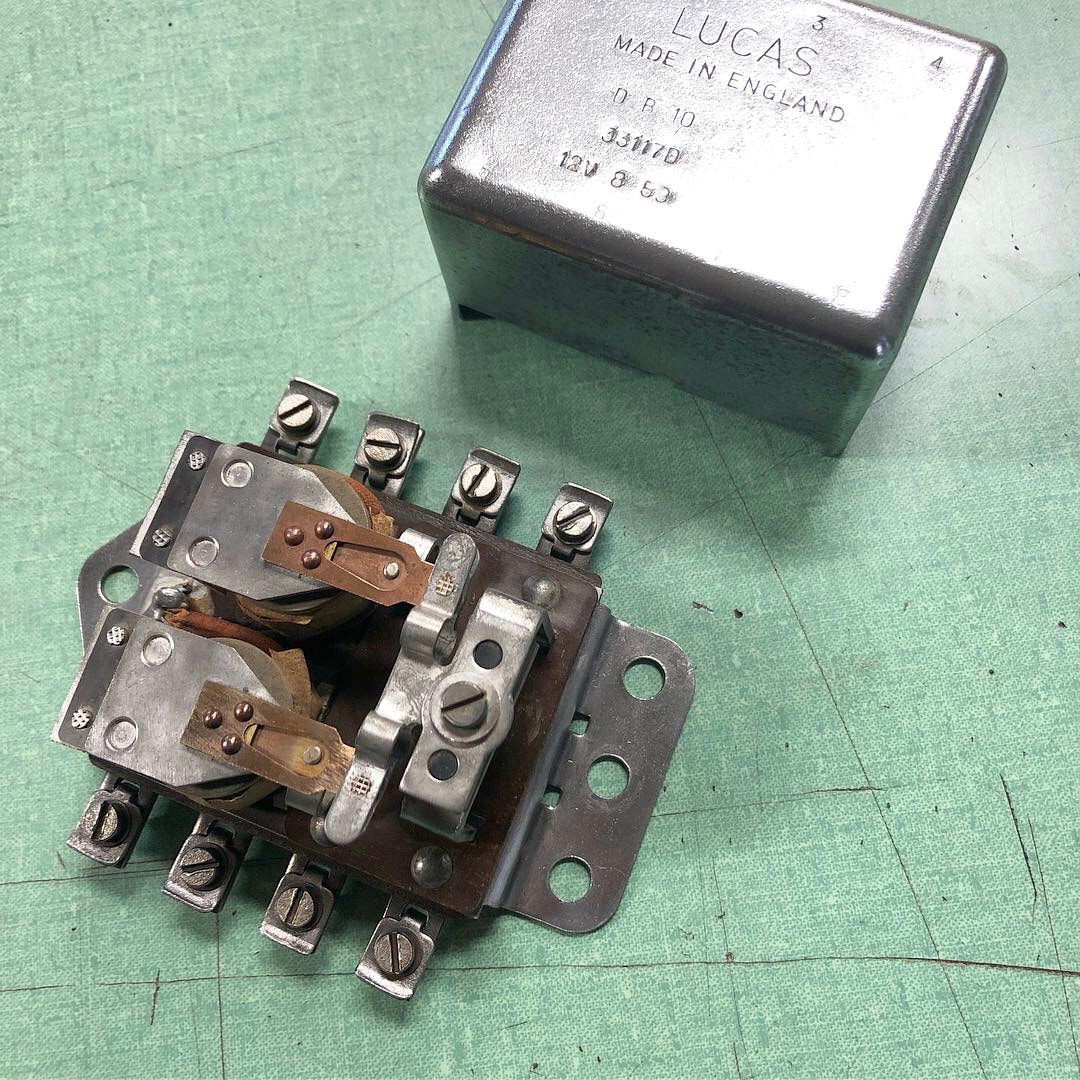
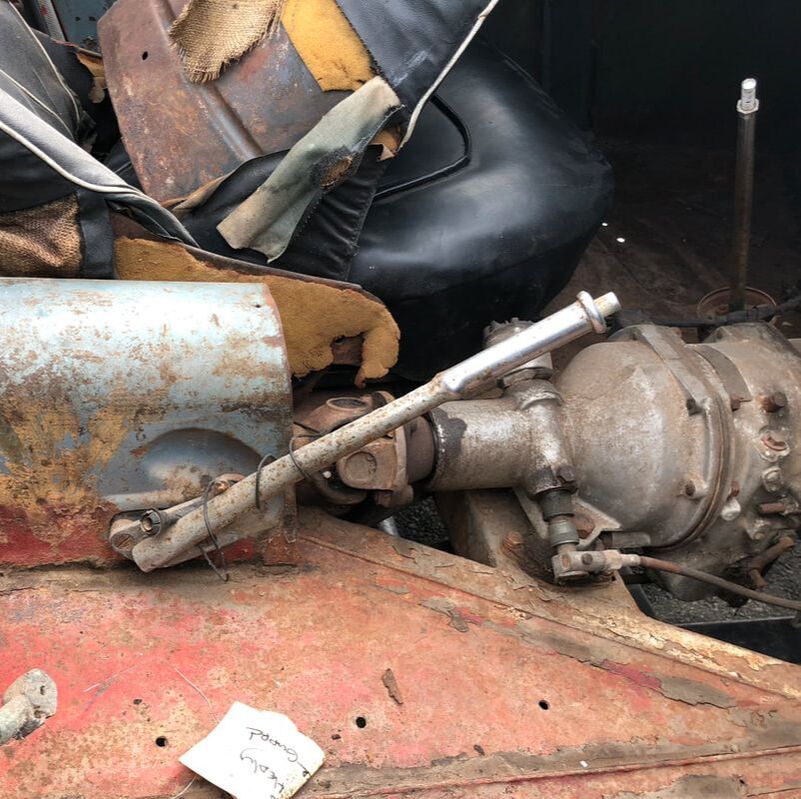
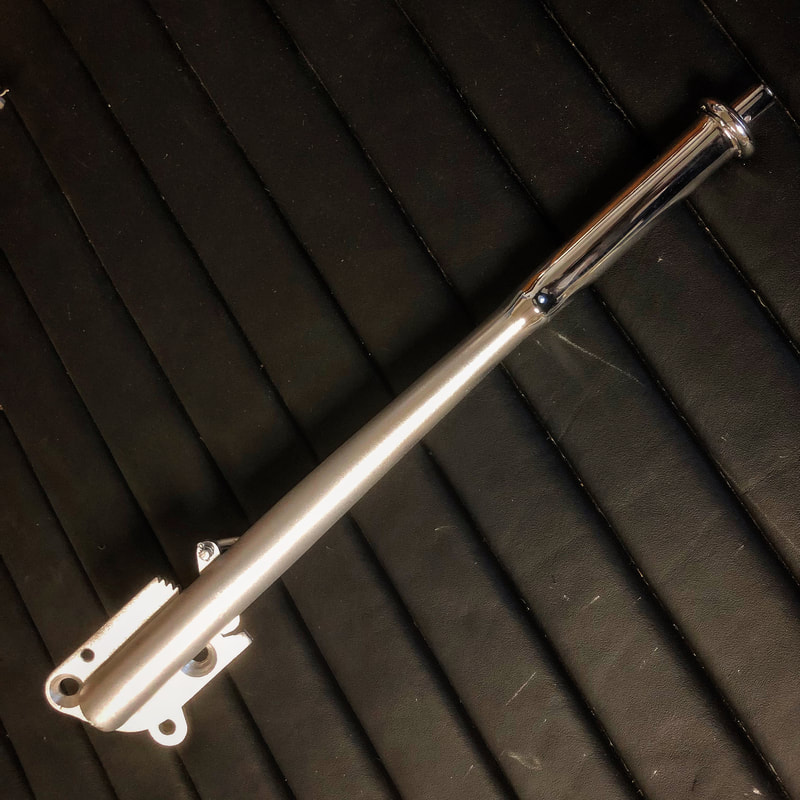
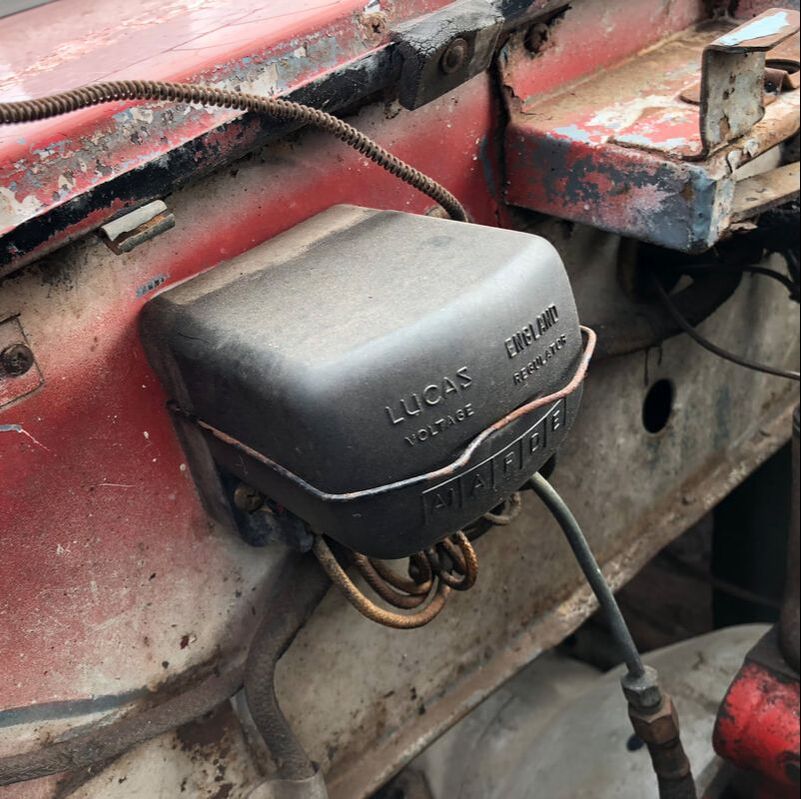
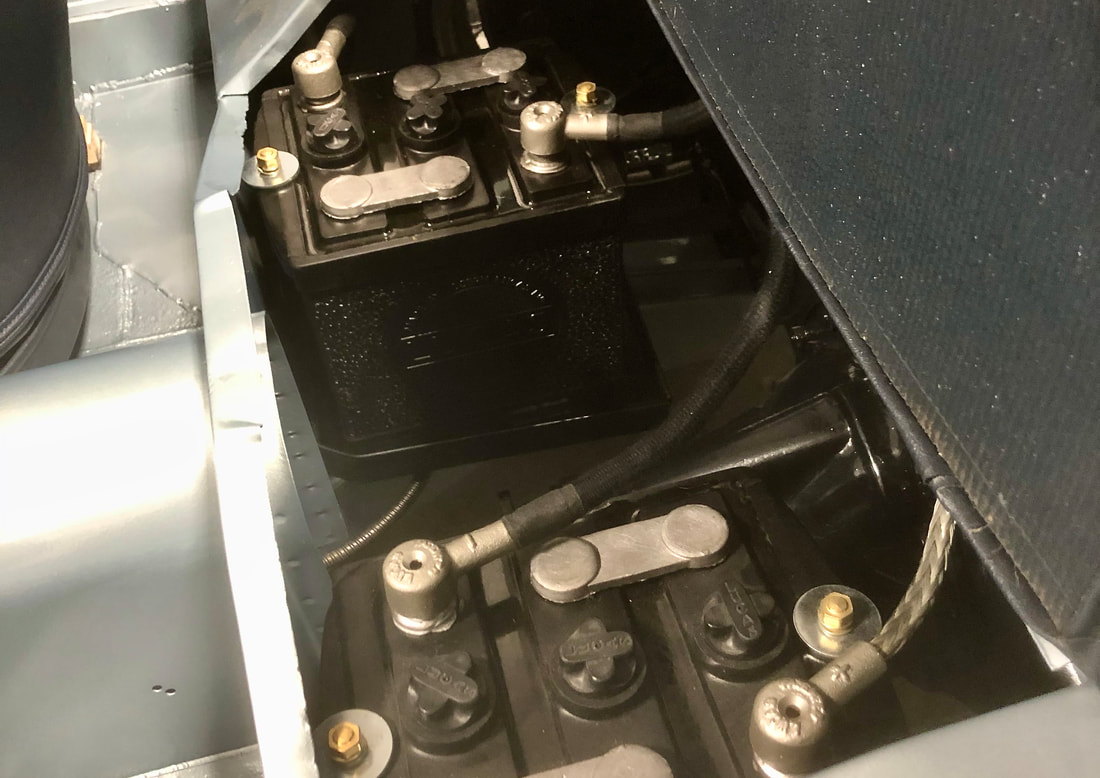
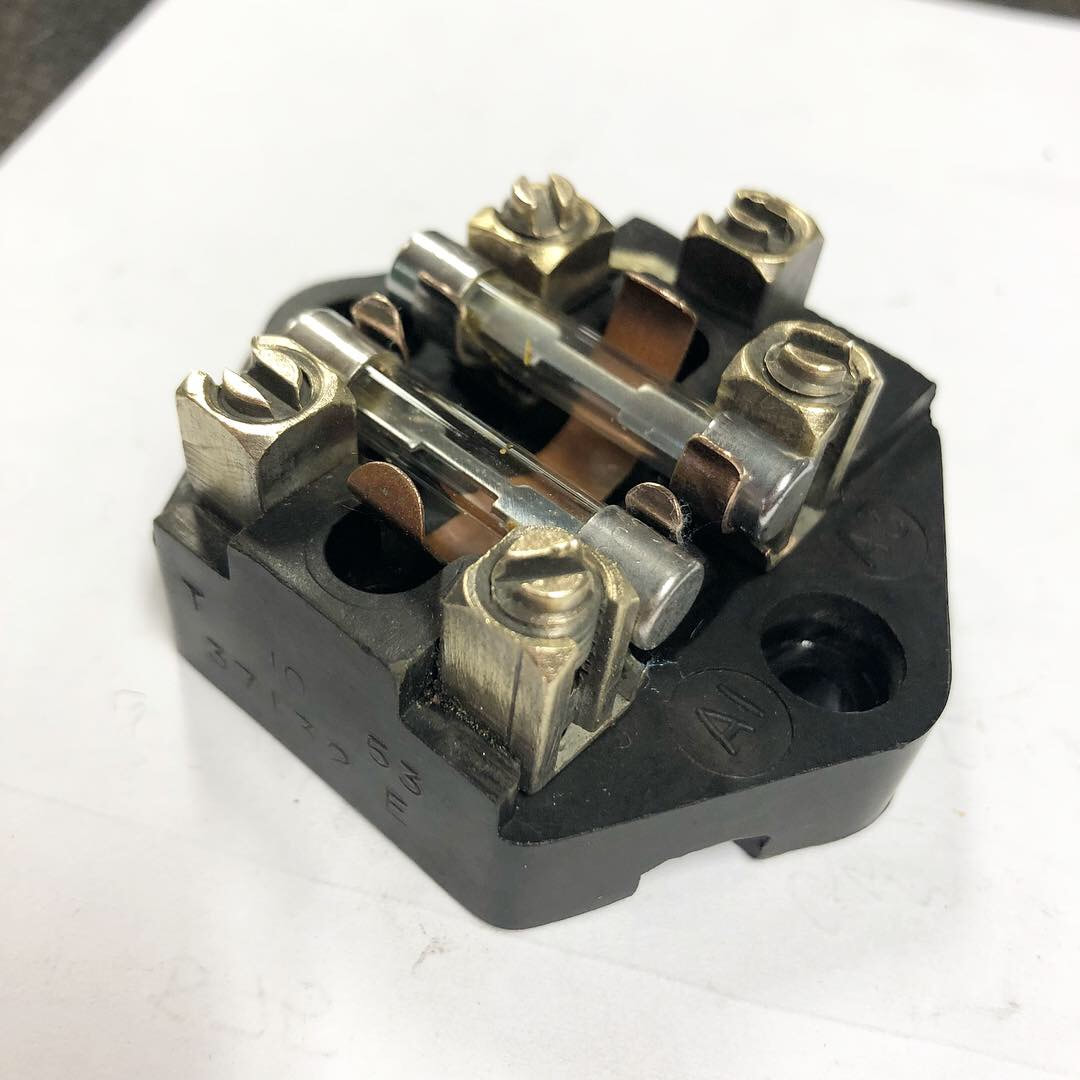
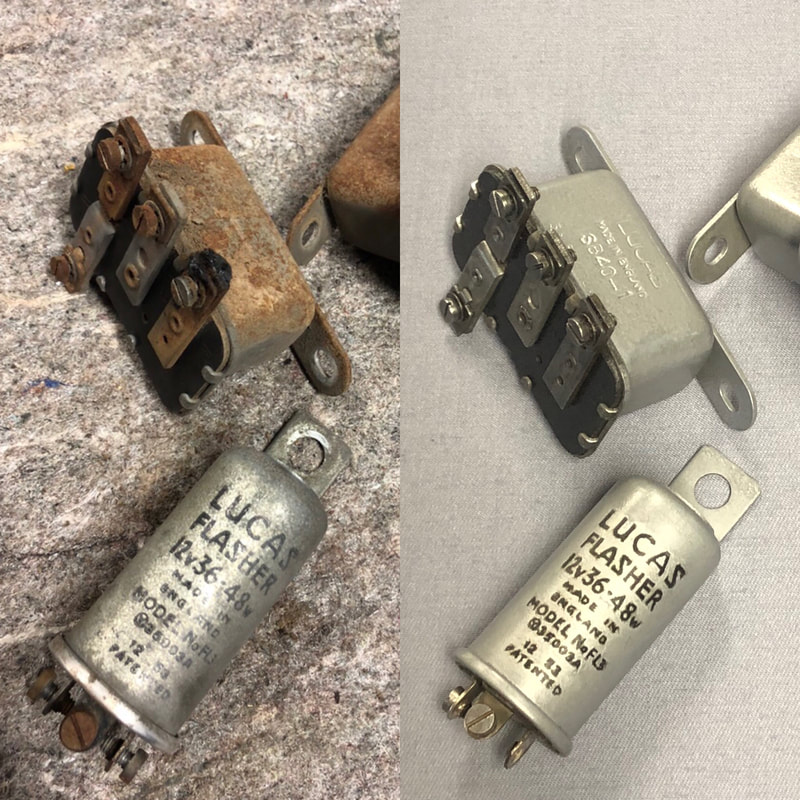
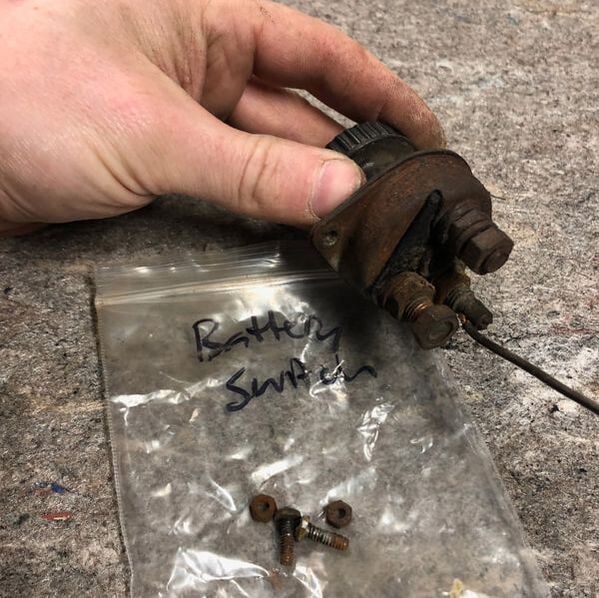
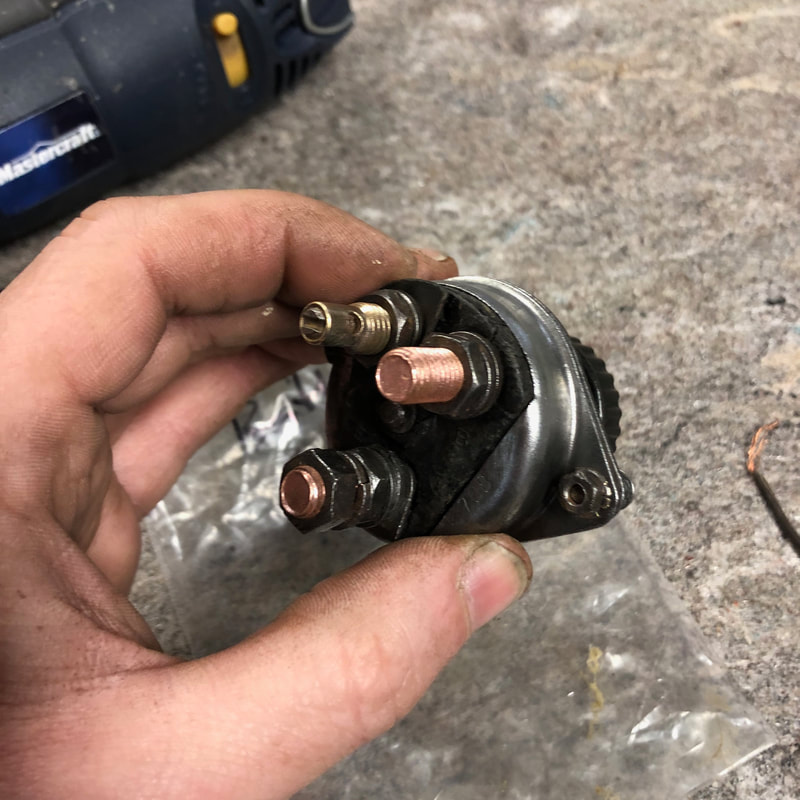
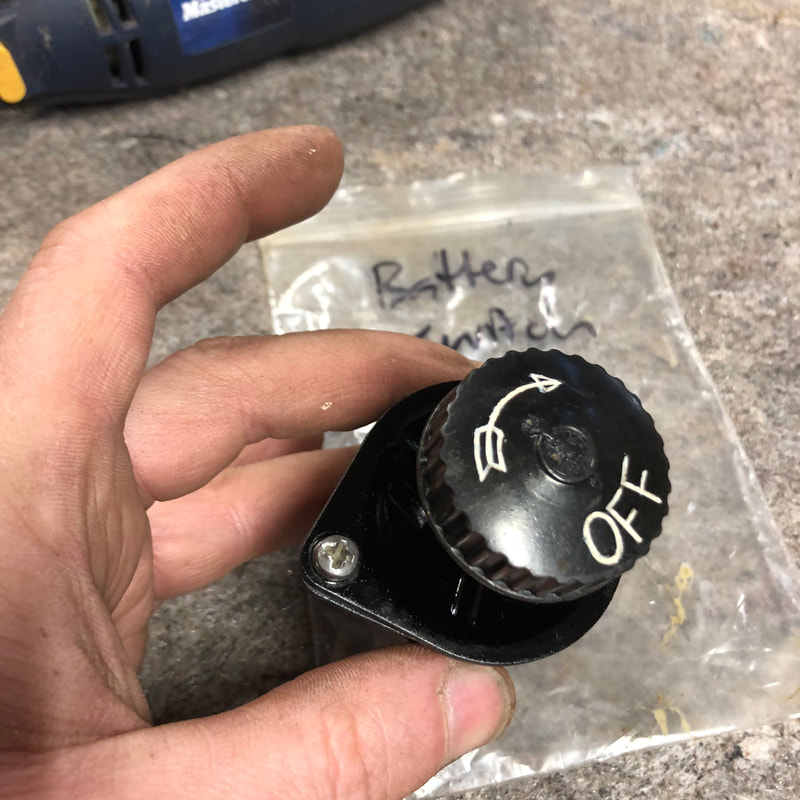
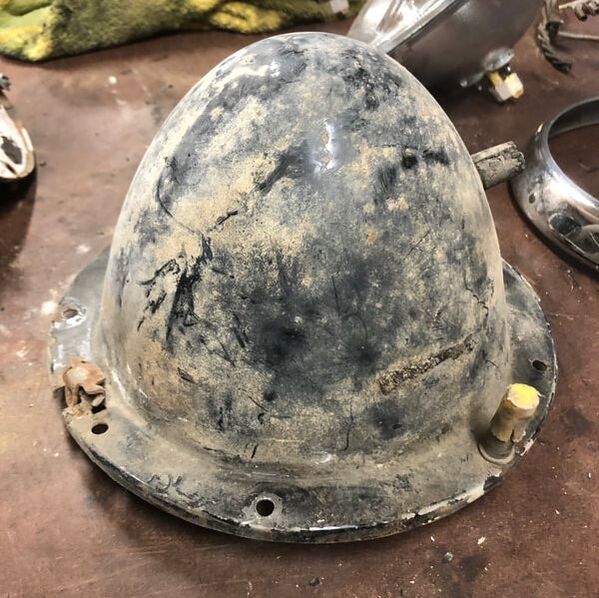
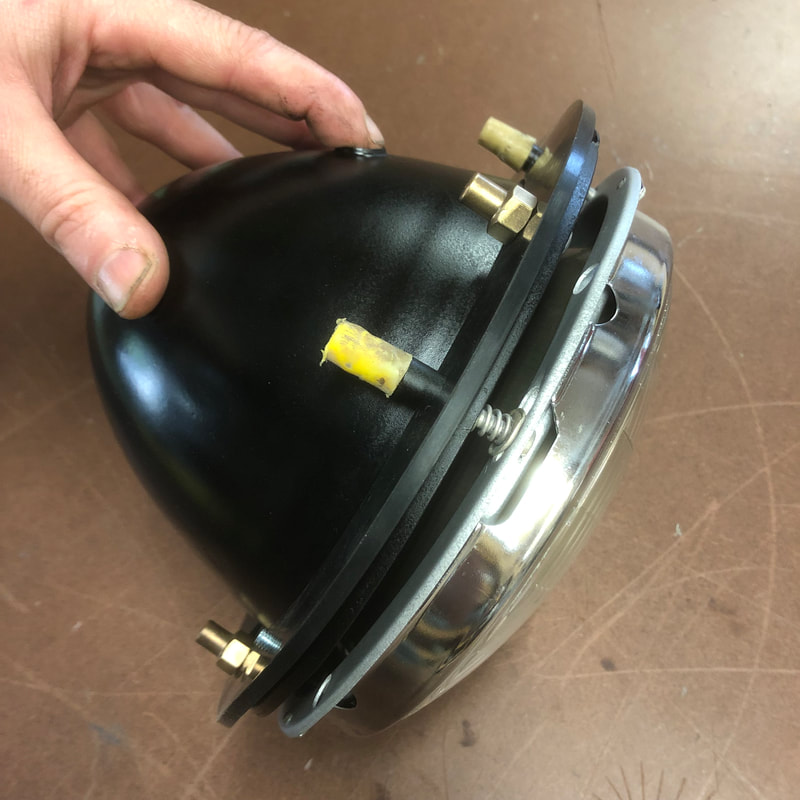
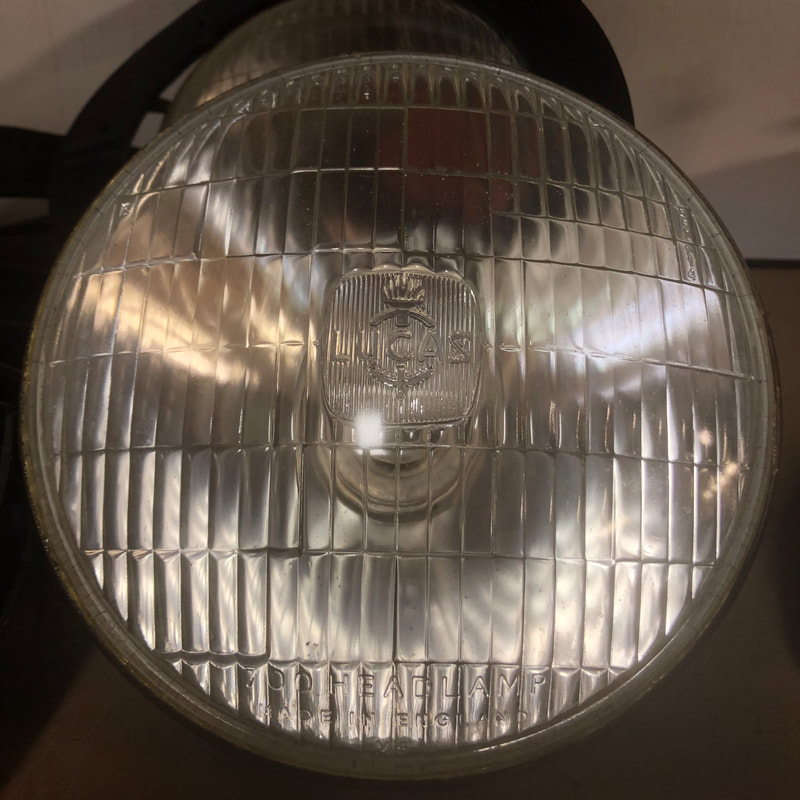
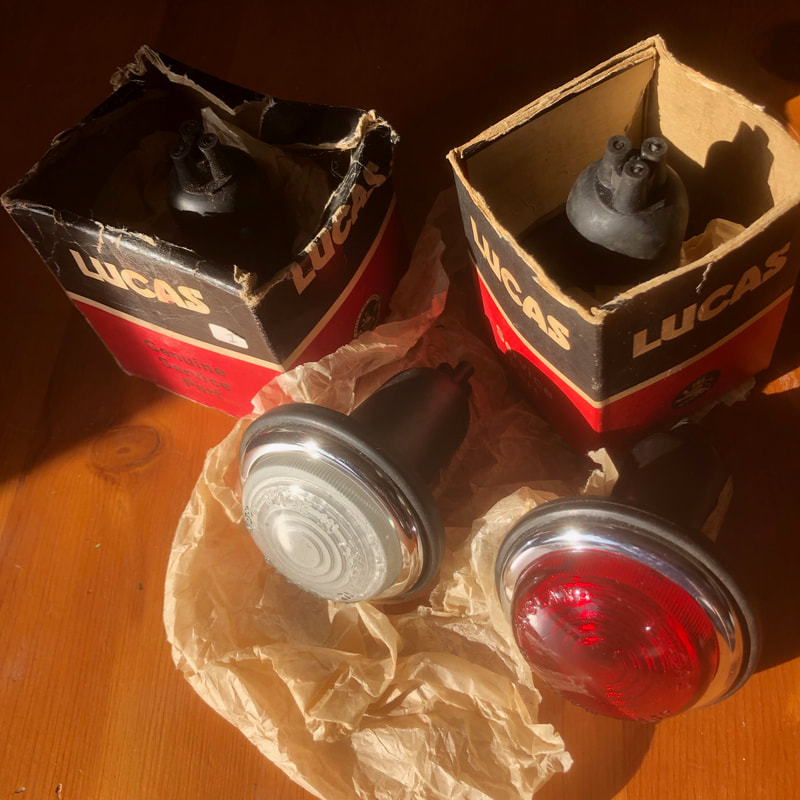
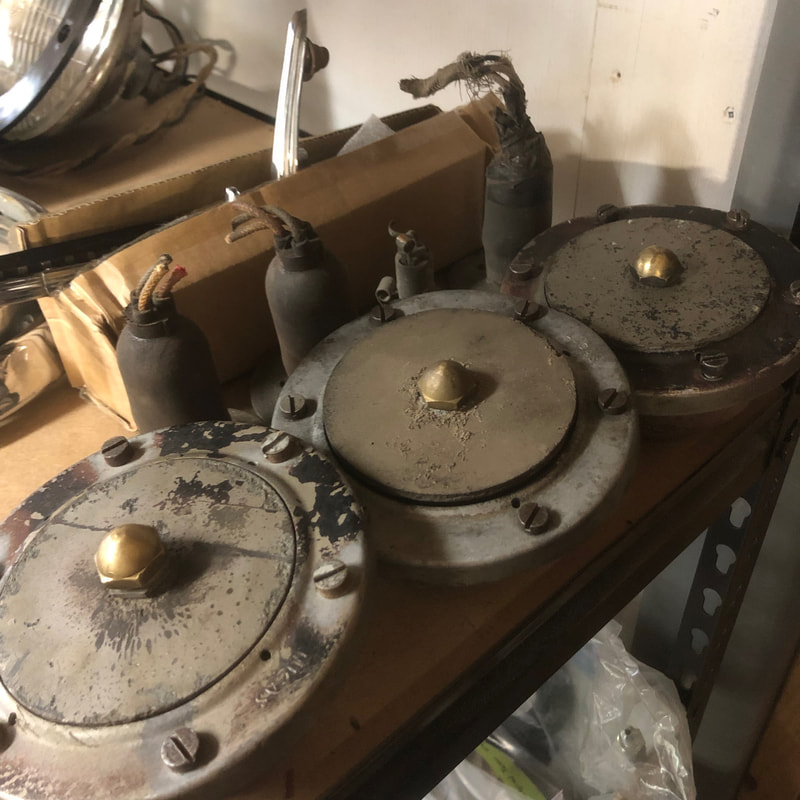
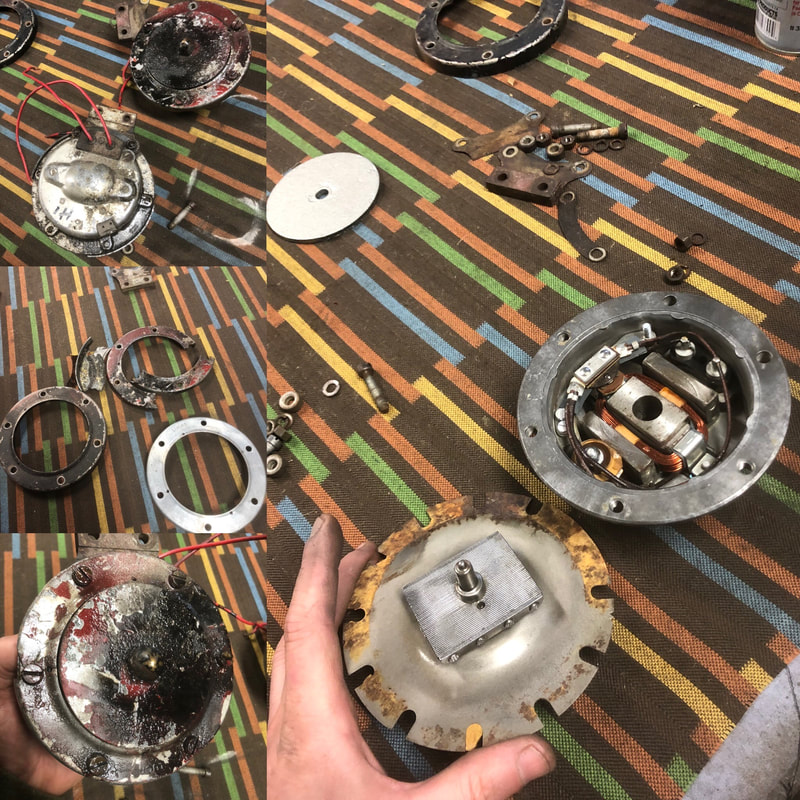
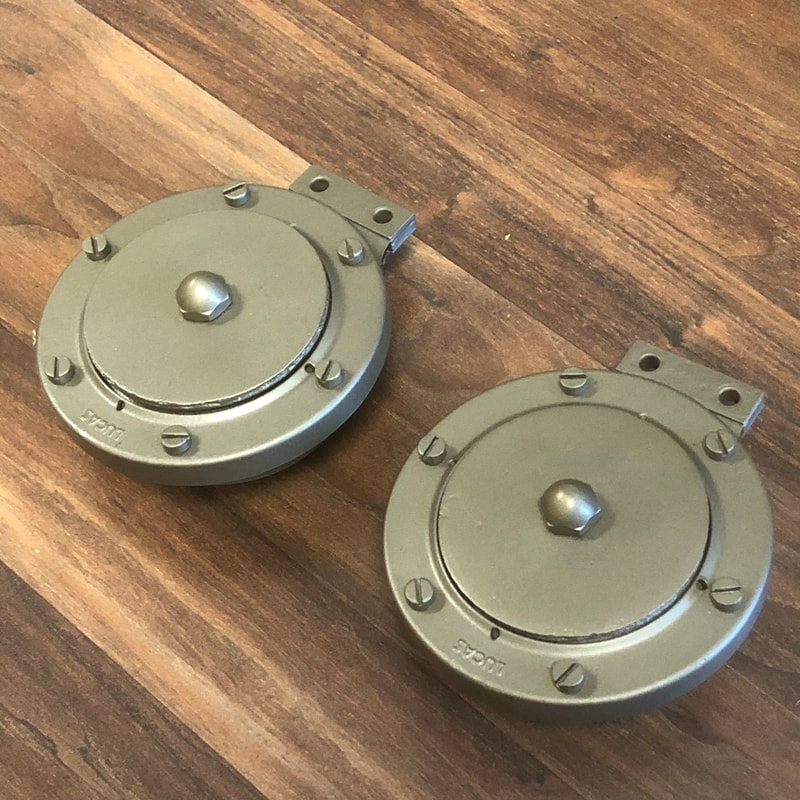
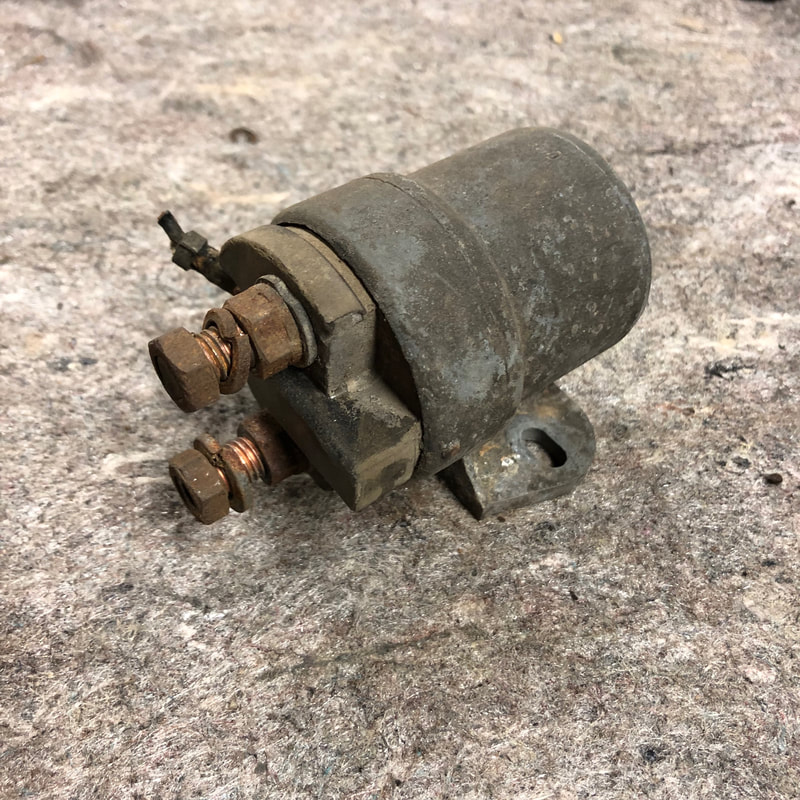
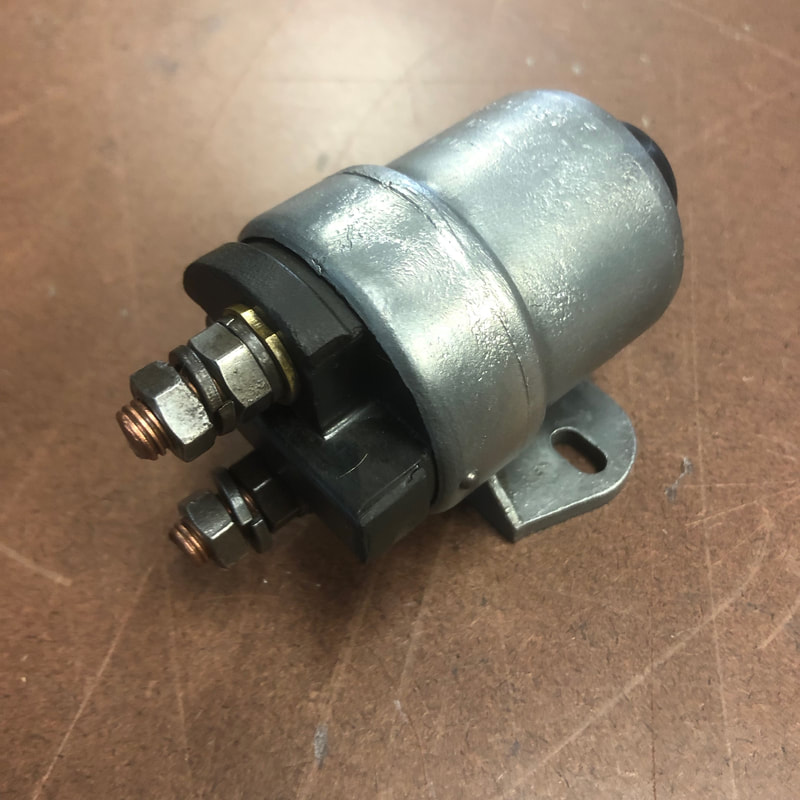
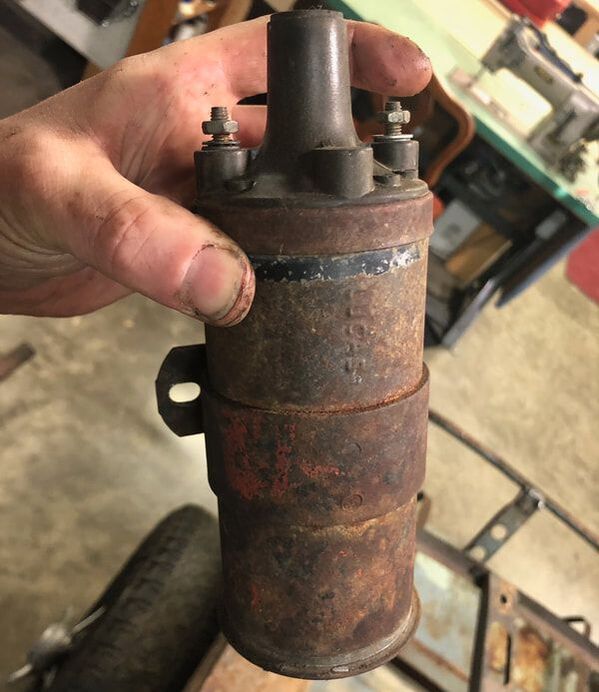
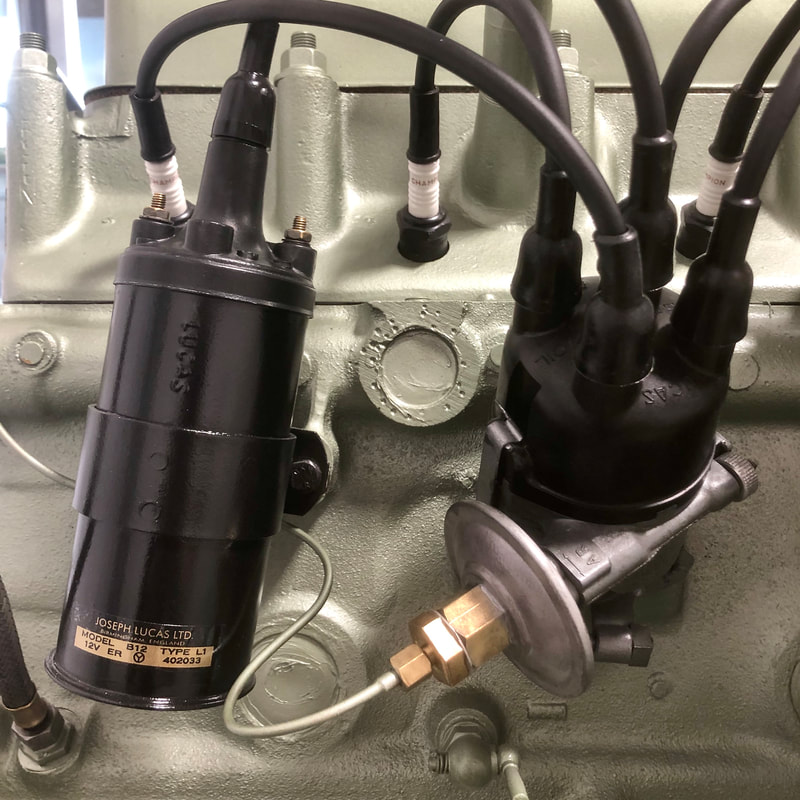
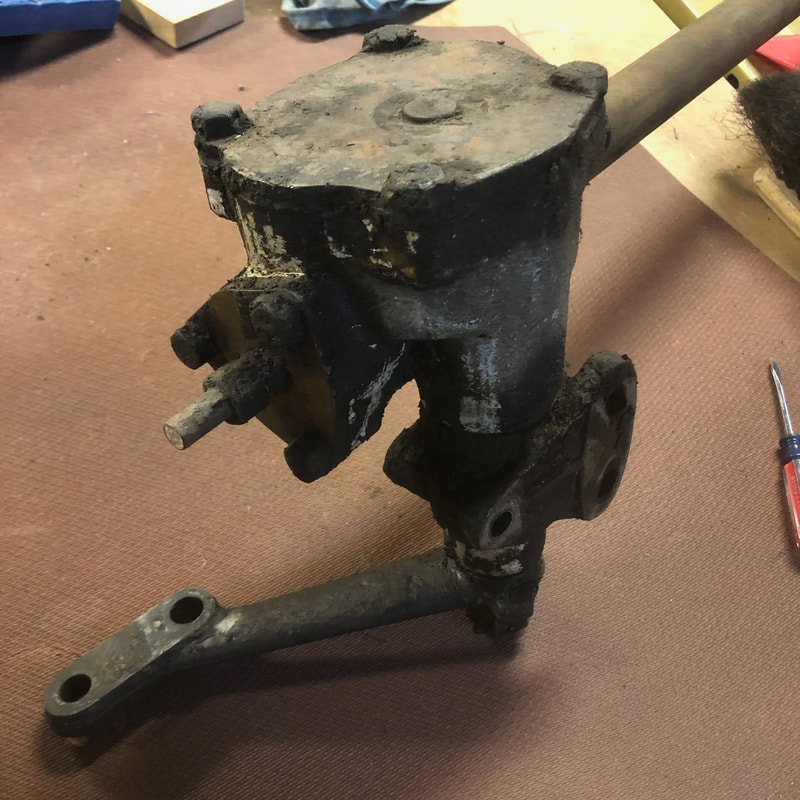
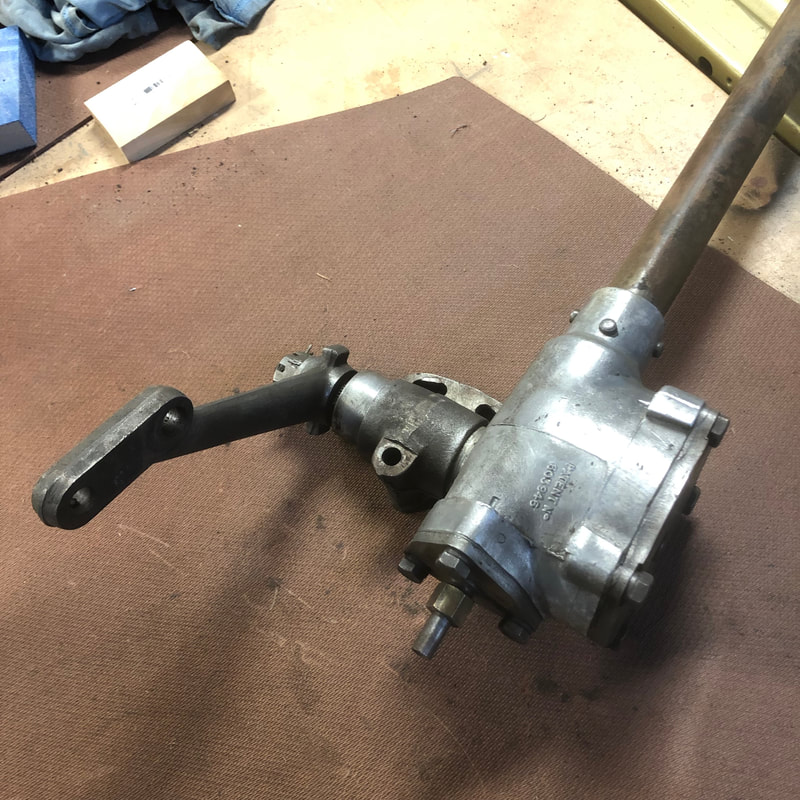
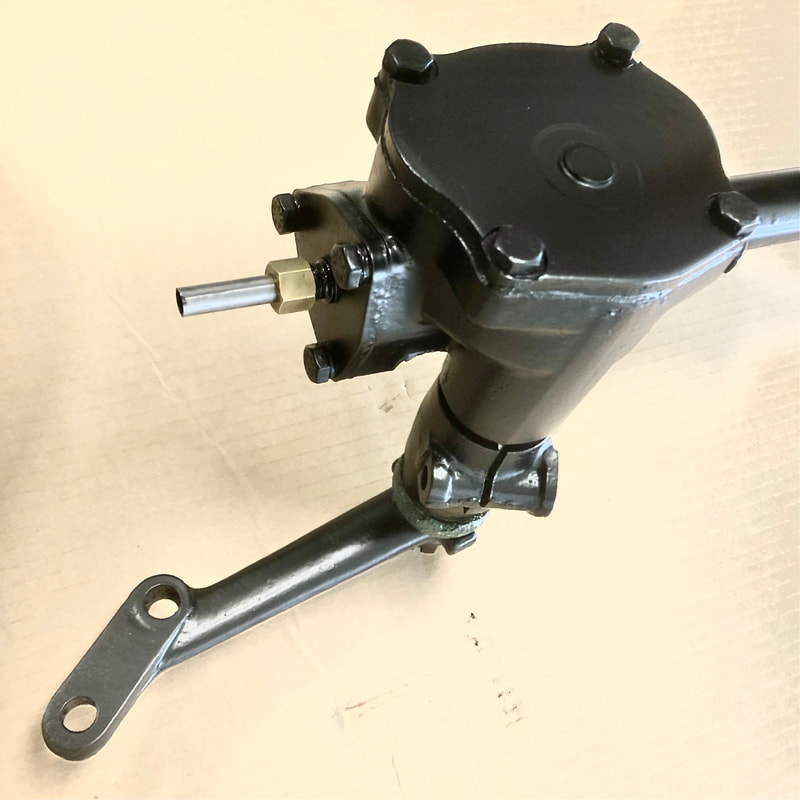
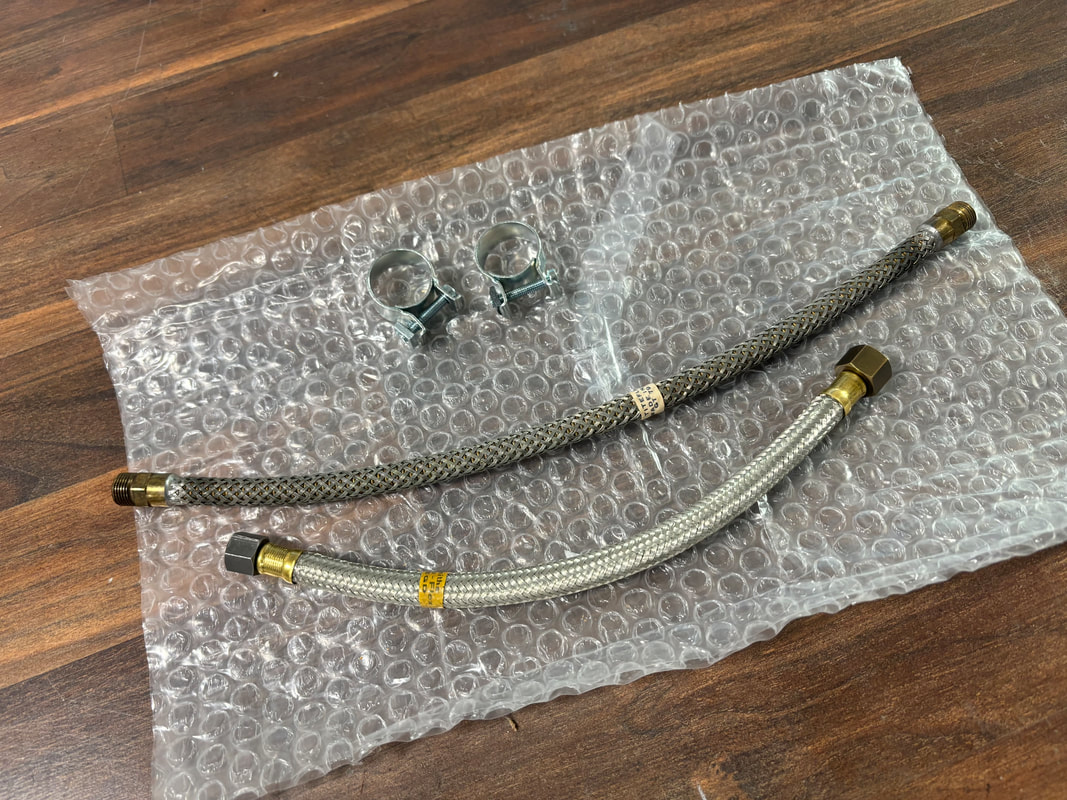
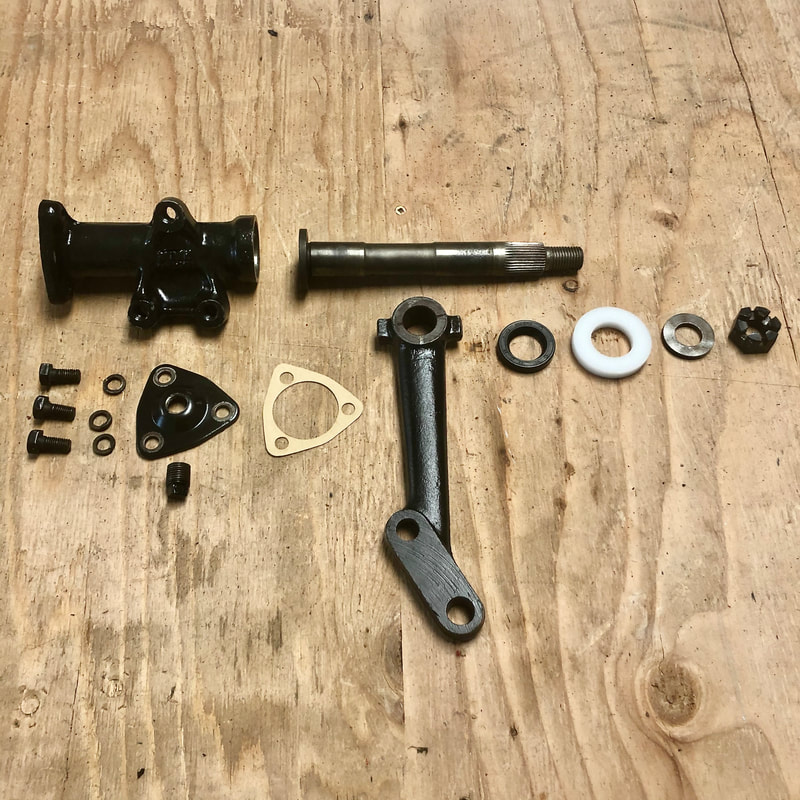
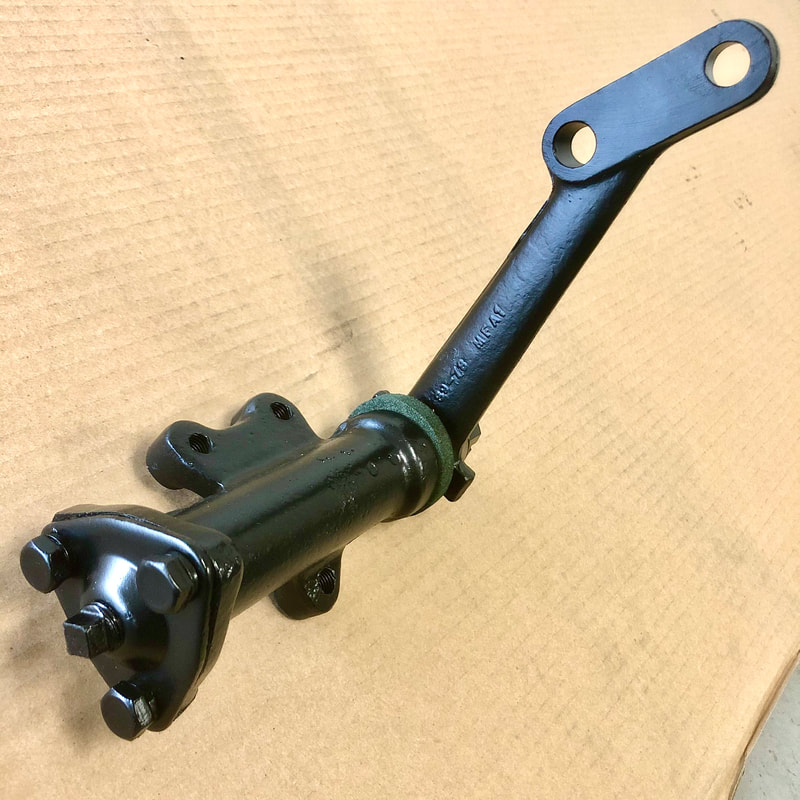
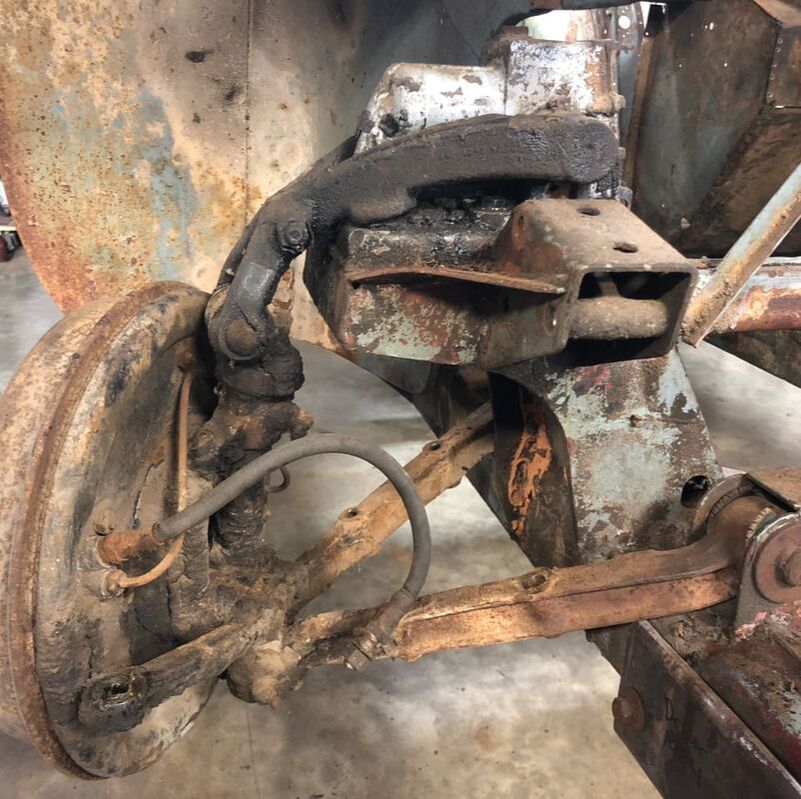
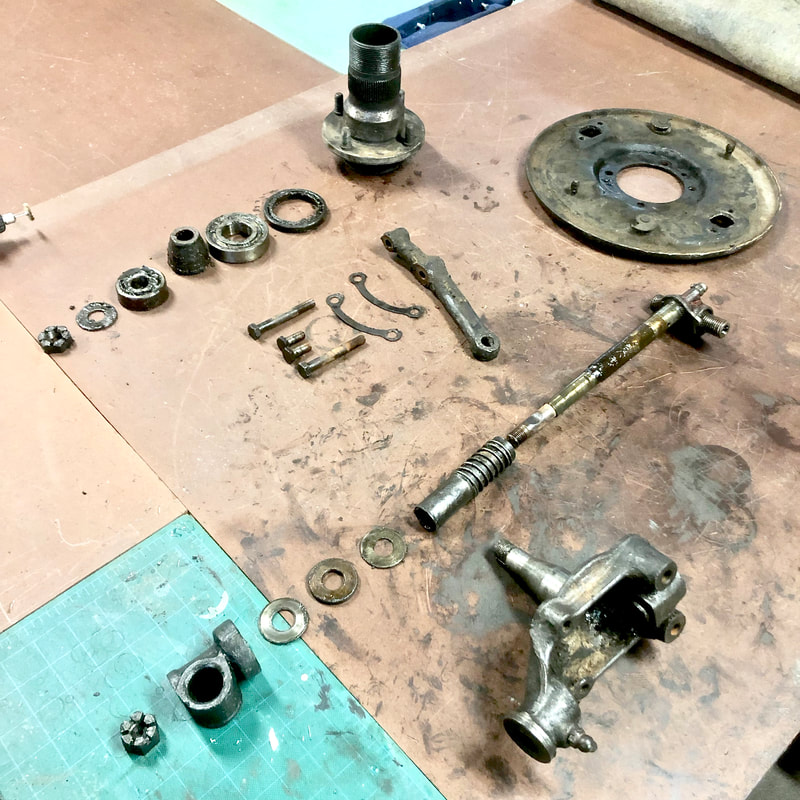
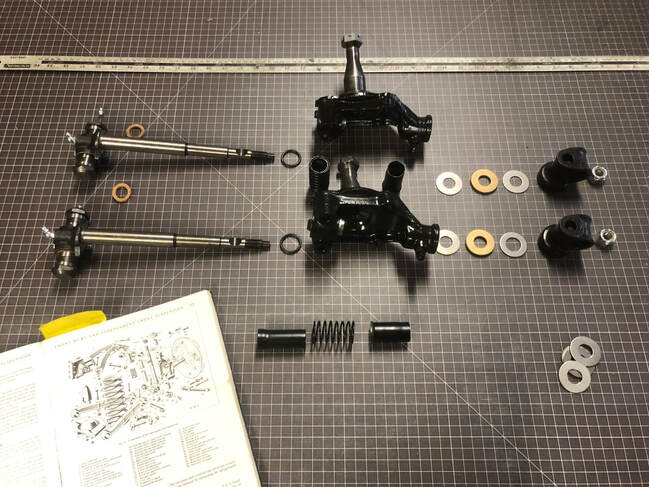
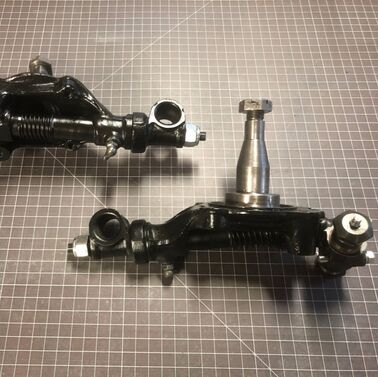
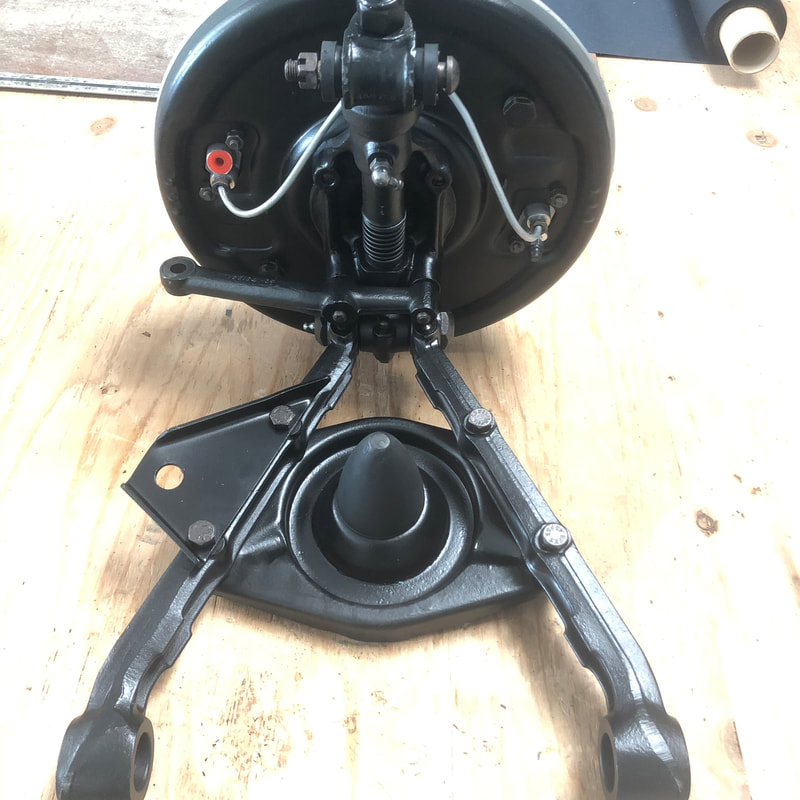
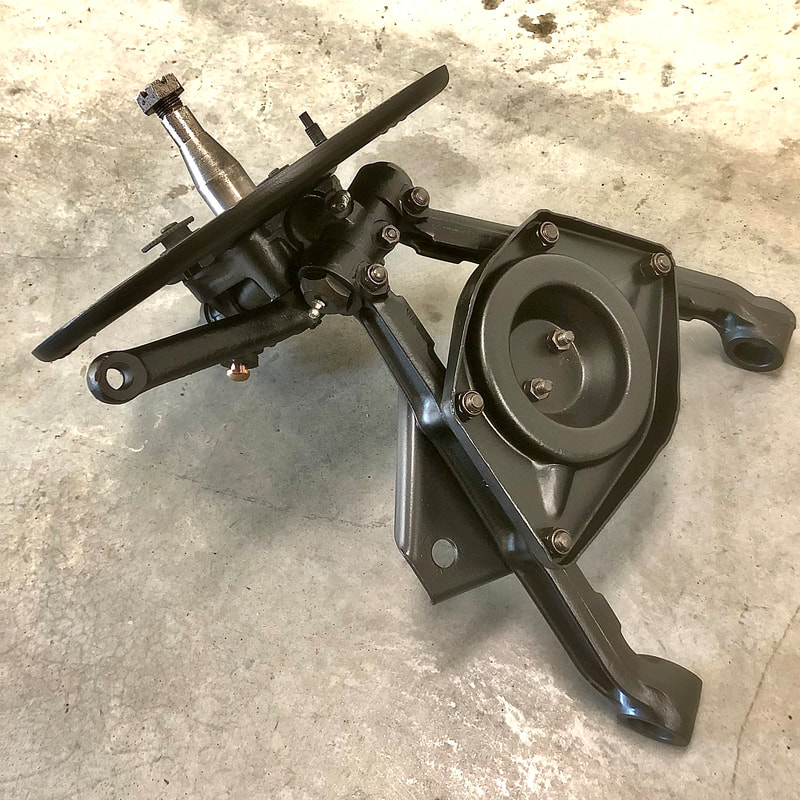
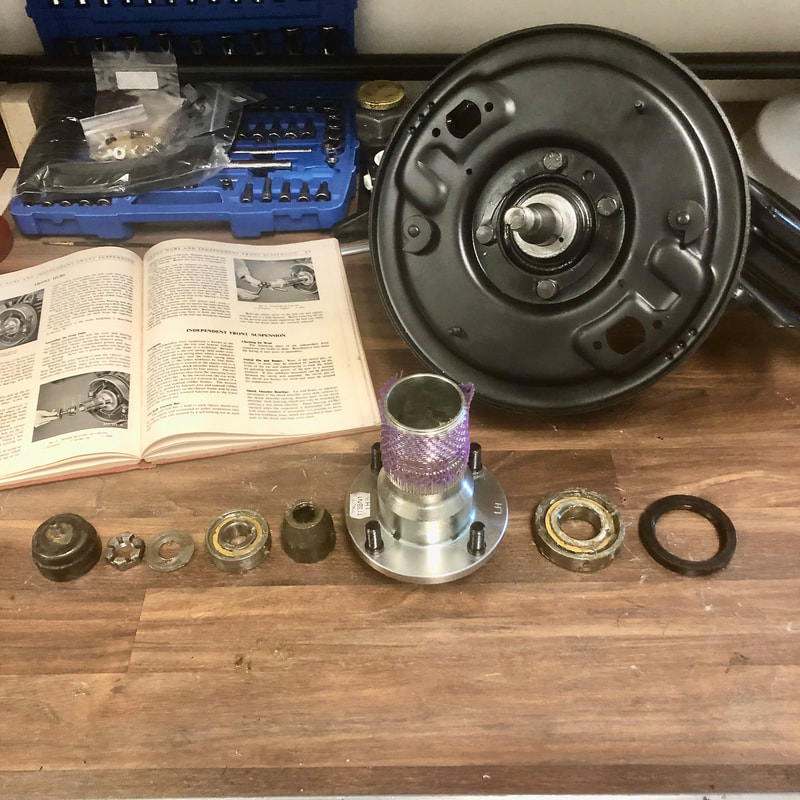
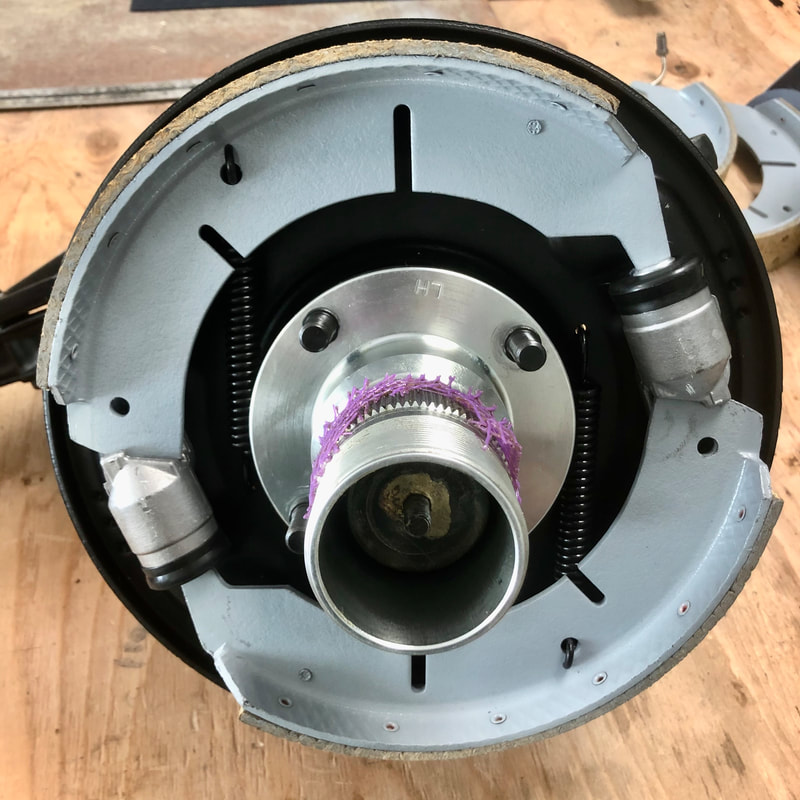
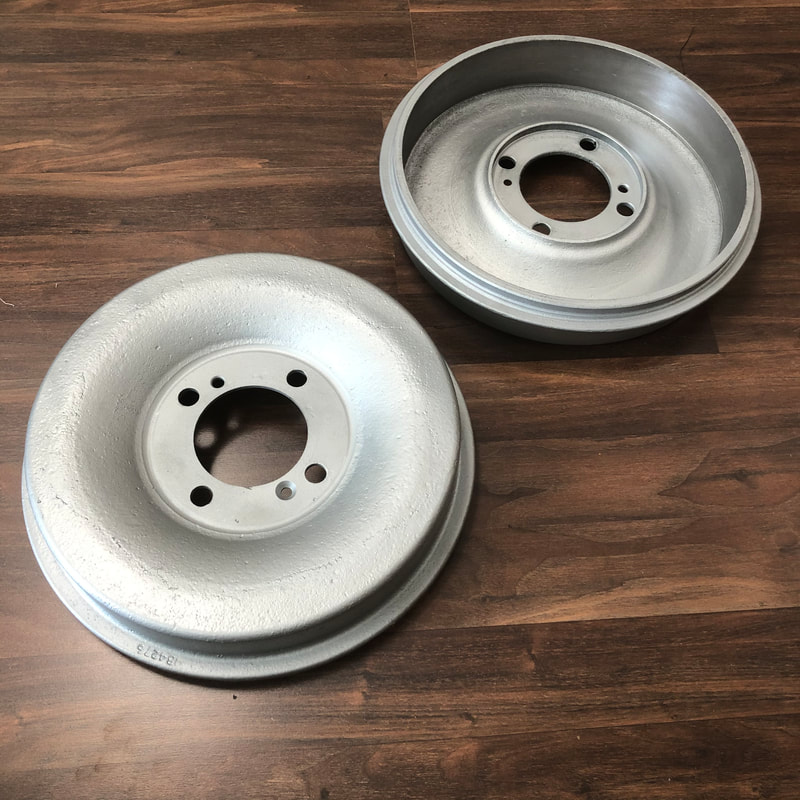
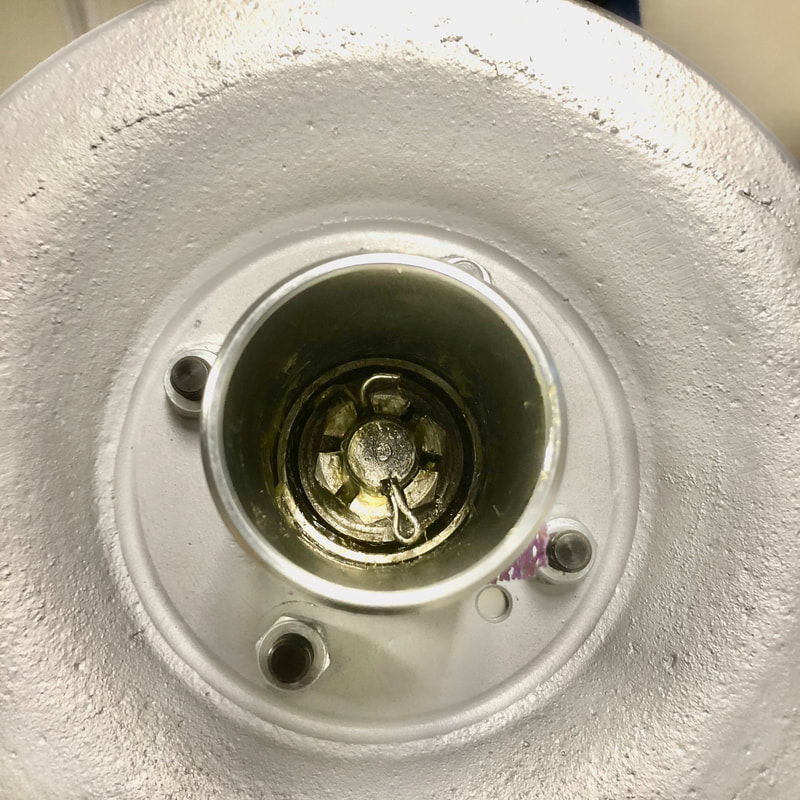
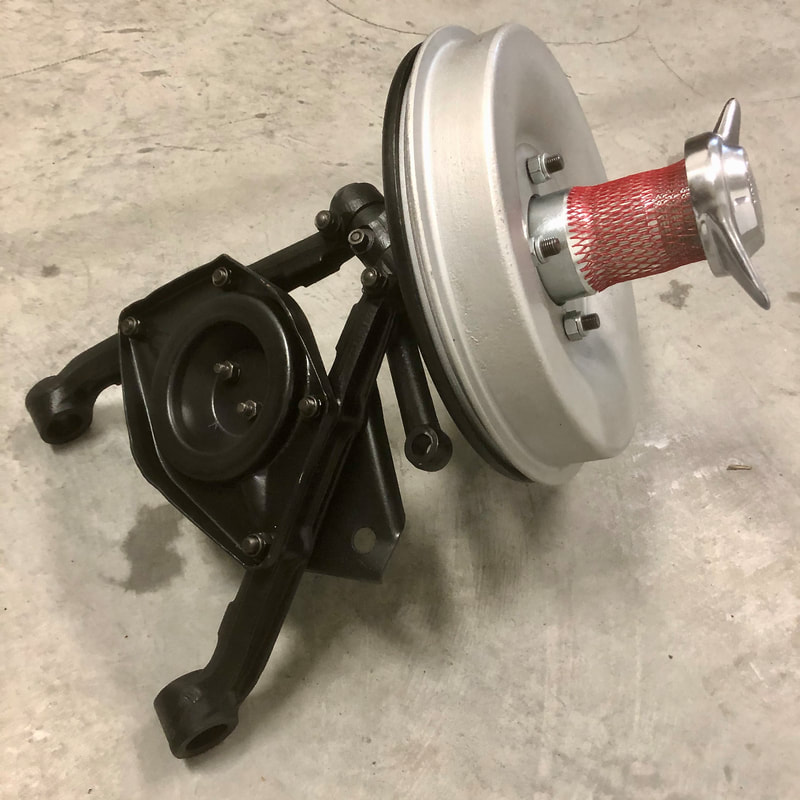
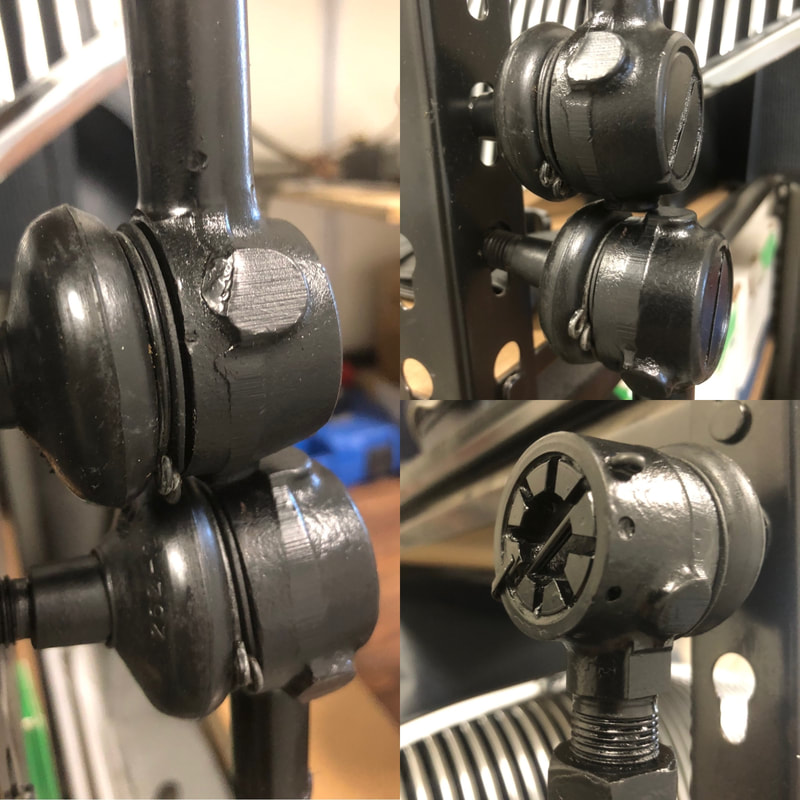
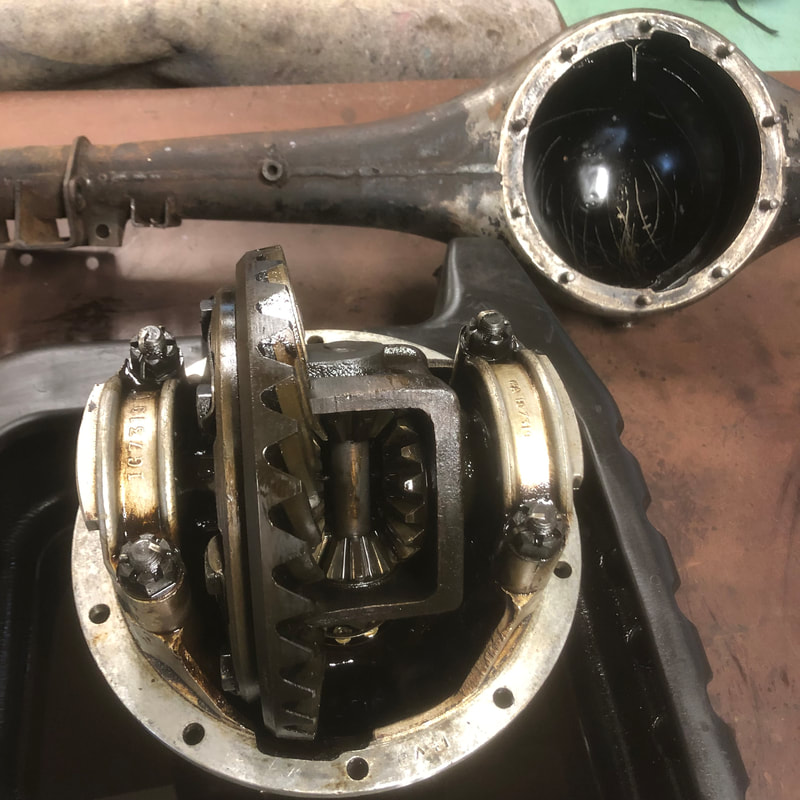
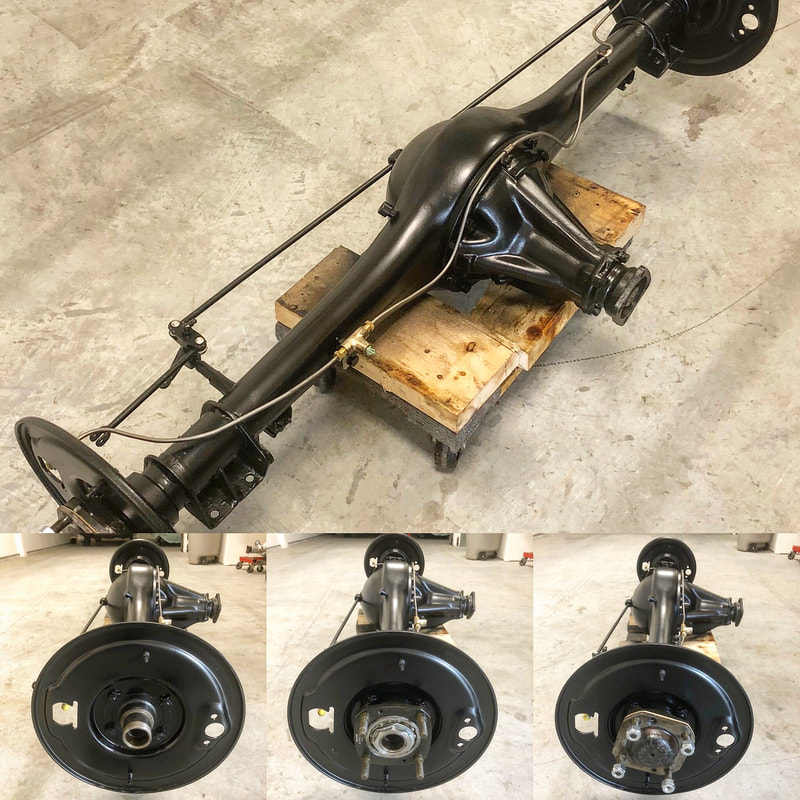
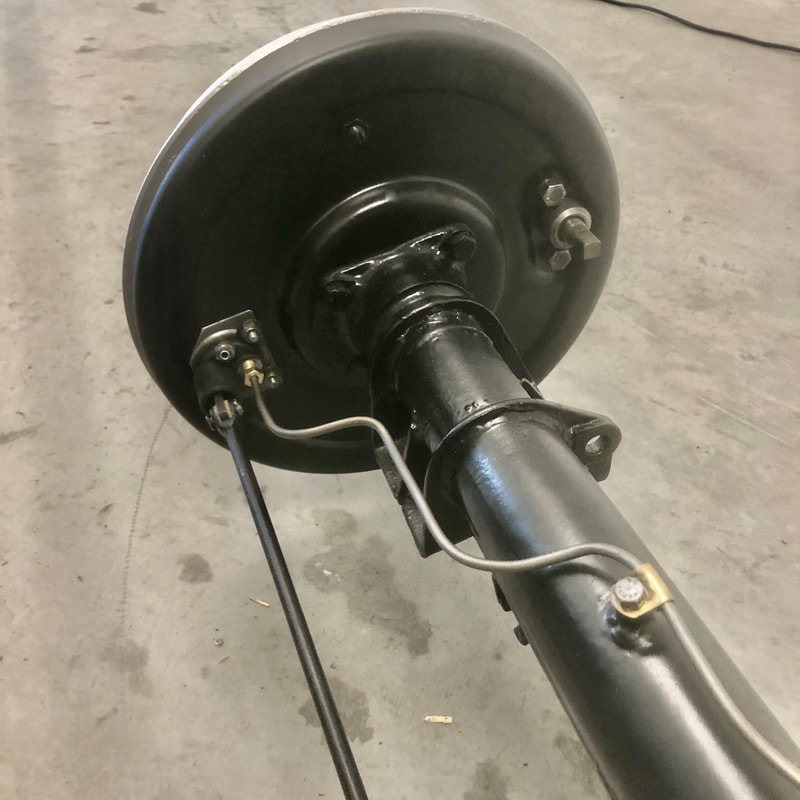
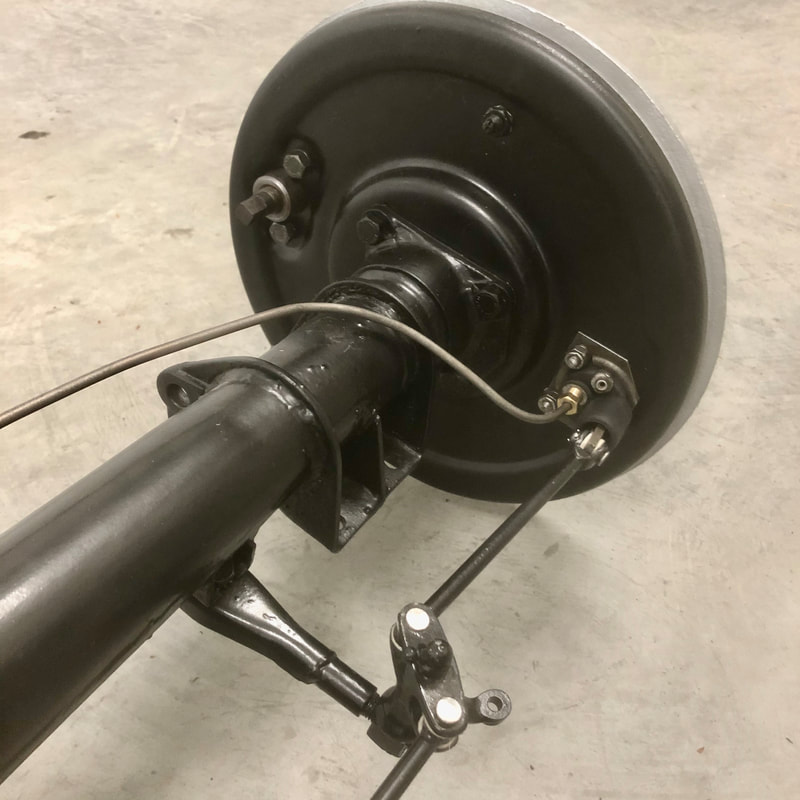
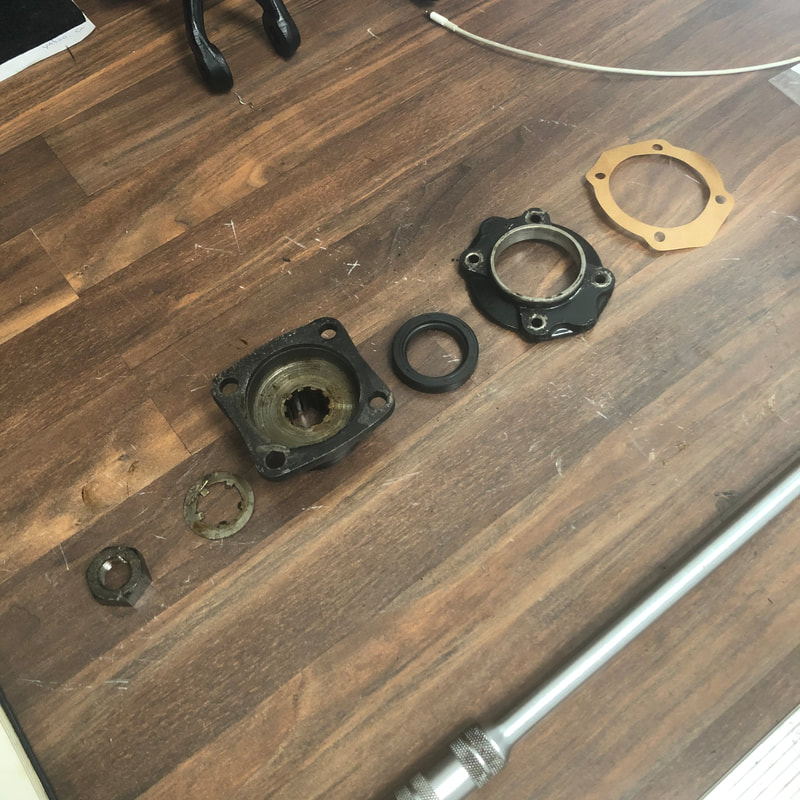
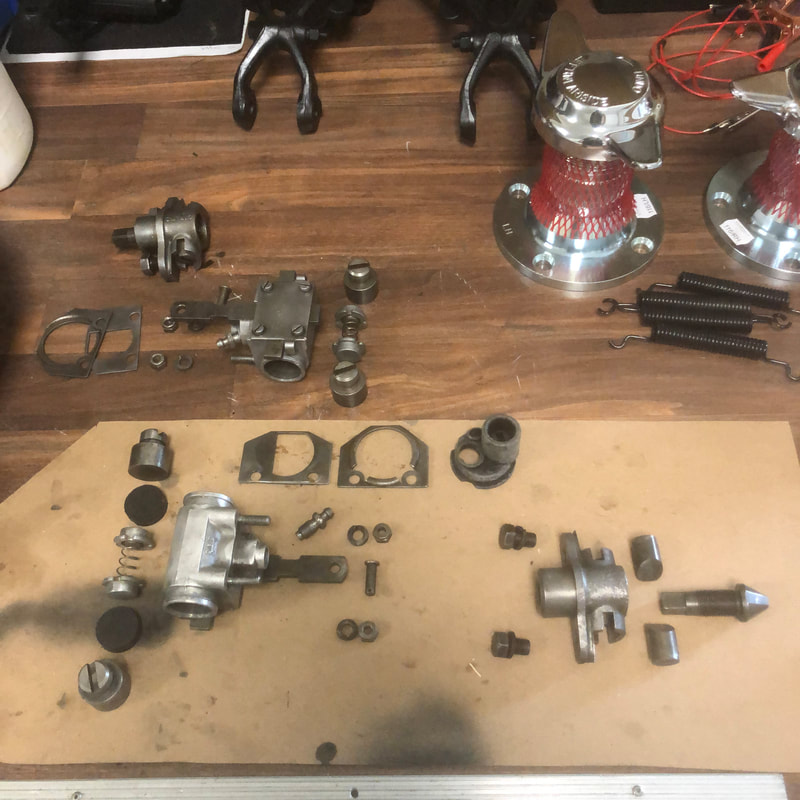
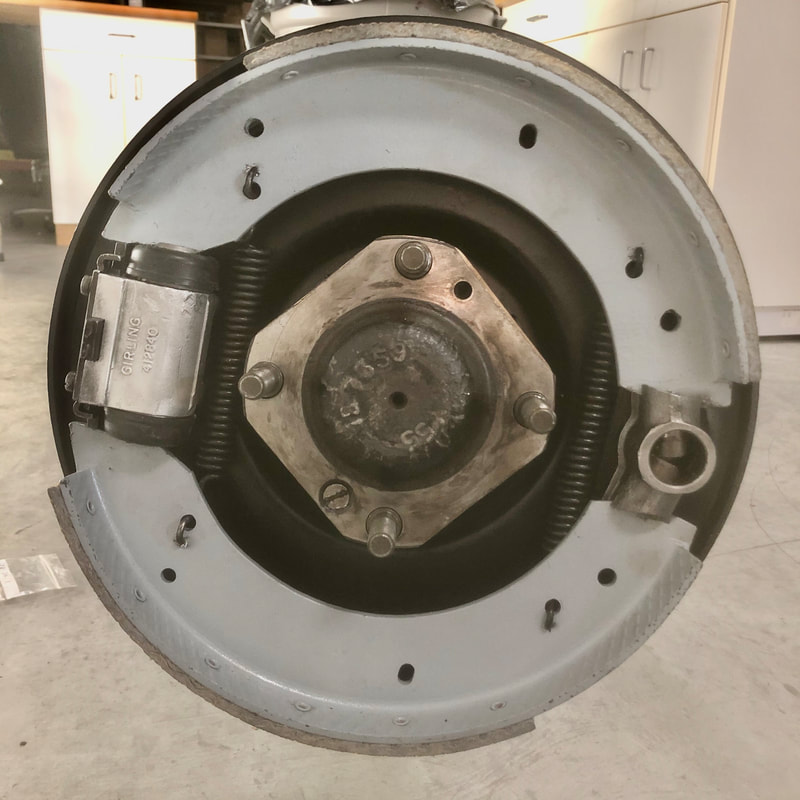
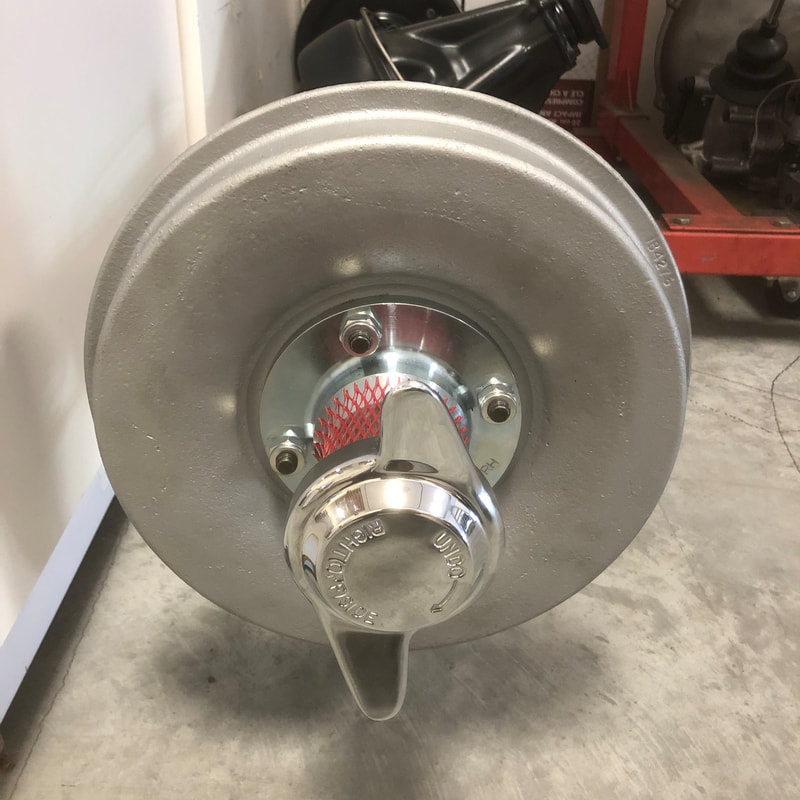
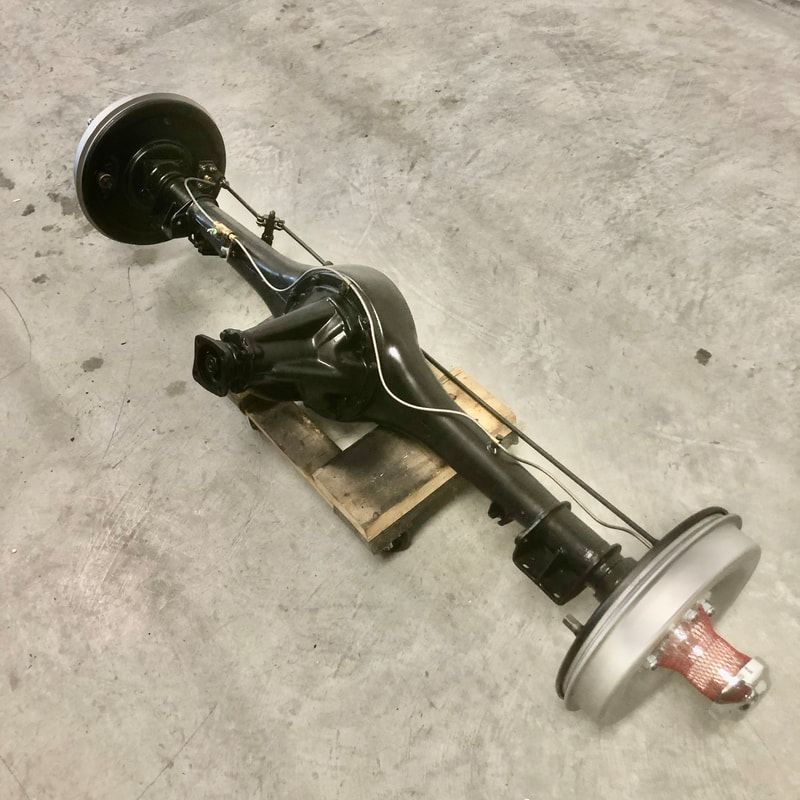
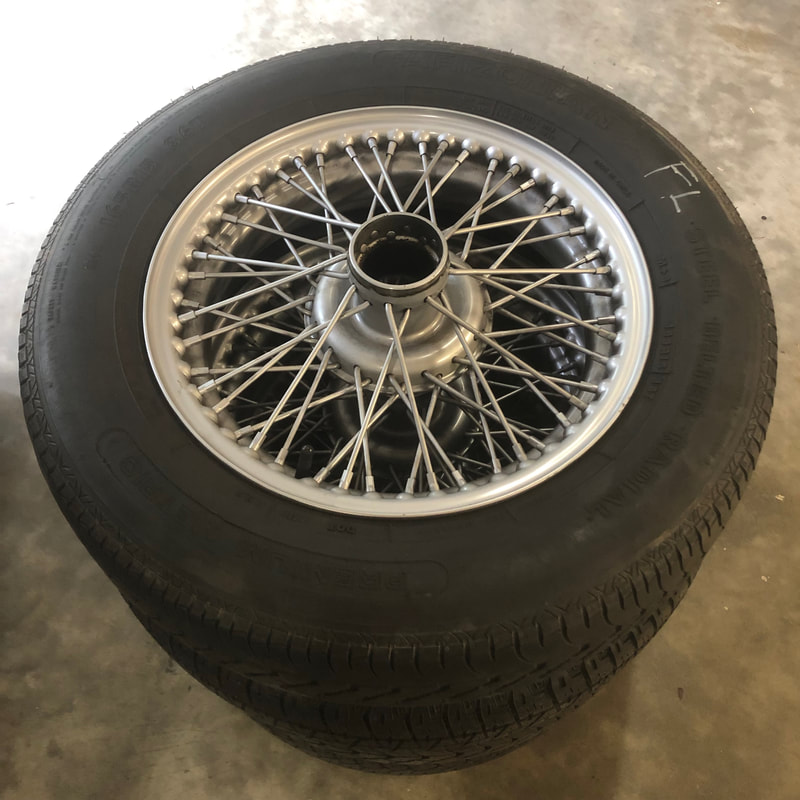
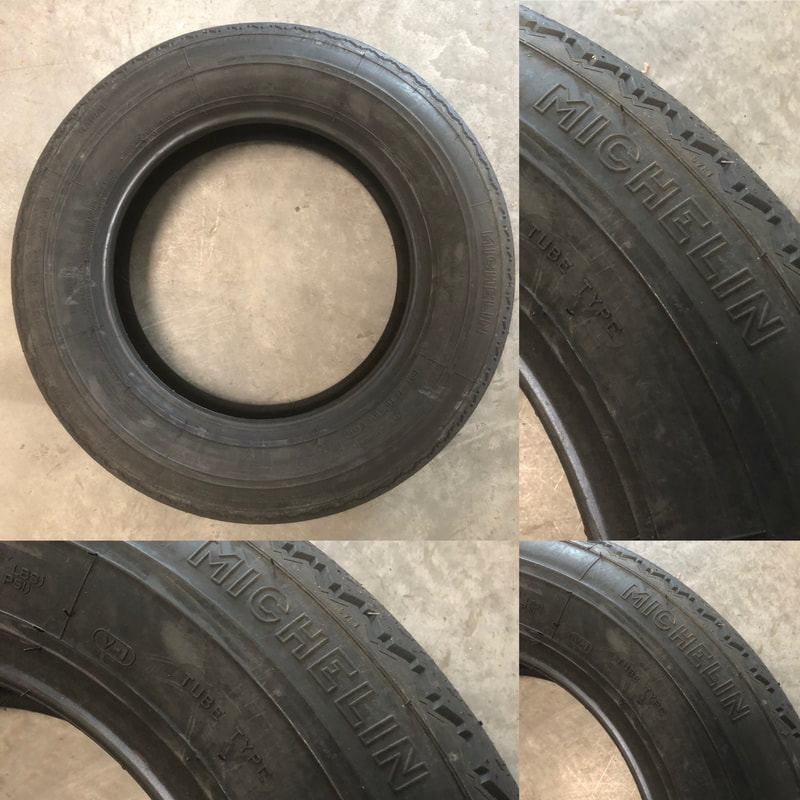
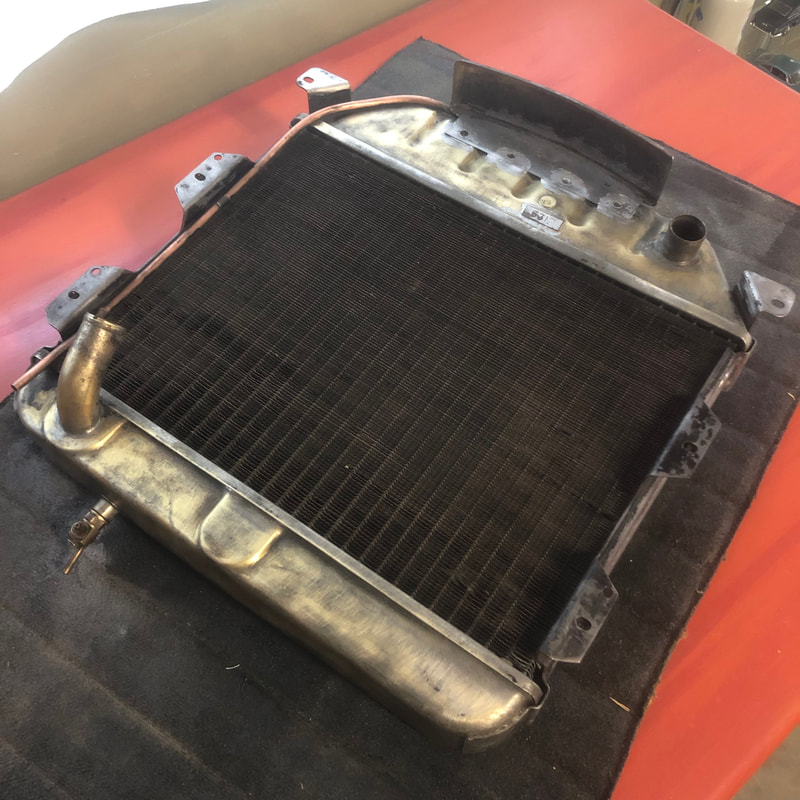
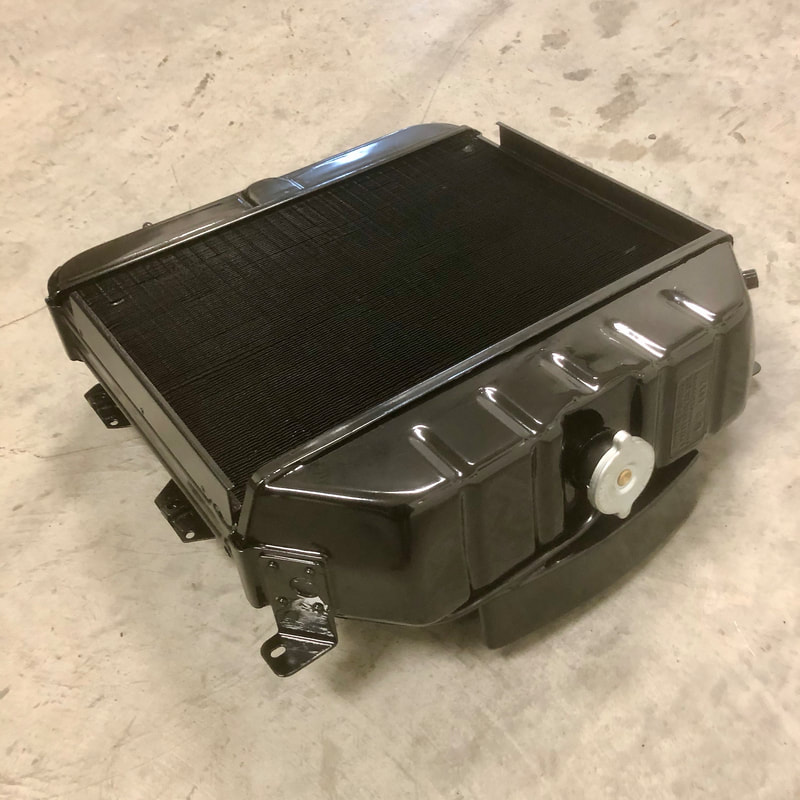
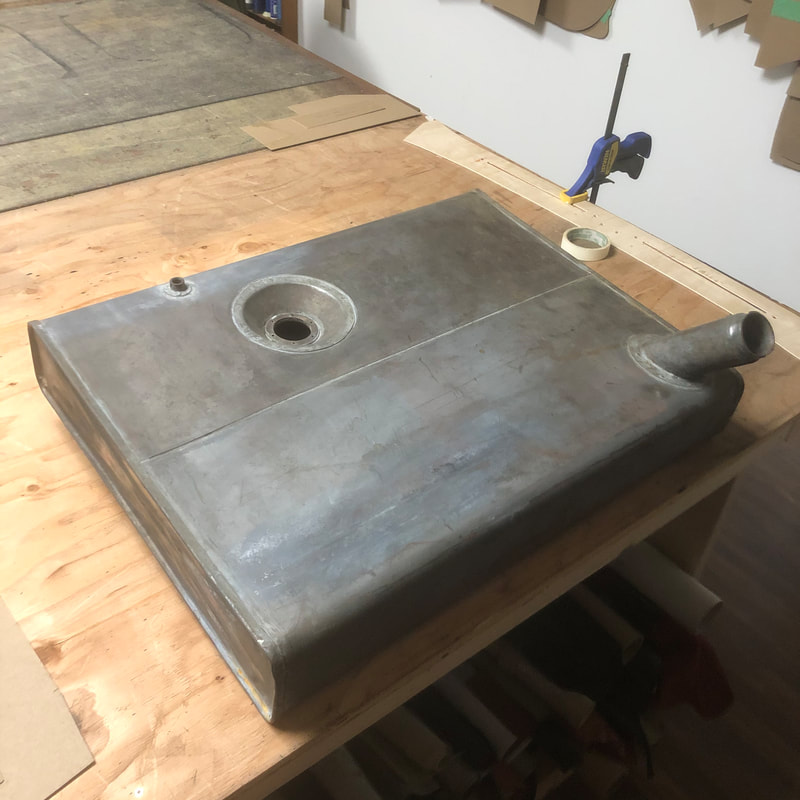
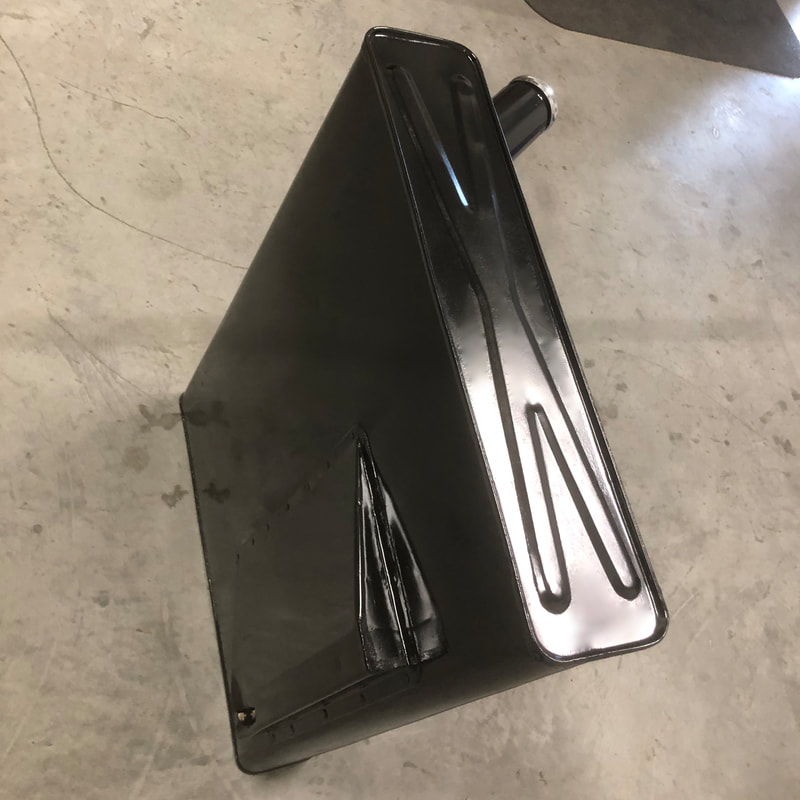
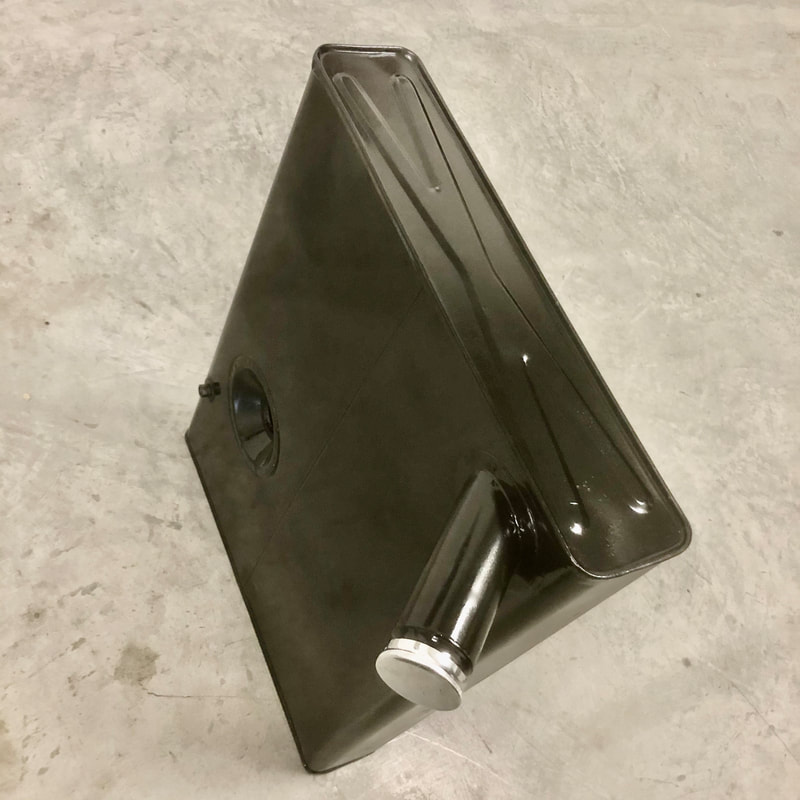
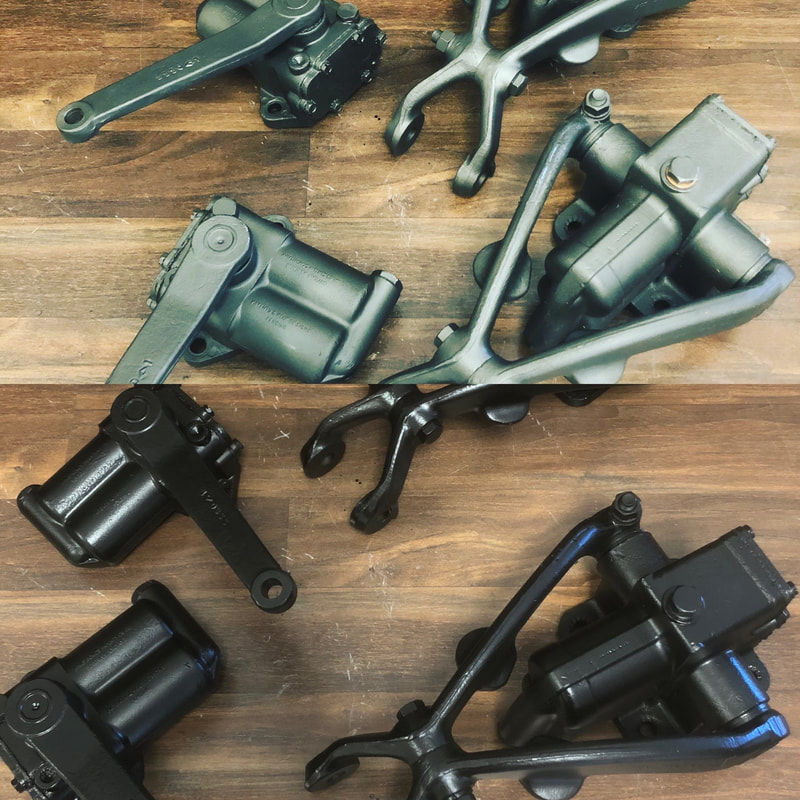
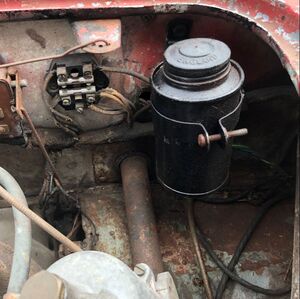
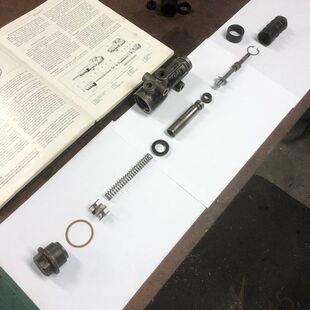
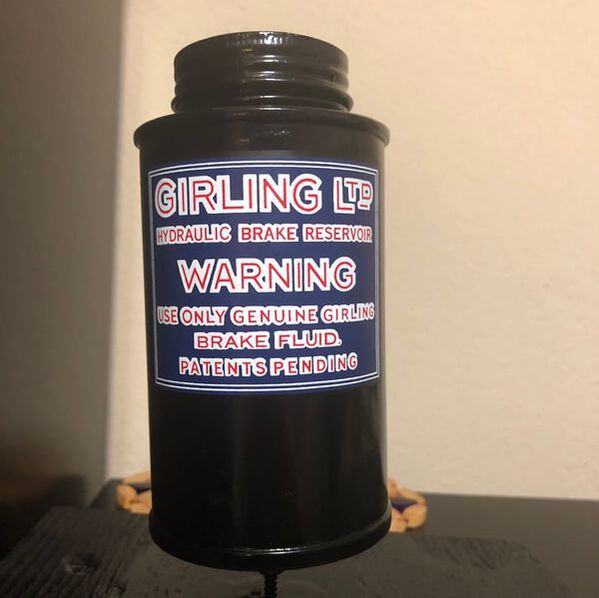
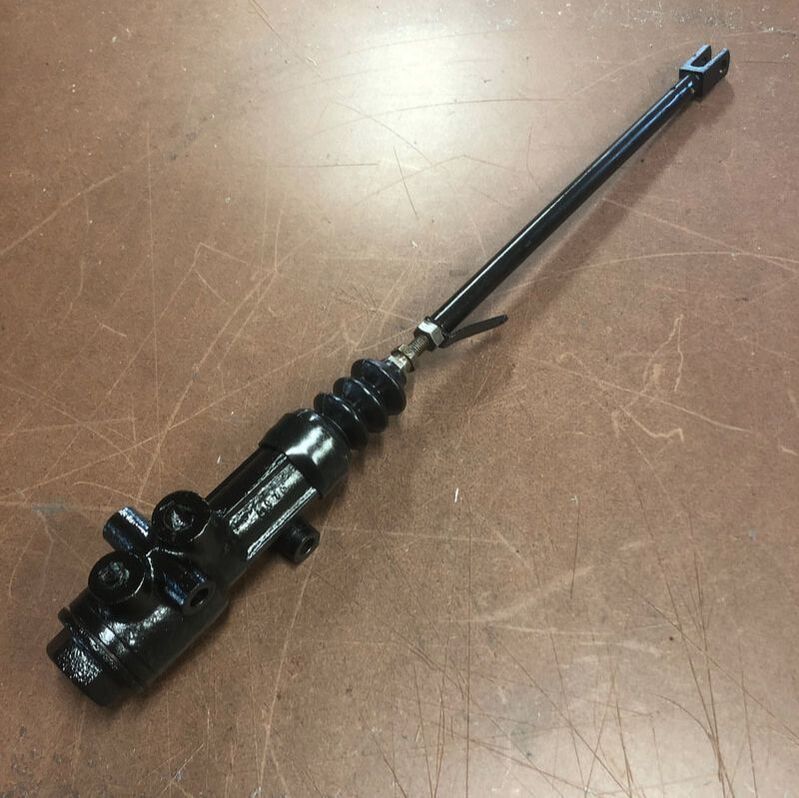
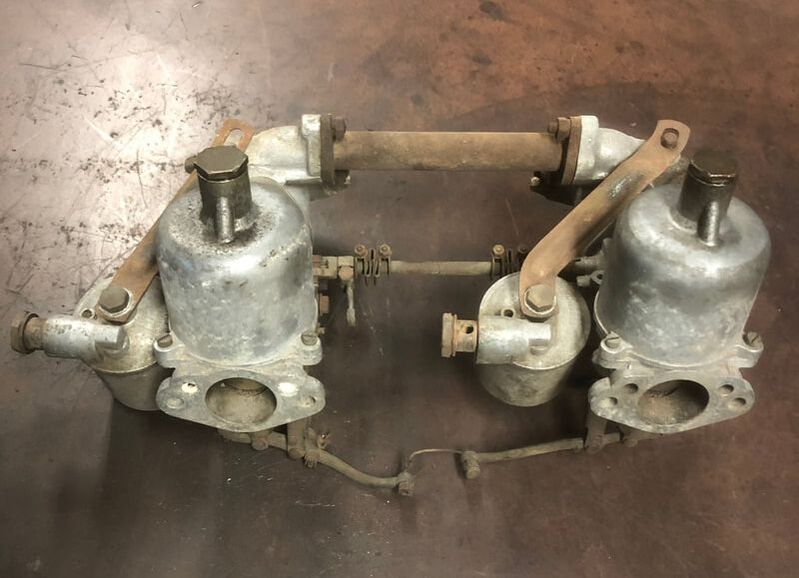
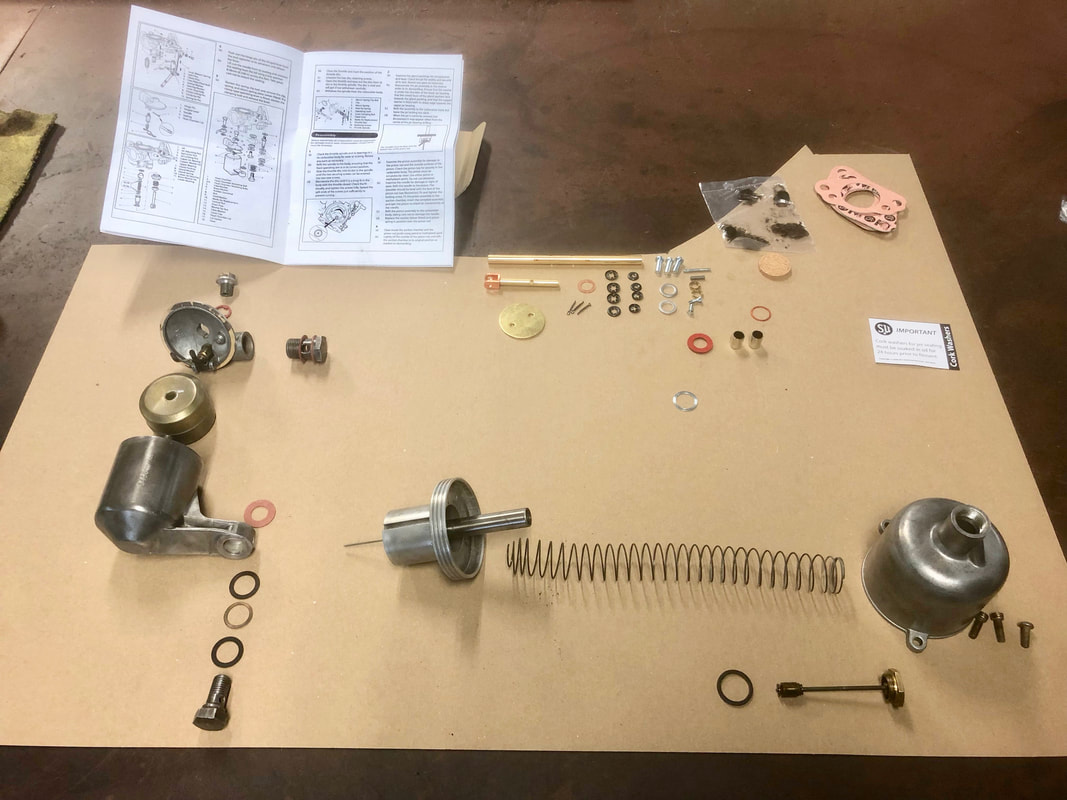
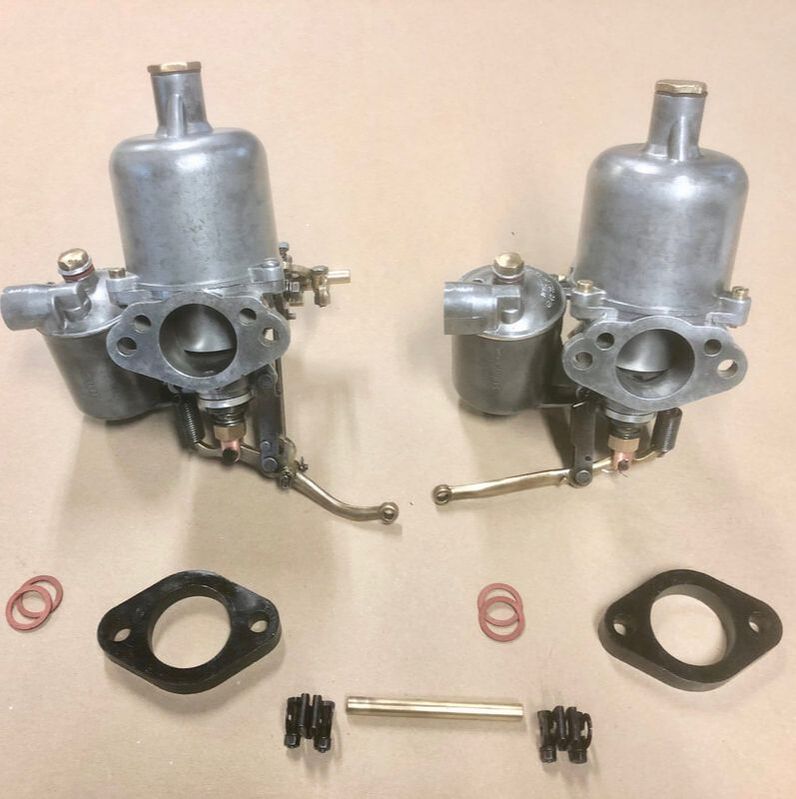
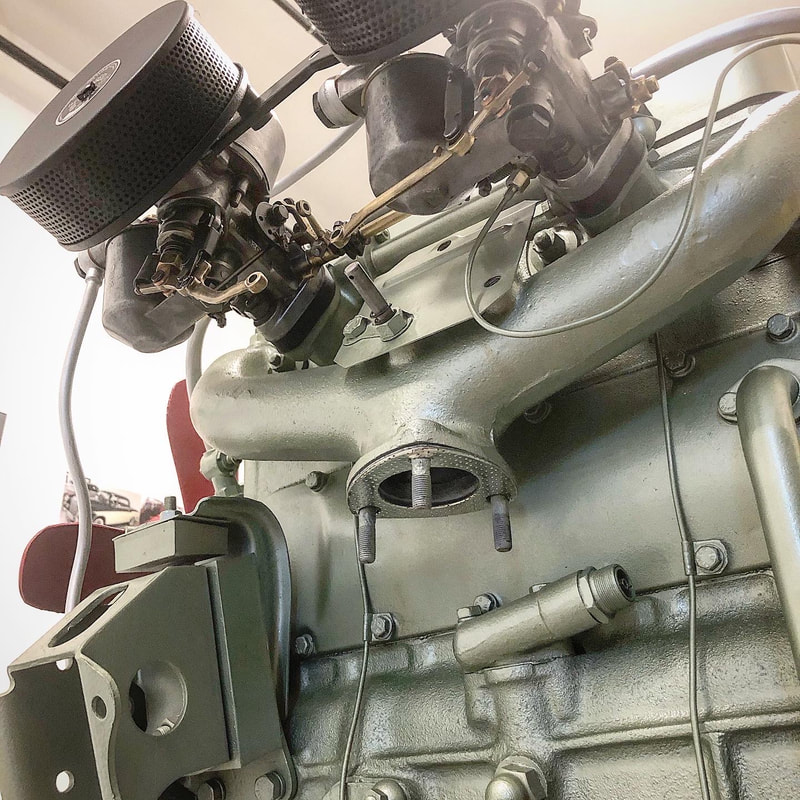
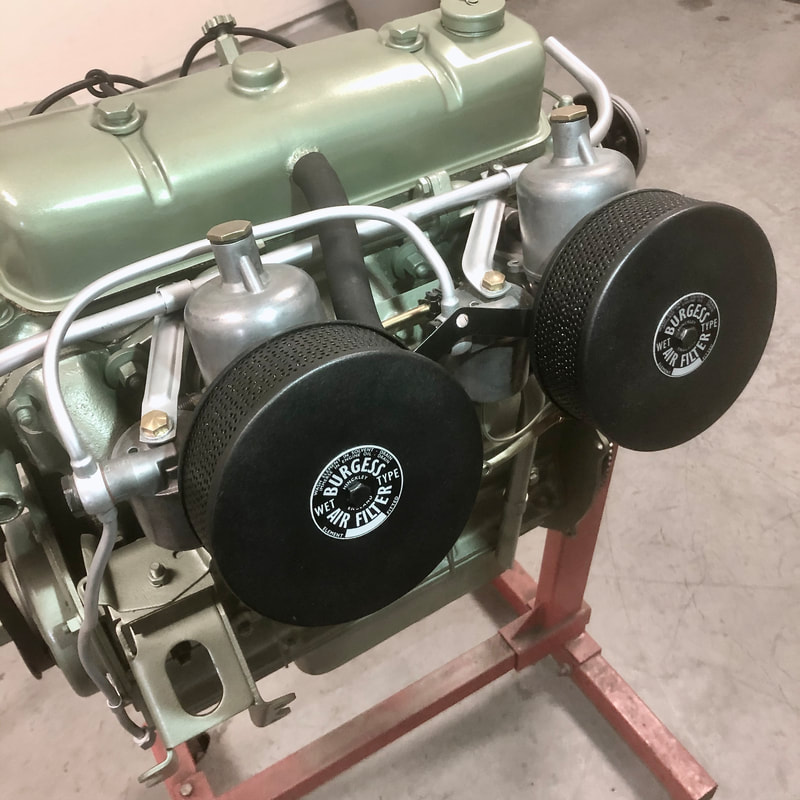
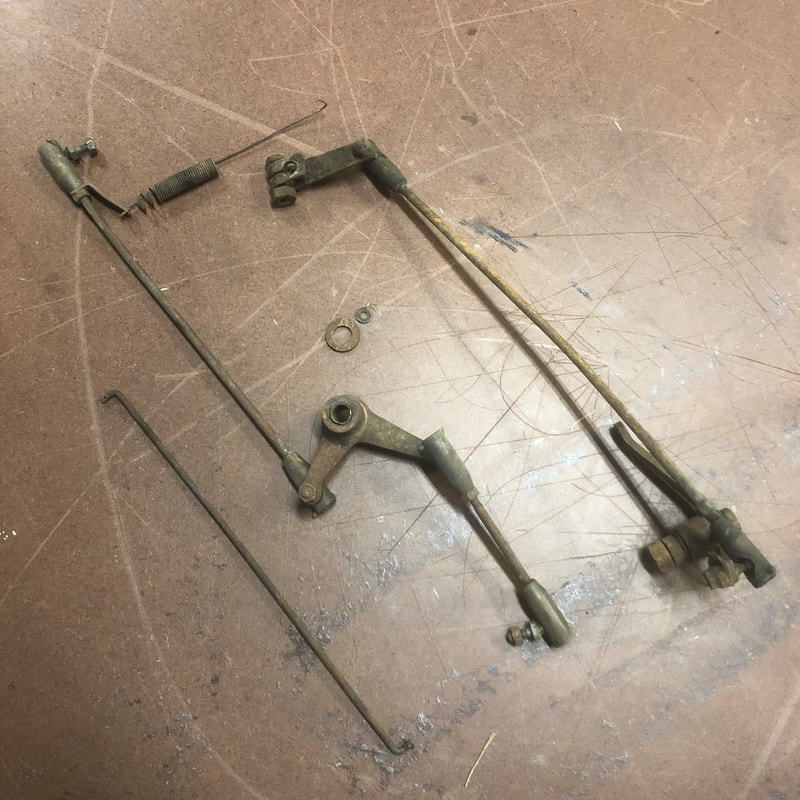
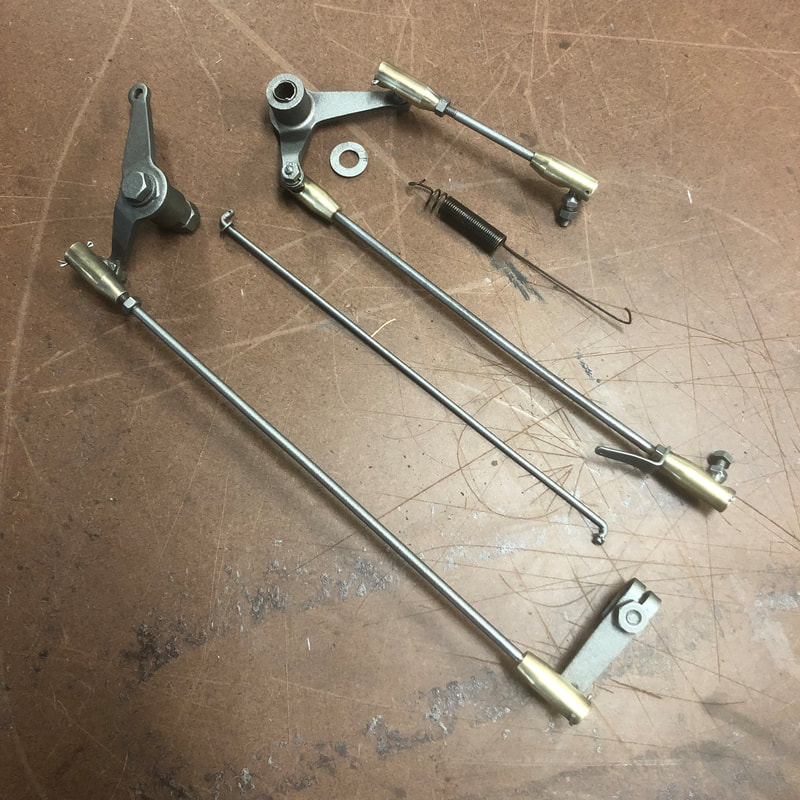
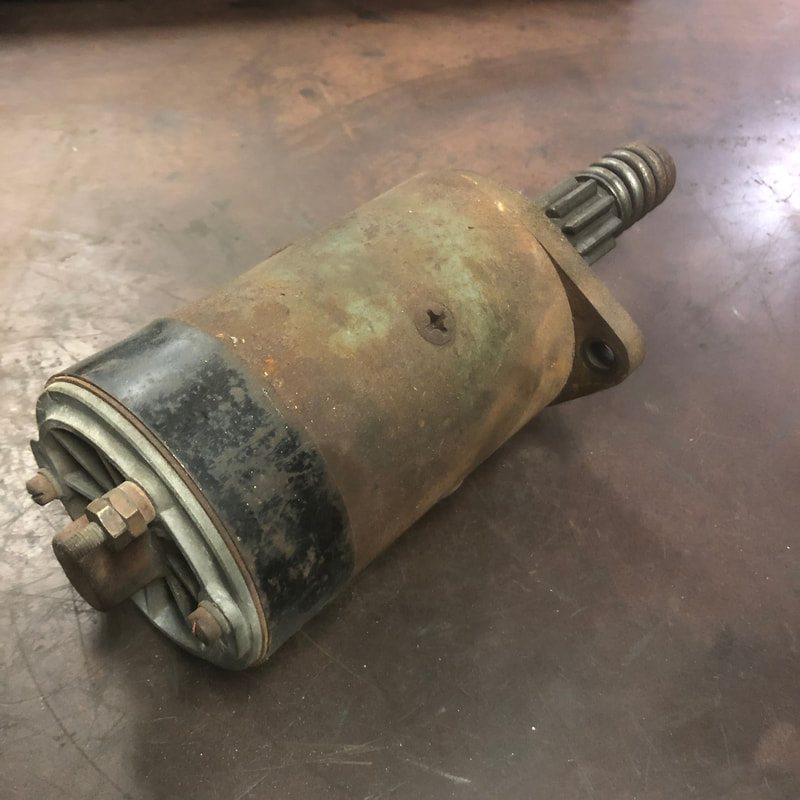
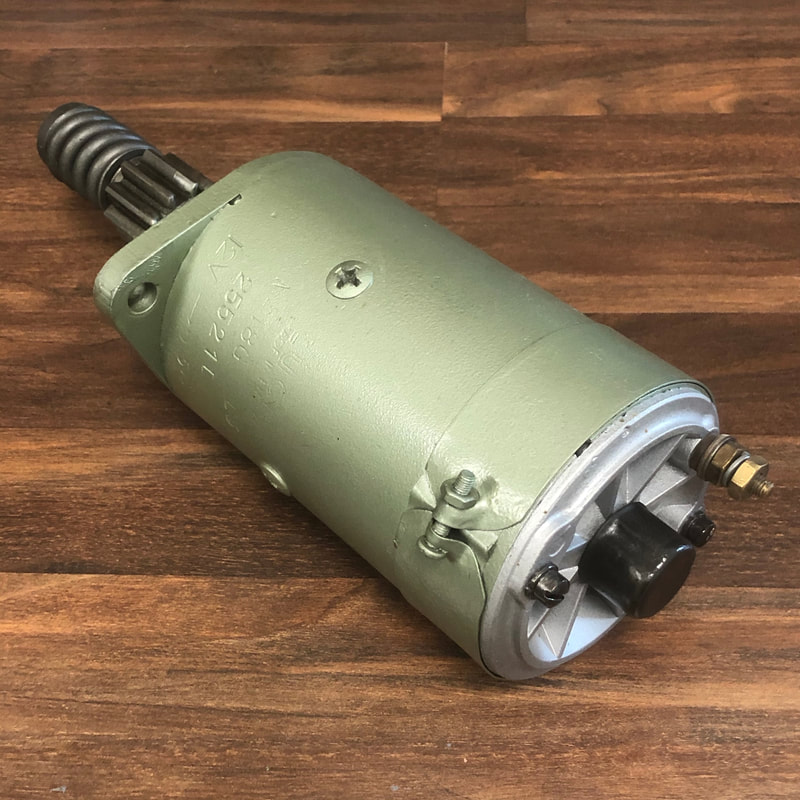
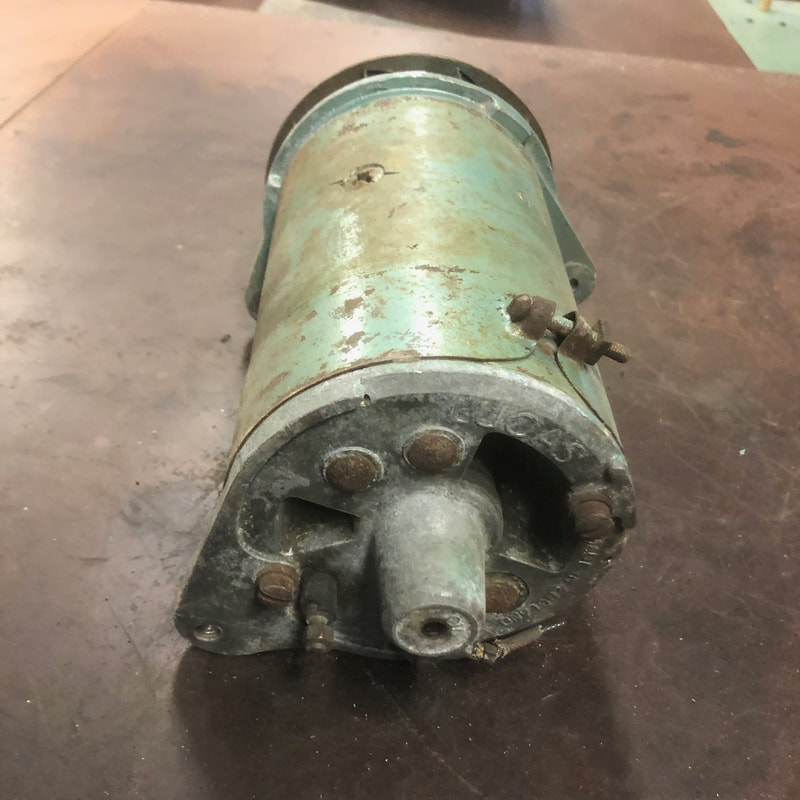
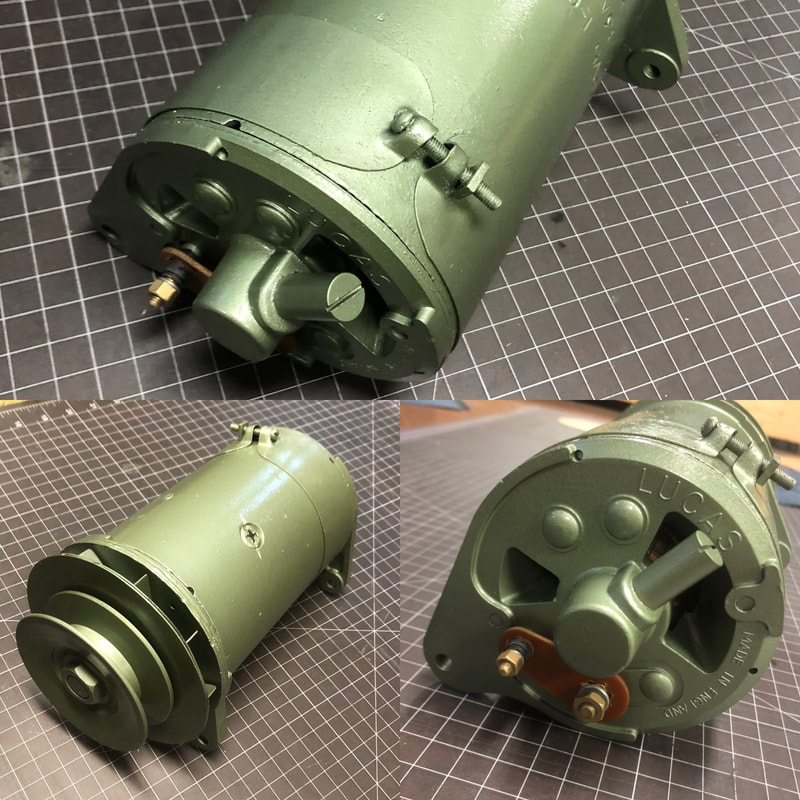
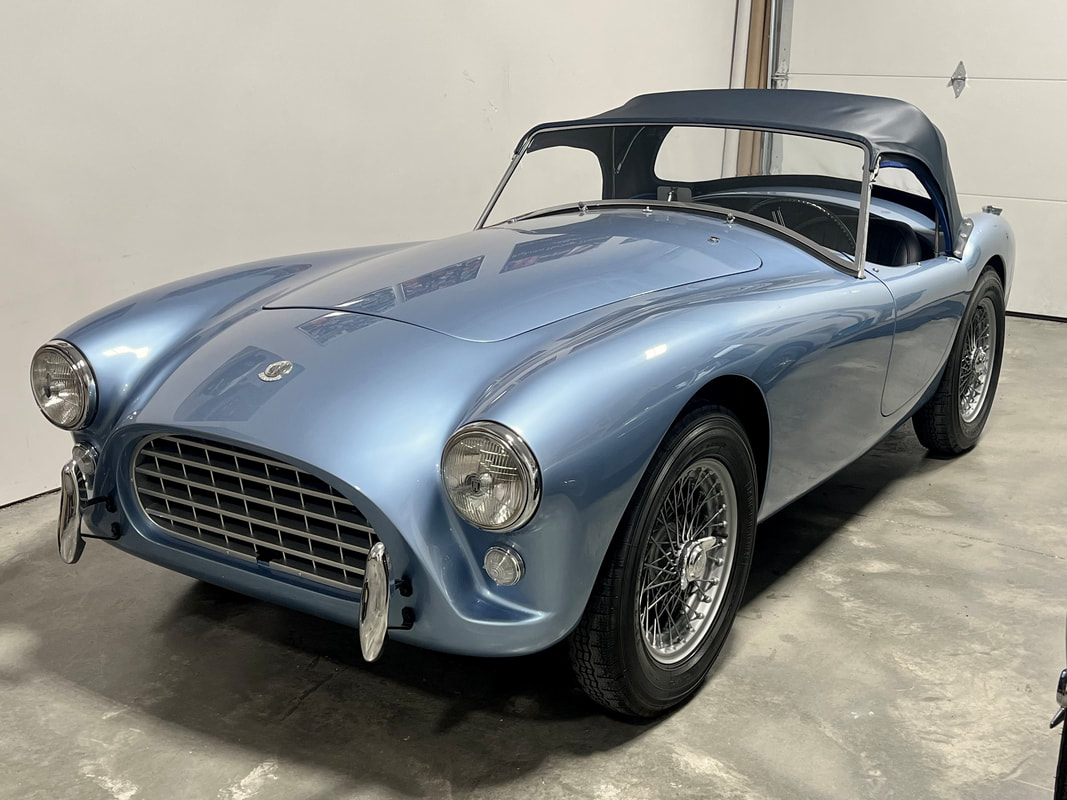
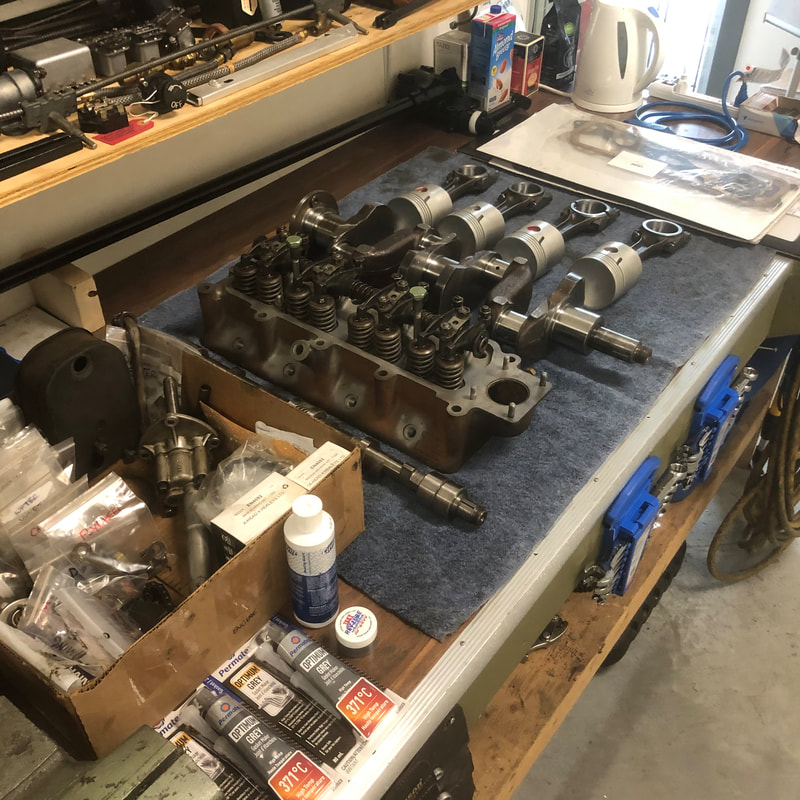
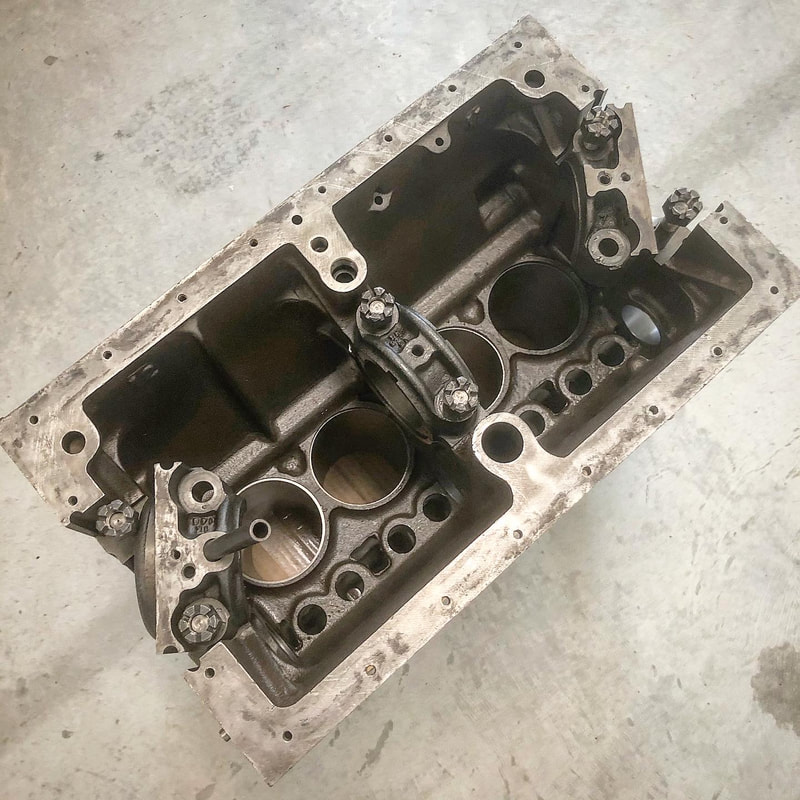
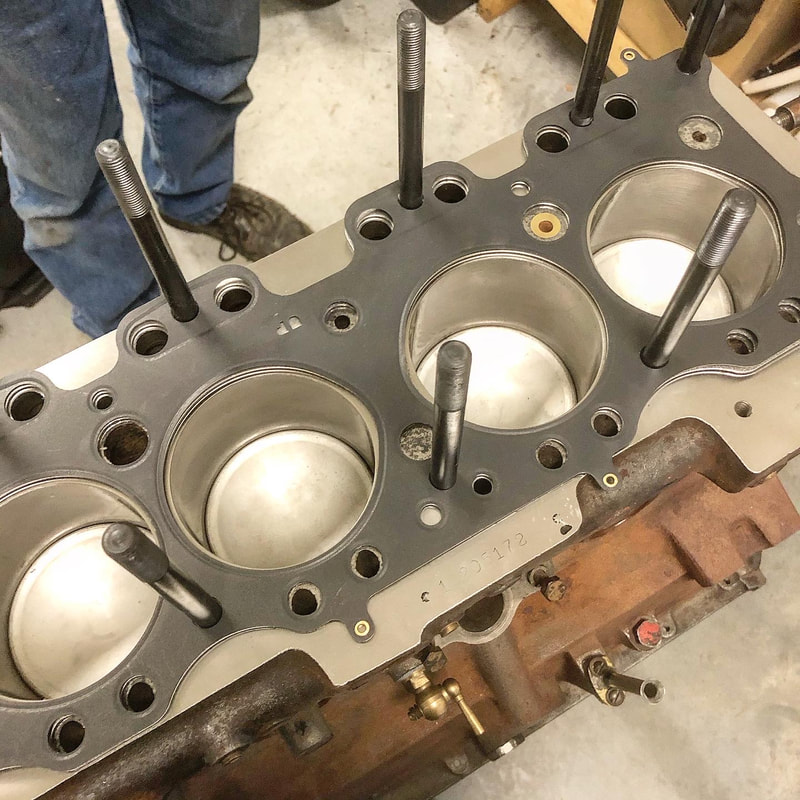
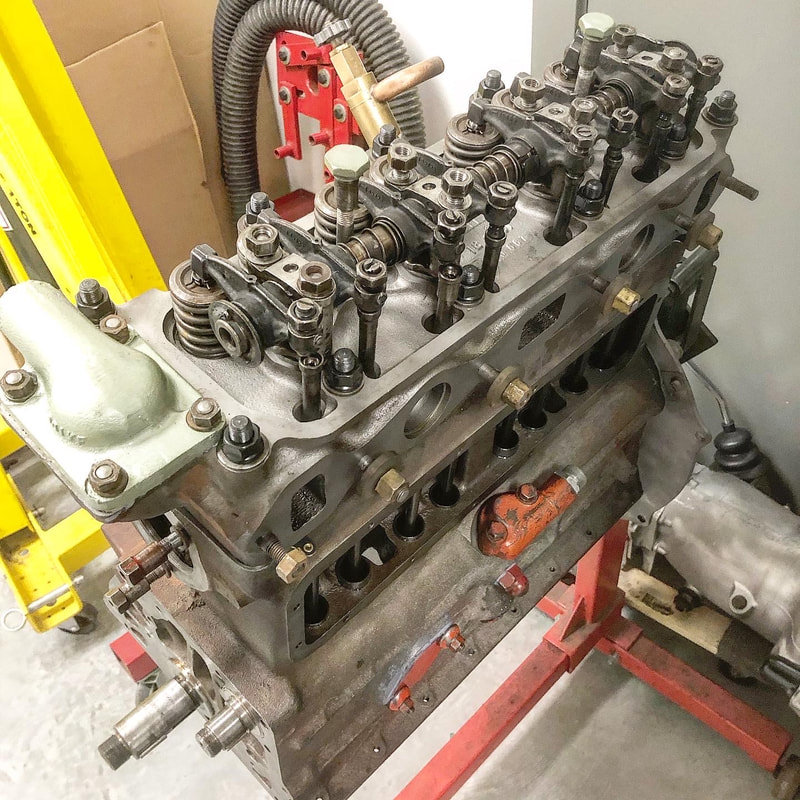
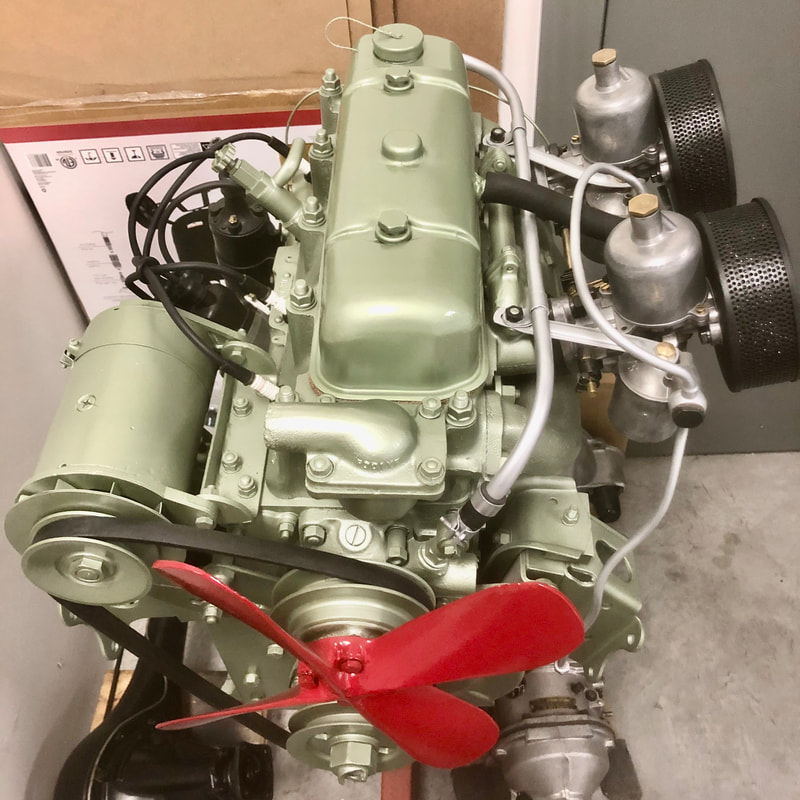
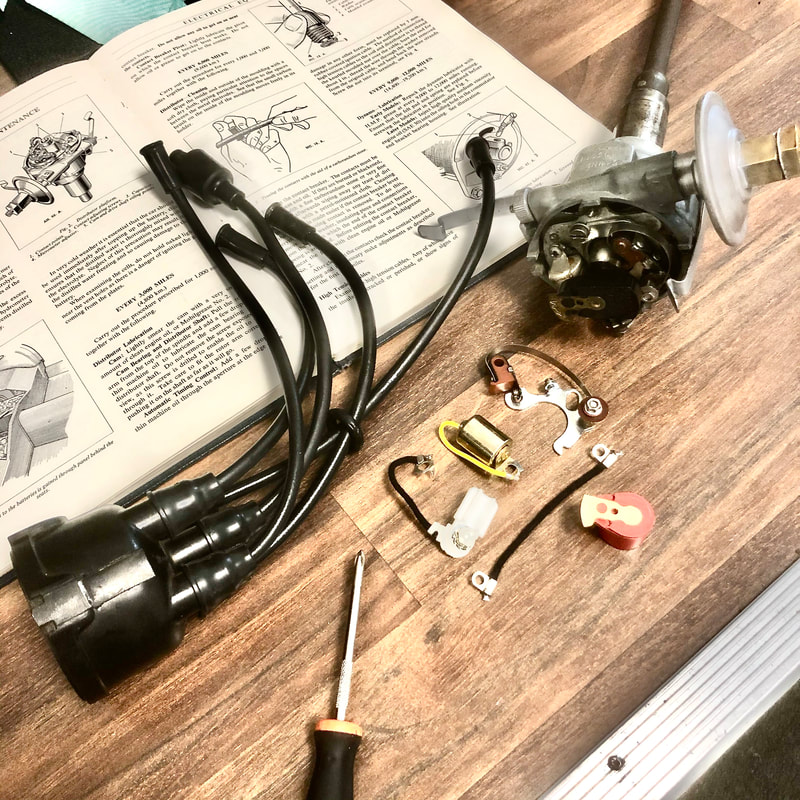
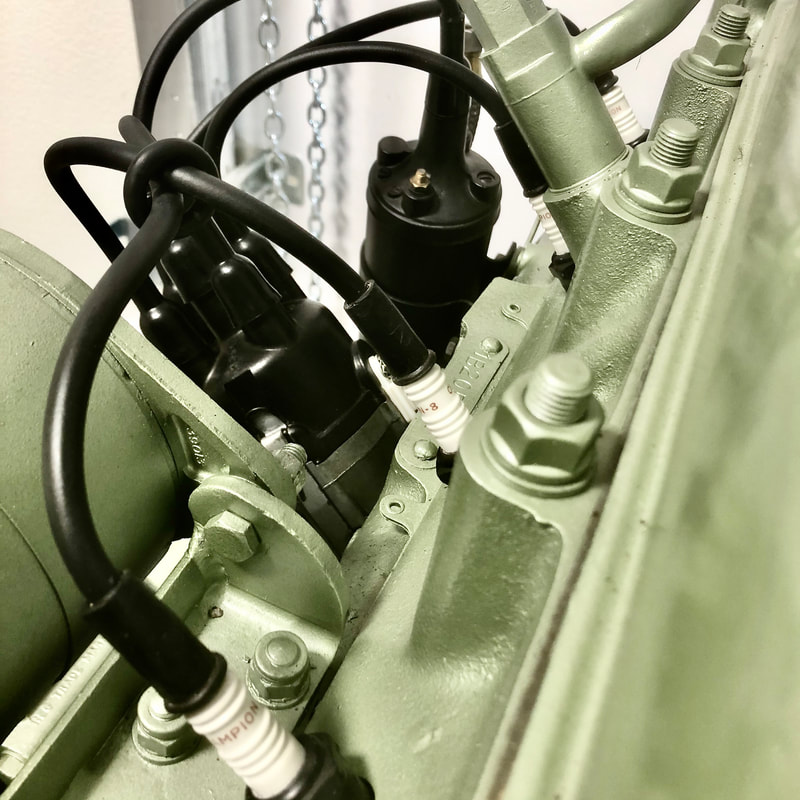
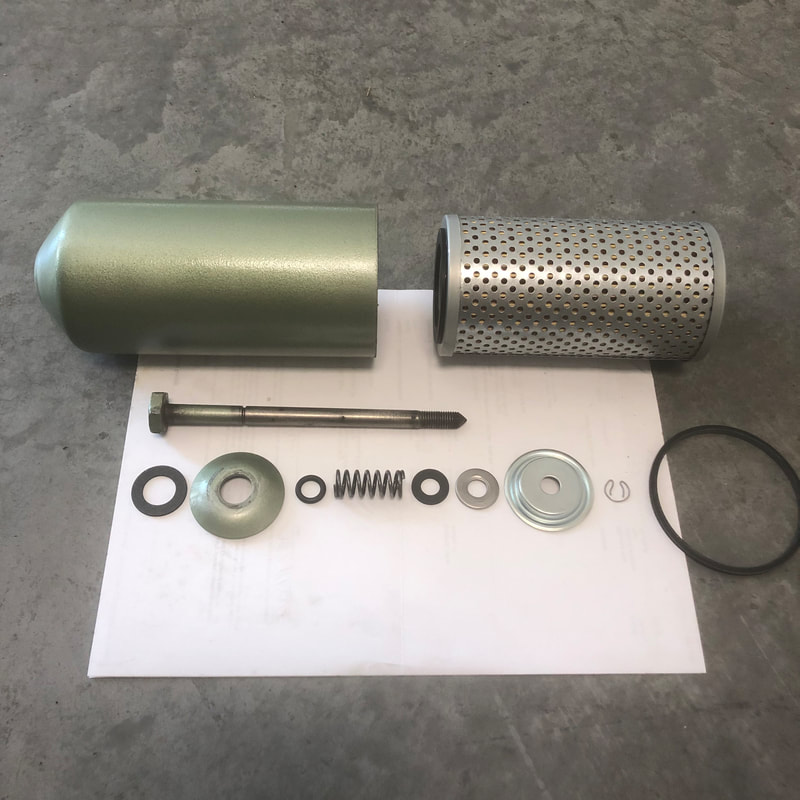
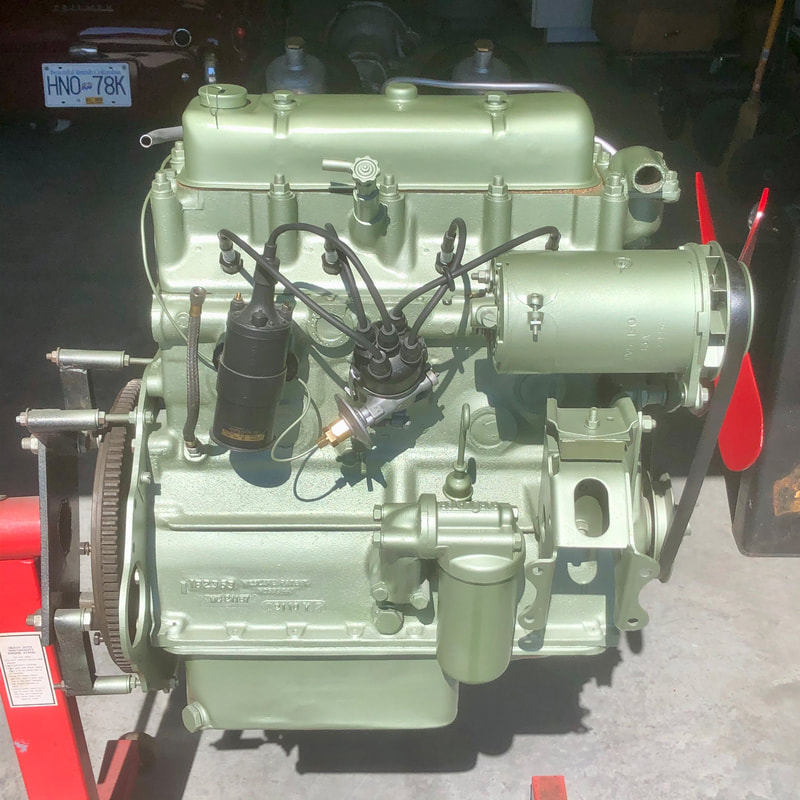
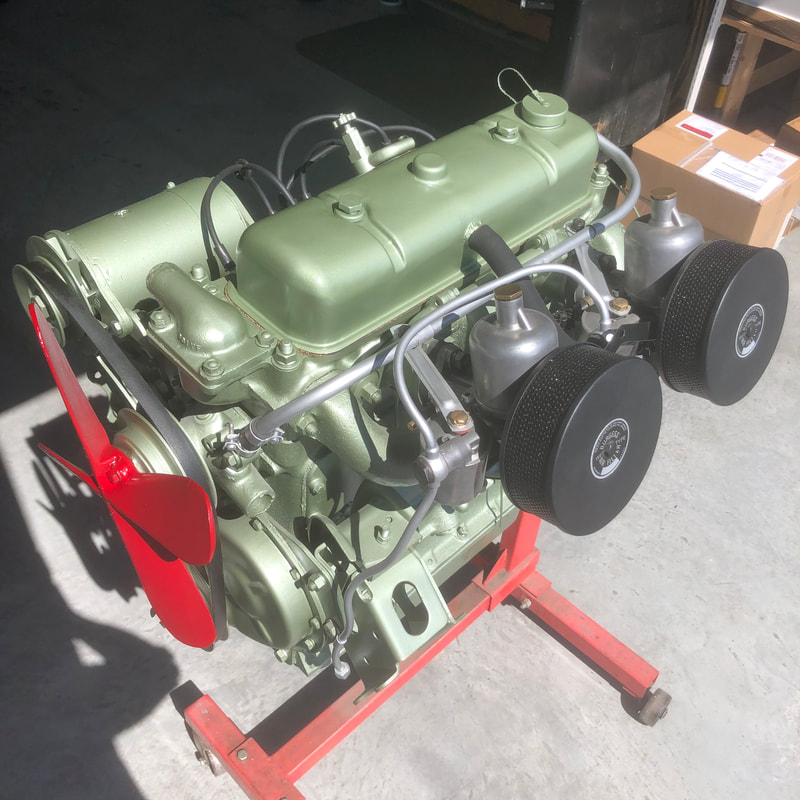
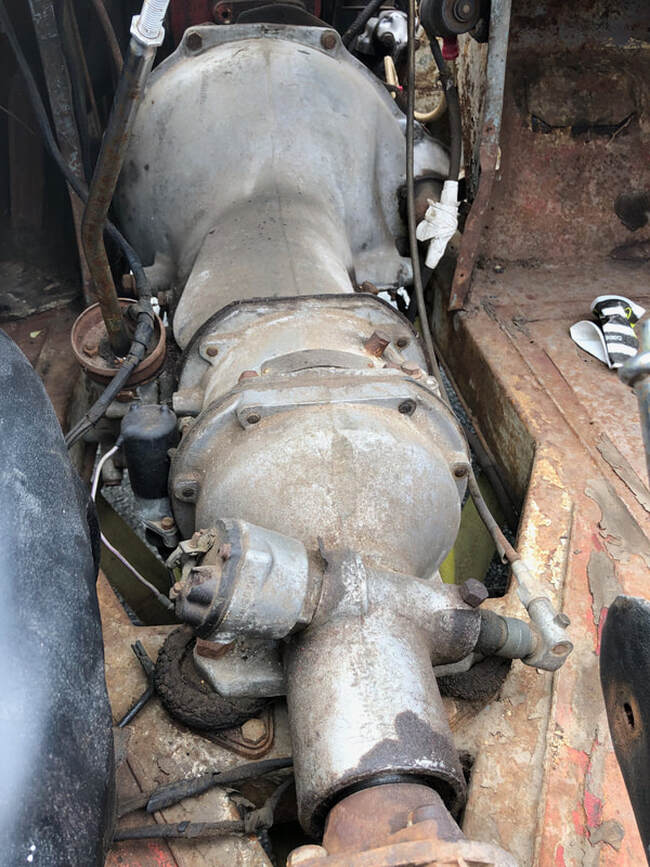
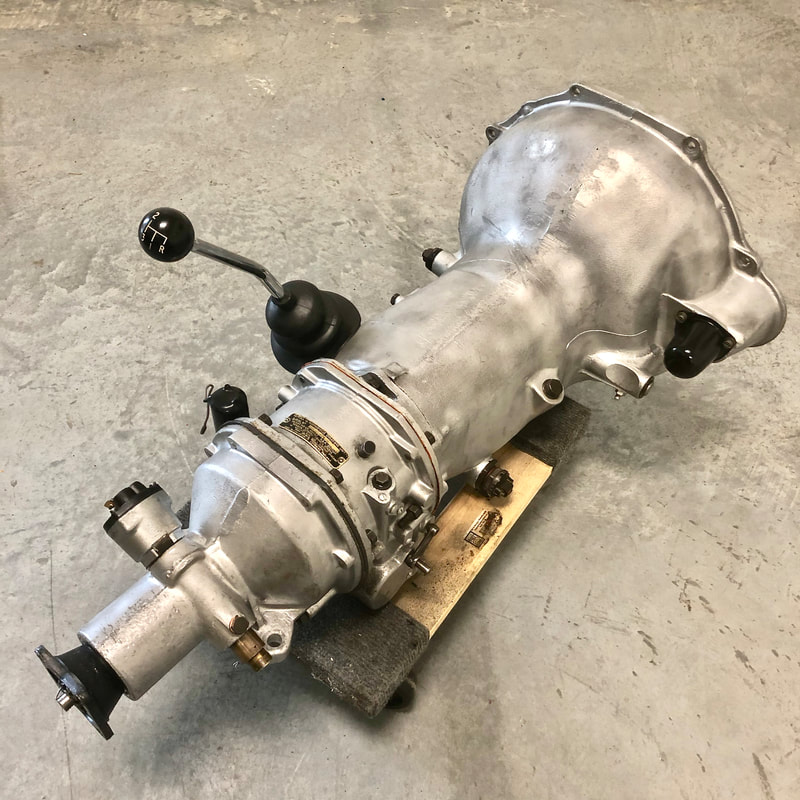
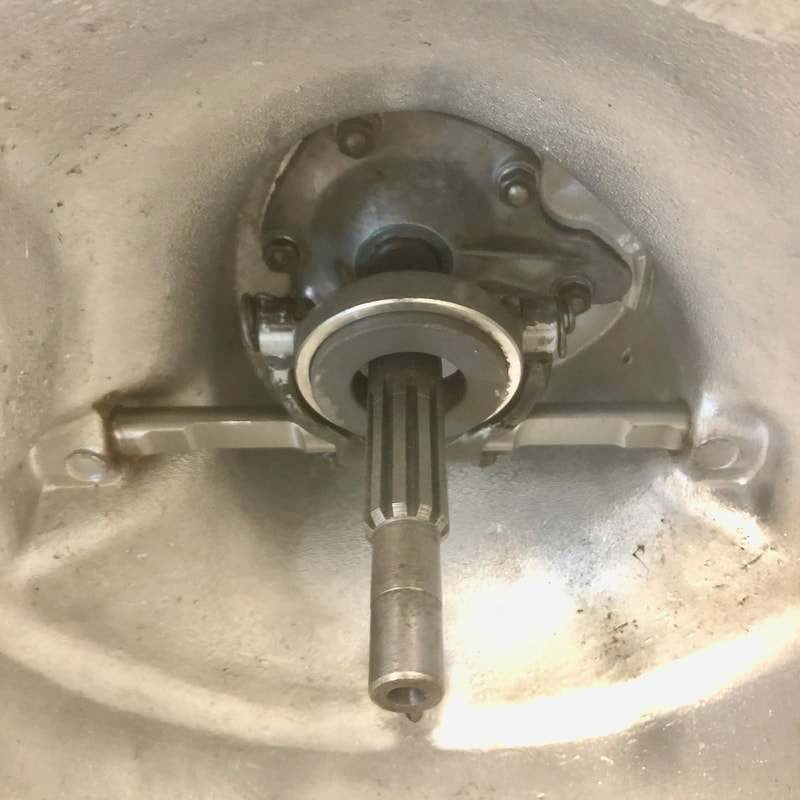
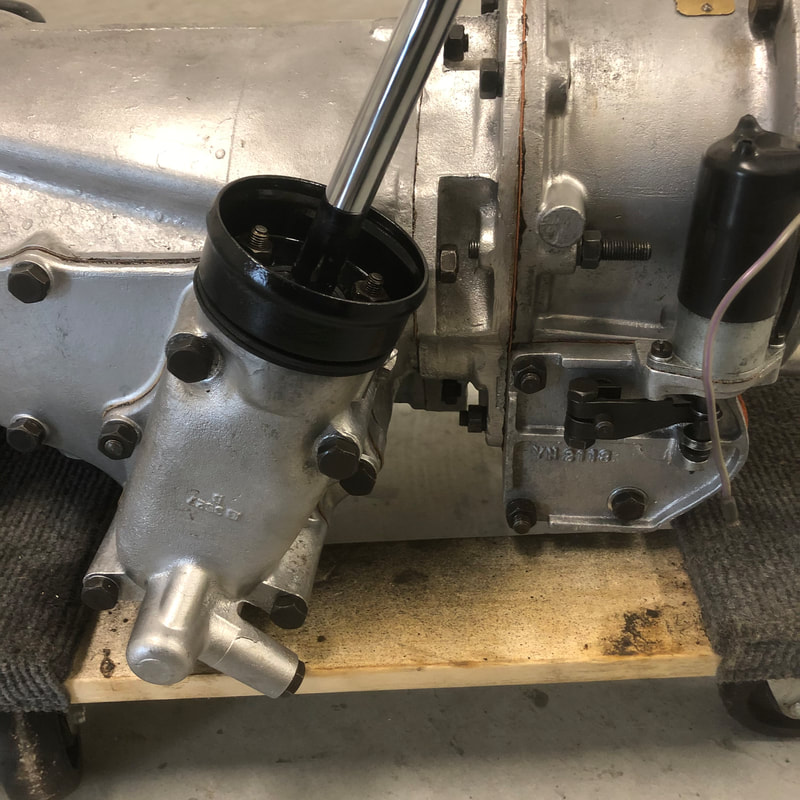
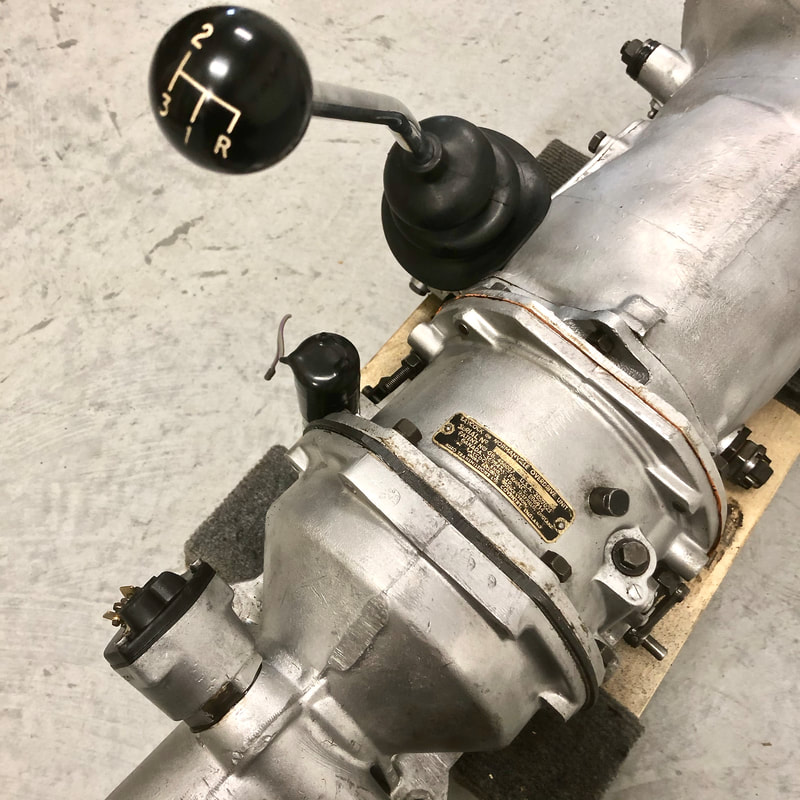
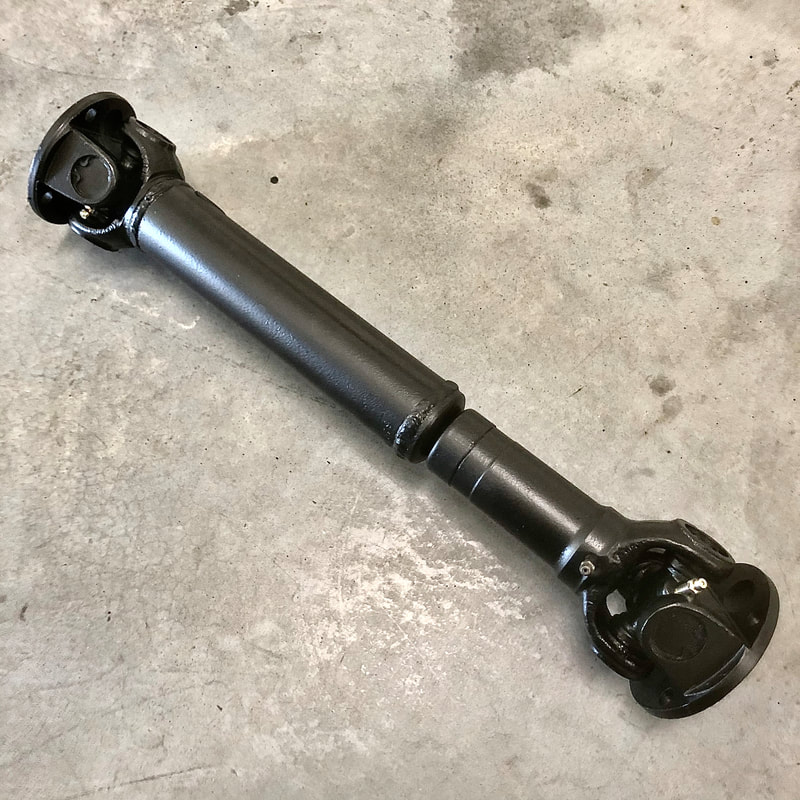
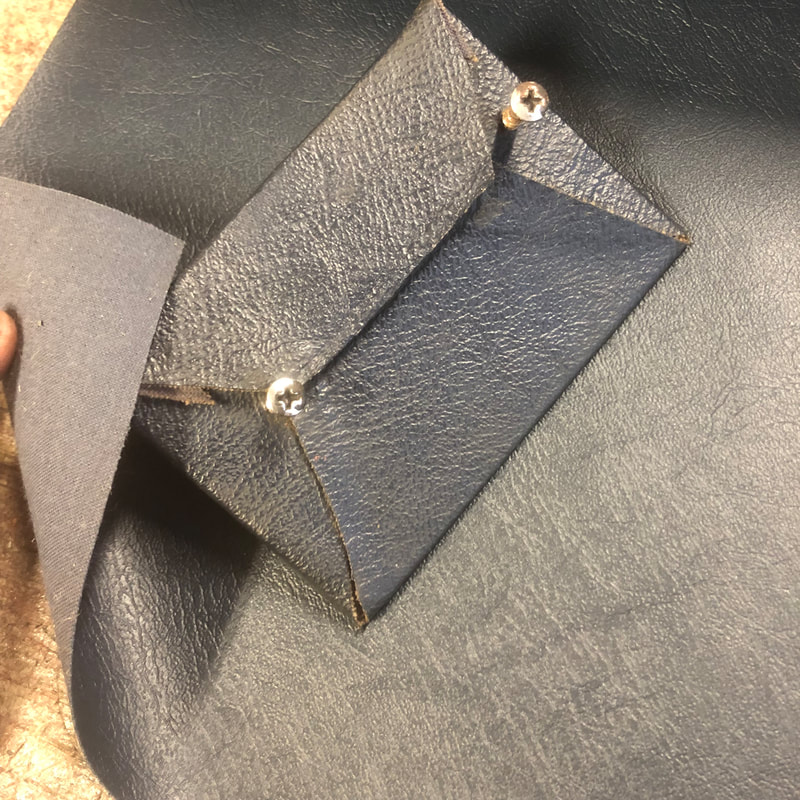
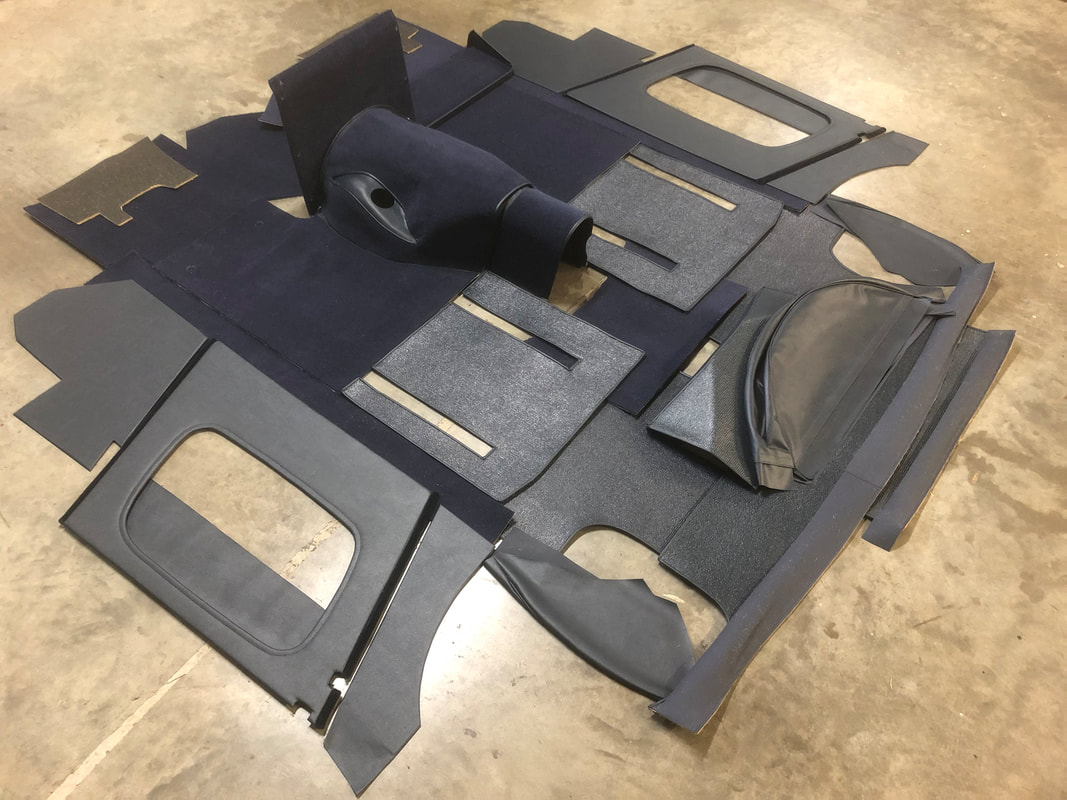
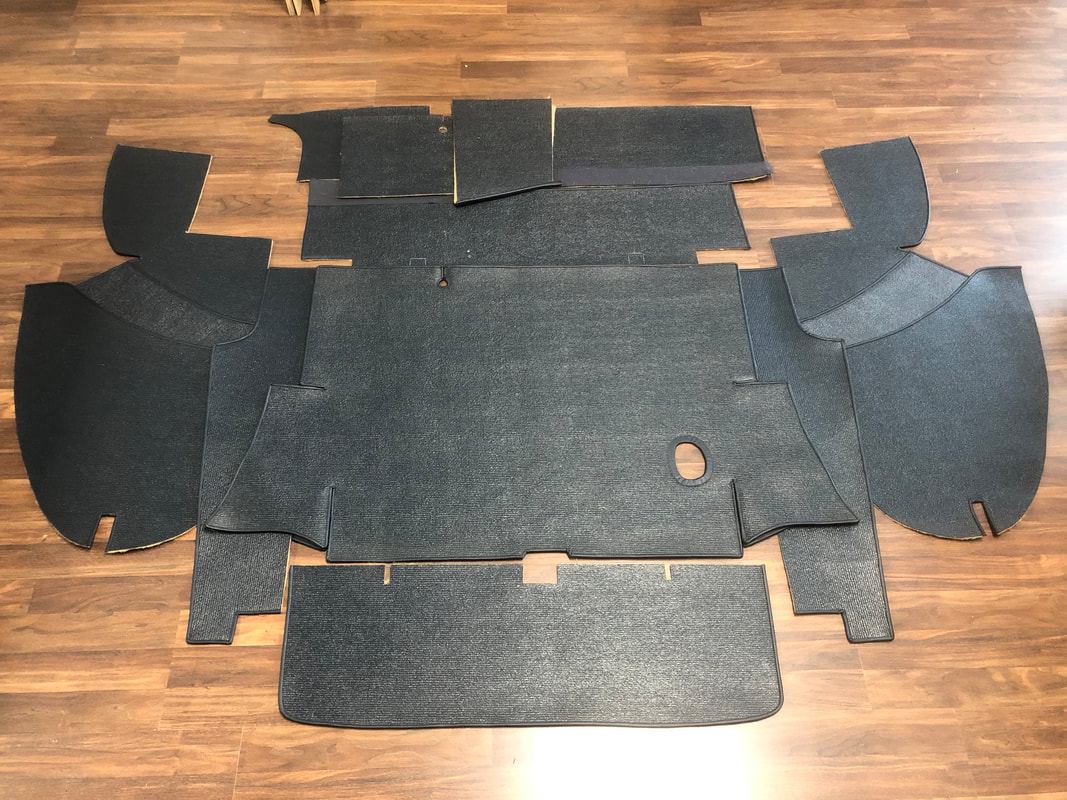
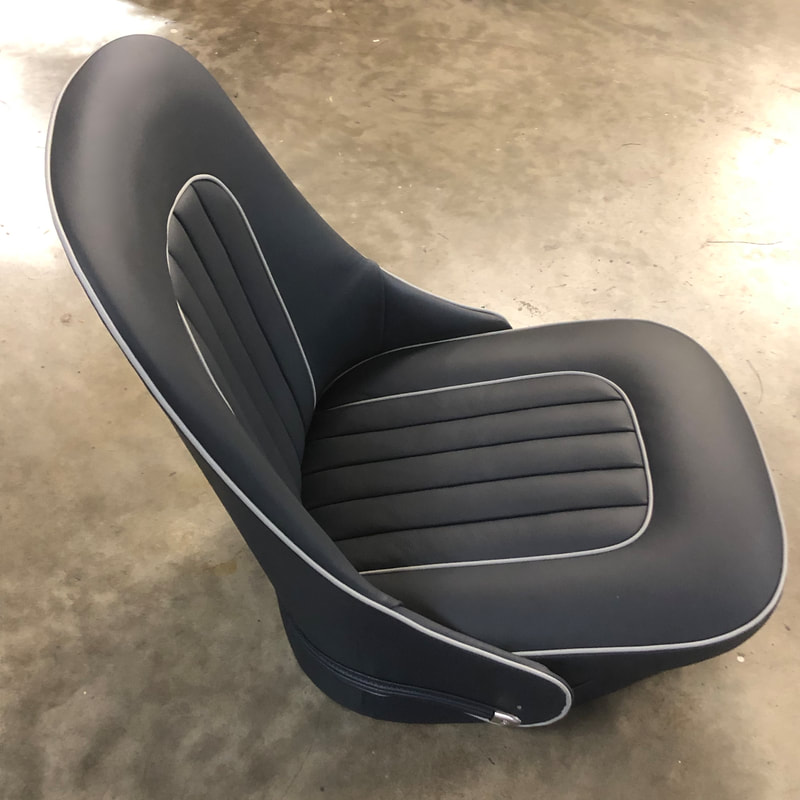
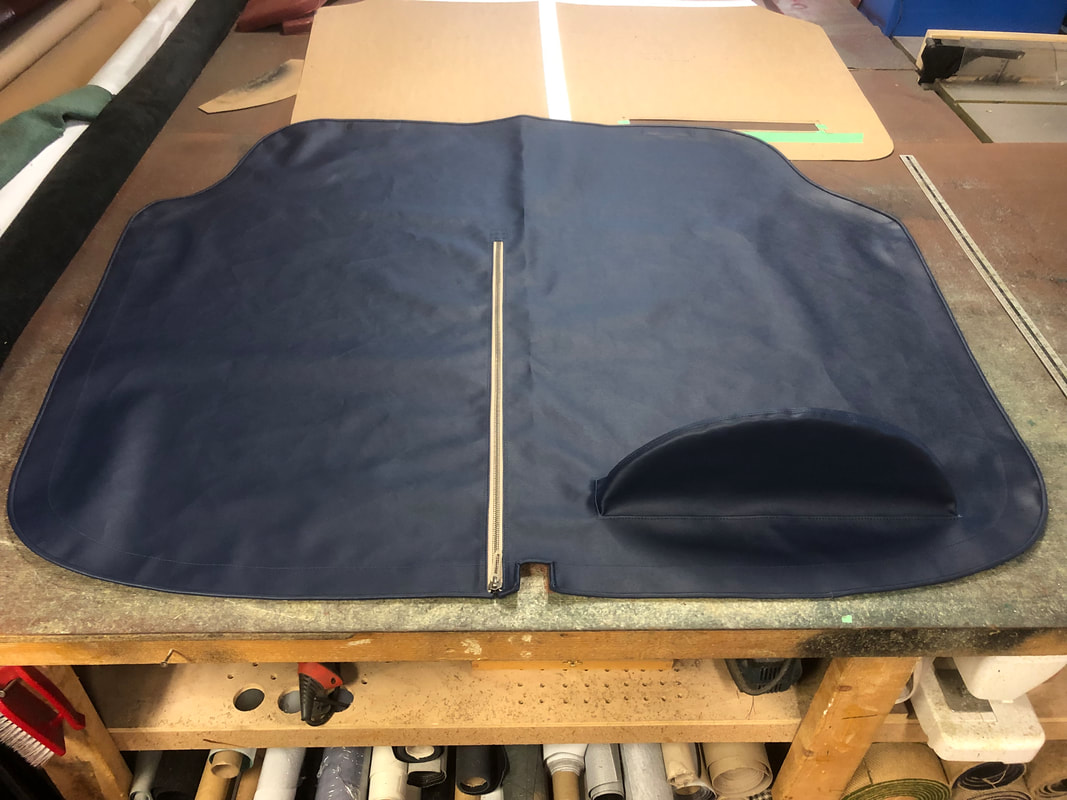
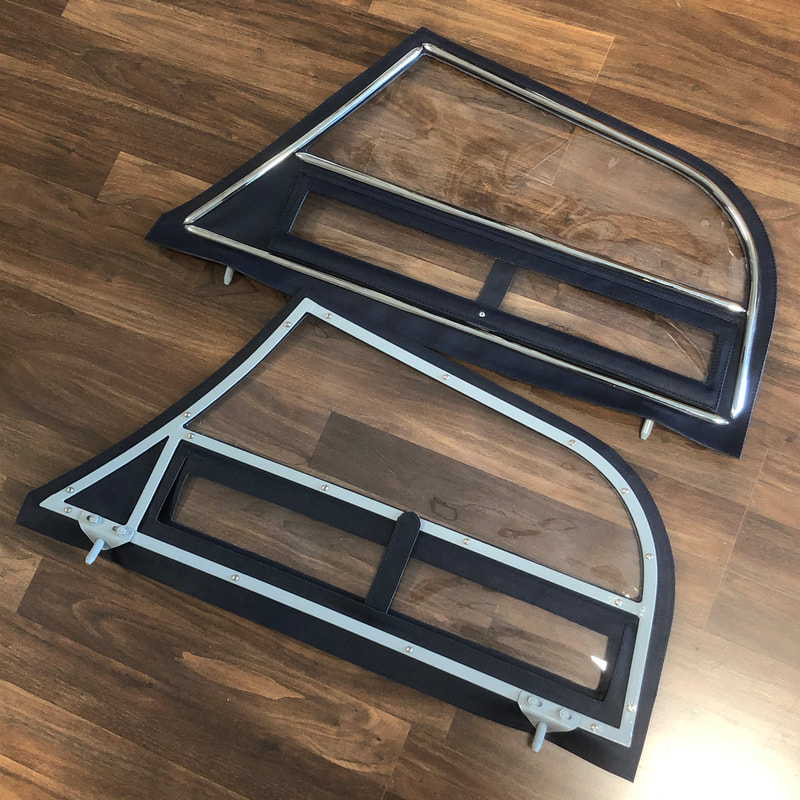
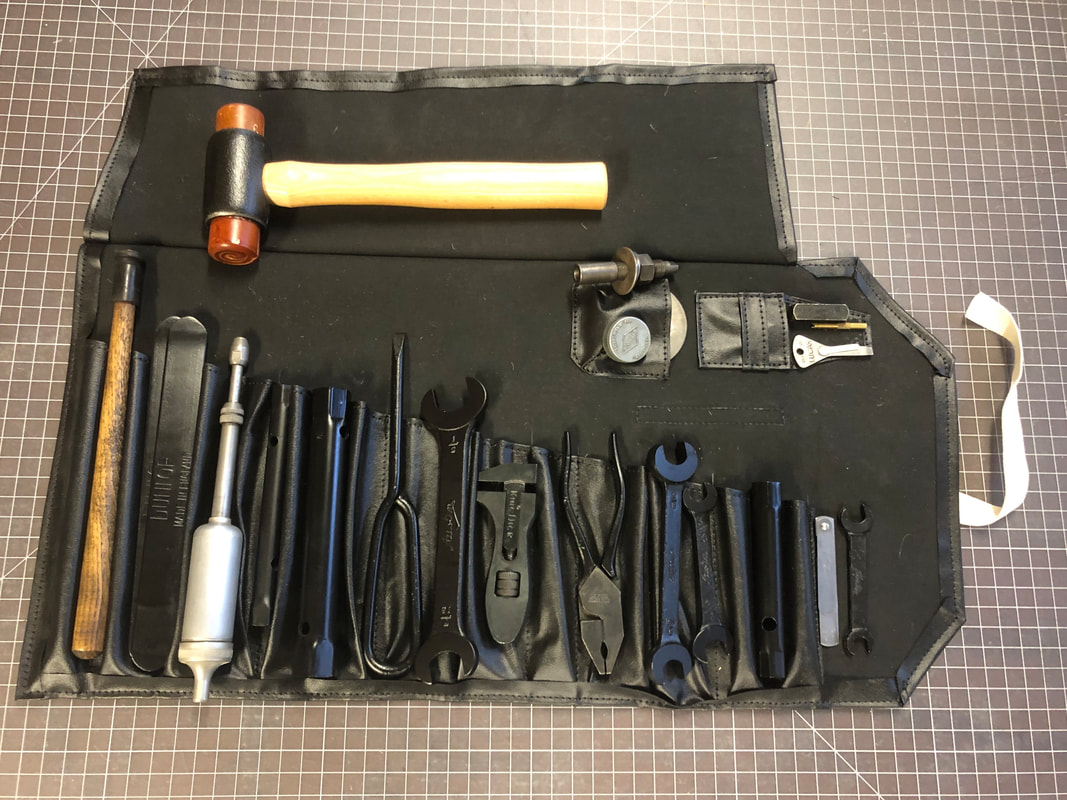
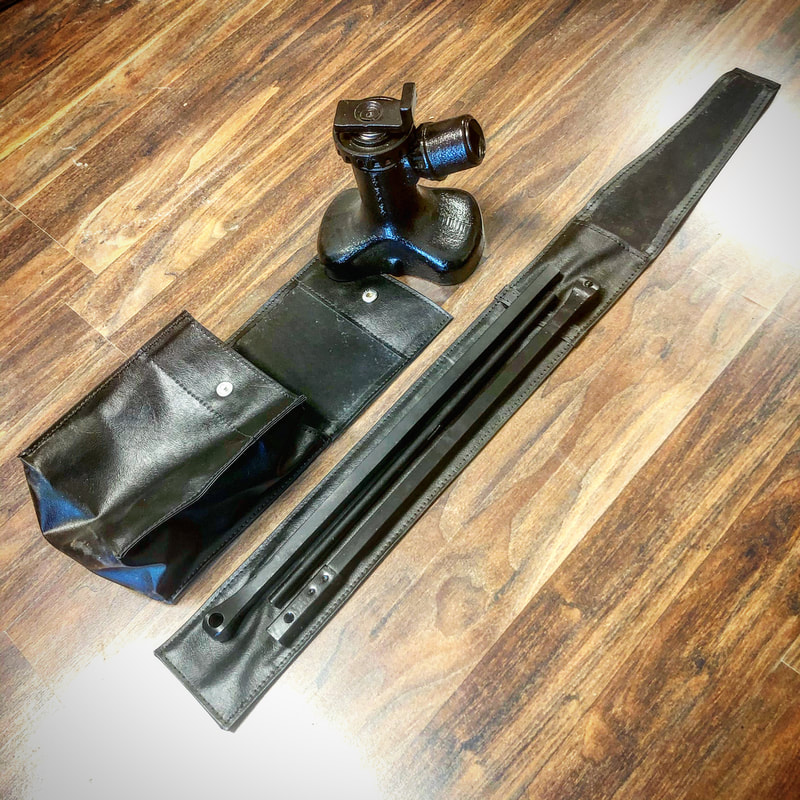
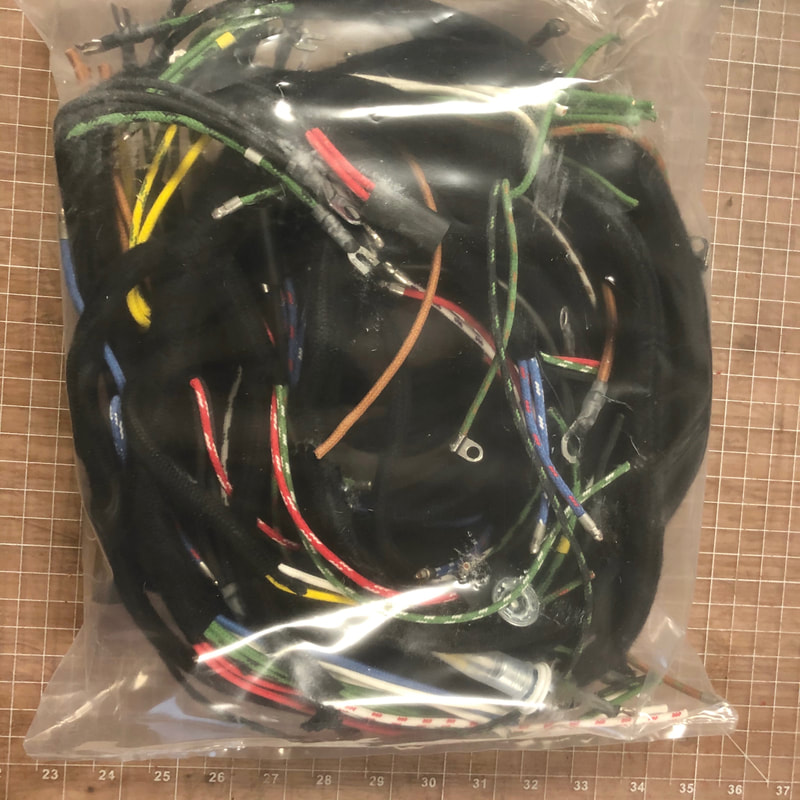
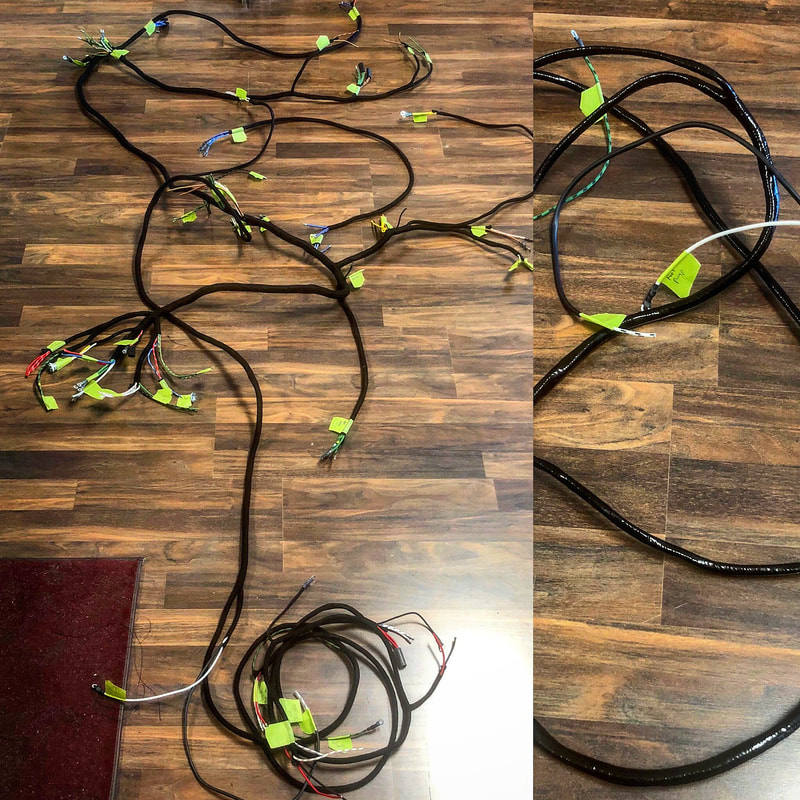
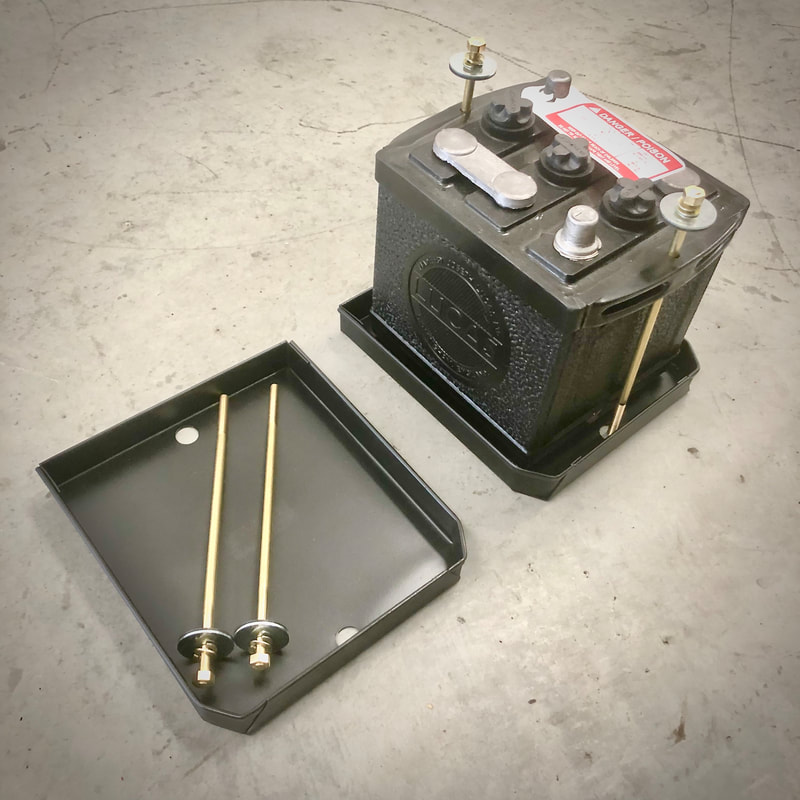
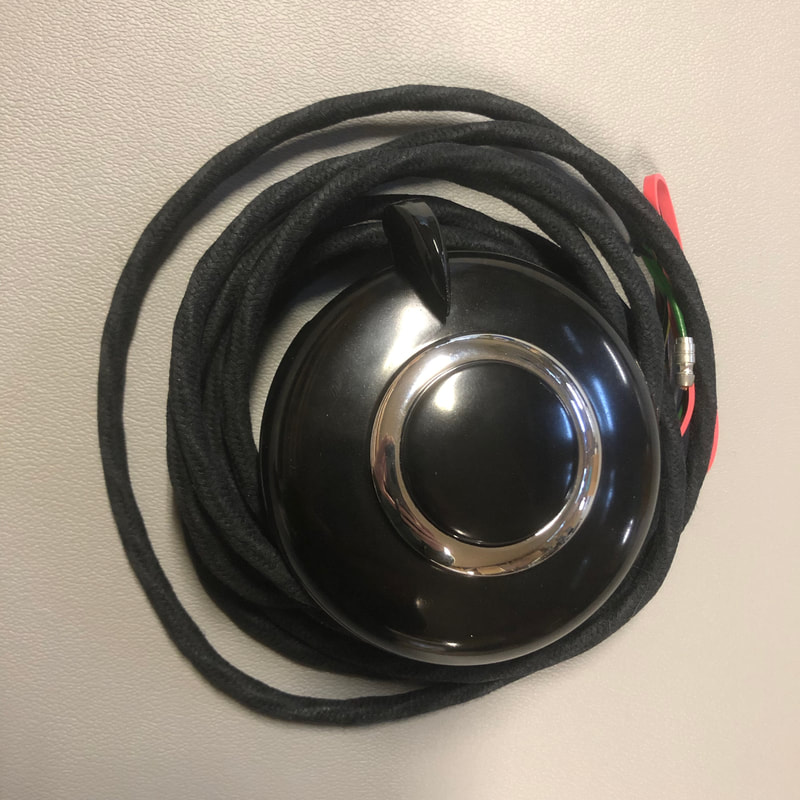
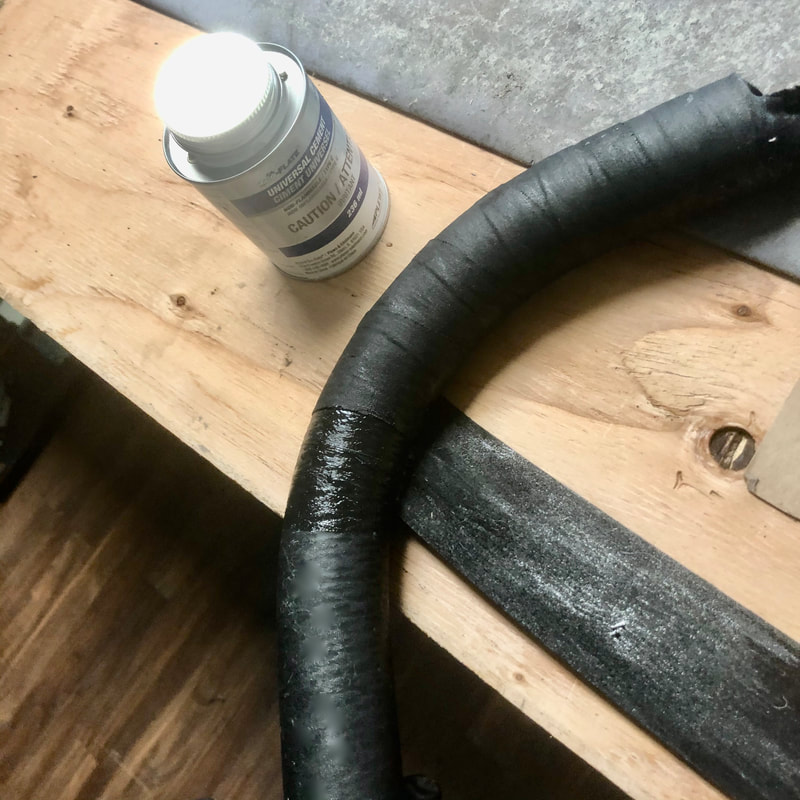
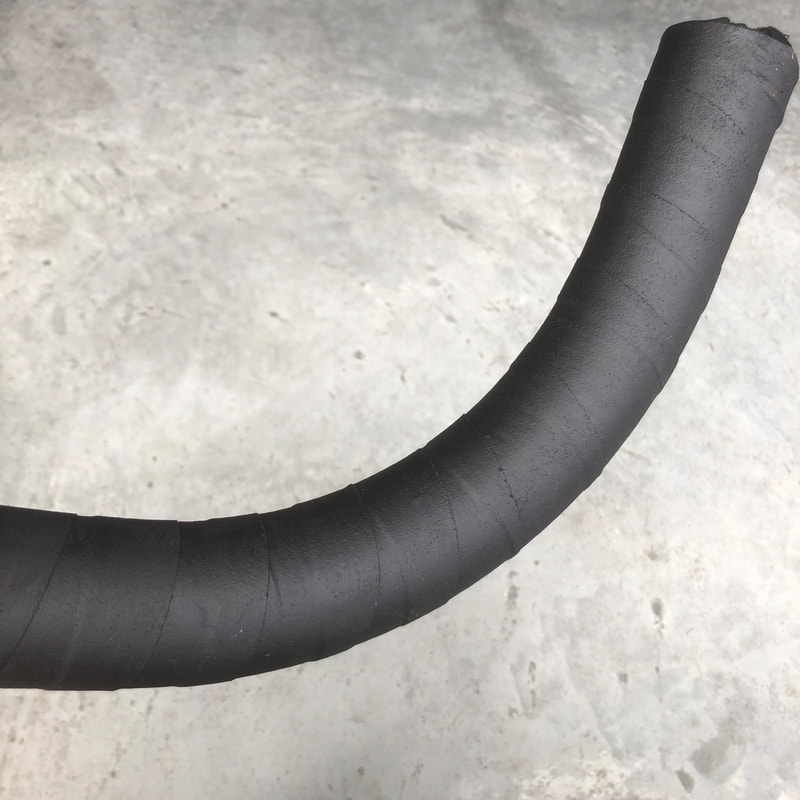
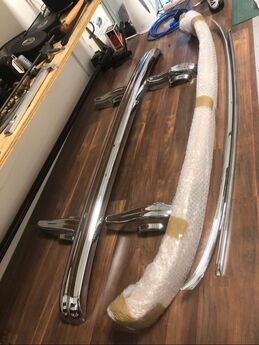
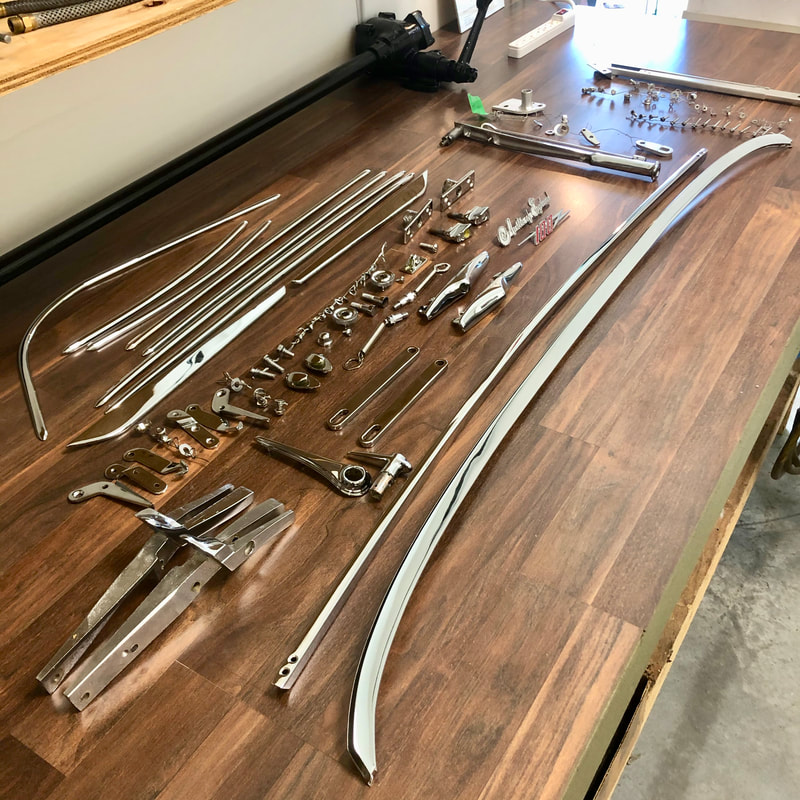
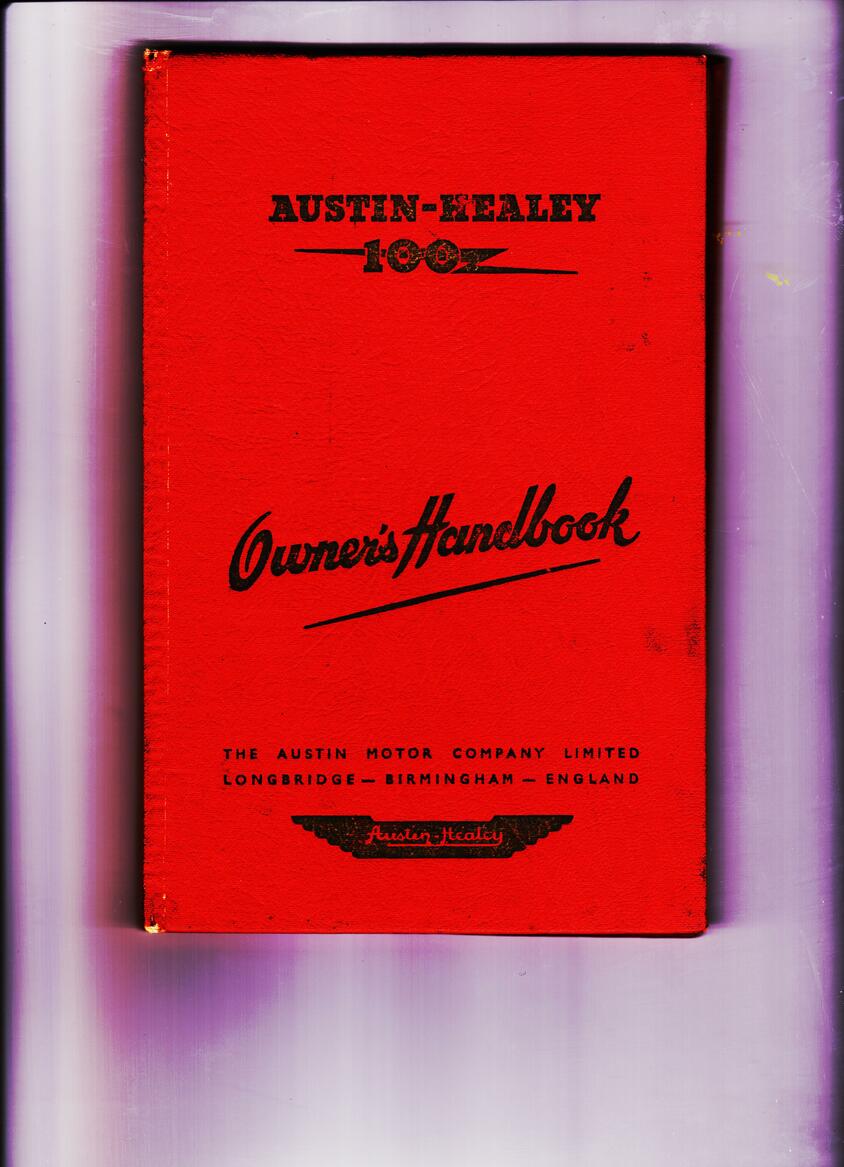
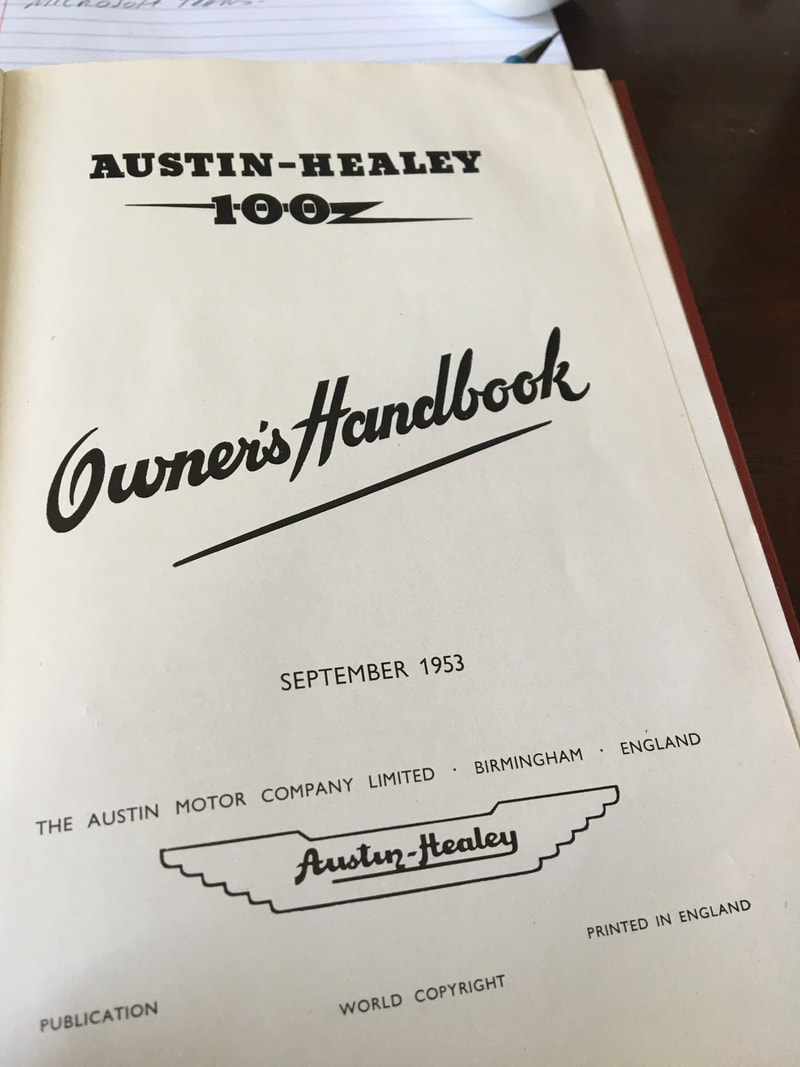
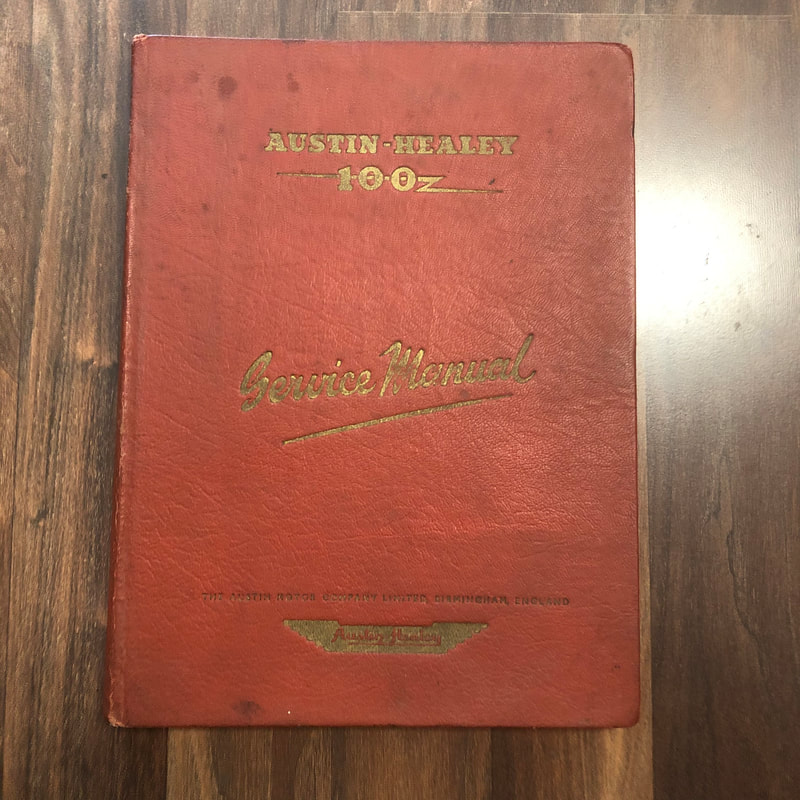
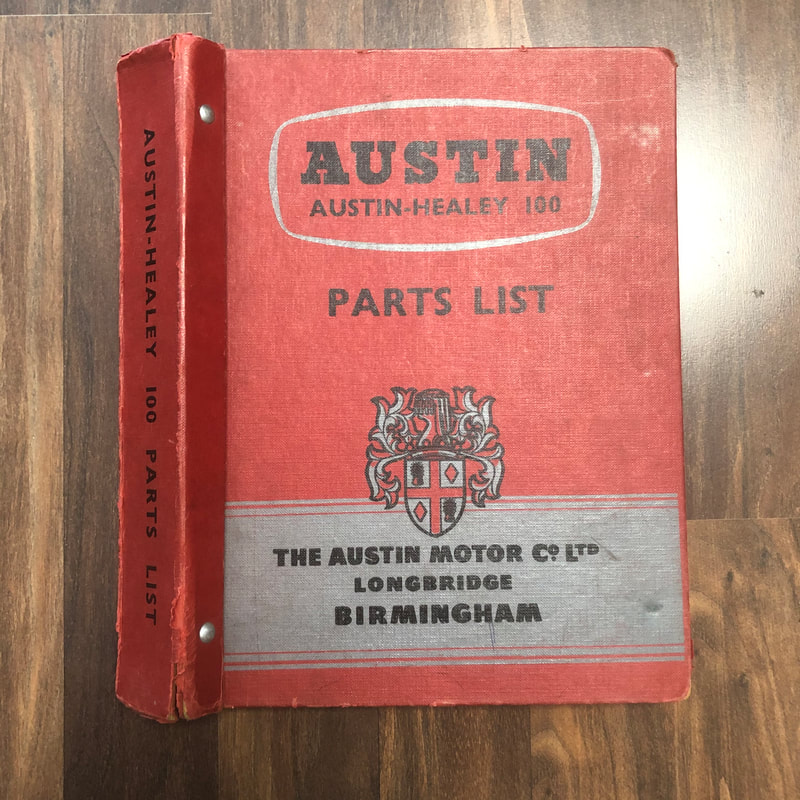
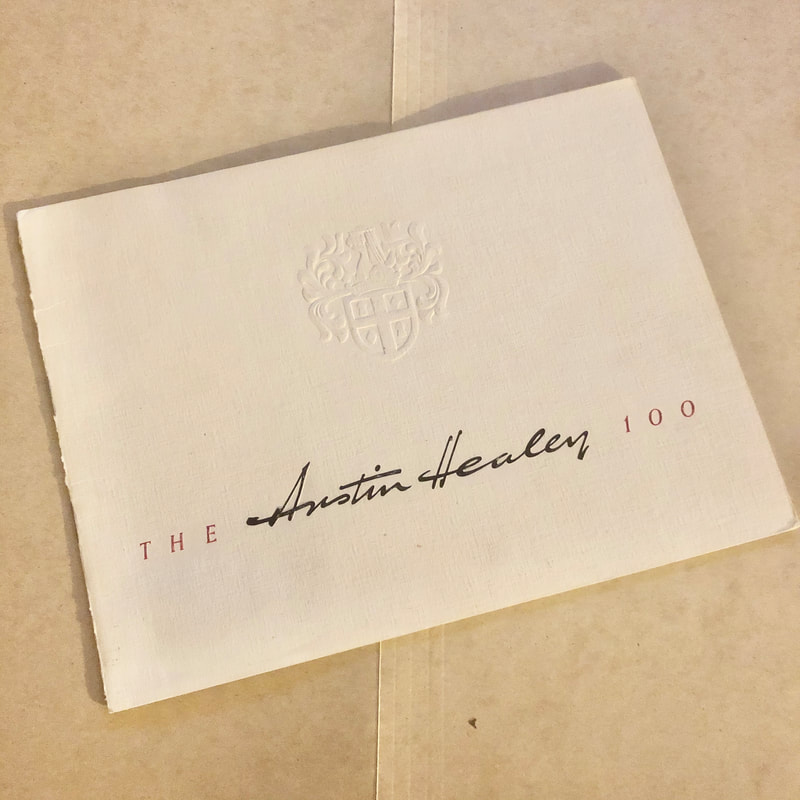
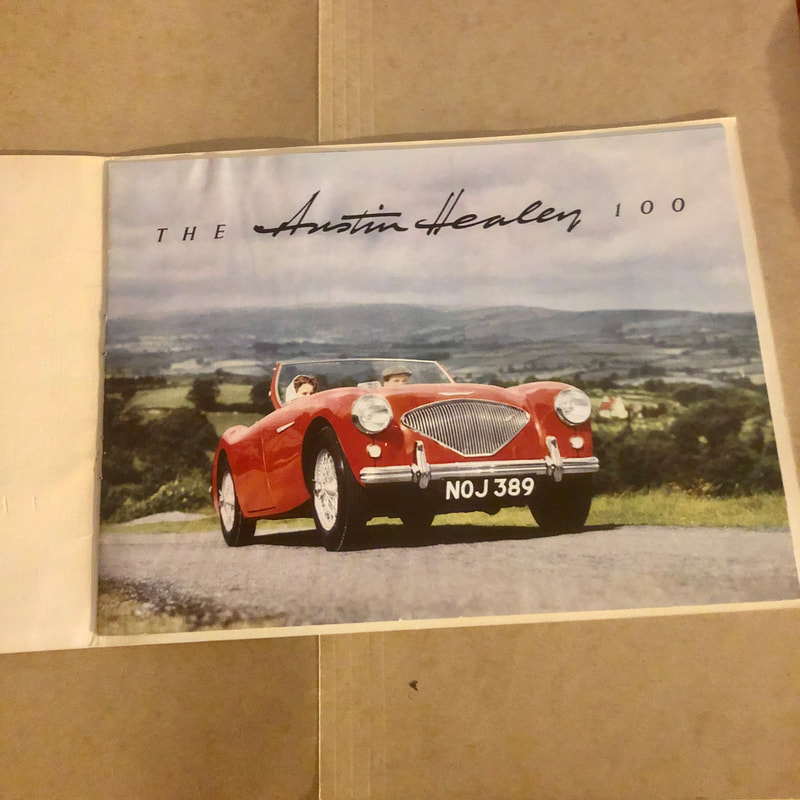
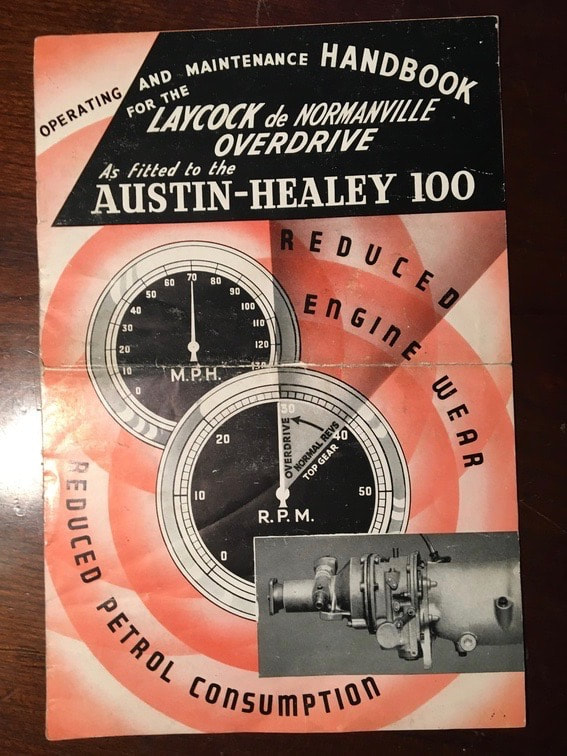
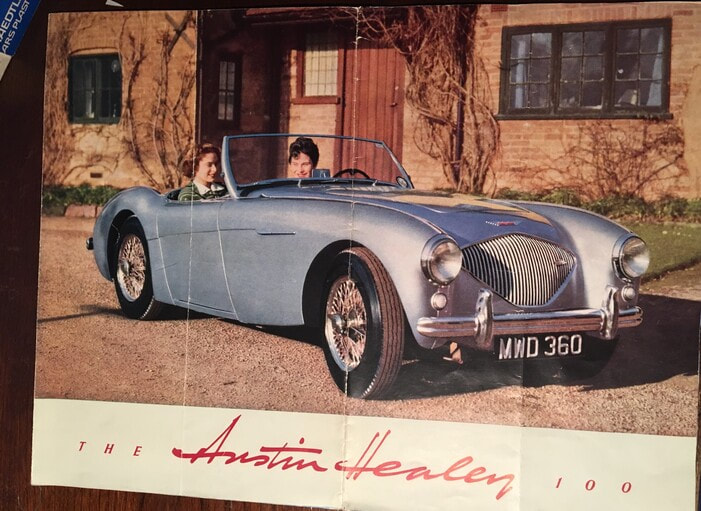
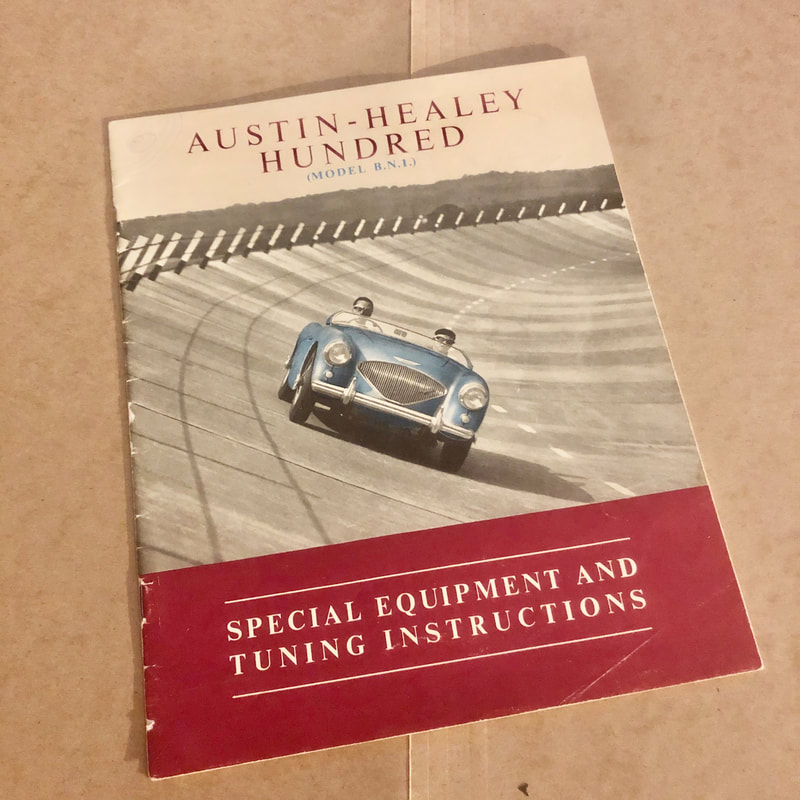
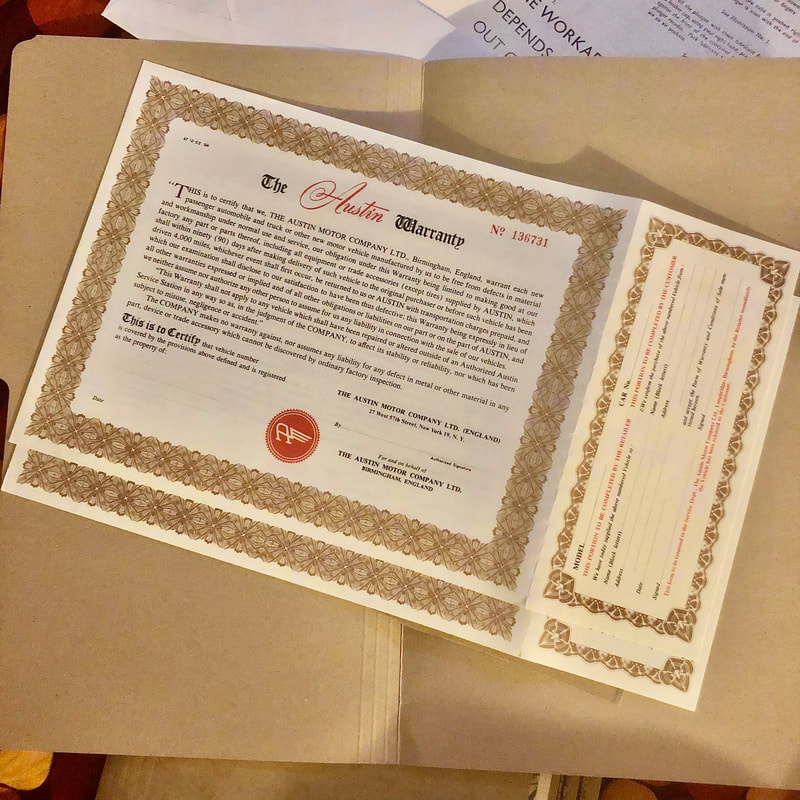
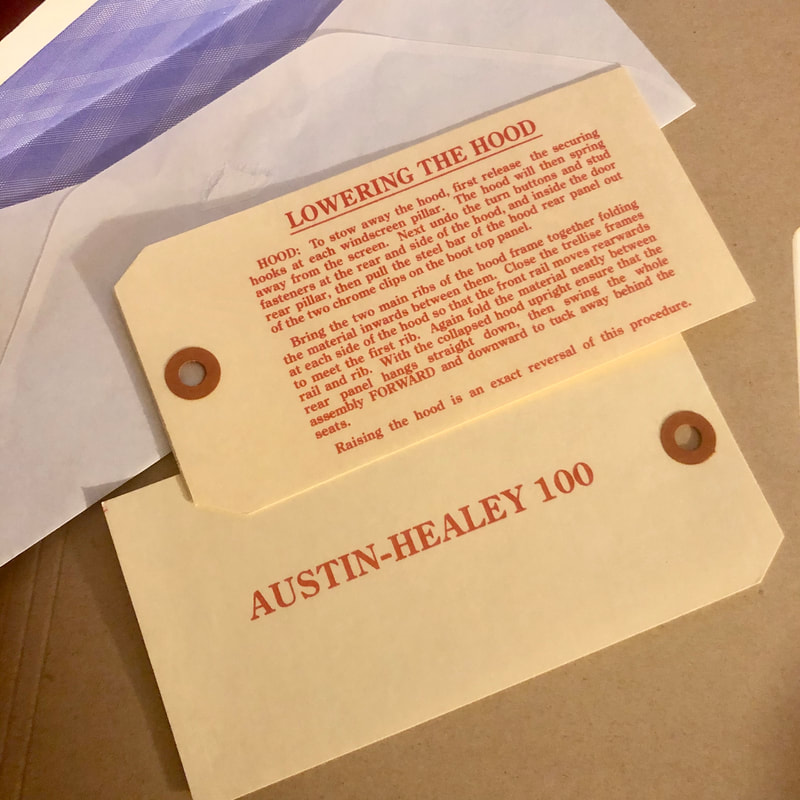
It's been about 23 months since I started the restoration of my Austin Healey 100, and in that time I've made some good progress! I thought I would post a general recap of photos showing before and after pics of what's been done so far; I will regularly update this article as the project moves along and more things get finished: Here is my BN1 as I purchased it from the Beverly Hills Car Club in LA in September 2018: In spite of being resprayed Red at some point, the inner chassis still had its original Healey blue - including some original blue trim in the rear cockpit and boot! I was careful to take 1000's of pics to properly document everything as I took it all apart, bagging and tagging every piece, and making notes about broken or missing hardware that I encounter along the way... Some of the original Healey blue in daylight, also note the original hand brushed factory undercoating over the rear axle and under the boot floor... Speaking of paint, I was contacted by my late fathers good friend and long time painter Ron Allman, Ron had painted all the dozens of Healeys Dad restored over the decades, and still had enough of my Dads custom mix of Healey blue paint that they had researched to get right decades ago. It has a much finer metallic flake in it than is even available in today's paints. I had some sprayed out and compared it to the mix my painter had initially come up with and I think it matches even better! Dad's is on the left, my painters choice in the middle, and some original blue from my car on the right: Once apart, the chassis and body was delivered to Jetstream Auto and Custom to be media blasted to bare metal and have all the metal and paint work done properly... All new sills were installed on both sides, and lower repair sections were added to all the door posts and lower fenders... We replaced the front cross member.. The right side engine mount showed signs that it had been removed and crudely replaced at some point in the cars life. We had to redo the repair by removing it & the plate someone added to the bottom, and then extend the bottom and weld & dress it properly.. The inner foot wells along the firewall had also been hacked open and screwed back together (probably to make room for a bigger engine at some point) So we closed them up properly again... A few minor repair sections and lots of hammer and dolly work was needed to smooth out all the dents in the shrouds and fenders... I chose to hand strip all the aluminum body panels myself including the front and rear shrouds, bonnet, boot lid, front valence and the dash.. With the body all repaired and fitted up we got into the filler stage. Jason from Jetstream showed me the basics and I did much of the filling and sanding to level out the body panels Then came a coat of filler-primer... Which was sanded out again... Fitting the grill in it's bare brass state so we can adjust and tweak it (and the shroud) to be a perfect fit before finally re-chroming the grill. The front shroud needed lots of careful fettling to get the correct alignment... The aluminum bonnet and shroud, being worked to correct the fit... The aluminum boot lid and rear shroud being worked to correct the fit... Meanwhile, the original 2 piece dash which had been painted over with red & silver, showed clearly the original Healey blue paint still underneath the silver gauge cluster, with dark blue showing under the red on the rest... I stripped the dash by hand and had Jetstream take care of the prep & paint... I cleaned up the gauges and hardware as best I could myself, but opted to send them out for rebuild and calibration by Nisongers. They also replaced the face on the Tachometer... Jetstream did a brilliant job painting the body and gauge cluster, even using reddish primer on the back like the factory did. I reassembled all the pieces temporarily and voila! - the finished dash board! : I completely rebuilt, flushed out and tested the original heater, including the rheostat switch... I repainted the body in black wrinkle finish as original, with semi gloss black on all the internals and piping, I even managed to gently clean/or paint around & preserve the original part numbers and date code printing from '53. I replaced the missing switch knob and finished it off with a new foil logo on the front... I cleaned, rebuilt, and tested the original wiper motor, date coded for '53.. Throughout the restoration process I bead-blast and re-plate all of the steel hardware in their respective finishes like zinc - here is my home zinc plating system in action... While this is great when rebuilding a separate component like the heater, I still had most of the cars general hardware plating done by Electroshine Plating- Much of the mechanical and suspension hardware was originally finished in black phosphate. For this process I use gun-bluing acid which turns the clean steel black and then is finished by soaking and baking the parts in grease.. Wire clips refinished in yellow zinc... Door latch restoration... Bonnet latch/release hardware.. Air vent and pedals.. Signal relay box, dated '53; thoroughly cleaned and refinished the body in zinc,.. Handbrake lever, re-chromed and then cad plated on the lower section... Voltage regulator, dated '57! - cleaned & polished with a new warning tag.. I cleaned up the original fuse block from 1953: Overdrive relays and flasher unit, all original from '53, cleaned, polished and I even hand inscribed the lettering back on the flasher!. Original battery switch cleaned & rebuilt... Headlight assemblies were rebuilt with new rubbers, and I found some original Lucas 700 headlamps (standard on all Canadian exports)! I also sourced some NOS Lucas 488 signal and brake lights... Original Lucas horns were sourced through my friend Richard Korn and I rebuilt & tested them, replaced the outer rings with new castings, repaired the mountings, and had the original paint colour matched... My original cast bodied starter solenoid from '53 - cleaned up with new button rubber.. I cleaned & refinished the original coil from '53, and had it tested by Brian Roberts Electric, then finished with a new correct style Lucas decal... I cleaned and rebuilt the original steering box and idler assemblies with new lower oil seals and dust covers... I completely rebuilt the front suspension with new kingpins, bushings, shims, seals and fulcrum pins... I purchased new front and rear splined hubs & knock offs, and rebuilt the hub assemblies with new seals and bearings... I had new linings installed on my original shoes, and had my drums all re-turned, then I assembled the brake assemblies with all new wheel cylinders... I sourced some of the correct early adjustable steering arms and cleaned them up with new dust covers & grease nipples... The early spiral bevel rear axle I rebuilt with all new seals... New brake lines, rebuilt wheel cylinders, brake shoe linings & turned drums... The finished rear axle: One of my customers, Harry Watson traded me a full set of new wire wheels and new set of 5 Michelin X tires in exchange for some upholstery work I'm doing for him. While these type of radial tires weren't technically available until 1956, they are mentioned in the Concours guidelines as an acceptable period substitute for the less reliable bias ply tires these cars originally came with. I most definitely intend to drive this car as much as I can when it's finished so for safety sake I've opted to use these over the old bias ply Dunlop Roadspeeds. Thanks again Harry! The original radiator was flushed, pressure tested, and re-painted semi gloss black... The gas tank was given to Townside Auto to be cleaned out in a hot tank for 5 days. Then I sealed the inside with some Por15 Gas Tank Sealer that I thoroughly sloshed around inside the sealed tank, and then I opened all the holes and let it dry for a few weeks. Then I finished the outside with a fresh coat of primer and semi gloss black paint... Front and rear shocks were sent for rebuild with new seals and calibrated by Apple Hydraulics, then I finished them in satin black... I rebuilt and refinished the brake master cylinder and reservoir with a rebuild kit and new decal... I completely rebuilt the SU carburetors with new rebuild kits... I sourced some old original Burgess air filters from my friend Richard Korn, and refinished them in black wrinkle paint with some new metal tags... I also added new overflow tubes and clips to the inlet manifold... I cleaned and re-finished the original throttle linkage: The starter and generator were rebuilt and tested by Brian Roberts electric, then I refinished & detailed them correctly... I completely overhauled the engine with all new bearings, sleeves, pistons, valves, guides, valve seats, reground crank and re-machined the head and block at Mid Island Machine... I also went with a steel head gasket, and all new head studs as old ones often stretch.. I also exchanged the timing cover for one with a better rubber front crank seal, and replaced the water pump with a new one... I rebuilt the distributor with new points, ground wire, condenser, rotor. Then sourced and made the correct plug wires with moulded rubber boots as original... I rebuilt the oil filter following a comprehensive article about them by Curt Arndt. It clarified all of the various parts that are often missing, and where to source them! Finished and detailed the engine myself... I had the gearbox and overdrive completely overhauled and tested by our local expert Tom Munro, with some donor BN1 gears I got through my friend Trevor Parker, with new bearings and seals. I also finished it off with a new rubber boot and an original Bakelite shift knob I got through my friend Michael Salter... I rebuilt the driveshaft with new U joints and grease nipples... I was able to find a perfect match for the original interior vinyl and various material colours and proceeded to produce all new complete interior components... I made myself a finished pair of the stock pleated seats, but I also made myself a 100-S style drivers seat just in case I want it.. I made a new early BN1 style tonneau cover with the correct Lightning zipper and all original (restored) snap hardware. I made new side screens and fully restored my original frames, chrome and hardware. I also made a full new set of stowage bags for the boot: I even sourced a complete and fully restored factory tool kit through Healey tool kit specialist Curt Arndt, Curt also sold me an original jack and Michael Salter made me a set of handles. I finished the set off with a set of my hand made original style bags... I got a new cloth woven wiring harness in from British Wiring, and I proceeded to go through it with a wiring diagram and label all the ends as to where they should go, and wrapped the under chassis harness and O/D harness with black plastic tape as original: I sourced a new pair of Lucas 6 volt batteries from Antique Battery, with some correct style trays from Kilmarten, and some correct brass hold down rods and hardware I got through my friend Michael Salter who made them! As my car was missing this entirely, I sourced a beautifully restored center horn button & trafficator assembly from Curt Arndt who rebuilds these professionally... I sourced some of the correct size radiator hoses from Napa and then wrapped them in rubberized fabric for an original look: All of my freshly re-chromed pieces I had done by Electro-Shine plating... As my car came with a pair of later 3000 bumpers that someone had installed incorrectly, I was able to source a correct pair of original BN1 bumpers and over-riders from my friend Curt Arndt. Finally a few more items I've collected to complete the cars final presentation: an original owners handbook, original workshop manual, factory parts catalogue, overdrive handbook, original sales brochures etc... So there you have it - lots of work left to do, but things are moving along very nicely!
I am hoping to get the chassis painted in the next month or so, and then I'll have loads of reassembly work to look forward to! Until next time -
3 Comments
Martyn
8/19/2020 03:17:29 pm
Brilliant job, can’t wait to see the body when painted.
Reply
Simon
8/22/2020 10:07:50 am
What a wonderful resource your blog is Geoff. Really looking forward to seeing the completed car. It is going to be one of the best.
Reply
3/28/2022 05:50:17 pm
Nice content and amazing restoration that everyone can follow through it.
Reply
Your comment will be posted after it is approved.
Leave a Reply. |
Archives
December 2023
|

 RSS Feed