|
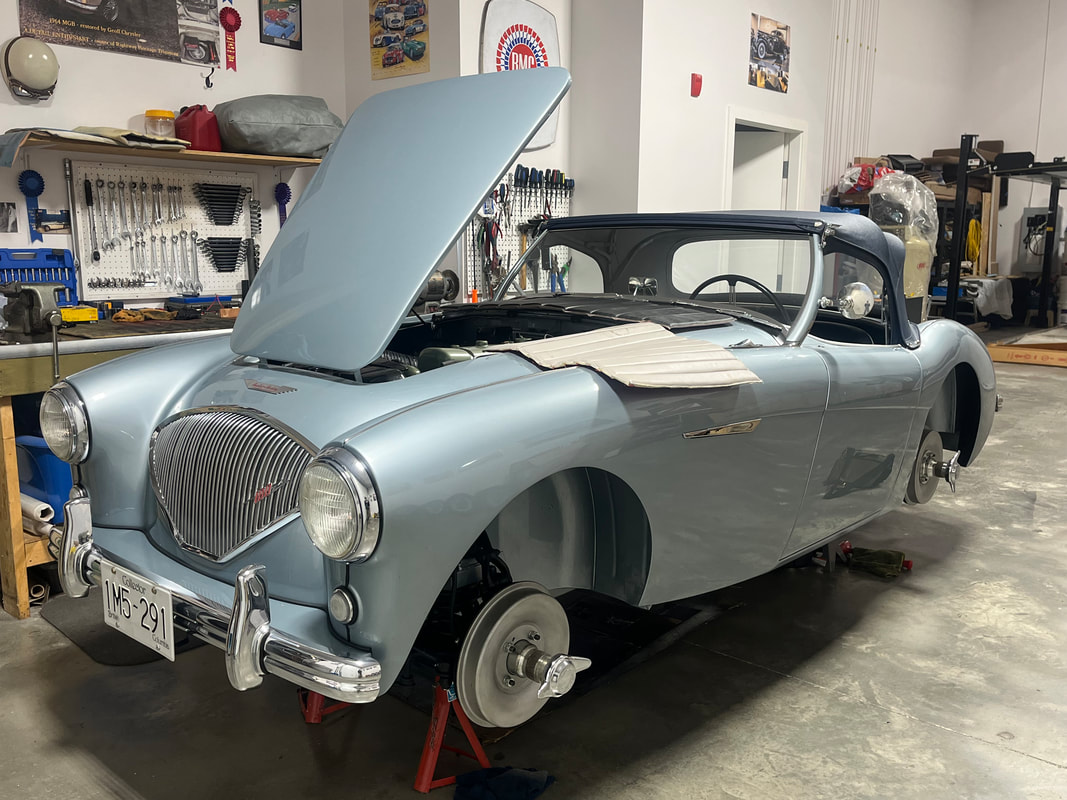
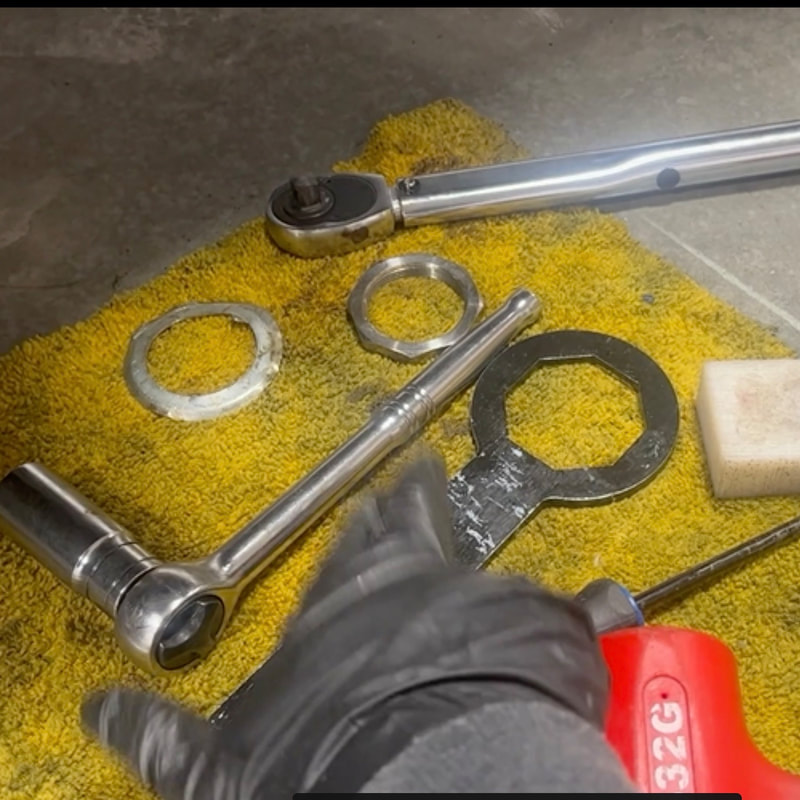
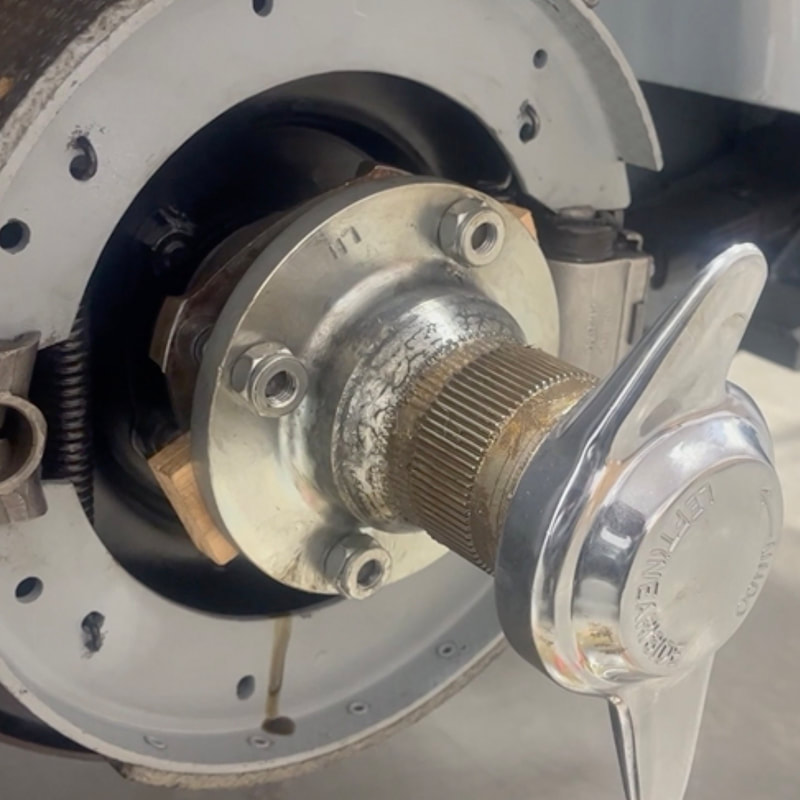
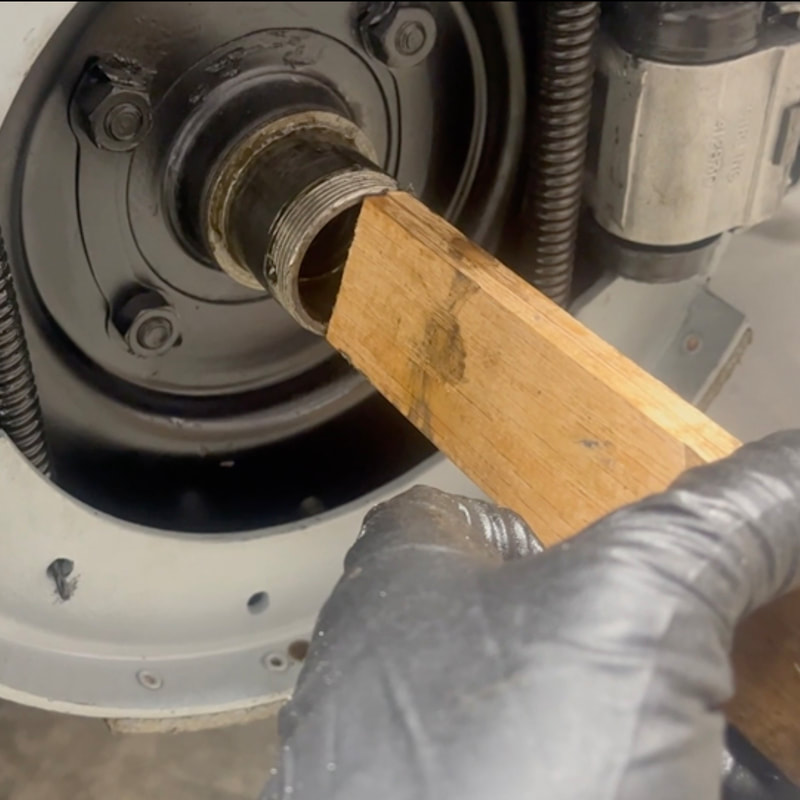
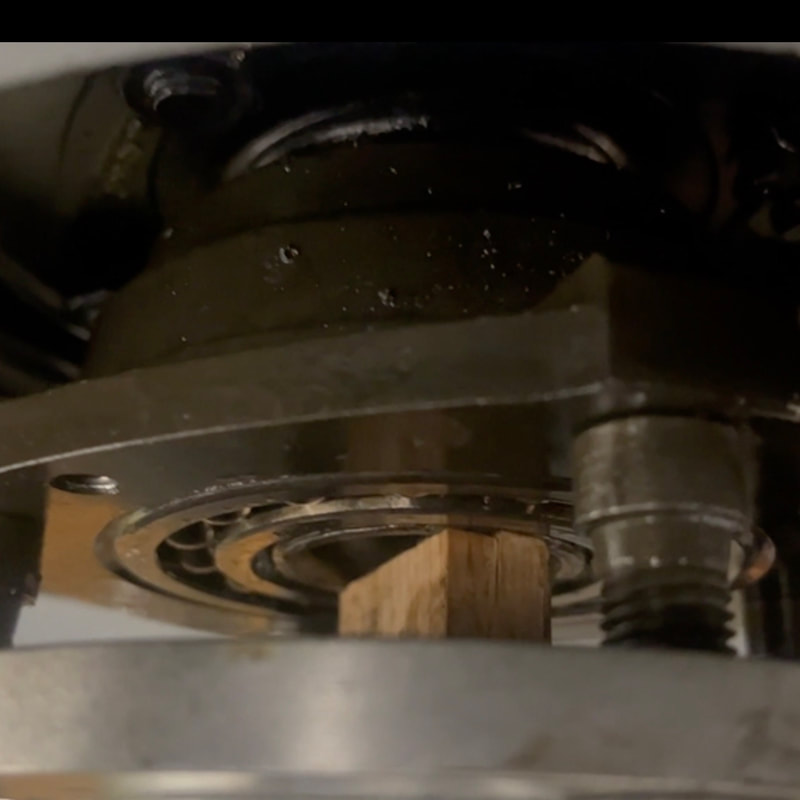
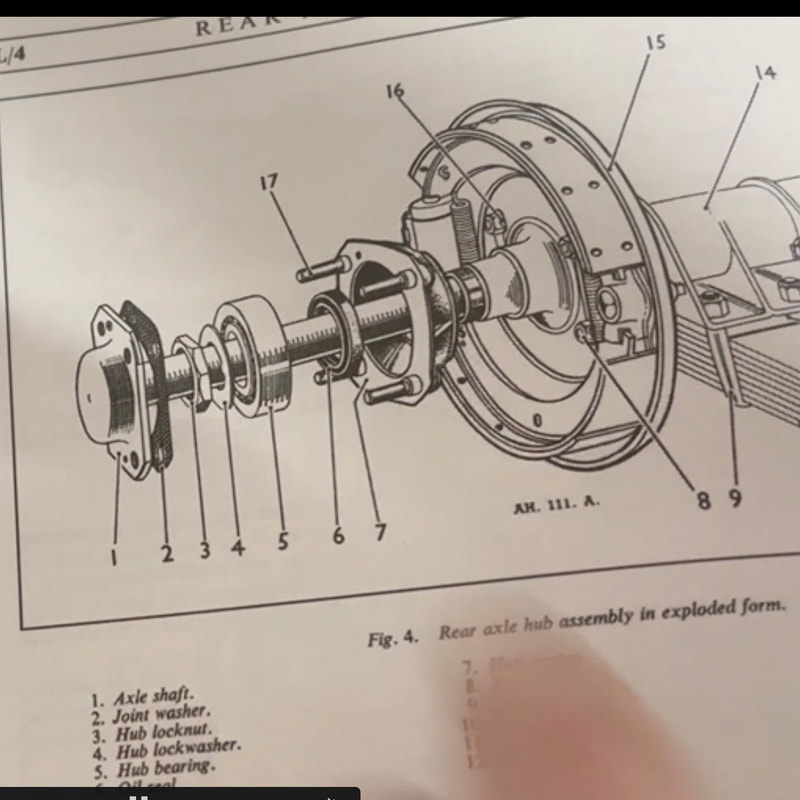
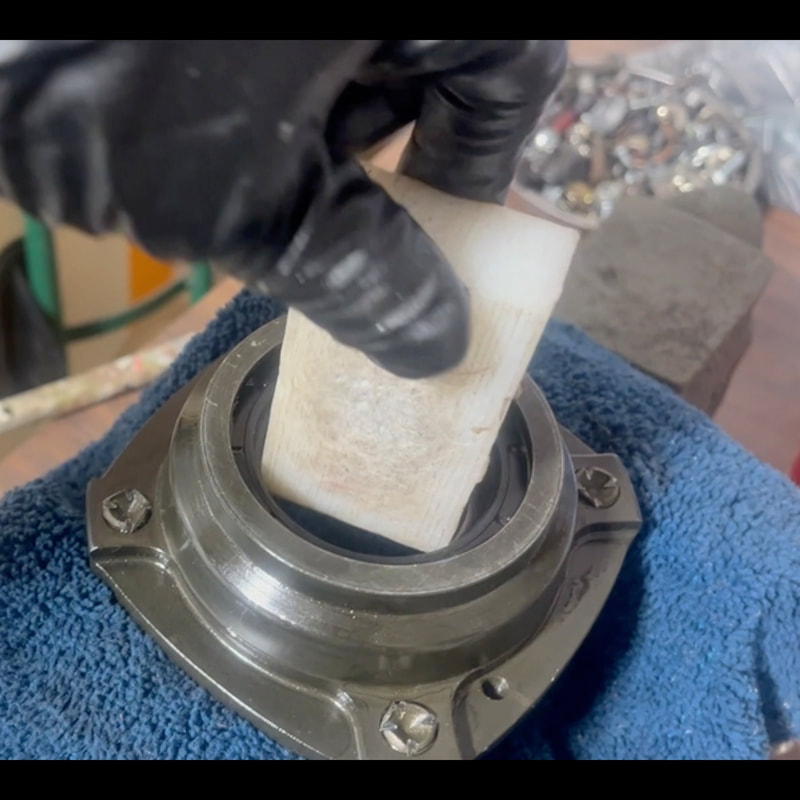
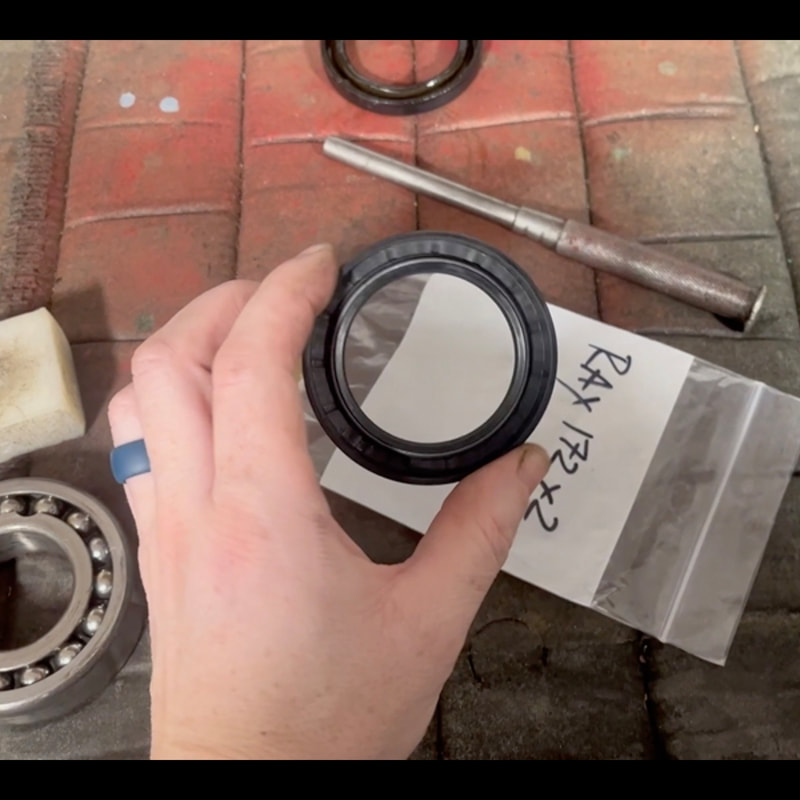
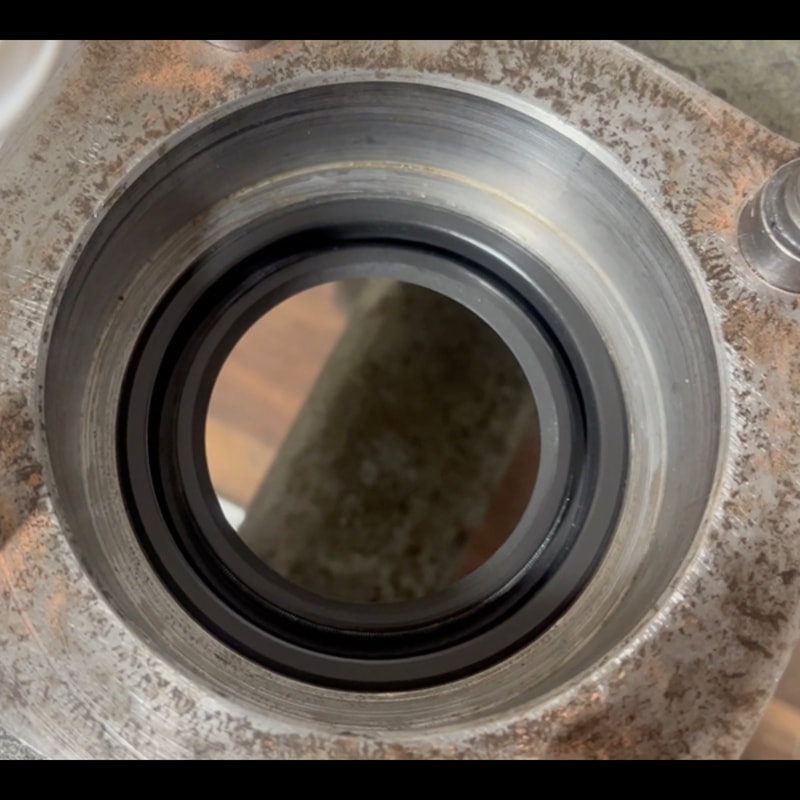
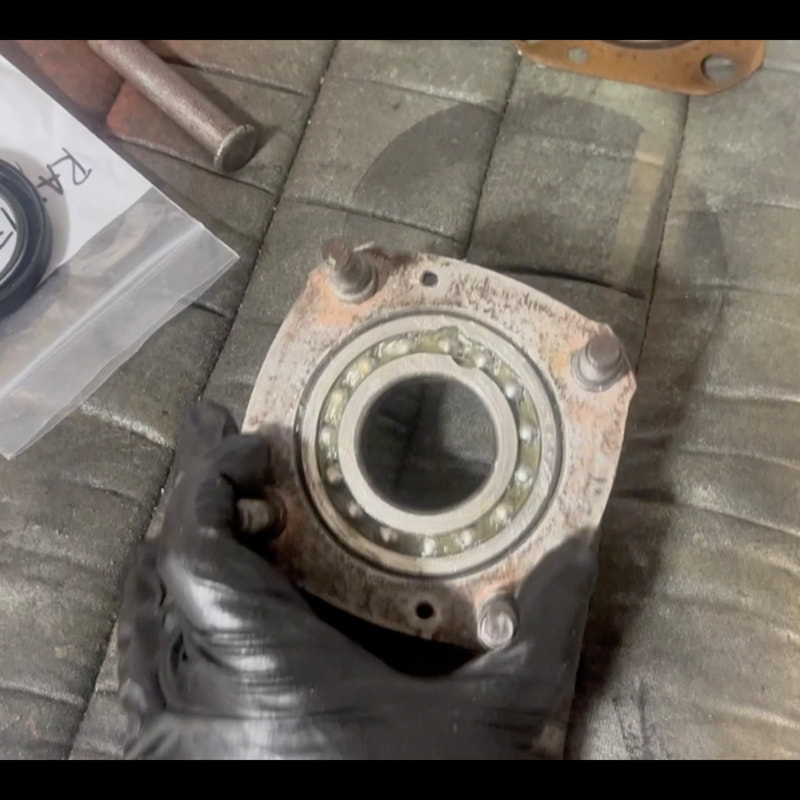
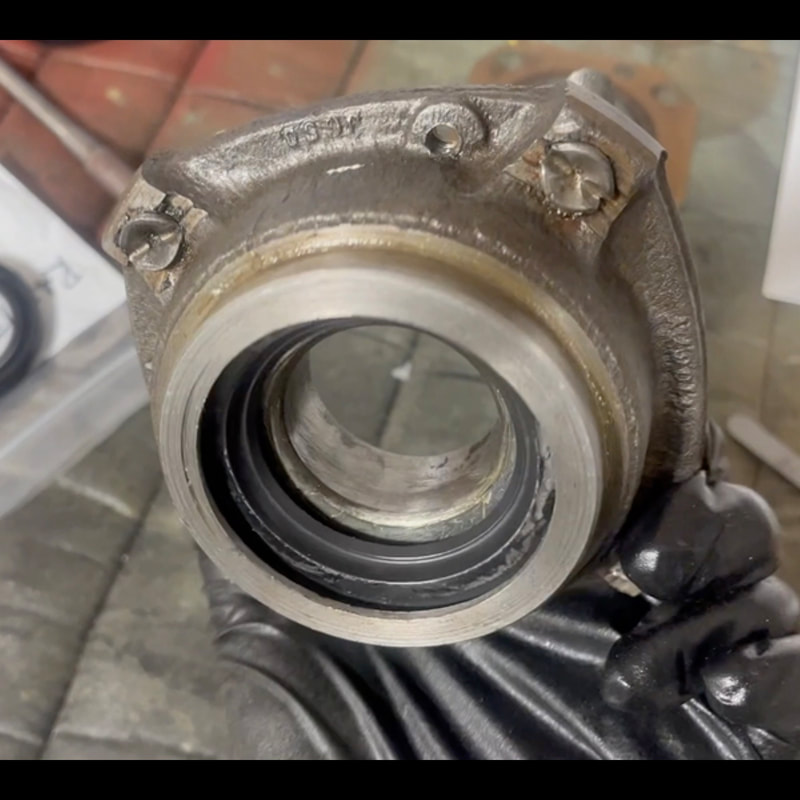
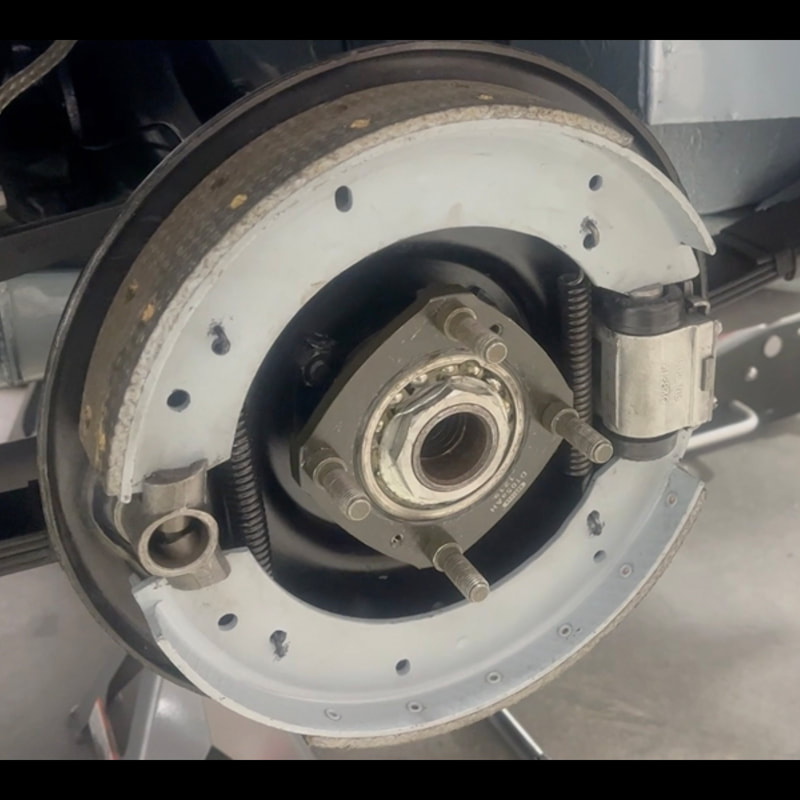
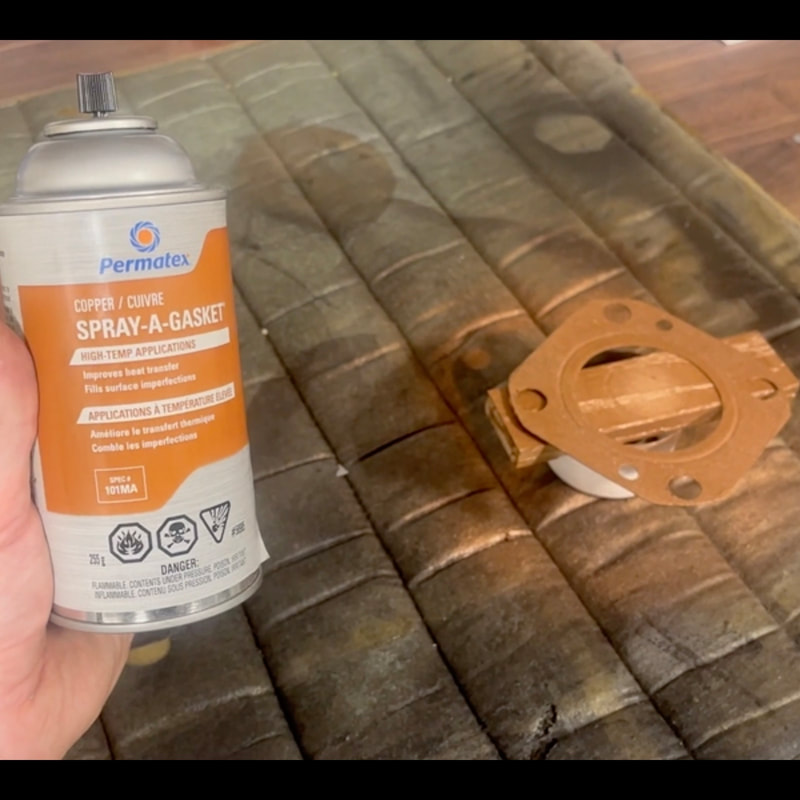
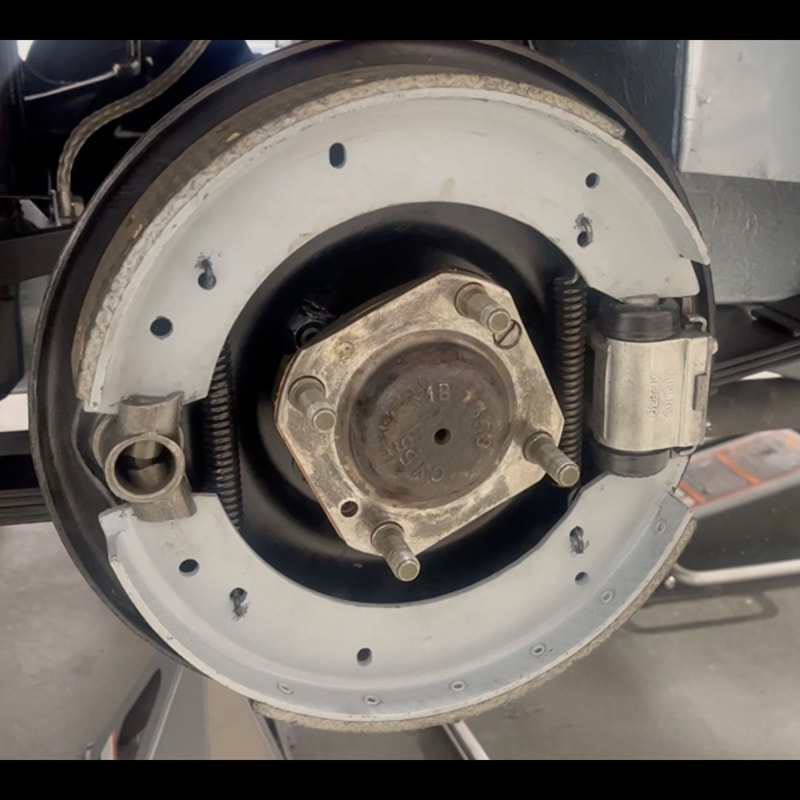
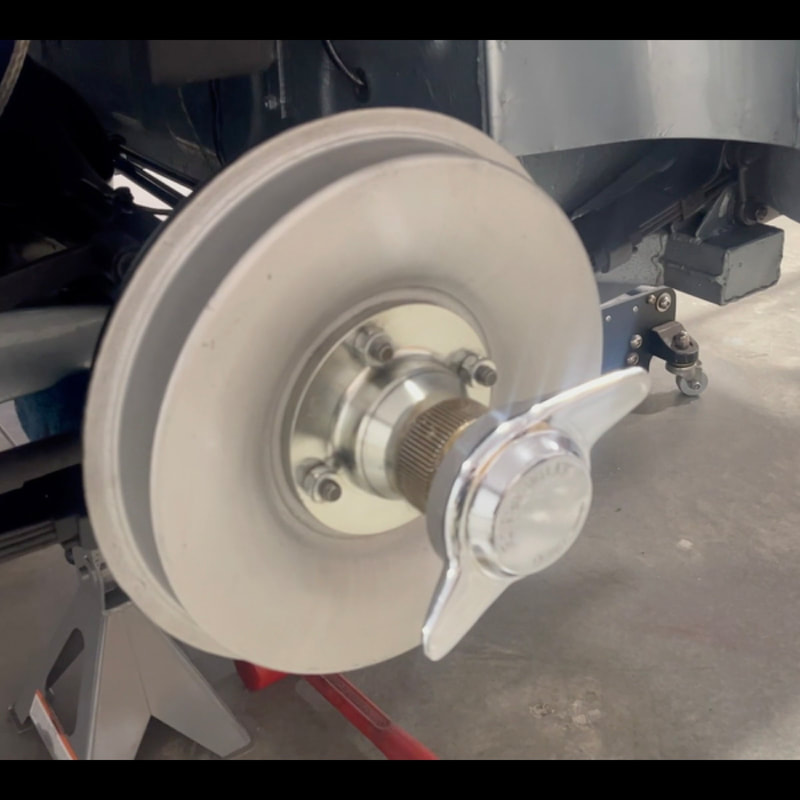
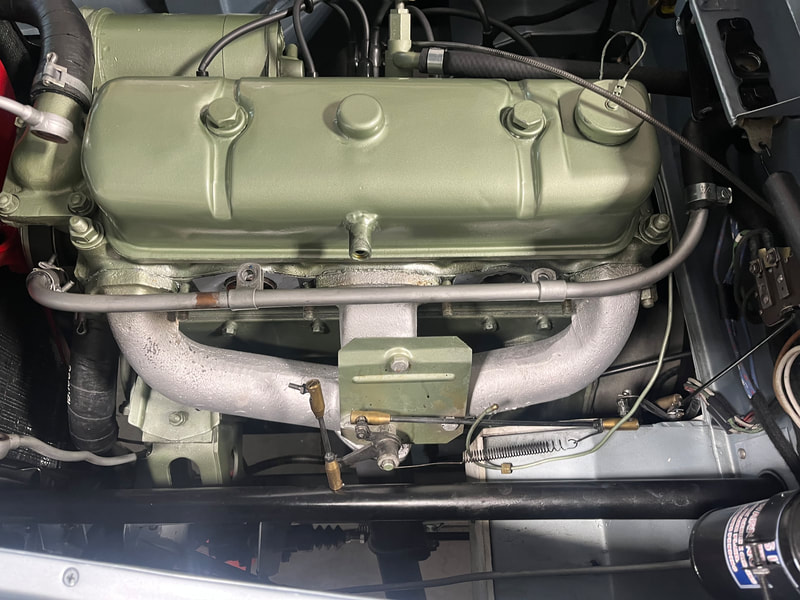
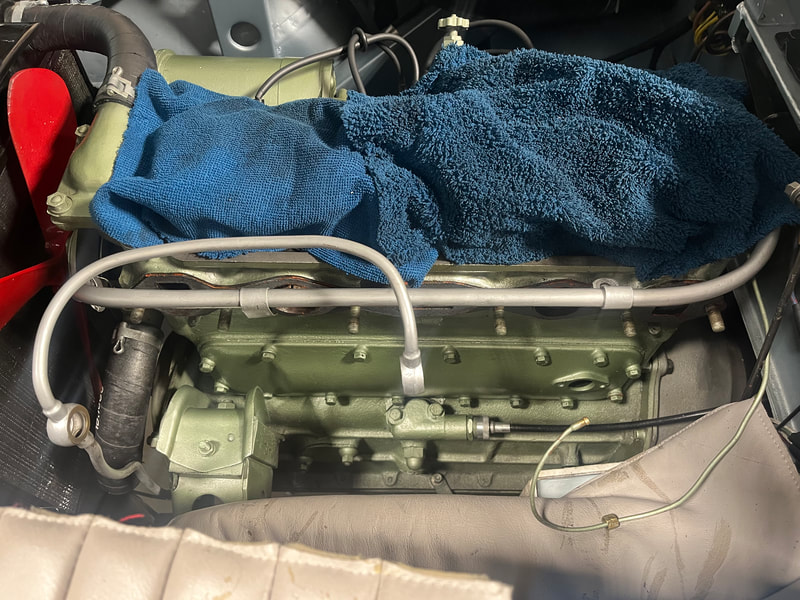
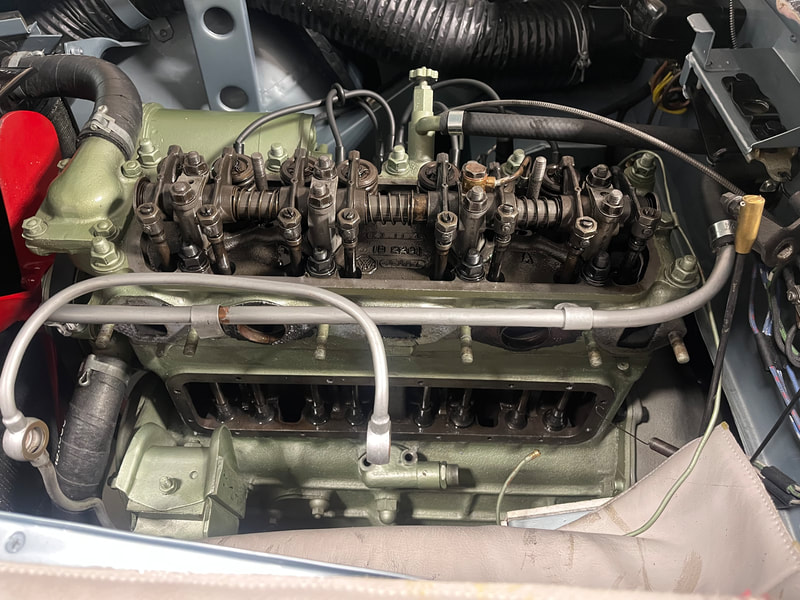
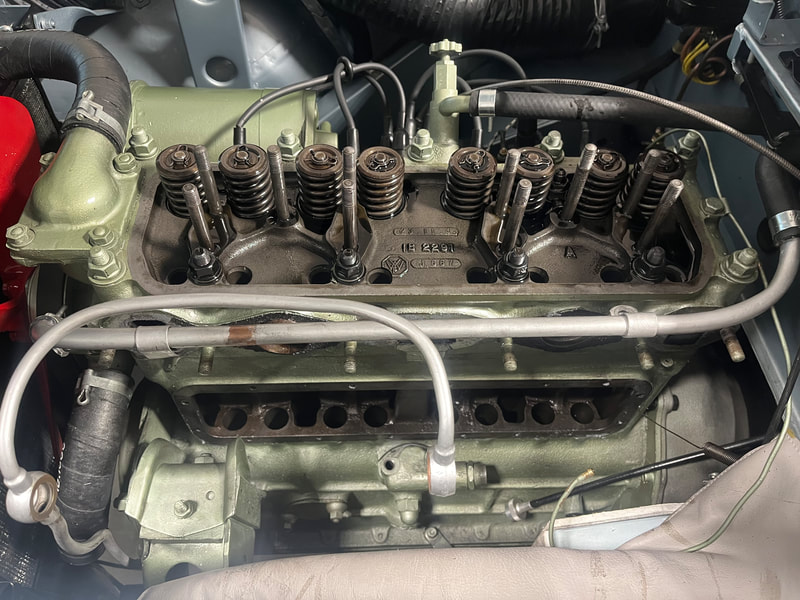
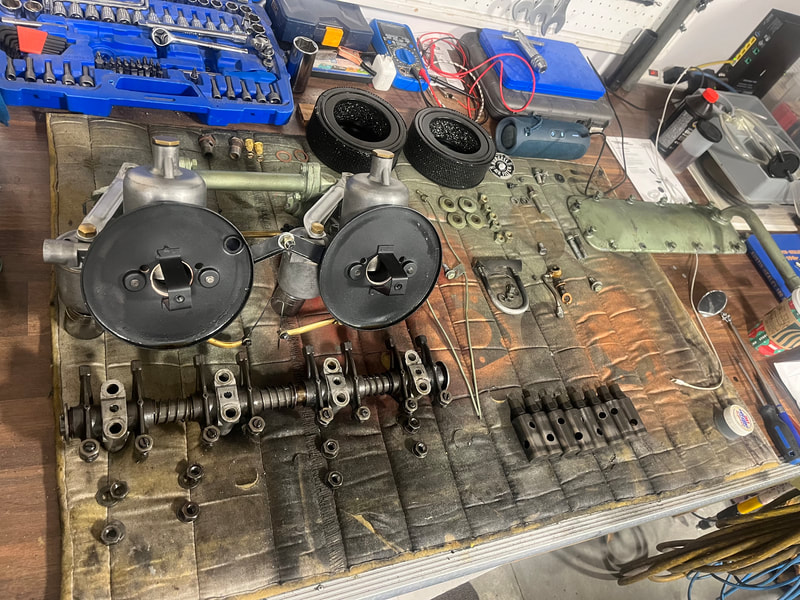
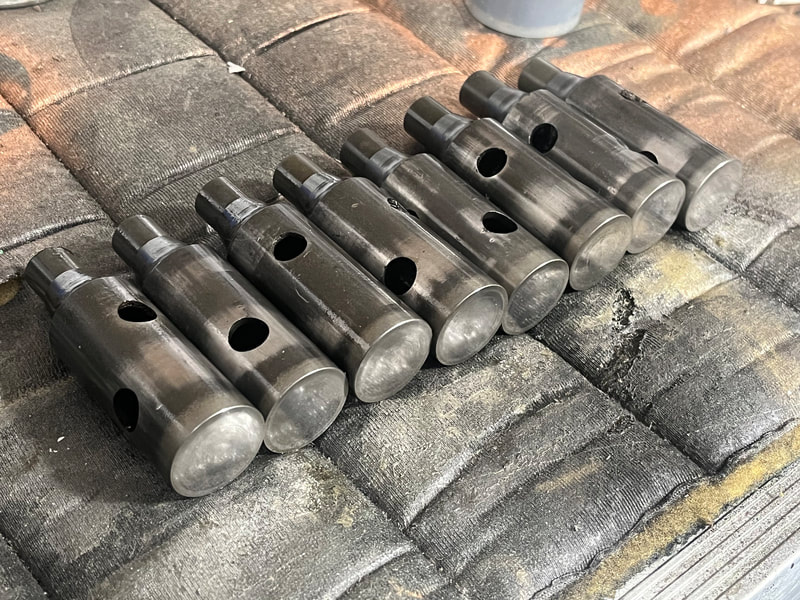
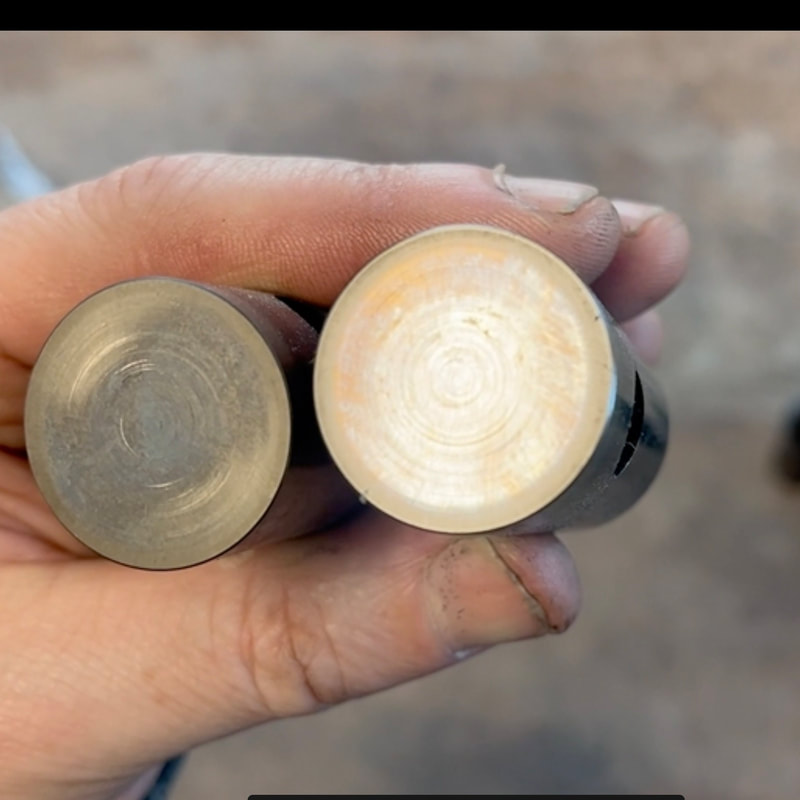
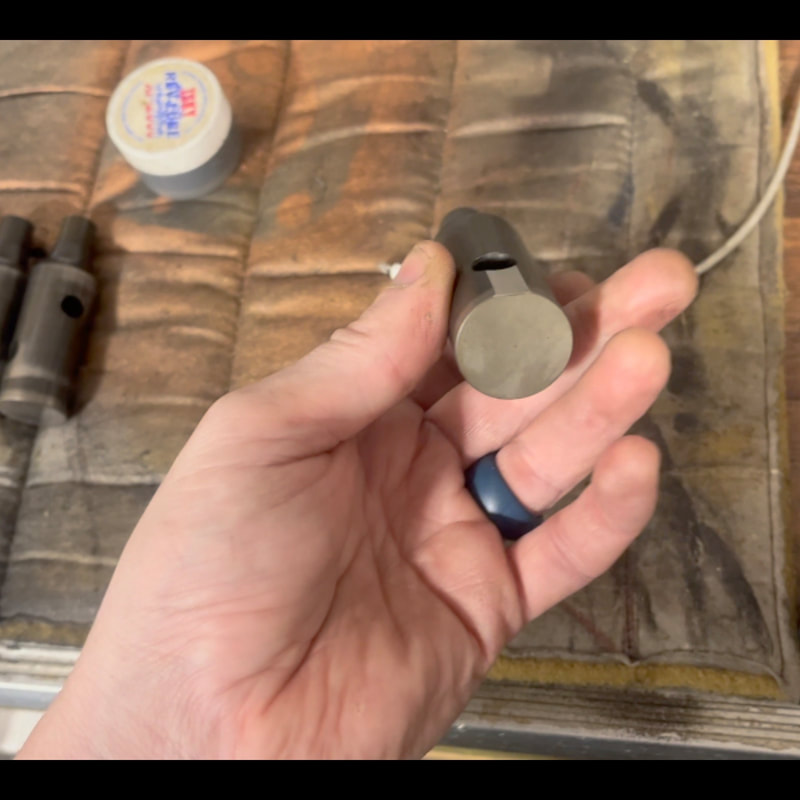
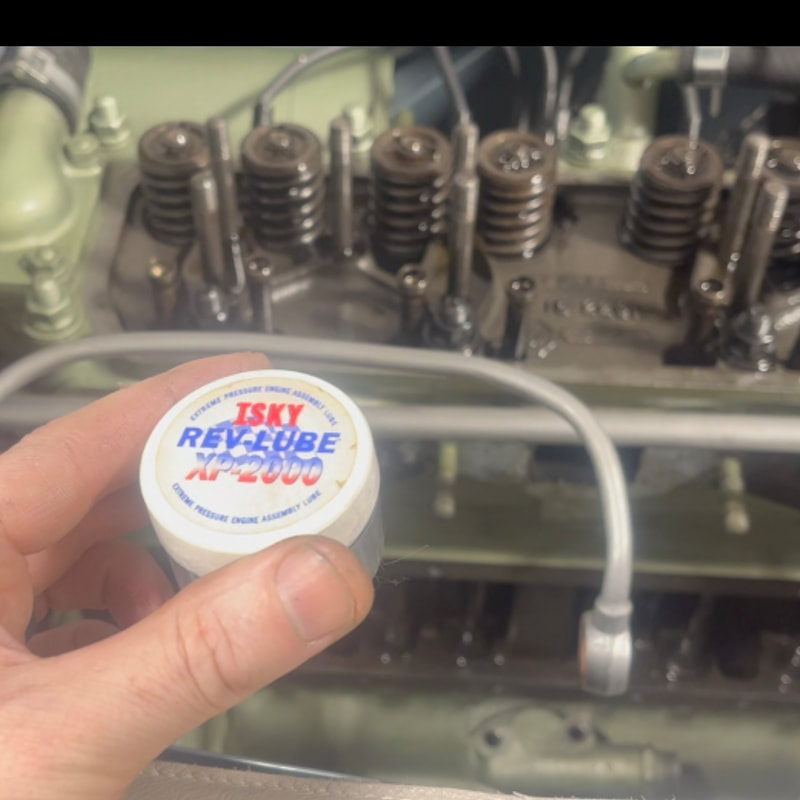
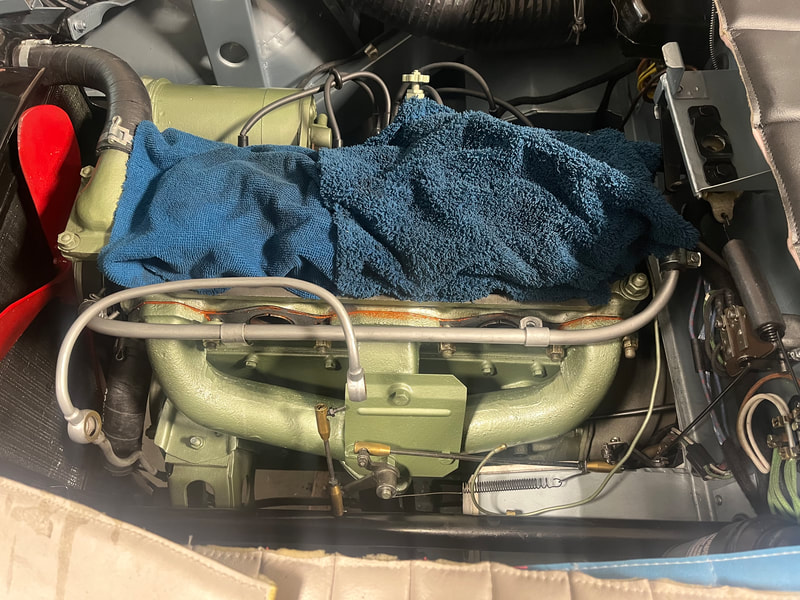
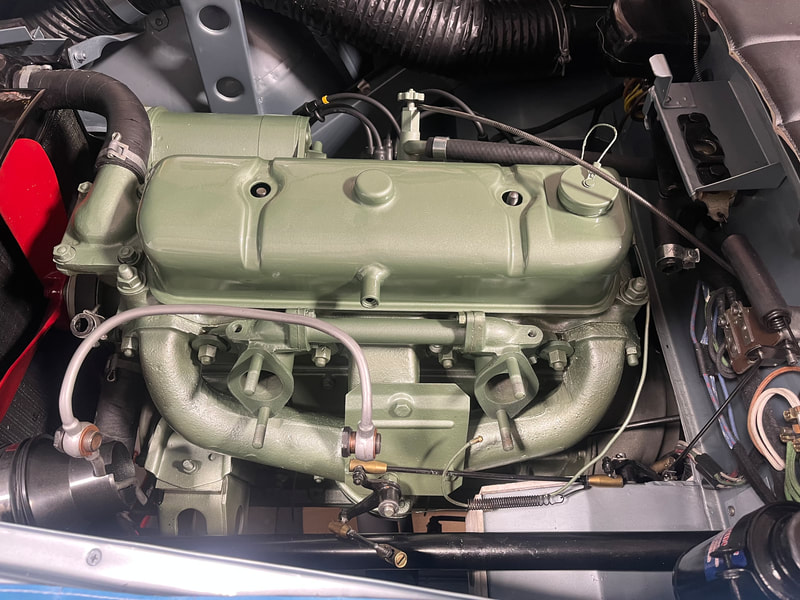
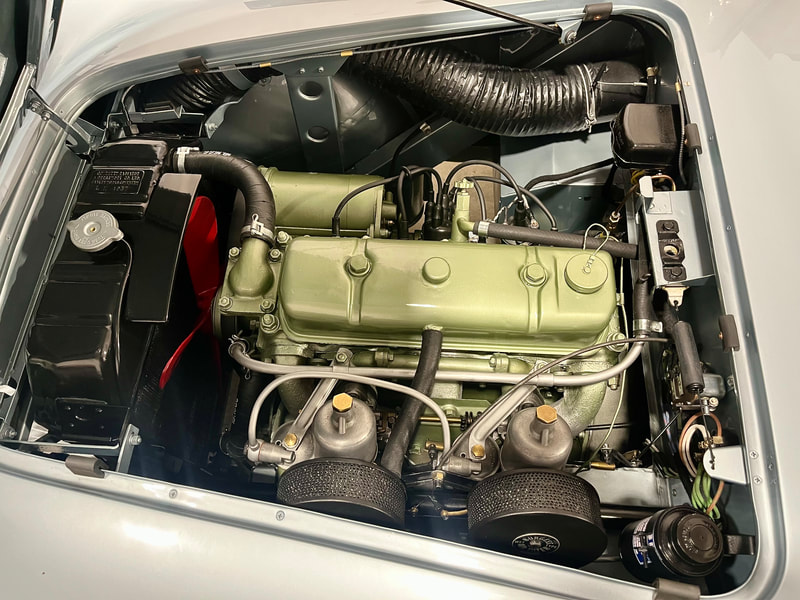
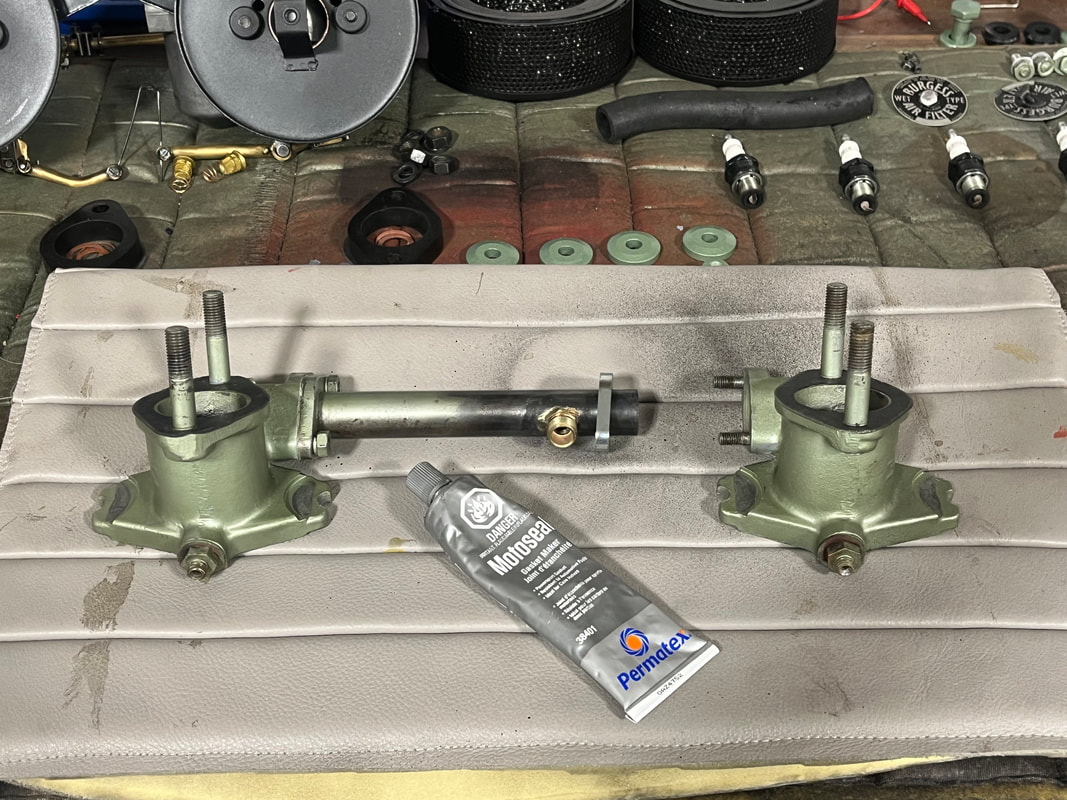
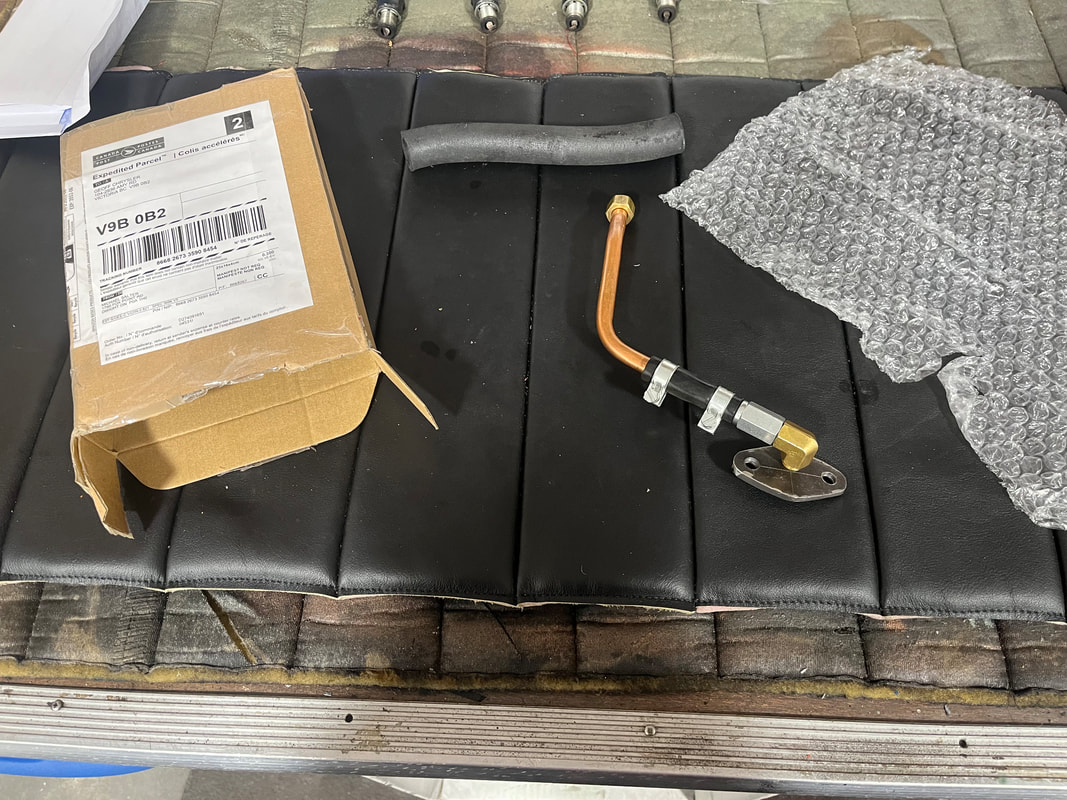
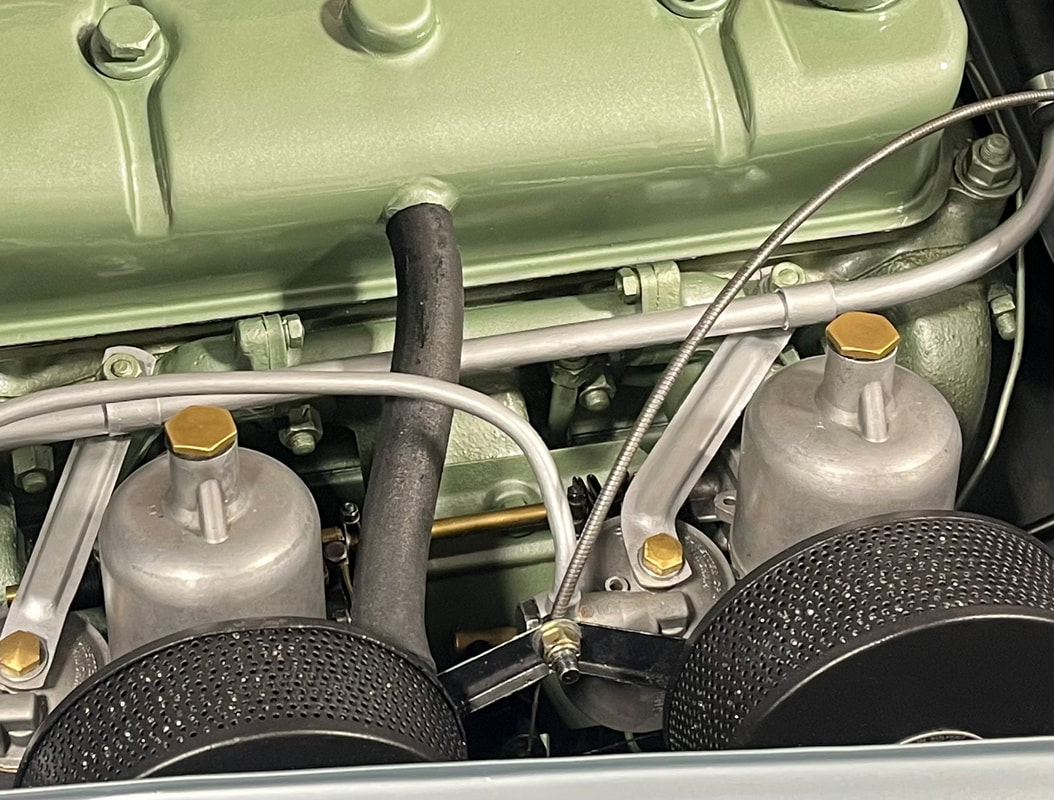
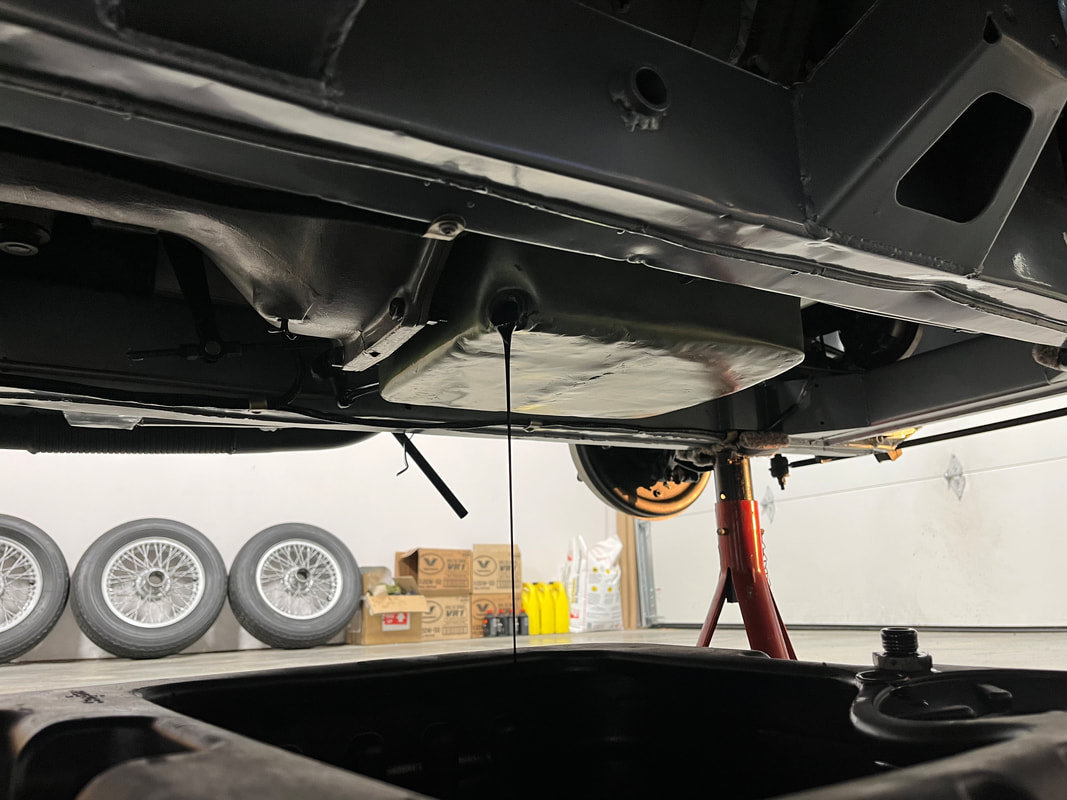
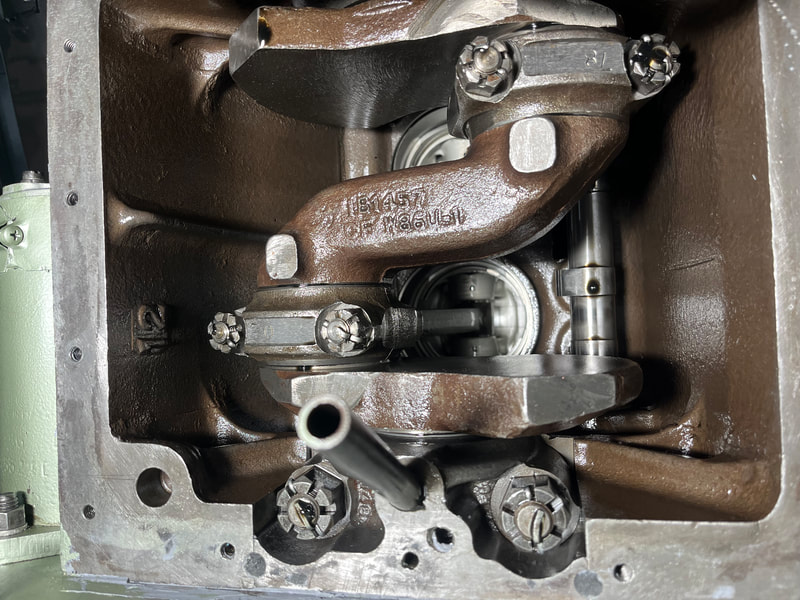
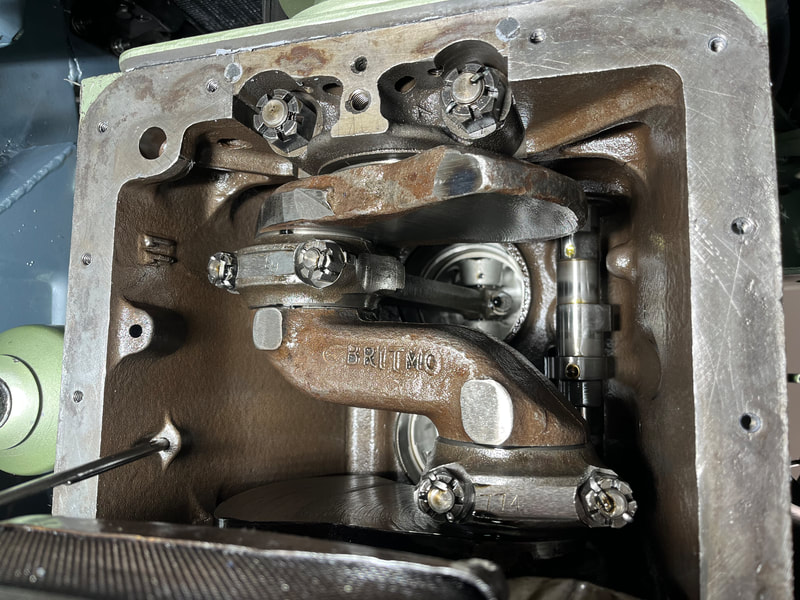
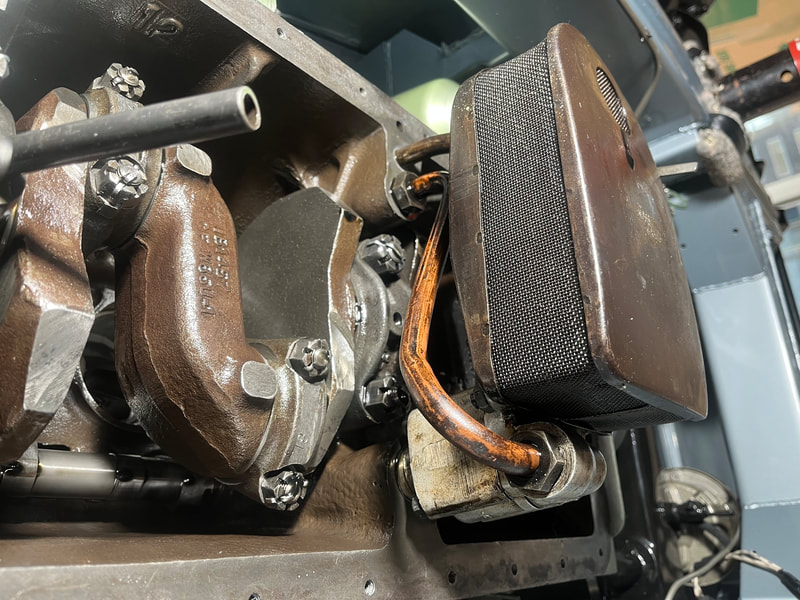
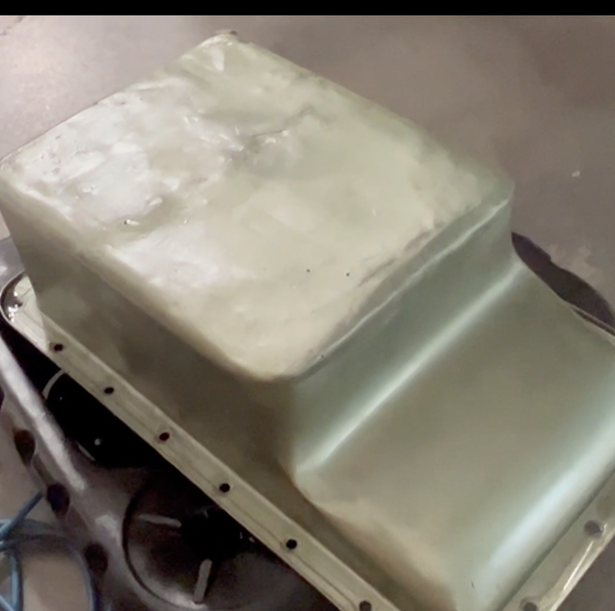
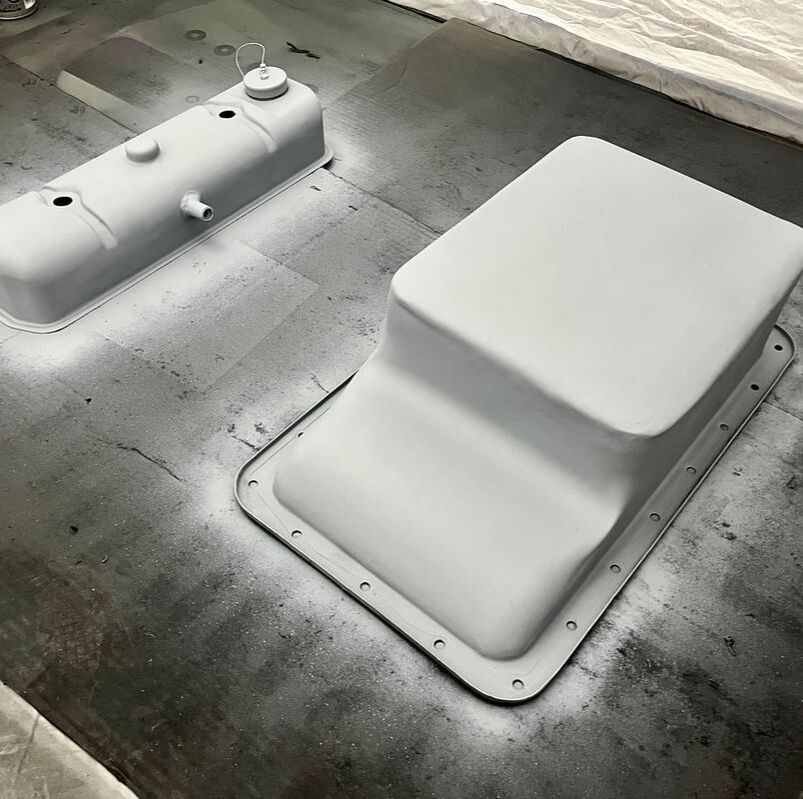
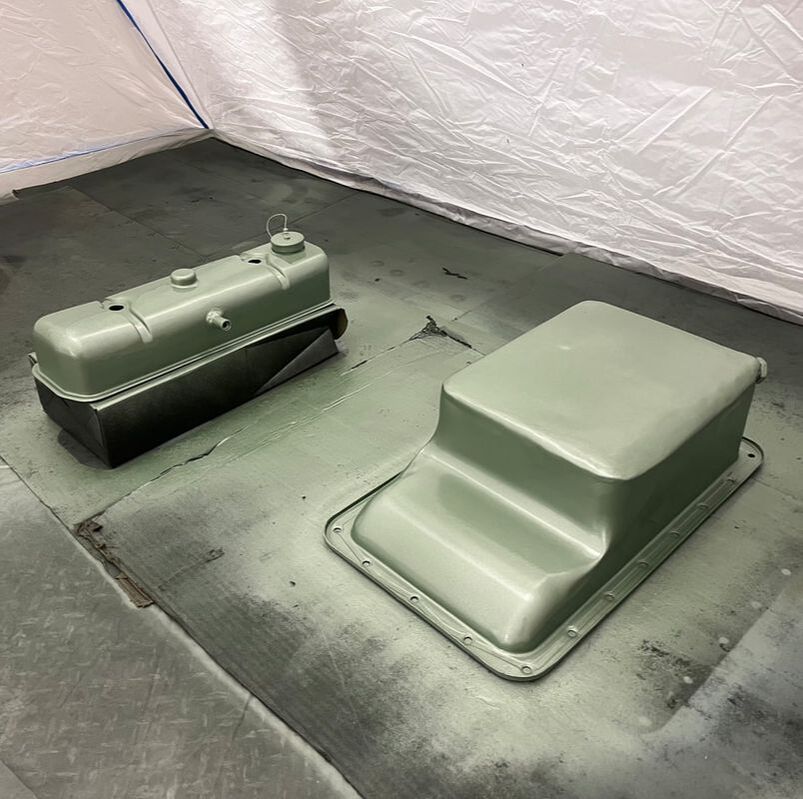
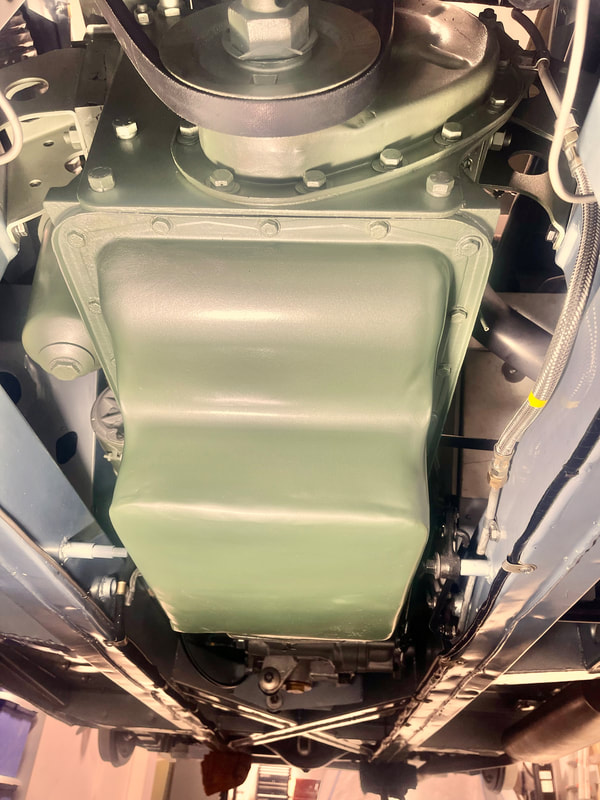
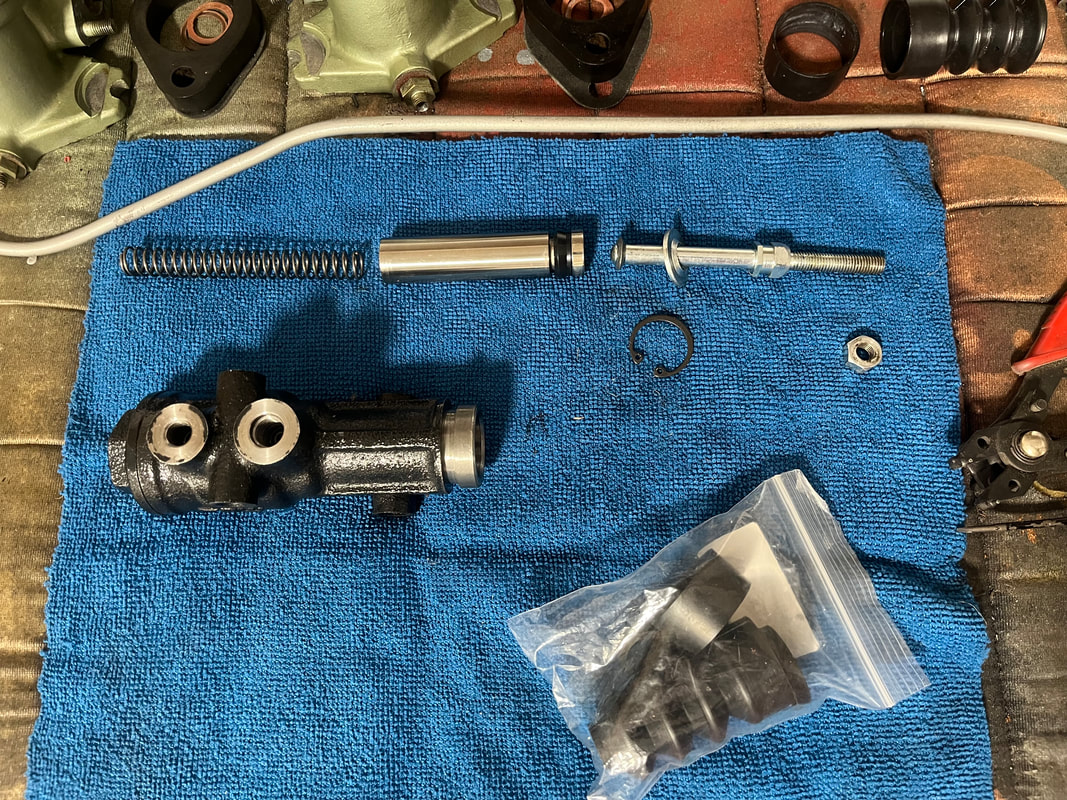
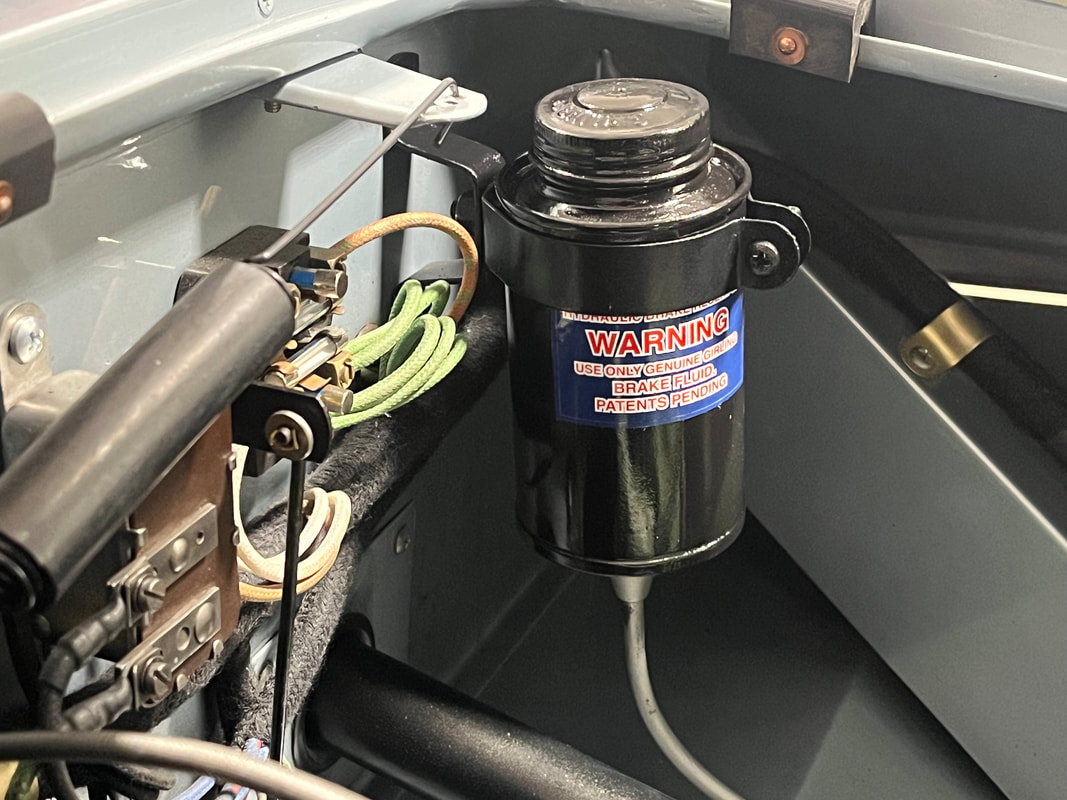
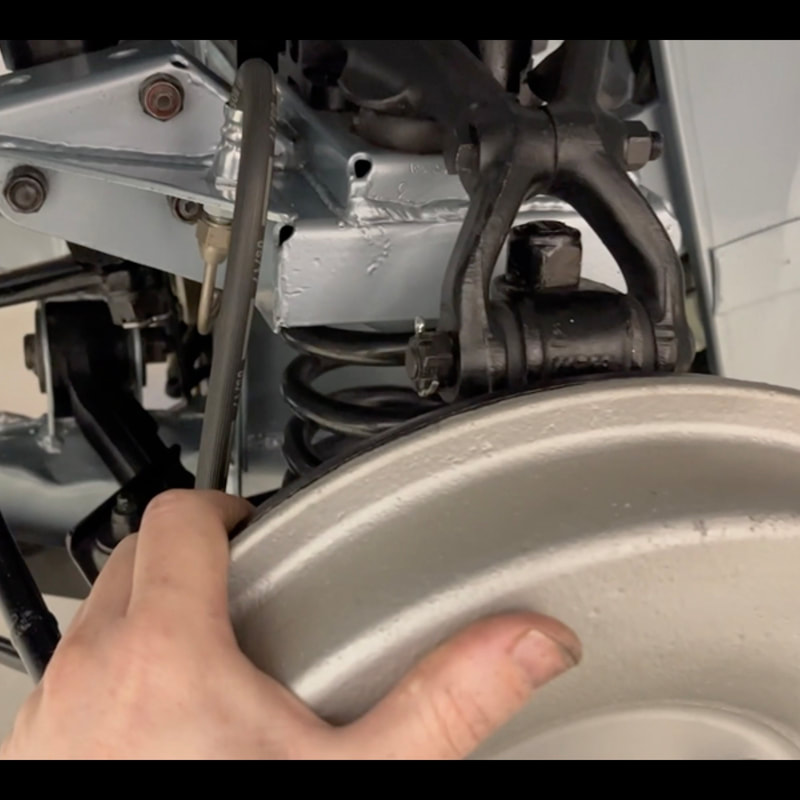
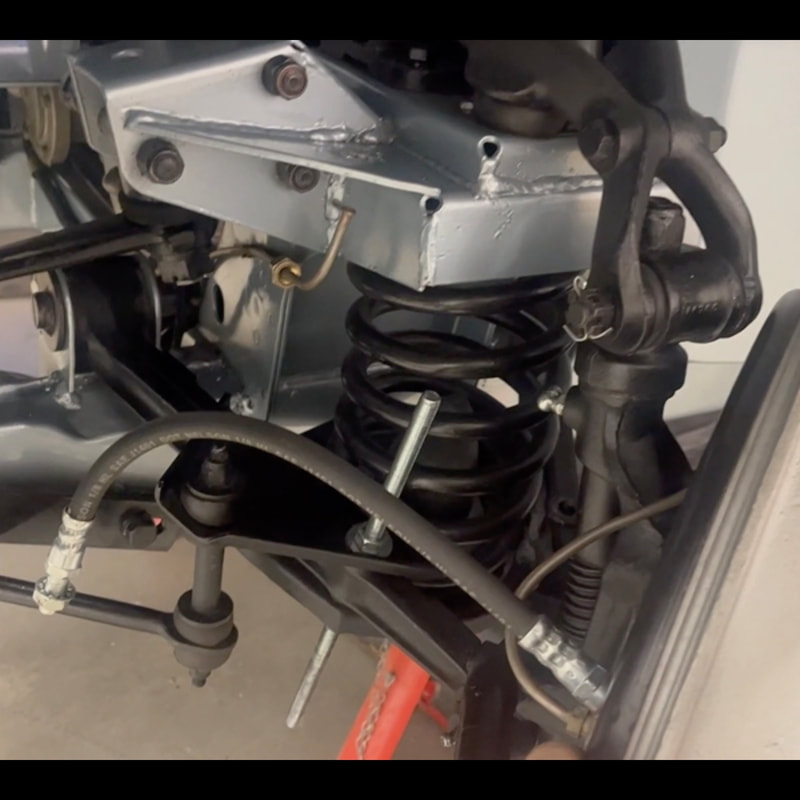
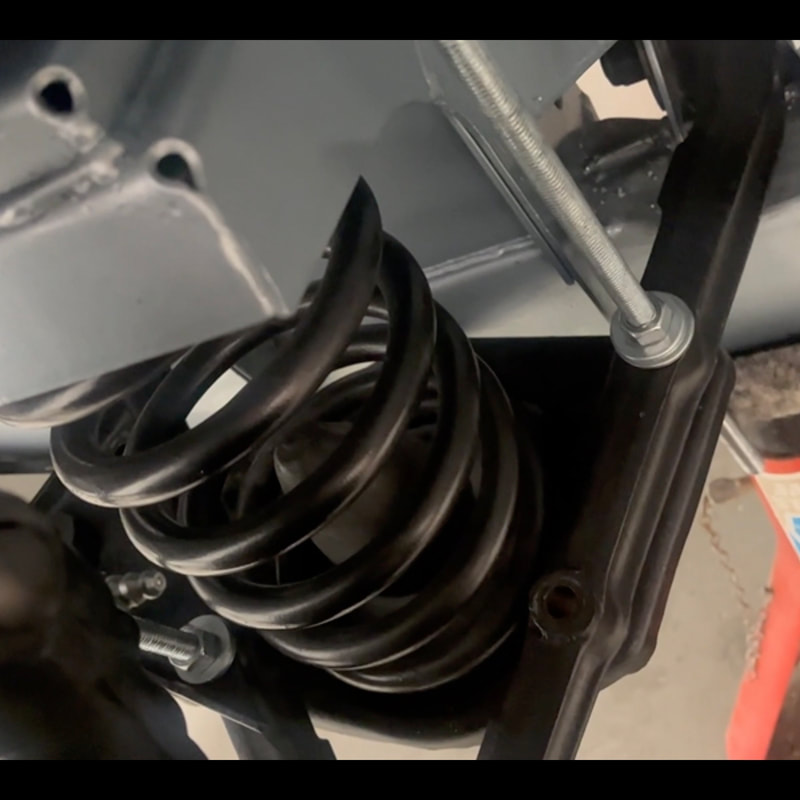
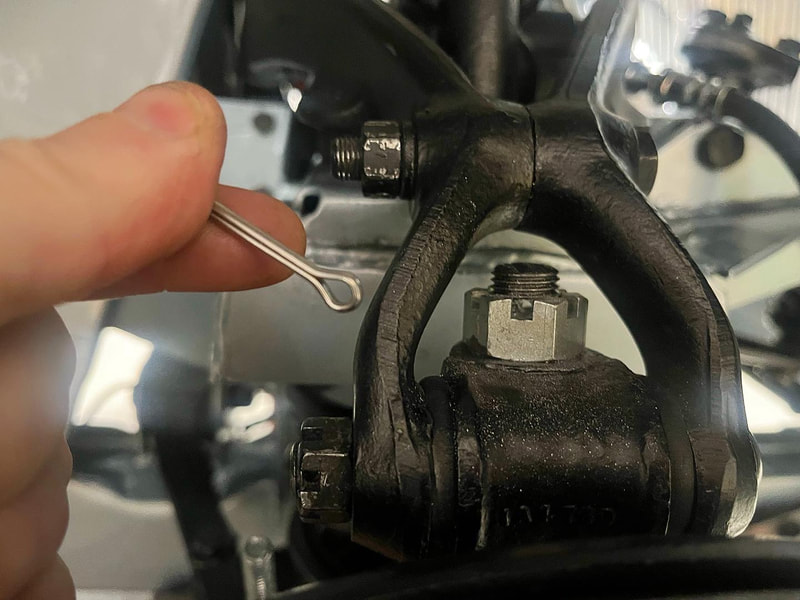
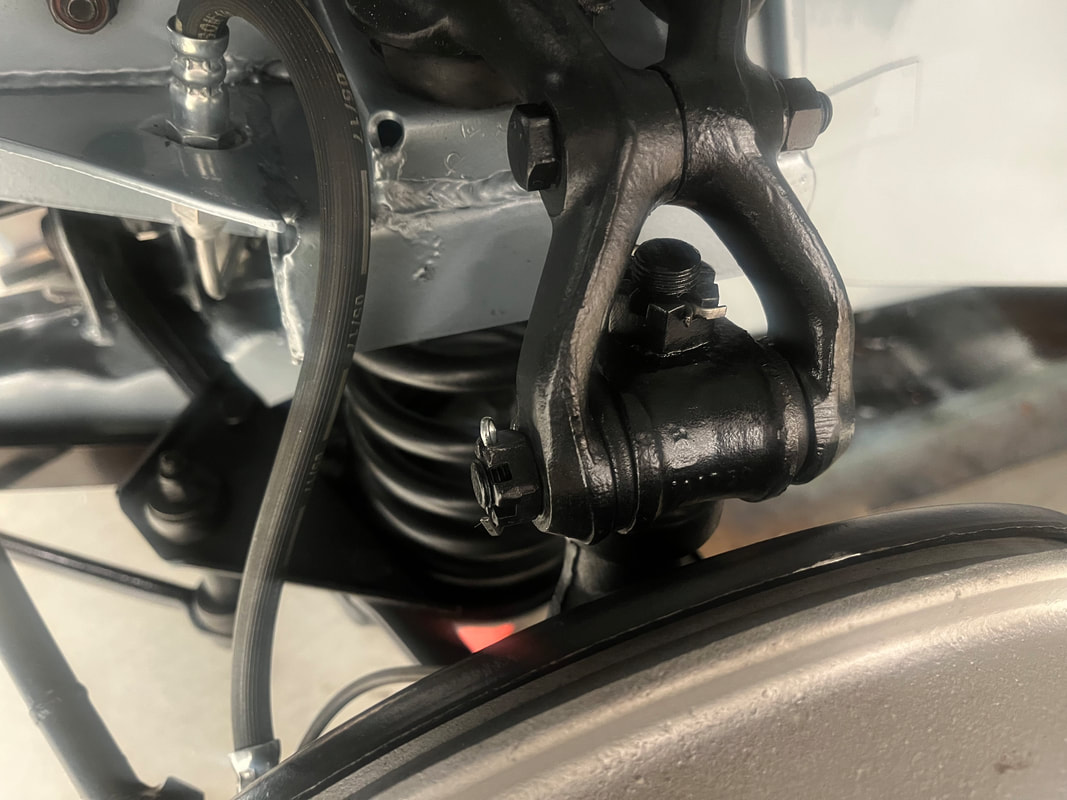
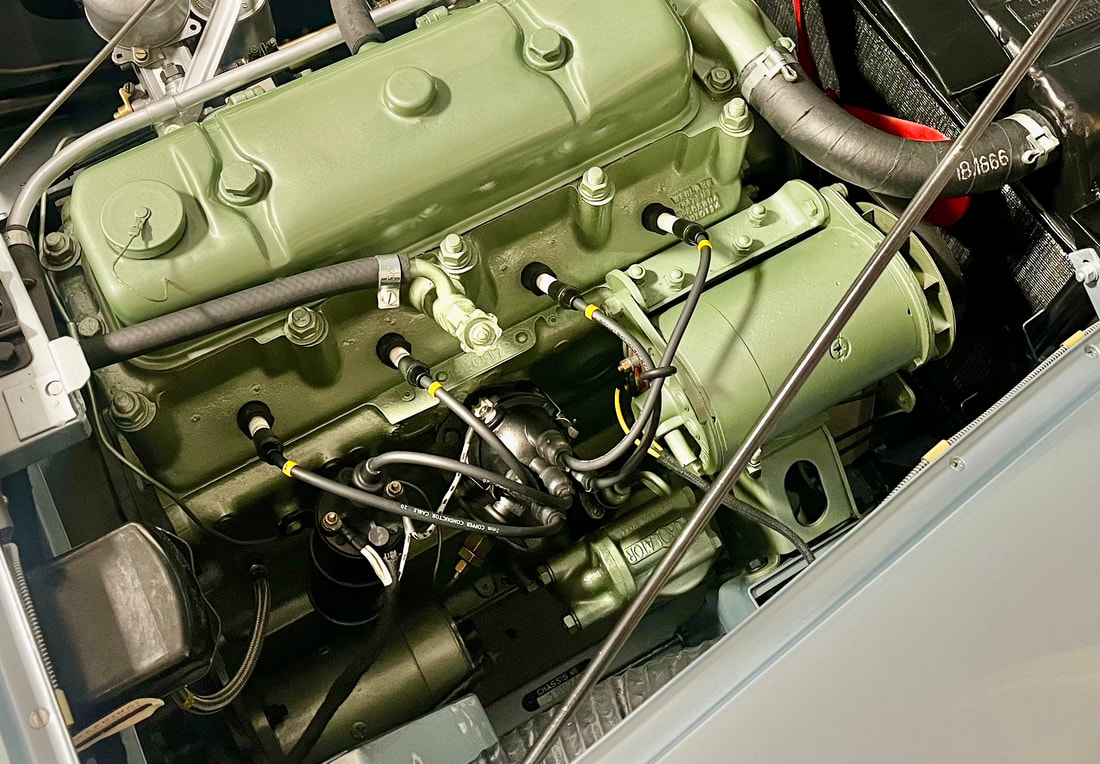
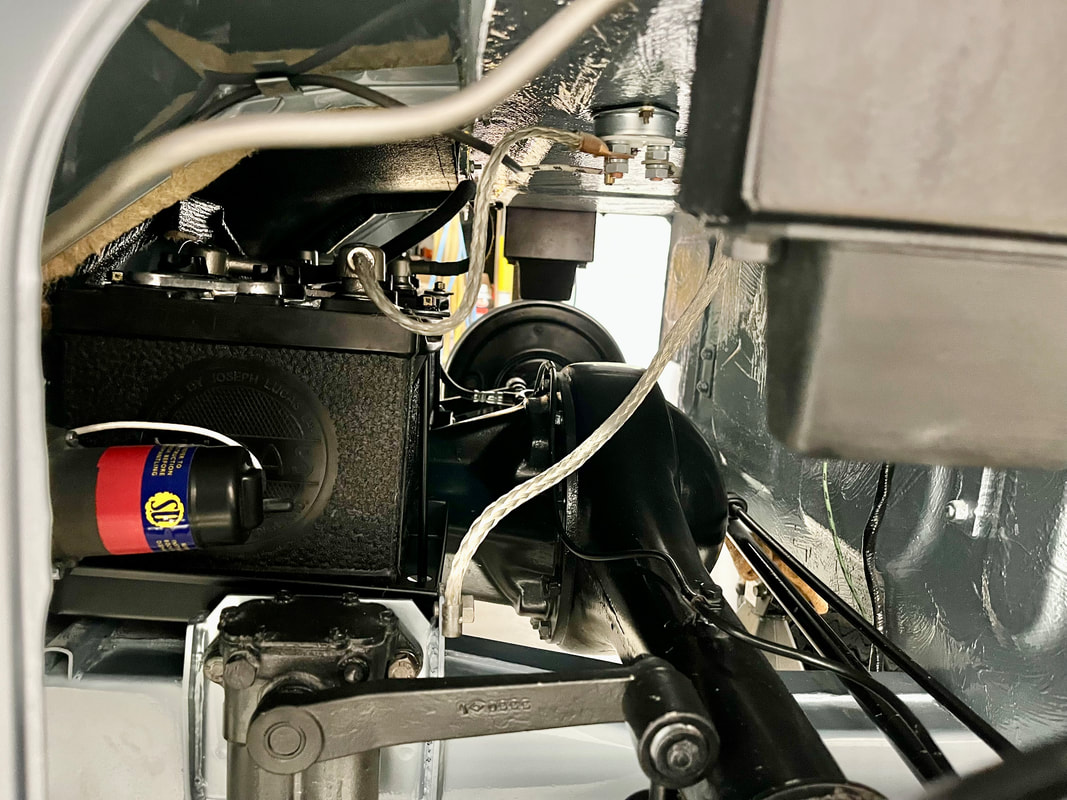
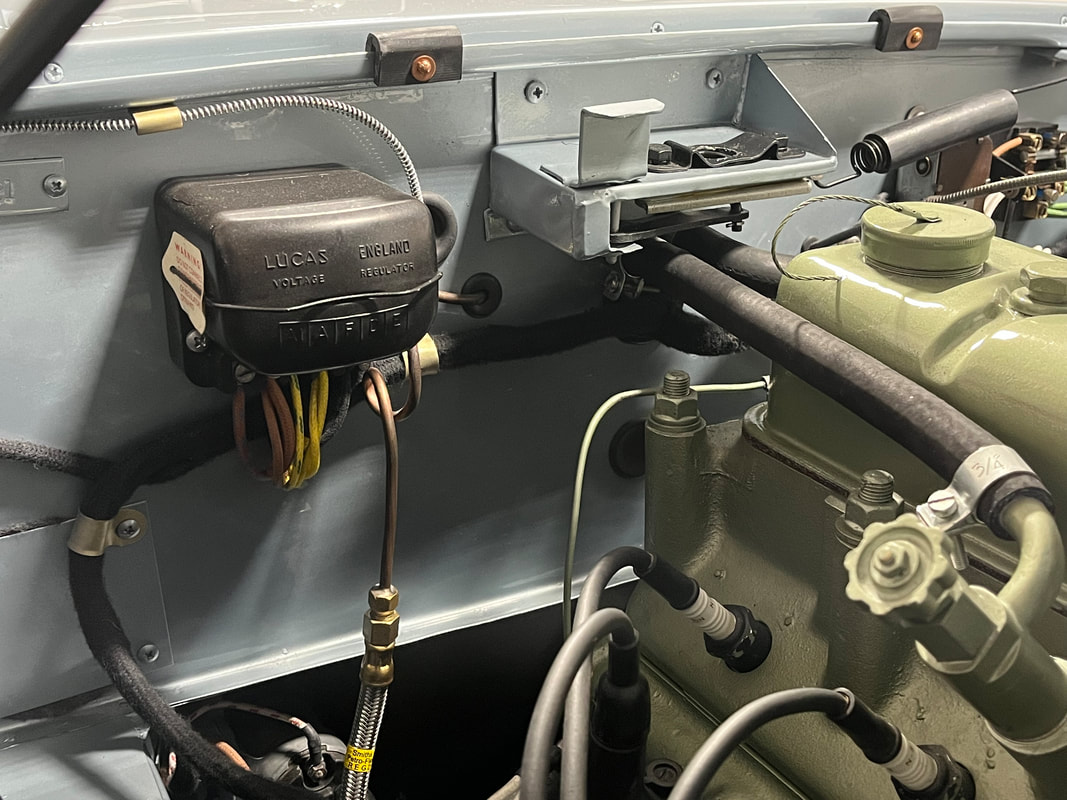
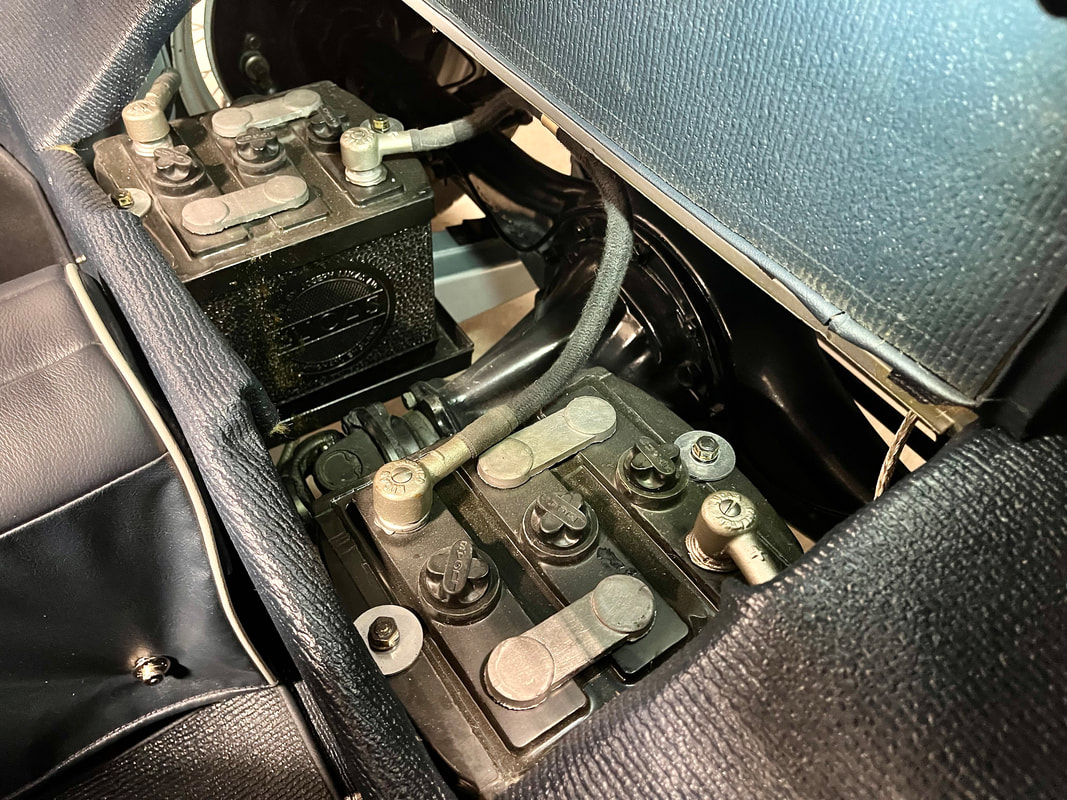
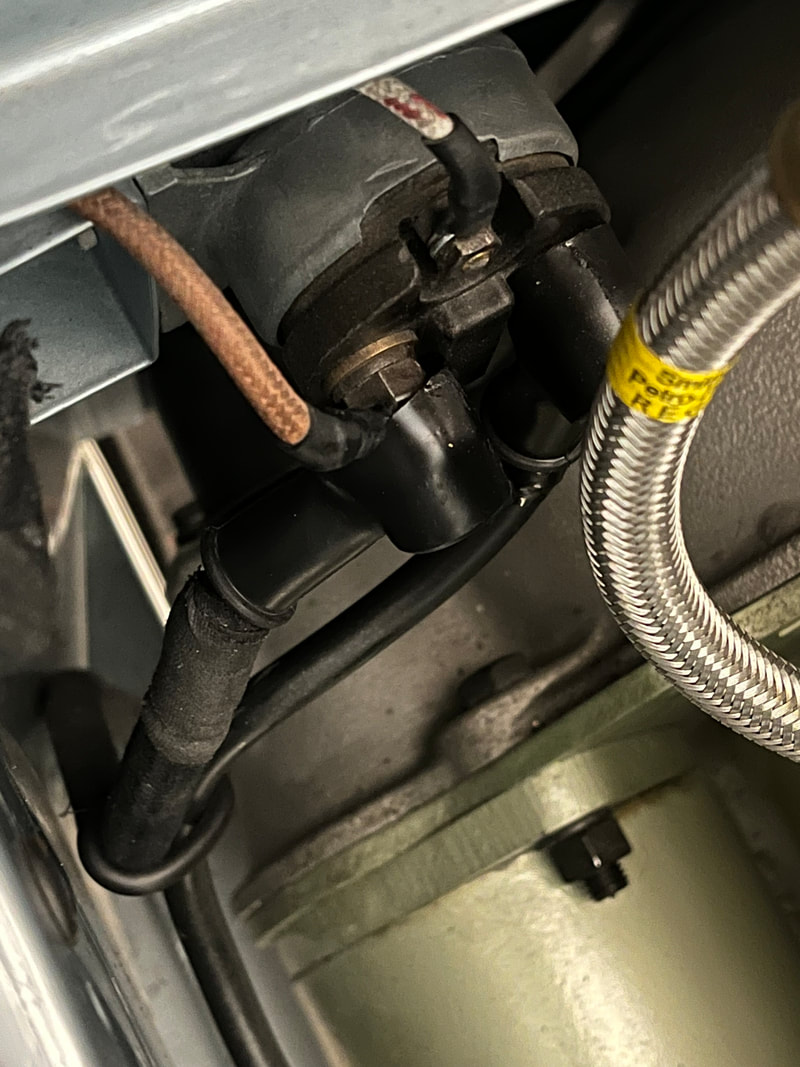
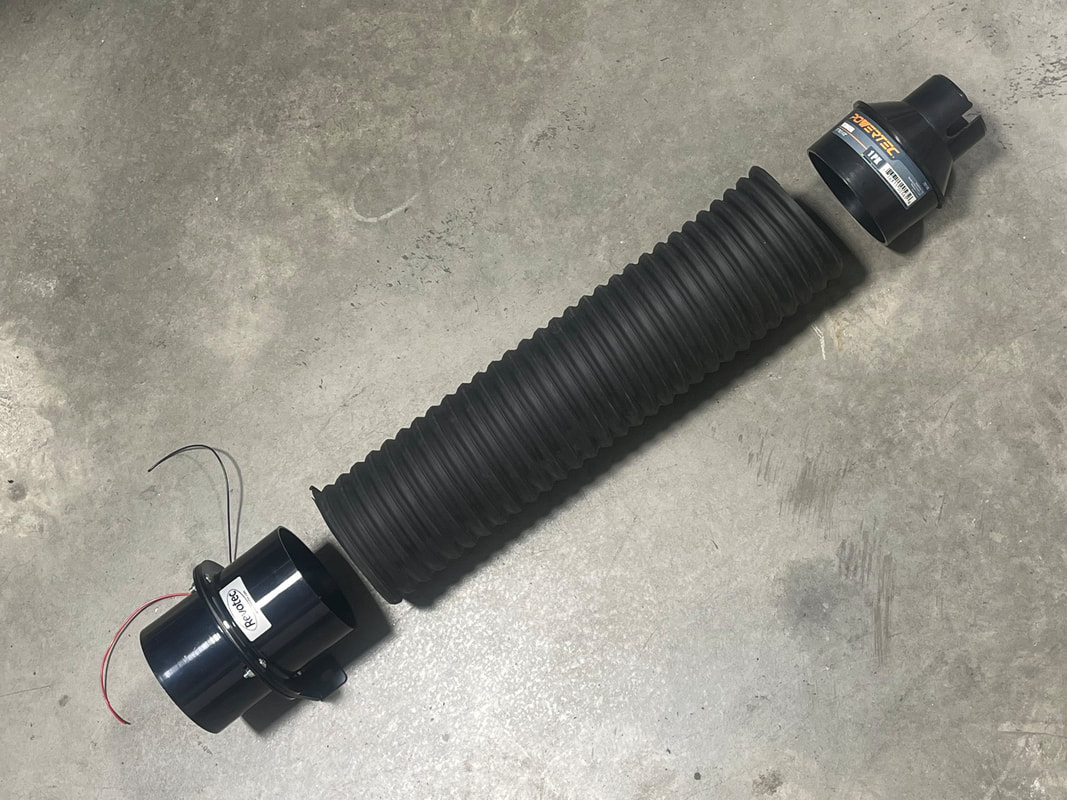
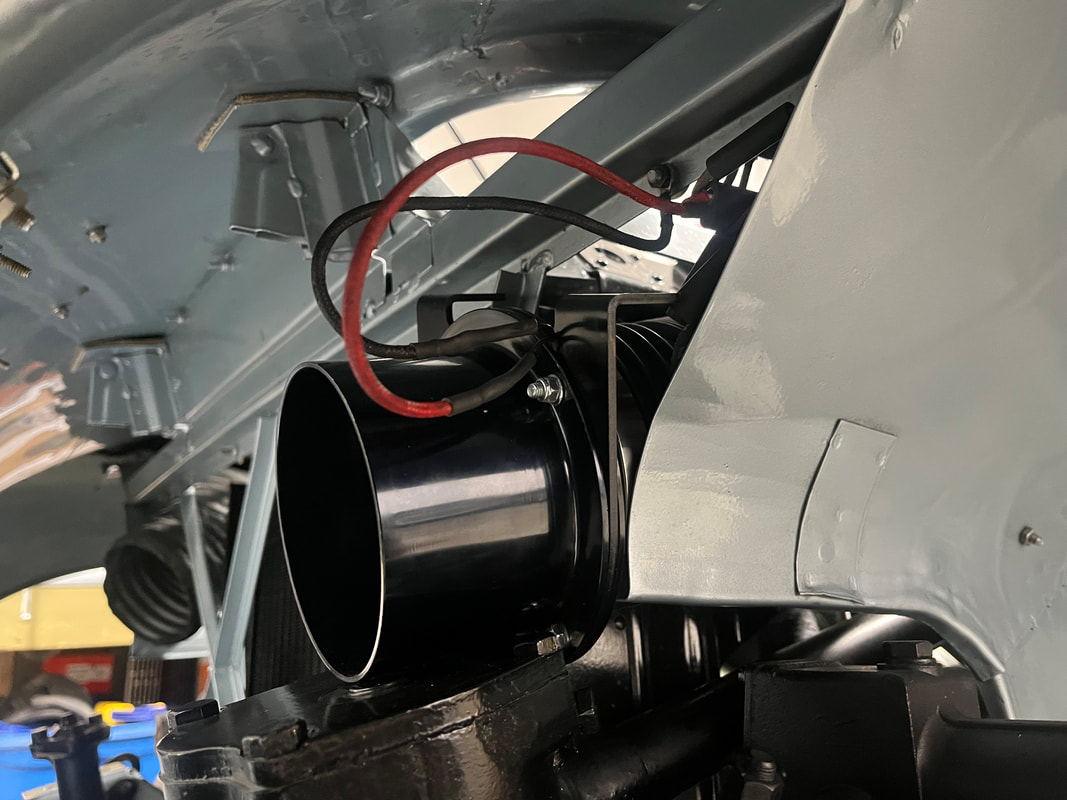
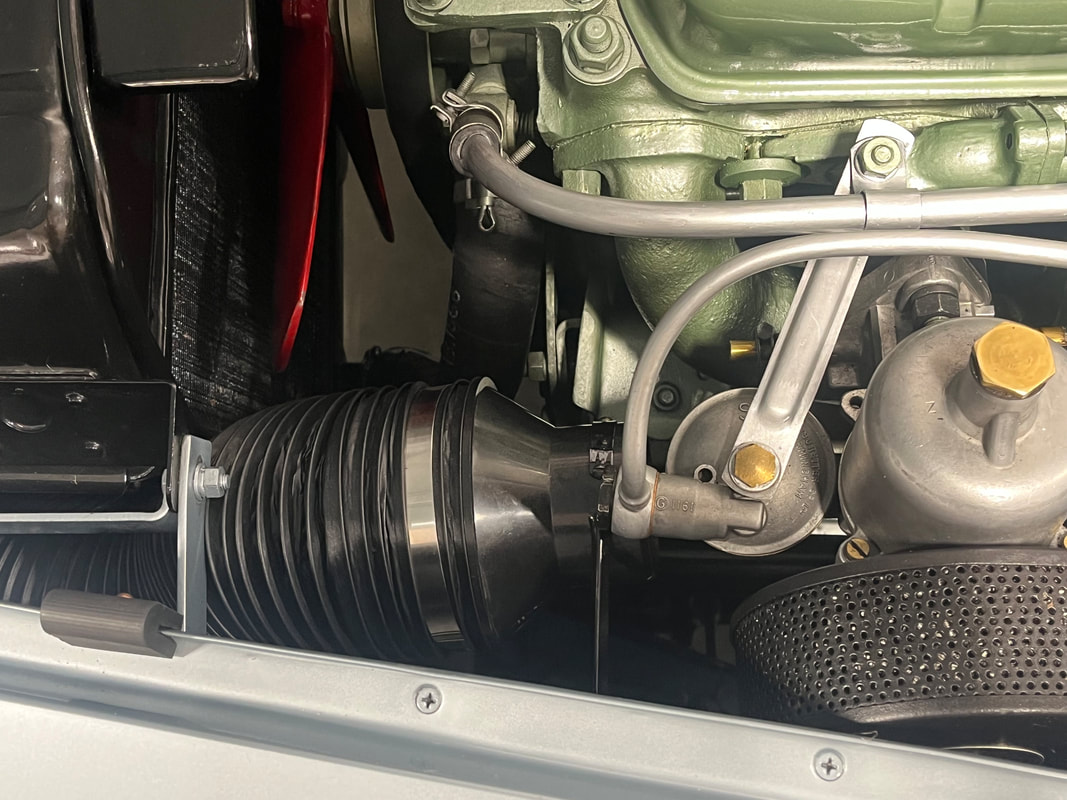
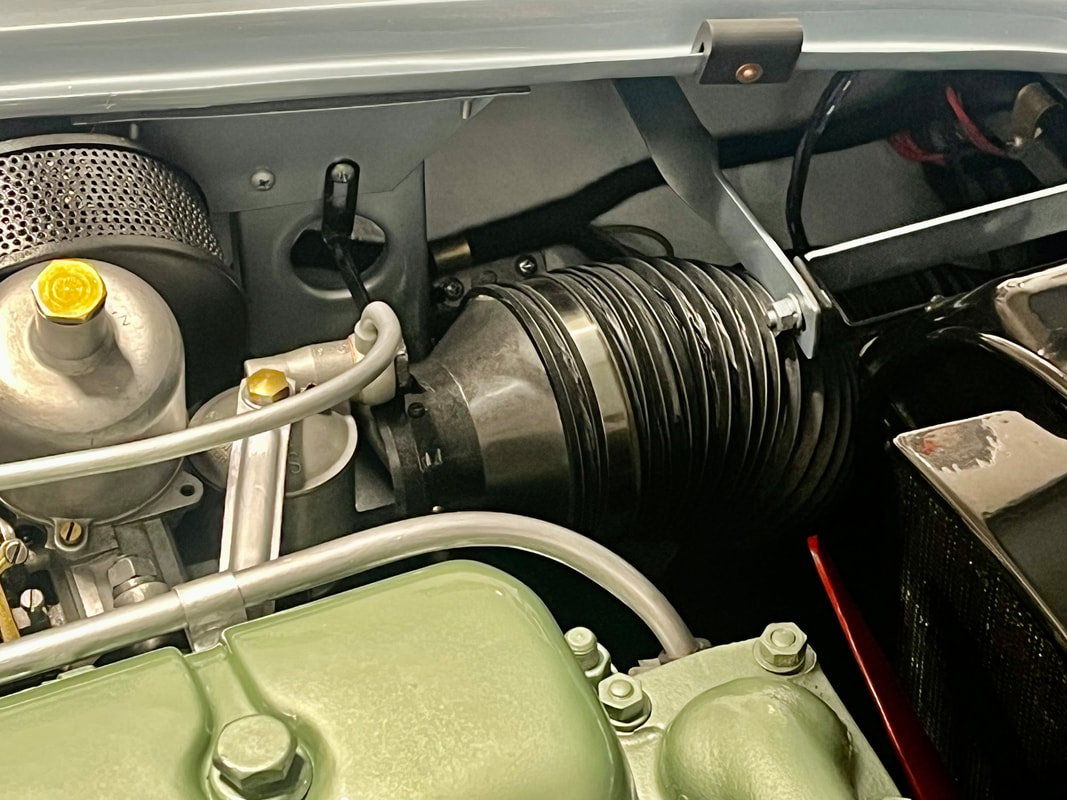
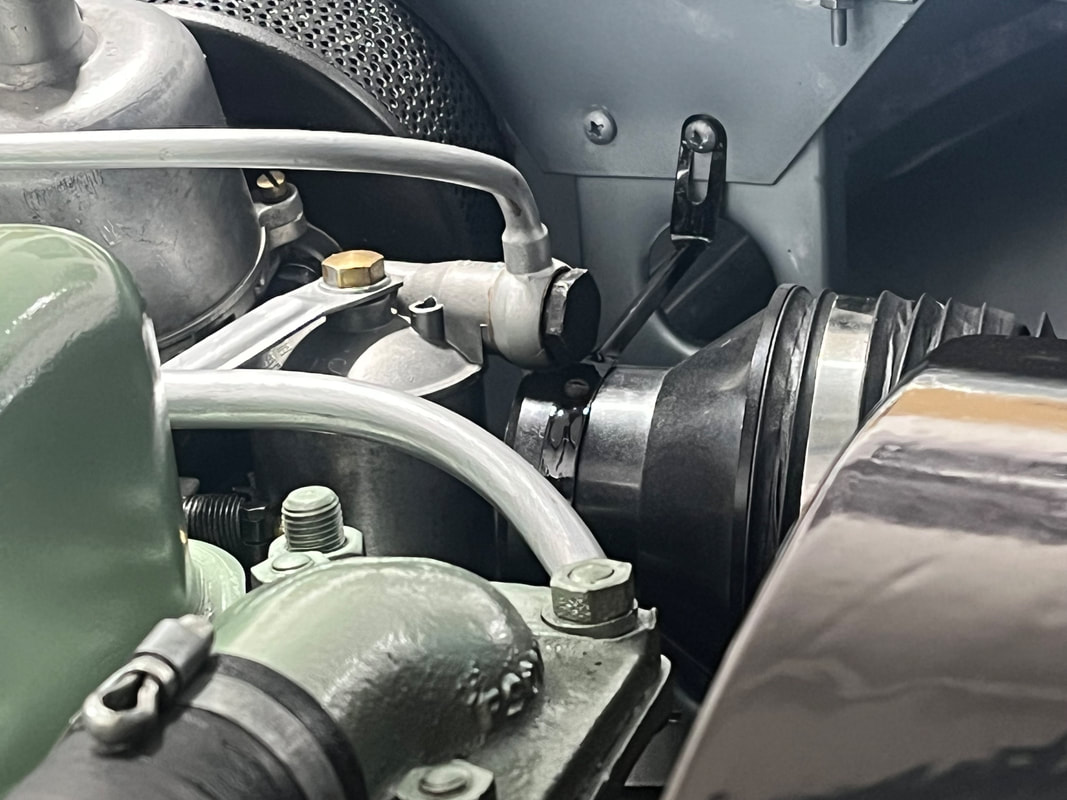
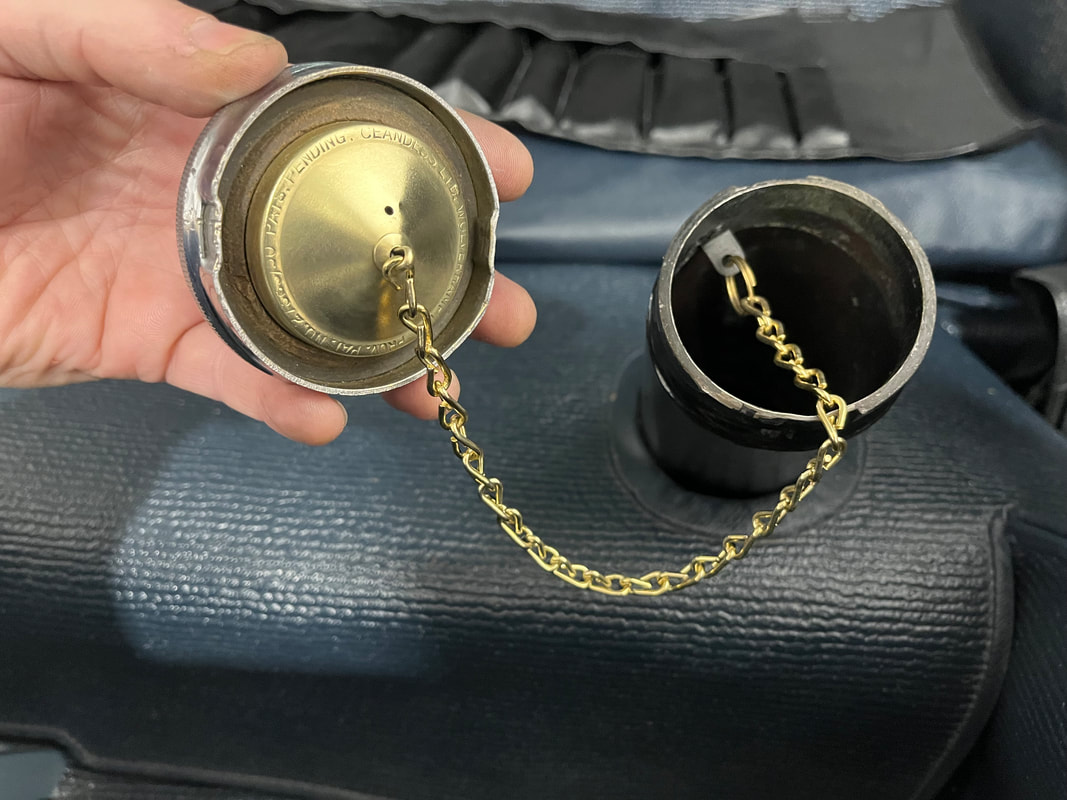
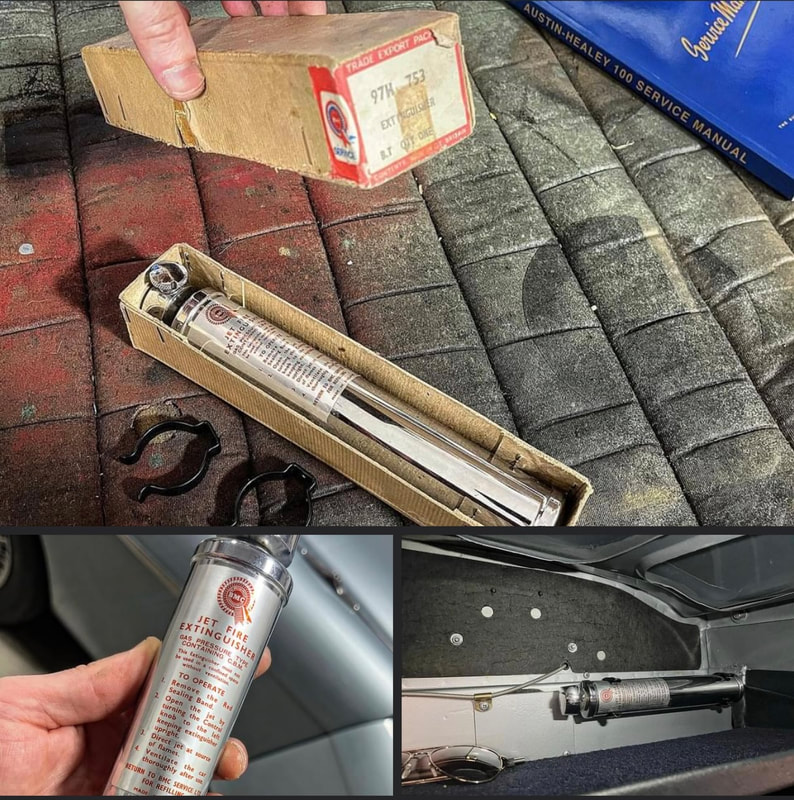
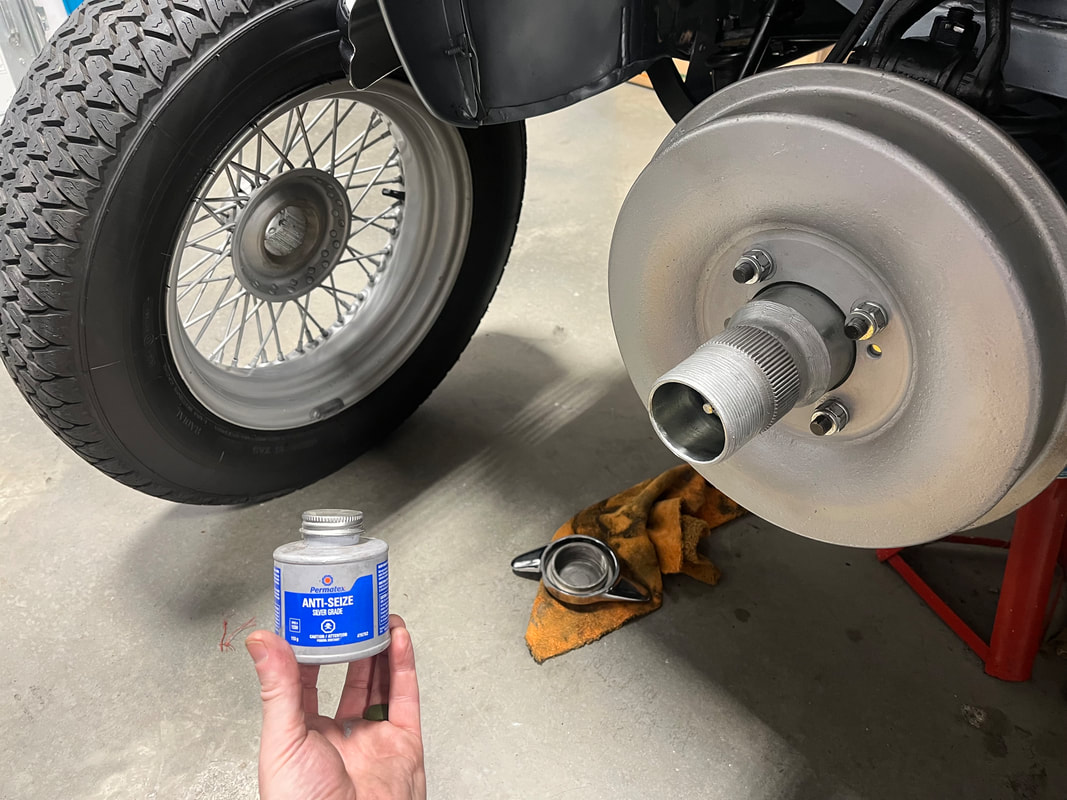
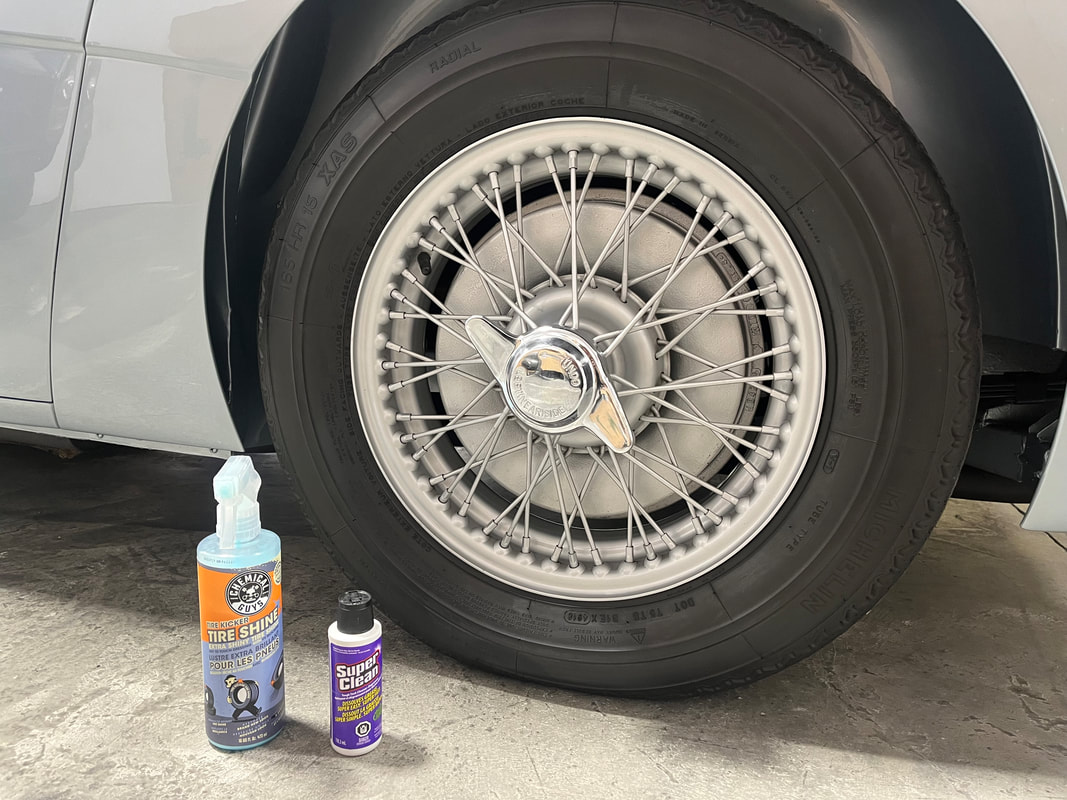
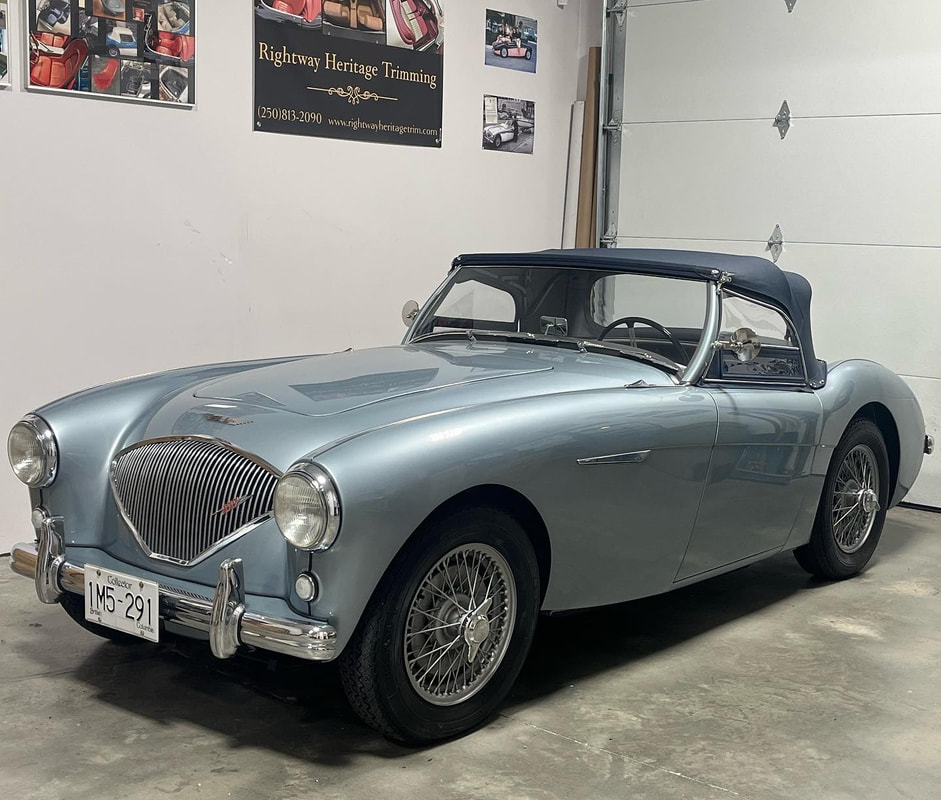
Well it's been a long while since I last posted about my BN1, but now that we're well into the winter season with snow and salt on the roads, she'll be off the road for several months which gives me time to go through my list of improvements I want to make for the next driving season... It just so happens that we landed on exactly 1000 miles on the odometer now that she's done her first season. So without further ado - let's get into it! I've attached a YouTube video below that has all the same topical parts as this blog article. If you'd like to skip ahead to the video parts that interest you, the times in the video are as follows: - Replace axle seals - 1:24 - Replace noisy tappets - 7:05 - Install a PCValve - 16:30 - Rebuild leaky brake reservoir & MC - 22:32 - Replace upper kingpin Nylocs with Castle nuts - 31:48 - Check all electrical connections & replce plug wires - 36:41 - Install a cooling fan - 38:46 - Install a brass chain on fuel filler cap - 45:22 - Install a BMC accessory fire extinguisher - 46:07 - Cleaning up wheels, splines, & tires - 48:26 1 -Replace the leaky axle seals, I removed the wheels, splined hubs, octagonal nuts and washers and finally pulled the inner hubs.. I used a piece of solid oak to press against the inner axle tube and tightened the splined hub on against the wood to pull the hub assembly off the tube.. Then it was just a case off tapping out the bearings and replacing the inner seals, and reassembling... I reinstalled the hub assemblies and tightened them down with the octagonal nuts and tapped down the safety washers. Then I installed new hub gaskets with gasket sealer, as I reinstalled the axle shafts, followed by the brake drums, and finally the splined hubs which were torqued to 65 lbs each on the tapered lug nuts... 2-Replace the noisy tappets! After 1000 miles, the tappets are still louder than they should be - and after hearing several horror stories about some bad batches of tappets on the market that were improperly hardened during manufacture, I decided to get in there and replace them just to be safe... So, off with the carbs, throttle linkage, exhaust, manifolds, side cover, rocker shaft etc..... I replaced the old tappets with some new 'lighter and better lubricating' tappets from AH Spares, which will hopefully be much better and quieter. I'll keep you posted in future articles with how the newer tappets sound... 3-Add a PCV valve to reduce crank case pressure/rear main oil leak, Following an article Michael Salter featured on his blog, I decided to install a PCV valve to help reduce the crank case pressure and hopefully alleviate my oil leak from the rear scroll seal. I actually had Mike provide me with the machined parts including a pipe fitting being added to the intake manifold cross pipe, and a pipe linking that to the tappet cover vent with a PCV valve in that.. I also put a plug inside the rocker cover vent tube... Now the vacuum created at the intake manifold will help suck the excess pressure out of the crank case rather than it pushing oil out the rear scroll seal. 4-Change oil & filter, remove & improve oil pan, inspect cam etc..Of course it's also time to change the oil and filter, but I figure while I'm at it - I might remove the oil pan entirely and see if I can get some more of the dents out of it, and have a good look at the cam shaft and bottom end... I gave the cam and bottom end a thorough inspection and everything looks beautiful! I also took the opportunity to tap in the rear dowel seals a bit deeper and pressed in some new sections of dowel seal (with fresh sealant) to fill in the gap - hopefully this will help alleviate the rear oil leak I've had. I also spent a few hours pounding out the dents in the oil pan, and got it looking much smoother than before. Then I primed and repainted it along with the rocker cover, and reinstalled it with a fresh gasket and sealant... After reinstalling I waited a week to let the sealant cure properly before refilling the oil and touching up the paint... 5-Rebuild leaky master cyl. & reservoir, flush system & replace with fresh brake fluid.I've noticed a very slow leak of brake fluid coming from the bottom of the reservoir, trickling down the feed line, and potentially soaking the MC or there's also a leak from the master cylinder...So of course this will not do! - I drained all the fluid, flushed the system and removed & rebuilt both components. Then I reinstalled them and re-bled the system myself using gravity this time... I simply cracked all 4 bleed screws, filled the reservoir and let gravity do the work... After about an hour I had a steady flow of fluid at each wheel, so I shut off the bleed screws, did a final bleed of each wheel individually, and finally adjusted them tight. Then I clamped the pedal down overnight to allow any air to escape back through the system to the reservoir...Voila - I now have good solid pedal! 6-Replace the upper king-pin Nyloc's with proper Castle-nuts/cotter pins, I have always wished I'd installed the proper castle nuts with cotter pins on the tops of my new king pins, but all I had at the time was the Nyloc nuts they came with.. Recently however I've noticed a slight bit of play in the kingpin if I lift the wheel up when the car is in the air. So I decided to take the opportunity to take apart the suspension and add a shim washer to the kingpin as well as replacing the upper nuts. This required removing the coil springs with some ready rod & nuts like I'd done to install them last year... Now the nuts are corrected and the king-pins are solid with no chance of them loosening! 7-Install a better quality distributor cap and wires for driving, so I can save my OE spec ones for judging, Like the title says, I made up a second set of plug wires, with better quality boots, and a new cap for my distributor. I'll just keep my fragile 'original spec' ones stored in the boot with the rest of my 'Concours Kit' of parts I'll only install for judging... 8-Inspect all electrical connections, An issue I've found that may have been the cause for my previous overdrive issues, is that my batteries don't seem to be maintaining a full charge. I've tested the generator and it's definitely putting out a proper charge, so my next step is checking all of my grounds and connections throughout.. Then I'll connect my voltmeter to the batteries while running the car to see what's happening there, if I have to I'll adjust the voltage regulator. Failing that I'll test the batteries themselves with a load tester.. 9-Install an O-ring on battery/starter cables, An original detail I'd missed before, I fit a correct size thick rubber o-ring joining the battery and starter cables just below the solenoid... 10-Install a carburetor cooling fan One issue with these Healeys is overheating in slow moving traffic. The 100's especially have an issue with the fuel boiling in the carburetors and causing sputtery running... So I decided to add this neat little exhaust fan with a 4" hose and an adapter piece that I slotted to fit over the fuel line so it will blow directly onto the float bowls. The entire unit can just slot in place with no need for fasteners or brackets.. furthermore, the 12volt fan only runs at 1.6Amps so I simply plugged it into the front side lights circuit so no extra wiring or switches - It just switches on with the side lights! I was able to easily plug the red wire into an existing harness connector where the front corner lights plug in. I turned one of the existing harness clips into a ground for the black wire. Now the entire unit can easily be unplugged and lifted out for judging... I did make a small bracket to help hold the reducer in position on the fuel line so it won't fall off if I hit any bumps. I just utilized one of the existing chassis screws to fasten it in place... 11-Add a brass chain to fuel filler cap Details for Concours, - well this is one detail that's not even mentioned in the guidelines yet - though I have clear evidence that there must have once been some sort of chain attaching the filler cap to the filler neck - the eyelets for the chain are original, I only just added the chain. I kept the chain length short enough that it only hangs down the length of the filler neck - not into the tank - so as not to create drips or mess when I remove the cap... 12-Install BMC accessory fire extinguisher An old relic from my late Fathers collection of stuff. I found this old box in a drawer and was excited to find it was a period correct BMC fire extinguisher! So cool! So I decided to display it in my car, utilizing the factory blanking screws along the firewall over the parcel tray - almost like it was meant to go there - thanks Dad! 13-Clean and inspect wheels, tires & hubs, reinstall with fresh Anti-seaze, I cleaned and polished the wire wheels while they were off the car, and took the opportunity to clean off the old grease on the splines and replace it with some fresh silver anti-seize I also cleaned the tires - first with some Super-Clean to remove any release agent film on the rubber, and then I polished them with some Tire Shine... Now she's all freshly tuned, improved, and polished inside and out - just in time for the Holidays! I wish everyone a Happy Holiday - hopefully we'll see some of you at some of the shows next year! Until next time -
0 Comments
Your comment will be posted after it is approved.
Leave a Reply. |
Archives
December 2023
|

 RSS Feed