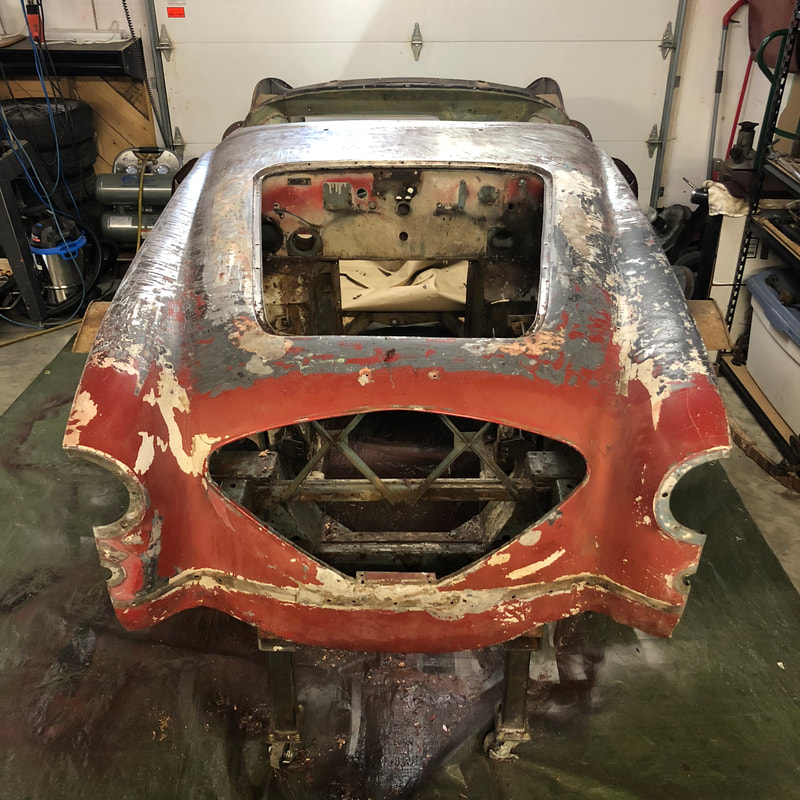
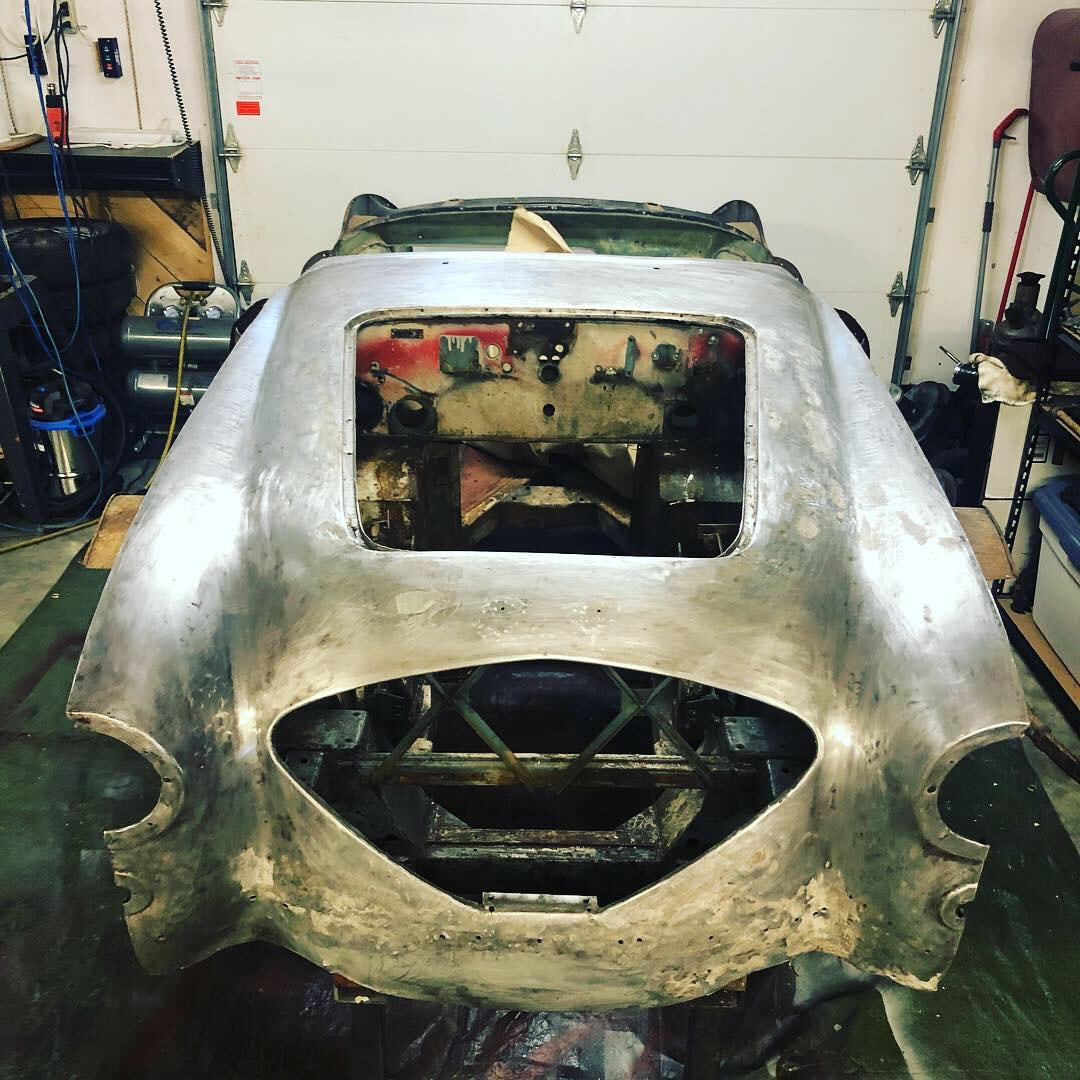
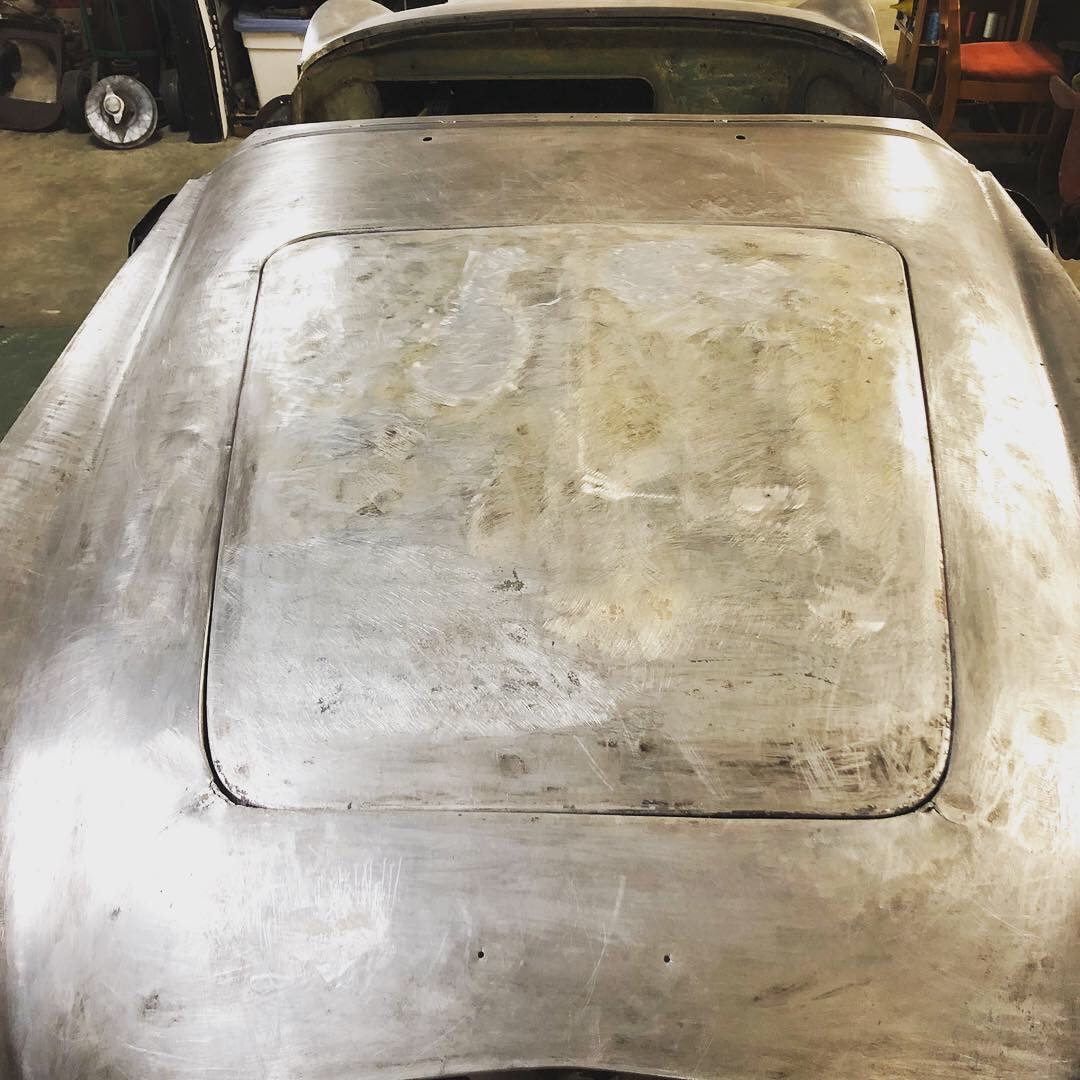
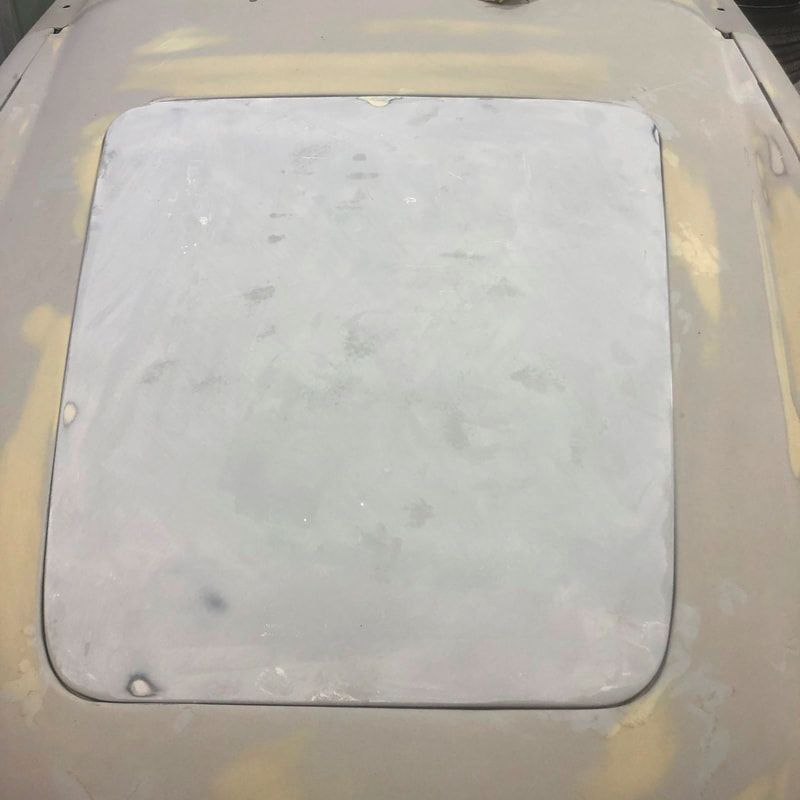
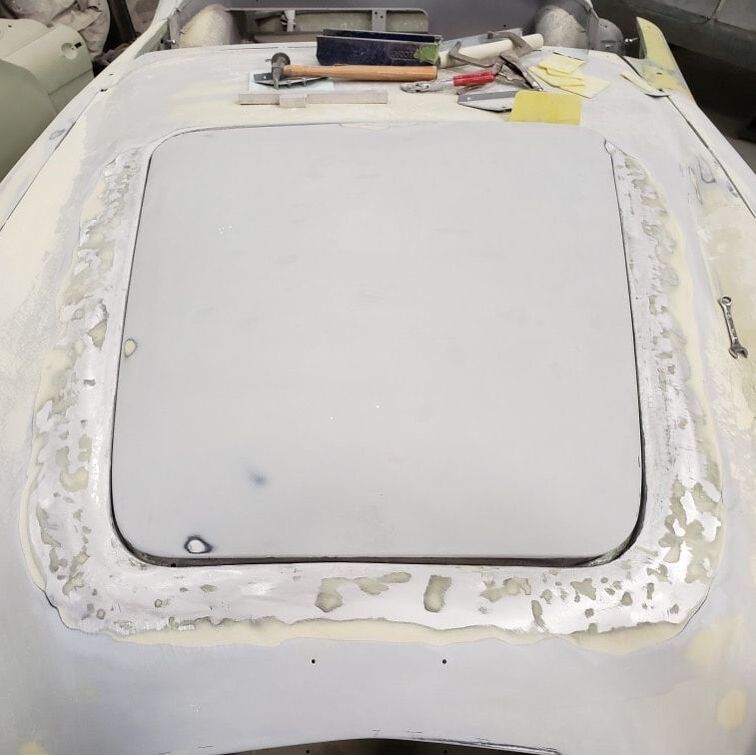
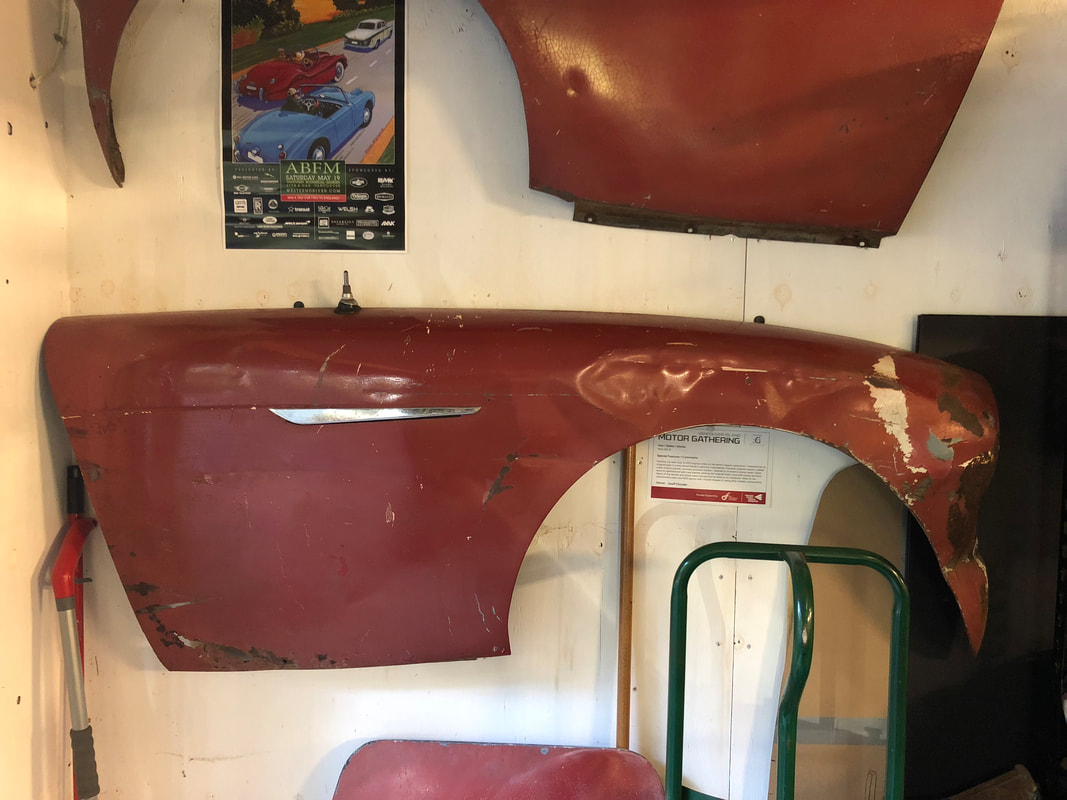
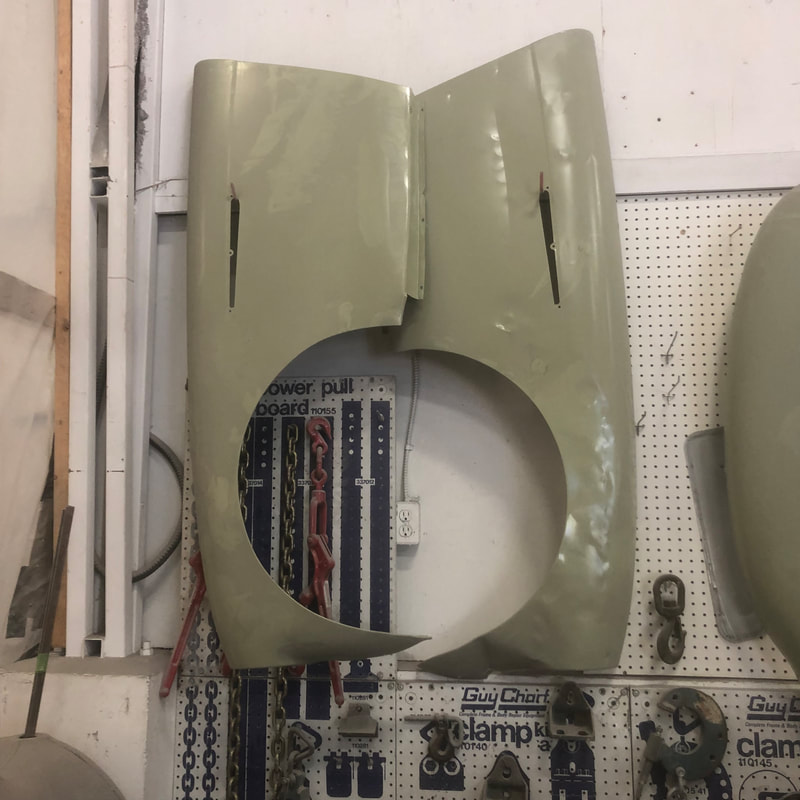
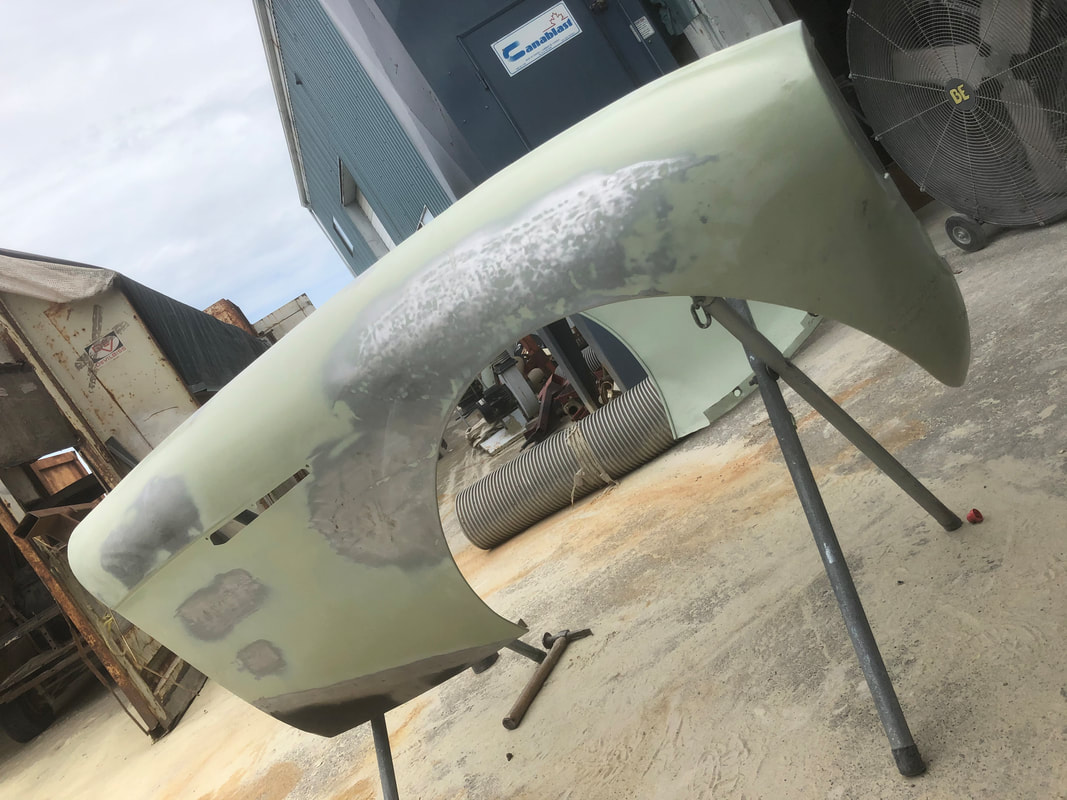
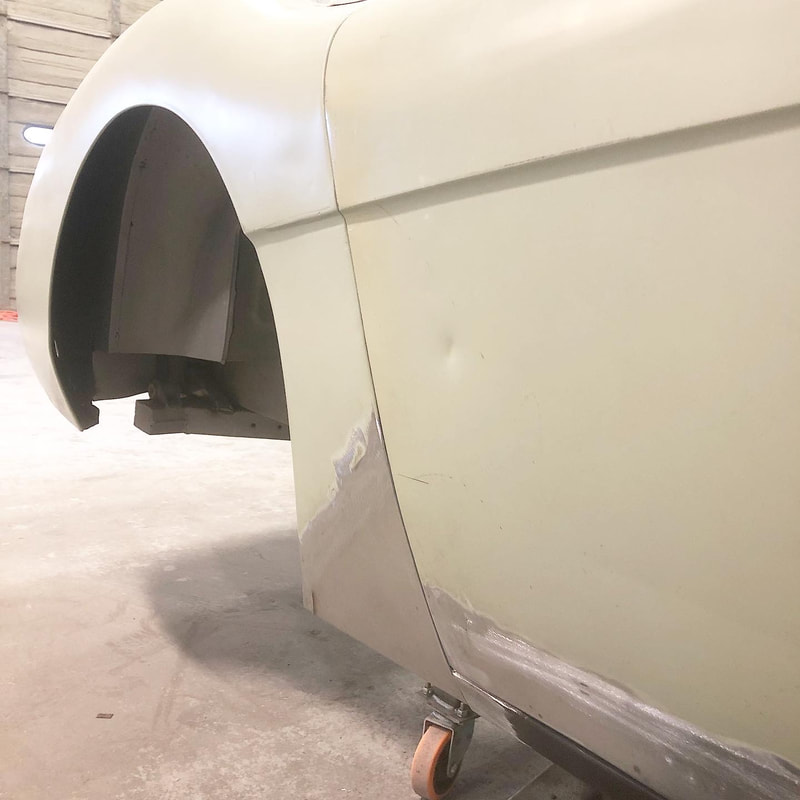
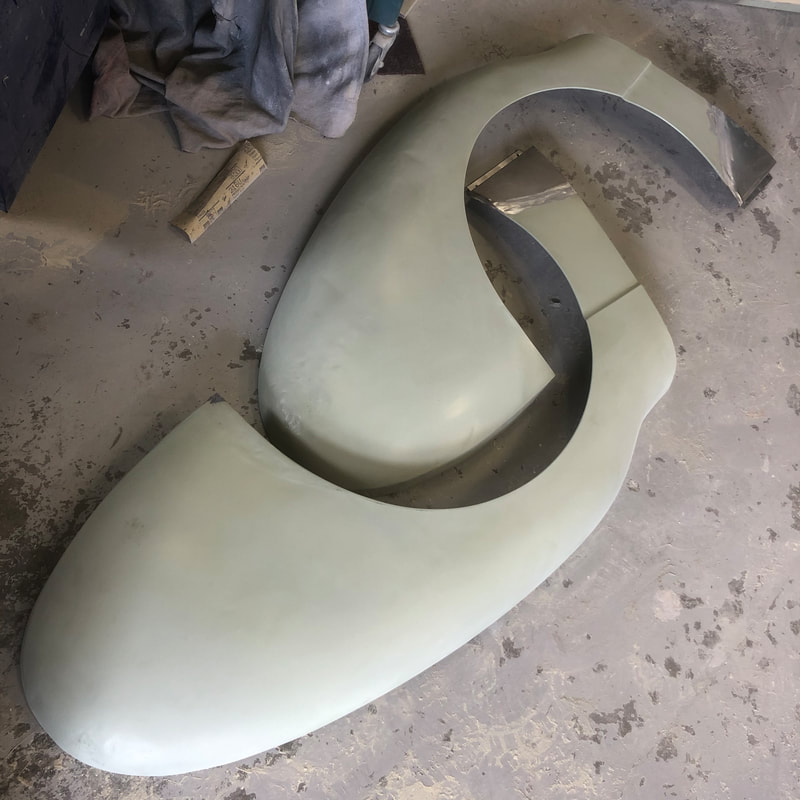
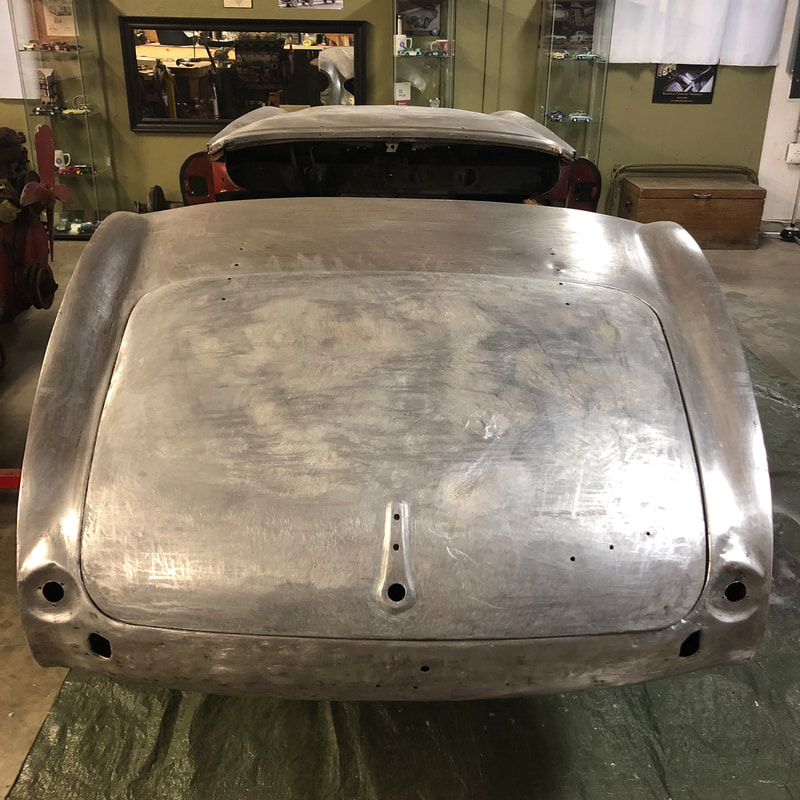
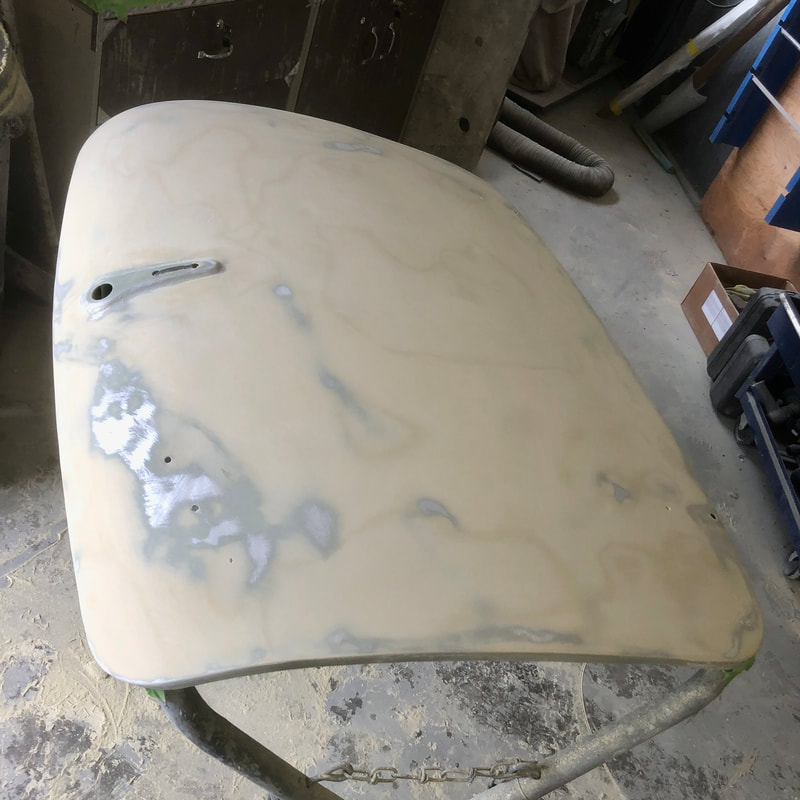
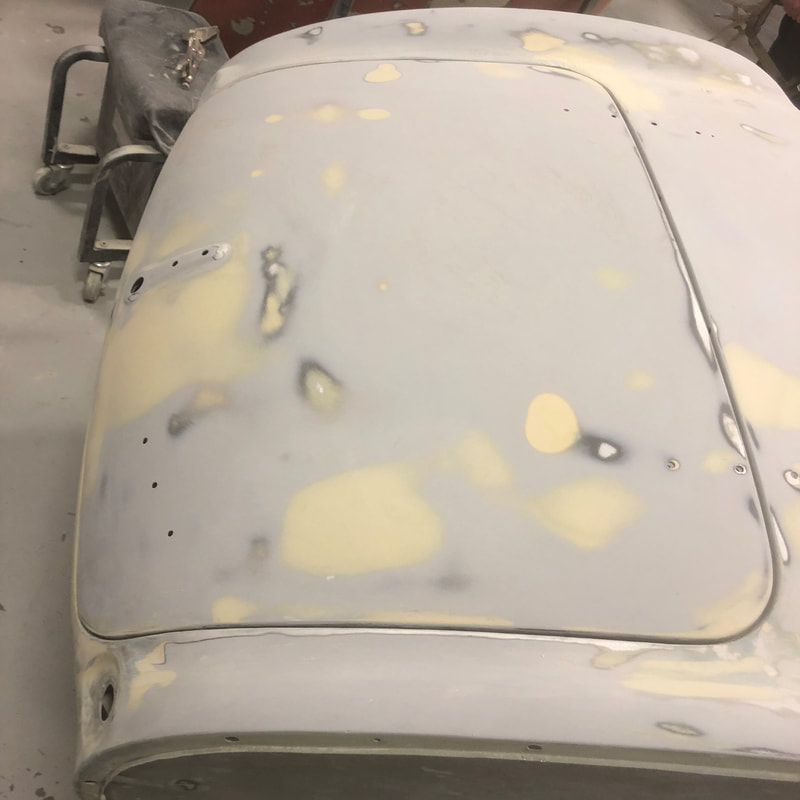
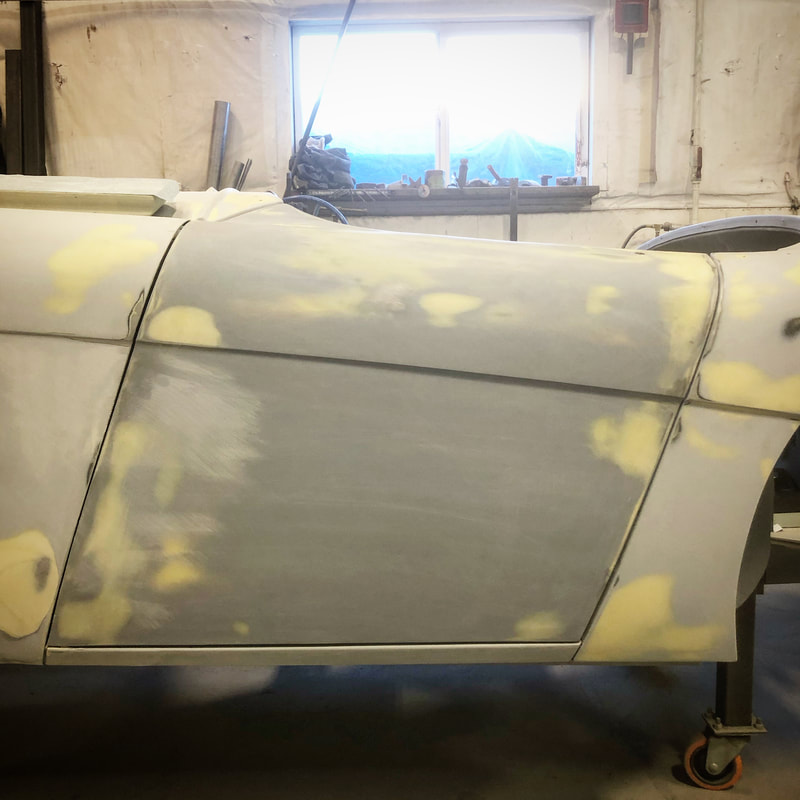
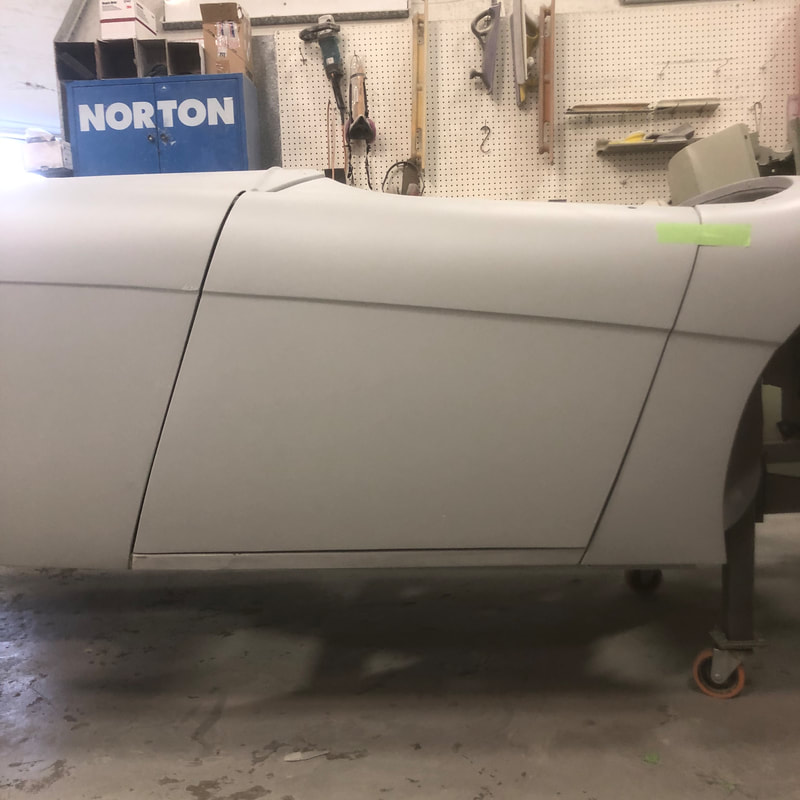
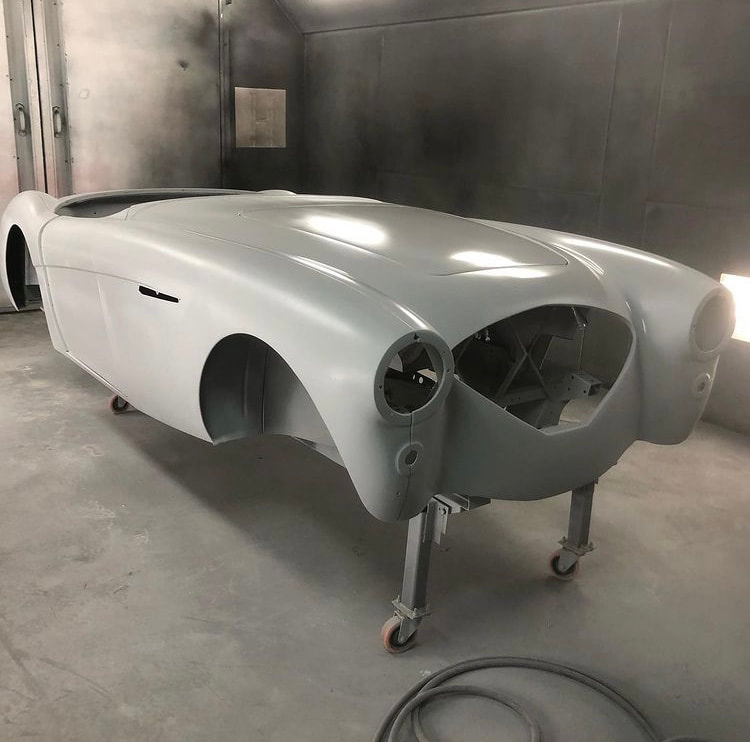
 While I've been working away restoring and preparing all the parts and components for my BN1, the body/metal & paint has been farmed out to Jetstream Auto & Custom, here in Sidney BC. Owner Jason Stoch has been plugging away over the past 2 yrs with the metal work and bringing the chassis and body back to her original specs. 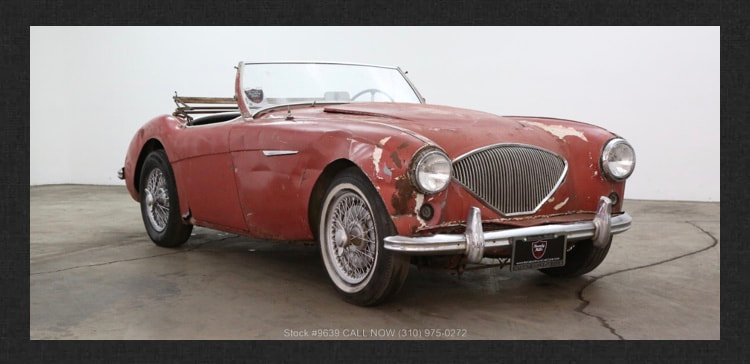 While my car was quite good as far as rust and corrosion goes, it did have a lot of dents and abuse in the outer body panels. Jason has spent many hours working them out as best he can with heat and a hammer and dolly. Inevitably the final step to making them perfect is some filler. As I'm now at a point of waiting for the finished painted chassis to return so I can start reassembly, I asked if there was anything I could do to help out at Jetstream.. With 4 other Healeys & a handful of other classics underway there presently, Jason was very receptive to my offer of help out! So, last week we arranged for me to come in and work a day doing some of the filling and sanding of my various body panels. Jason taught me how to mix and apply the filler, and then how to sand it correctly with some of their specialty sanding tools designed for smoothing out all the curved panels. - It turned out to be a great learning experience, and I feel like it came quite naturally! Here's how the aluminum front shroud and bonnet evolved from bare aluminum - primer - dent work - to filler and sanding. The final layer of filler is actually just paper thin, and I should also point out that my car had clear evidence of some filler found on the front shroud from the factory! In the end Jason had to remove the inner steel bonnet frame from the aluminum skin so he could properly smooth out the skin... Of course the fit of the bonnet to the shroud required some extensive reworking, I like to imagine this car must have had models laying on it at some point!
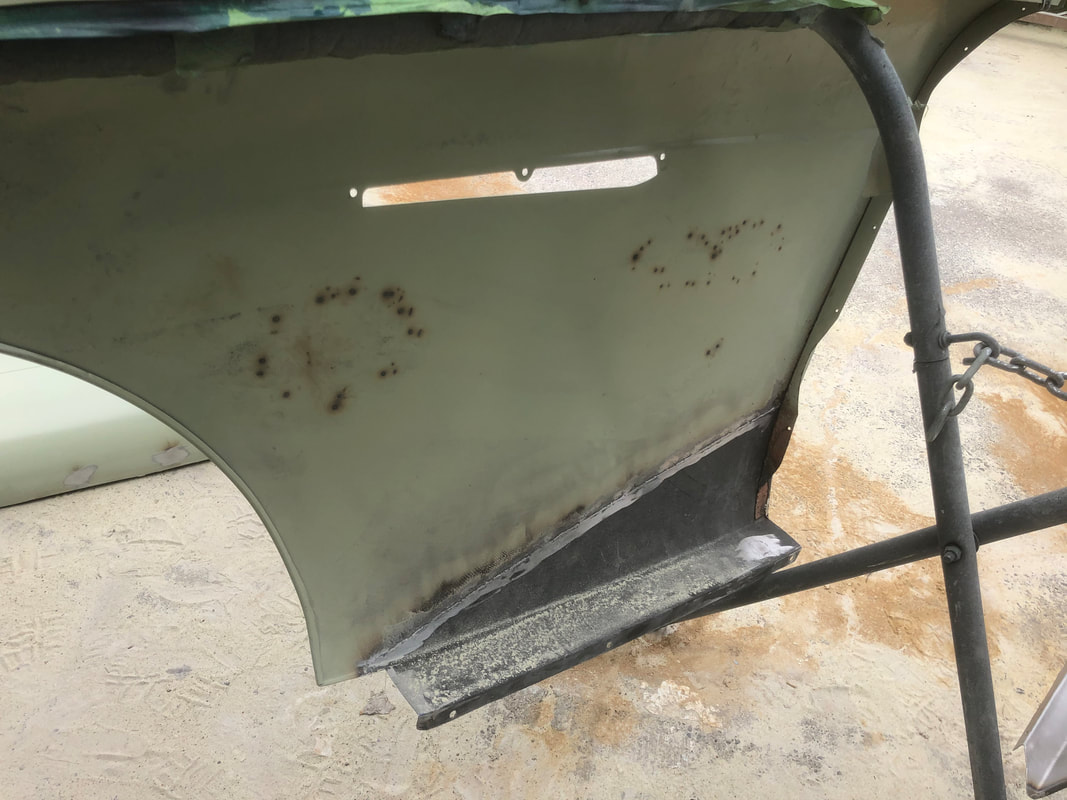
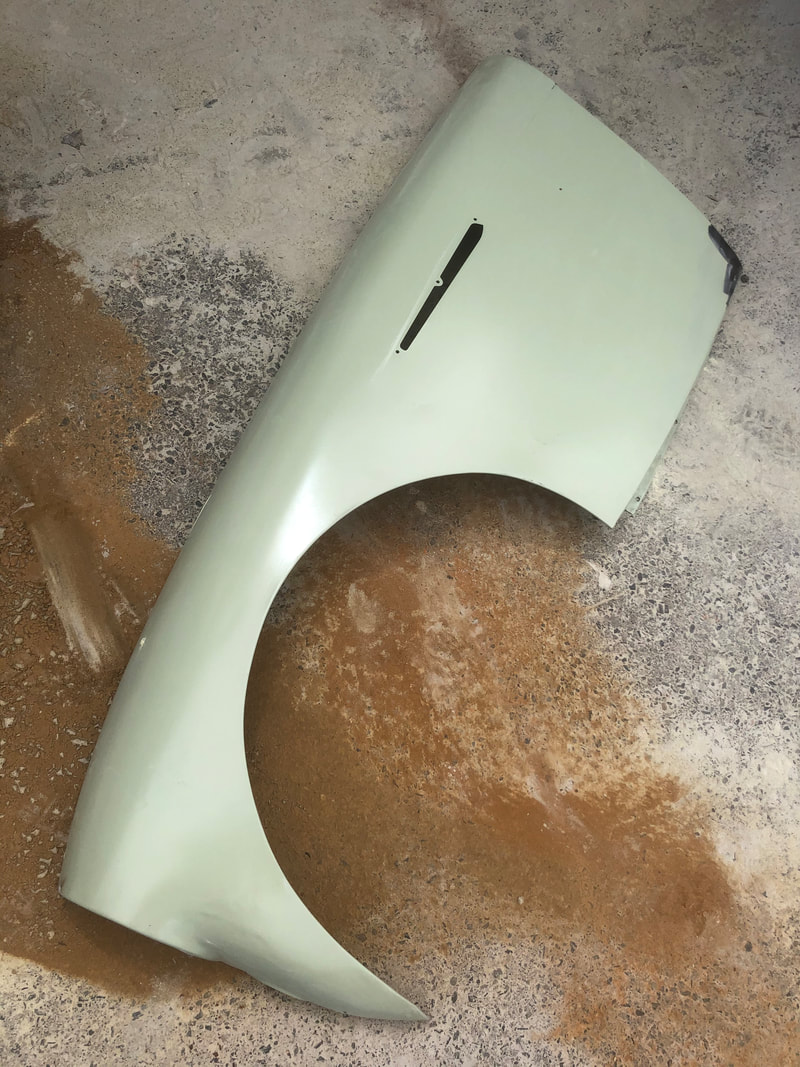
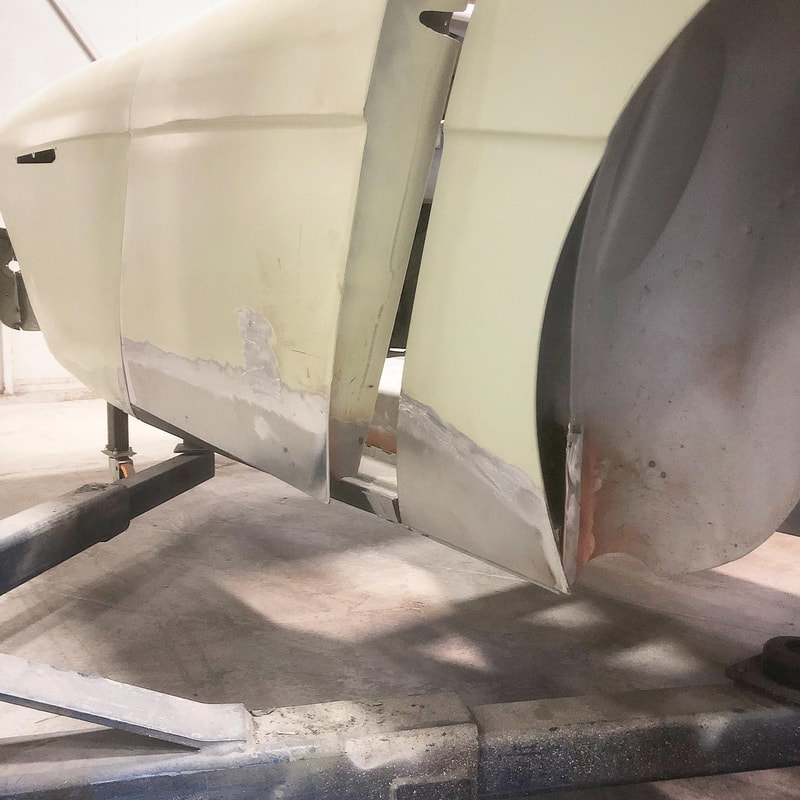
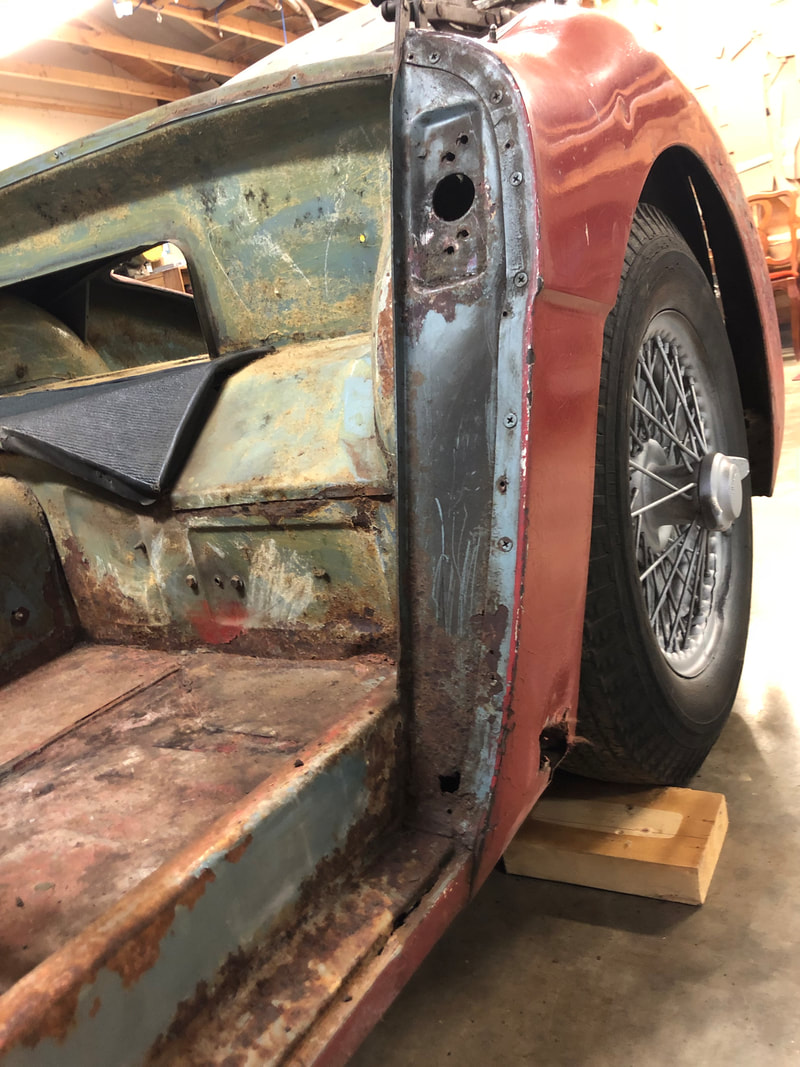
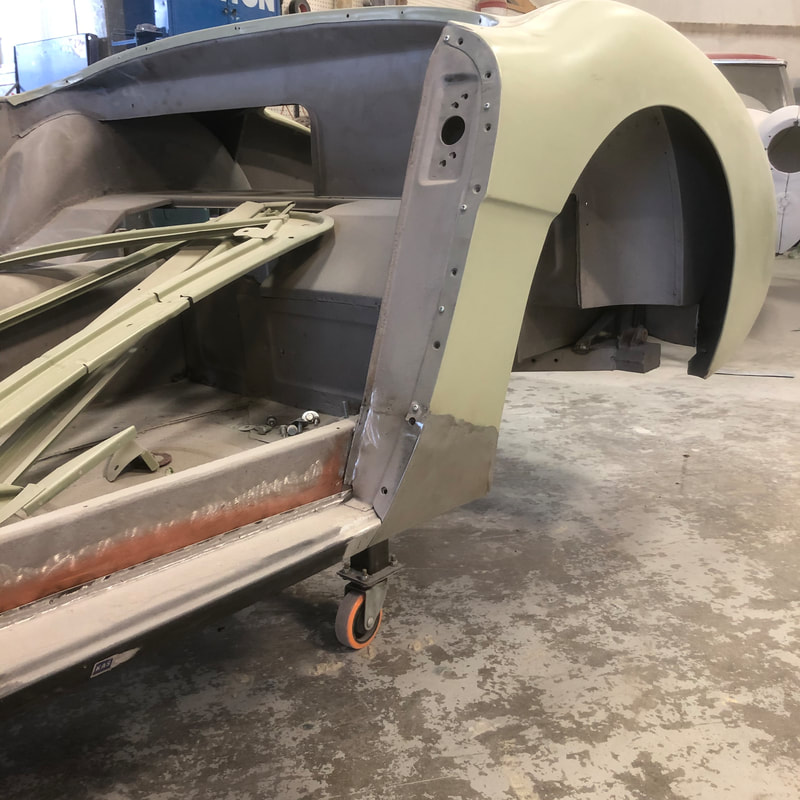
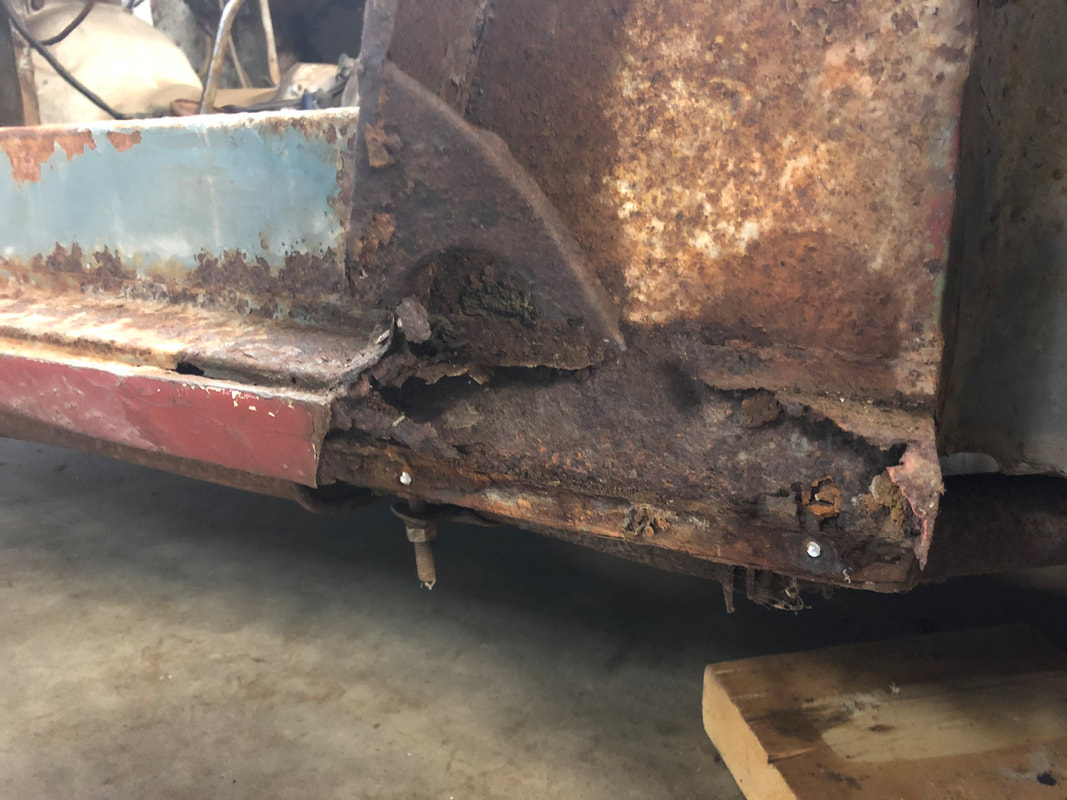
The front steel fenders were another story - the left one was almost perfect, while the right one had lots of rust holes in the bottom corner and loads of deep dents and abuse that needed to be worked out. Here's the evolution of the front fenders repairs: The doors were both quite good, a bit of rust found in the lower skins that was repaired and otherwise just some smoothing and a few cracks to weld: The inner and outer sills were replaced on both sides, as well as the lower sections of the rear fenders and door posts. Jetstream did a beautiful job of these repairs as you can see: Here's the front and rear sections of the inner sill repairs: We also replaced the front frame cross-member...
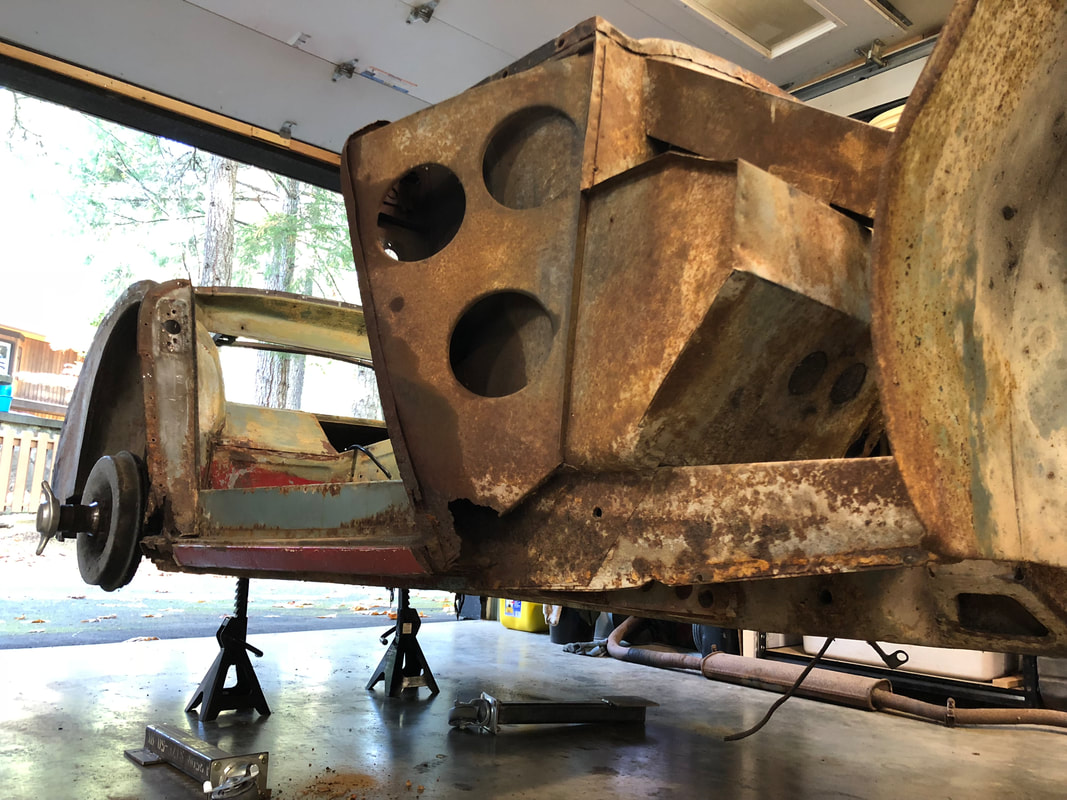
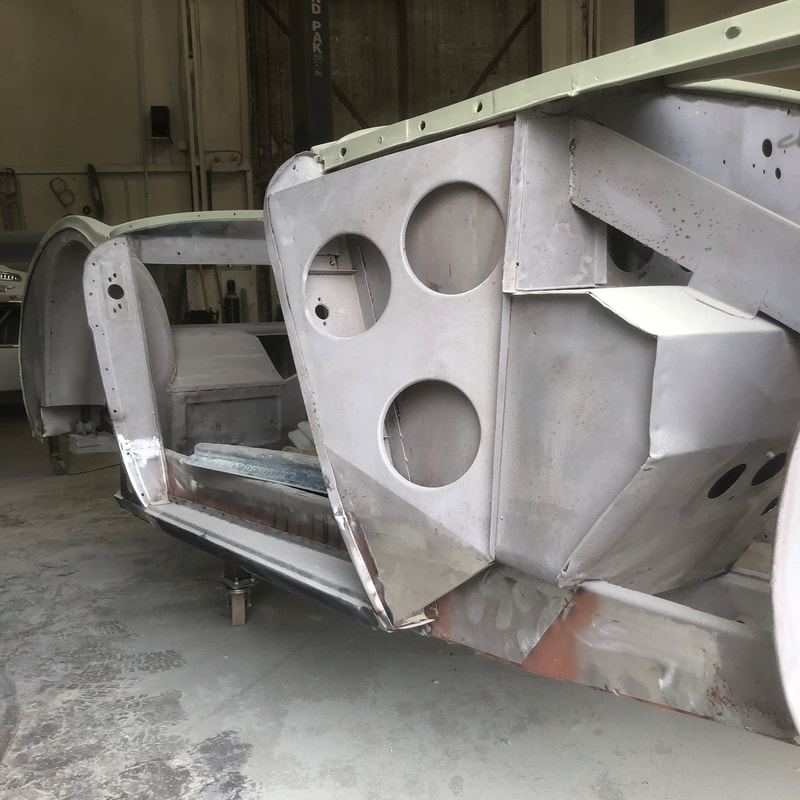
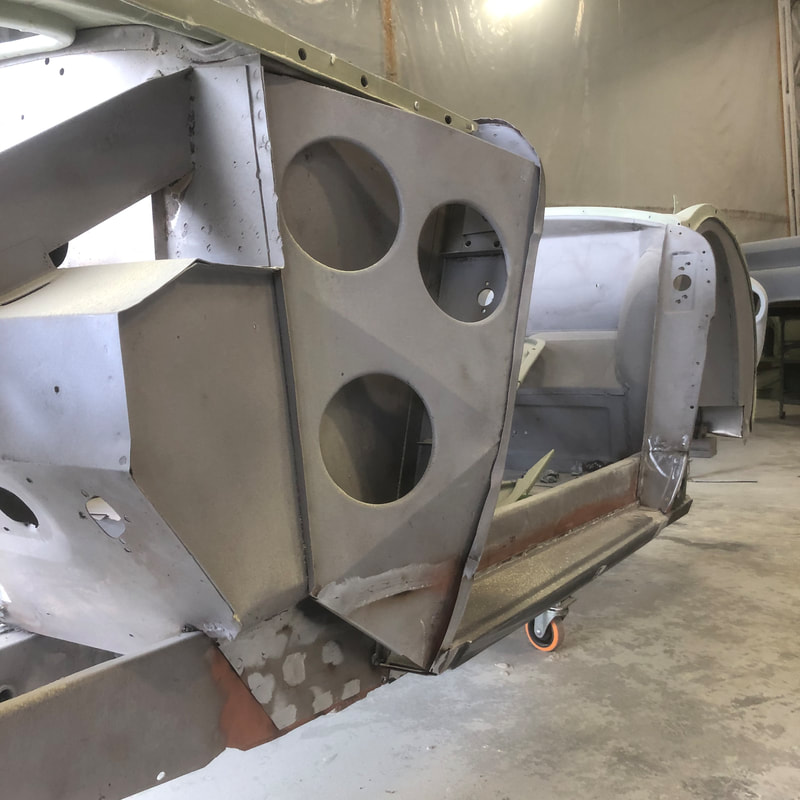
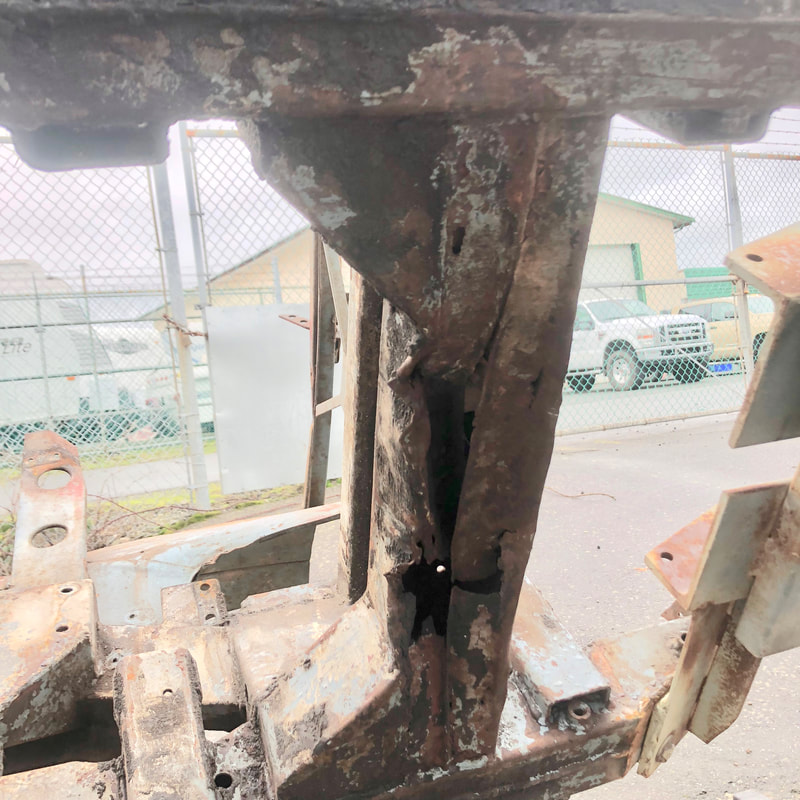
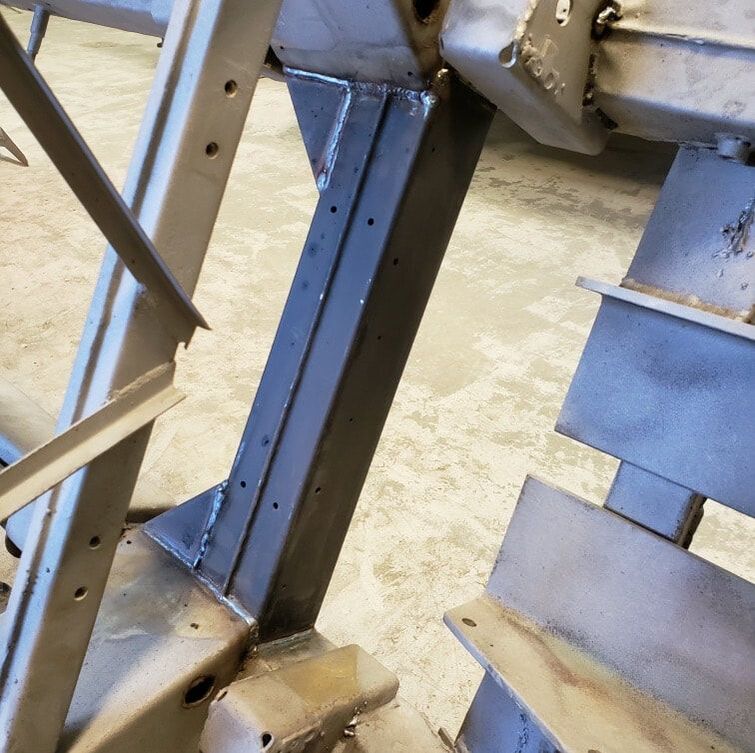
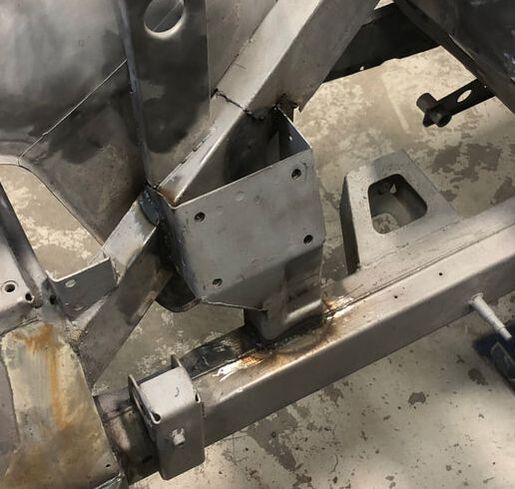
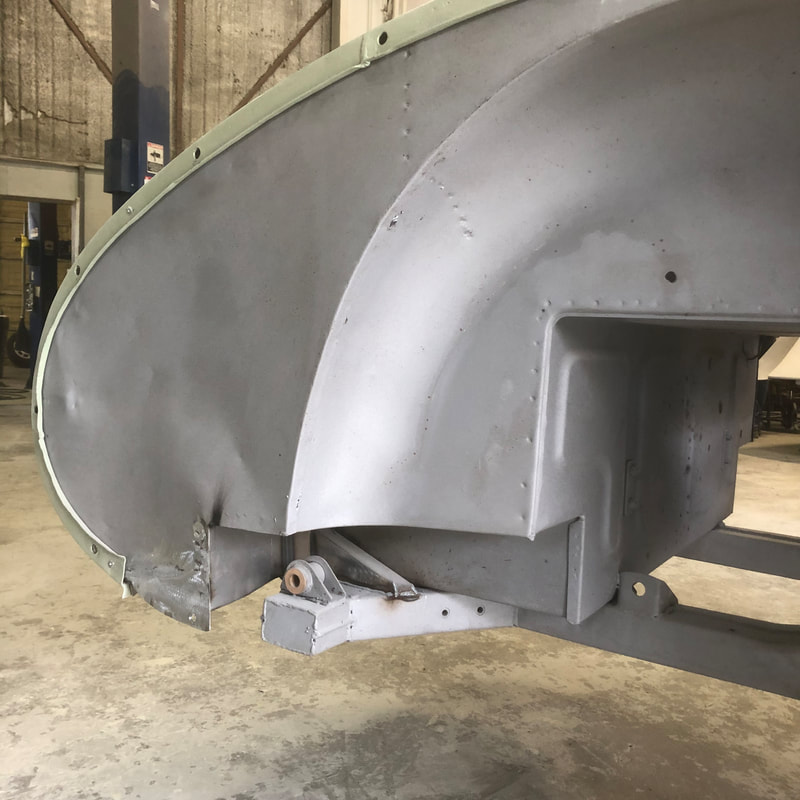
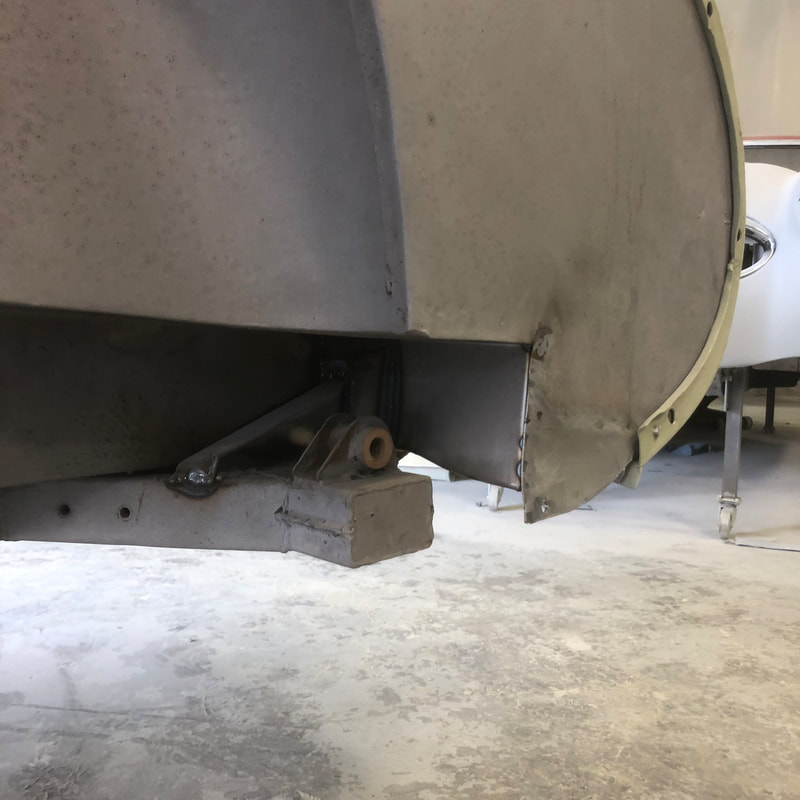
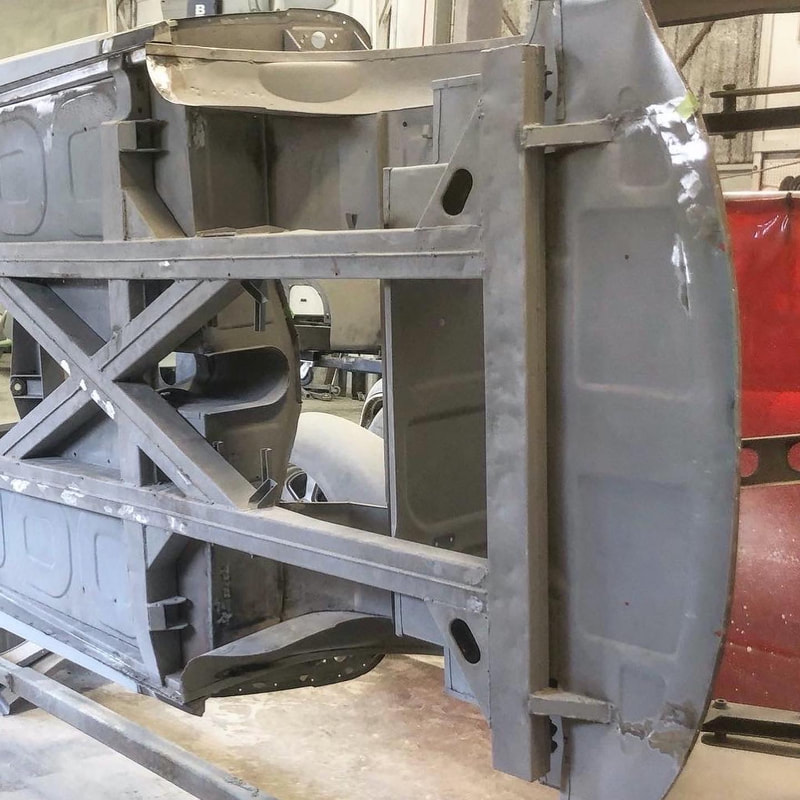
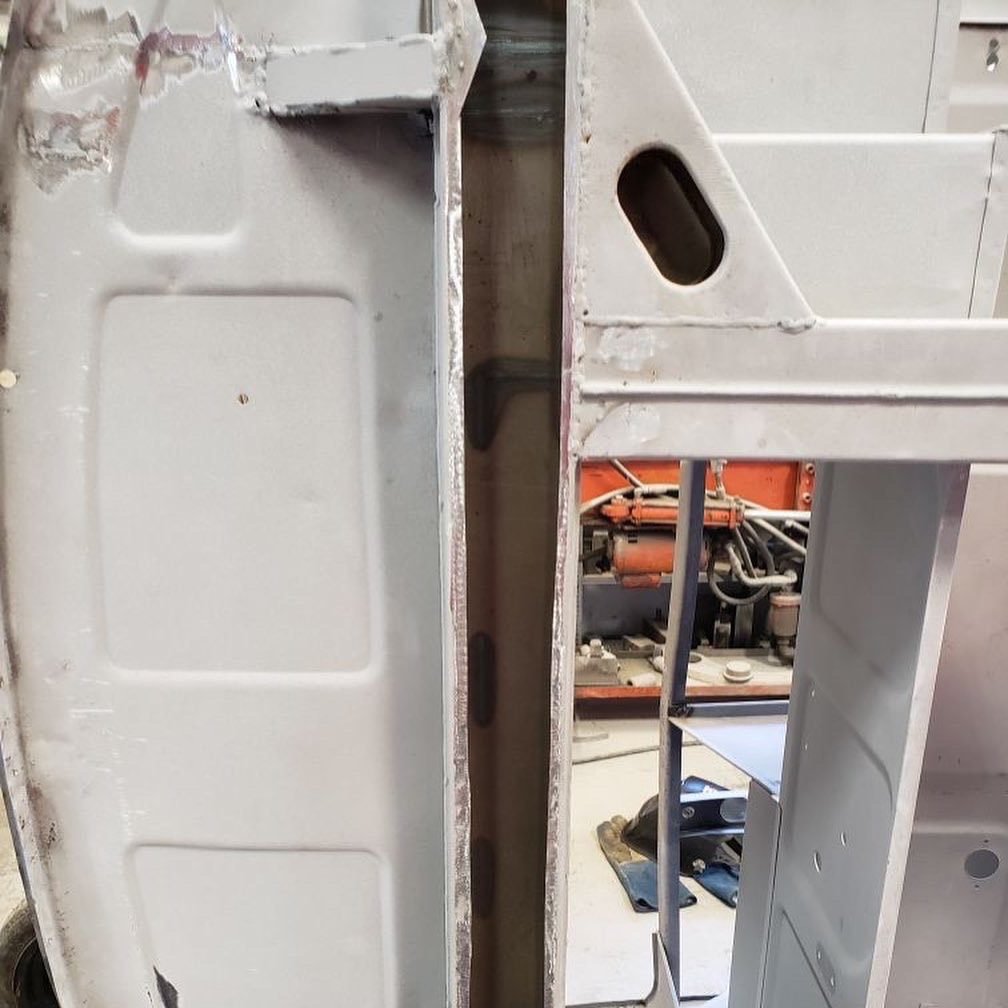
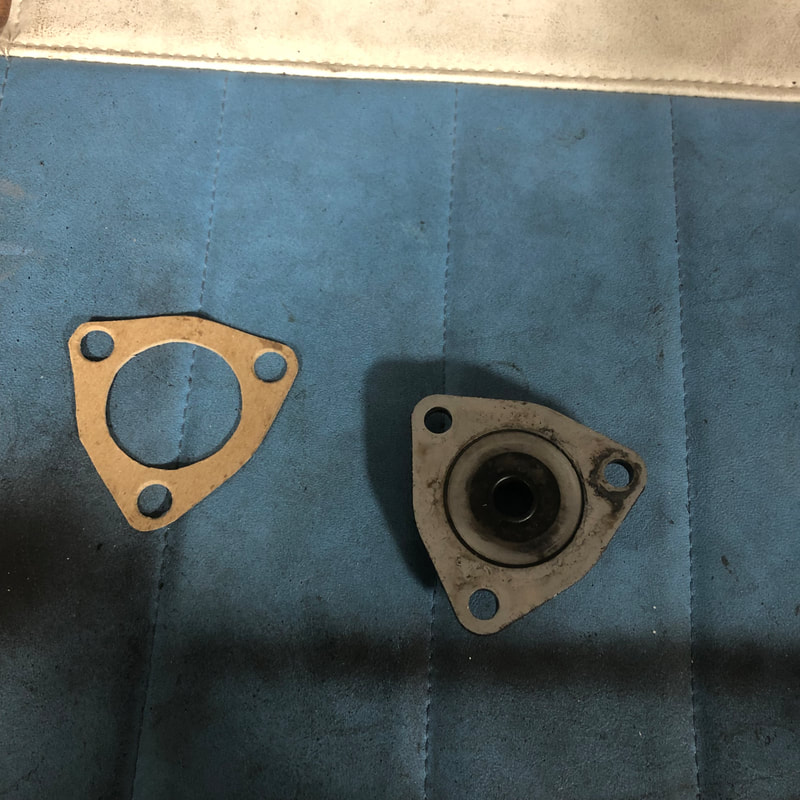
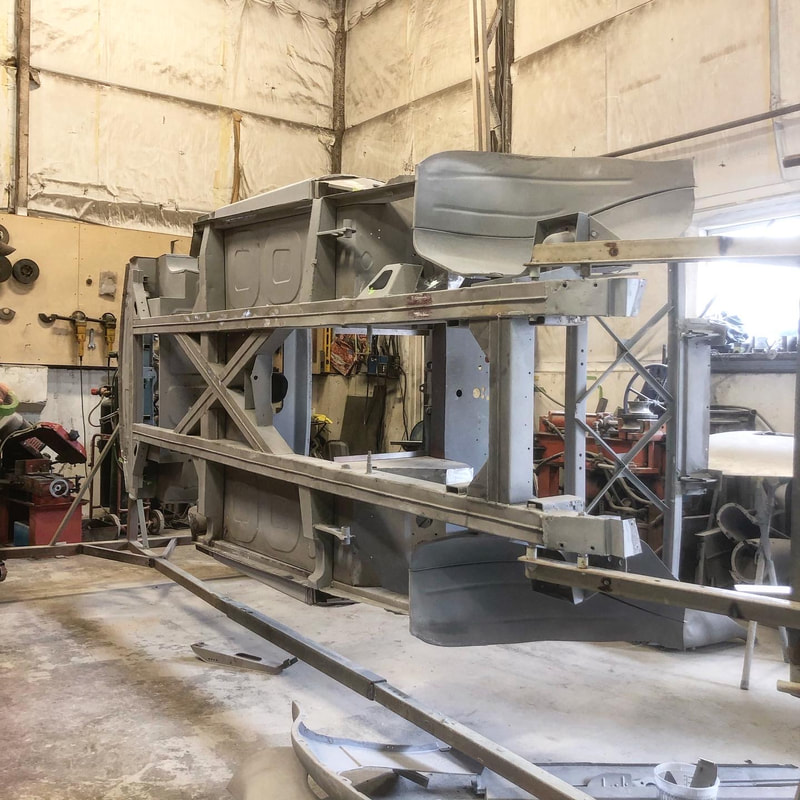
The right side engine mount showed signs that it had been removed and crudely replaced at some point in the cars life. We had to redo the repair by removing it & the plate someone added to the bottom, and then extend the bottom and weld & dress it properly..
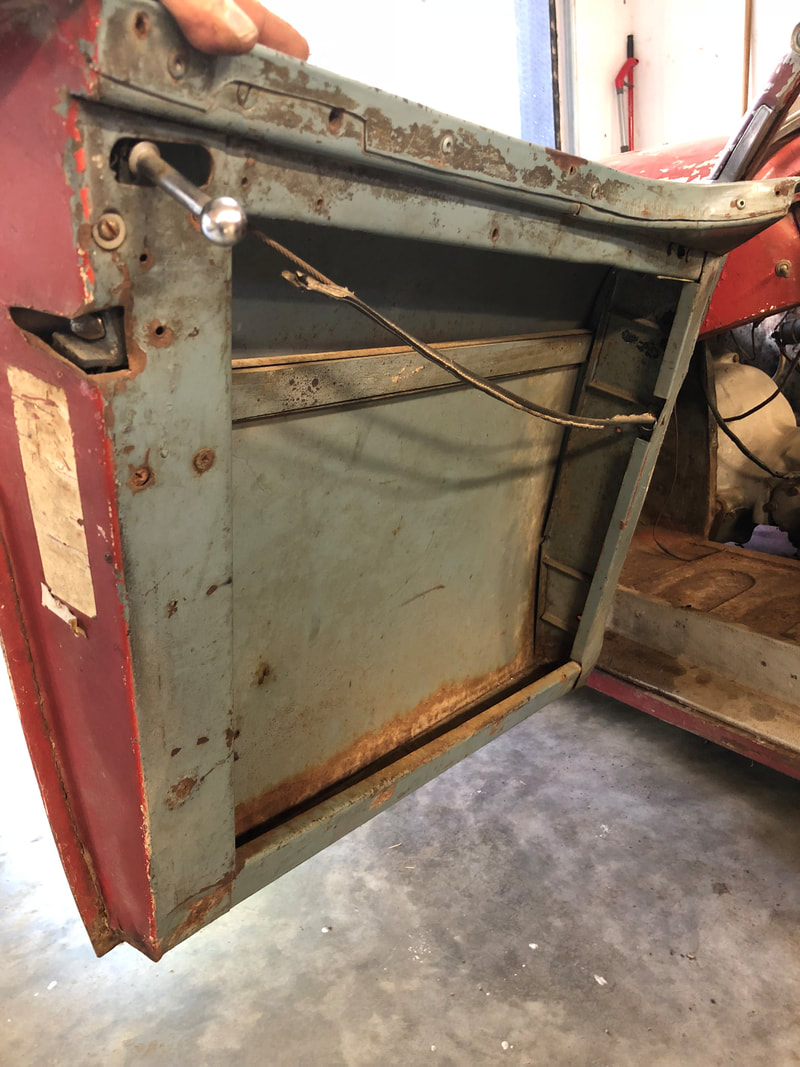
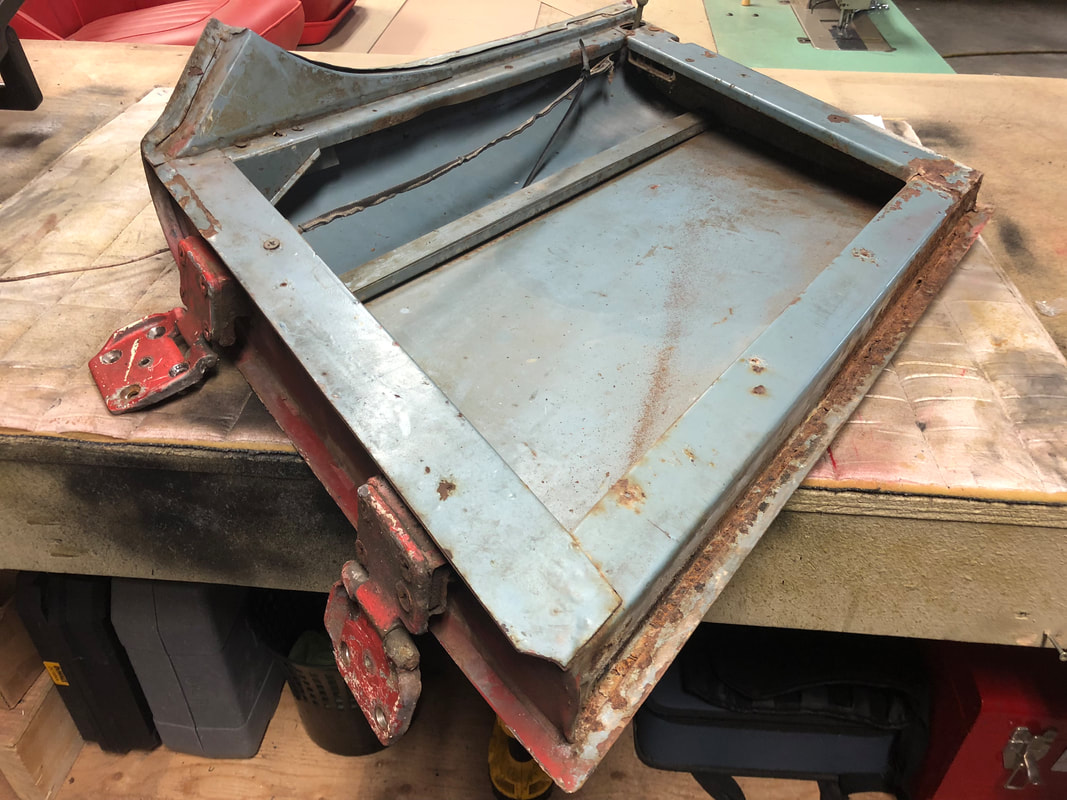
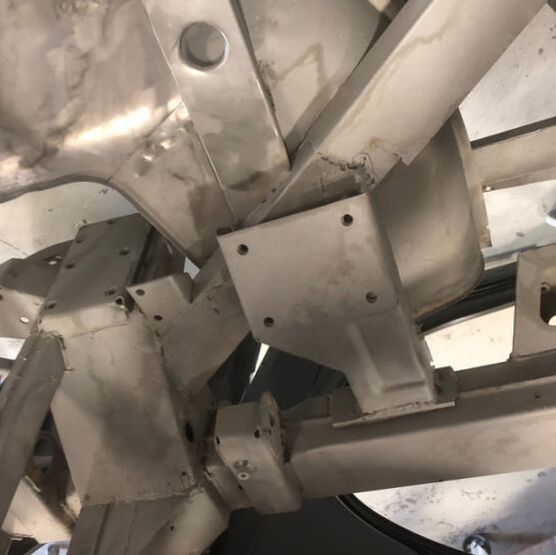
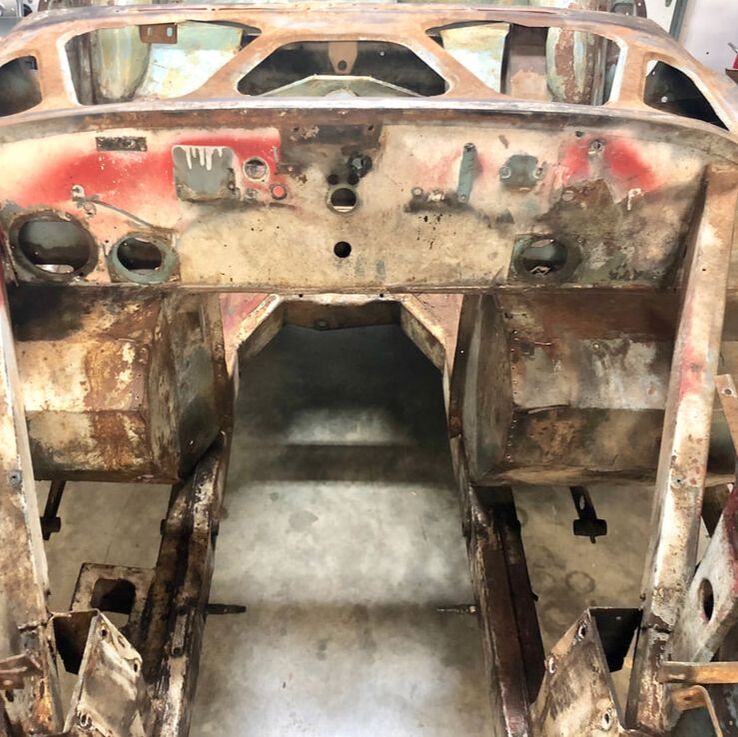
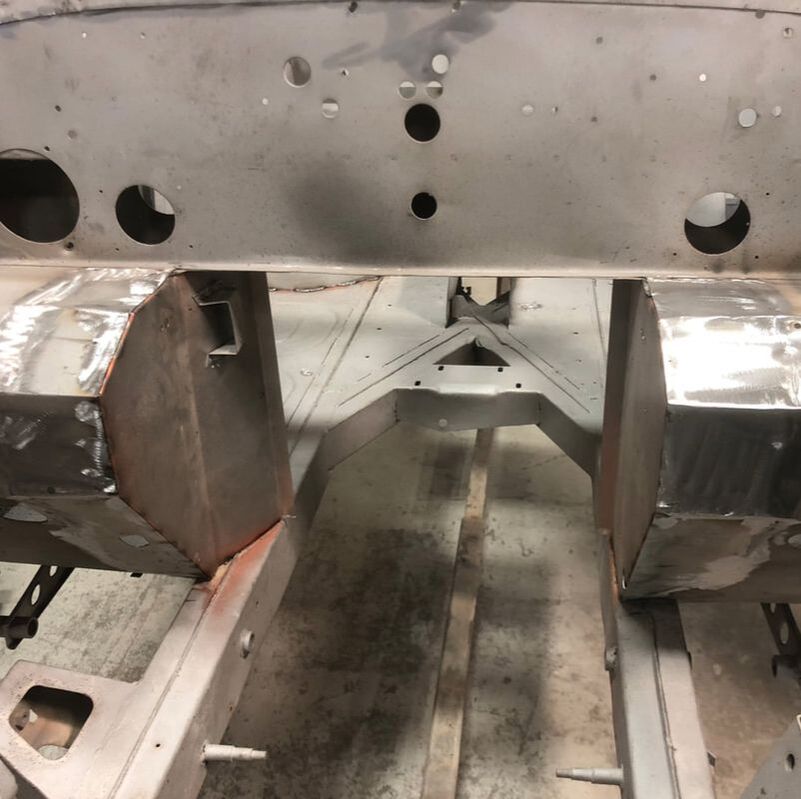
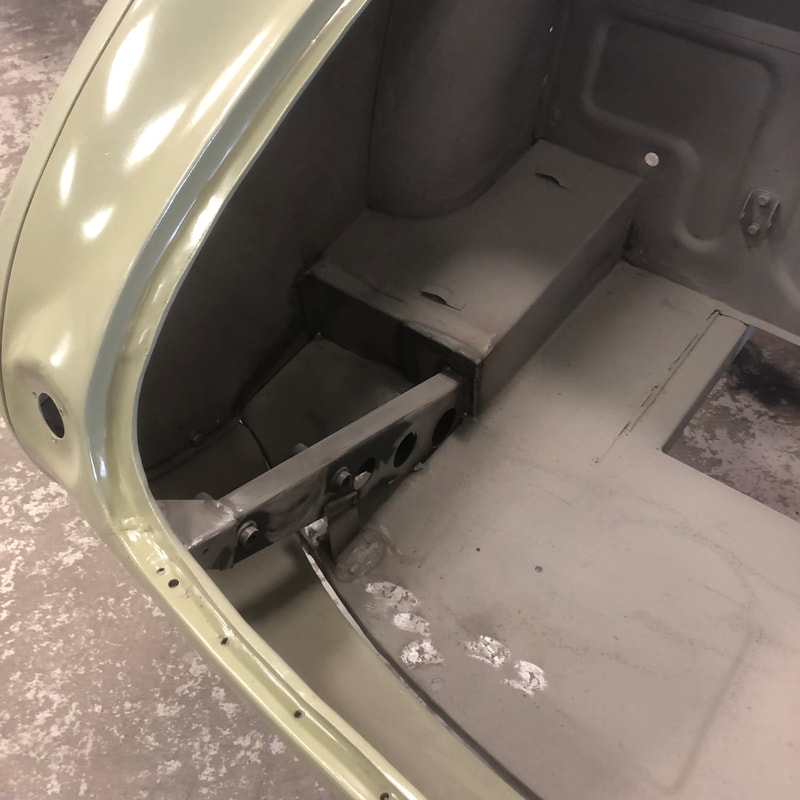
The inner foot wells along the firewall had also been hacked open and screwed back together (probably to make room for a bigger engine at some point) So we closed them up properly again...
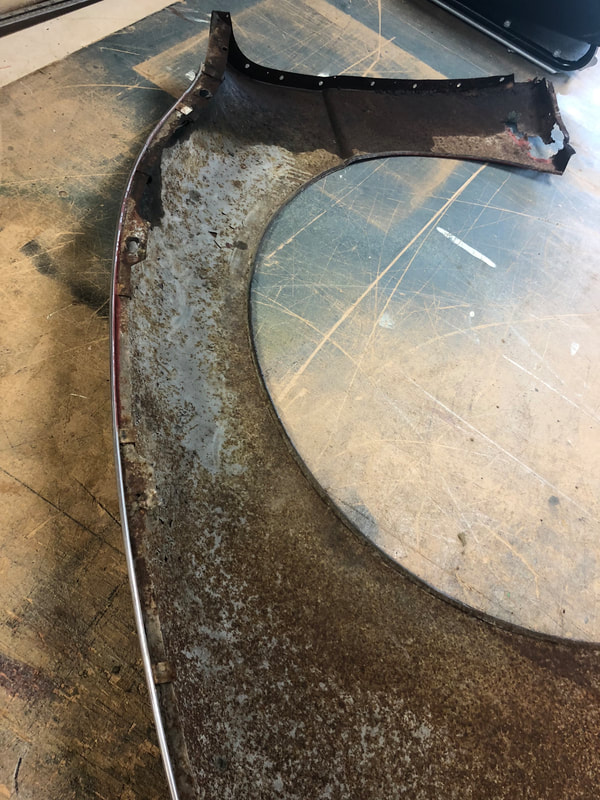
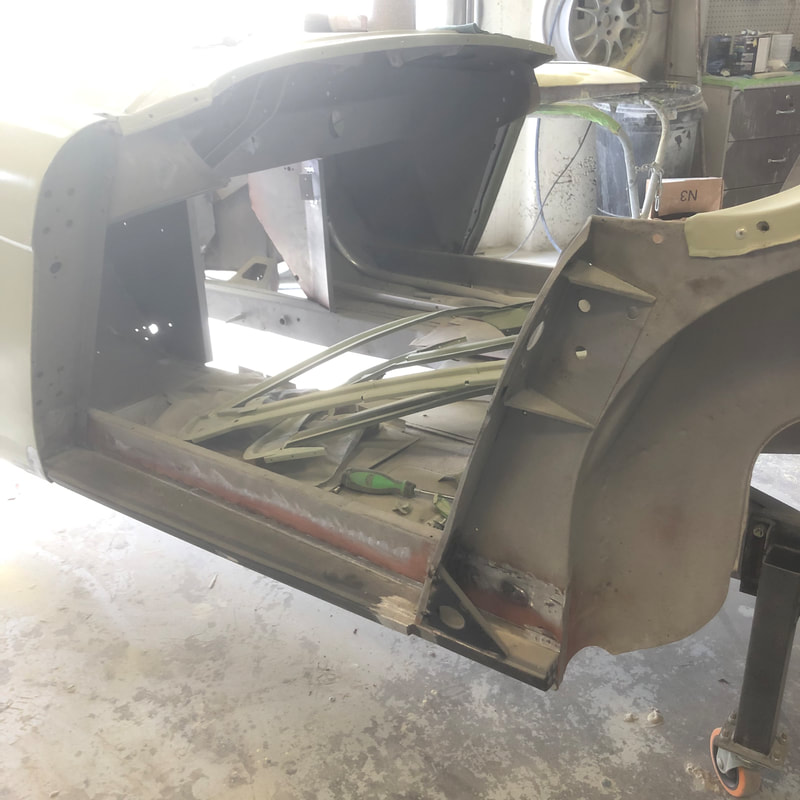
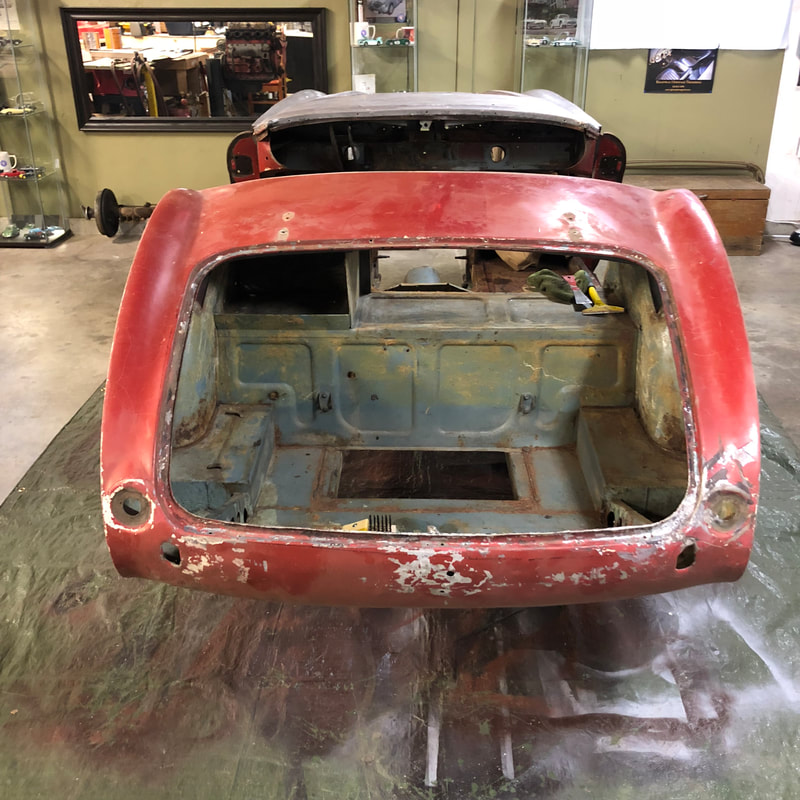
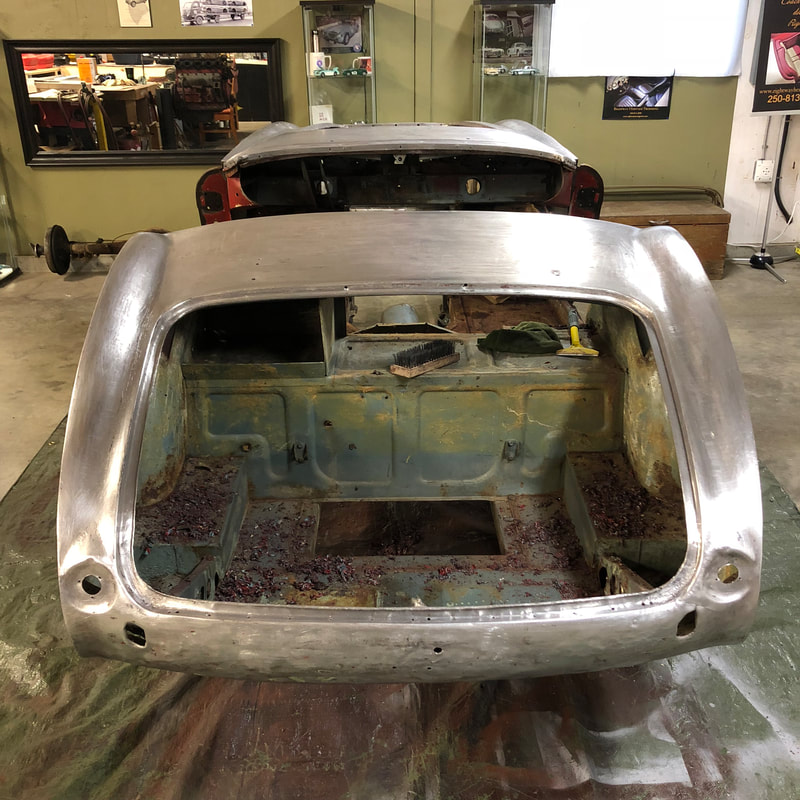
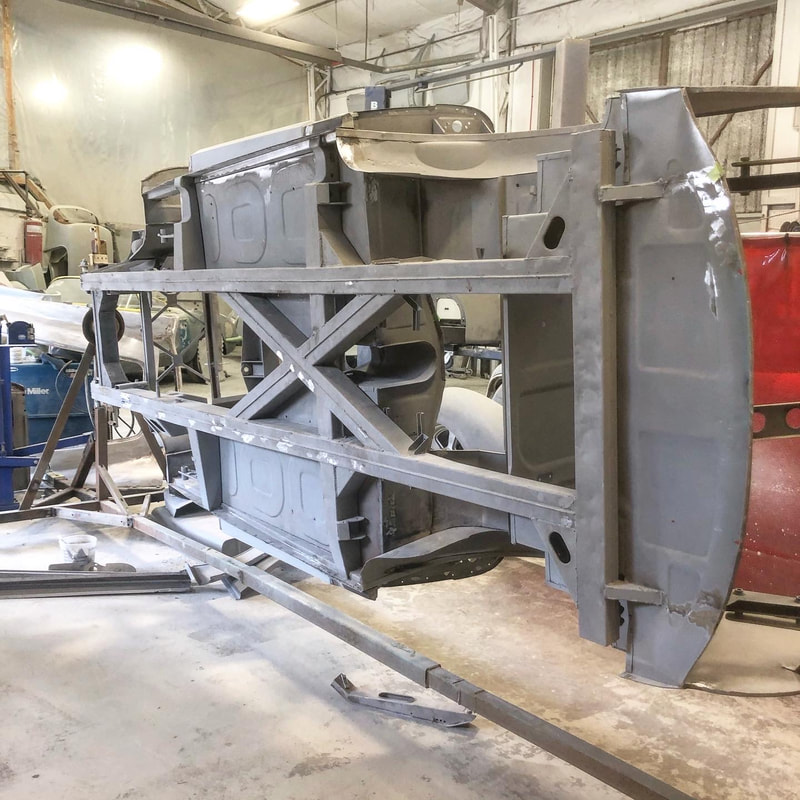
The front and rear wheel arches were all in good shape. My car has the early 3 piece front wheel arches, that were 2 piece on later cars: In the boot we replaced both of the rear frame members that extend to the rear shroud edge and carry the bumper brackets. 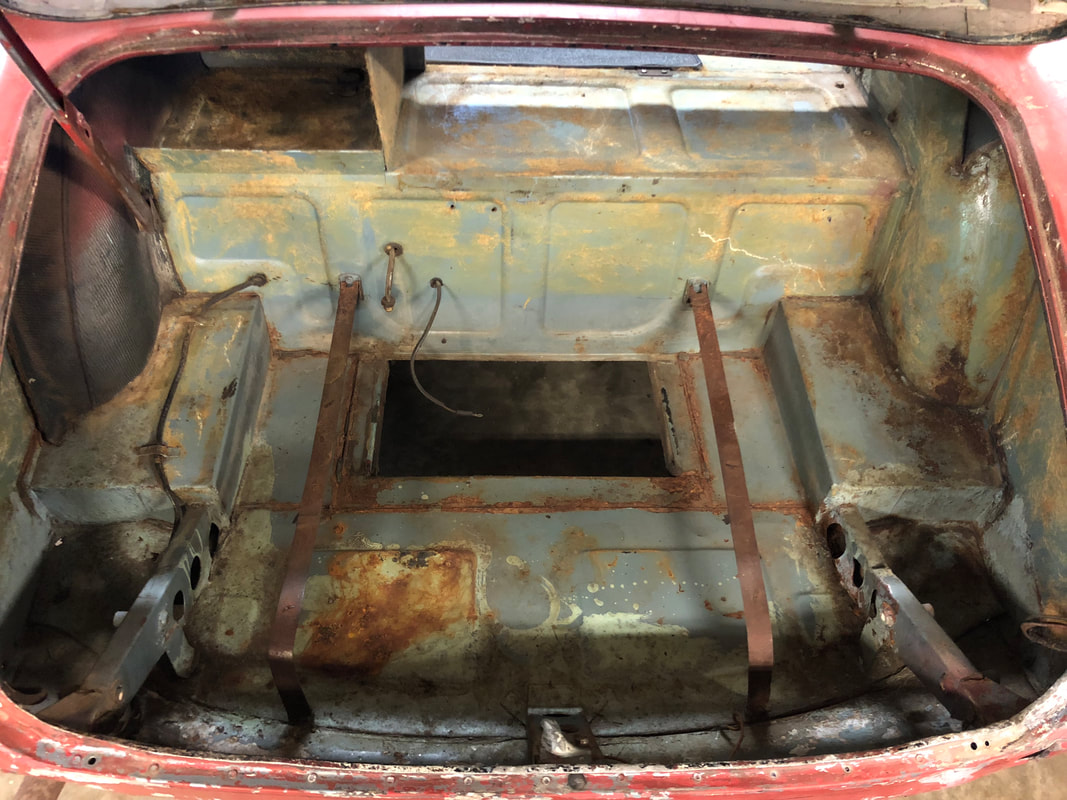 I decided to flatten out the dents on the rear cross member, so Jetstream just zipped it off, flattened it out and welded back on..
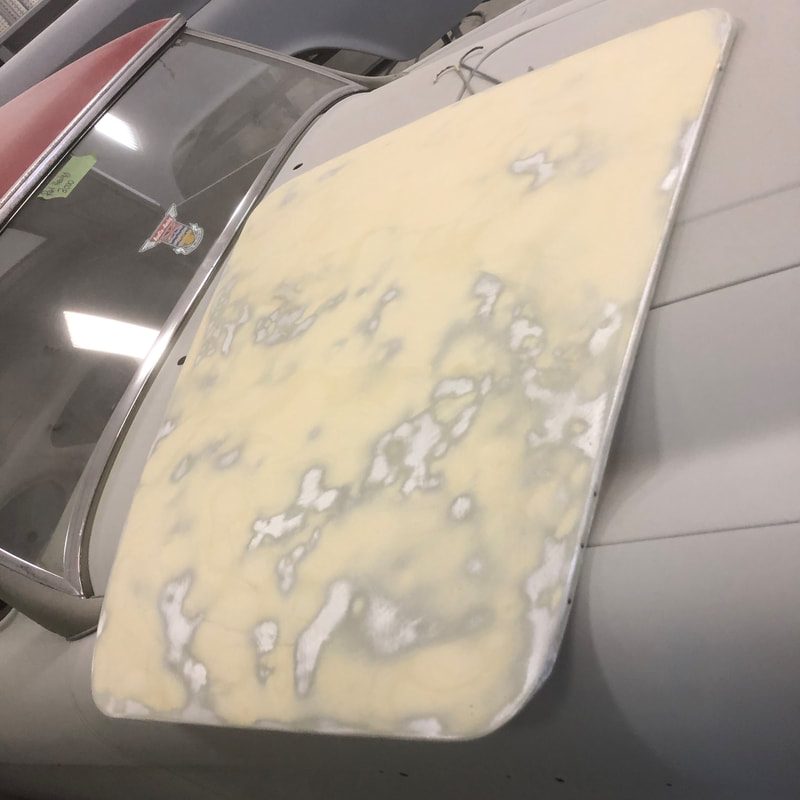
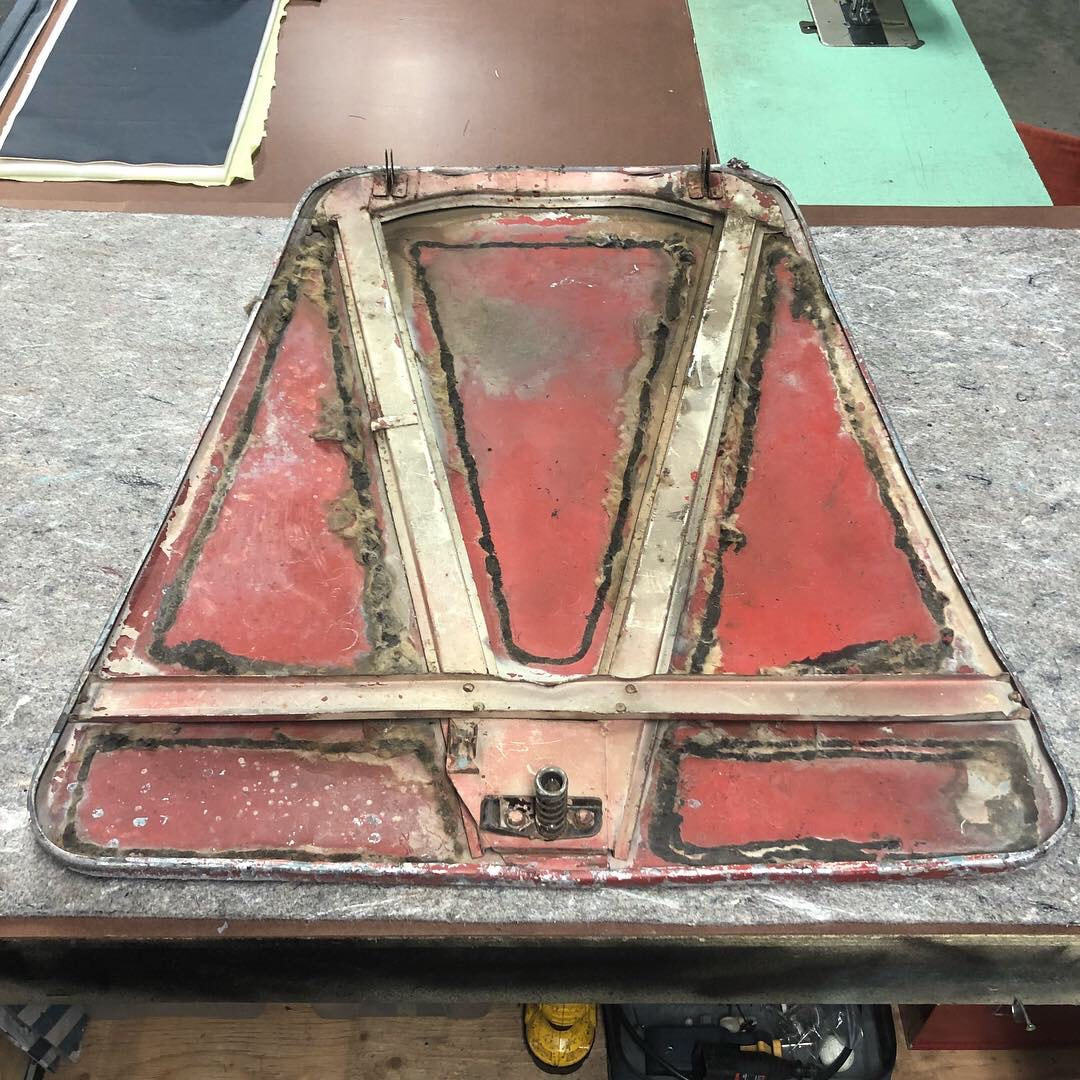
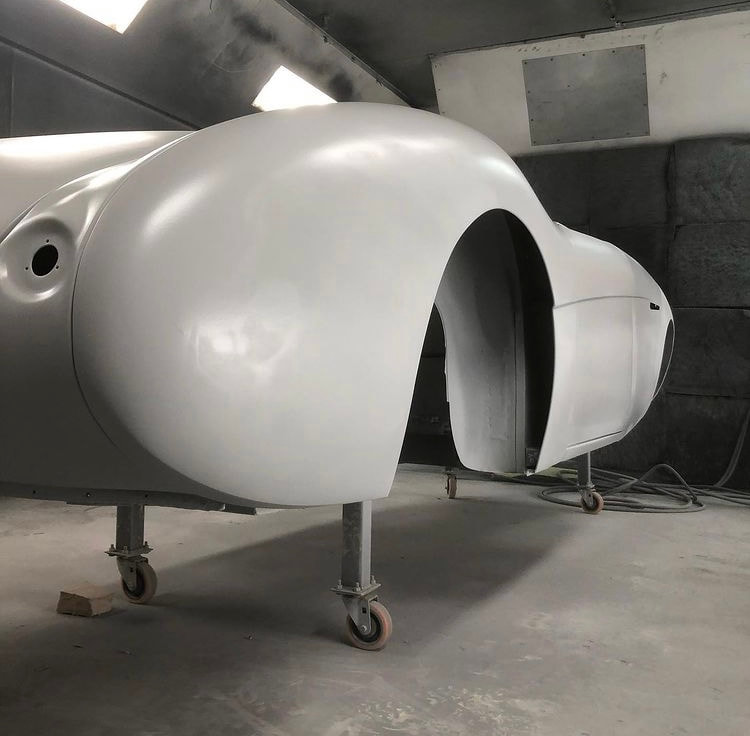
The aluminum rear shroud and boot lid both had lots of dents and distortion to work out - but otherwise had no corrosion. Jason carefully removed the inner frame of the boot lid and bonnet so he could properly smooth the dents in the aluminum skins. He used a clever system of threaded rods with appropriate sized washers and nuts and some heat to correctly re-align the tail light pods:
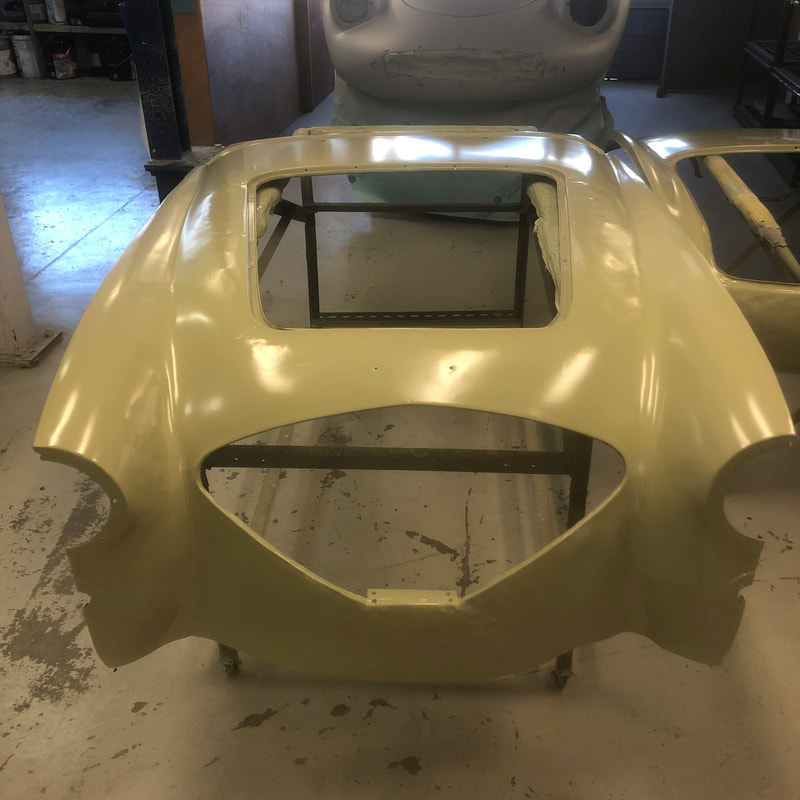
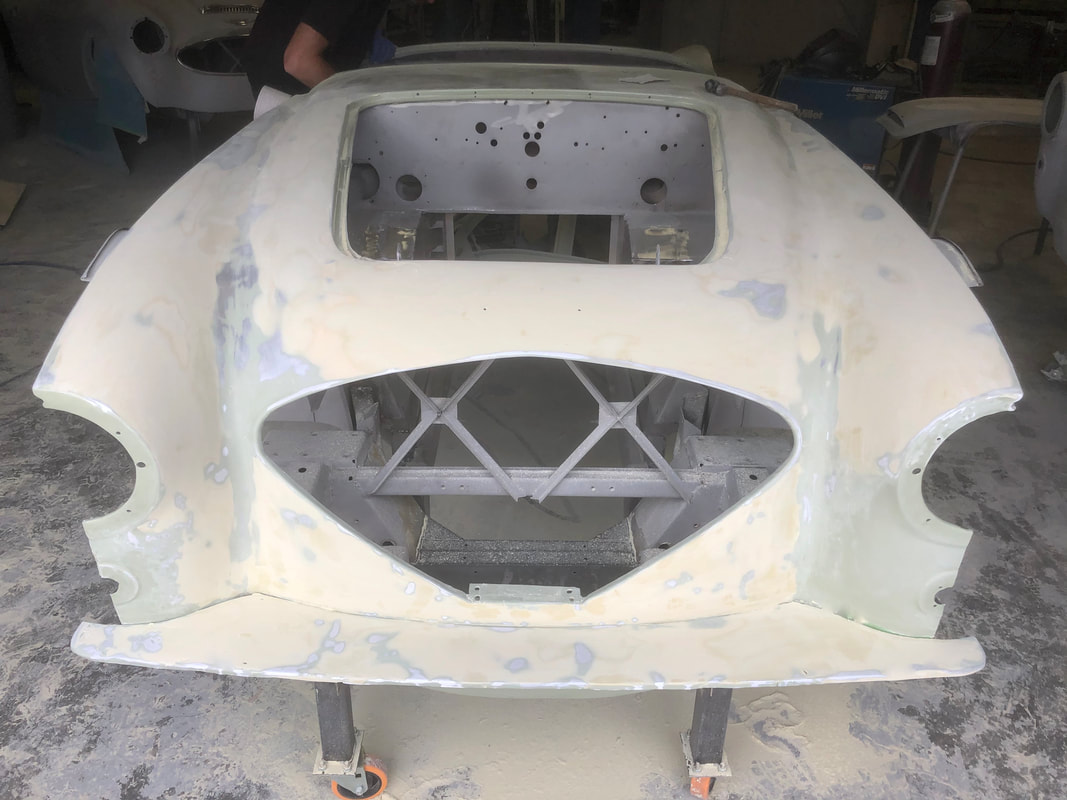
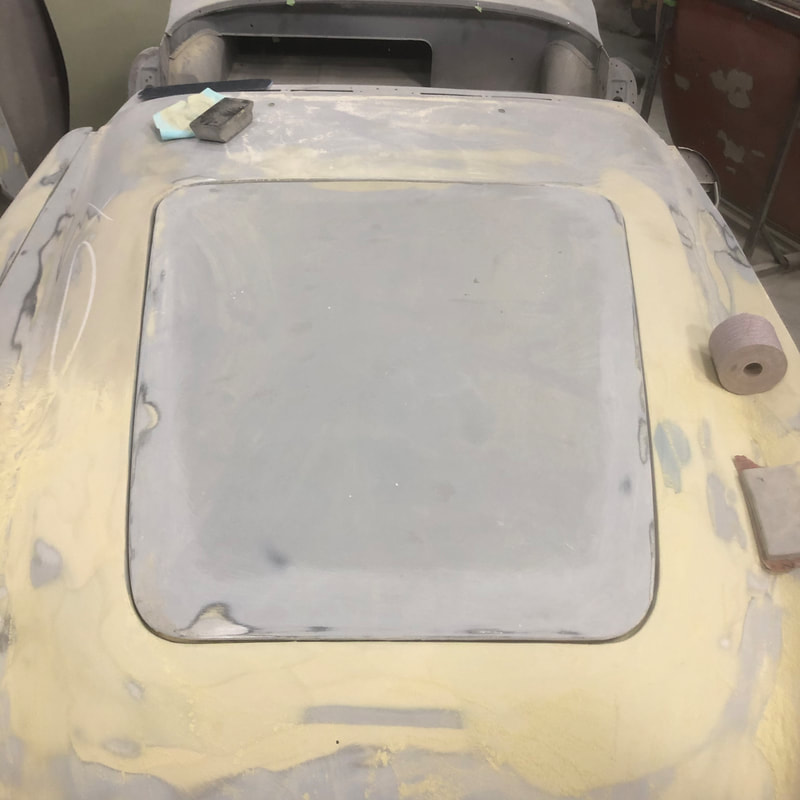
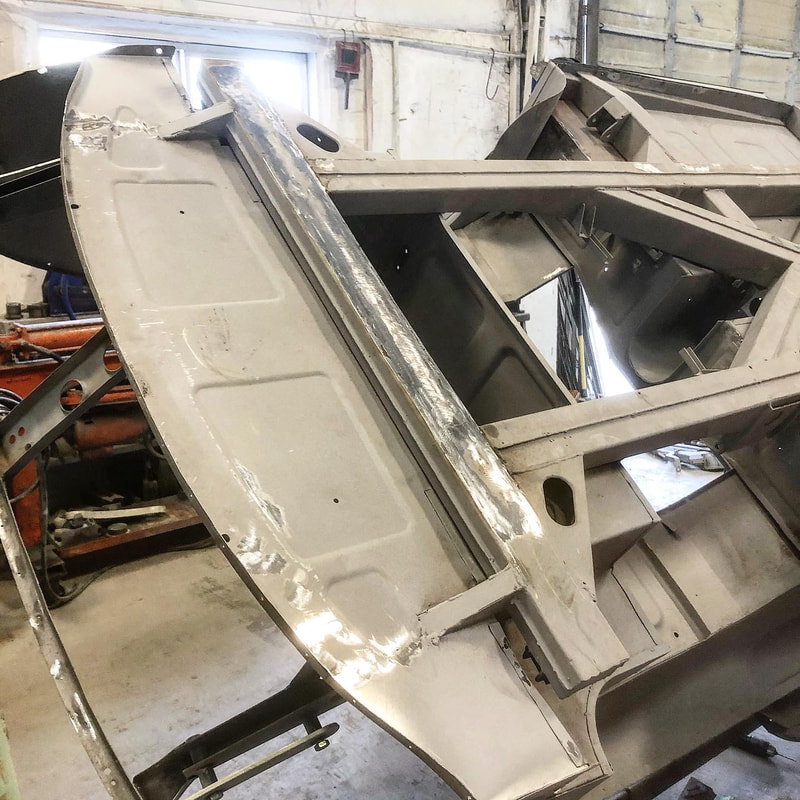
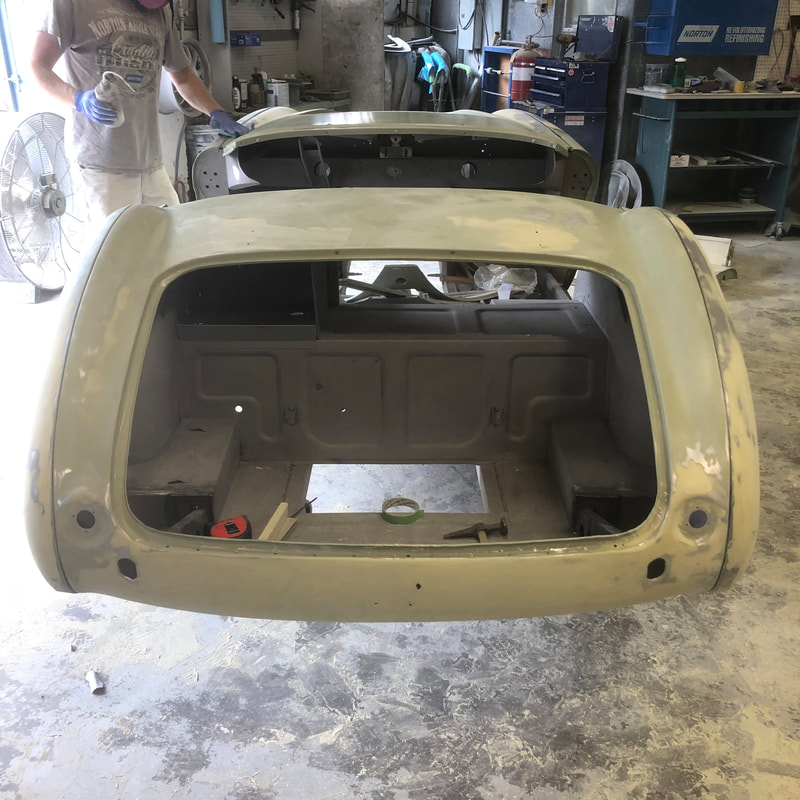
With the body all repaired and fitted up we got into the filler stage. Jason showed me the basics of mixing, applying, and sanding, and I got to do much of the initial filling and sanding to level out the body panels 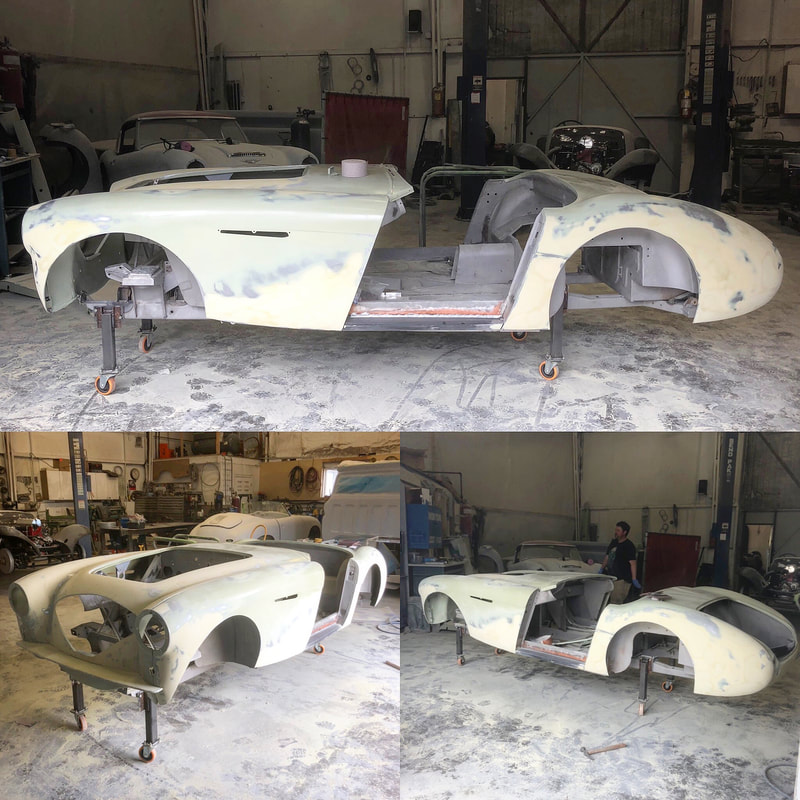 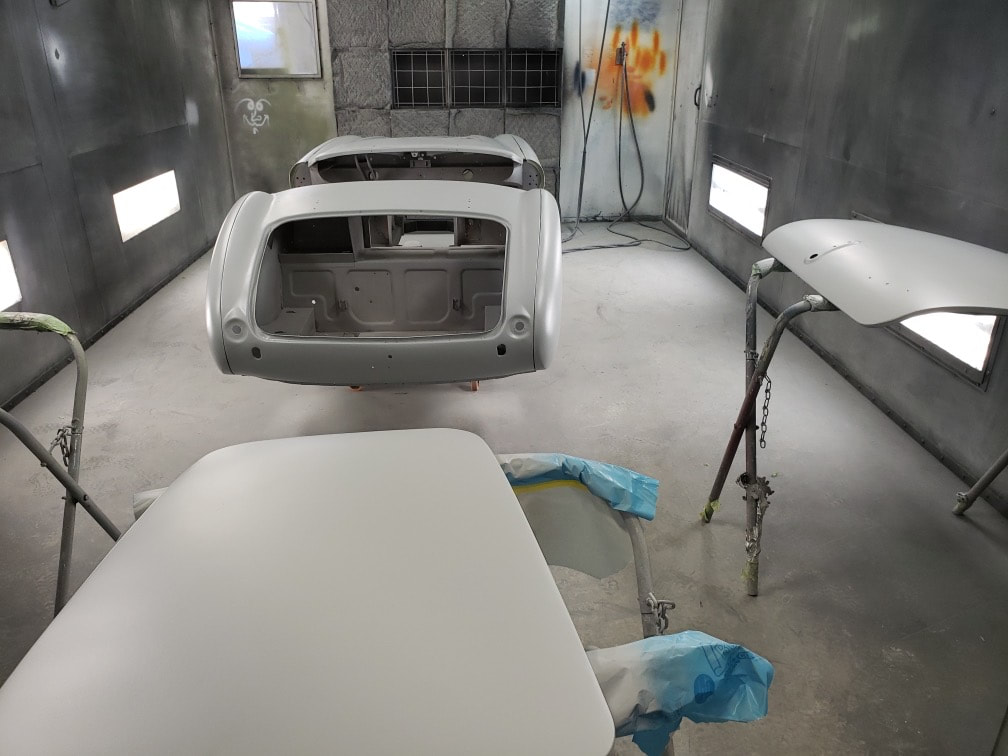 Then they gave the body a liberal coat of filler-primer that I spent much of Friday block sanding out again to make it even more perfect...  It's a nice feeling to have done some of the hands on body work too, I can honestly say I've worked every square inch of the body's surface!
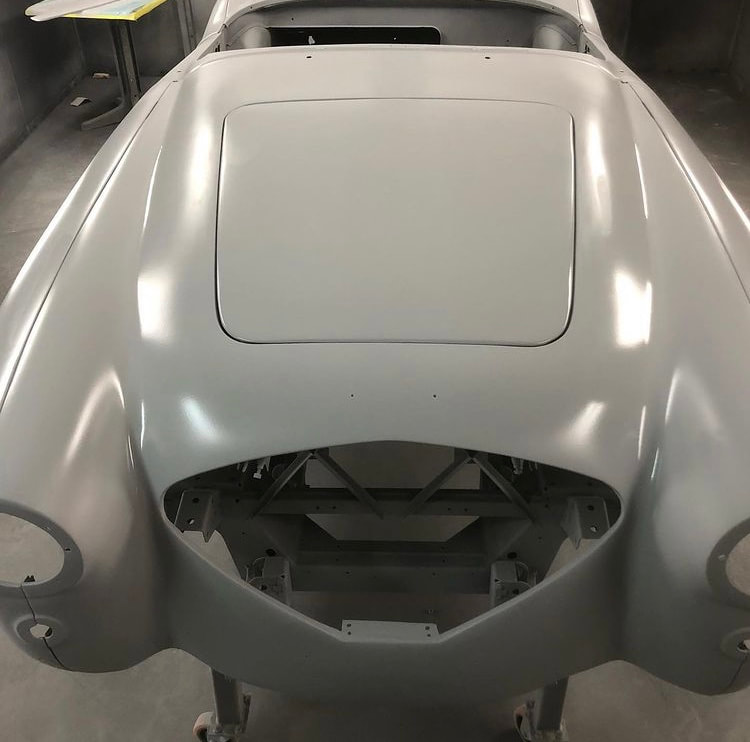
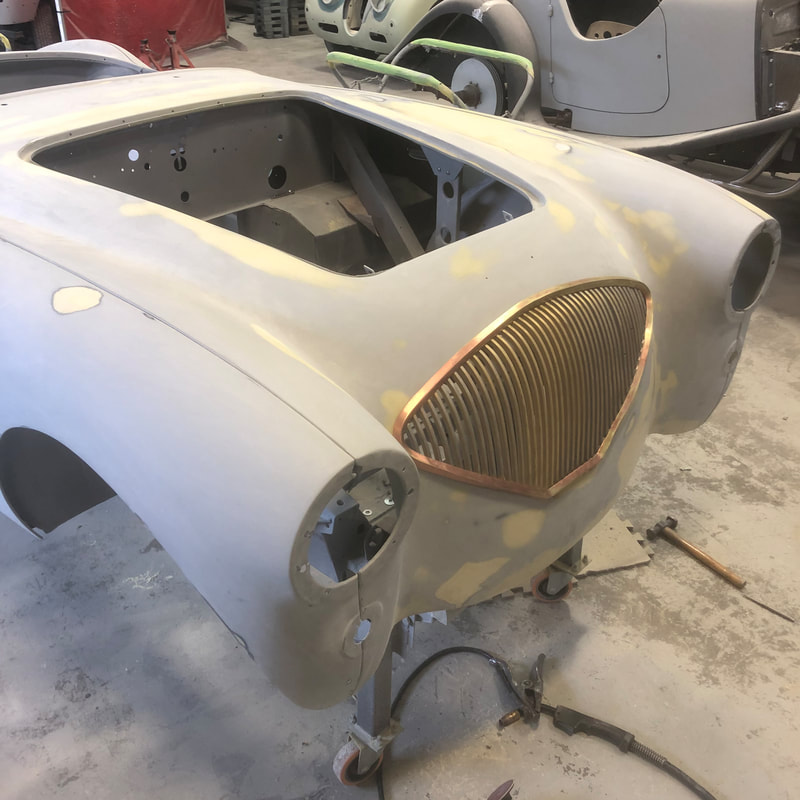
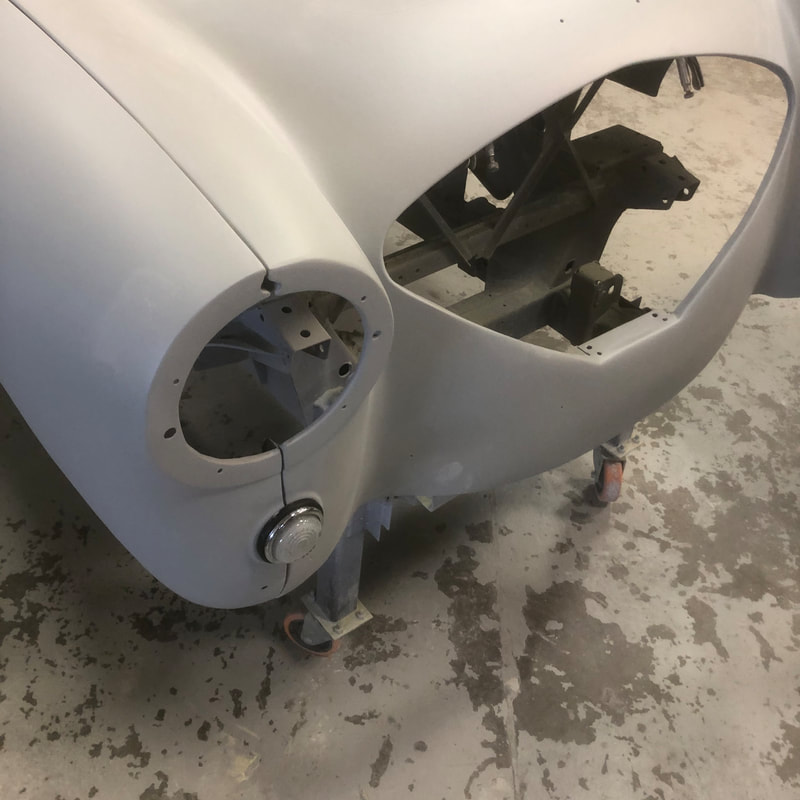
Now is the time to get all of the body panels fitting perfectly before we take it all apart again to paint the inner chassis. So we spent many hours adjusting the fit and line up of each panel, including the grill and lights...
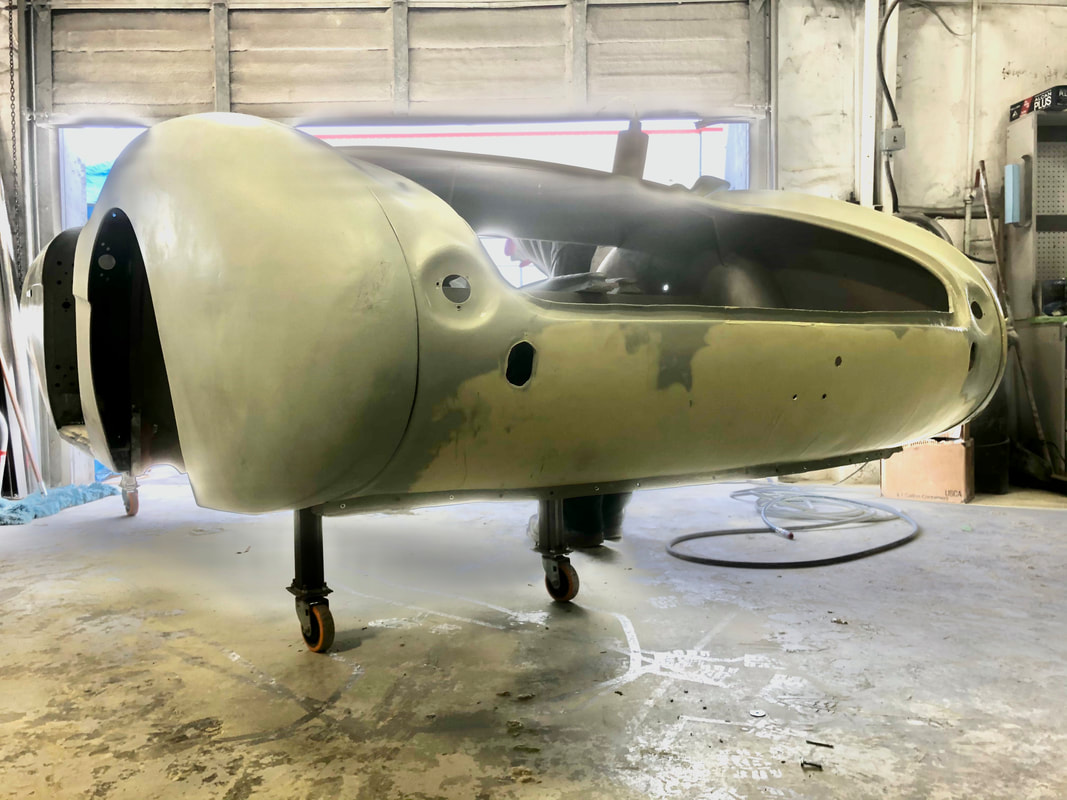
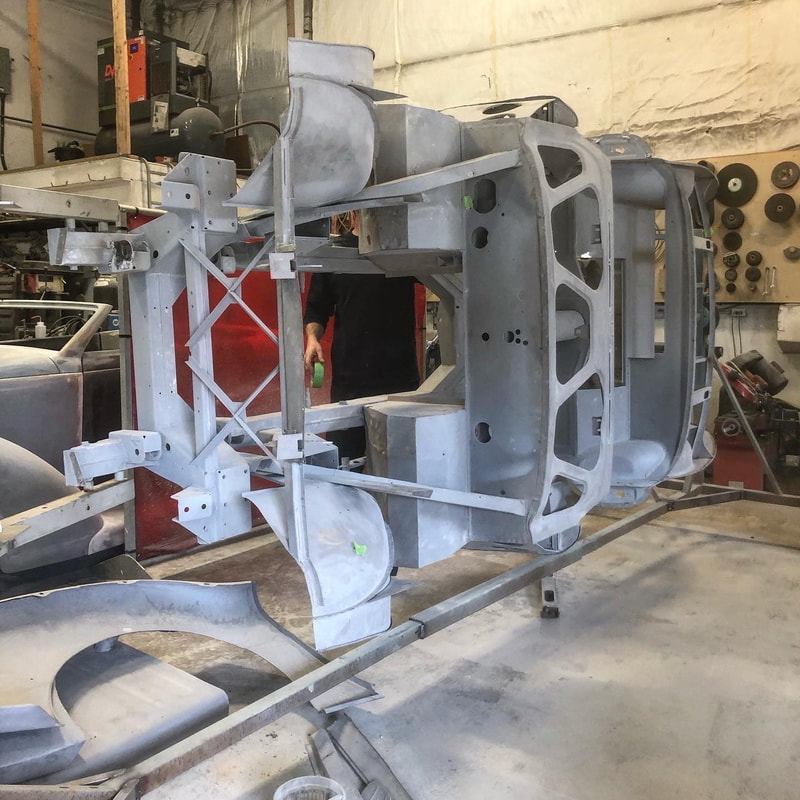
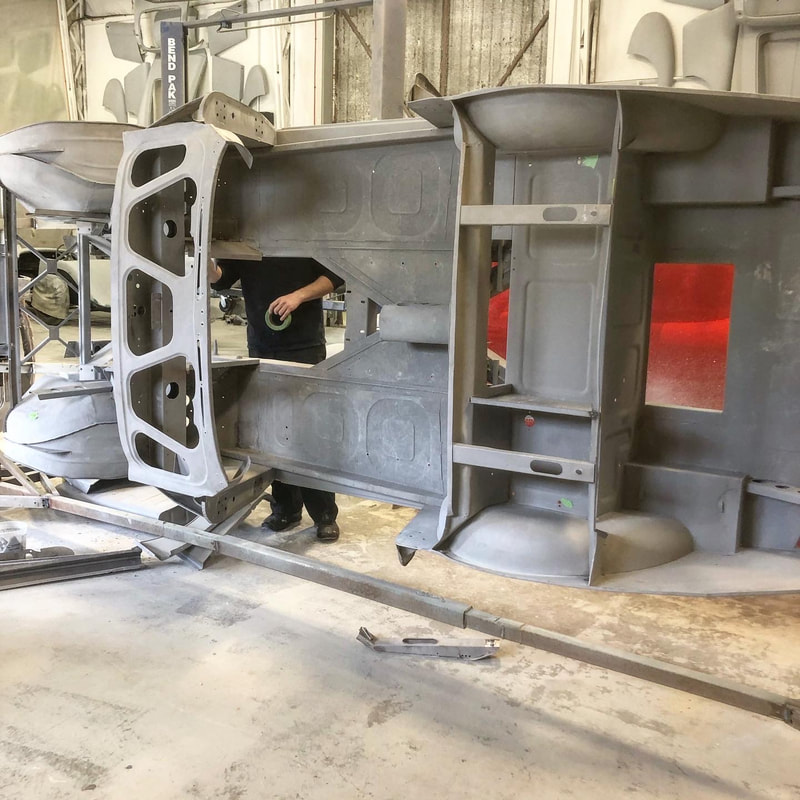
Withe the outer body perfect and ready for paint, we disassembled it all to focus on readying the inner chassis for paint...
Another few weeks to seam seal, apply the rear undercoating as original, and she'll be ready to paint in the Healey Blue! Until next time -
2 Comments
The spark plugs are an interesting subject. The Champion 5 rib variety with 'Made in England' on them is what would be correct. The 3 rib Coke bottle syle were phased out about 1948. NA8's are hard to find, I've only managed to find N8s that were made in England. Some NOS, some used, couple of 5 ribs, couple of 3 ribs. Your comment will be posted after it is approved.
Leave a Reply. |

Archives
December 2023
|


 RSS Feed