|
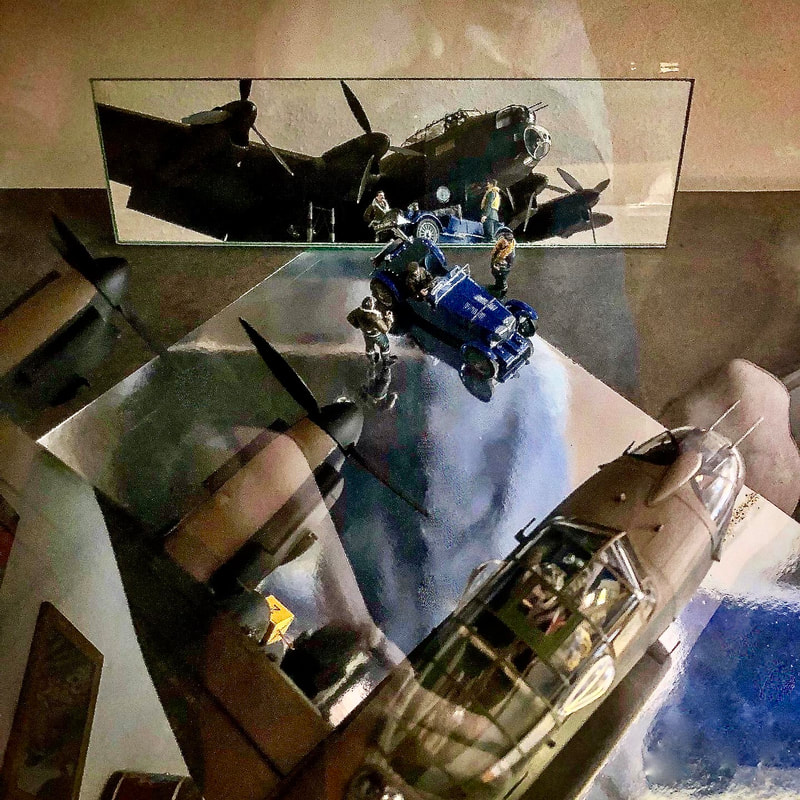
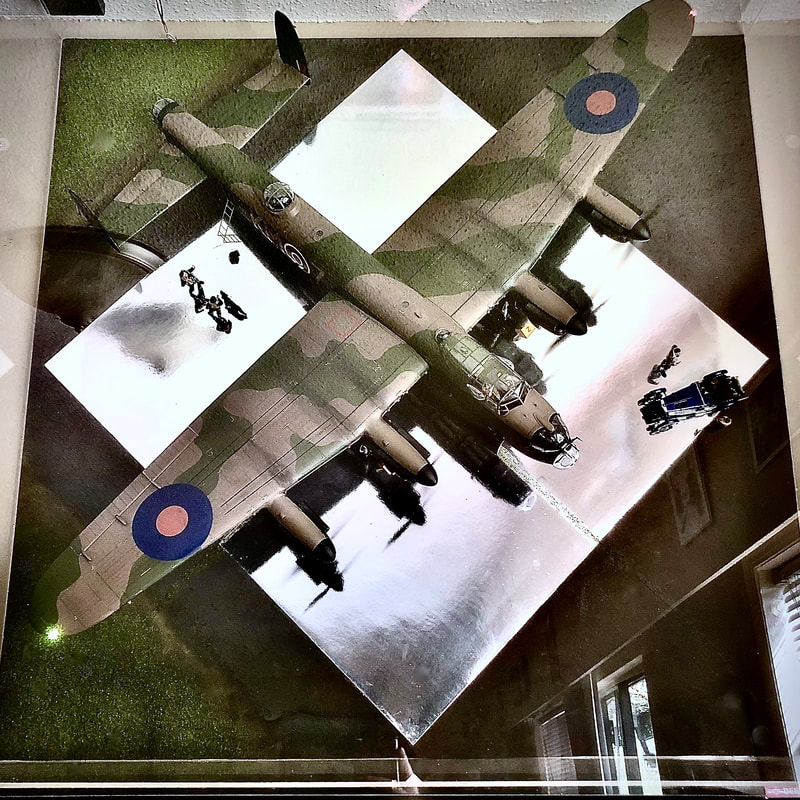
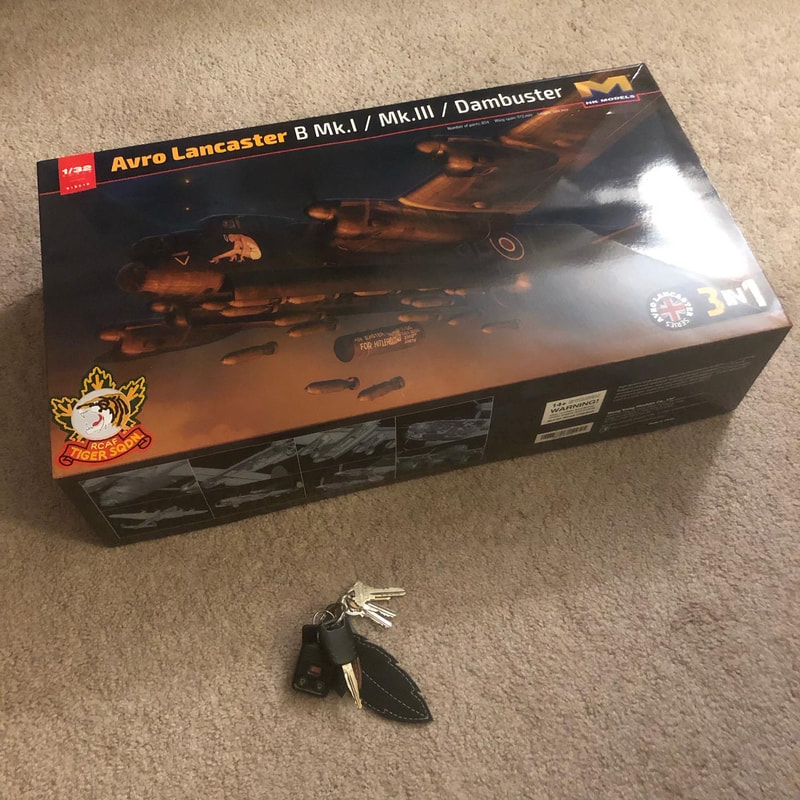
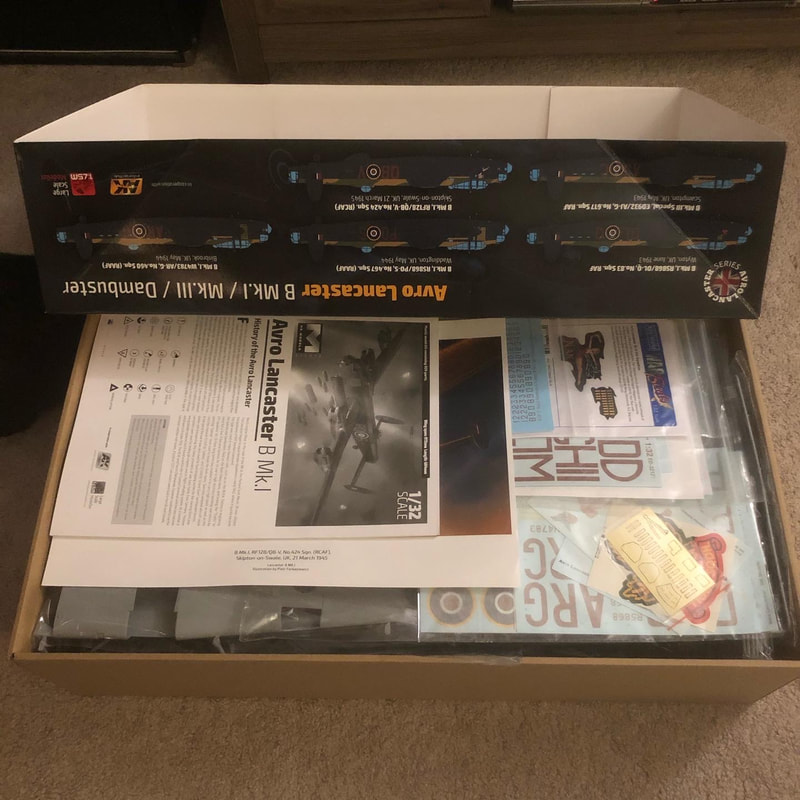
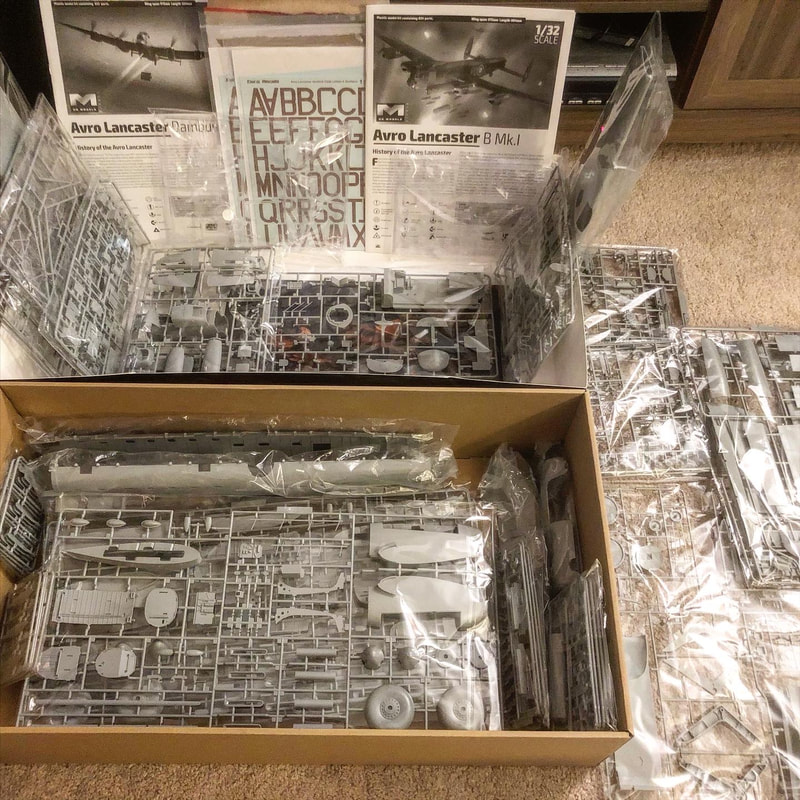
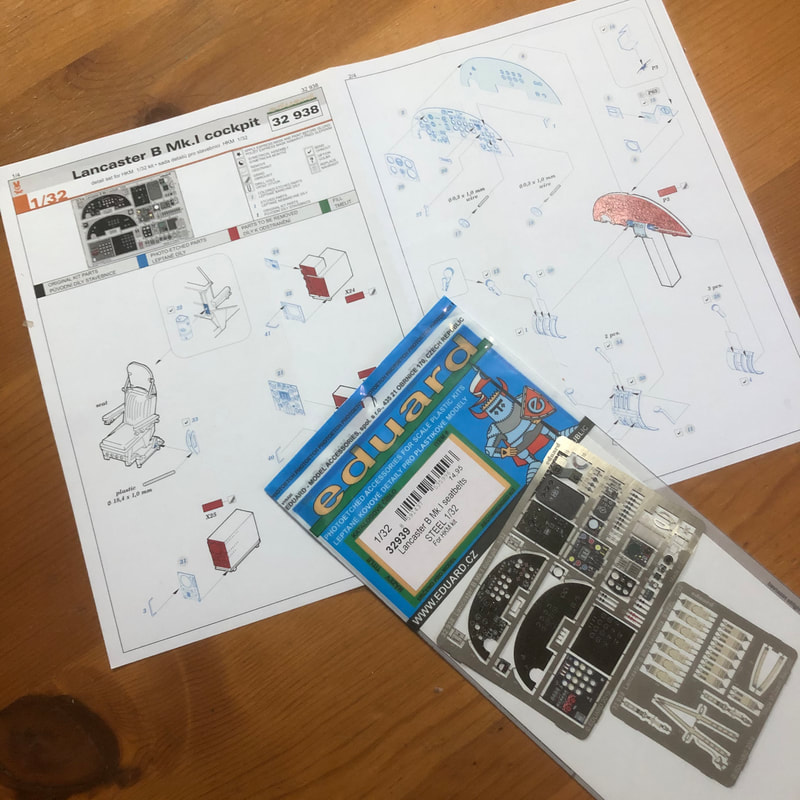
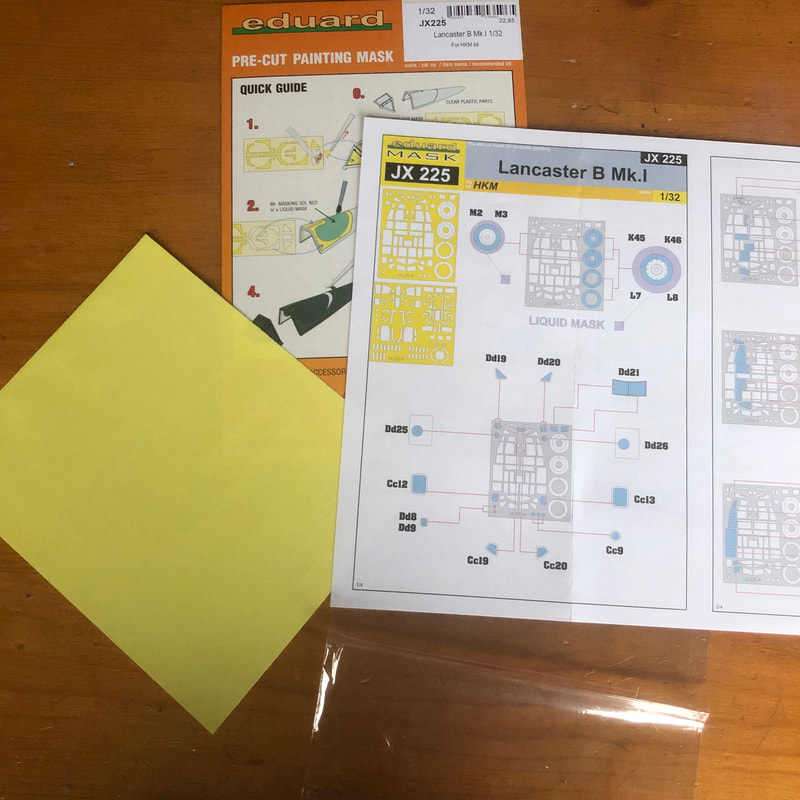
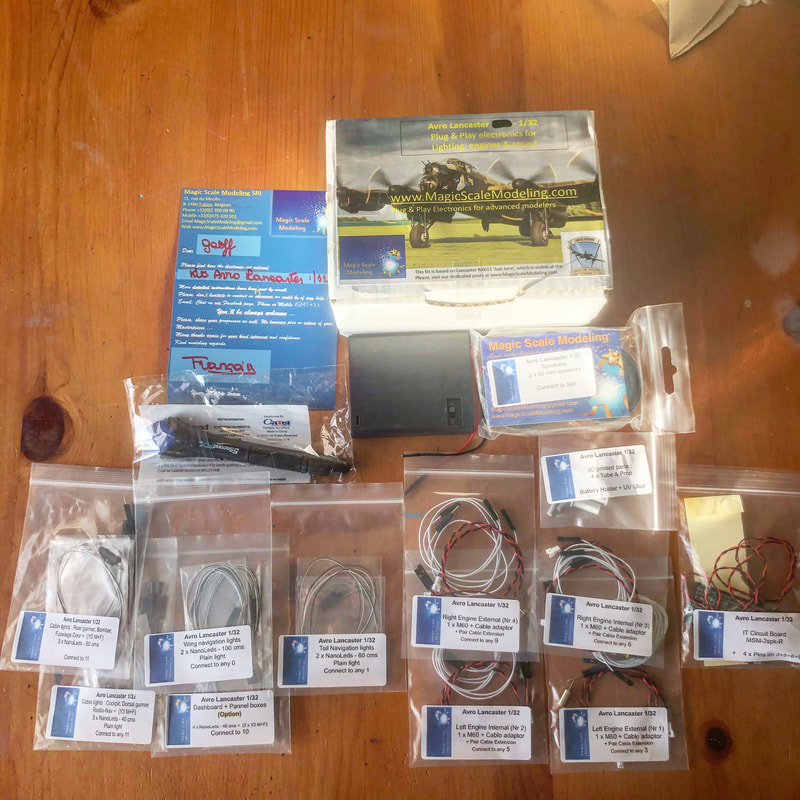
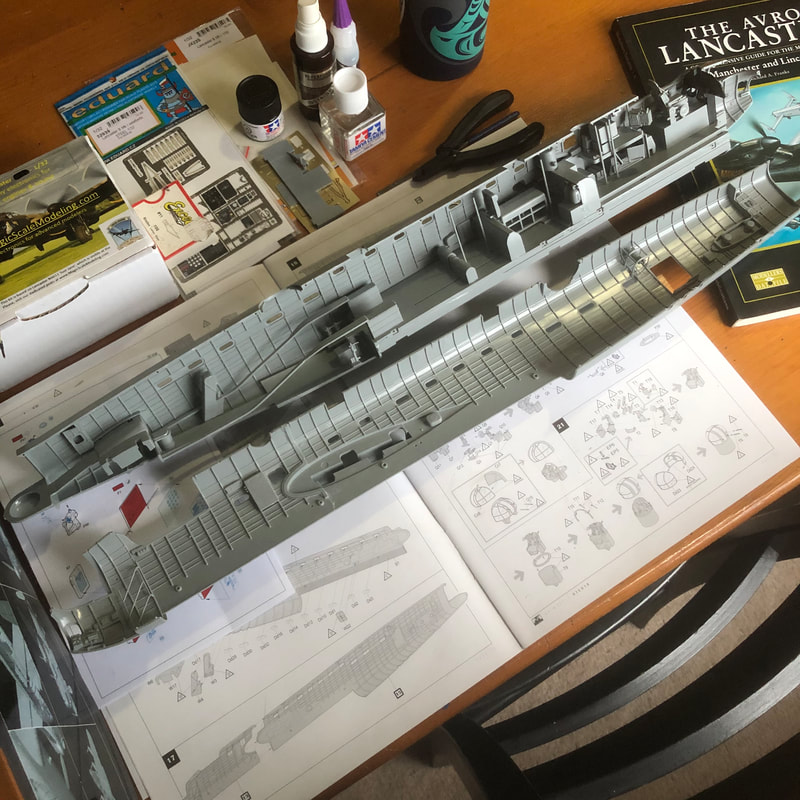
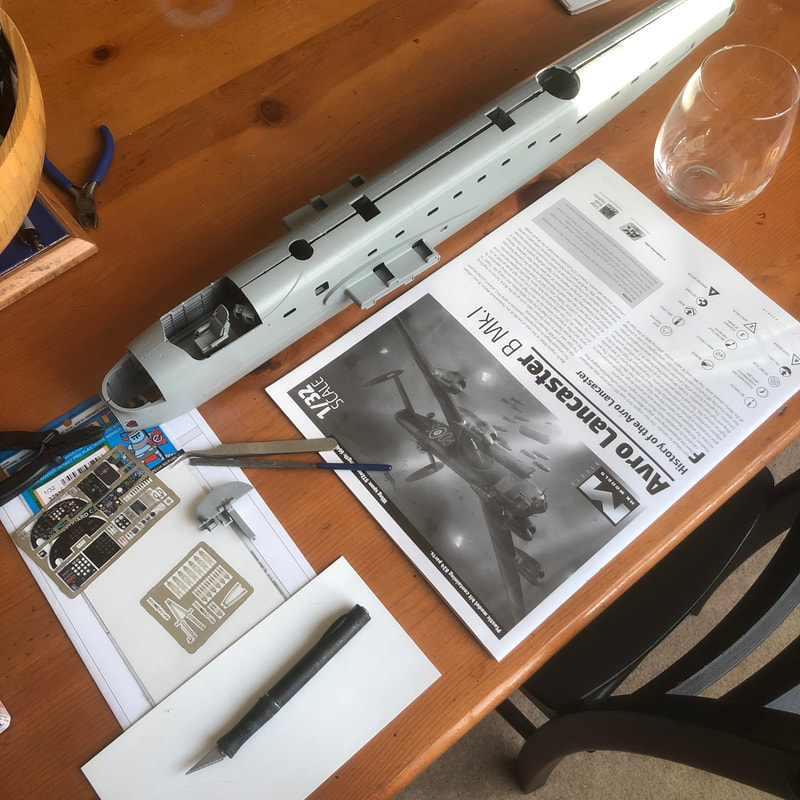
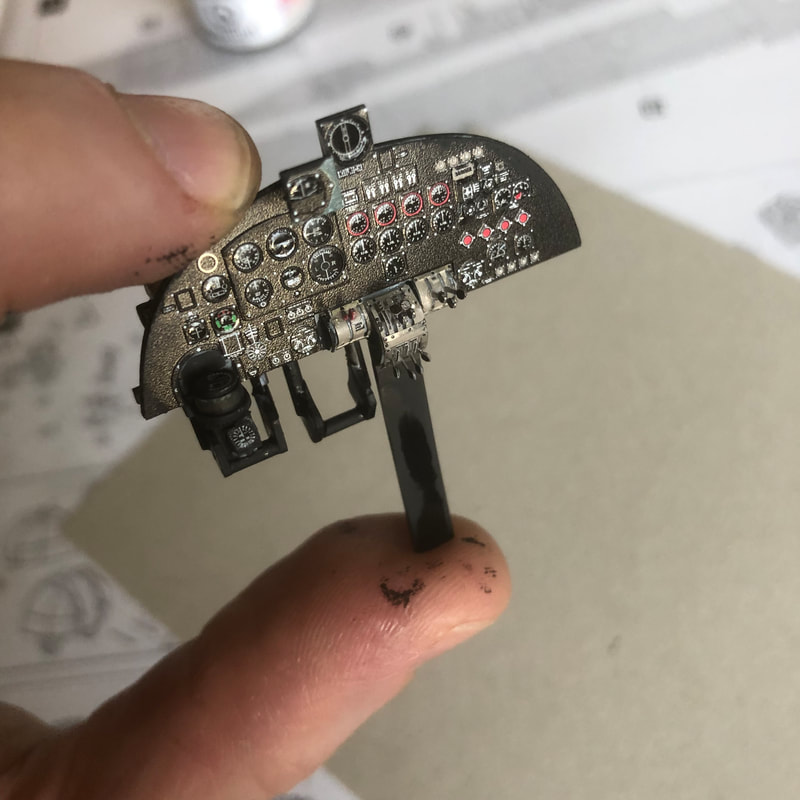
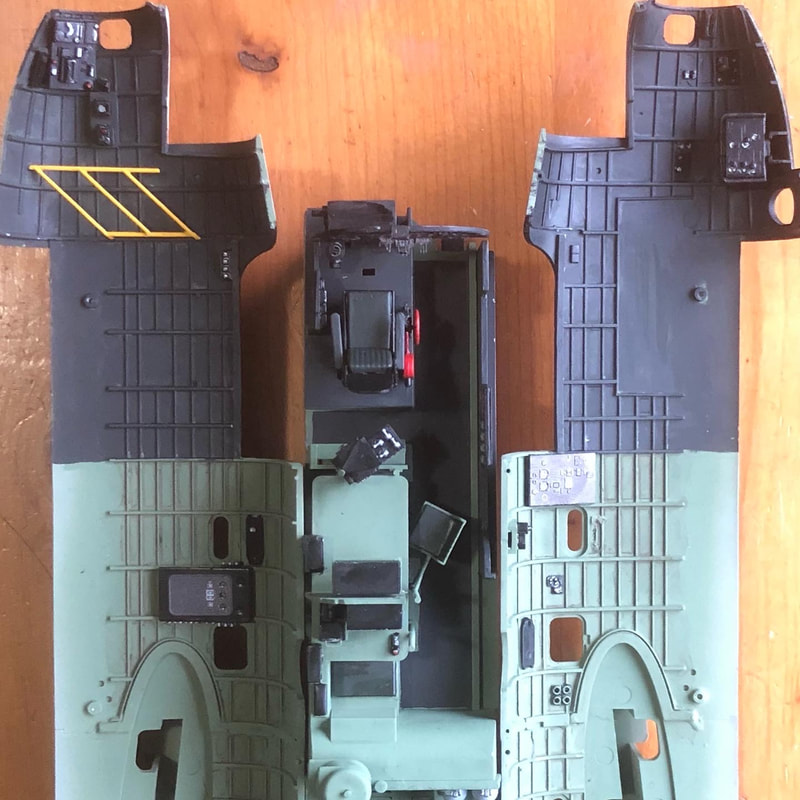
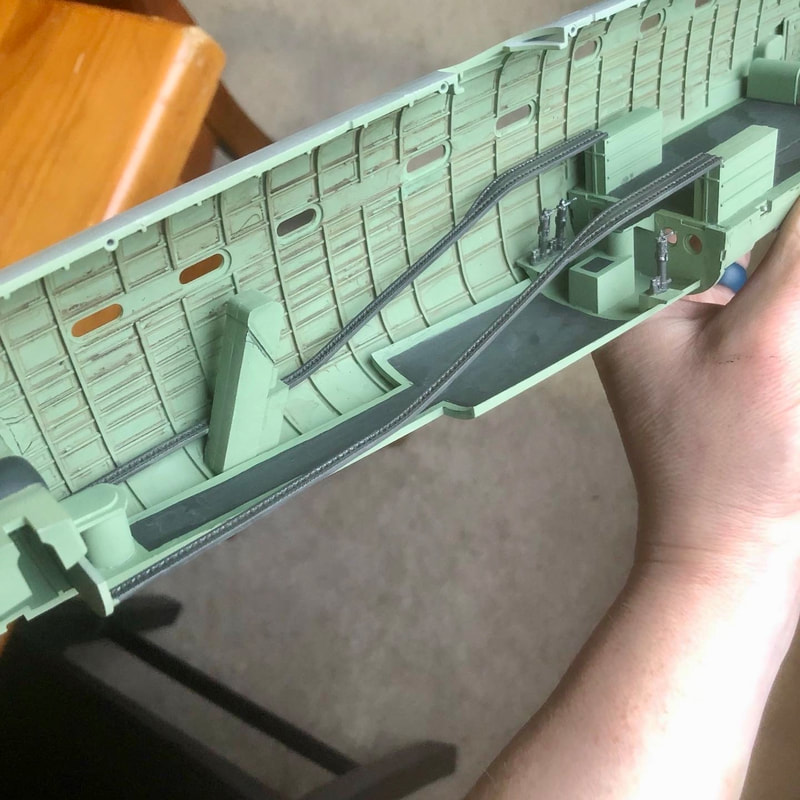
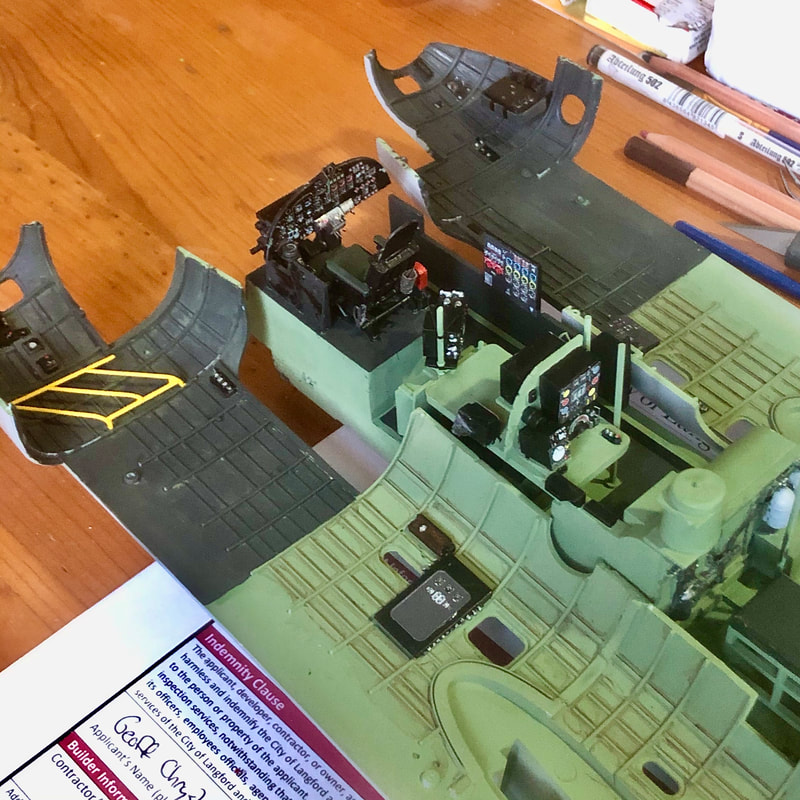
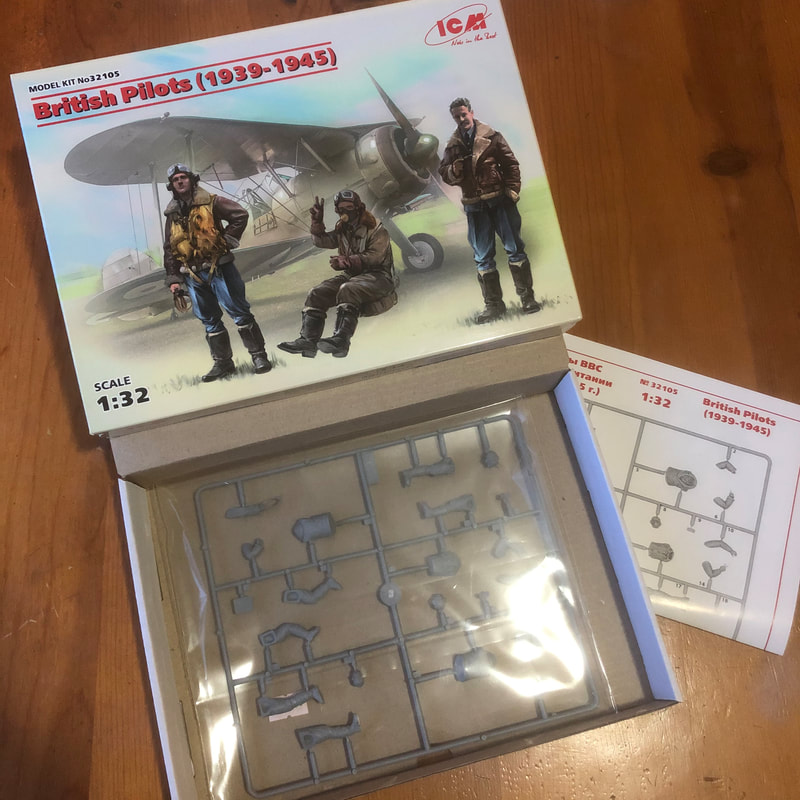
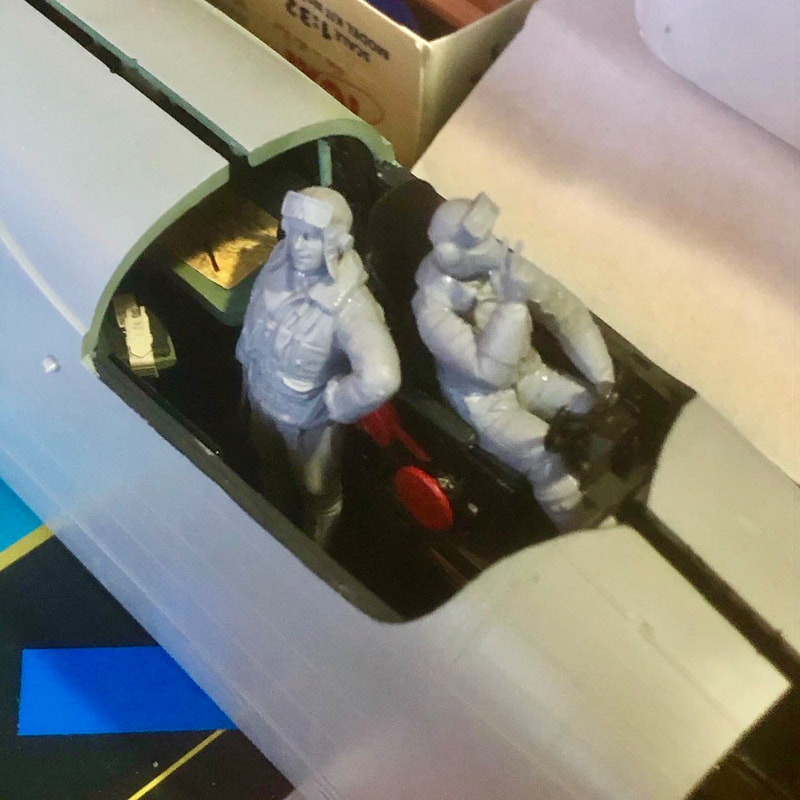
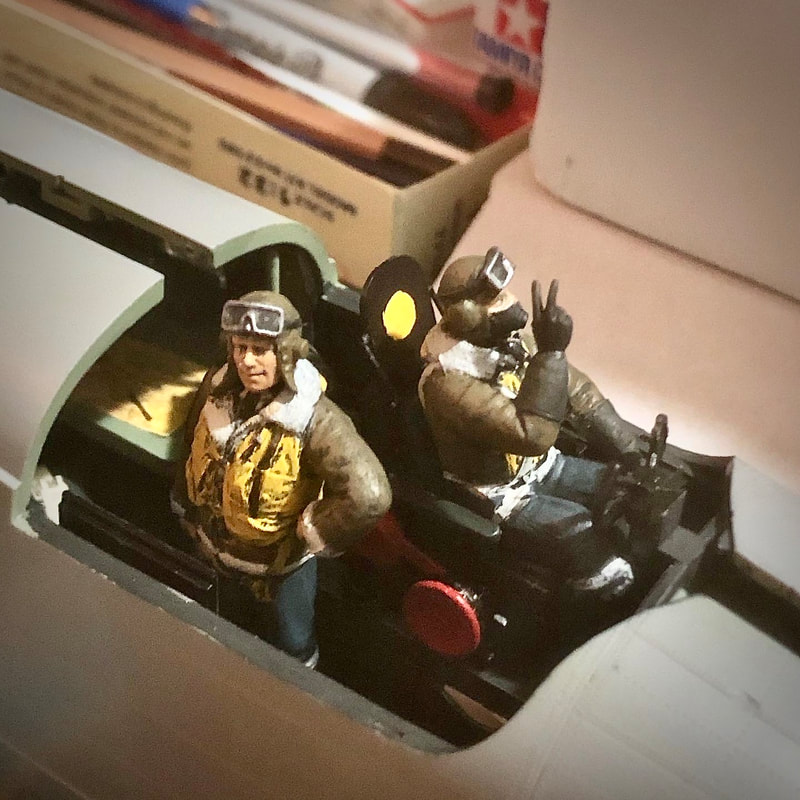
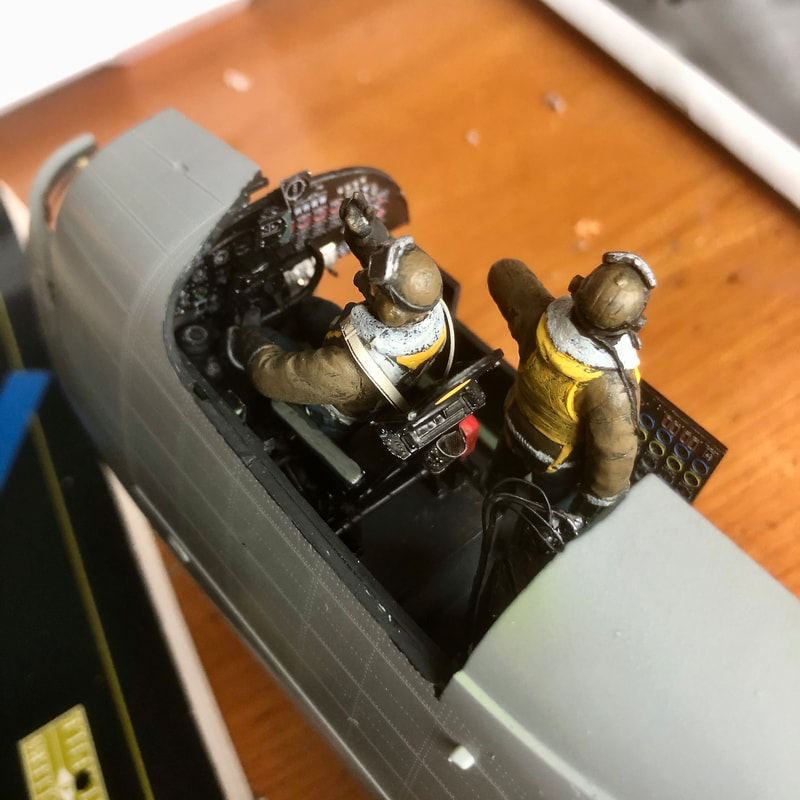
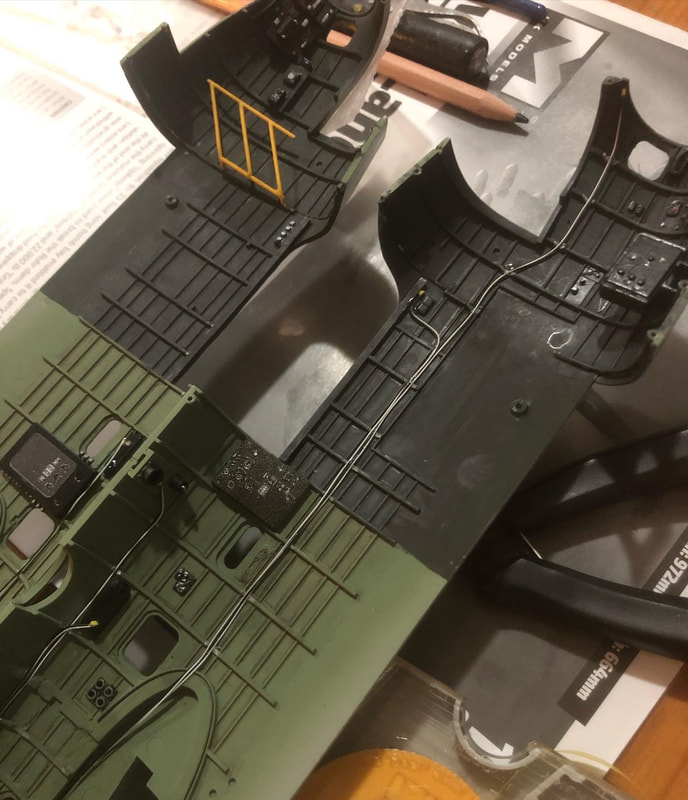
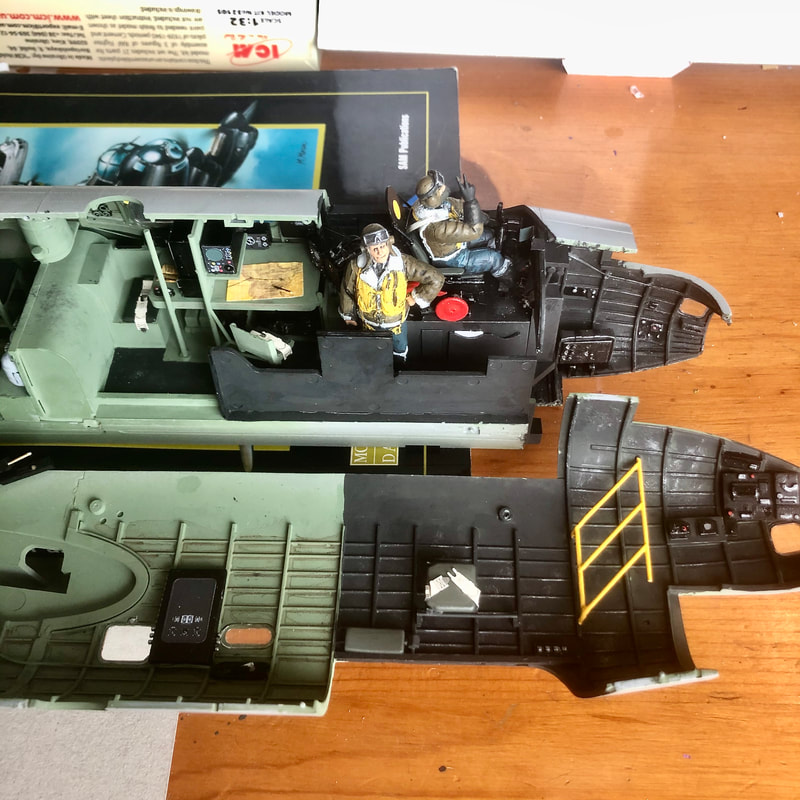
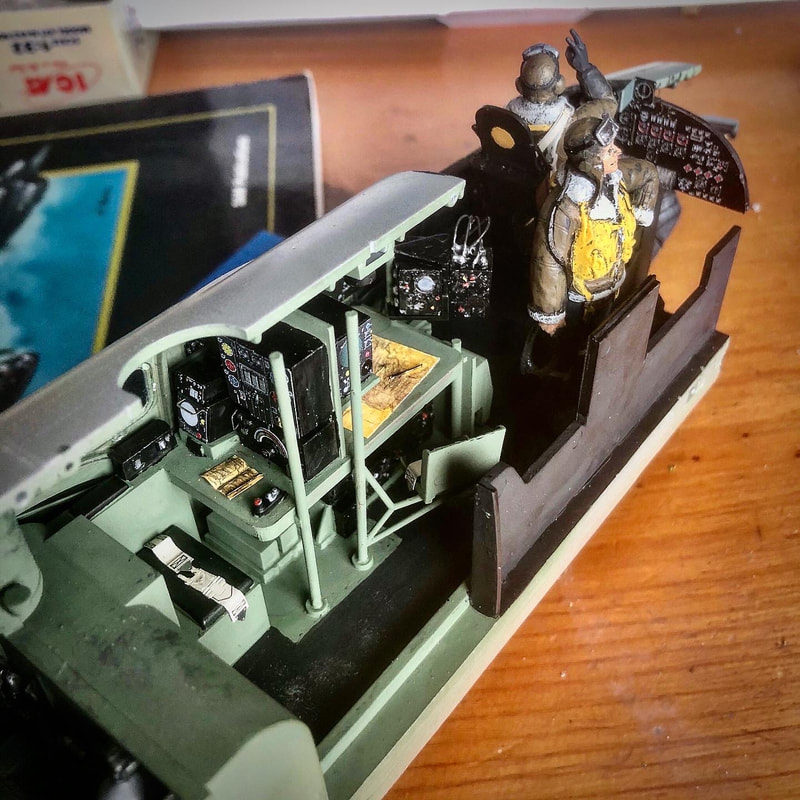
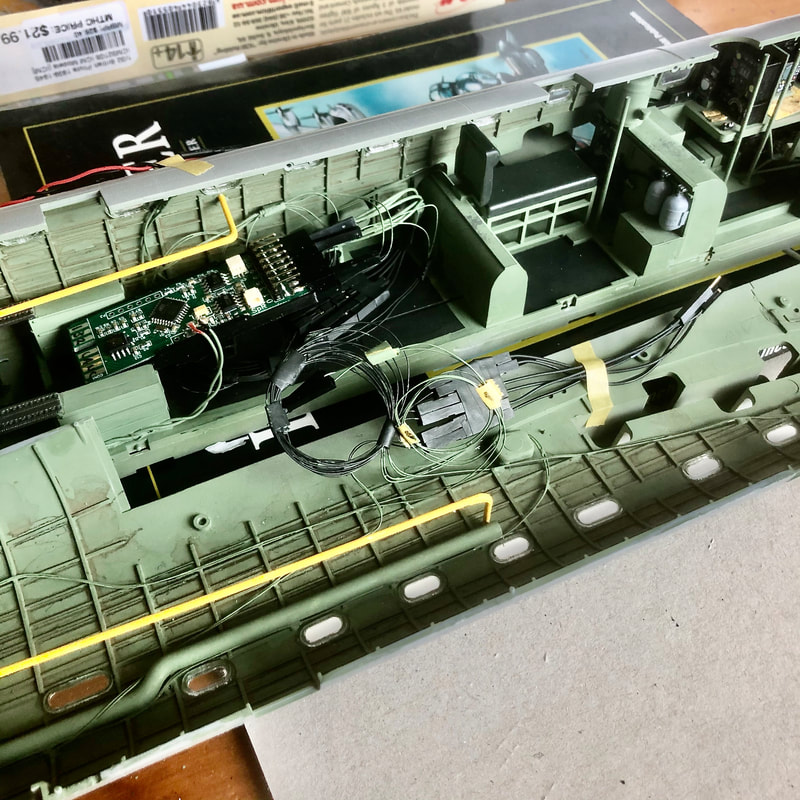
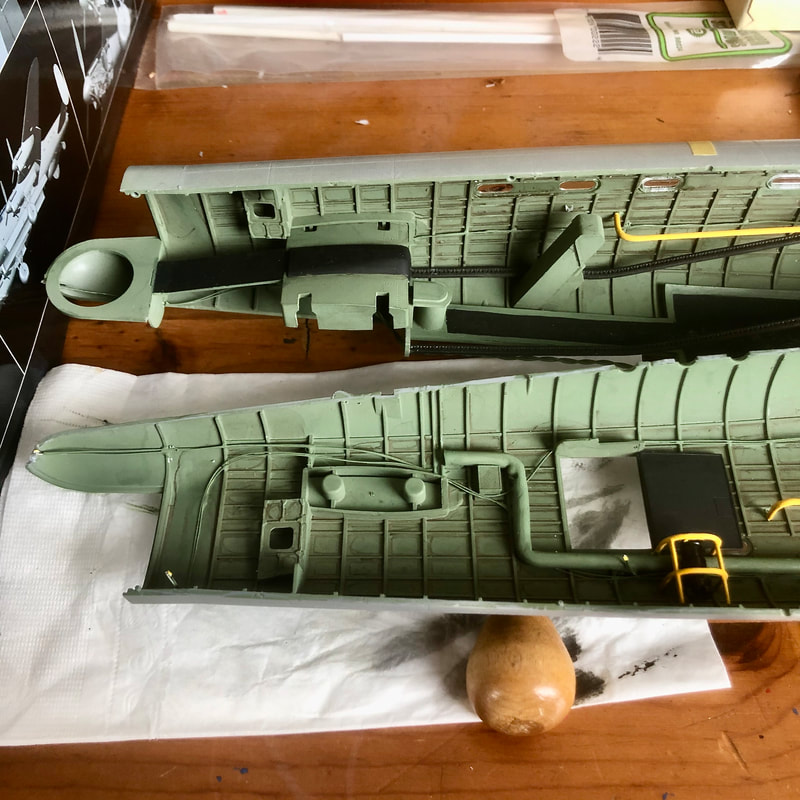
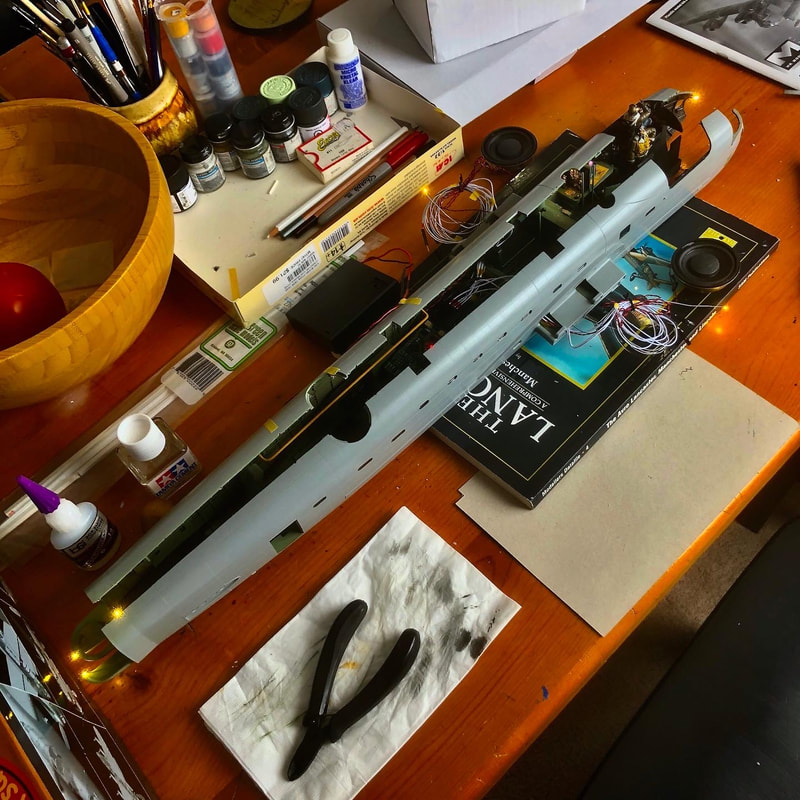
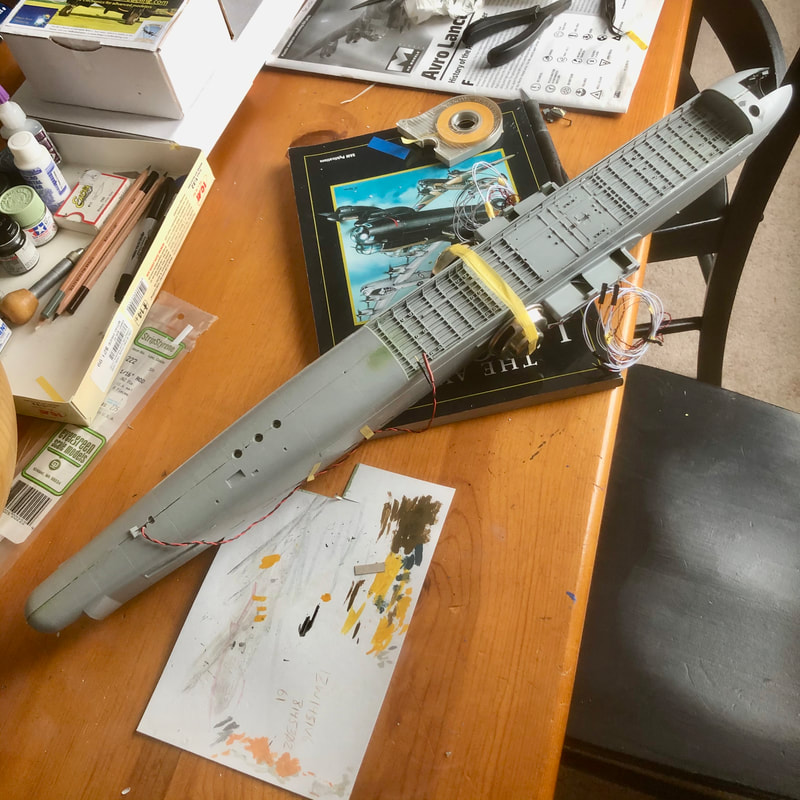
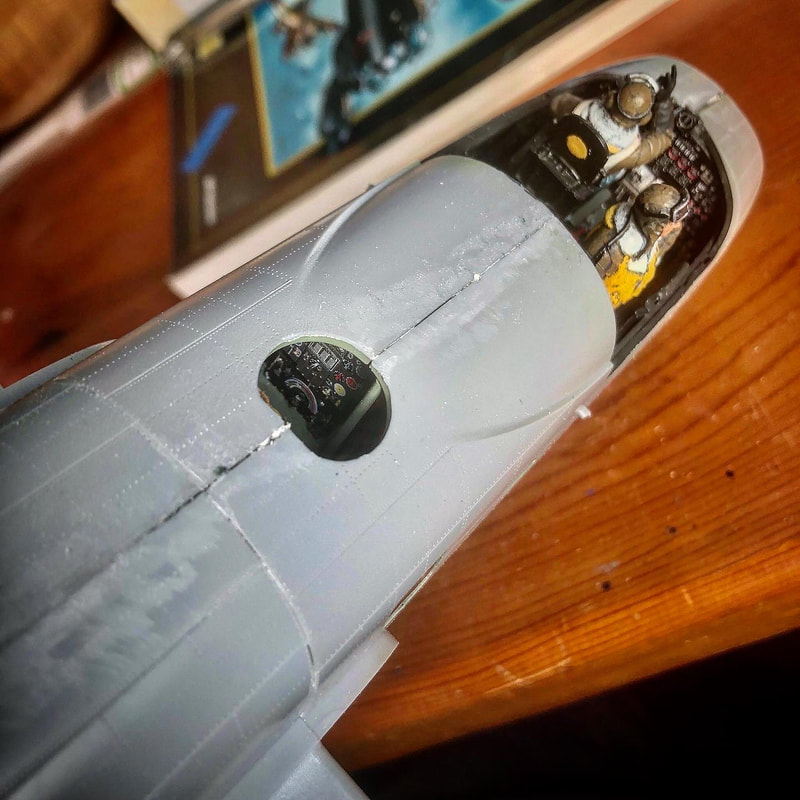
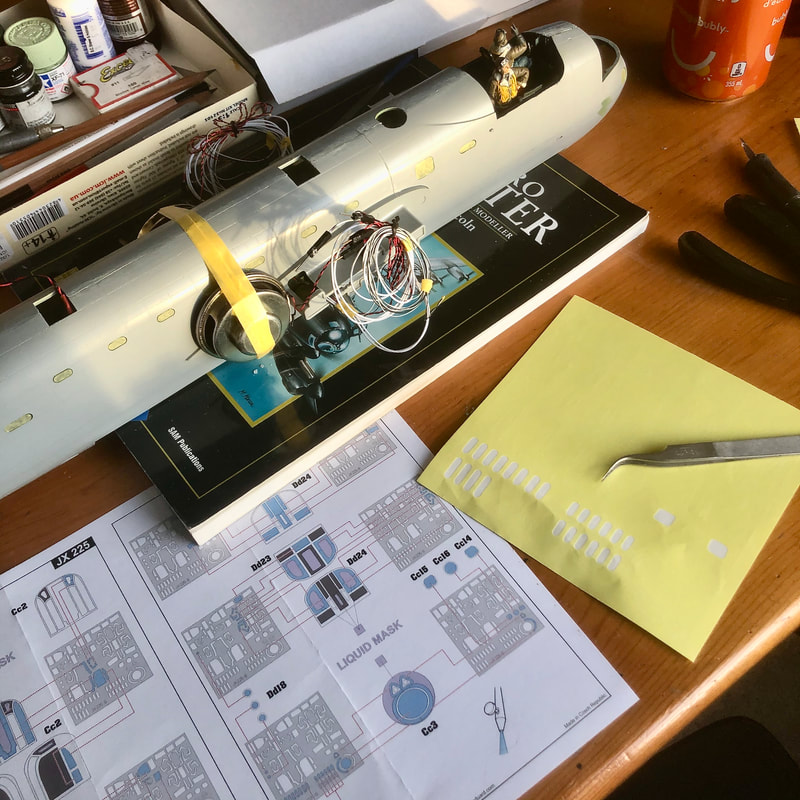
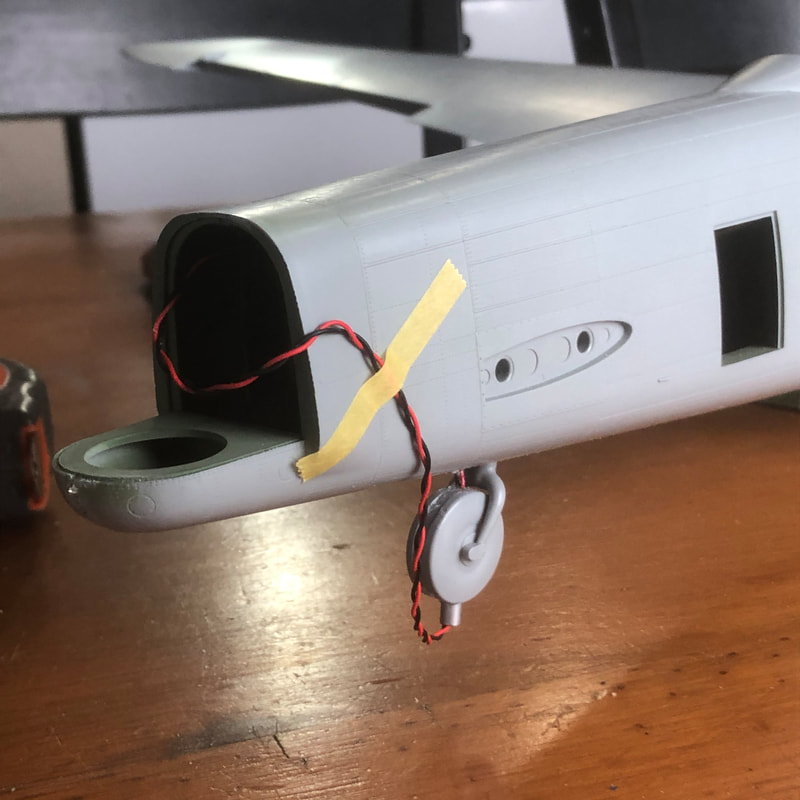
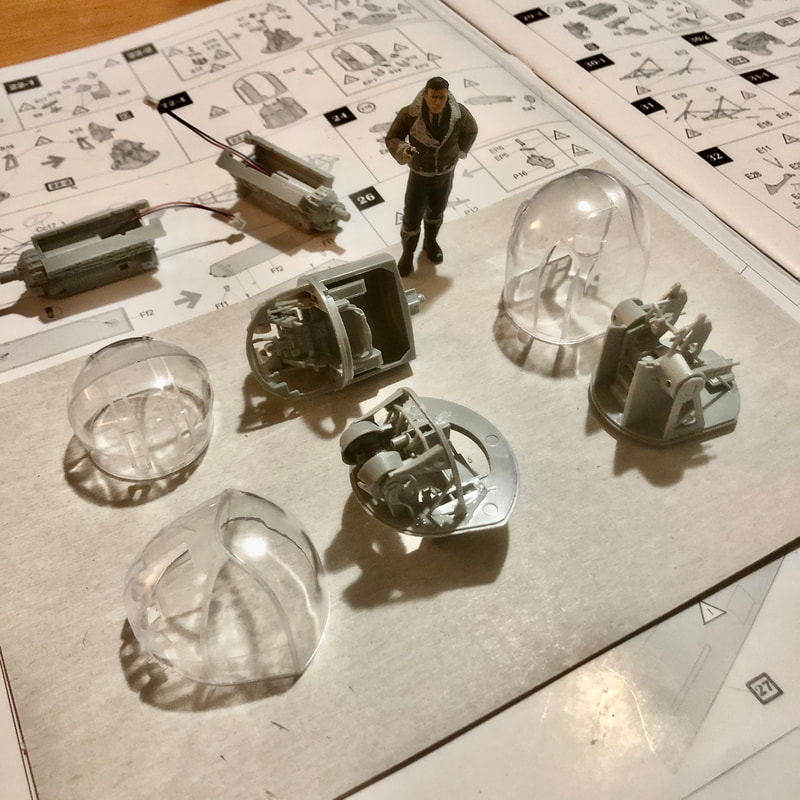
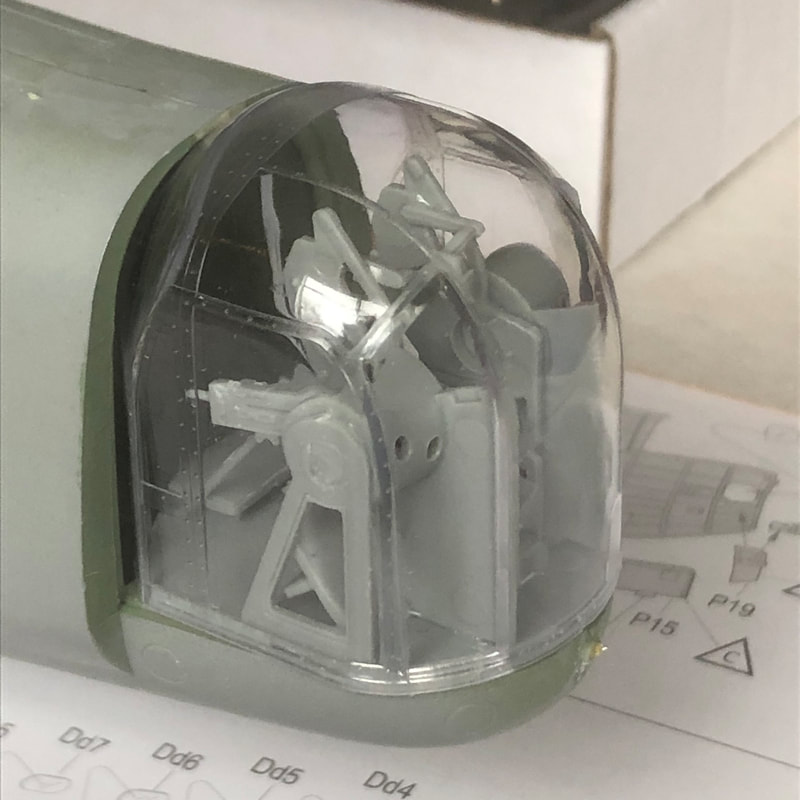
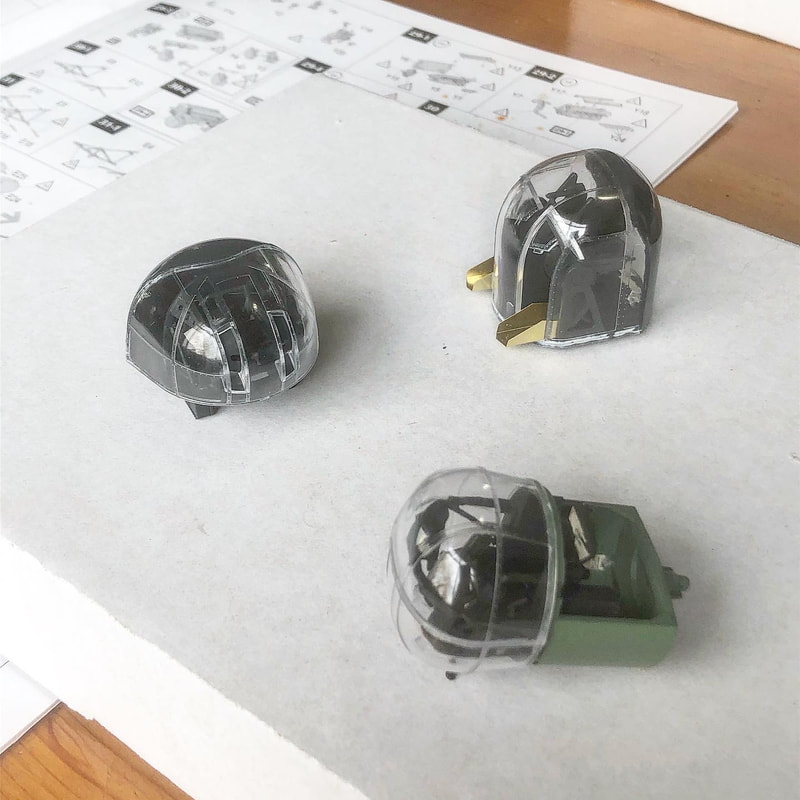
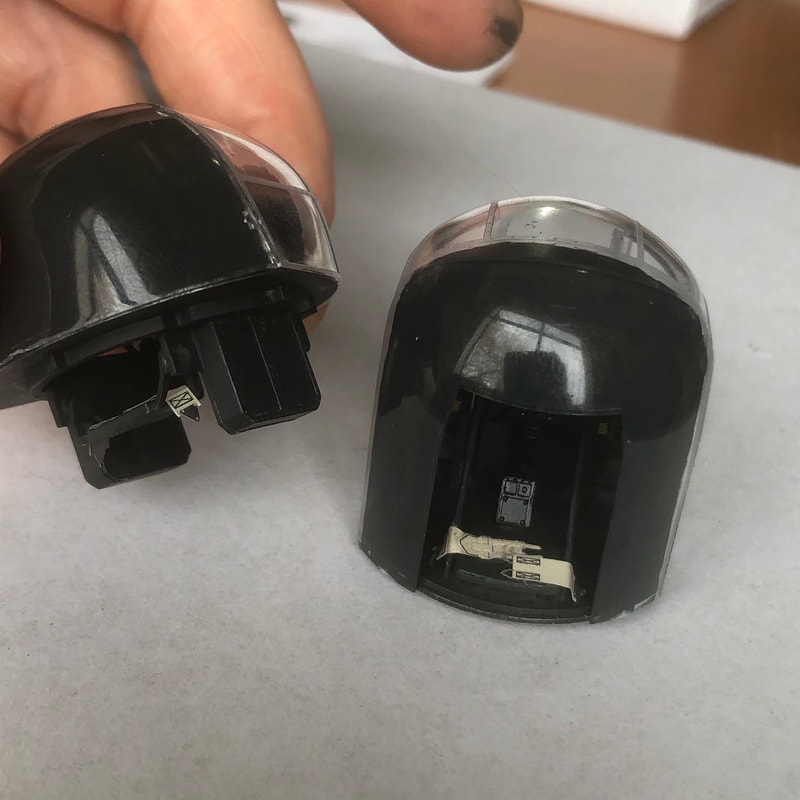
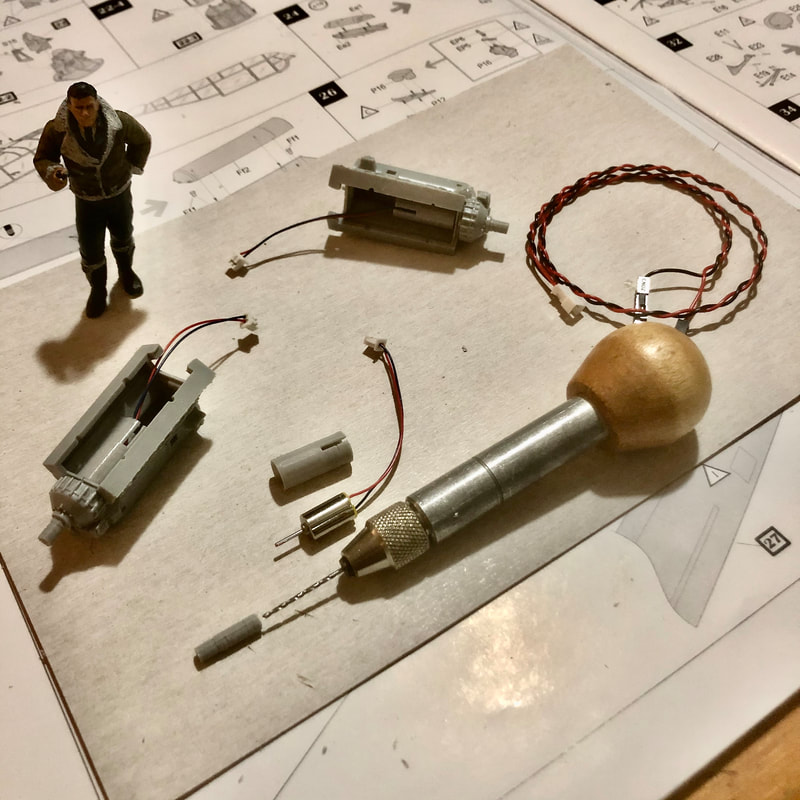
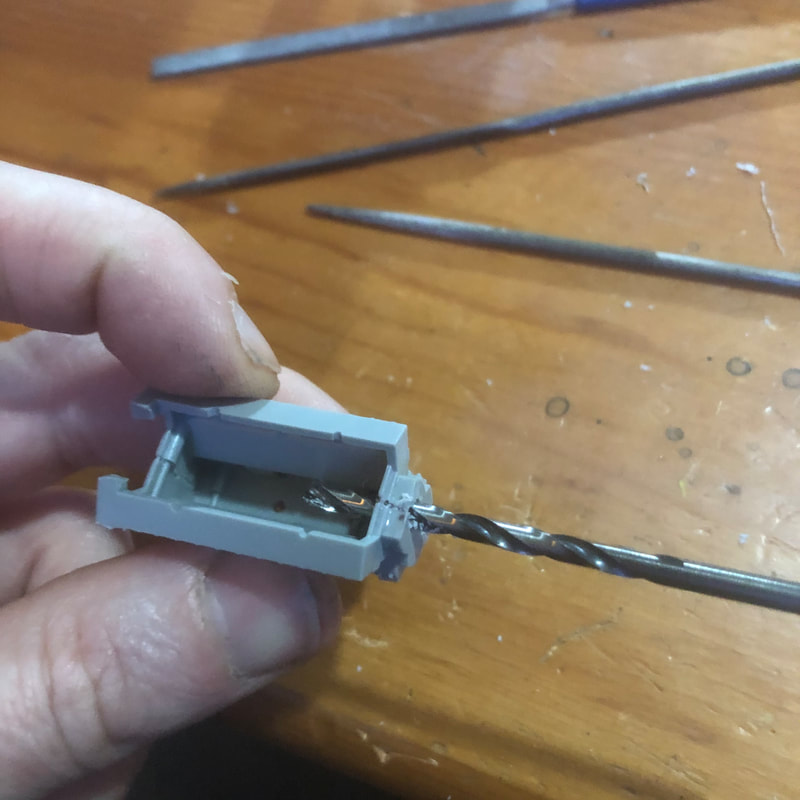
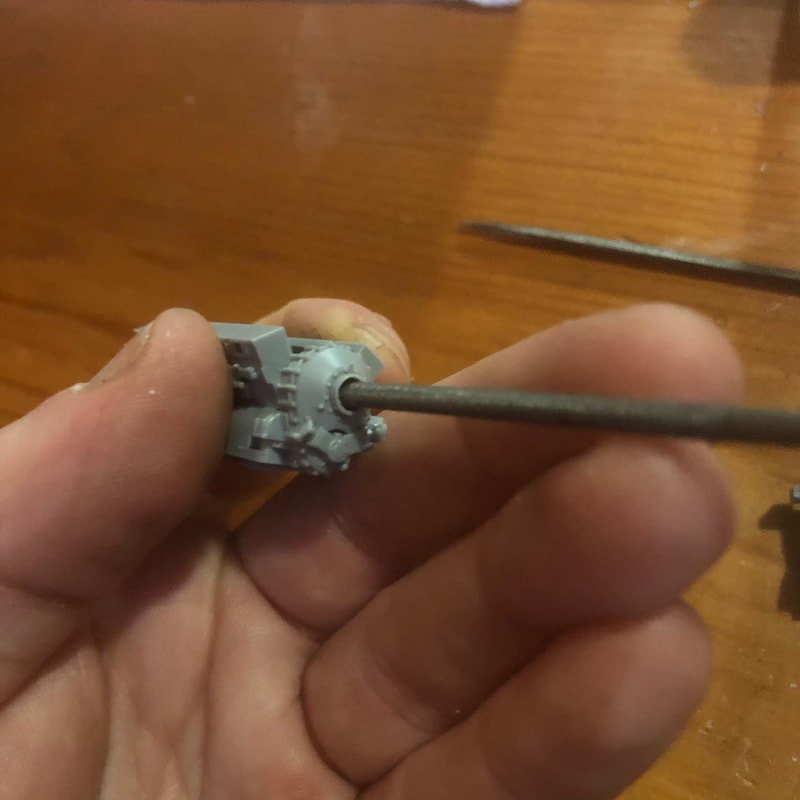
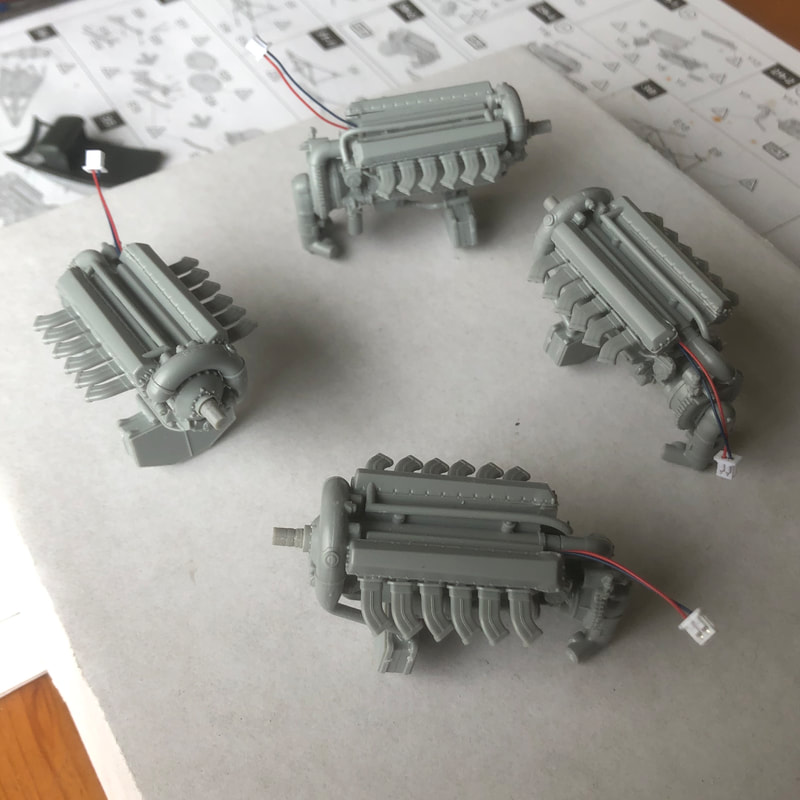
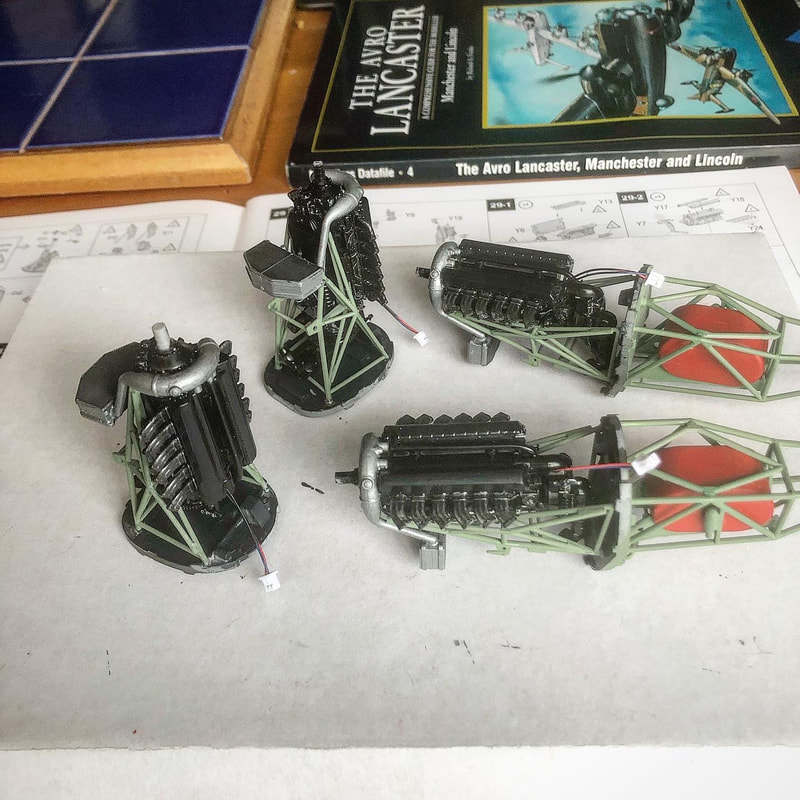
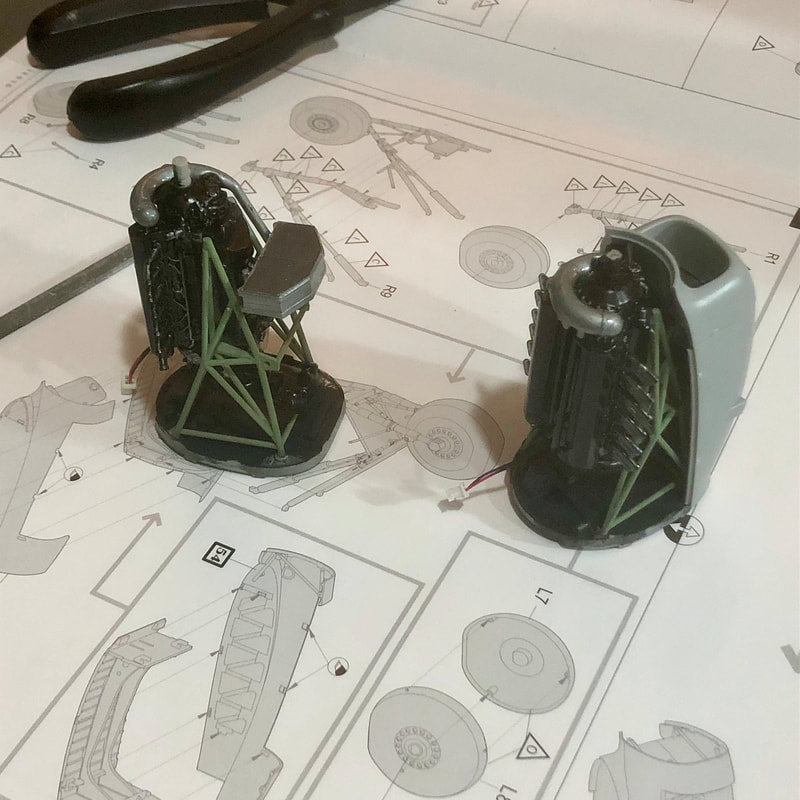
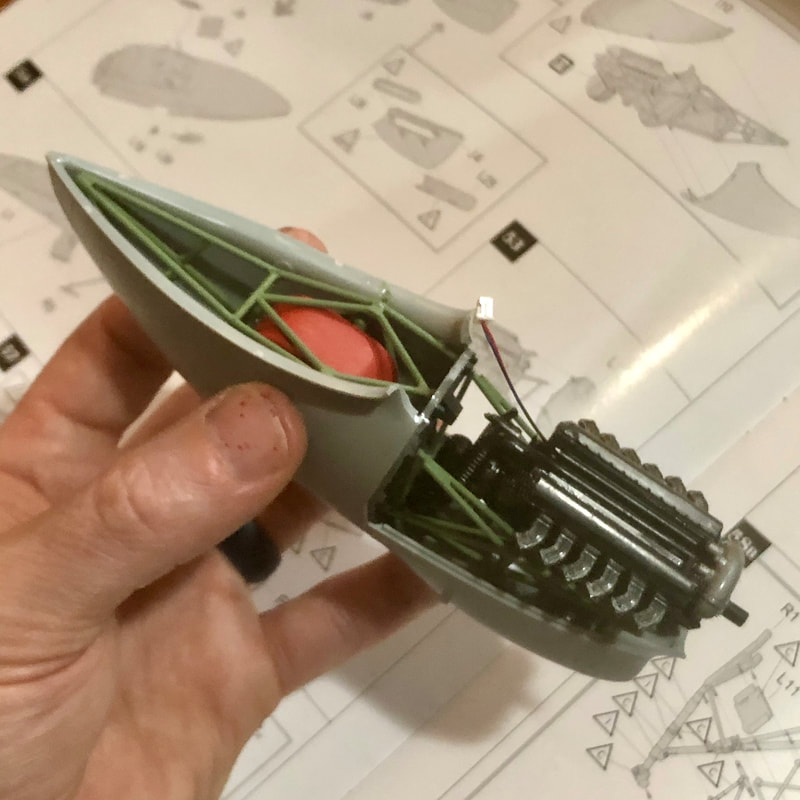
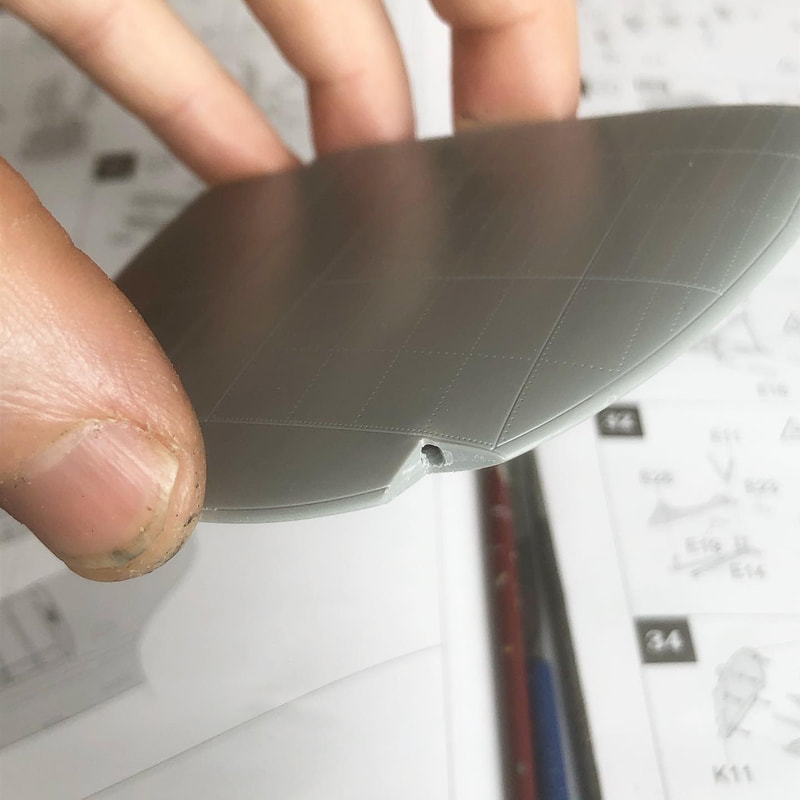
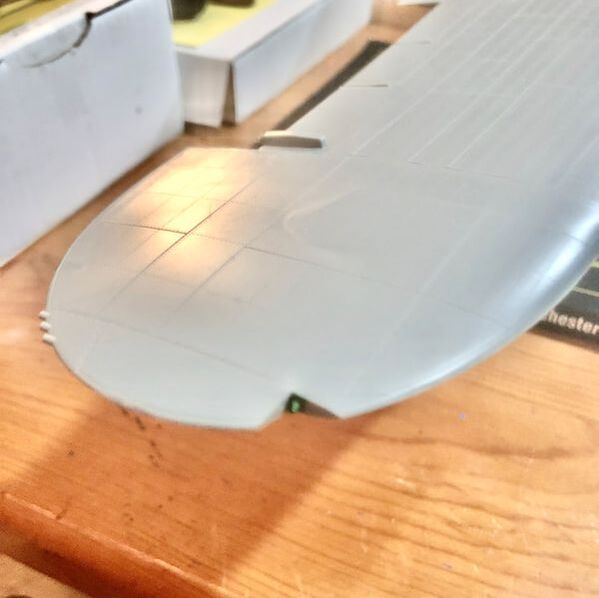
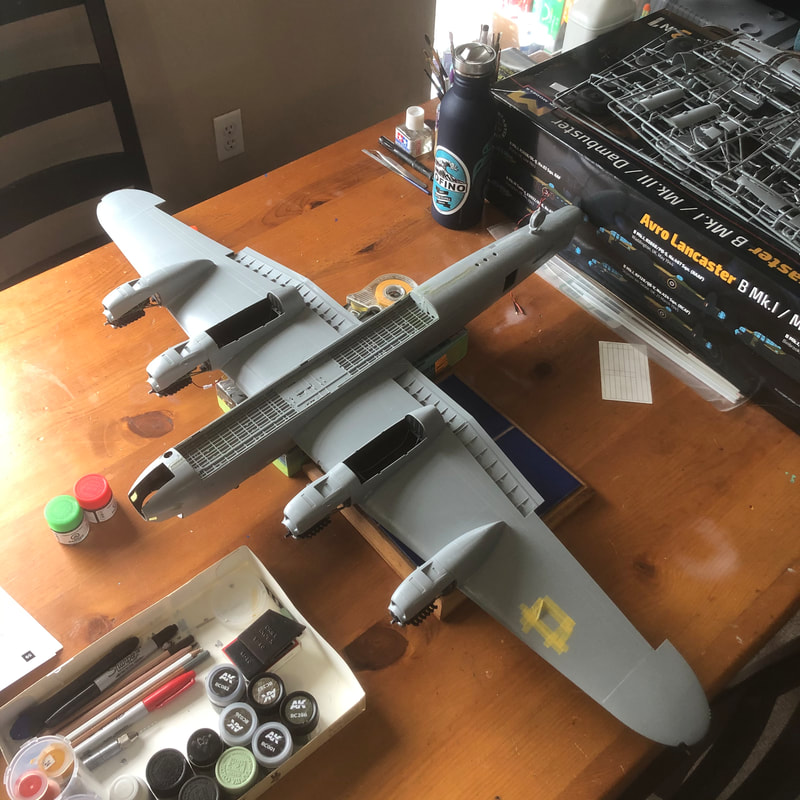
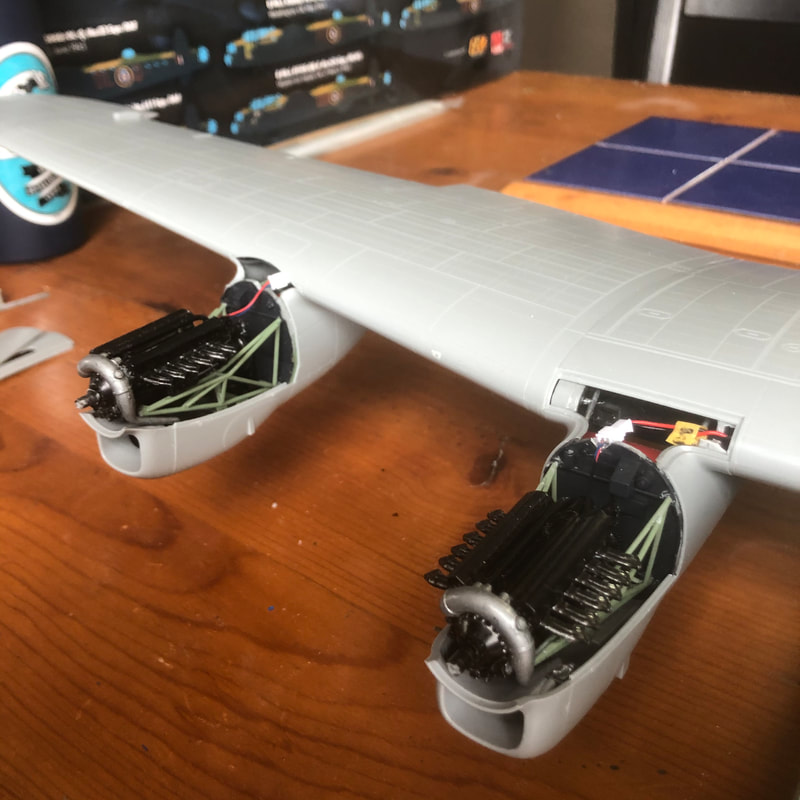
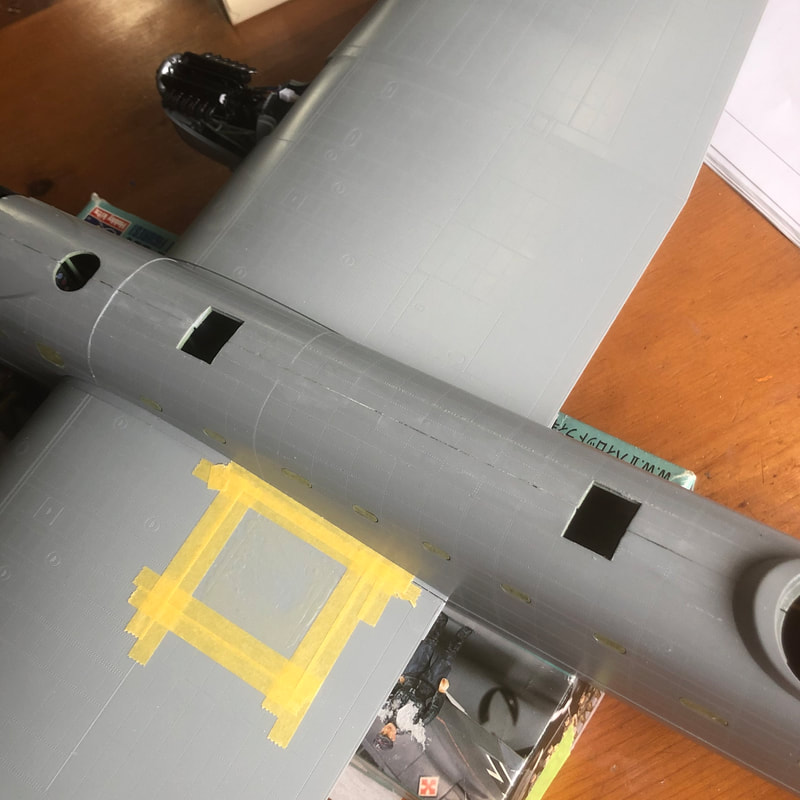
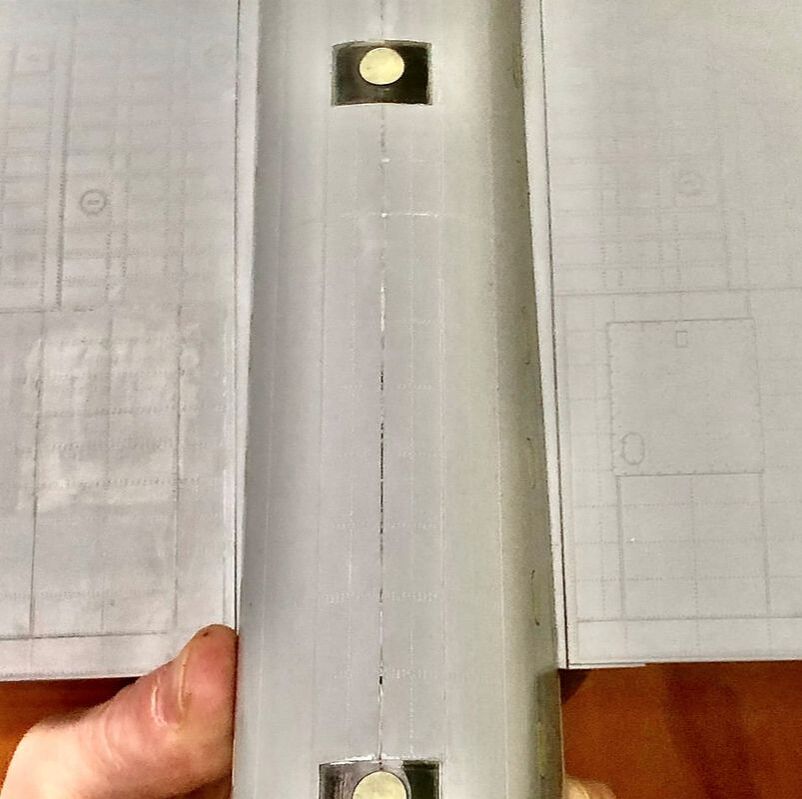
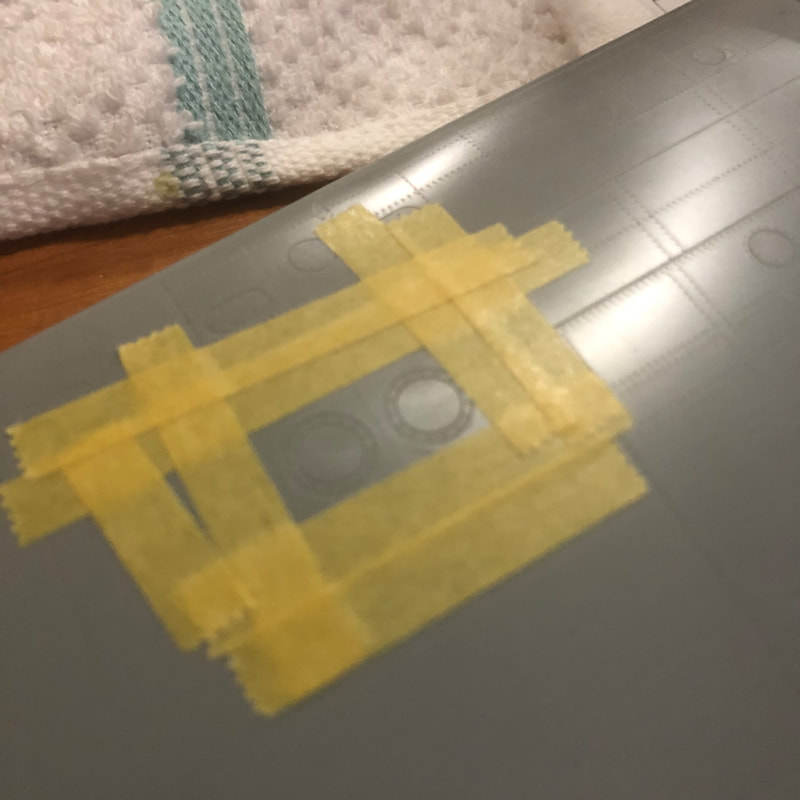
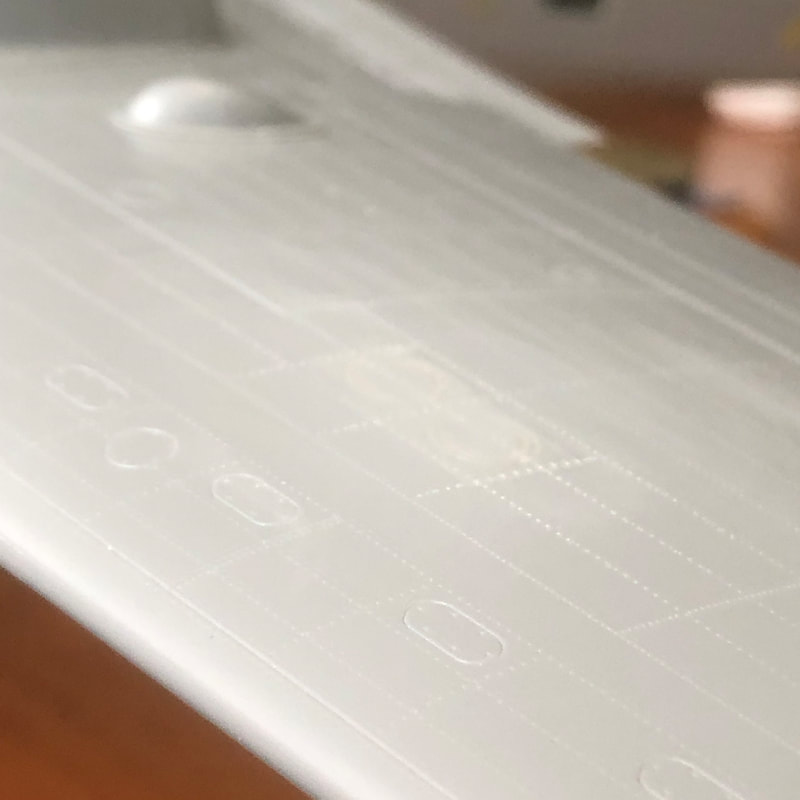
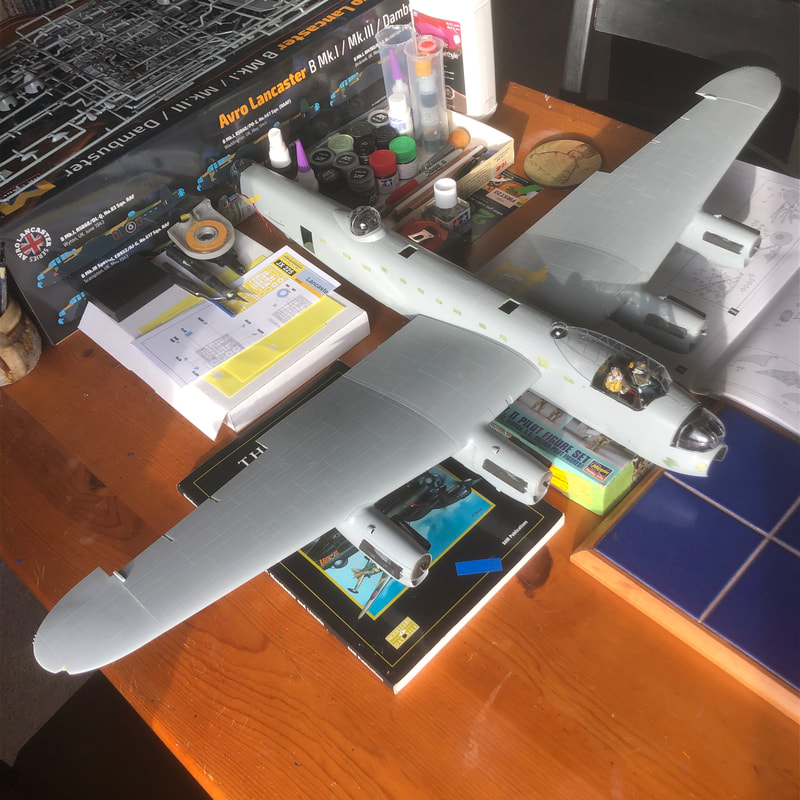
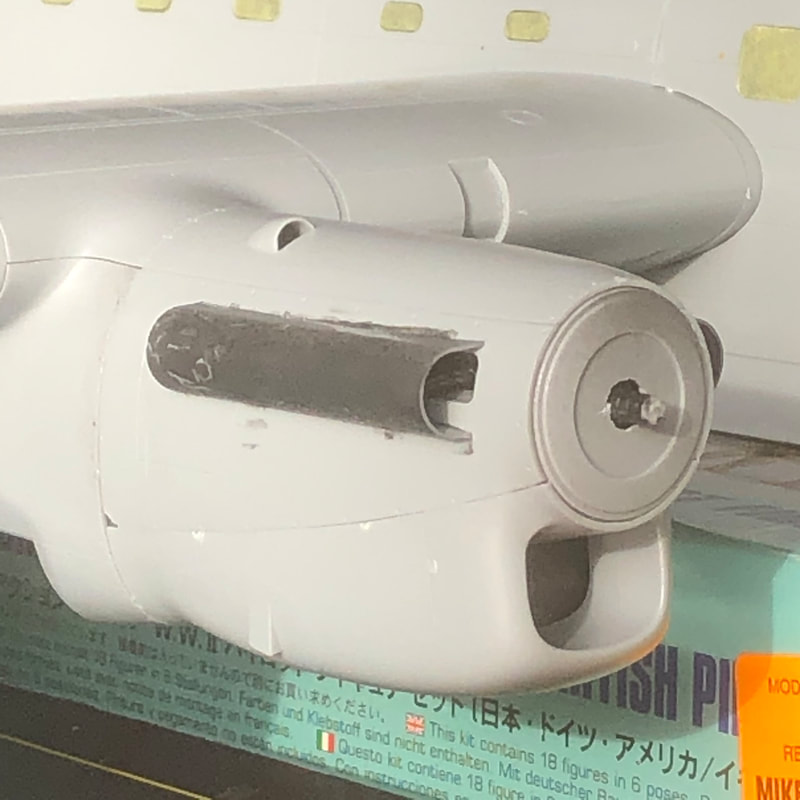
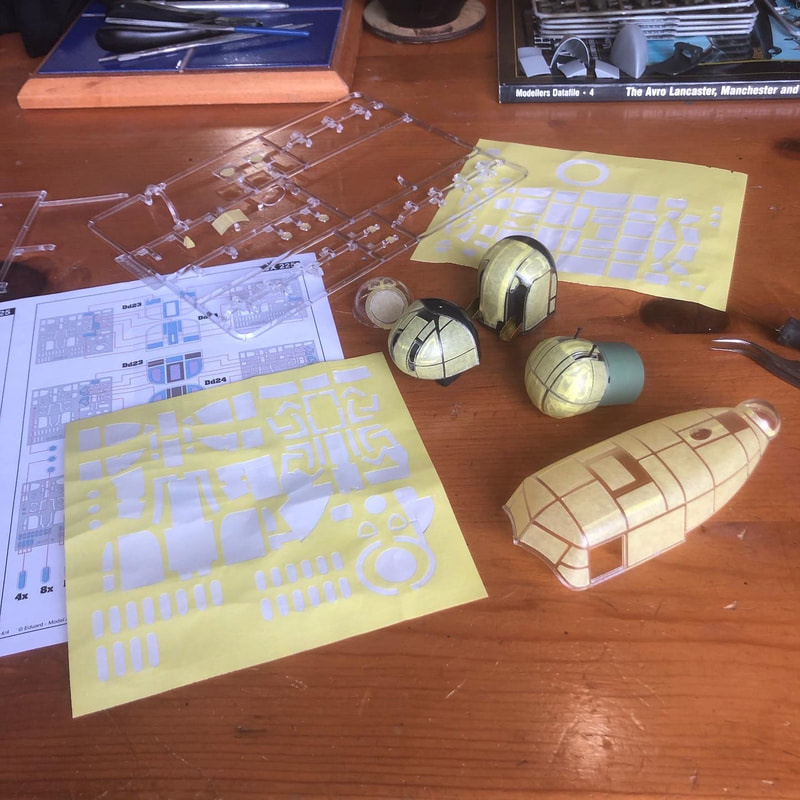
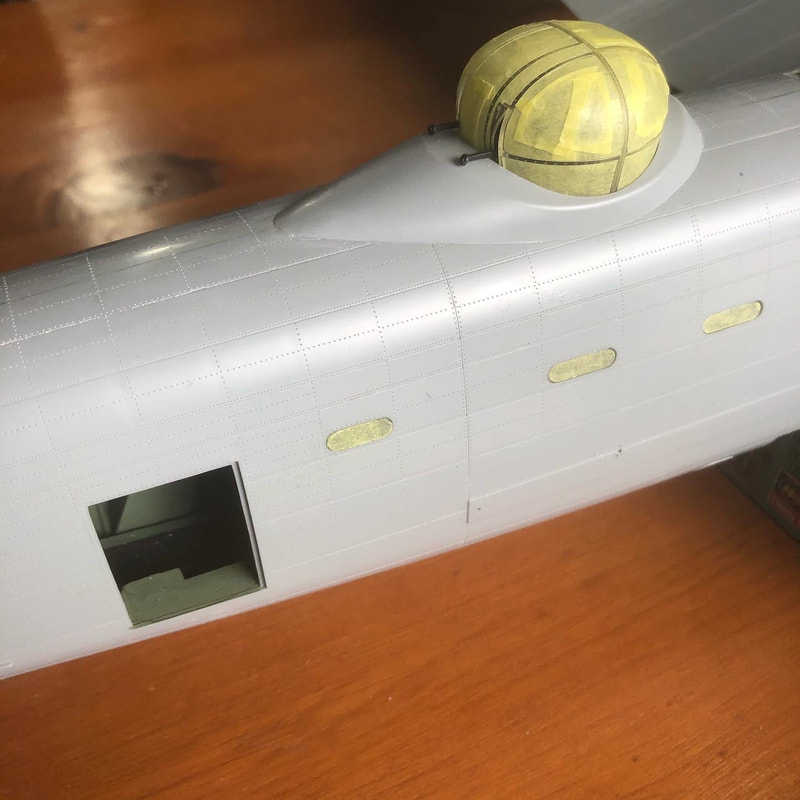
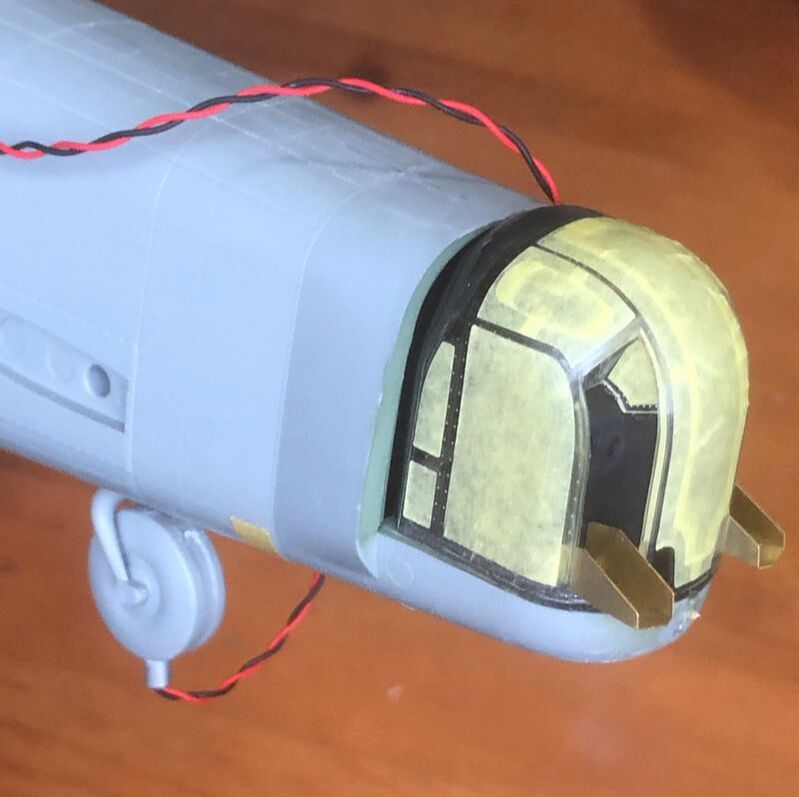
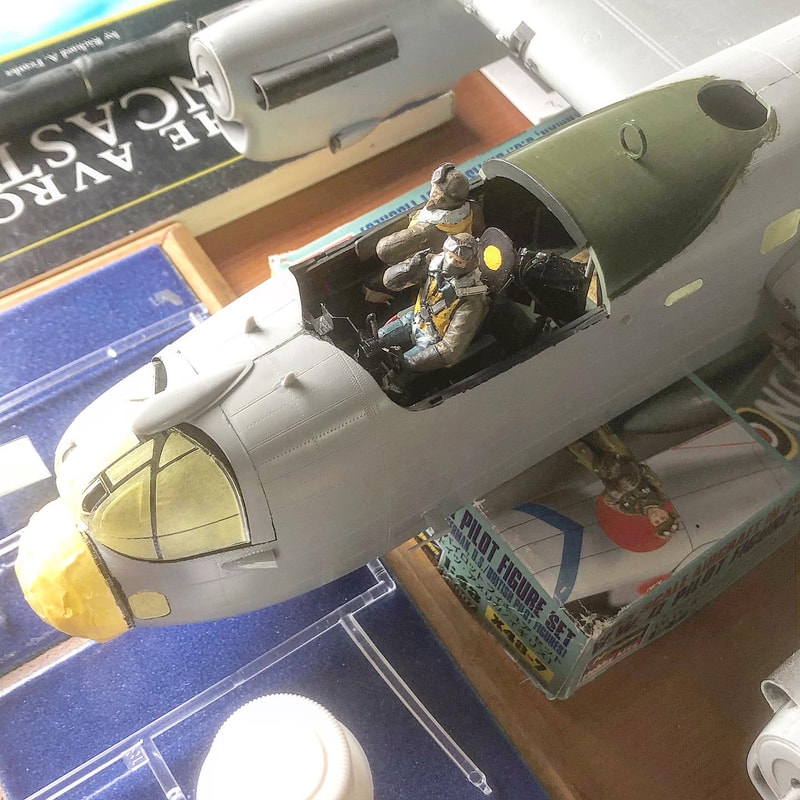
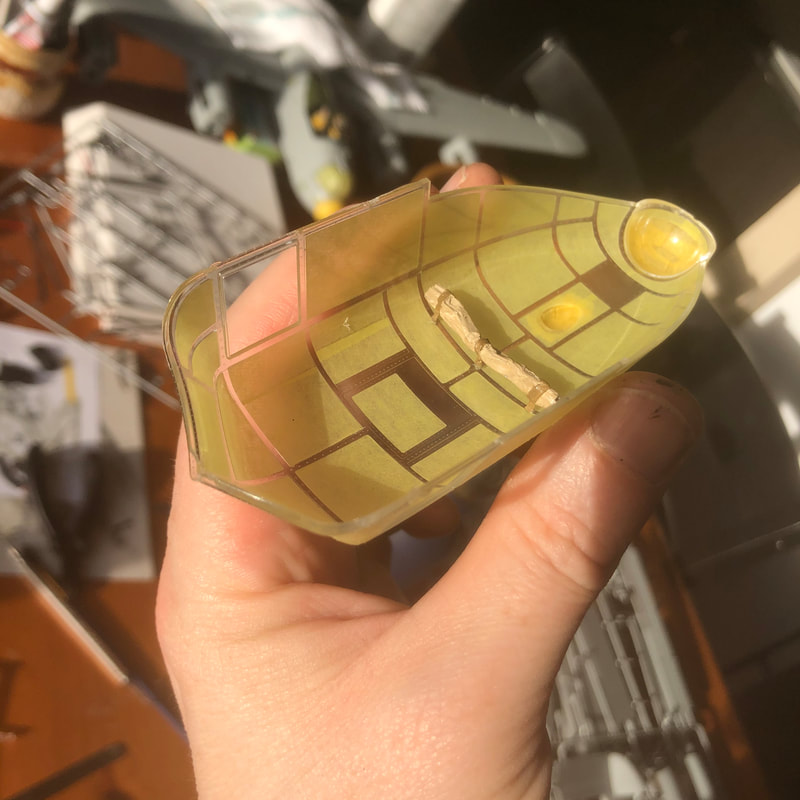
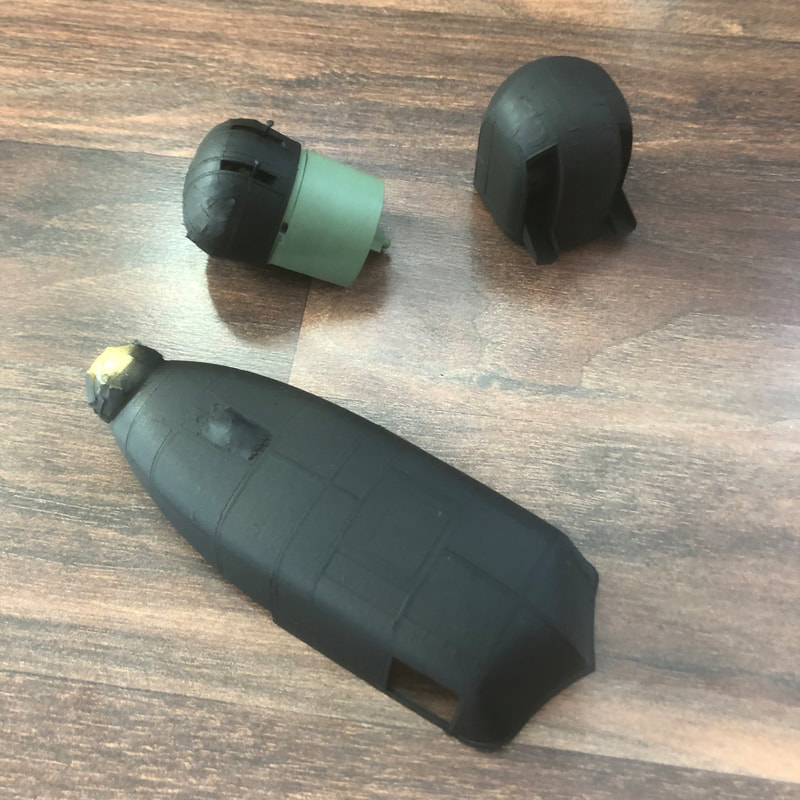
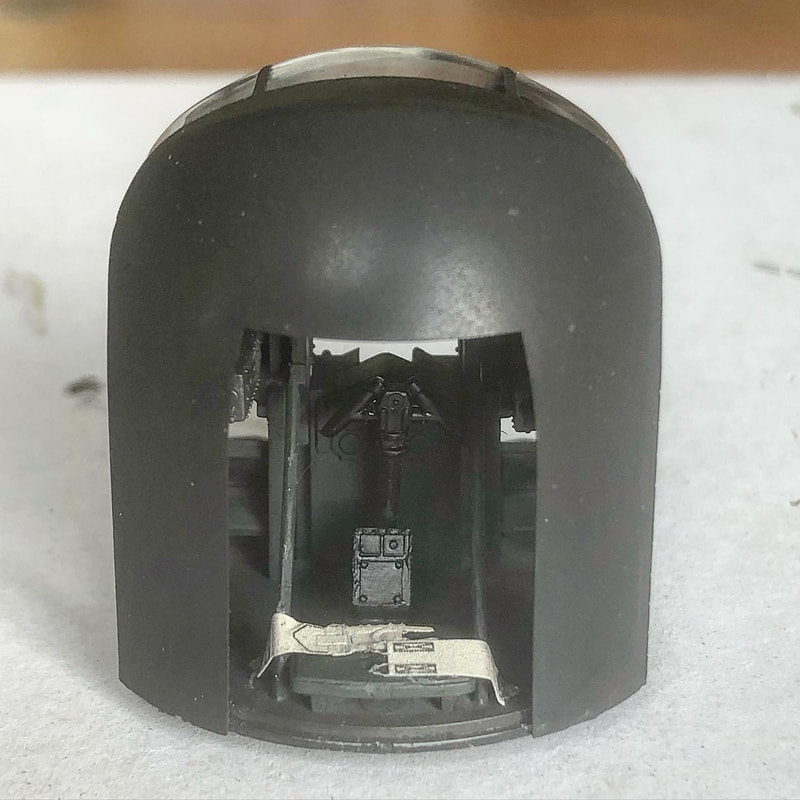
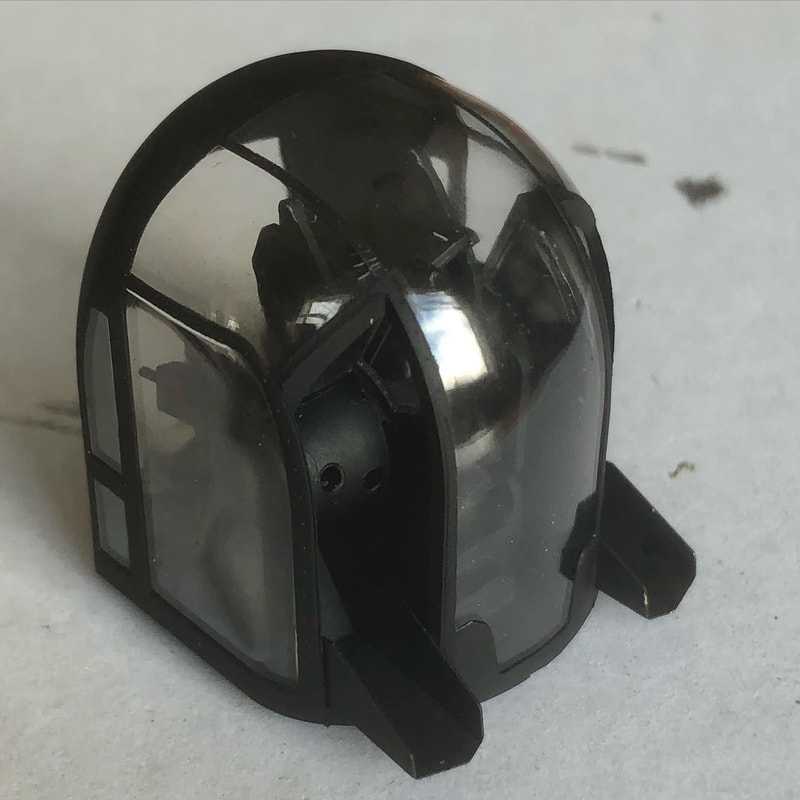
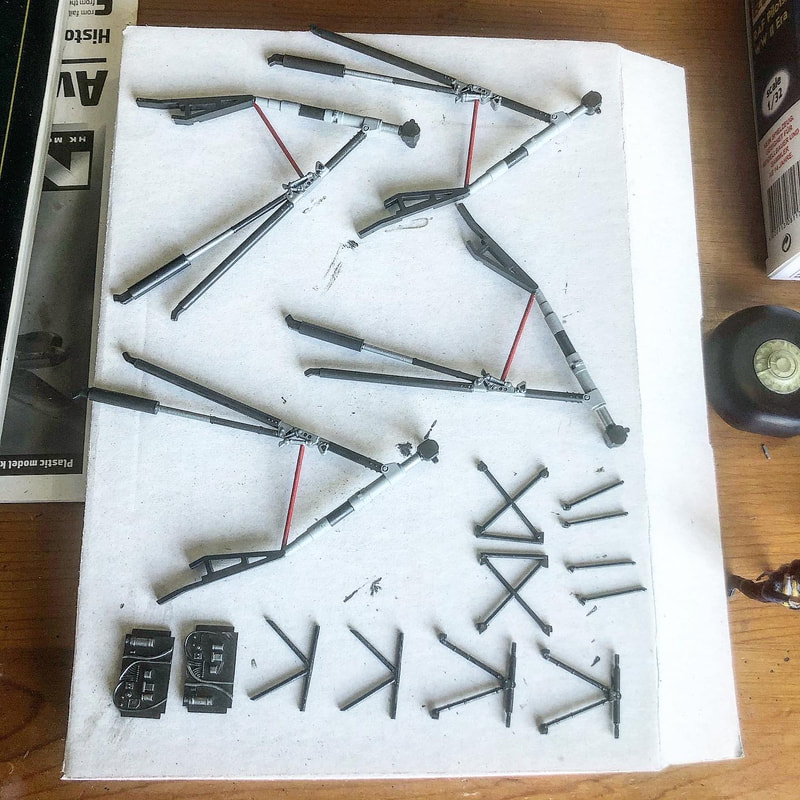
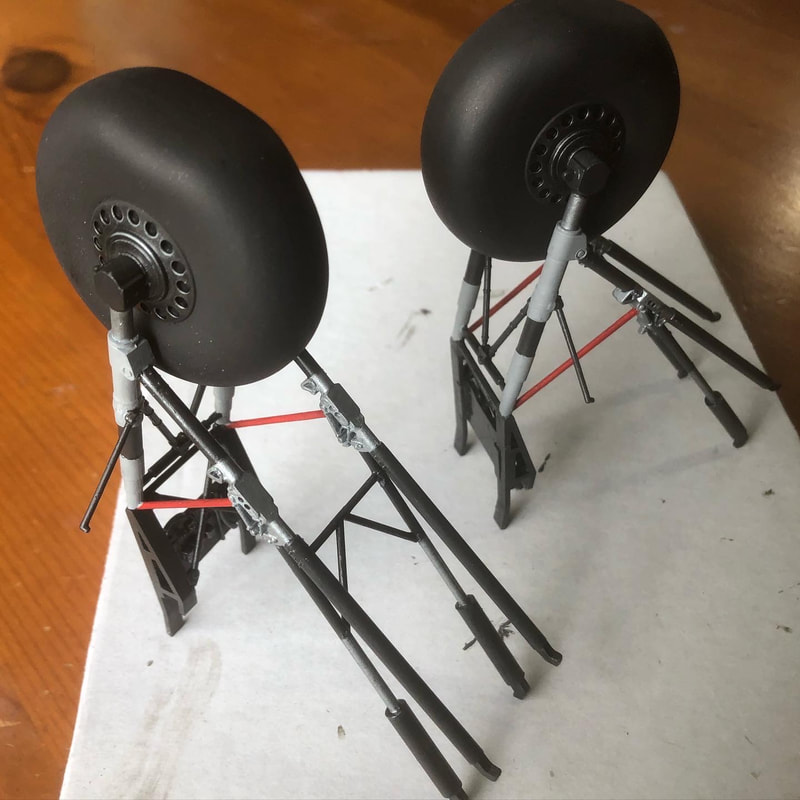
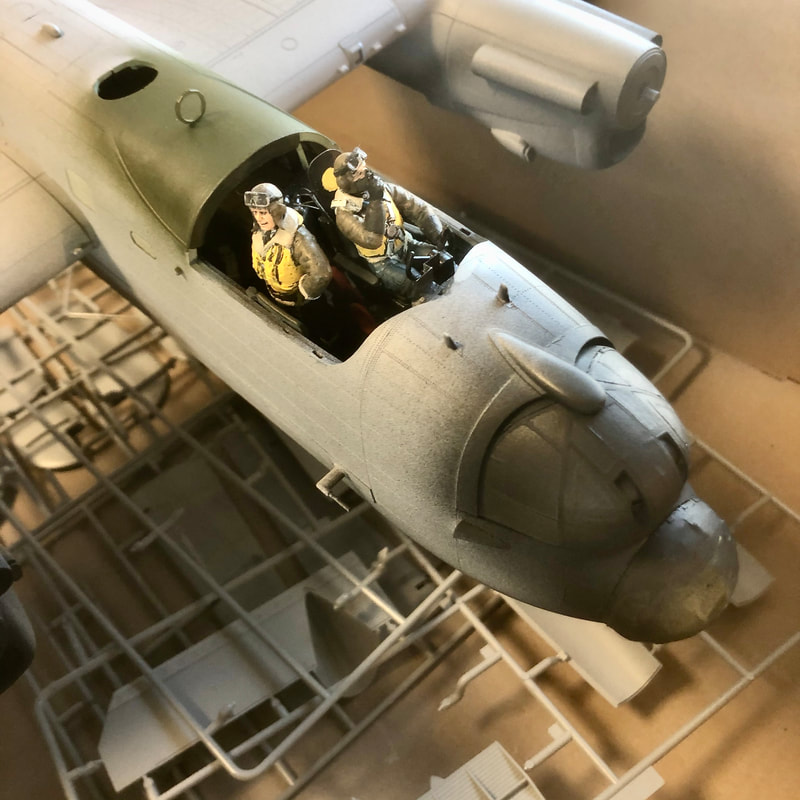
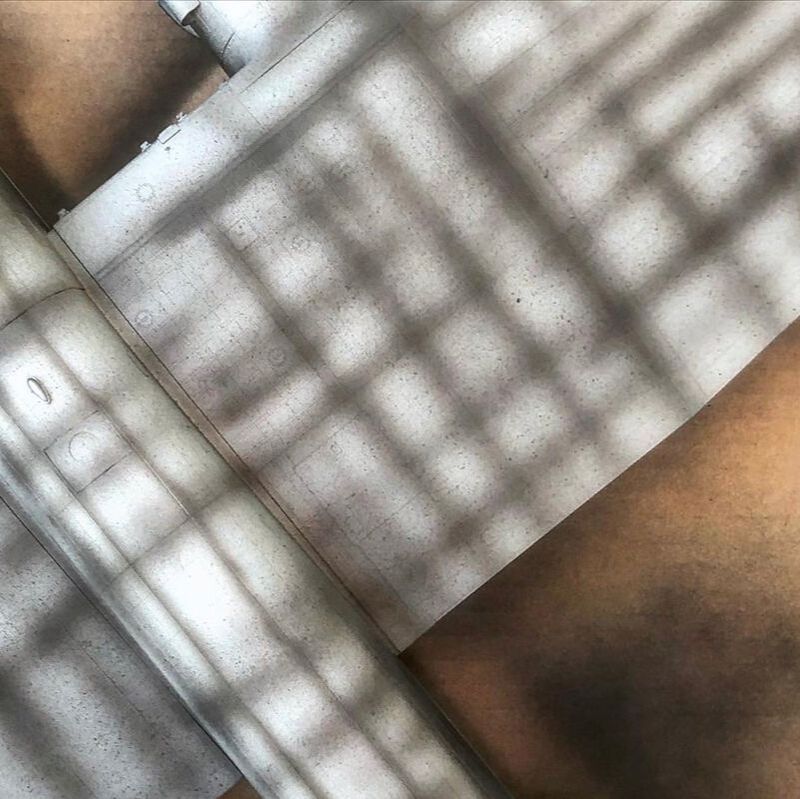
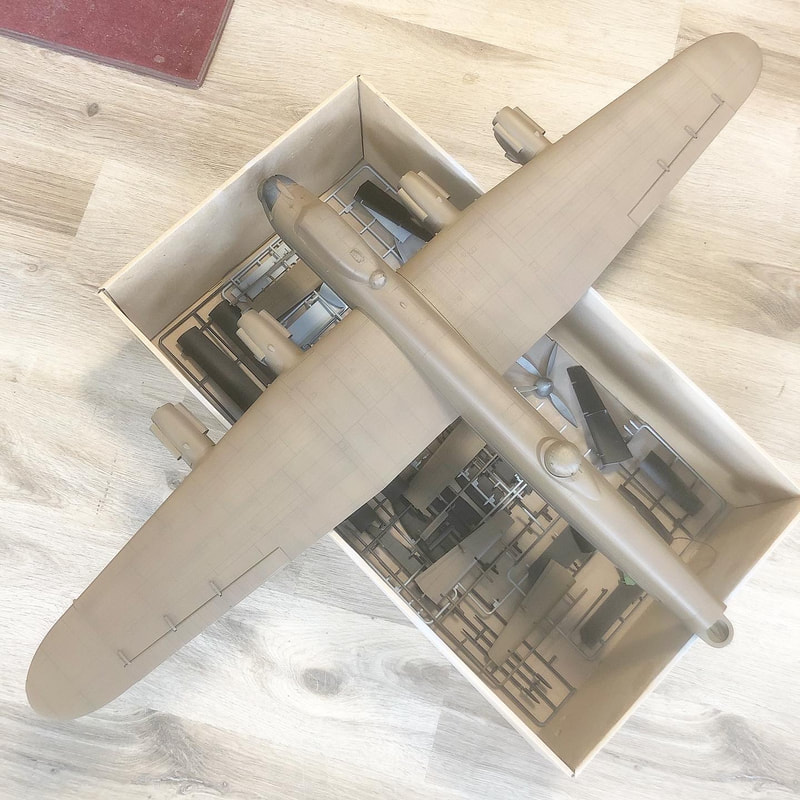
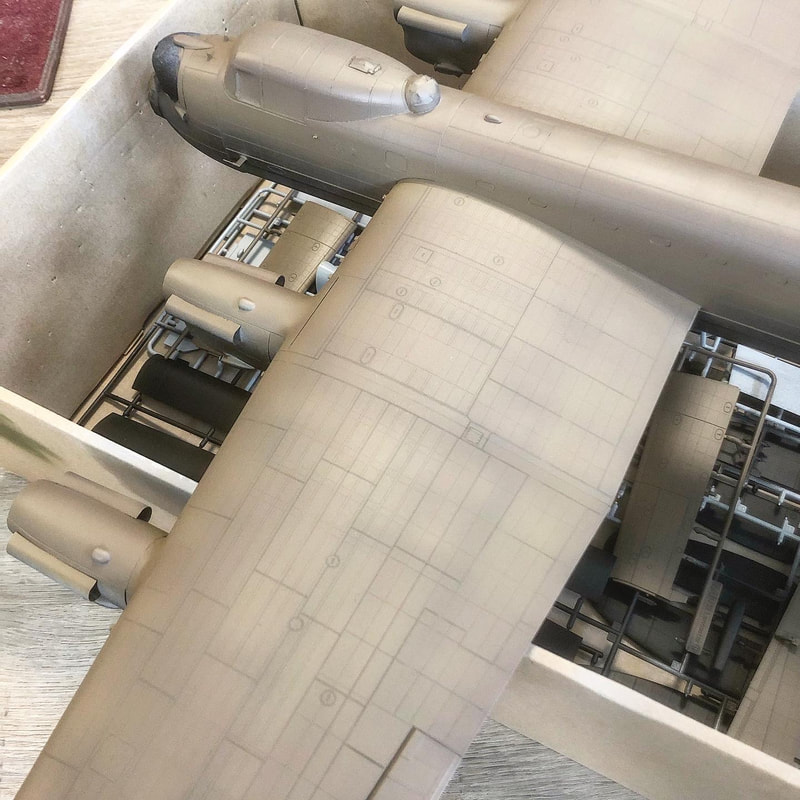
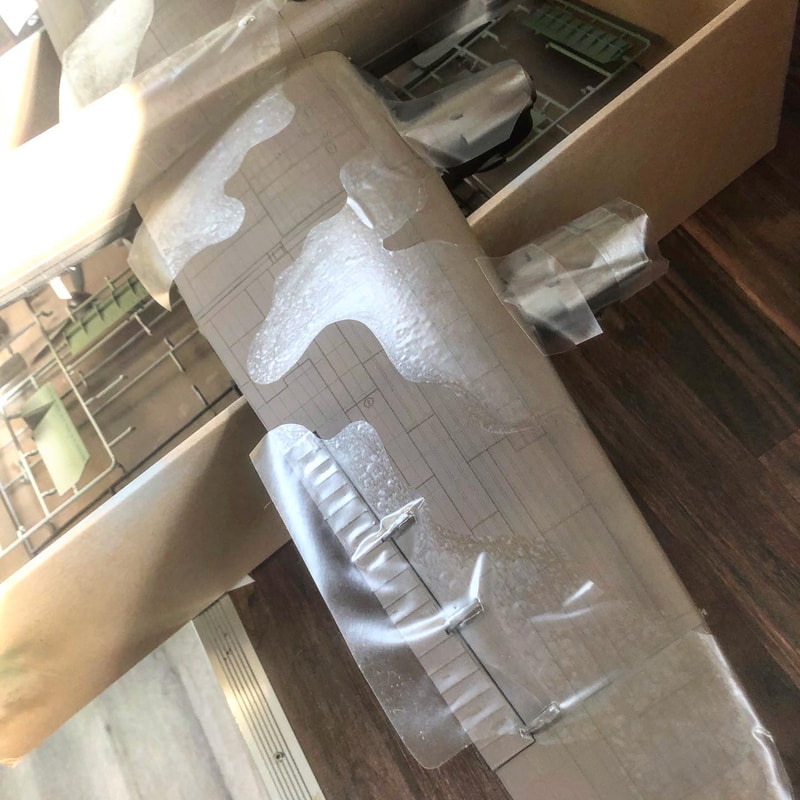
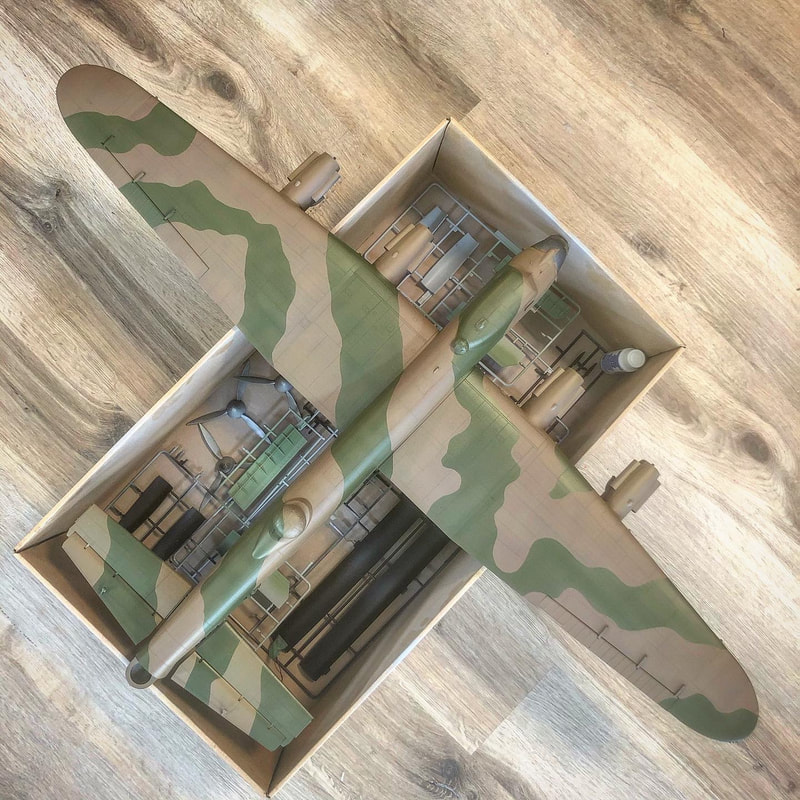
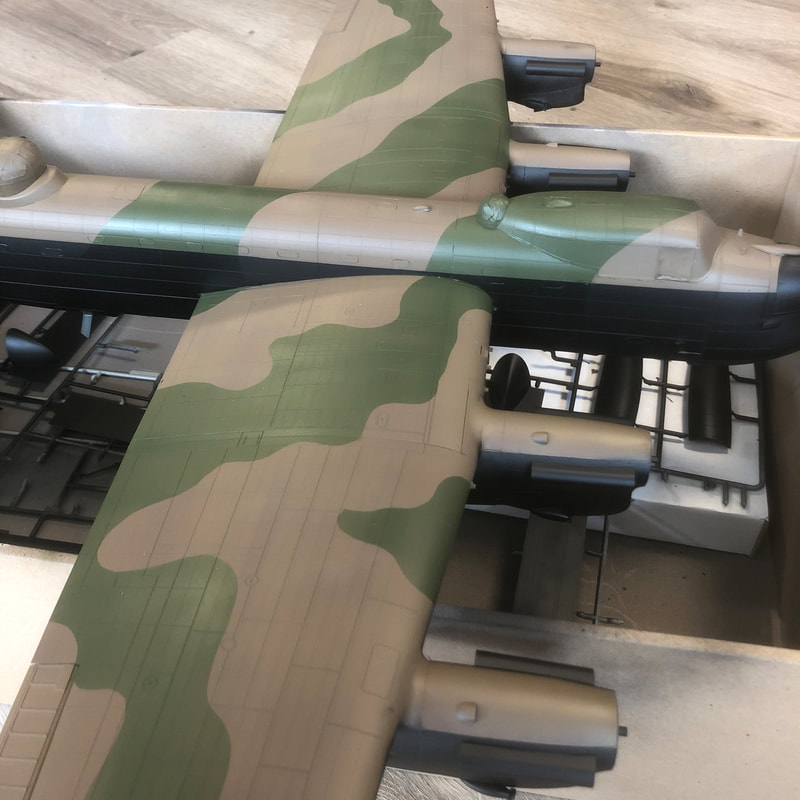
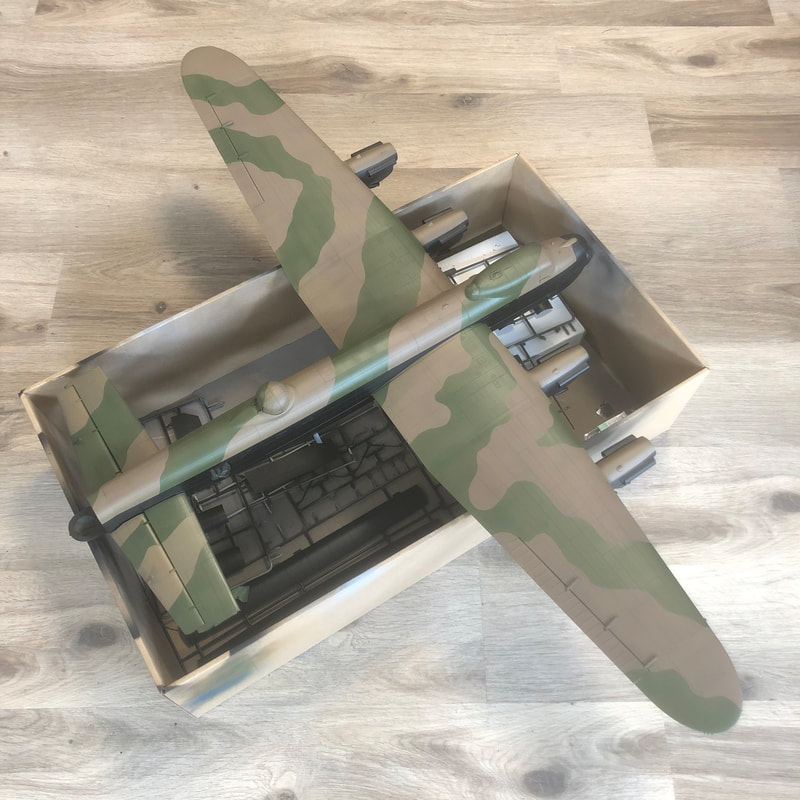
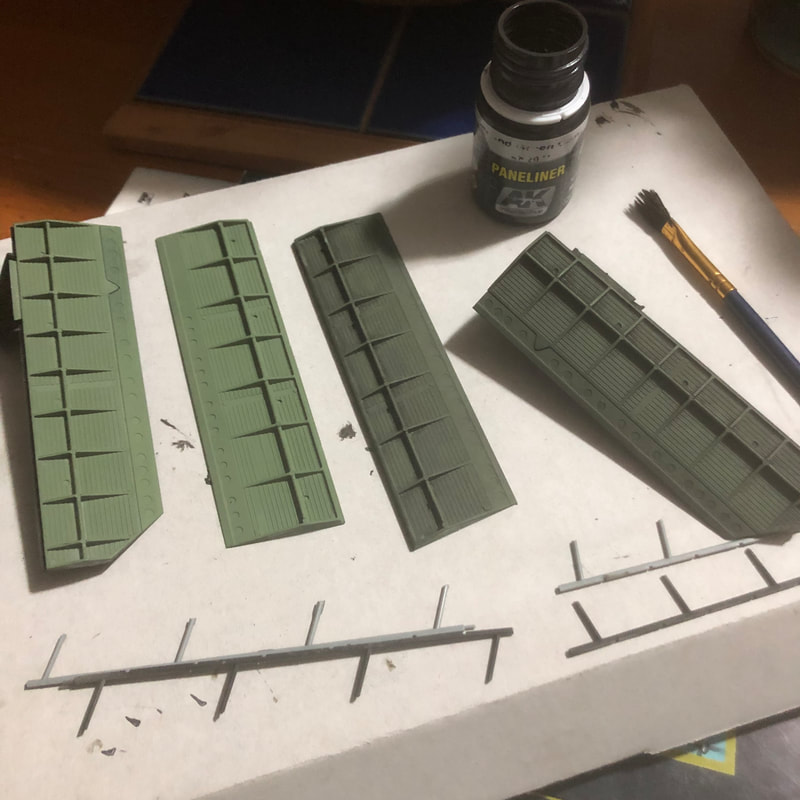
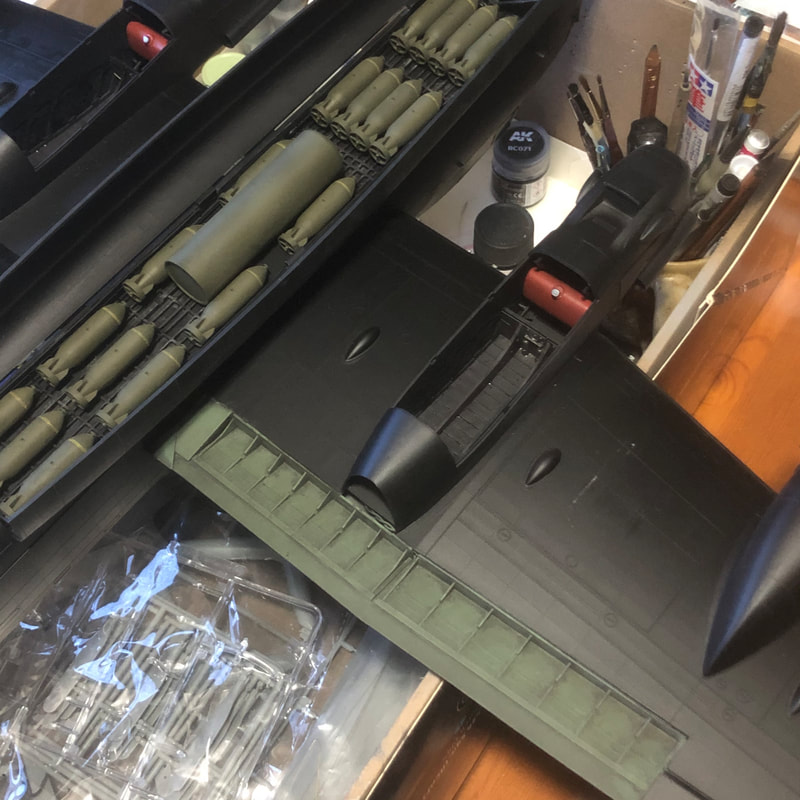
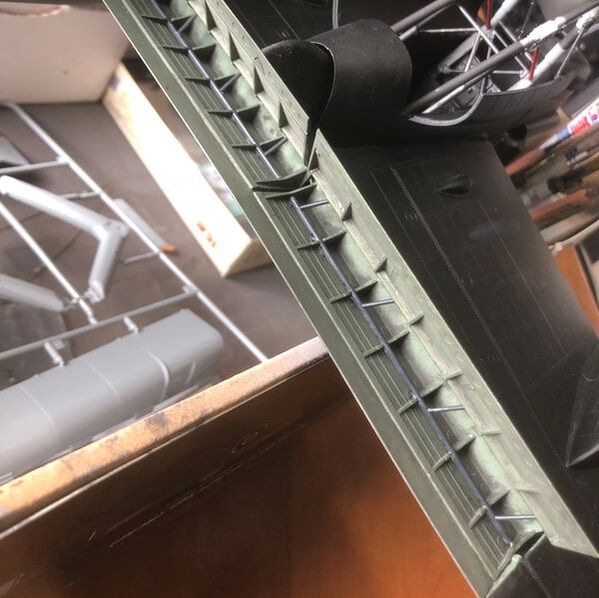
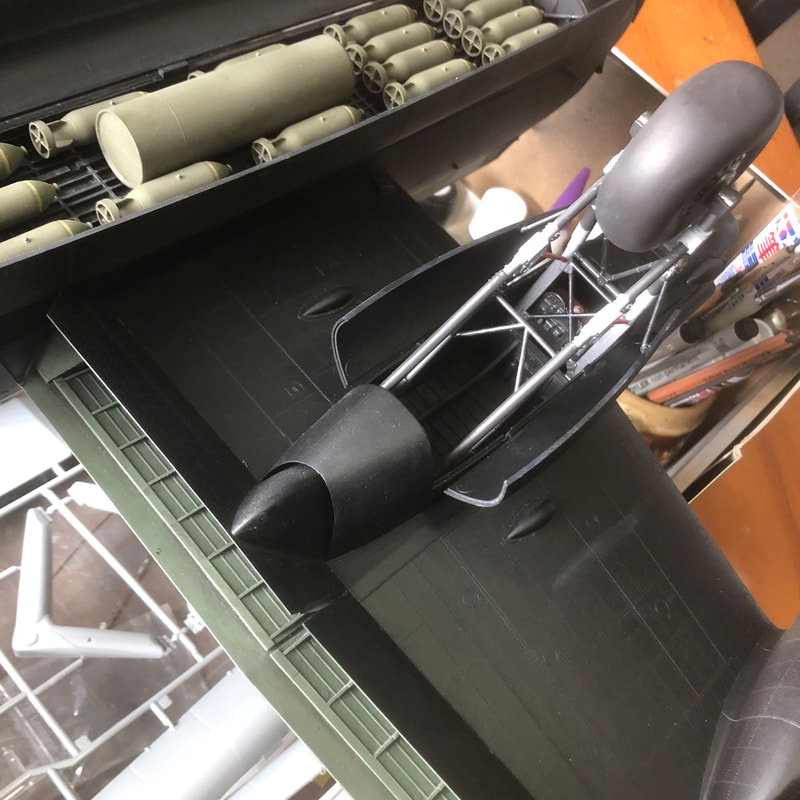
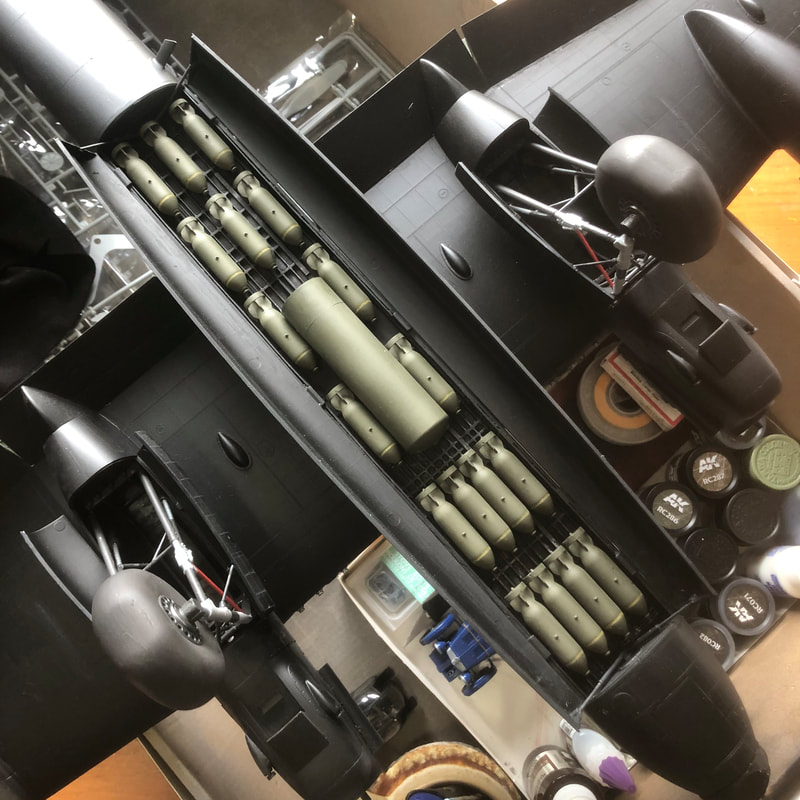
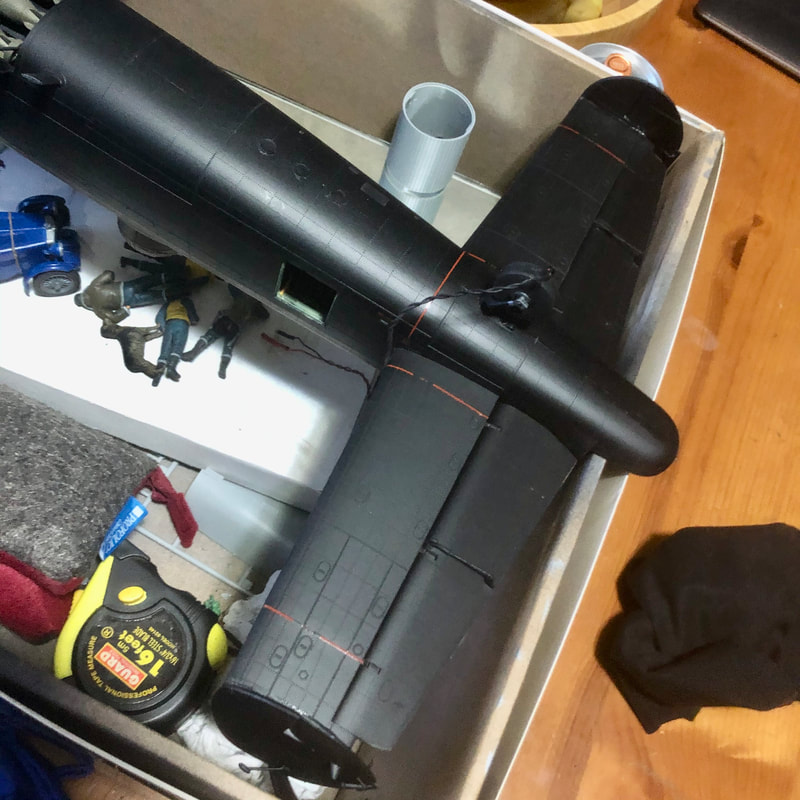
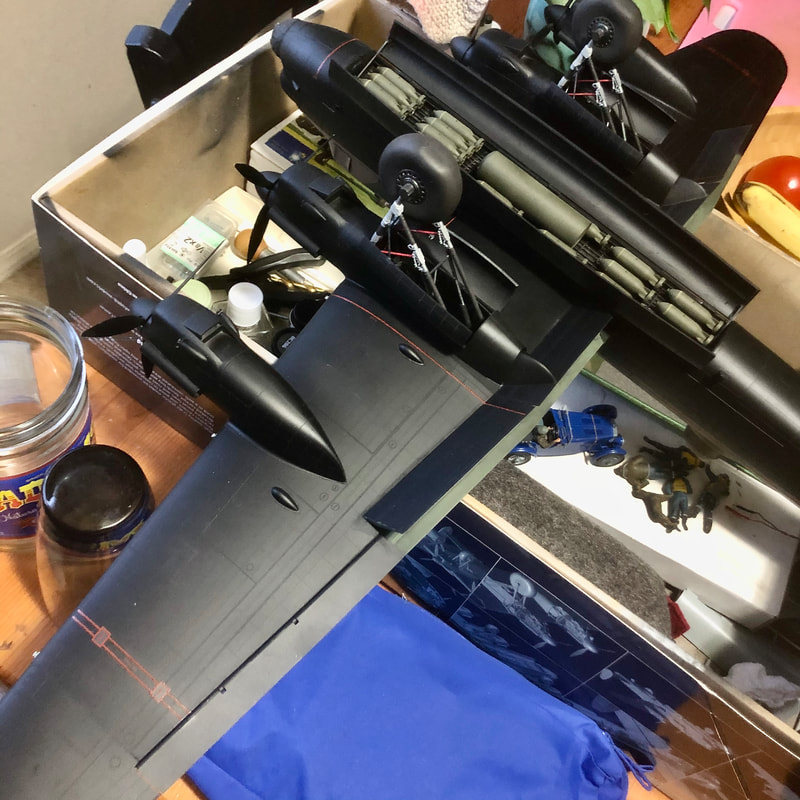
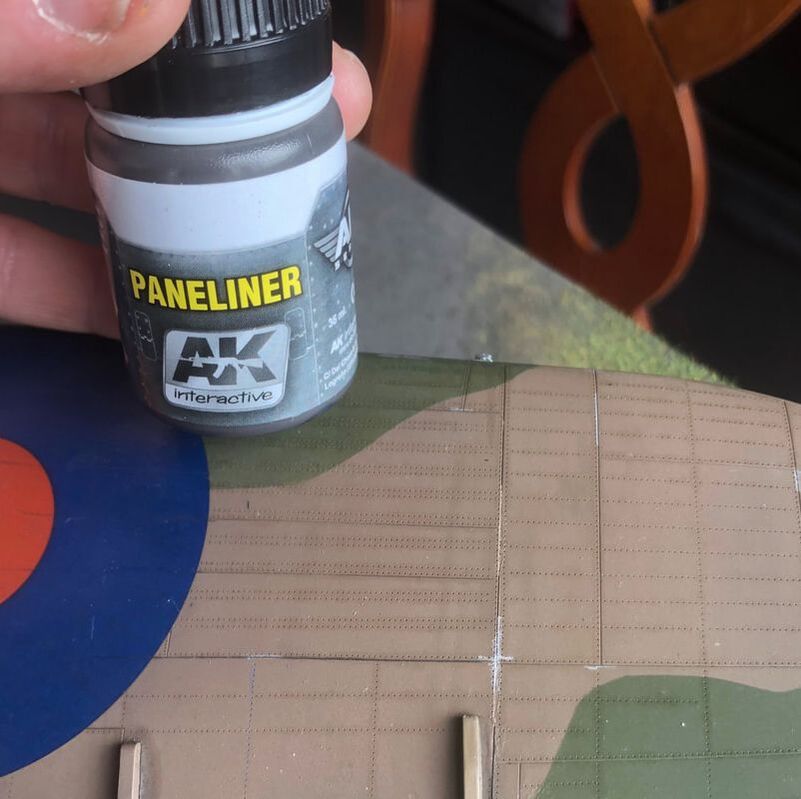
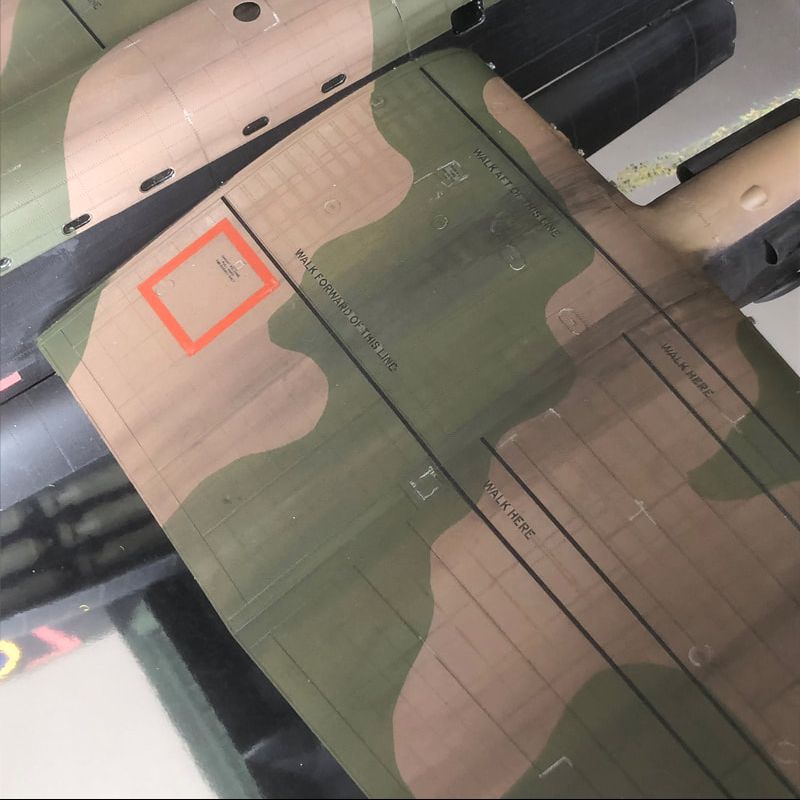
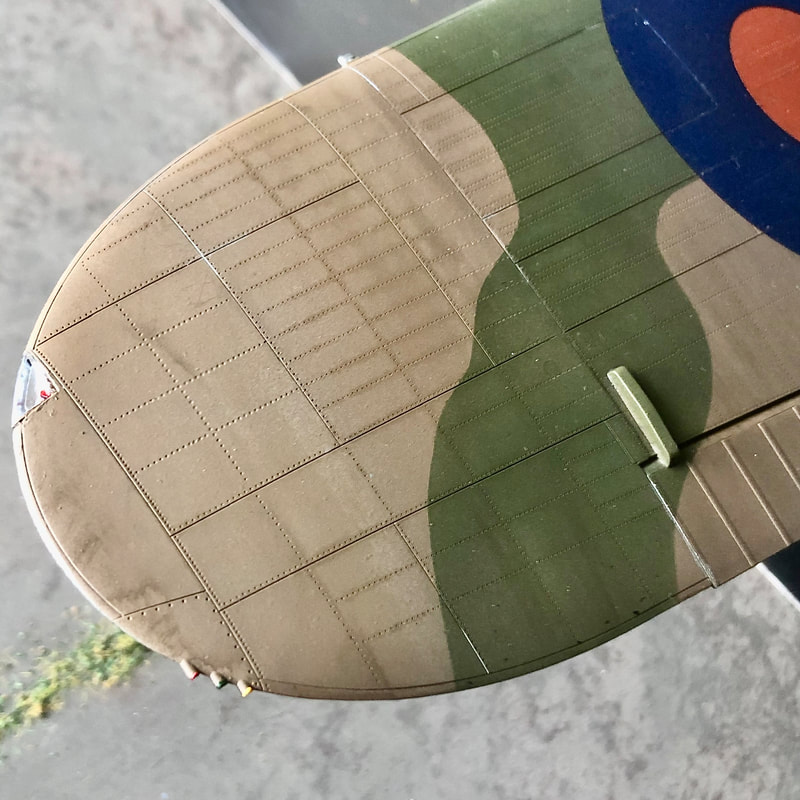
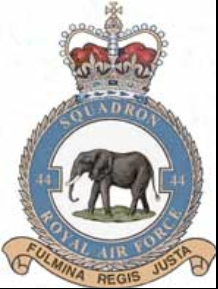
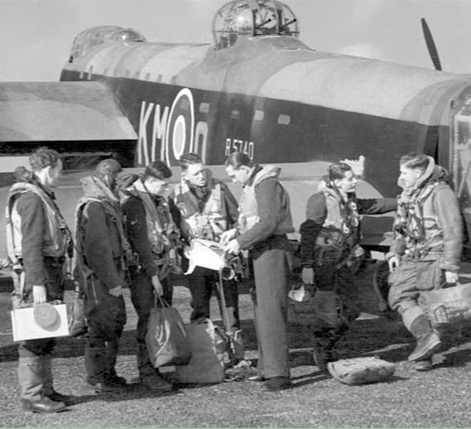
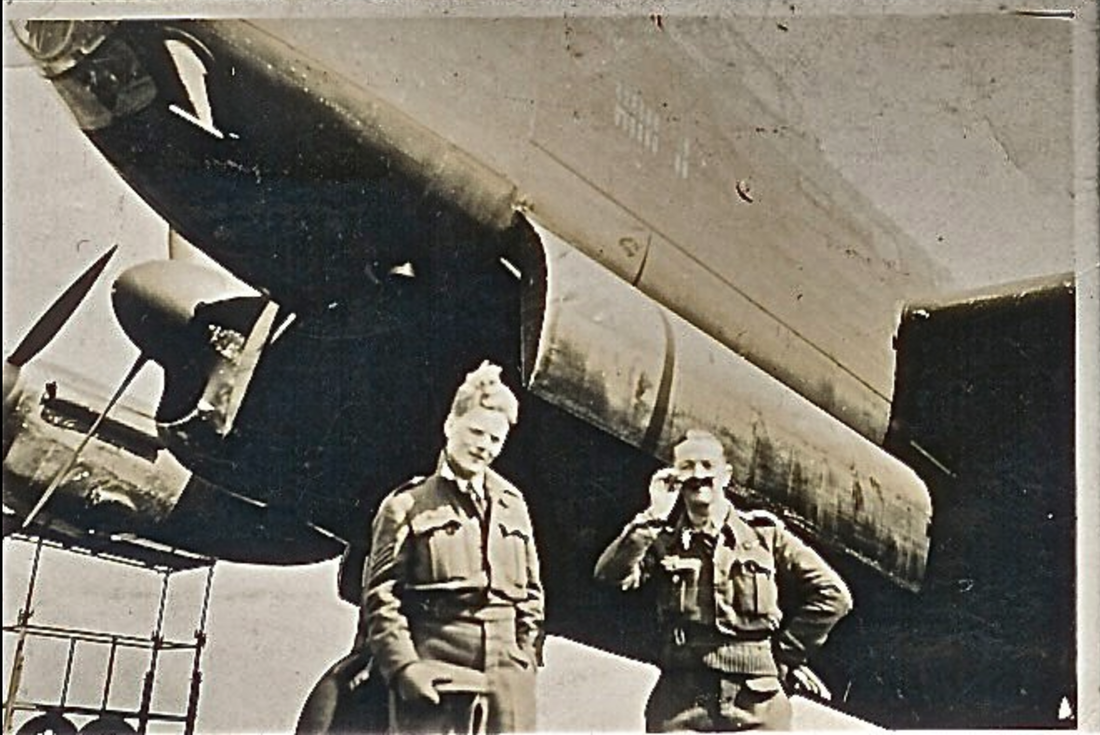
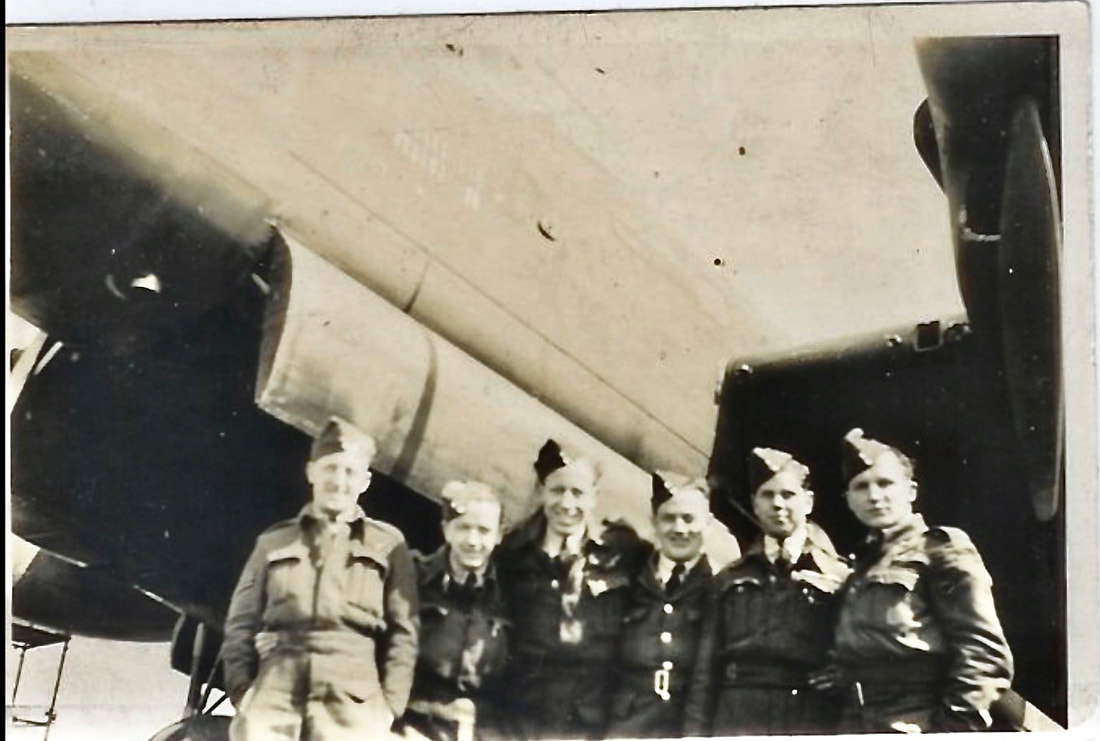
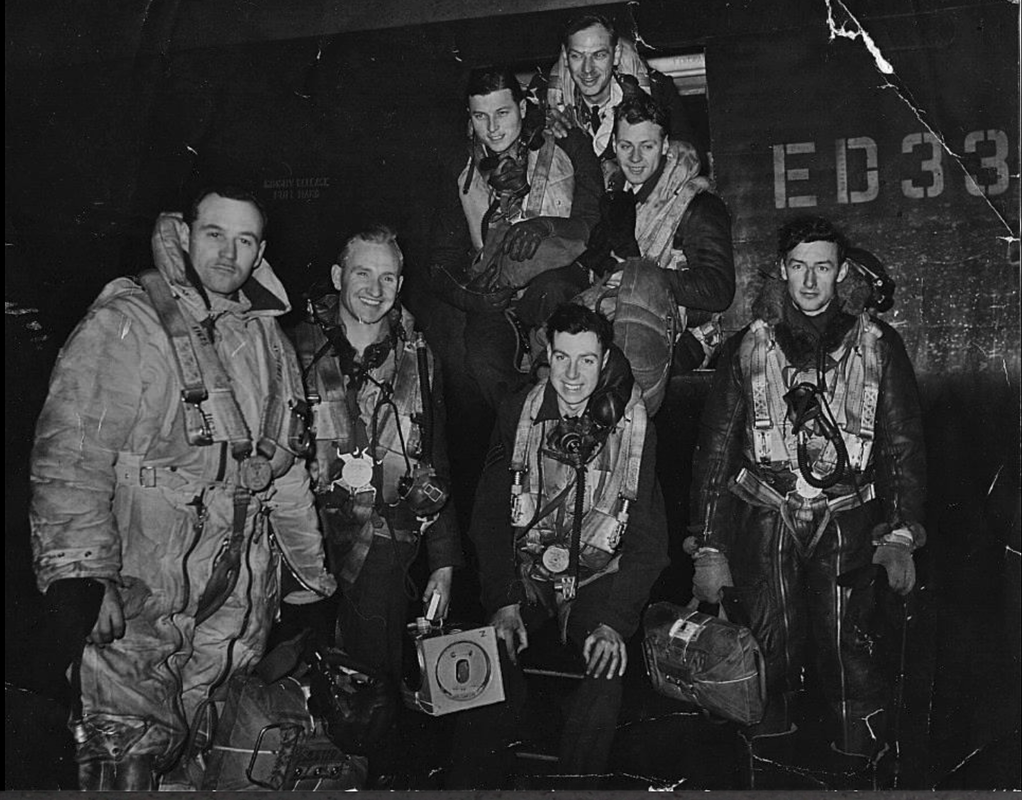
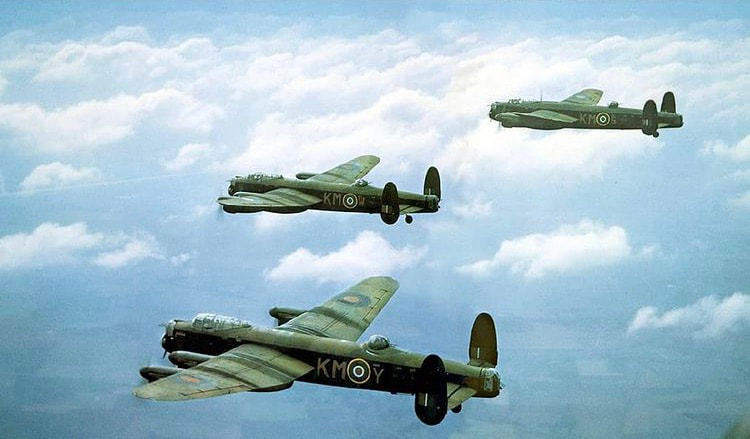
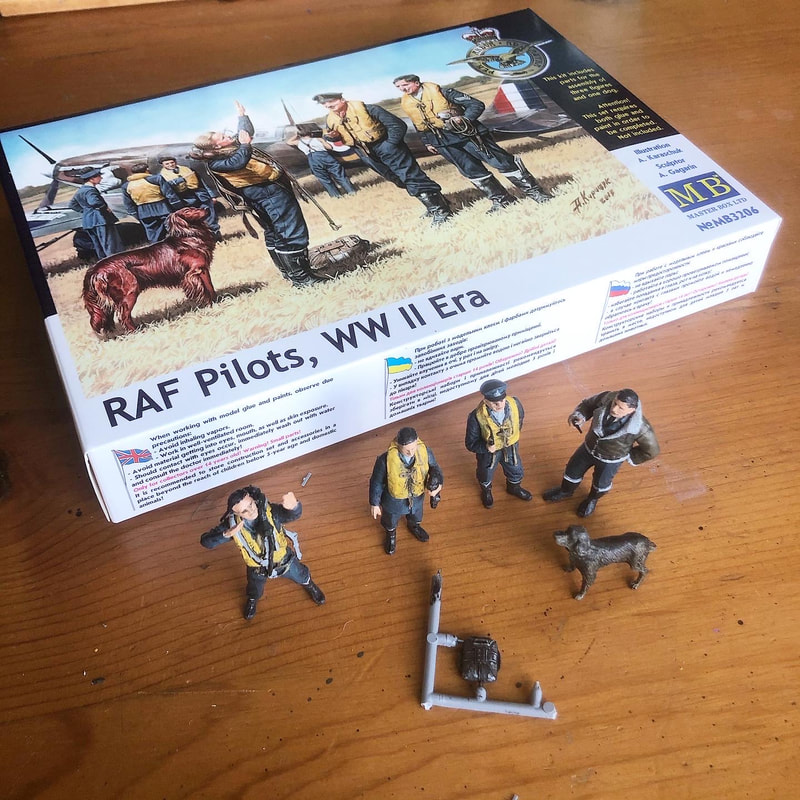
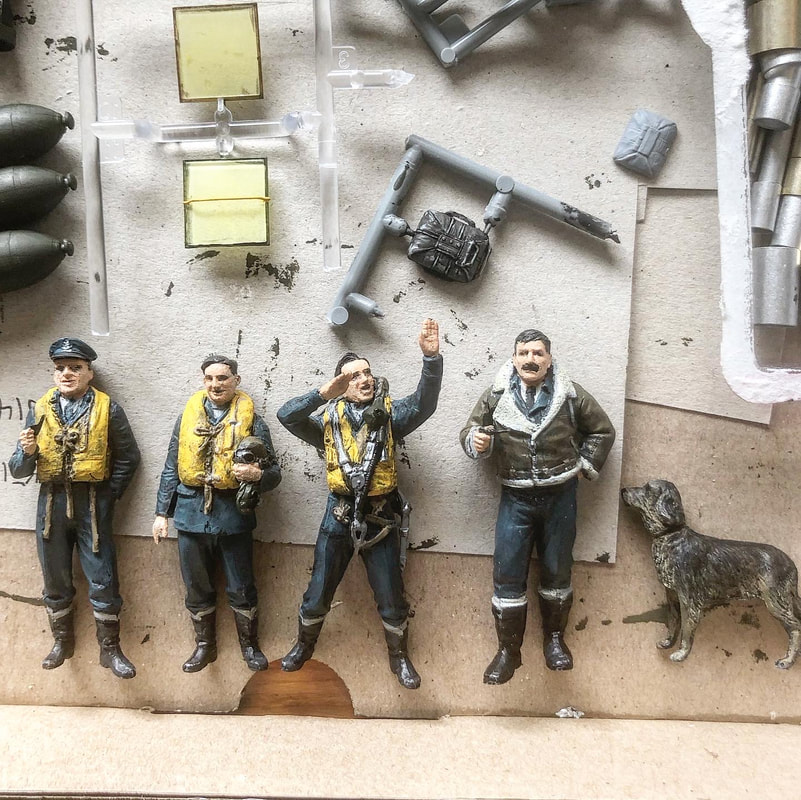
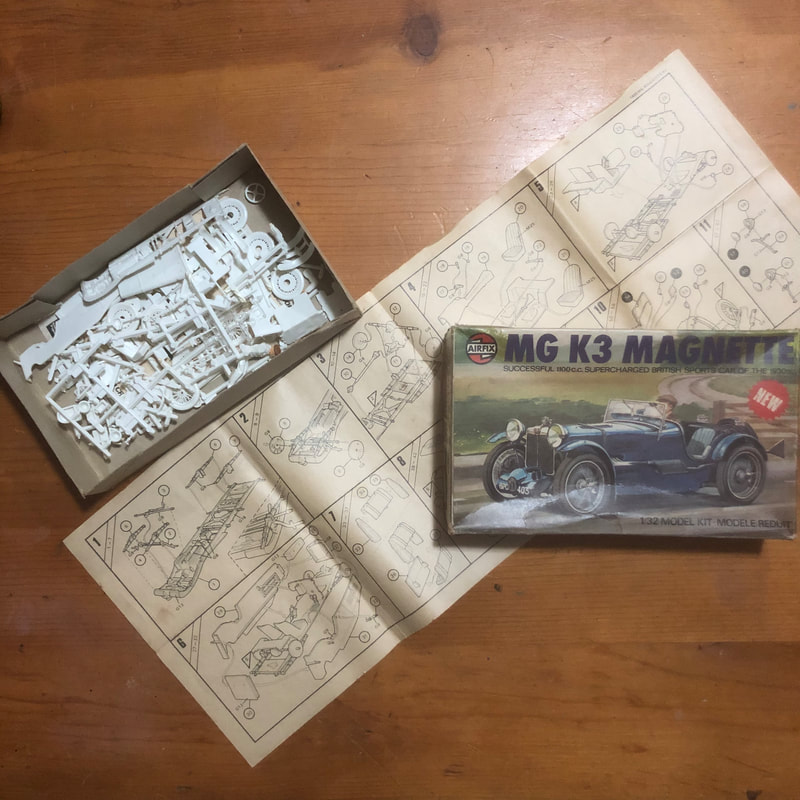
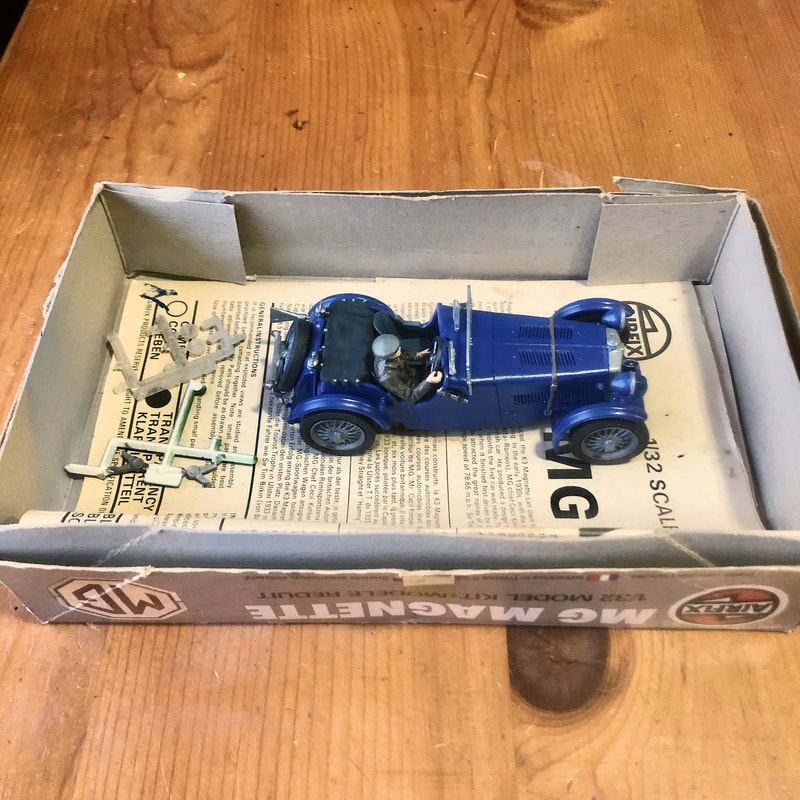
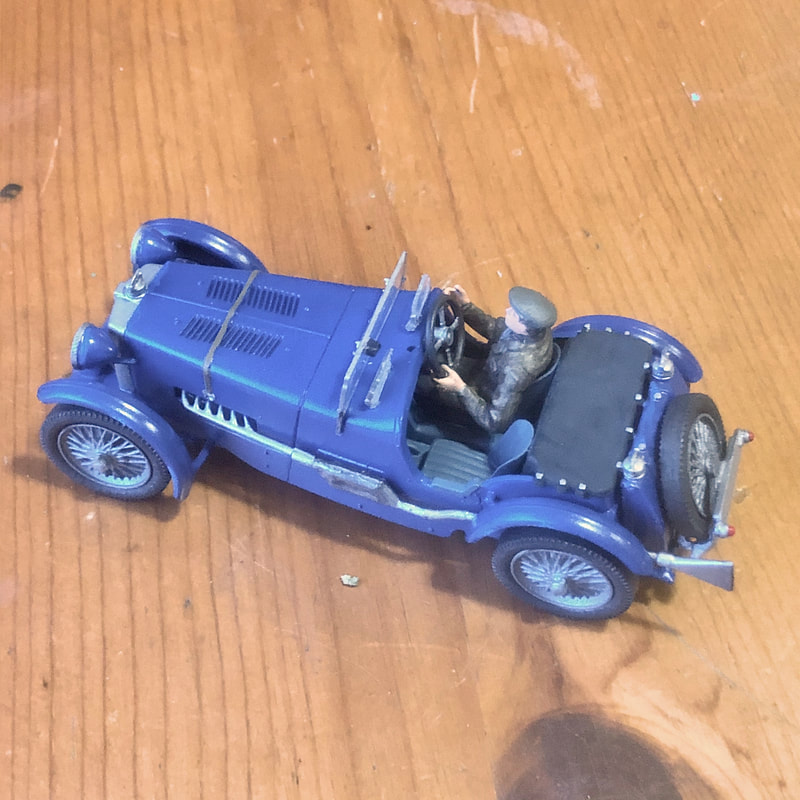
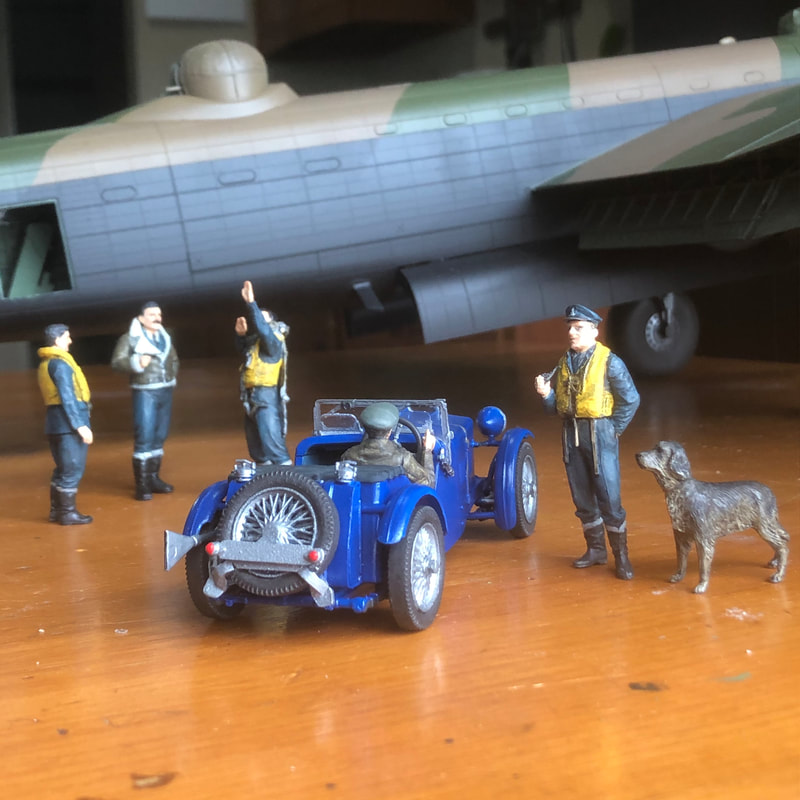
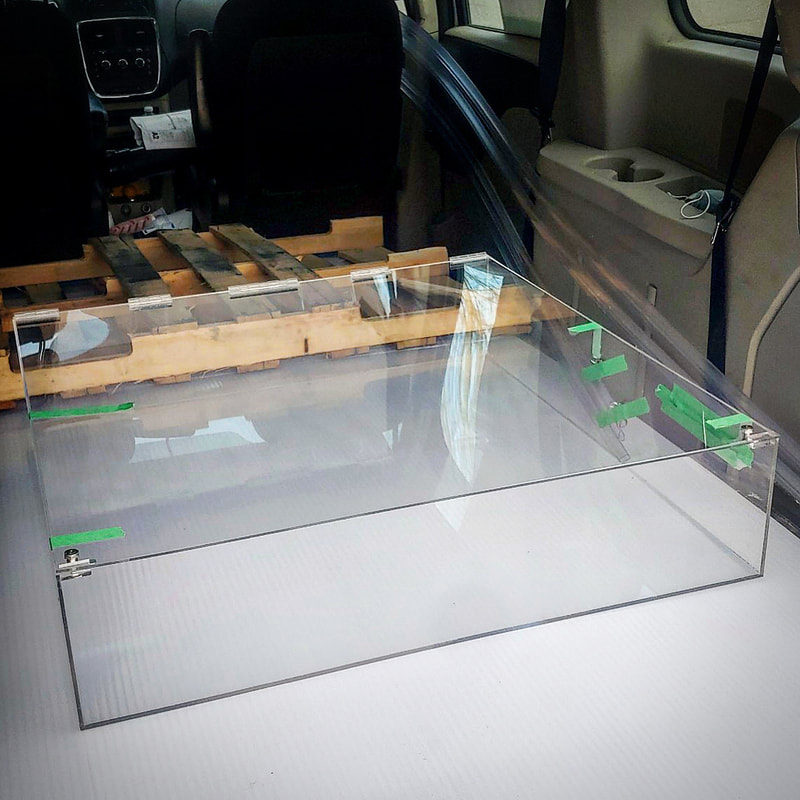
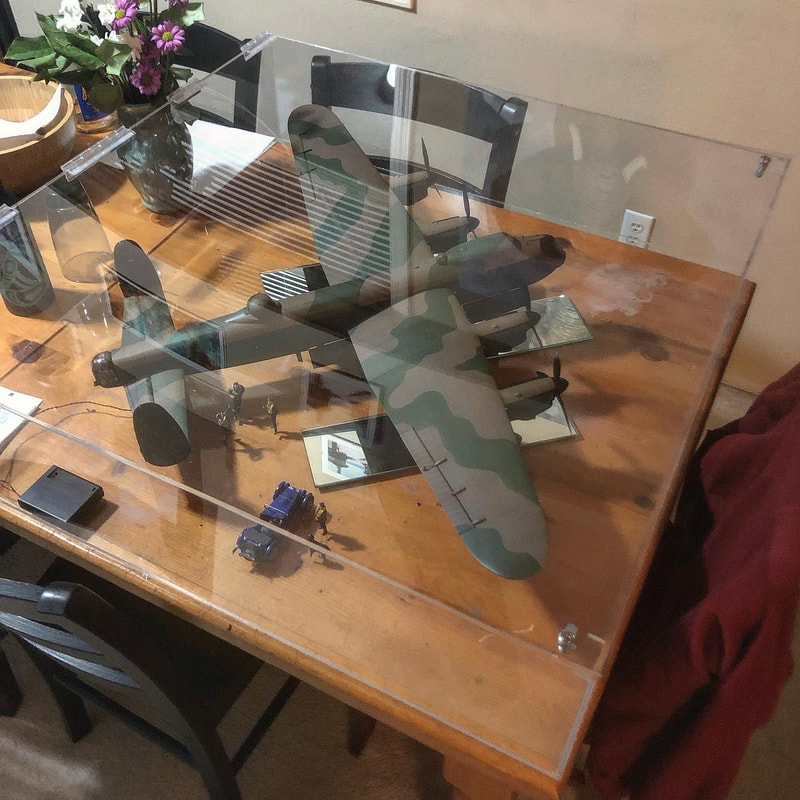
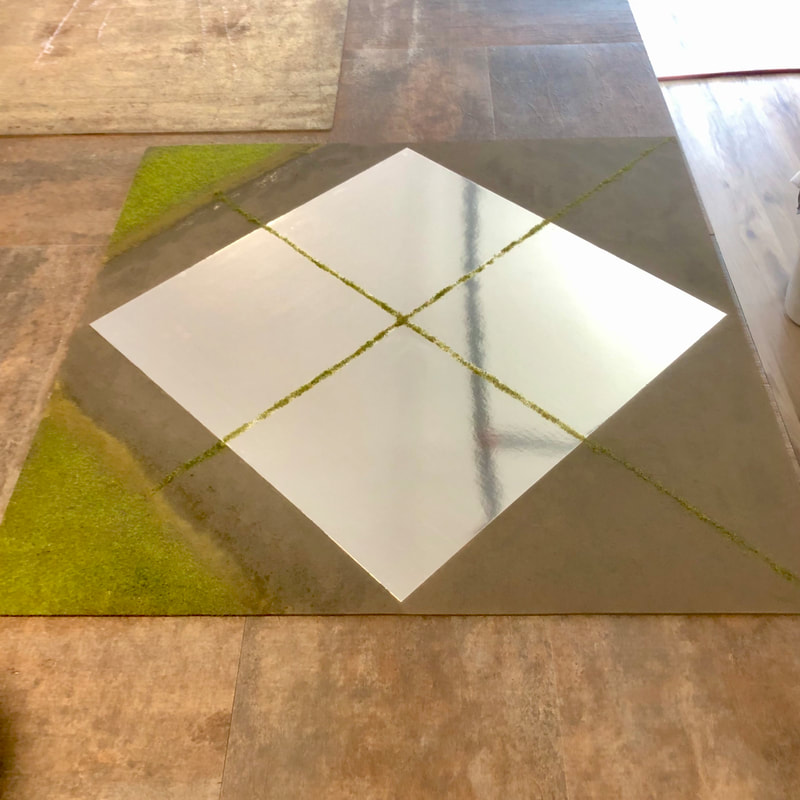
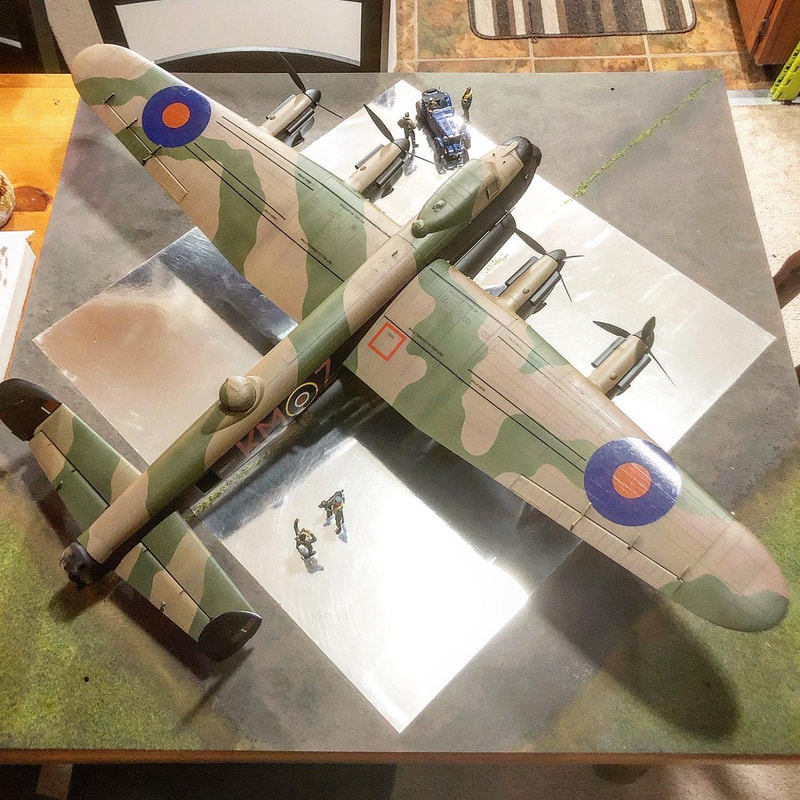
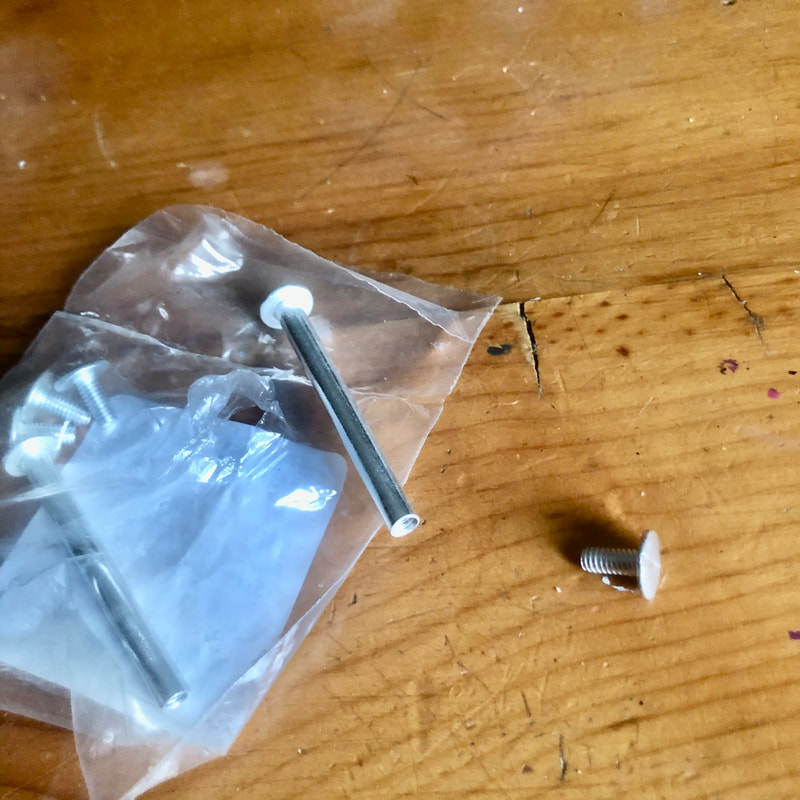
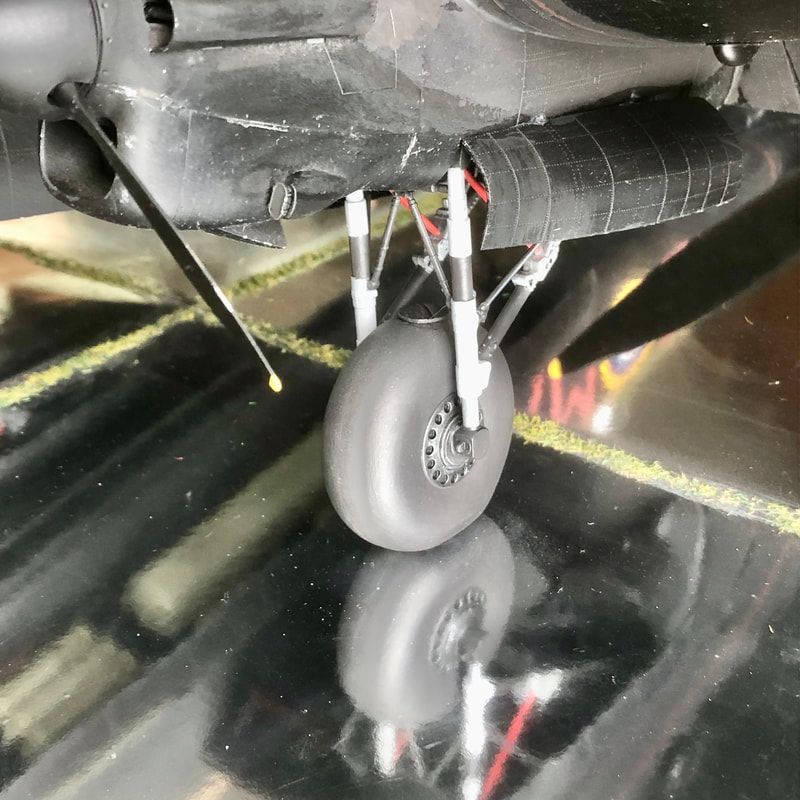
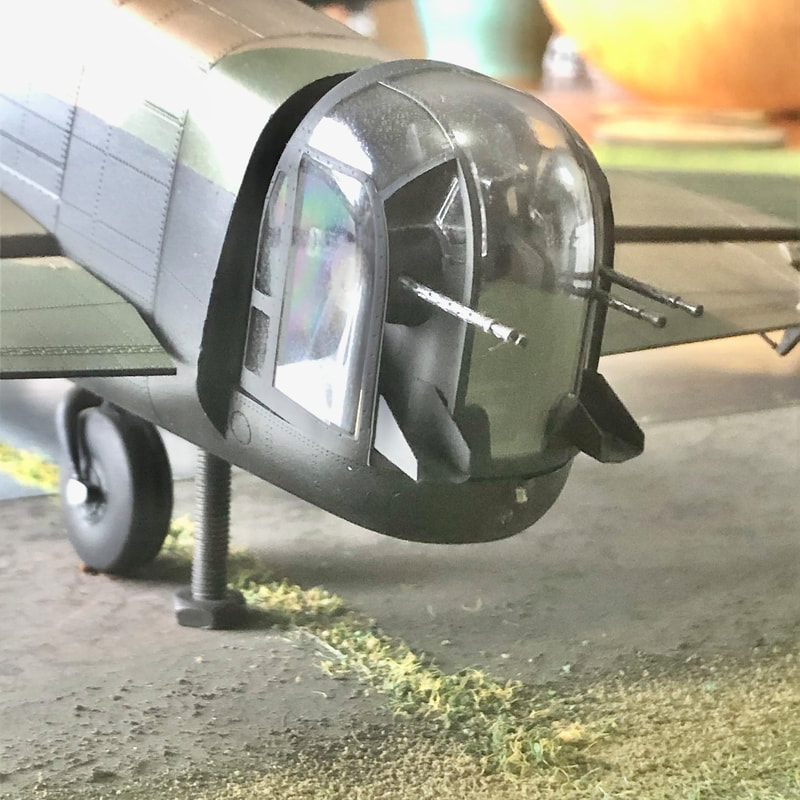
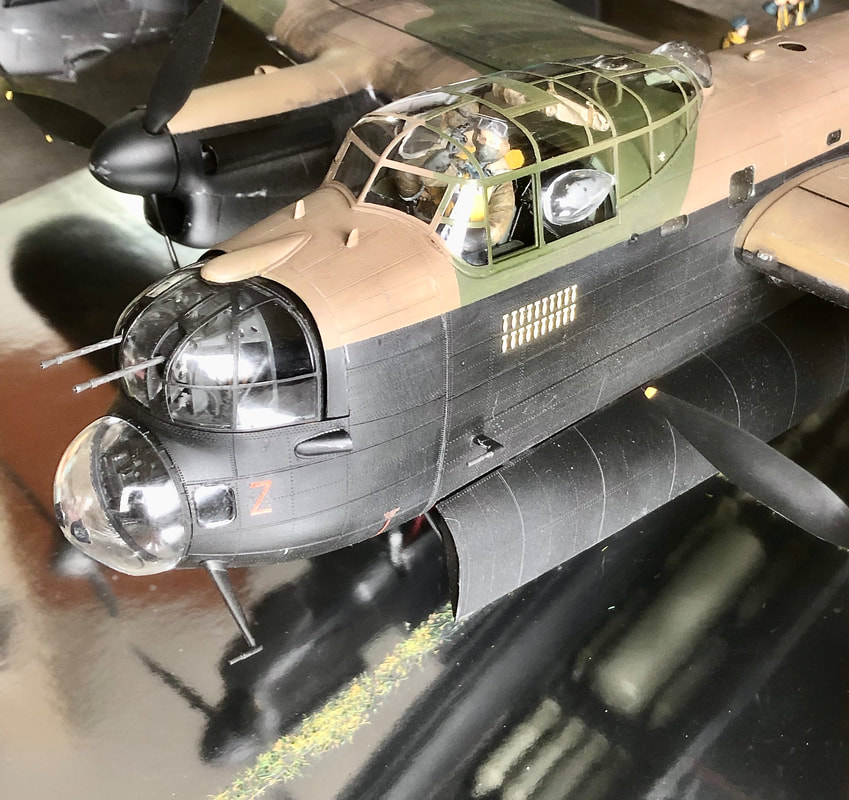
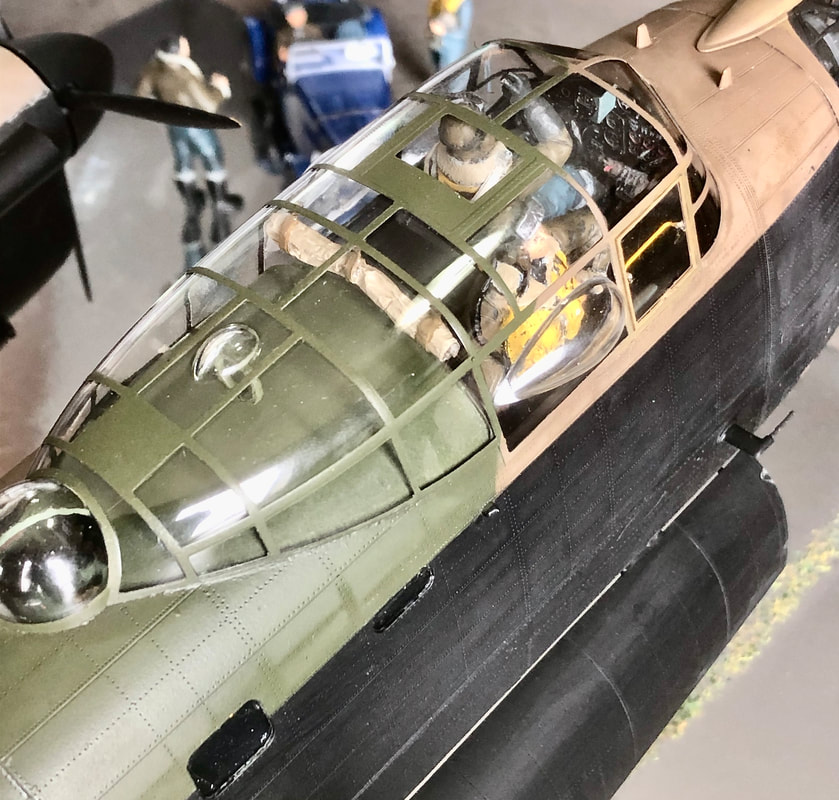
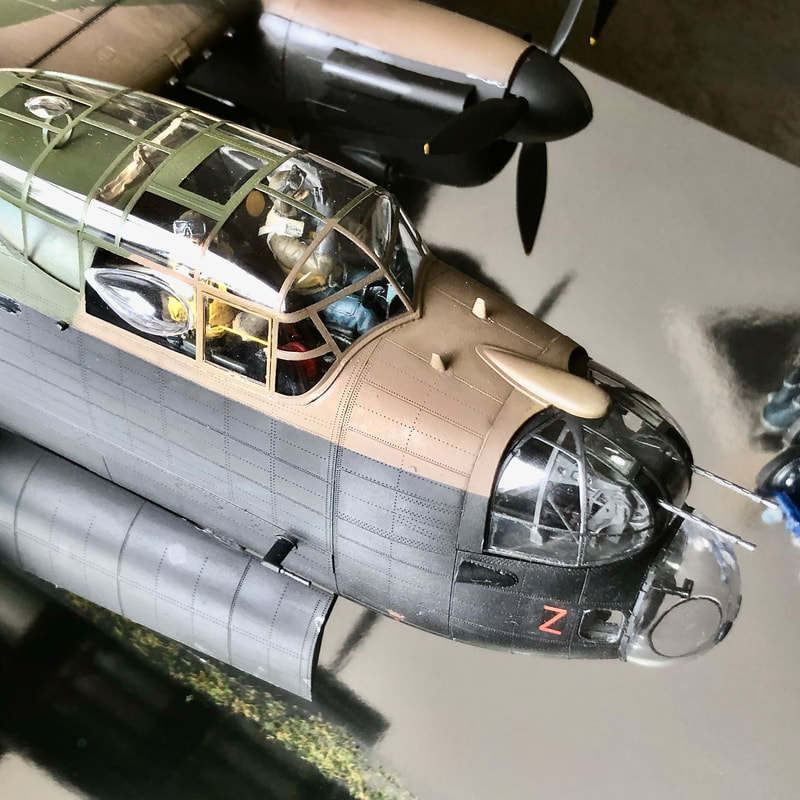
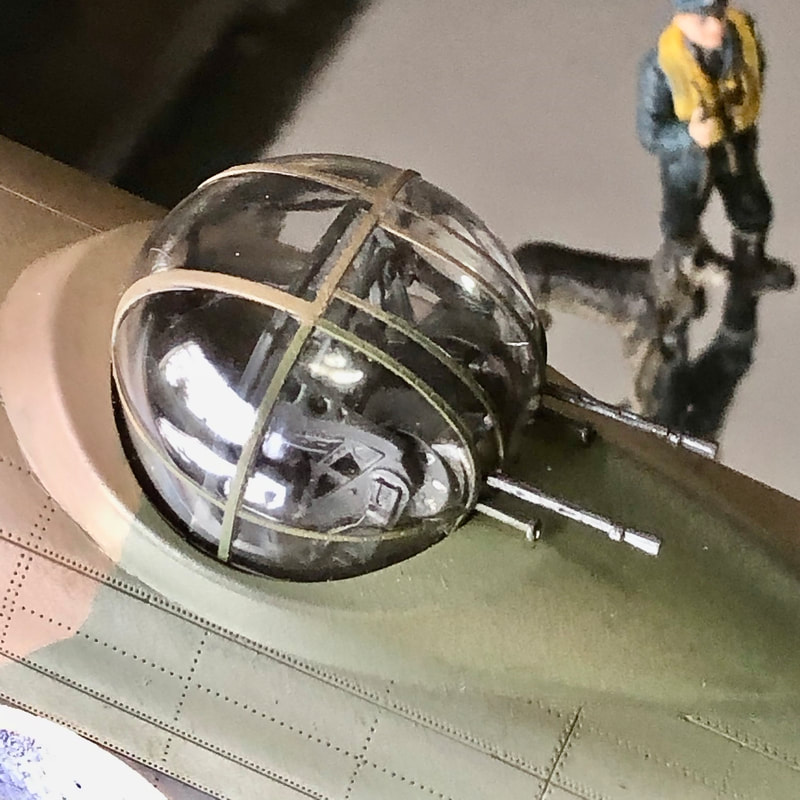
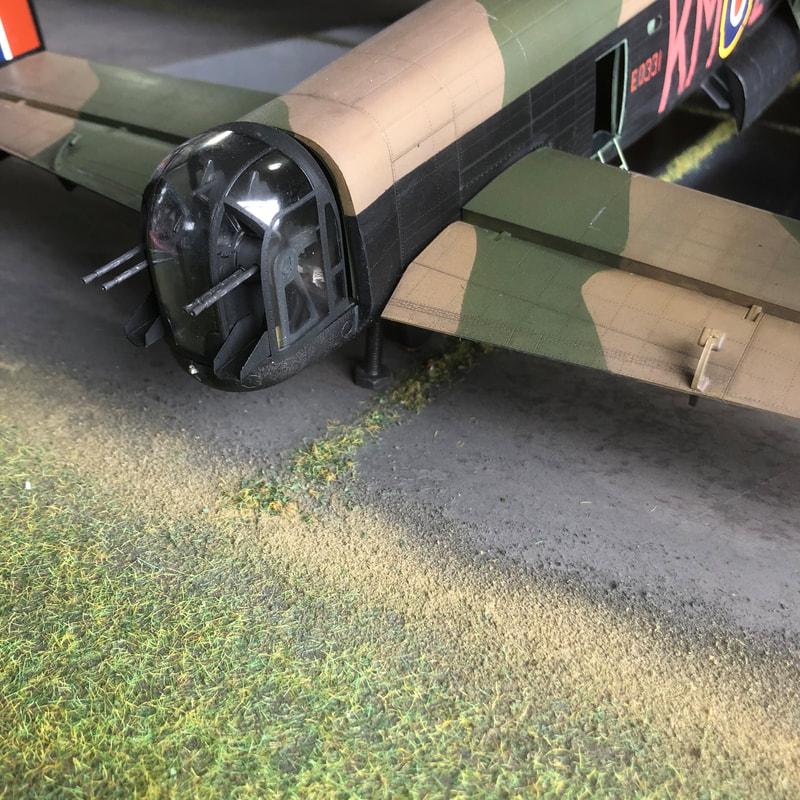
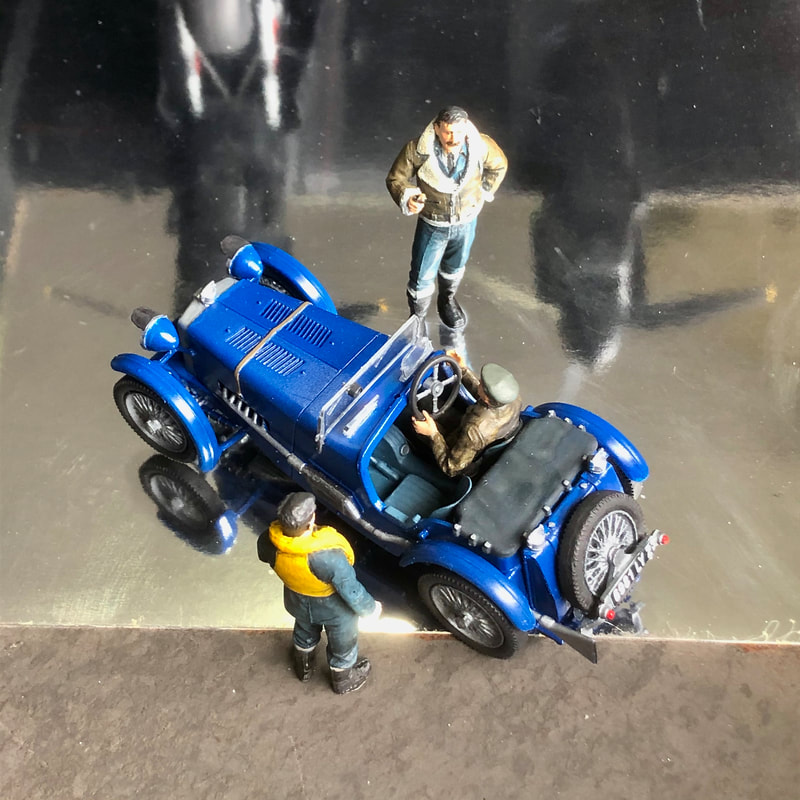
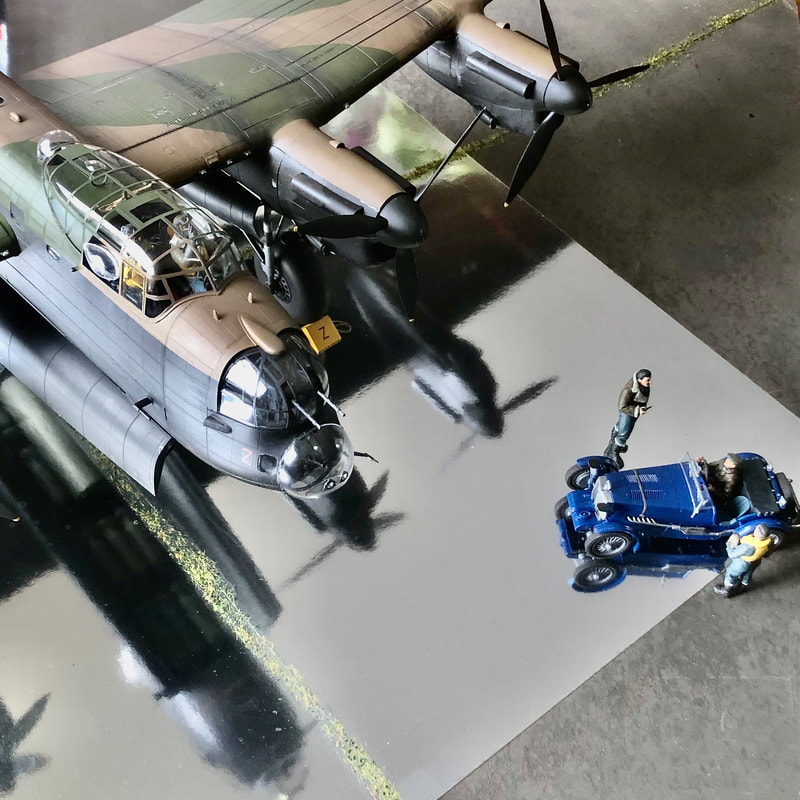
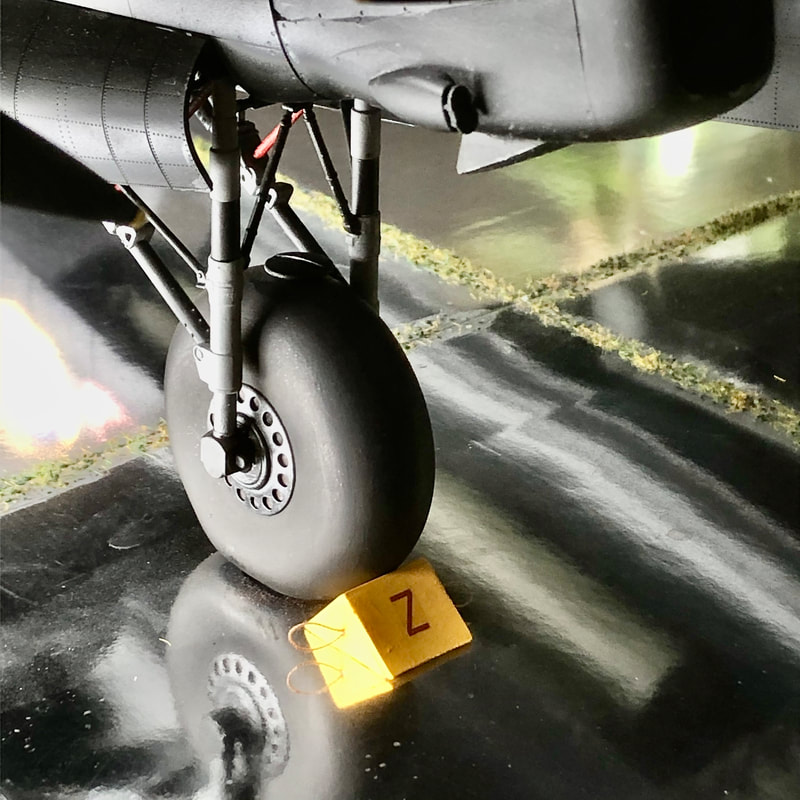
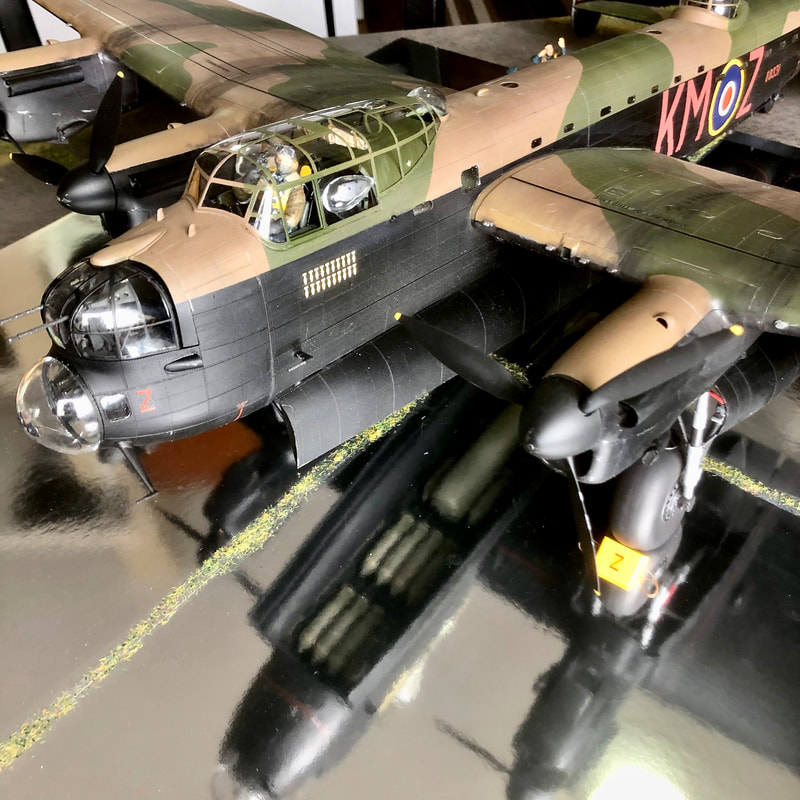
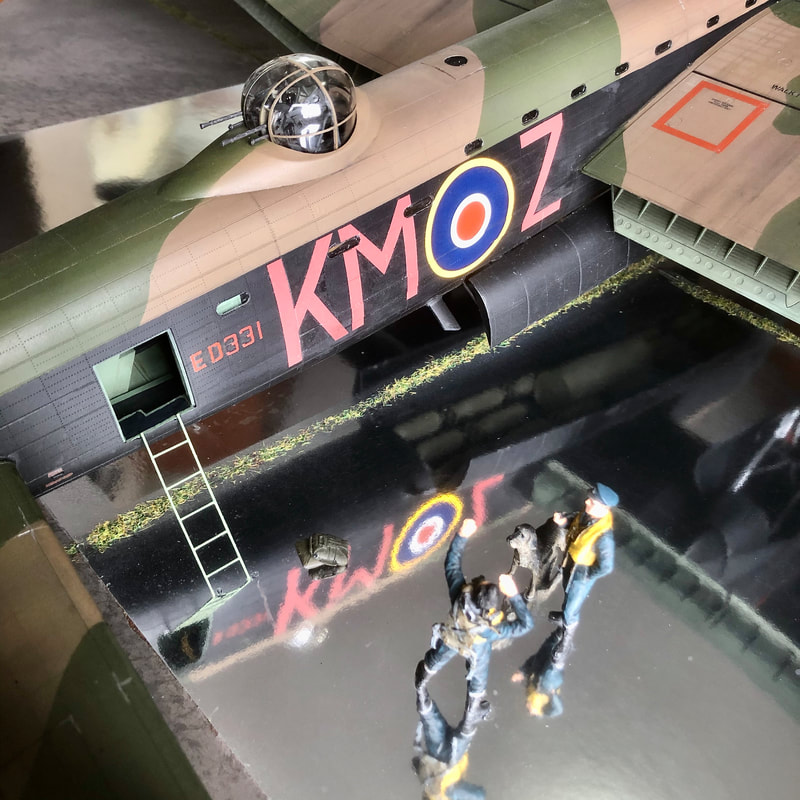
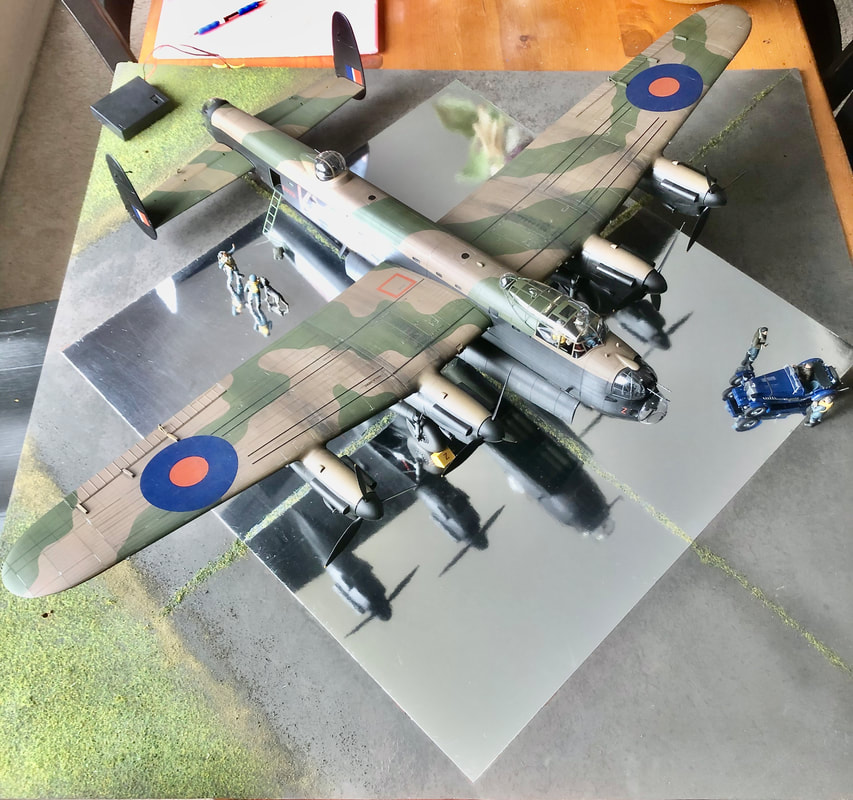
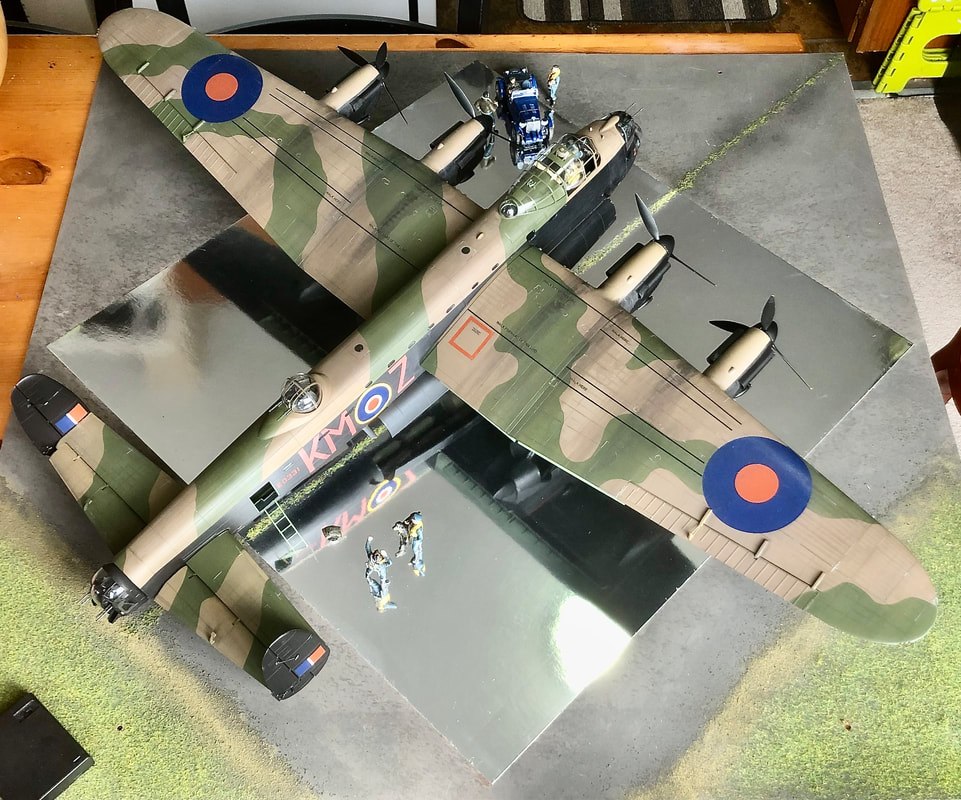
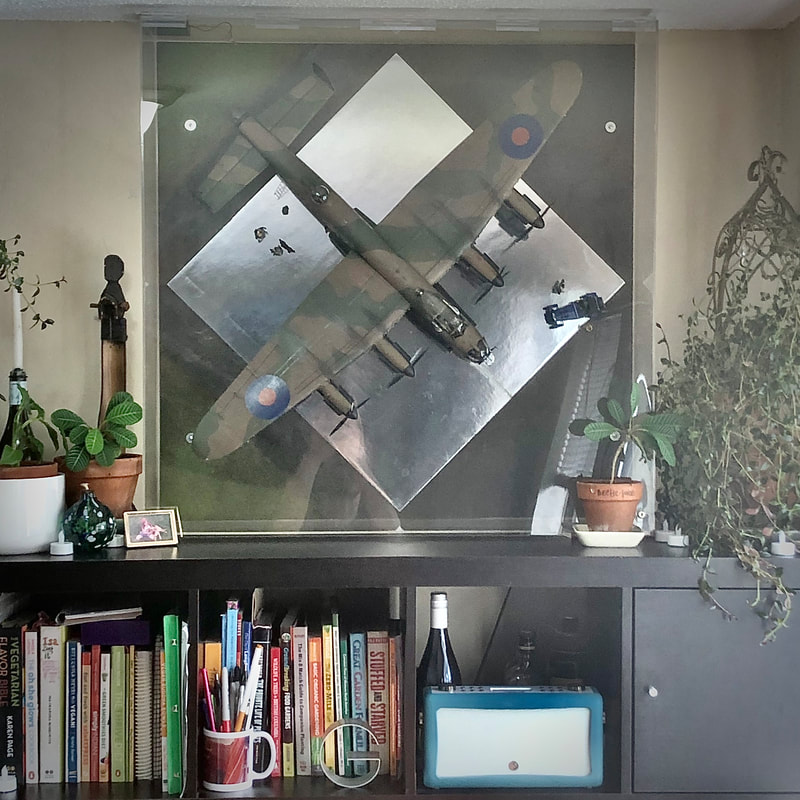
Growing up in Canada with a family who loves history, we grew up learning (among other things) about the past World Wars and how they've shaped & affected our society and all of us. Many of us including my family still remember and grieve the family members who never came back from those wars. Their sacrifice to be remembered for as long as their names are spoken. One notable such cousin was Reg Harding, who my Grandfather fondly remembered from his youth: Reg had joined up with the RCAF as soon as he was of legal age, earning his wings and shipping off to Britain in '42 to pilot Wellingtons and eventually Lancaster bombers... Like so many young men & women his age at the time, he never returned home and was declared to his parents "missing in action - presumed dead" leaving the family with unresolved grief and wonders as to what happened. Growing up I held a deep respect and curiosity regarding the stories of our lost relatives. We also lived right next door to the Canadian Warplane Heritage Museum, which happens to have one of only 2 flying Lancasters left in the world. Because of these strong influences I’ve always had a fascination with vintage aircraft - most especially the Avro Lancaster.. I've built literally hundreds of scale models growing up - including several Lancaster's, but model building slowed down significantly as my adult life got busy.. However, just last year HK models debuted their new 1/32 scale model Lancaster - a bigger scale than has ever been available as a kit before! So, since winter started & Covid has demands we stay in, I've had the opportunity to build this huge model Lancaster that my wife got me for my Birthday! With many aftermarket details being added including lighting, sound and motion, this will be my biggest model aircraft project yet! Here is the kit as it arrived in the mail - the box is huge! and yet not even as long as the assembled fuselage will be... 970 plastic parts, plus all of the aftermarket details I'll be adding... For additional detail parts I bought a complete photo-etched metal cockpit set including etched seat belts from Eduard. I also got a set of Eduard pre-cut painting masks for easily masking all the clear canopy parts... The biggest addition I bought was this Magic Scale Models electronics kit that includes interior/exterior LED lighting, sound with speakers to hide in the wings, as well as 4 tiny motors for each of the 4 engines, including all the wiring and a small pre-programmed circuit board so the aircraft can do an authentic start up and power down routine... I started the build by assembling the inner fuselage sub assemblies, and going through the instructions making careful notes as to when the best stages are for adding the extra wiring, paint, and details... Here's the assembled photo-etched Eduard dash panel & controls... I airbrushed the base interior colours of cockpit green and black, followed by some panel weathering using water colour pencil crayons, and AK color washes to add grime and depth to all the nooks and crannies... Because the kit doesn't include any crew figures, I purchased this aftermarket set of RAF pilots to install in the cockpit. I decided to just add the pilot and flight engineer as they manage the start up routine together. The figures required some careful fitting and modification to fit just right... With the interior sections coming along nicely, I started adding the interior lighting; carefully routing and painting the wiring so it blended in realistically... I made and added lots of little details like a map and pencil for the navigator, a book and pencil for the radio operator, and several extra cables and boxes I made based on real photographs... I decided to mount the main circuit board in the center of the fuselage so it would be well hidden and not interfere with the open bomb bay. I also added some yellow hand rails and a heater pipe on the right side of the inner fuselage... Of course I gave a test run of all the electronics before finally sealing the fuselage together... The issue with choosing to hide the circuit board inside the fuselage rather than outside (in the bomb bay) required that all the wiring, including speakers be hooked up first before I permanently seal the fuselage together! - As you can imagine, the extra wiring and speakers hanging out of the wing mounts made for some very difficult handling until the wings could be wired and installed themselves... After joining the fuselage halves and filling the joint, I applied the pre-cut masks to all the fuselage side windows... I routed the main power feed wires in/out through the tail wheel which will be permanently mounted to a base when it's all finished... I proceeded to build up the 3 turret structures... I painted the interior sections and detailed with seat belts before closing them up... Next I got into building up the 4 Rolls Royce Merlin engines, each with a tiny electric motor carefully installed inside to operate the propellers. The 'Magic Scale' motors come with their own 3D printed motor casings and drive shafts for mounting that need to be carefully drilled out to the correct size... The openings for the drive shafts had to have min .005" clearance so there's zero friction to impede the motors function... After paint, the engines sure look good! It's too bad all of this detail will be hidden inside the cowlings... Adding the engine cowlings... I began building up the wings by first drilling and installing the wing tip LEDs which I then painted clear red & green respectively... Then I assembled the wings with the speakers mounted between each pair of engines and the wiring carefully routed inside. The engines were also offered up and installed after some strategic drilling and routing of wires... The biggest mistake with this kit is that the wings were cast as mirrors of each other where they should be different: -The right wing has a dingy hatch in the top that the left should not, -and the left wing has some landing lights in the bottom that the right wing should not, So some careful filling, sanding and re-application of rivet detail with a ponce wheel was required to hide the extra dingy hatch and landing lights... Adding the rest of the engine cowlings... Then I proceeded to apply the rest of the Eduard pre-cut canopy masks... Before fitting the main canopy I added a padded head rail around the upper rear bulkhead, painted the RAF green on the rear section, and I made a rolled up flak blanket out of tinfoil that hangs from the inner rear canopy. The flak blankets were used to block out light on a mission. I painted the canopies first in matt black so the inner frames will show black after painting is finished... Since the rear turret can remain separate and is only painted black, I could remove the masking to reveal the finished turret; gun barrels will still be added later... I pre-painted and assembled the main landing gear following photos of the real thing for accurate colours and finishing... Time for main body finishing and paint: After masking, I sprayed the entire model in light grey primer. - The primer shows any imperfections I needed to further fill or sand. After that, I pre-shaded all the panel lines with diluted black sprayed through the airbrush. Then I sprayed all the upper camoflage areas with the RAF dark earth colour. The pre-shaded panel lines give depth and realism to the colour... I used clear frisket masking paper to draw out and mask all the earth colour from the RAF dark green paint. The peel & stick clear frisket is easy to use and gentle on paint. I again pre-shaded the panel lines under the green, and then masked it all again to spray the RAF Night on all the undersides of the aircraft... I waited 48hrs between each stage of paint & frisket masking to give sufficient cure time, the end results look terrific! - no runs and no peeled paint anywhere... Next I painted and weathered the flaps with cockpit green, and used 'AK paneliner' accent wash to weather them... I painted and installed all the bombs, painted in olive drab with a hand drawn yellow stripe on each one I made using a yellow pencil crayon... At this stage I decided to finish the underside of the aircraft, starting with the red striping decals that locate all the structural jacking points... I weathered the aircraft using a variety of techniques; for the underside I used some washes of 'AK aircraft paneliner ' and airbrushed some grey exhaust. I also added some paint chipping using some aluminum paint on a brush and a silver pencil crayon... The Men: The aircraft I have decided to model is a Mk 3 Lancaster from 44 Rodesia Squardon out of Dunholm Lodge. I have a long lost relative from our family named Reg Harding who was a pilot for this aircraft (among others) until he and his crew were lost on operations in the summer of 1943. Reg and his crew flew over 21 missions in Lancaster ED331 marked KM-Z (KM was the code for 44 squadron, while Z was their aircraft)... Below are some pics of Reg's crew in front of ED331; Here's the Navigator Les Pendergast and wireless operator Bill Quance having fun with a fake moustache - note the chipped paint, flame shields over the engine exhausts, and the nose art! Here is Reg (second from the right), and his crew in front of ED331... The below pic shows a 'second crew' that on occasion were also assigned to ED331 when Reg's crew were off. This second crew never returned home with ED331 and Reg & crew were then assigned a new aircraft (KM-Z, DV202) which they too were lost in shortly after. Their short lived second Lanc DV202 still resides crashed in a Lake in Peenemunde, Germany - I've been to see it myself back in 2004. Since I've already built a model of DV202, and Reg flew the majority of missions in ED331, I decided to model ED331 this time. RIP to all of the brave young men who flew in these aircraft & never made it home... Since my model will need to be permanently mounted to a base so it can come to life with it's start up/power down routine, I decided I would like to feature a few more figures to add to life to the final scene. I purchased another set of RAF pilots with a dog, and painted them up... Being a British Sports Car fan, I also decided to build this little 1933 MG K3 Magnette which was one of the most coveted British Sportscars of the era - I ordered a custom made plexiglass case for the model diorama, the models will all be securely mounted to the floor of the case and then the case will mount vertically on the wall. I cut a separate 'floor' to mount the models to in the case, I used some mirror cards blended into the ground scenery to reflect the underside of the aircraft when it's mounted in place... I finished applying all the rest of the aircraft decals, using a set of Alphabet Lancaster decals I purchased so I could letter it correctly for ED331, KMZ. With the paint and decals looking good I decided it was time to finally mount the aircraft to it's base... I decided to use some 2 pc Chicago screws that I had coming up from under the floor, all the way through the wheels, with the male part screwed down from the top of the wheel... For the tail I drilled & tapped a 10/32" screw up through the floor into the bottom of the fuselage next to the tail wheel. I then added a washer and nut screwed down inside the floor of the aircraft. The rear turret easily removes if I ever need to undo it... All that was left was installing the rest of the details and finishing the model and scene.. One of the most satisfying parts was finally removing all the window maskings! I mounted the MG with another 10/32 screw tapped through the floor, the figures just glued in place... I scratchbuilt a pair of wheel chalk blocks and a ladder for the crew side door... Finally I mounted the case to the wall, and then mounted the base inside the case, tested the electronics again, and she's all done and looking SO sweet! - time for a glass of wine to celebrate! Here's a final test run before I mounted it in the glass case (less reflection for video):
Until next time -
7 Comments
Duncan Dickinson
4/4/2021 01:14:55 pm
OMG ,what a shit ton of work and it is absolutely amazing. Nice job!!!!
Reply
Harry Watson
4/21/2021 09:00:33 am
This is amazing Geoff. Your attention to detail blows me away. Looking forward to you working on my Healey soon.
Reply
Kurt Visser
8/20/2021 04:12:27 pm
This is absolutely incredible! I have the same model and my brother wanted to add engines that will spin. I have some new inspiration. This is top-notch!
Reply
12/23/2021 09:06:58 am
Just amazing, a real labour of love. Congratulations!
Reply
Eric Ludlow
1/15/2022 12:01:42 pm
Hi
Reply
David Fenton
4/16/2022 06:16:05 am
I read John Nichols book, Lancaster, and found the parts relating to KM-Z dv202 and rear gunner F.S.Stan Shaw very touching, I served for 30 years from 1975, I have daughters and this book really hit me hard. The sacrifices these men made you cant sum up in words. I live near to the site of former RAF Fiskerton, 100 Lancs were lost from this base from 1943 to 45 alone. One of my son in laws is a teacher at the school situated on the former domestic site of RAF Dunholme Lodge.
Reply
Cameron Campbell
6/26/2023 06:05:54 am
Hi there, I am a serving Colonel in the British Army reaching in the Kuwaiti Staff College in Kuwait. Firstly, I want to commend you for this build and for the background. I am making the same kit without the etchings and electronics (motors, sound etc). Love the idea of mounting it on the wall as a picture. I wanted to ask if you had the fuselage that was transparent? I ask as after all the precise detailing of the interior it seems a real waste not to be able to show it off. I have half and half. One side painted and the other transparent so I can show the inner workings. It has always been my frustration that we aren't able to show the inner workings. My question relates to this. How do you get your head around doing so much inside that isn't seen?
Reply
Your comment will be posted after it is approved.
Leave a Reply. |
Archives
December 2023
|


 RSS Feed