|
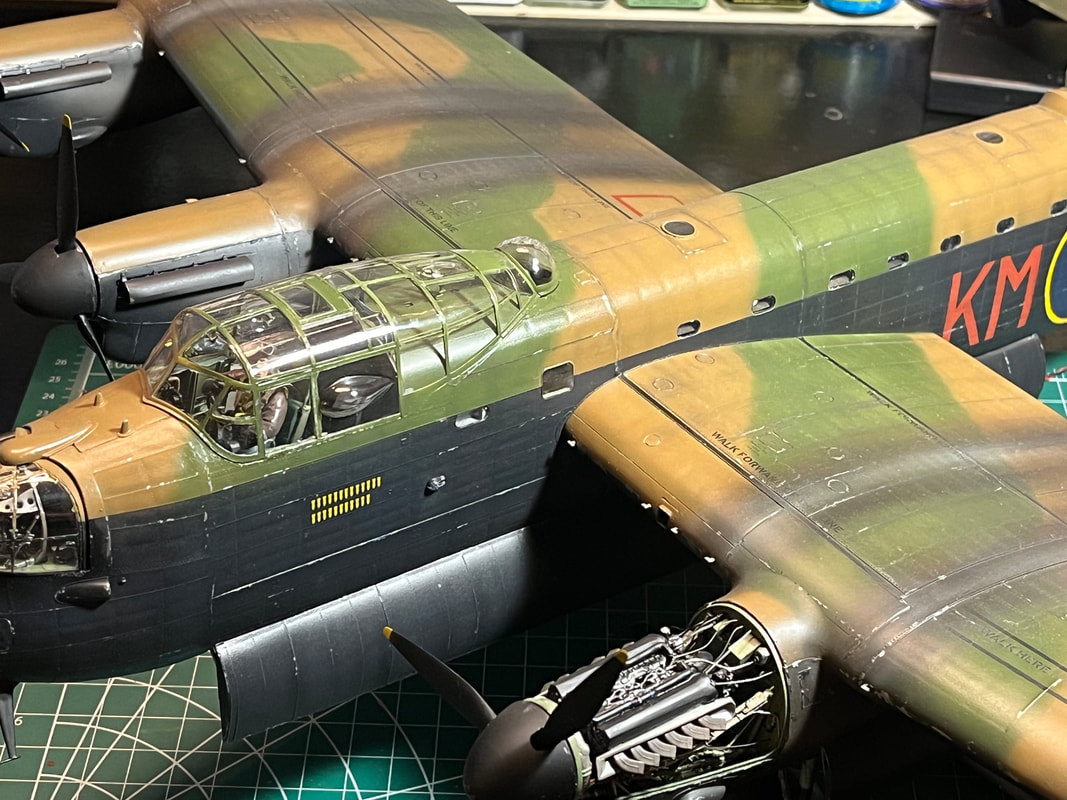
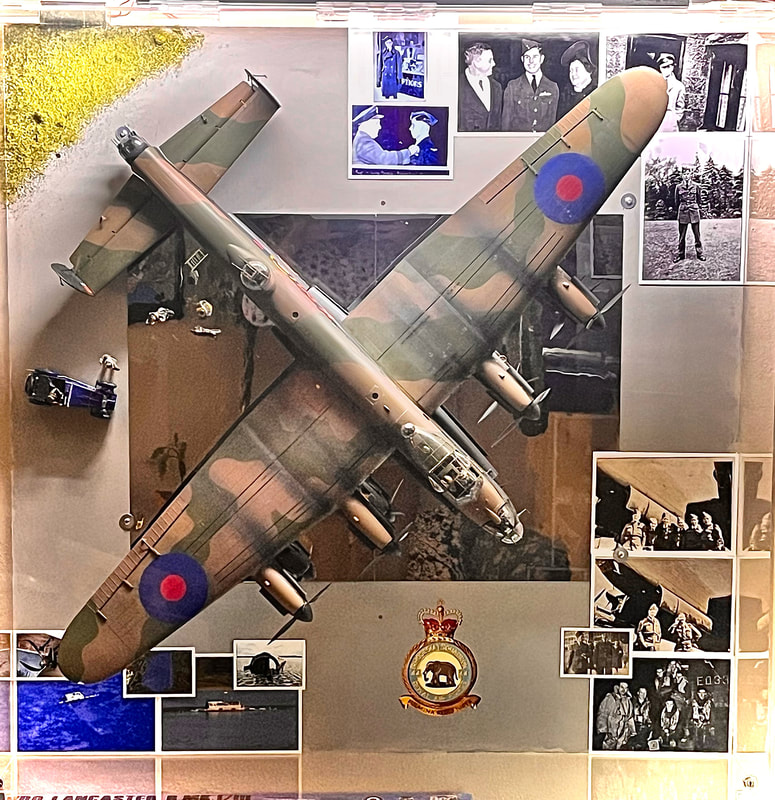
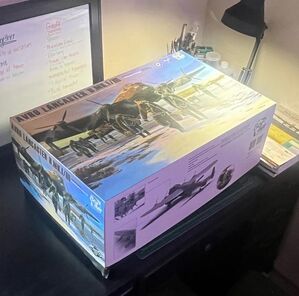
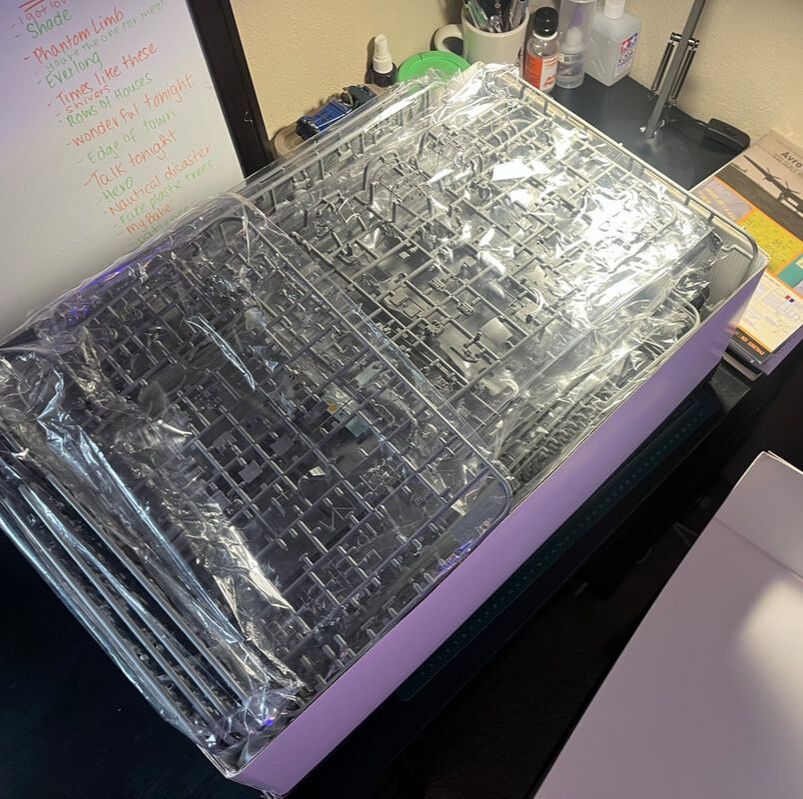
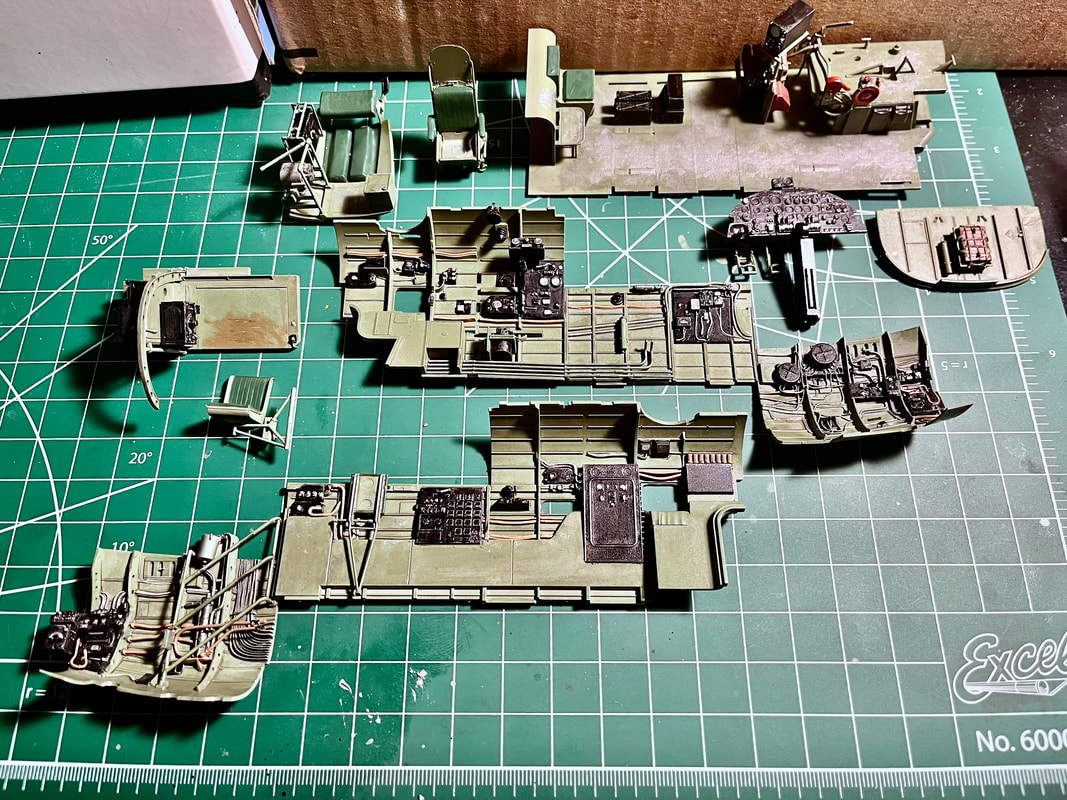
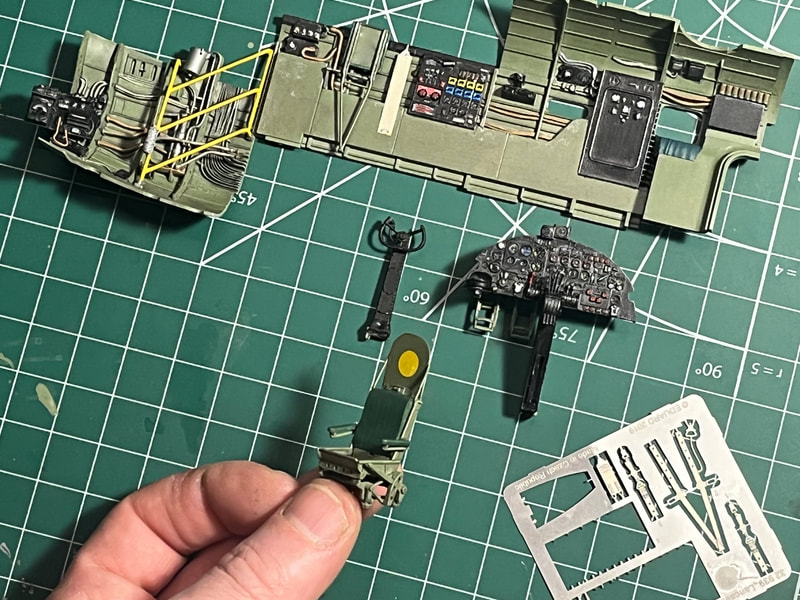
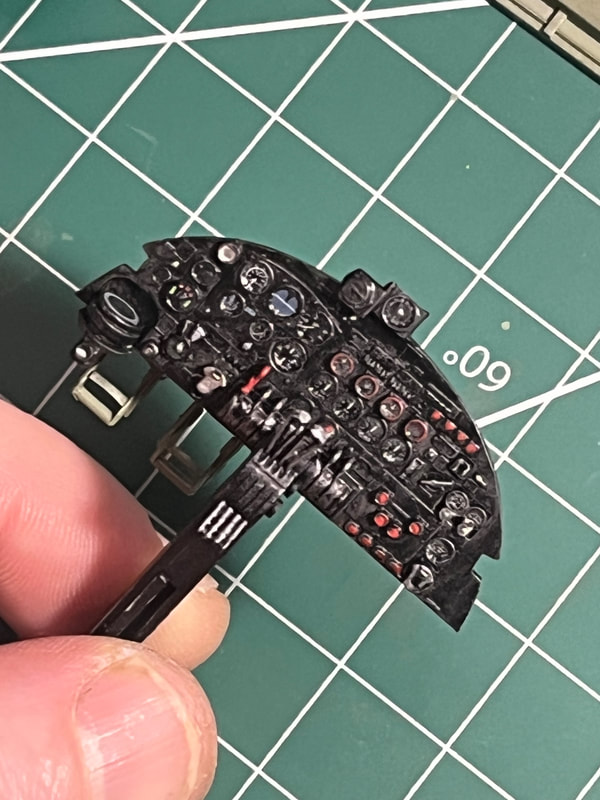
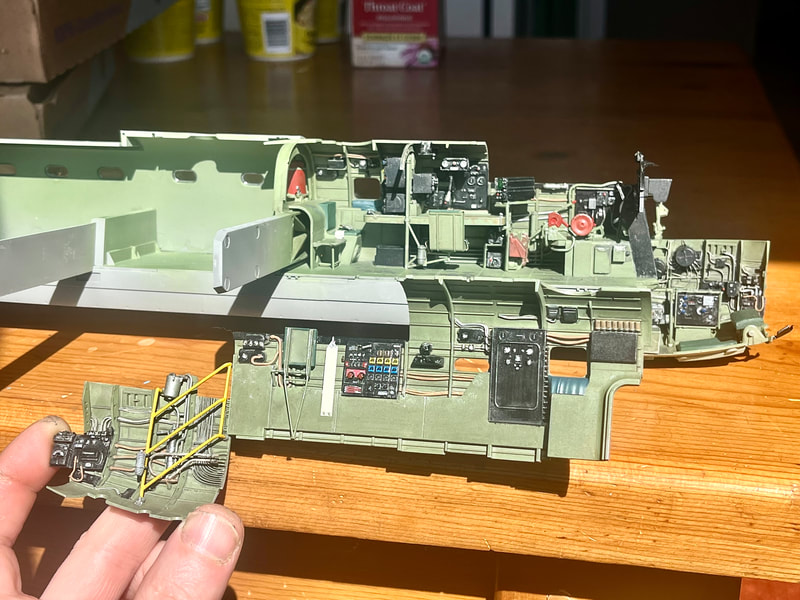
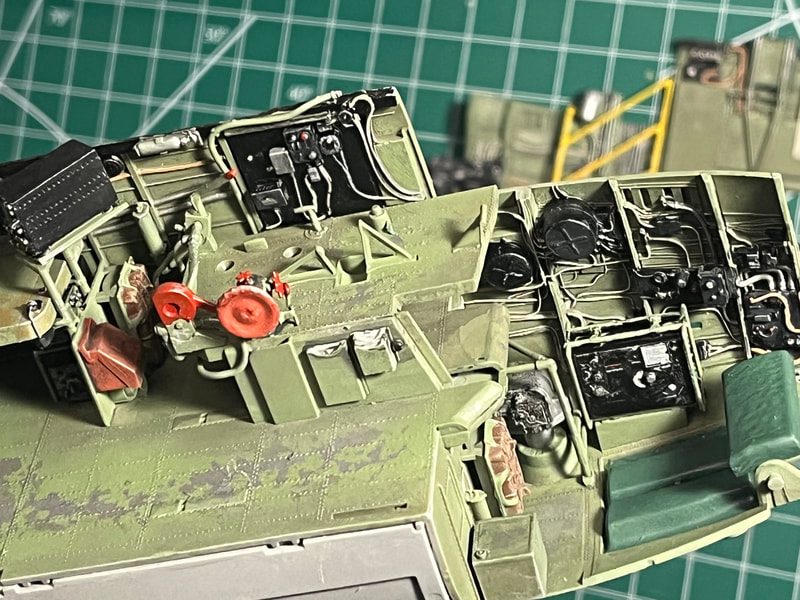
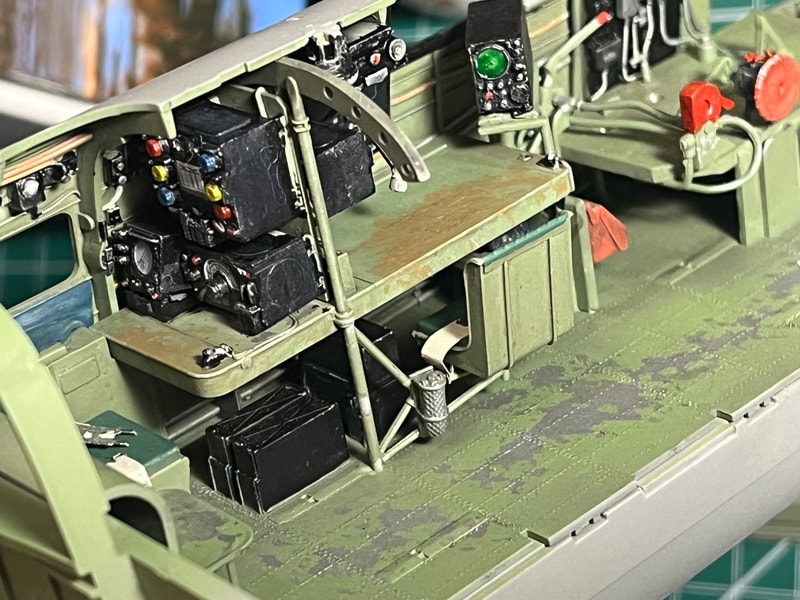
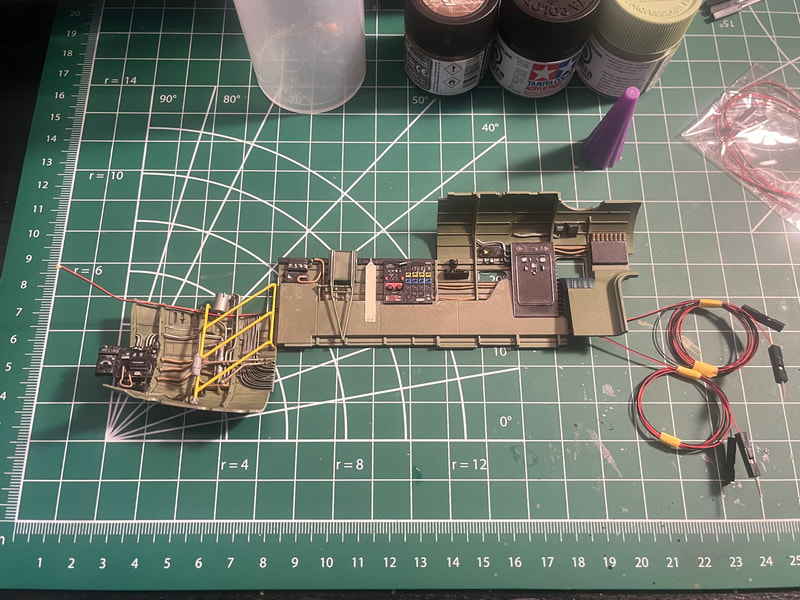
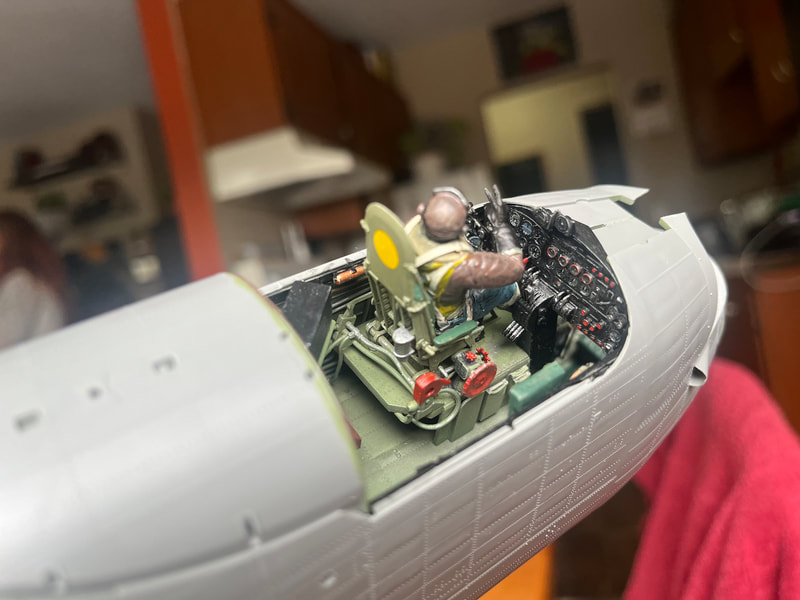
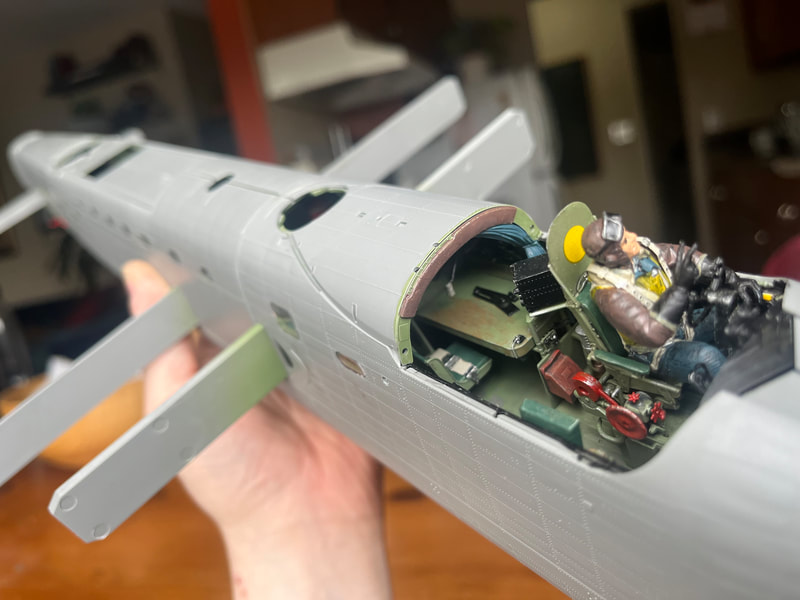
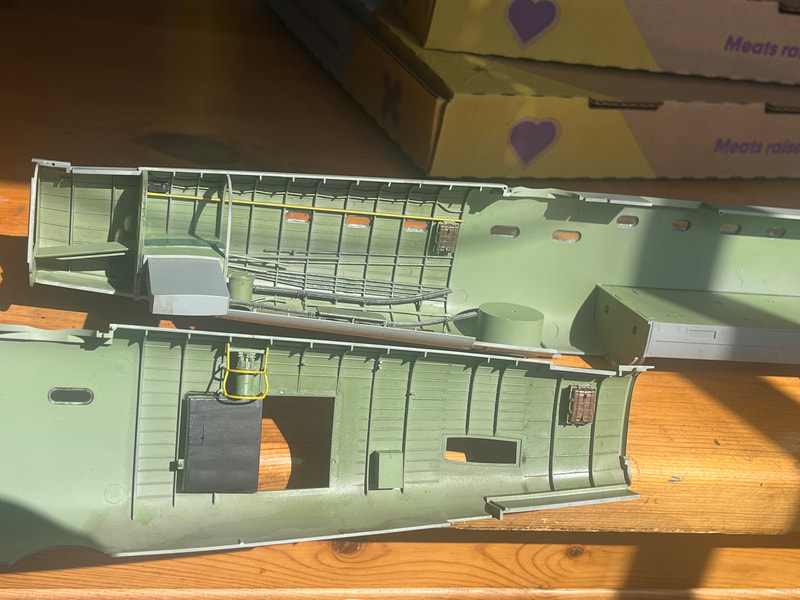
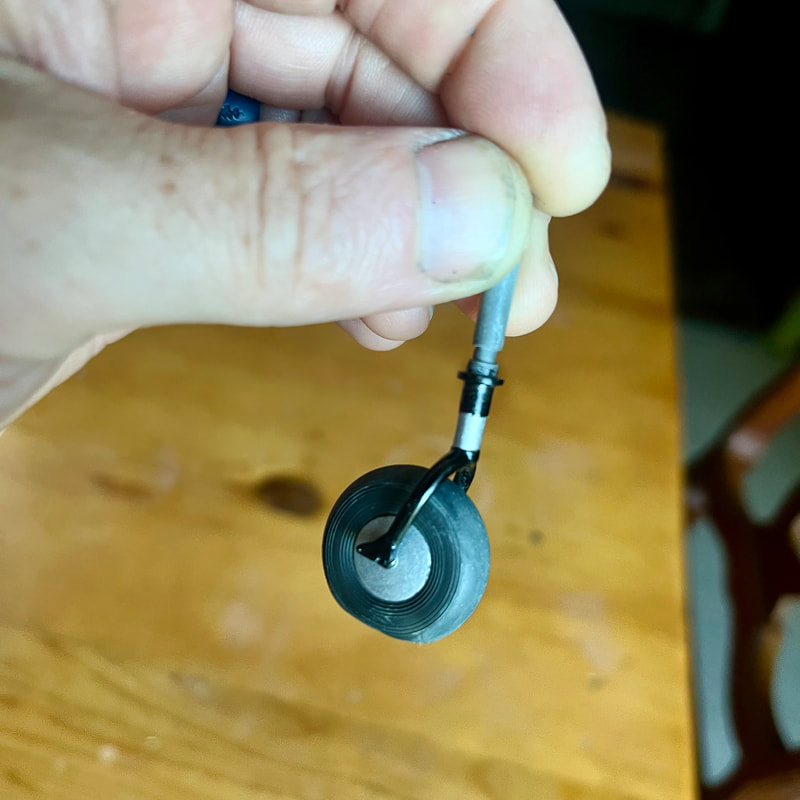
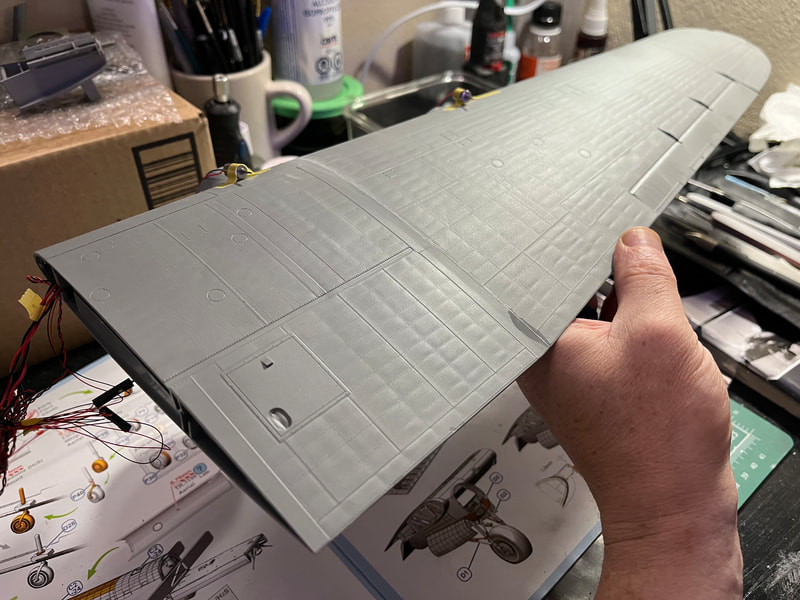
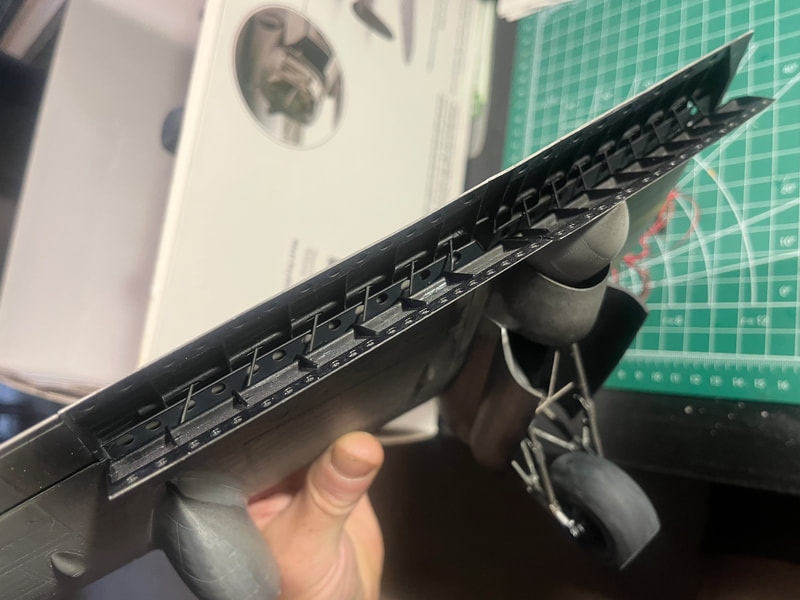
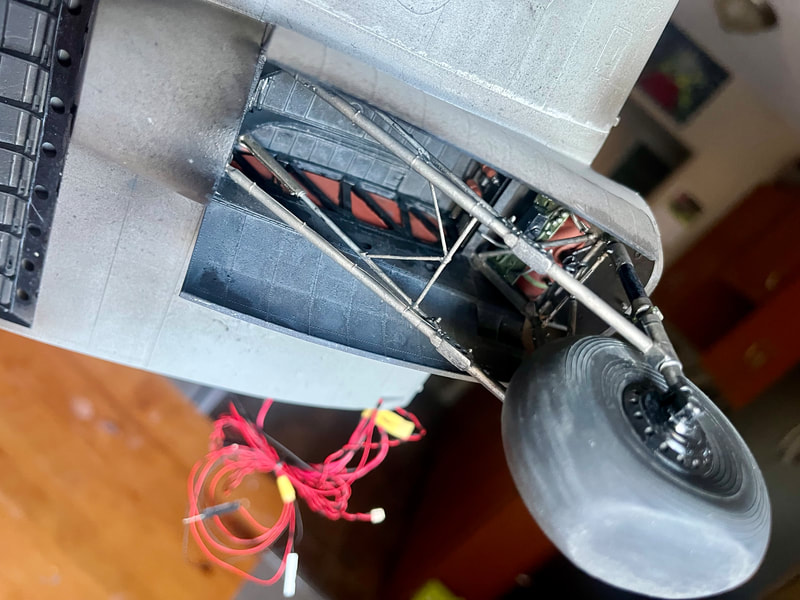
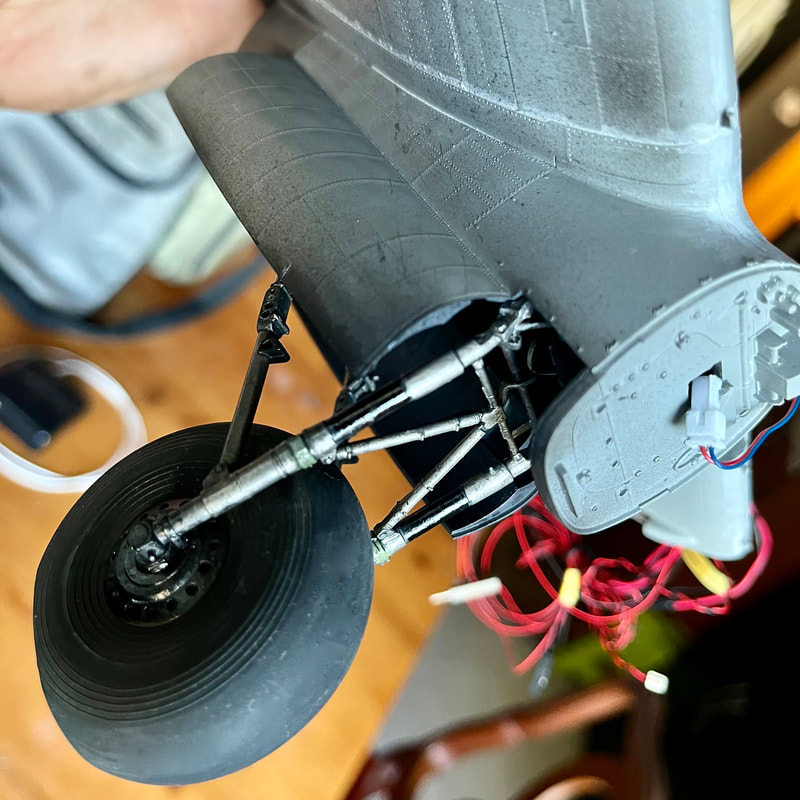
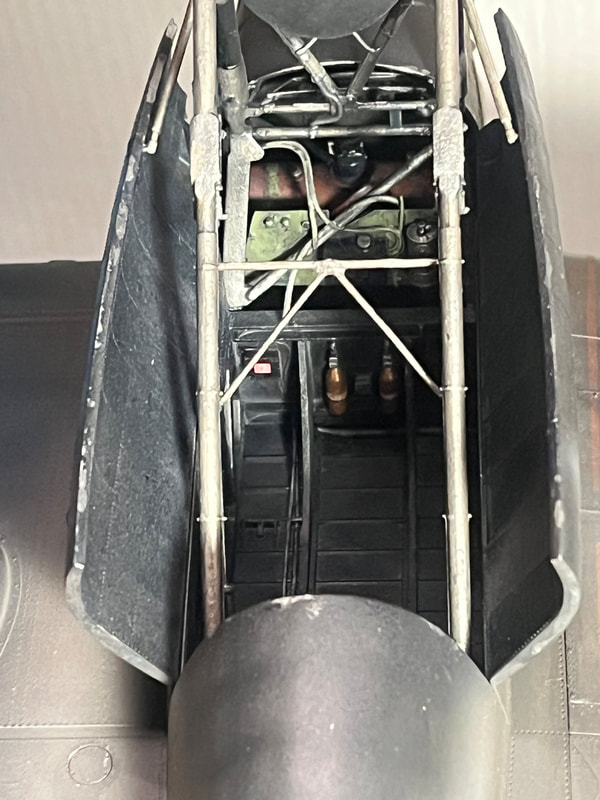
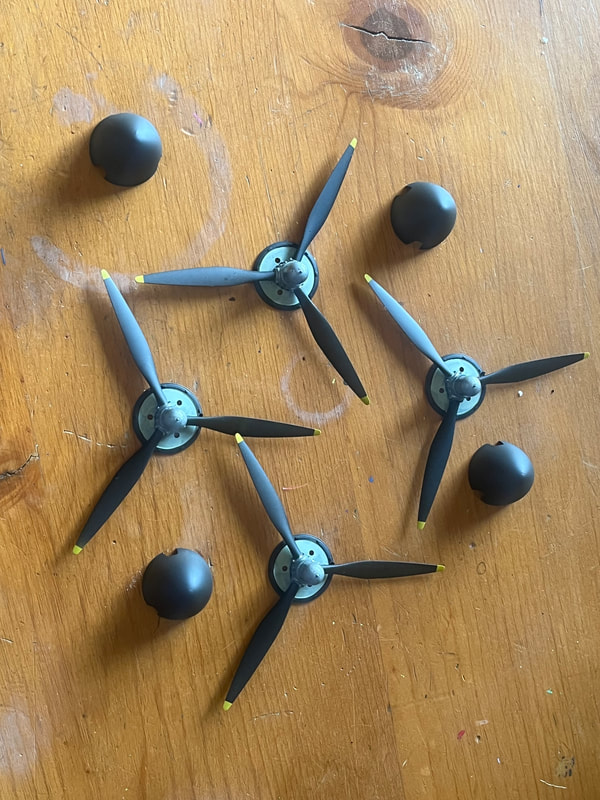
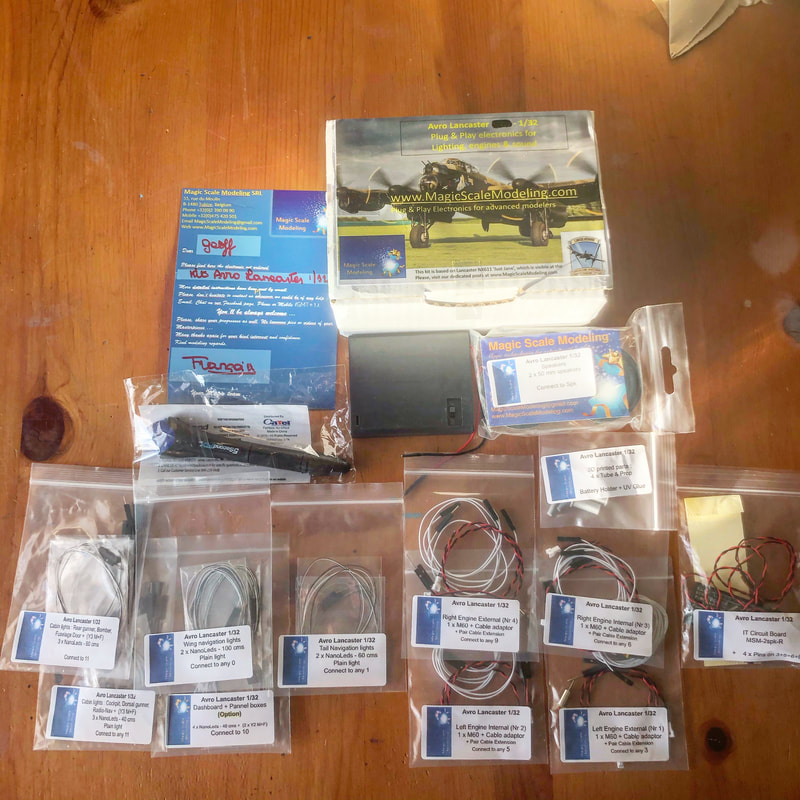
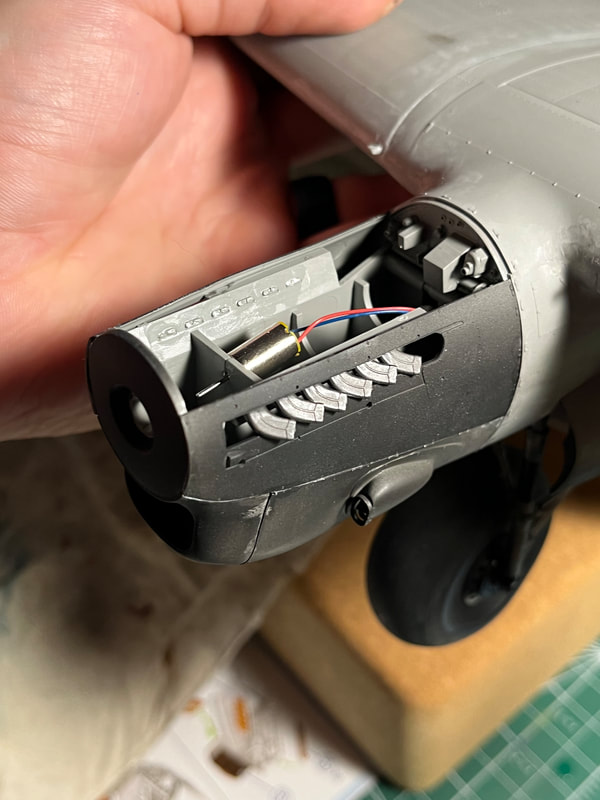
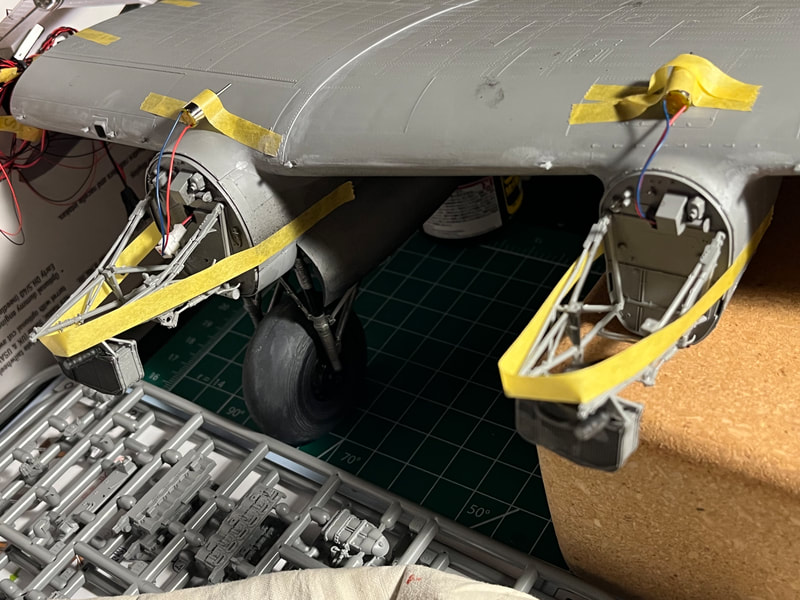
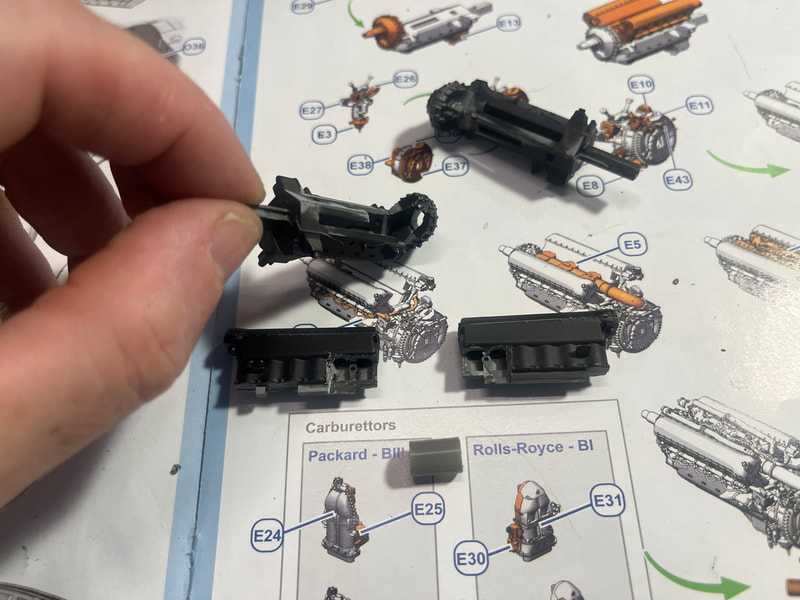
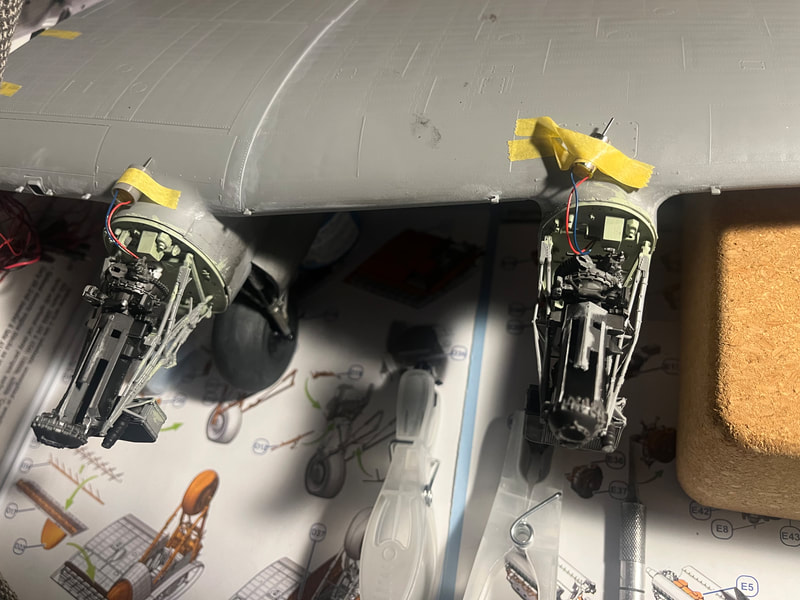
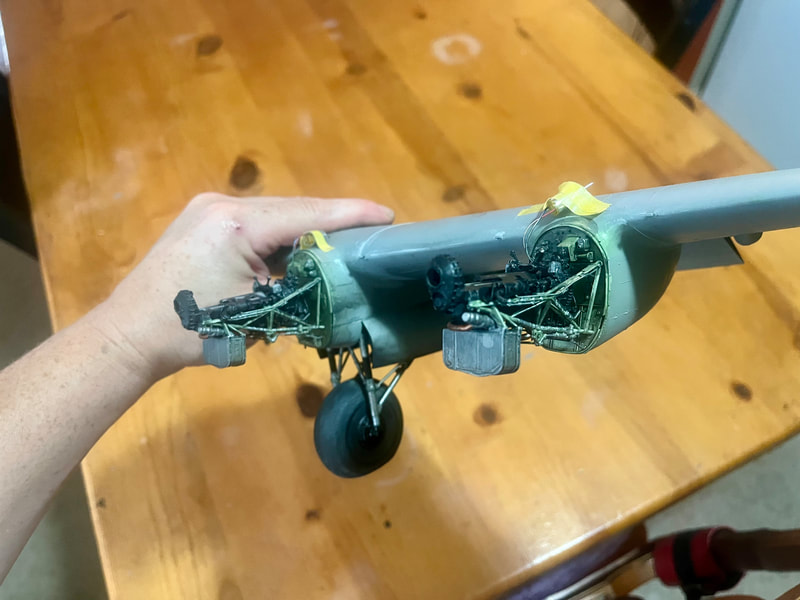
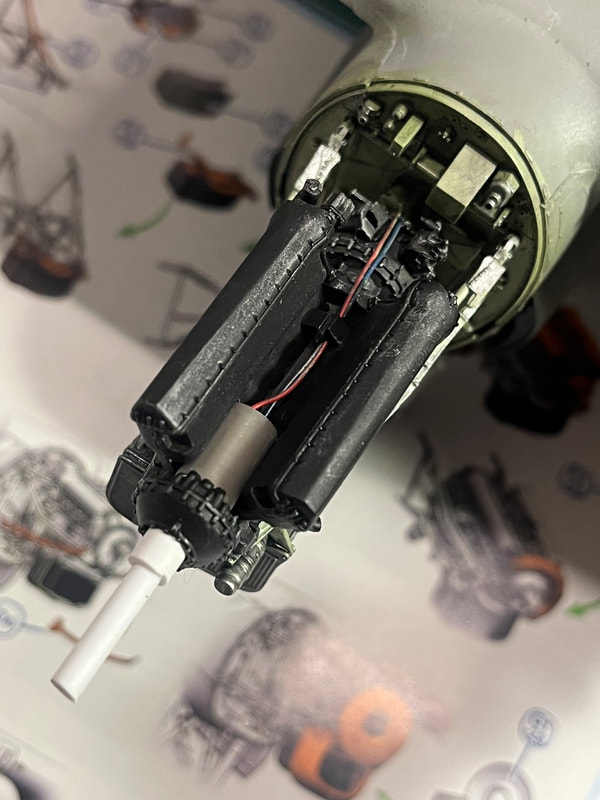
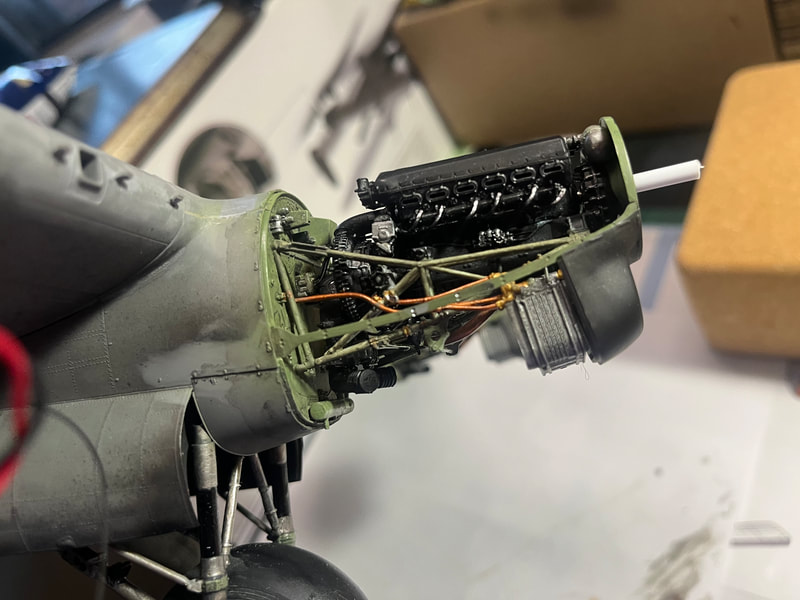
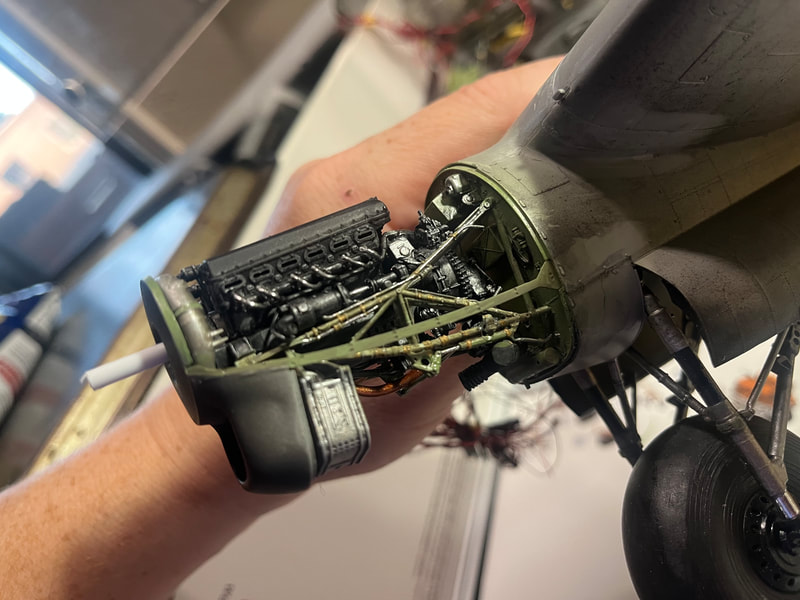
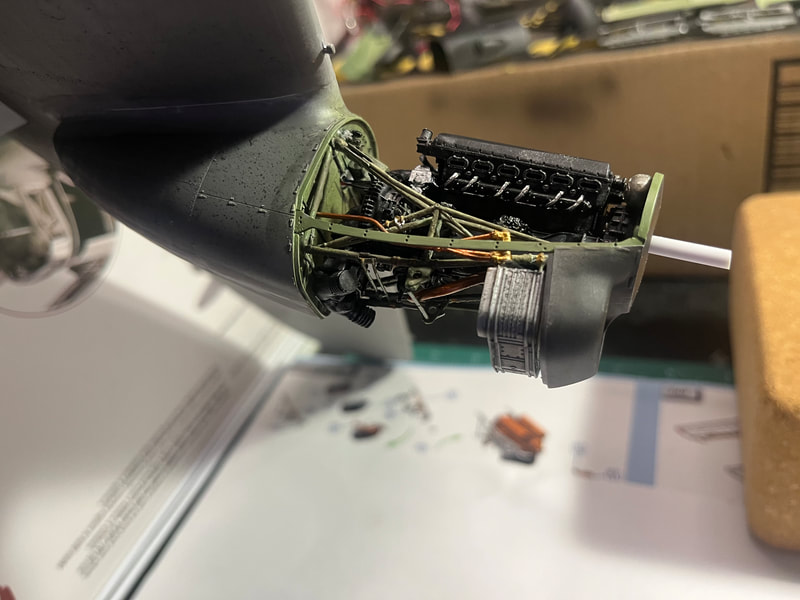
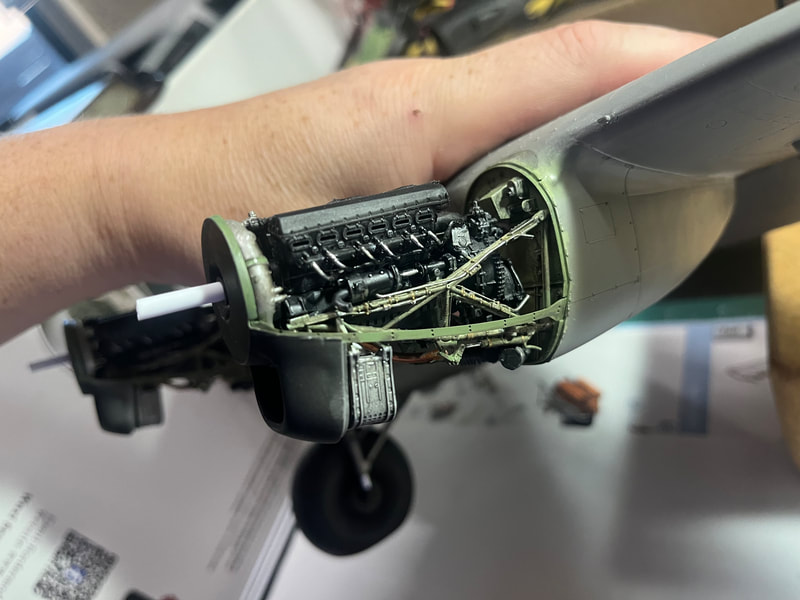
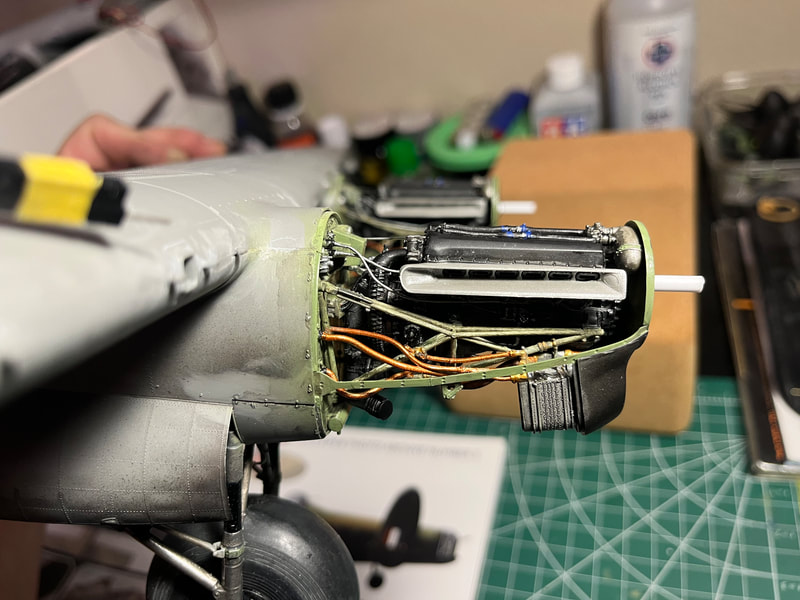
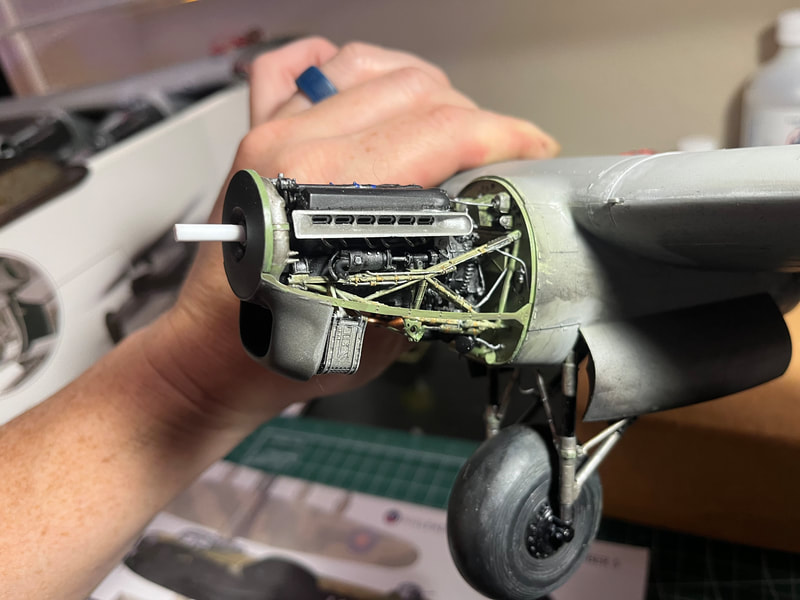
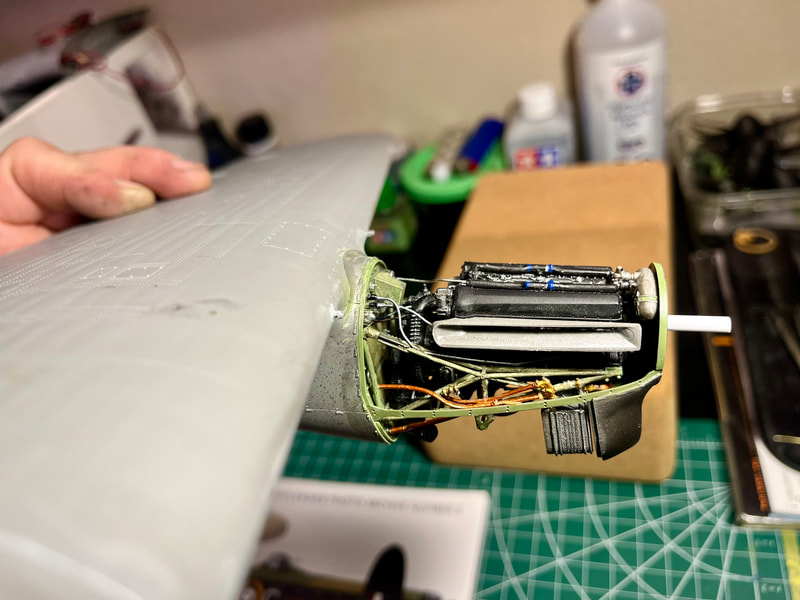
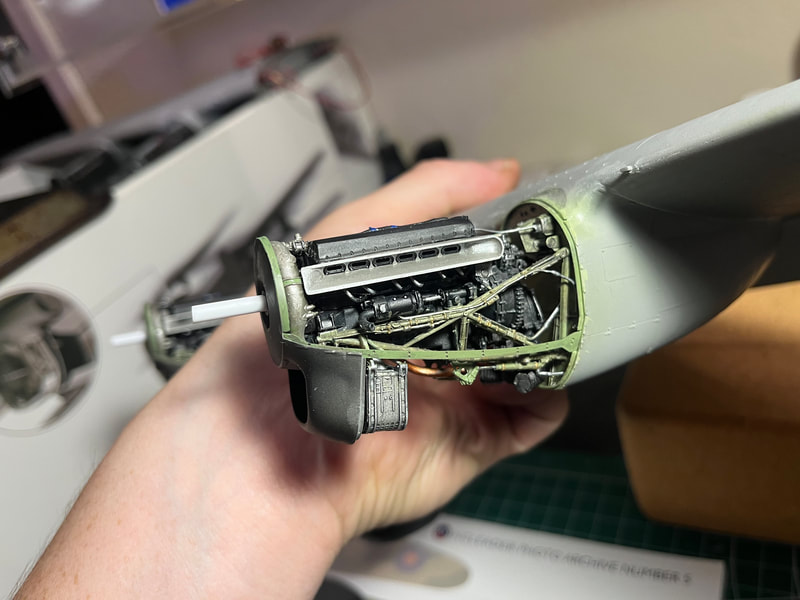
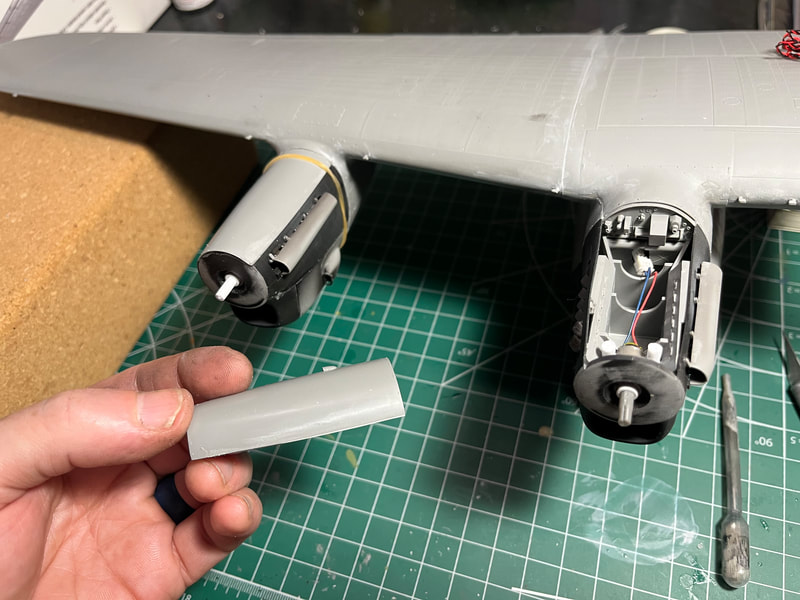
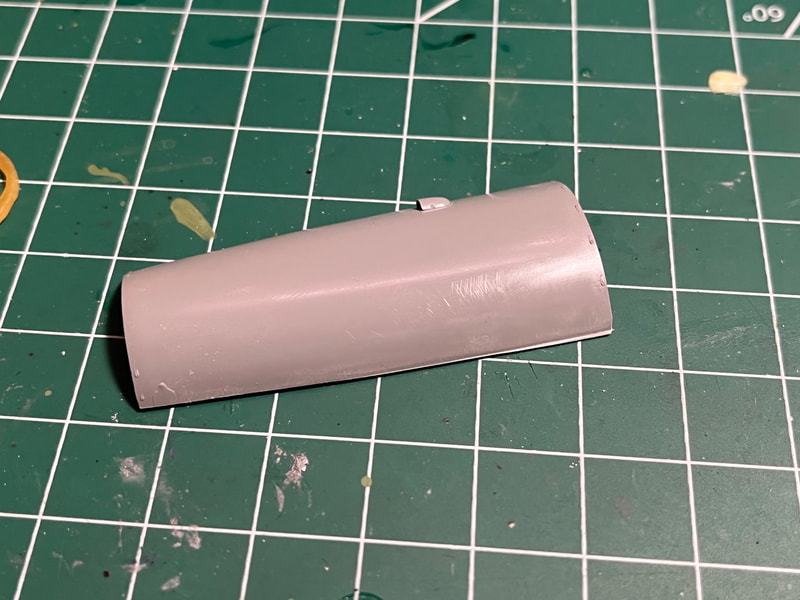
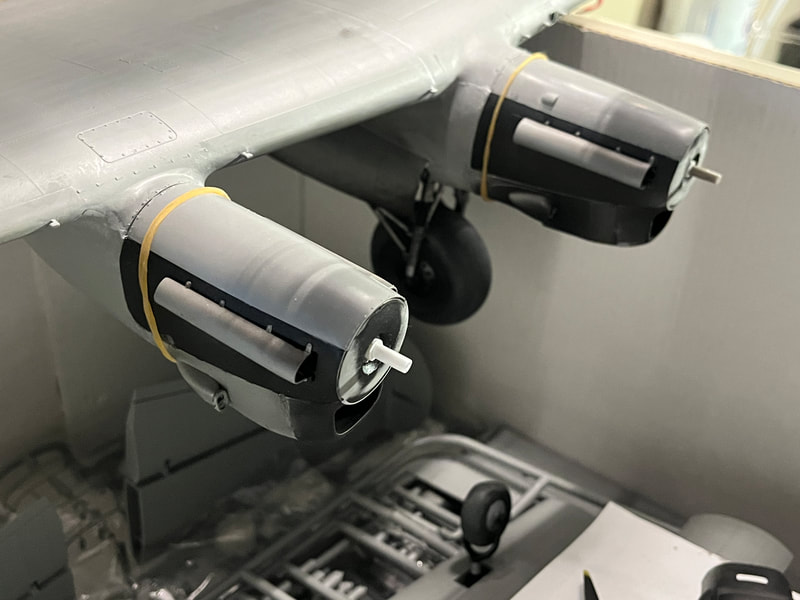
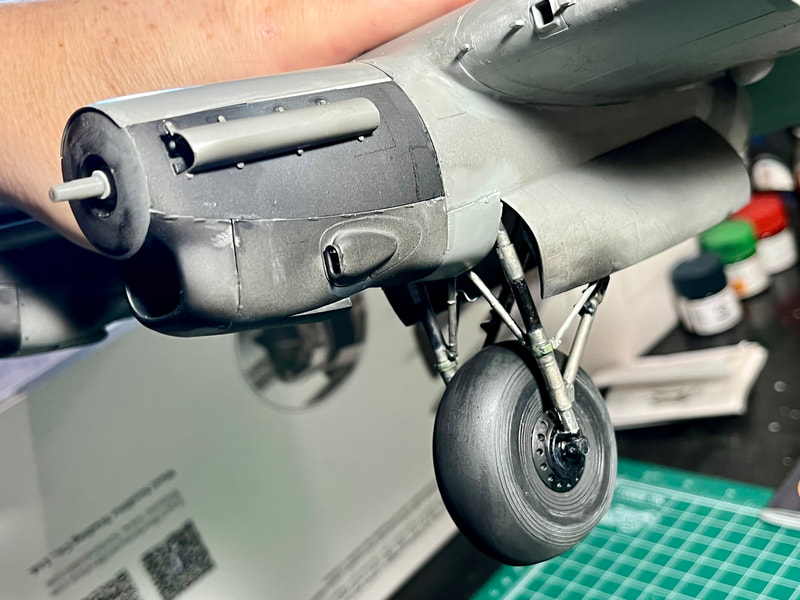
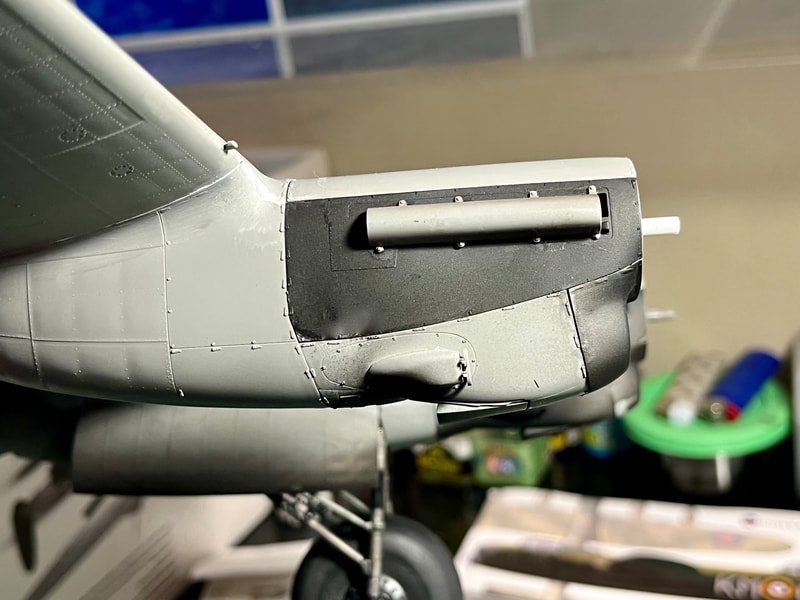
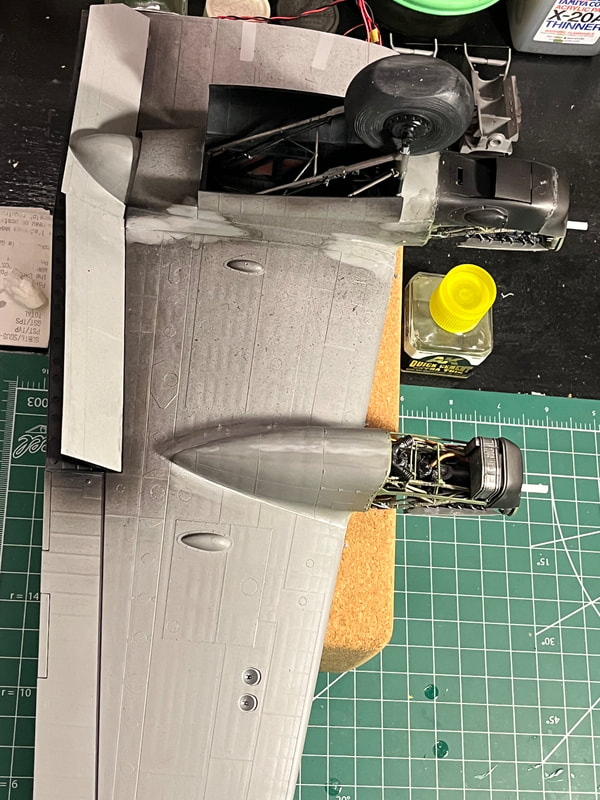
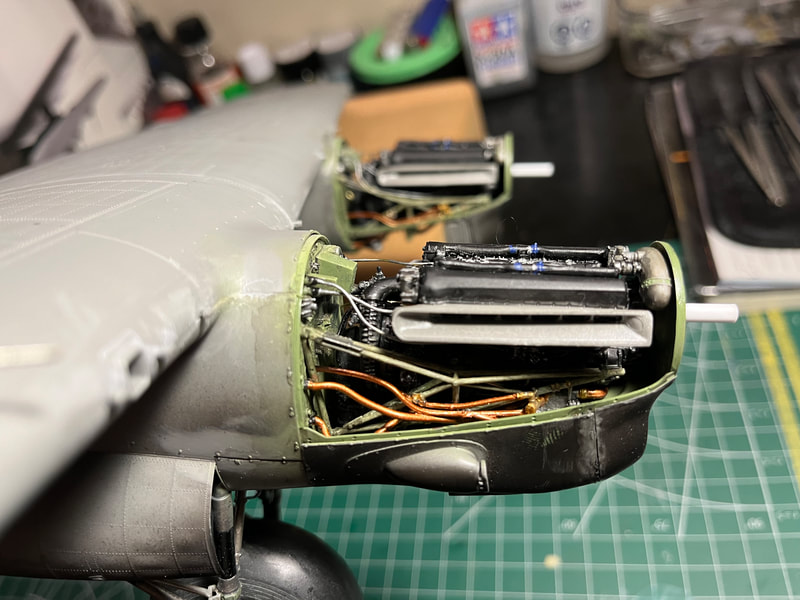
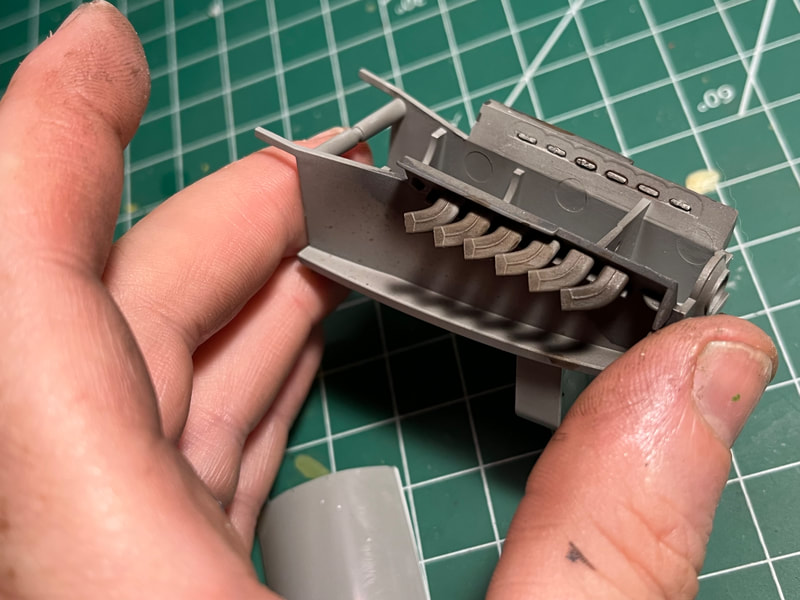
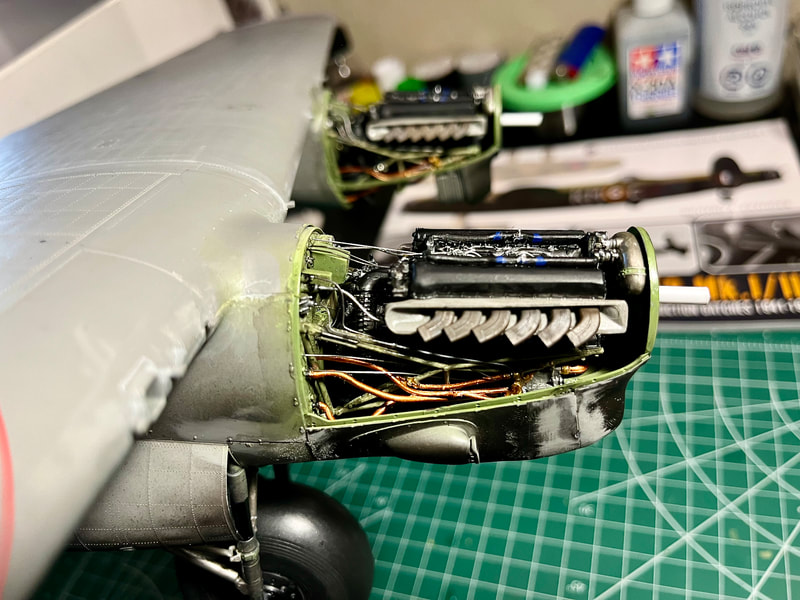
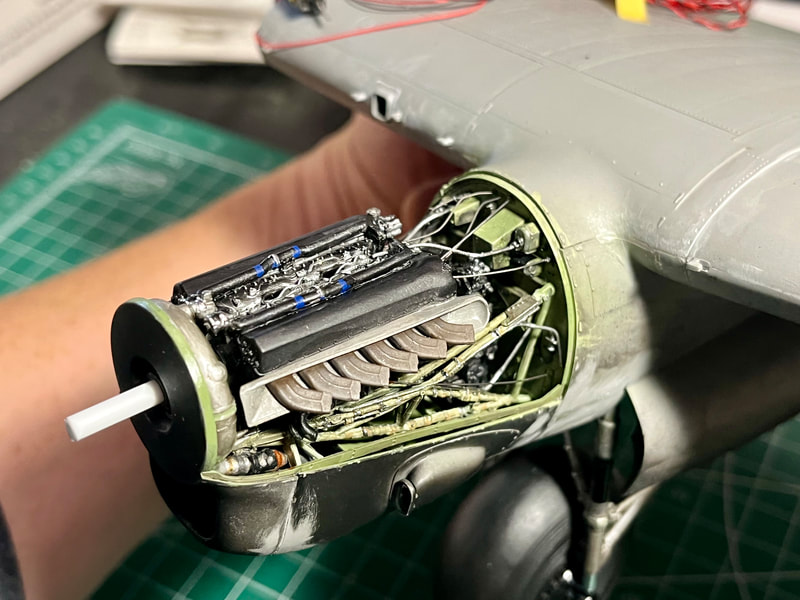
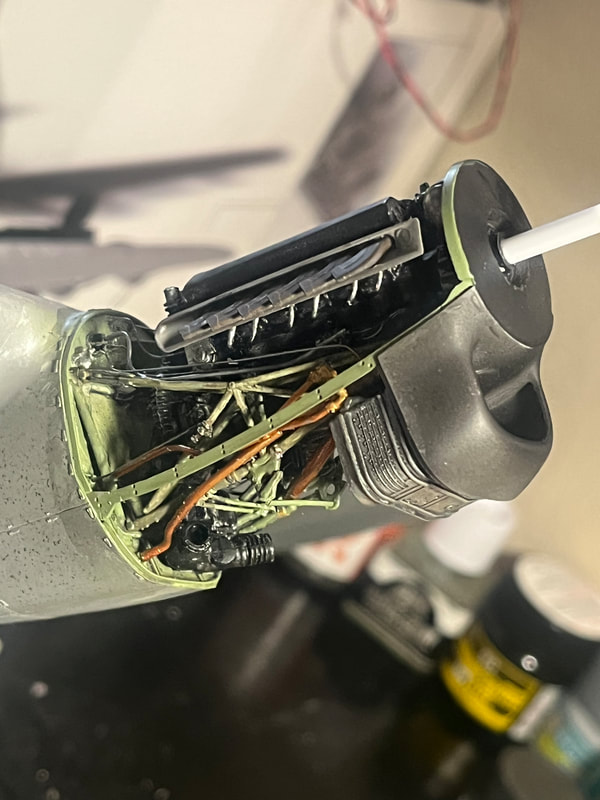
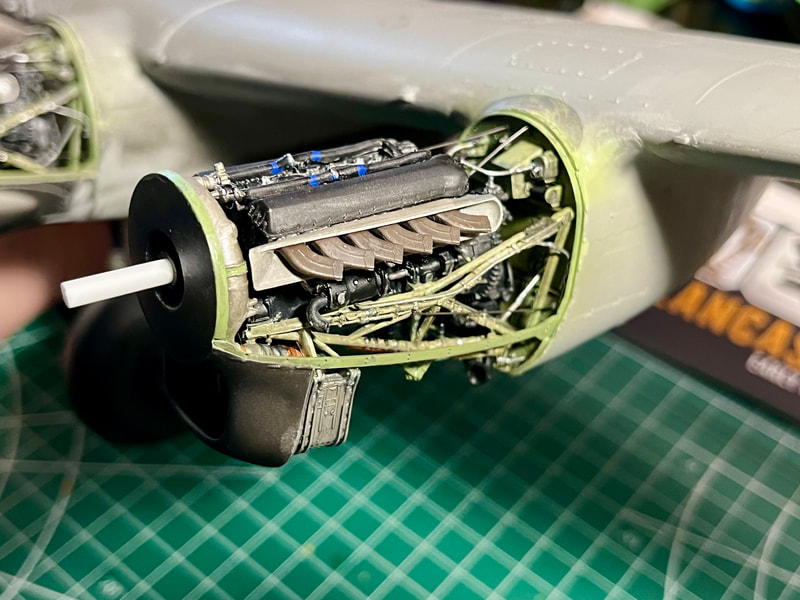
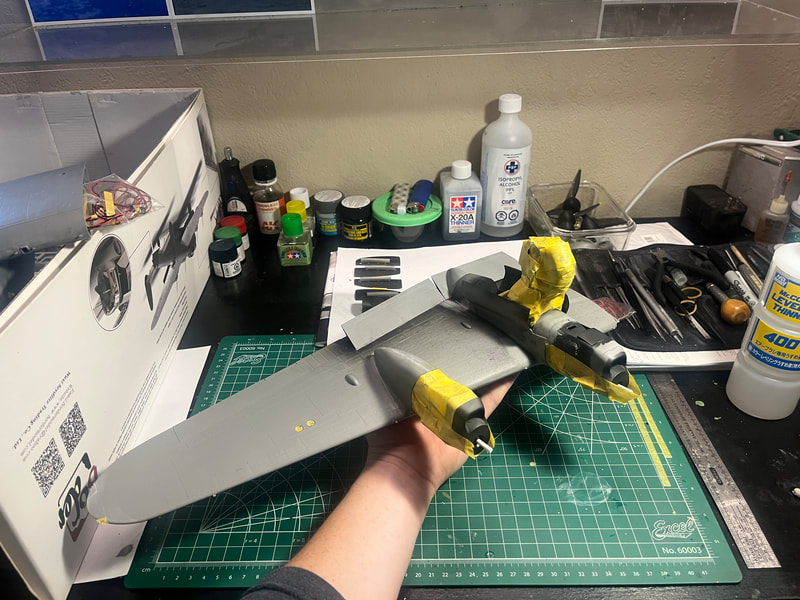
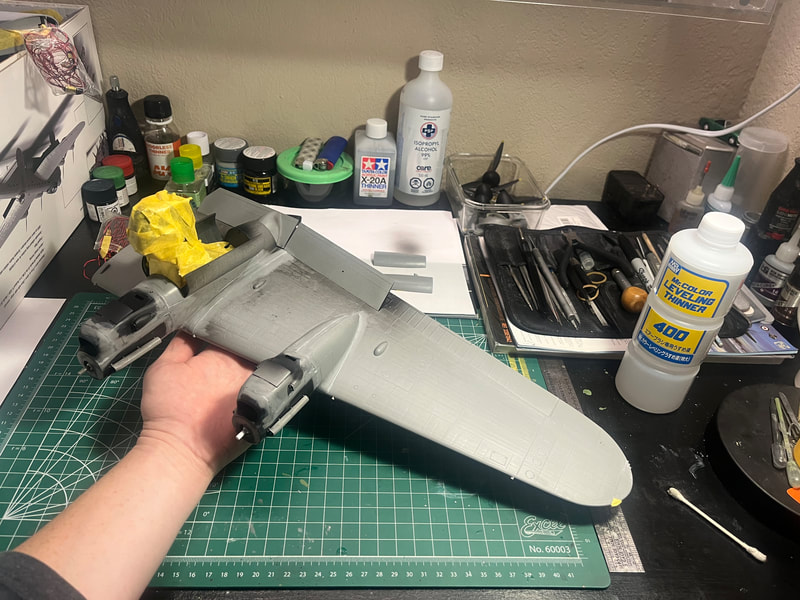
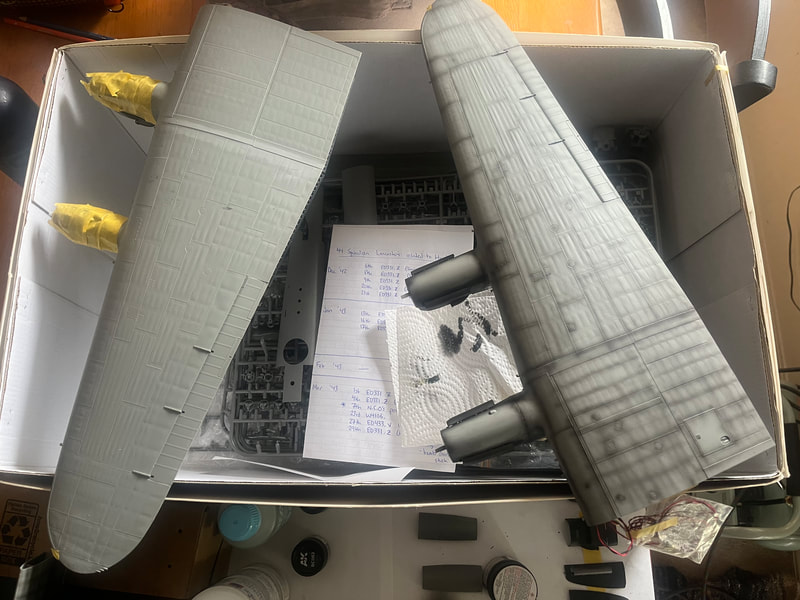
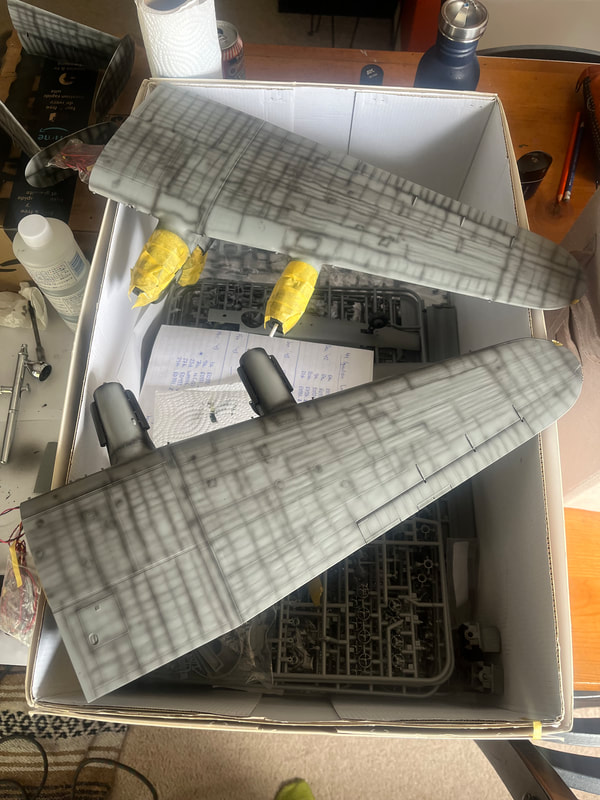
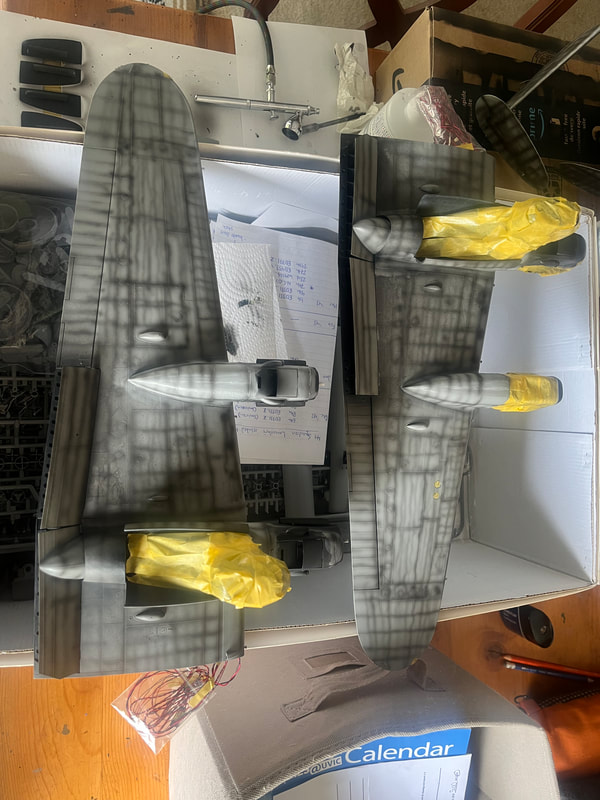
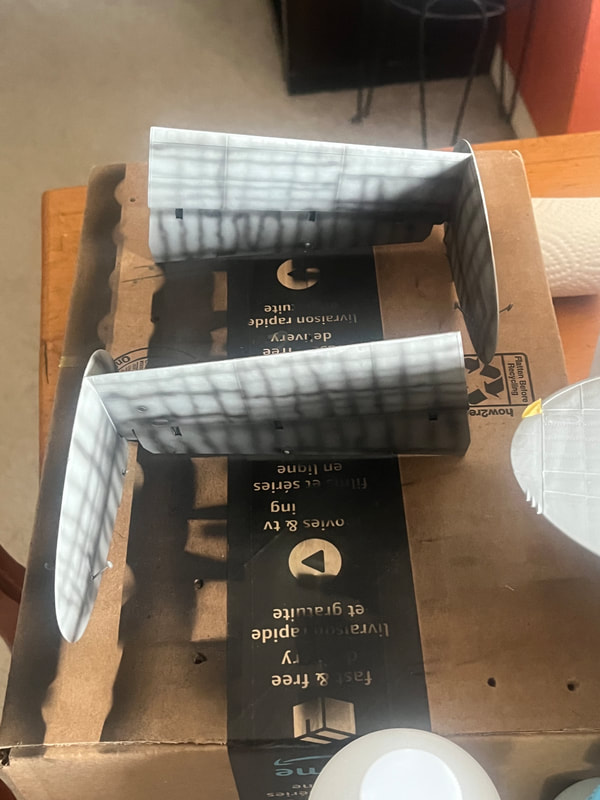
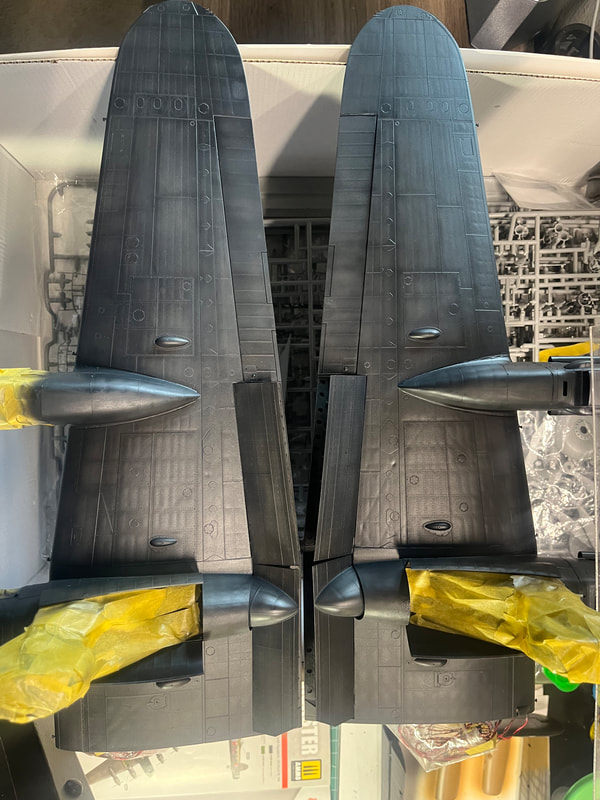
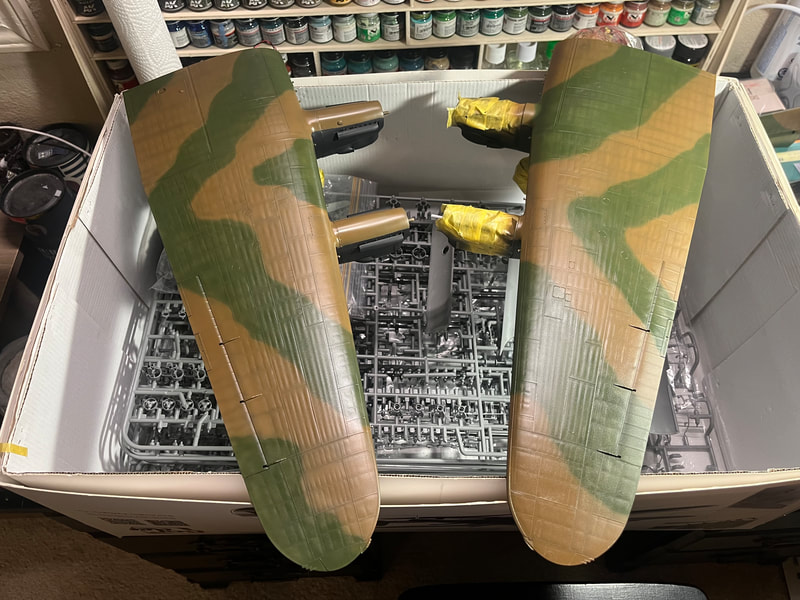
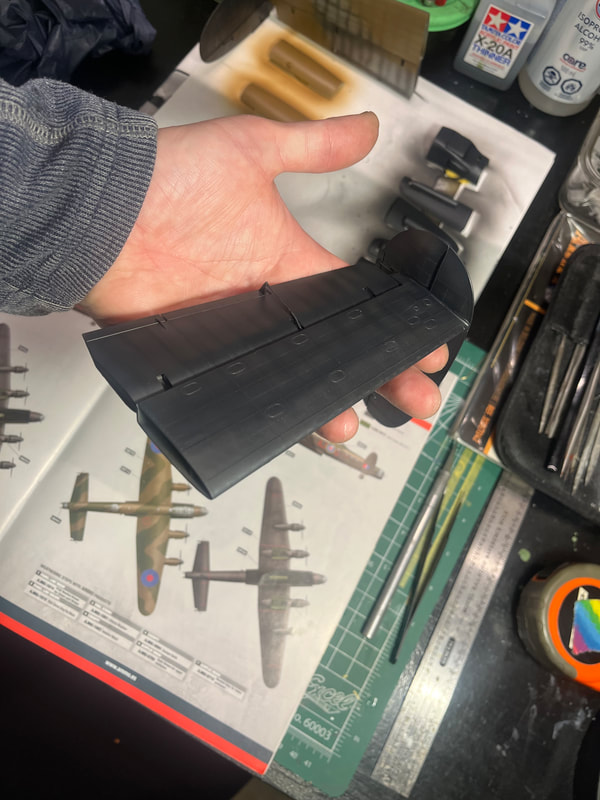
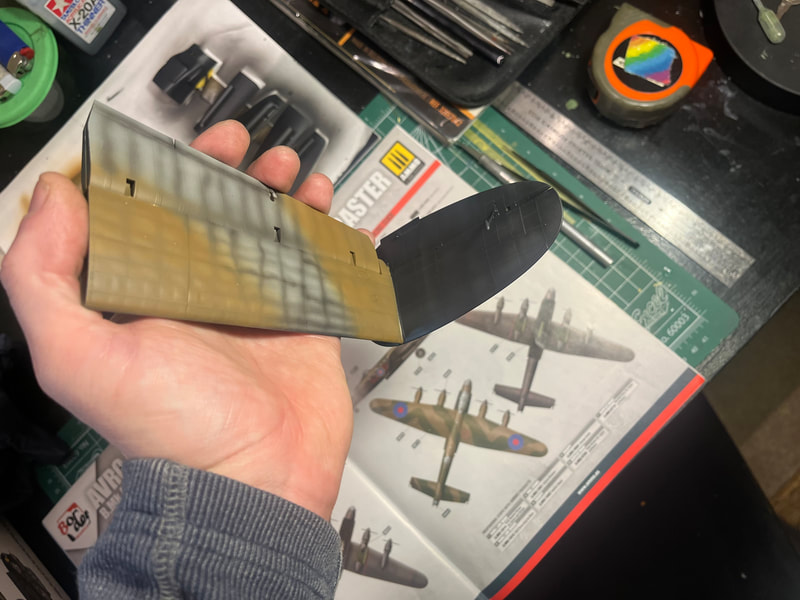
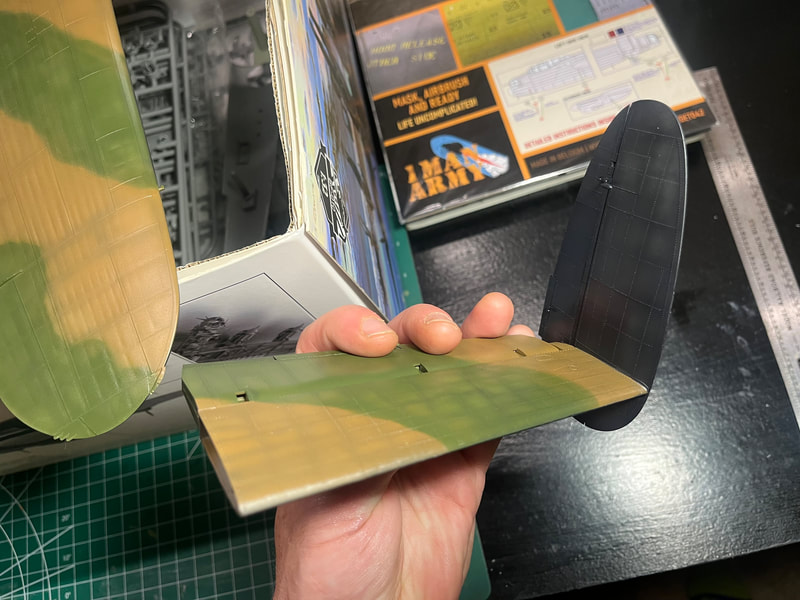
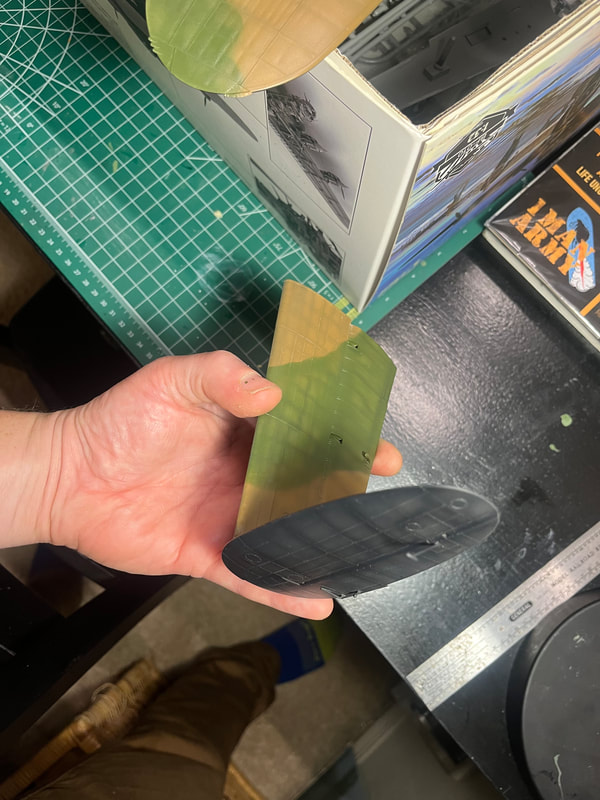
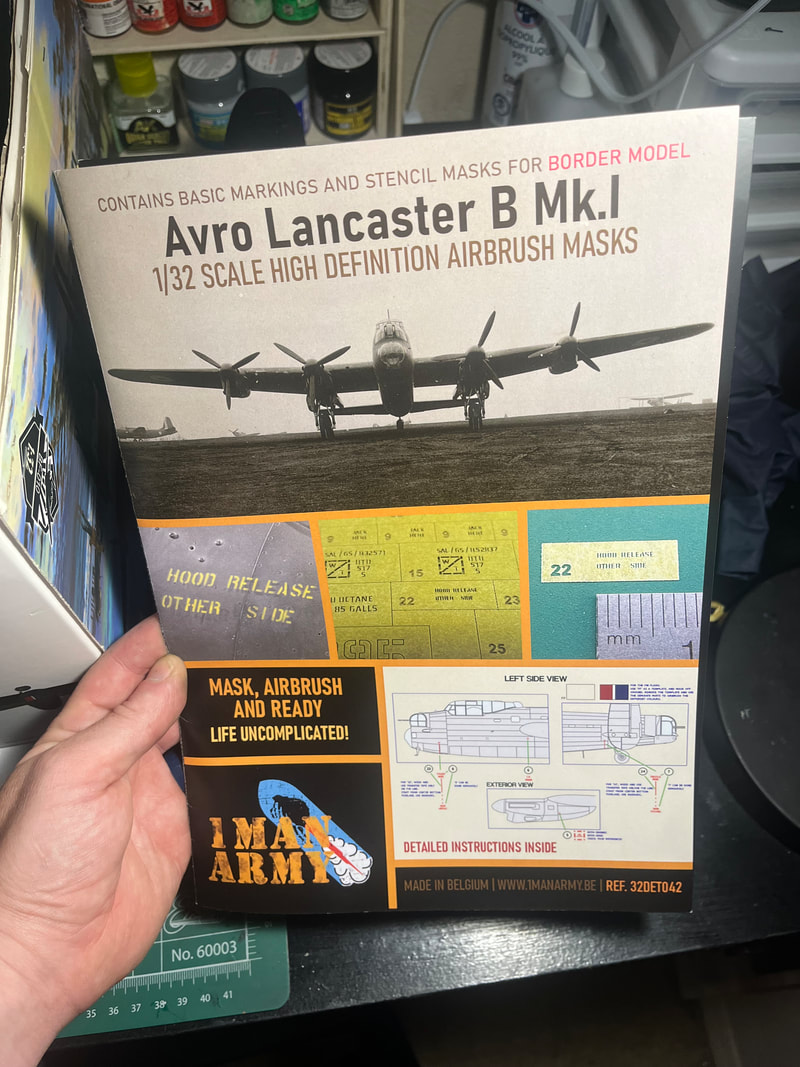
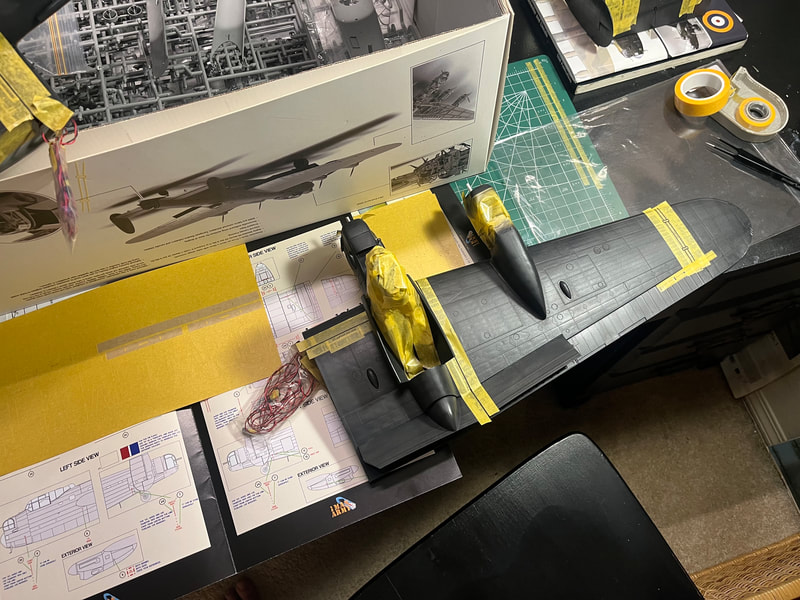
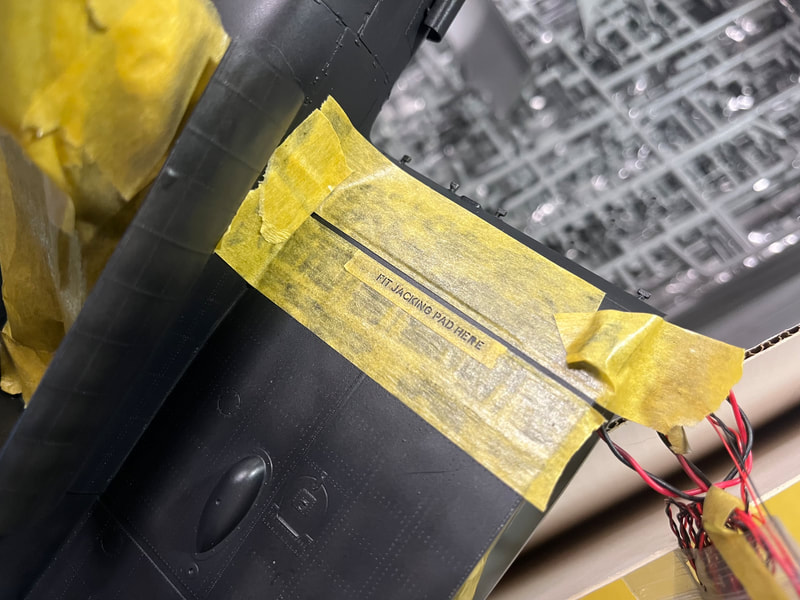
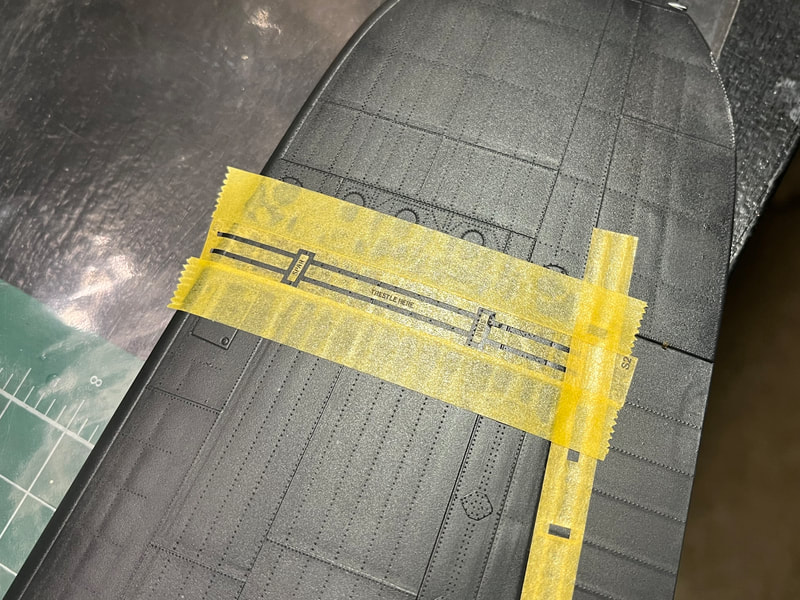
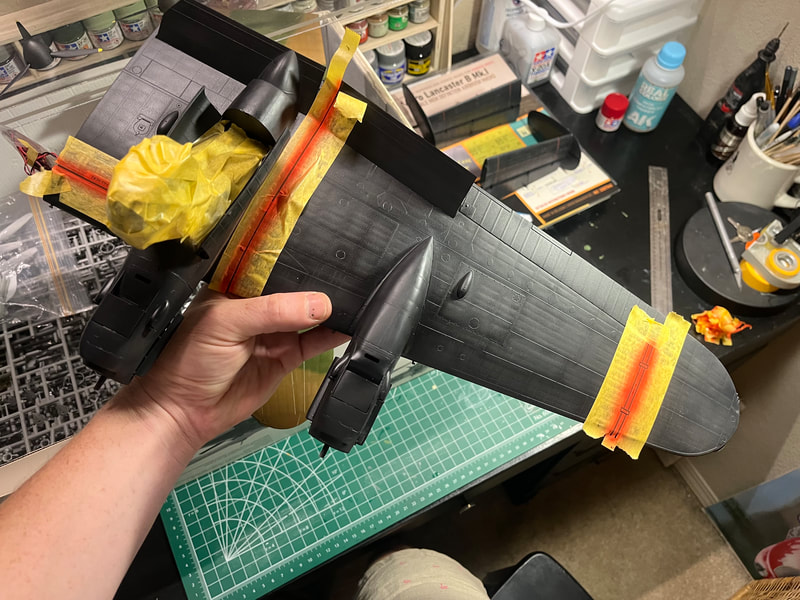
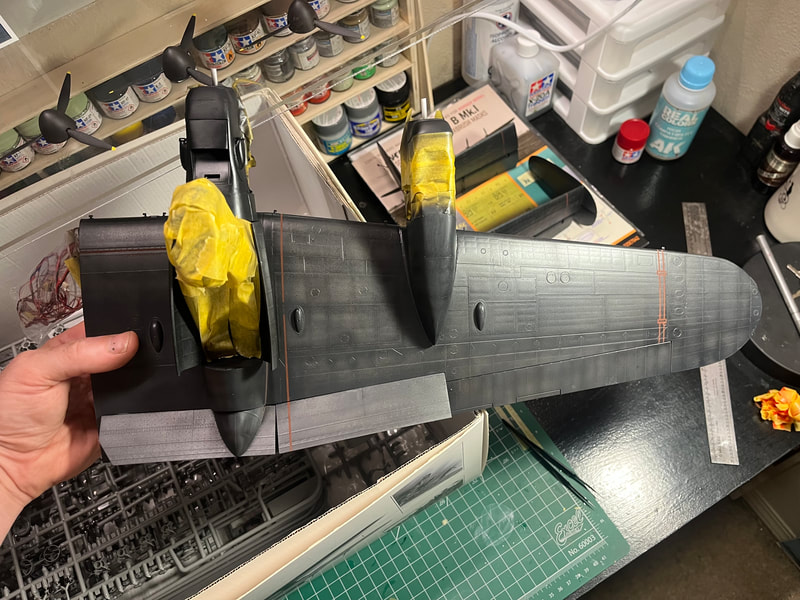
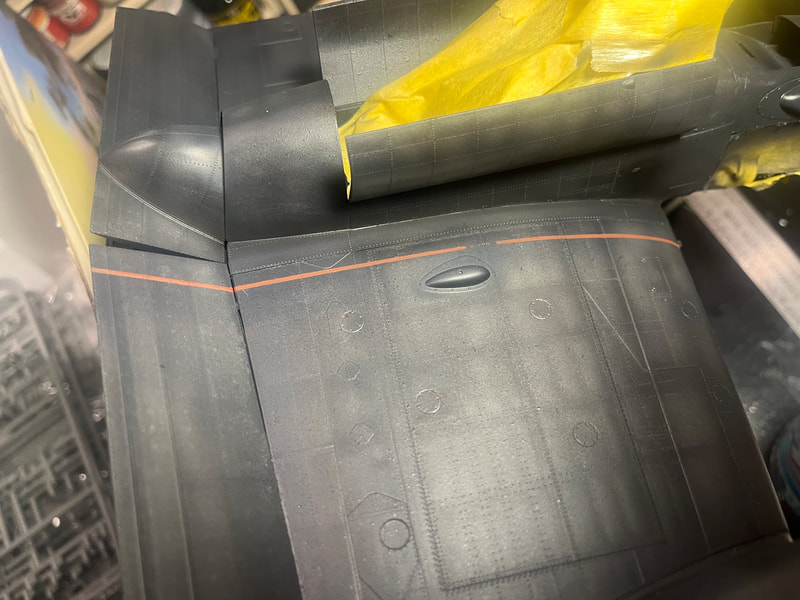
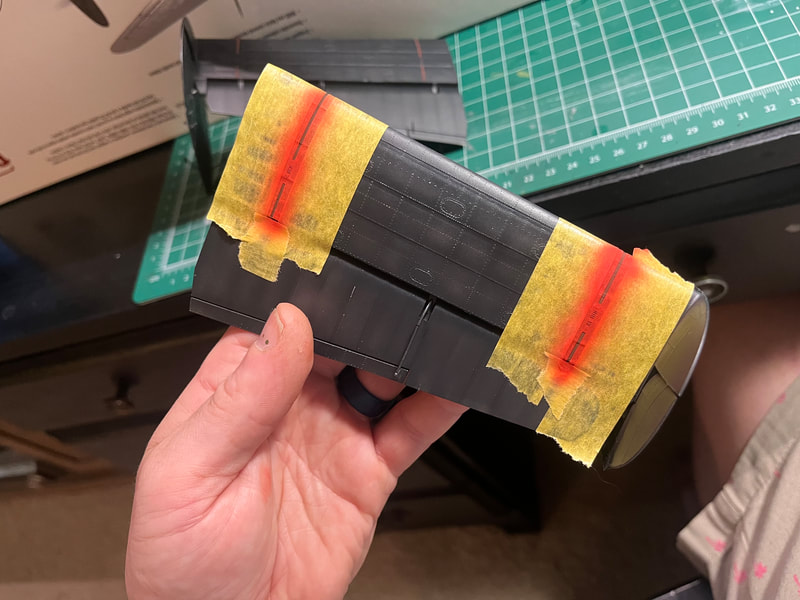
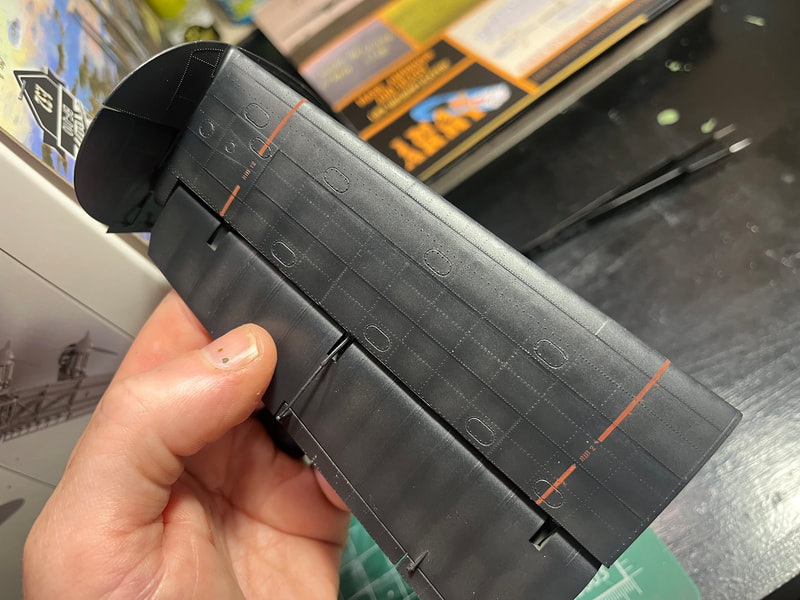
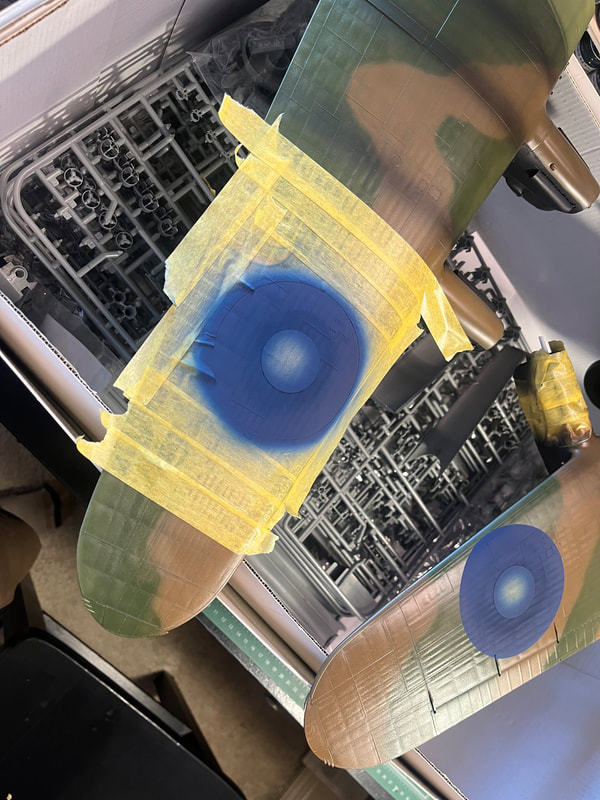
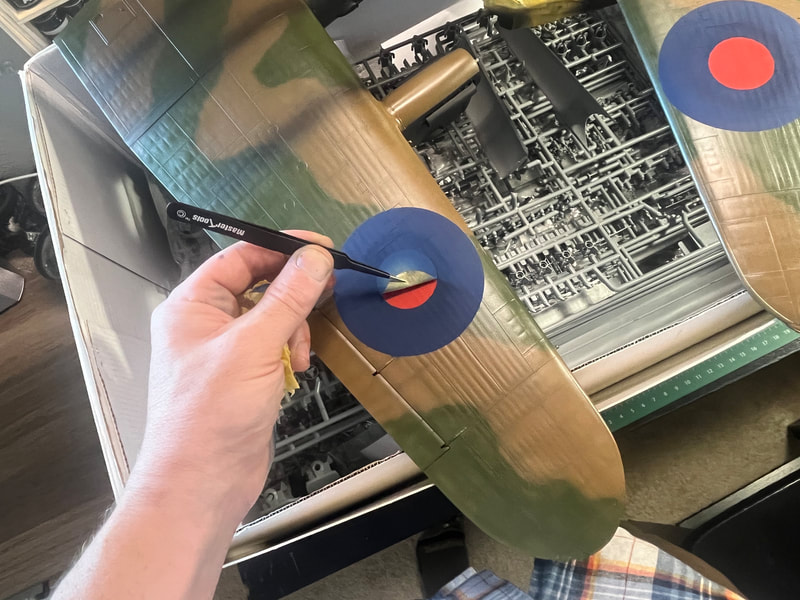
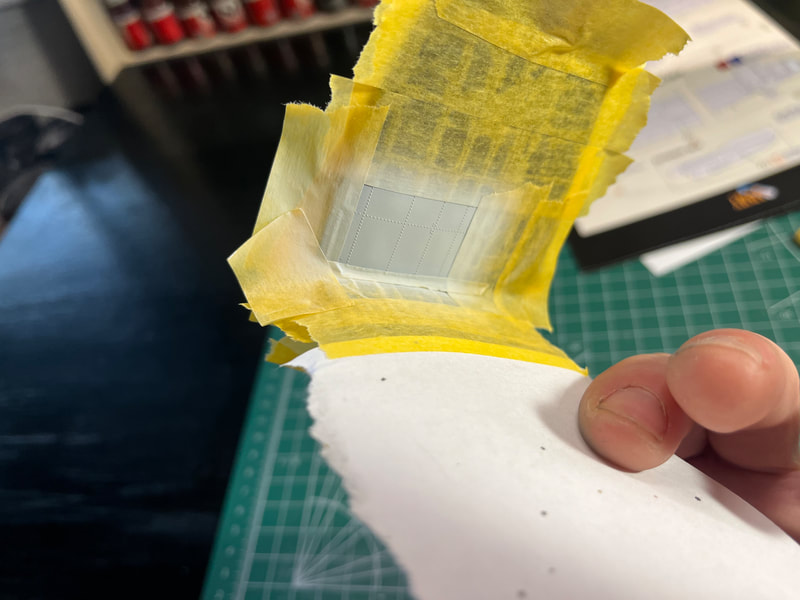
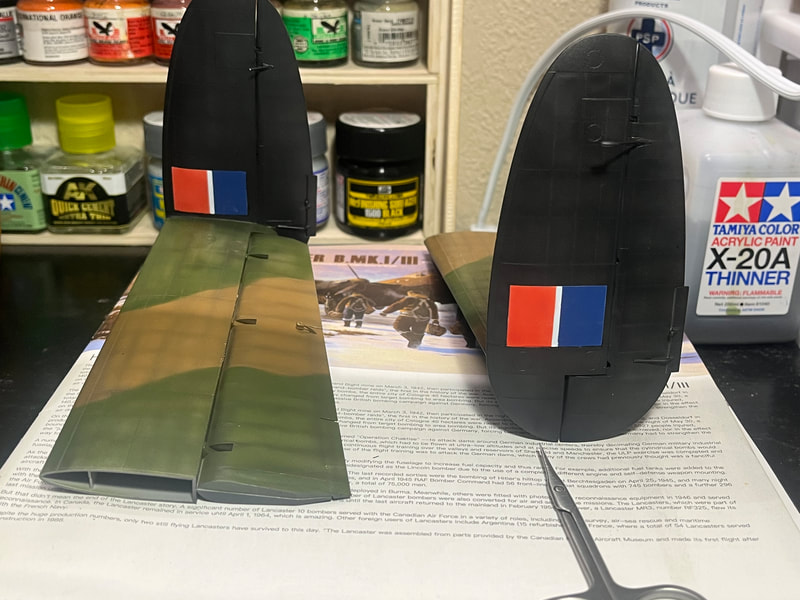
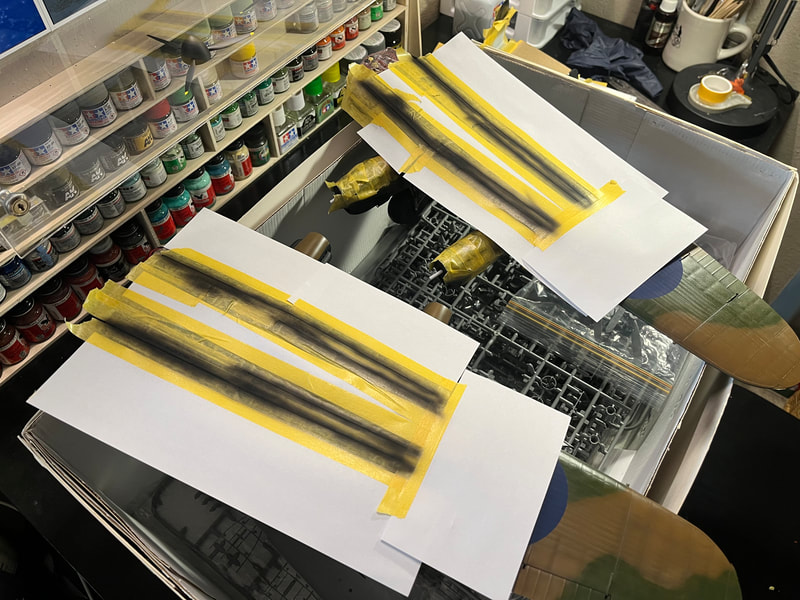
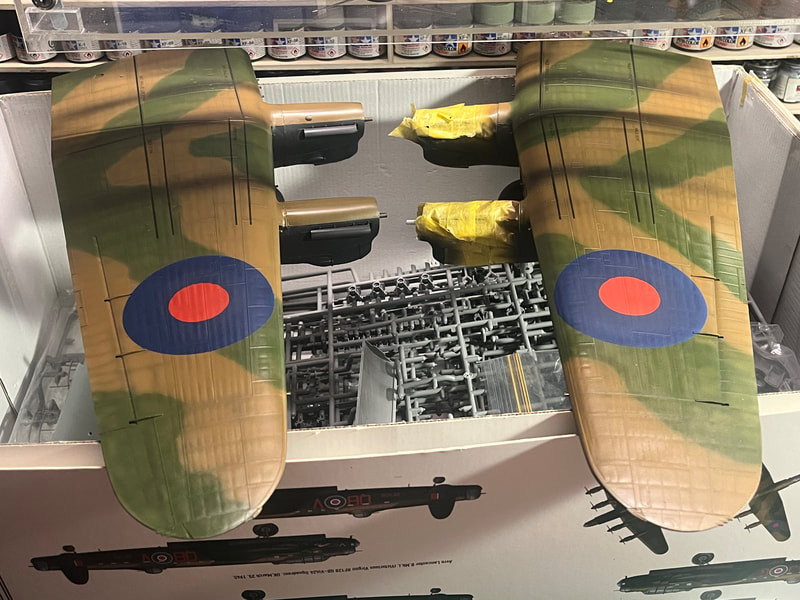
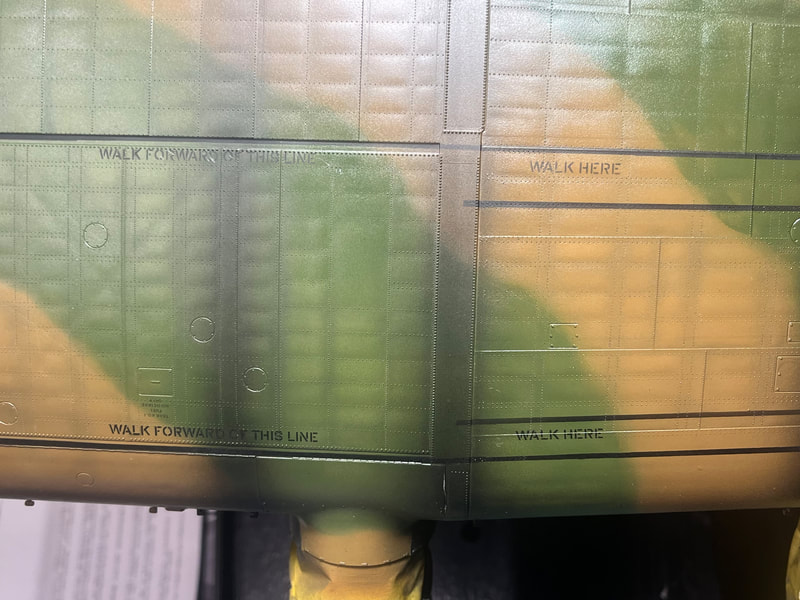
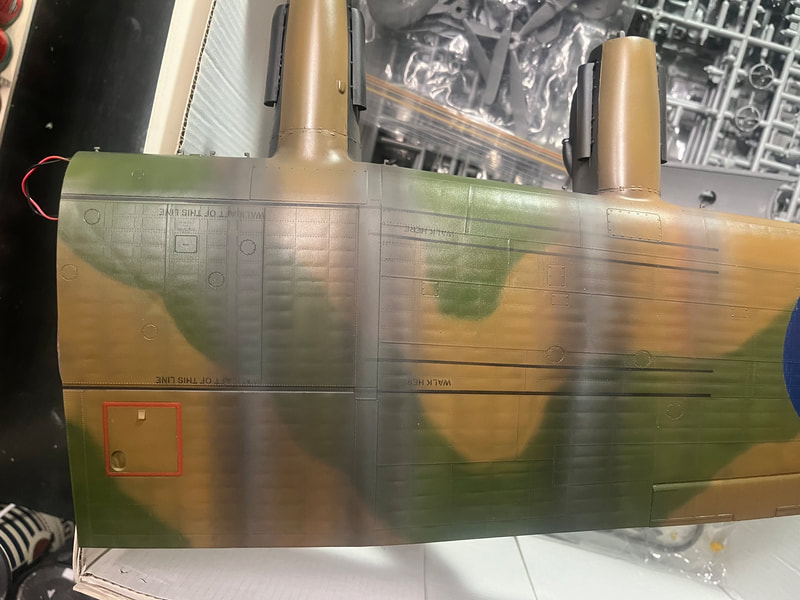
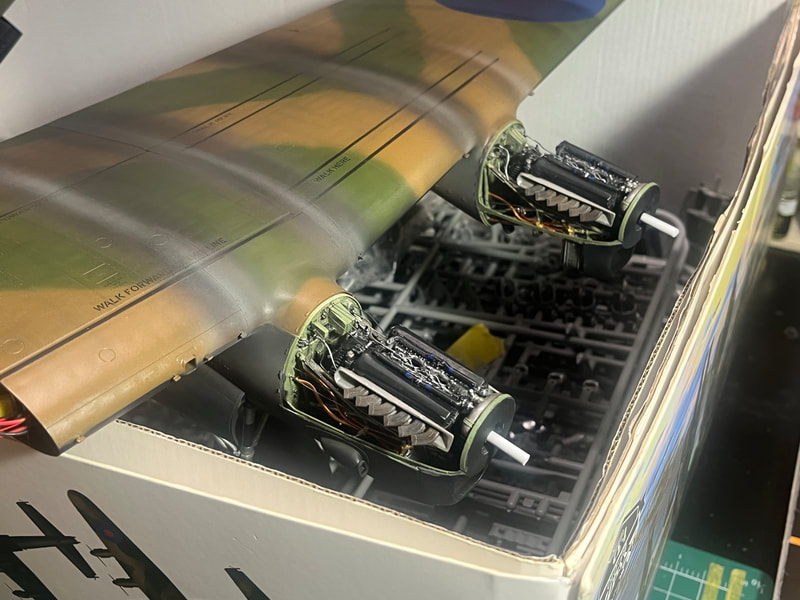
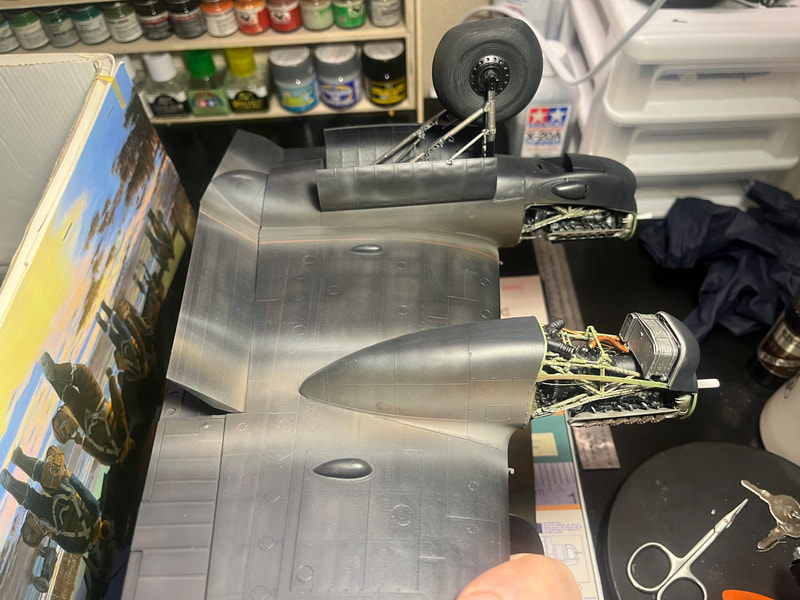
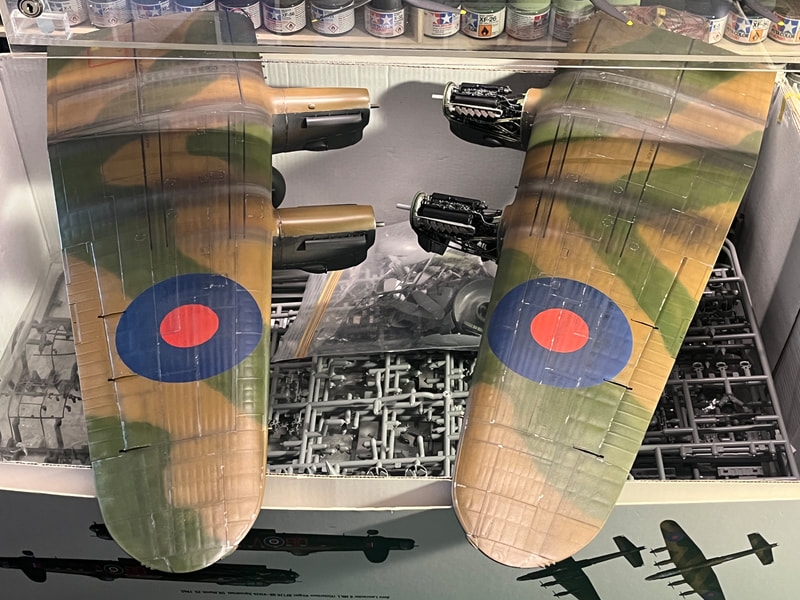
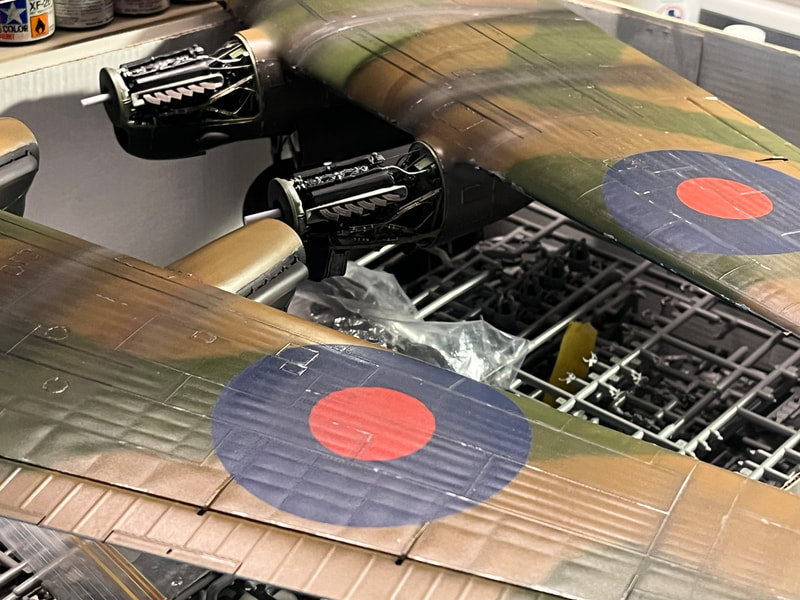
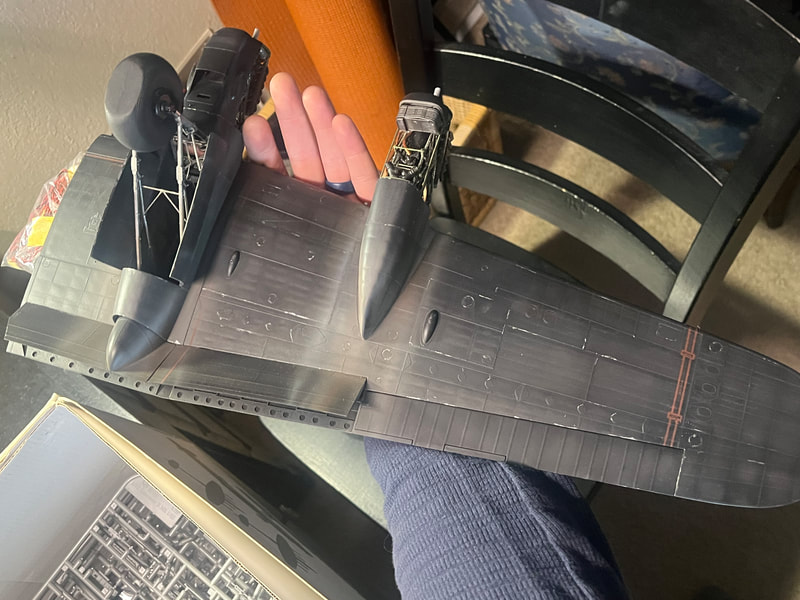
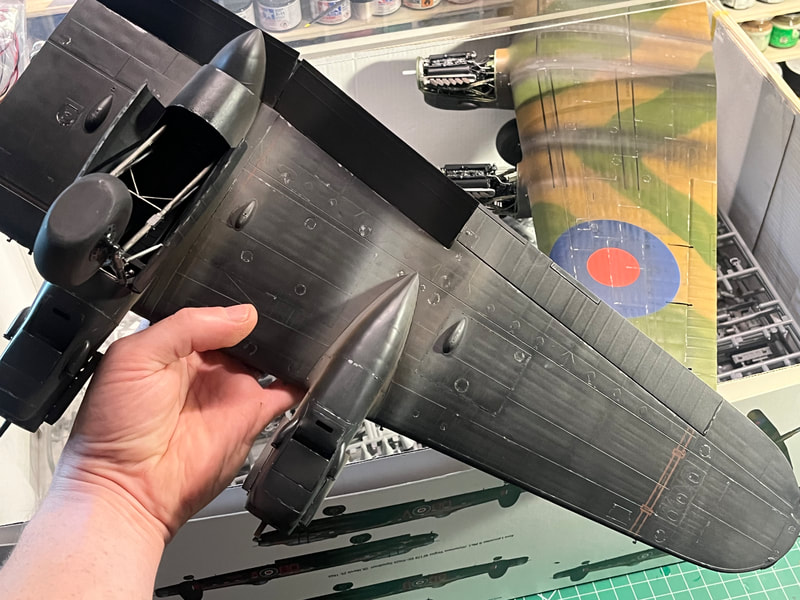
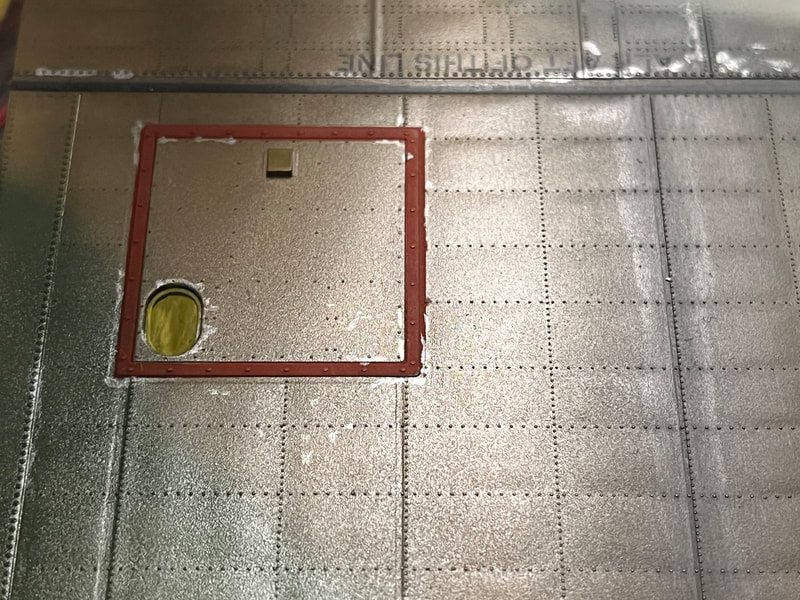
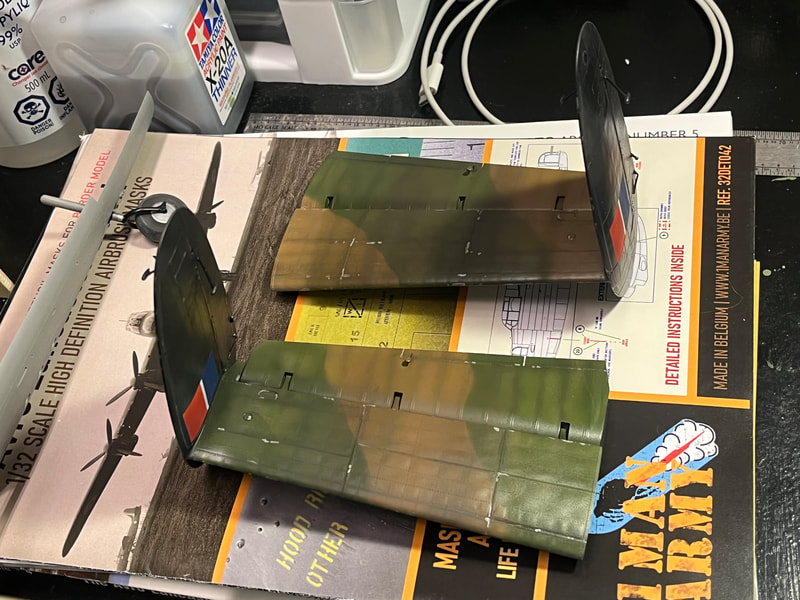
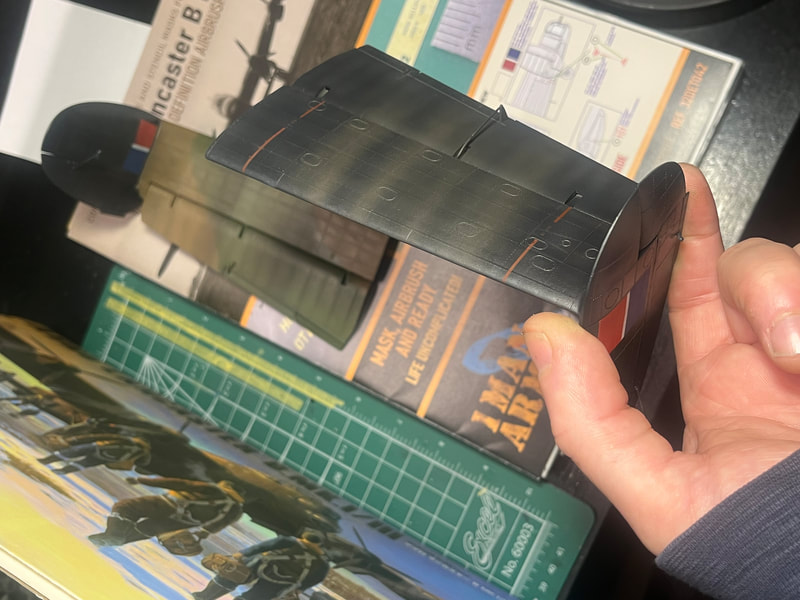
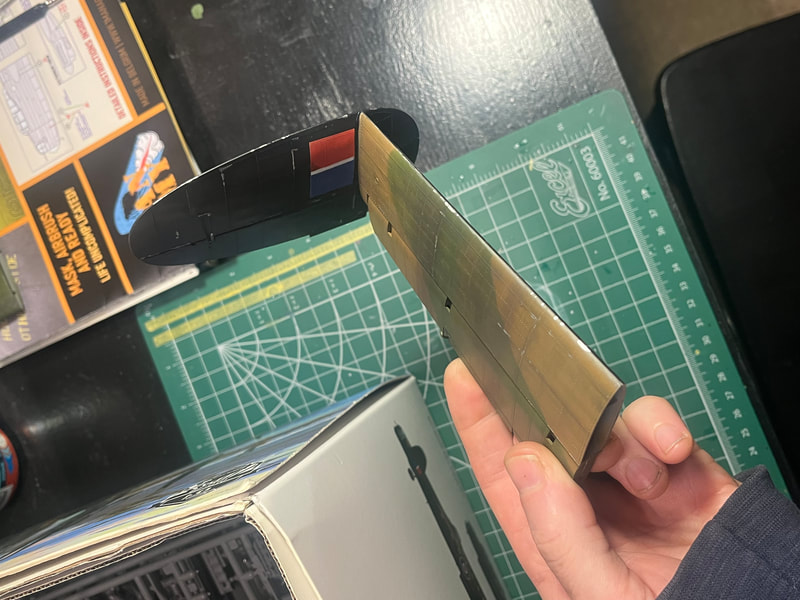
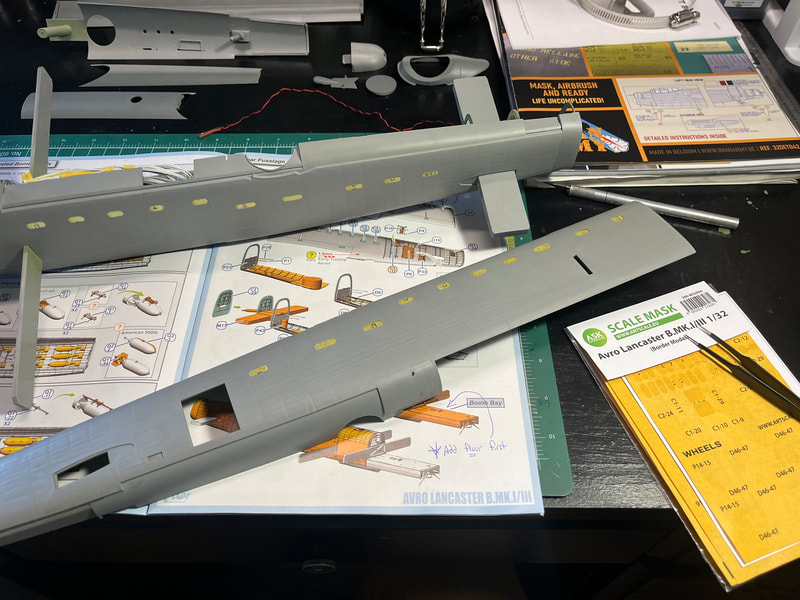
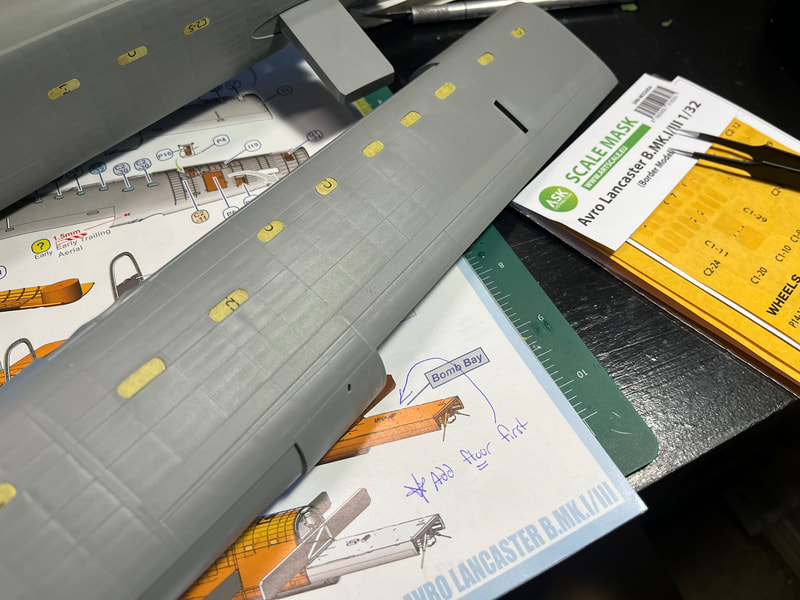
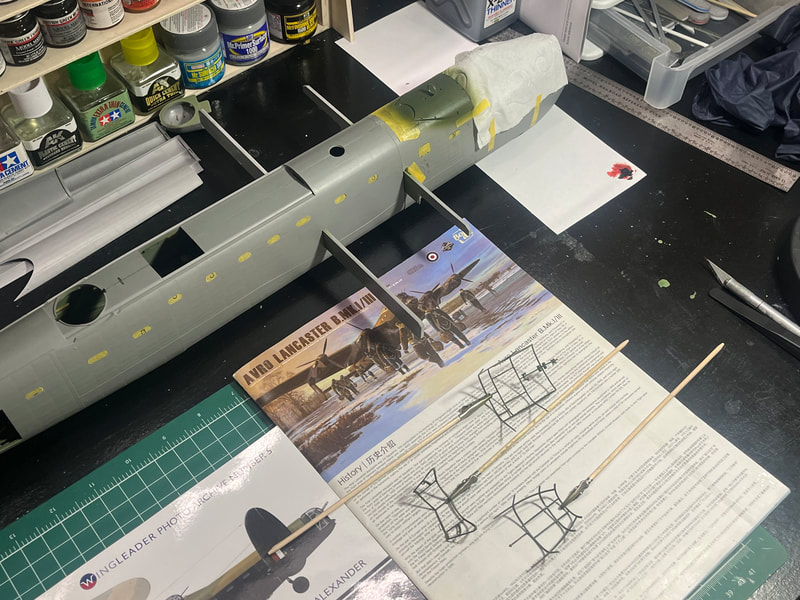
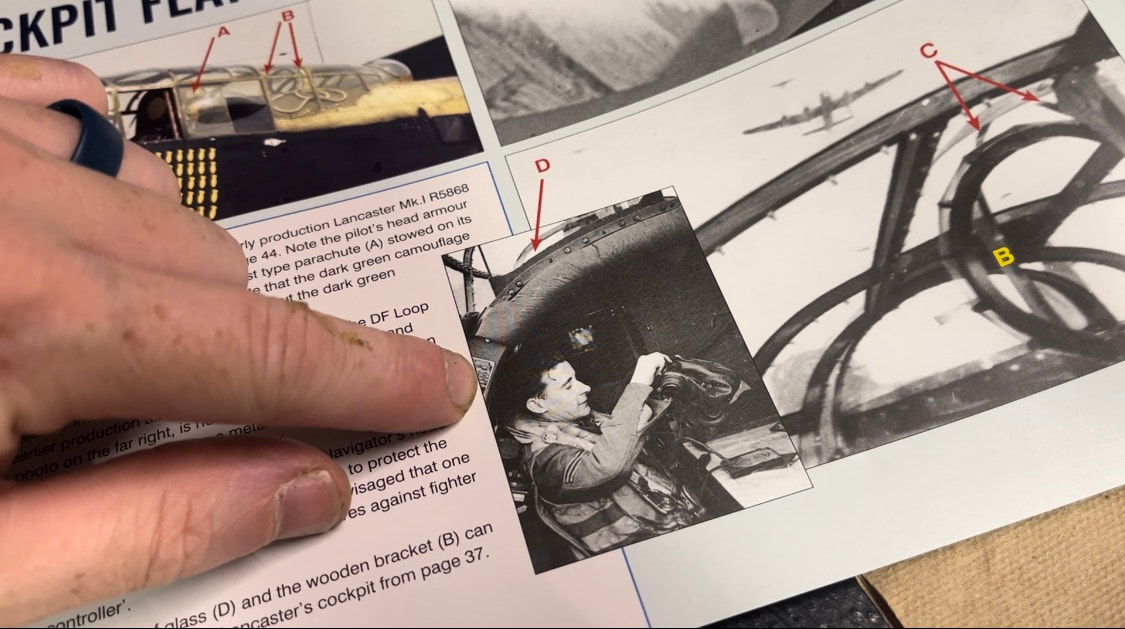
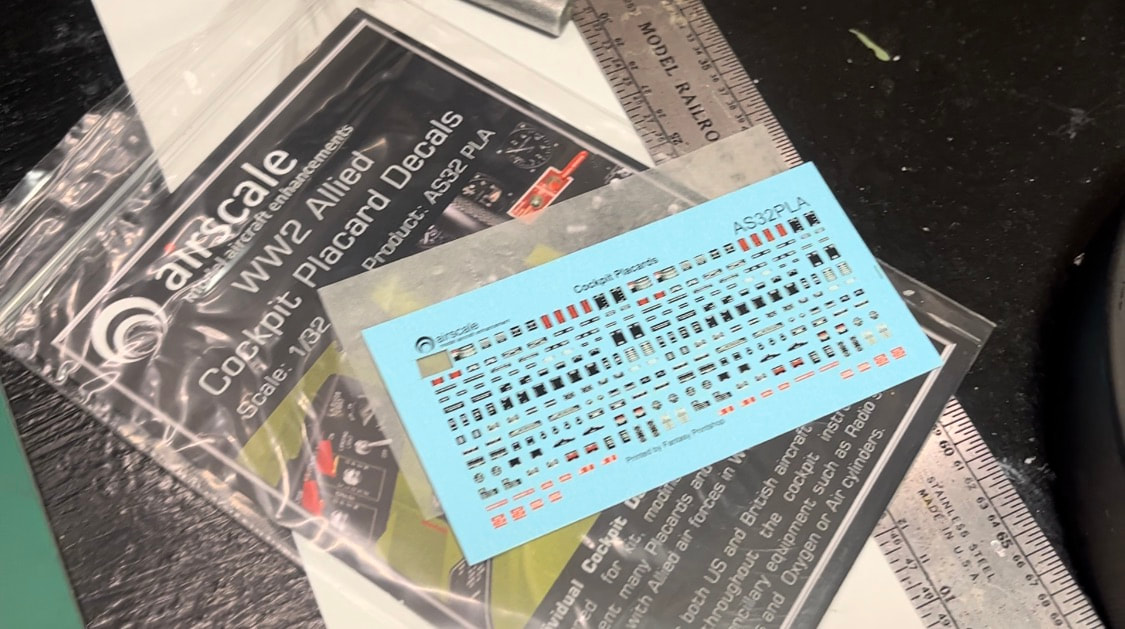
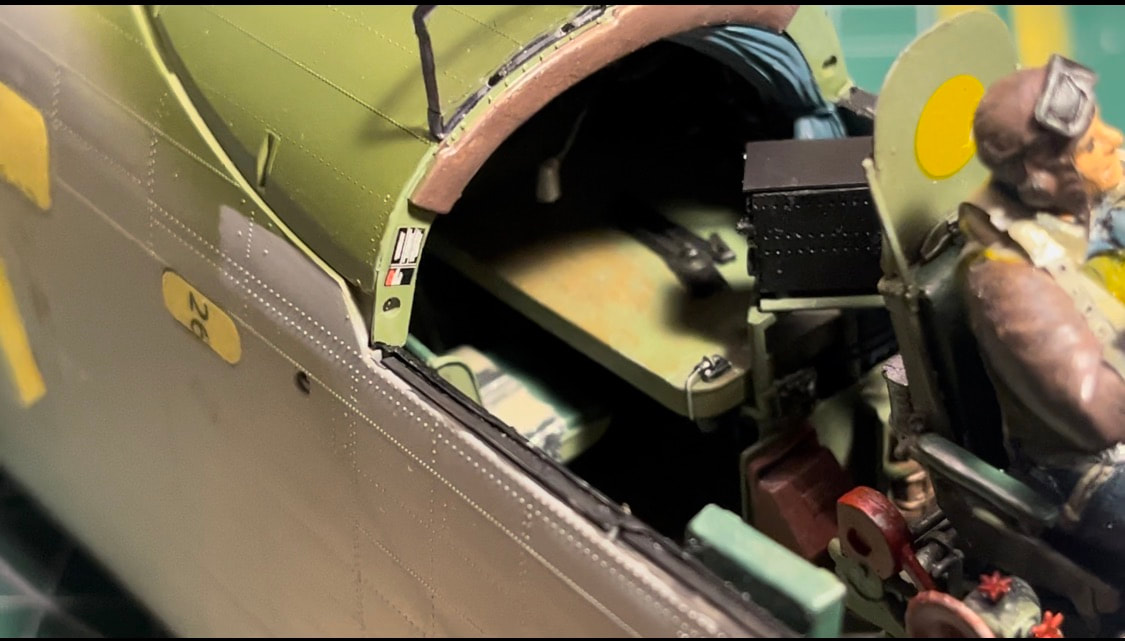
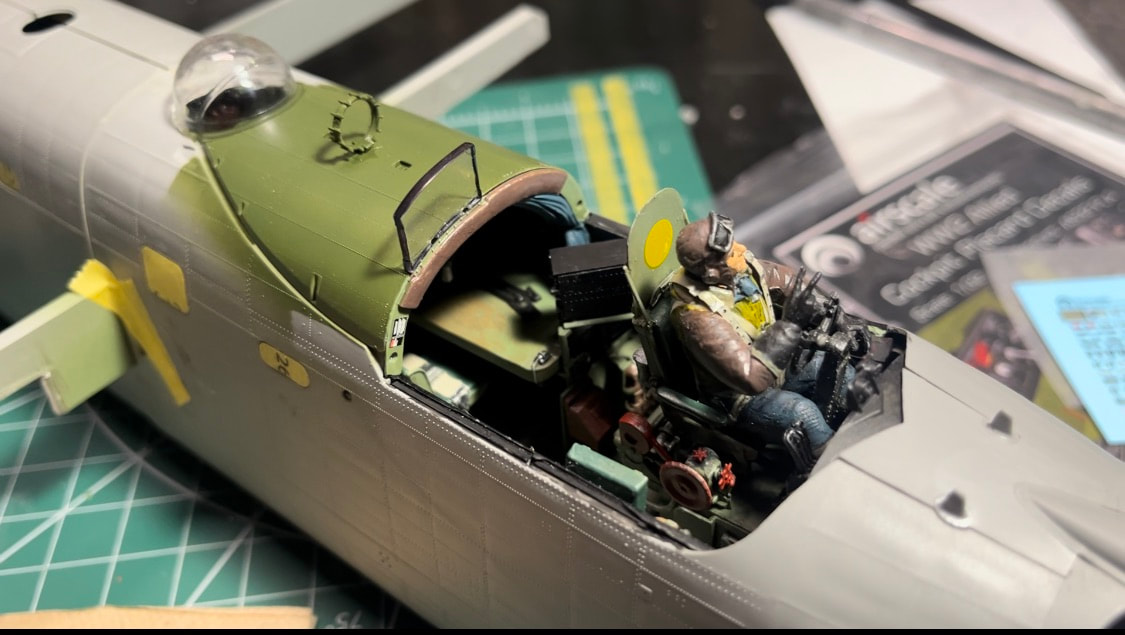
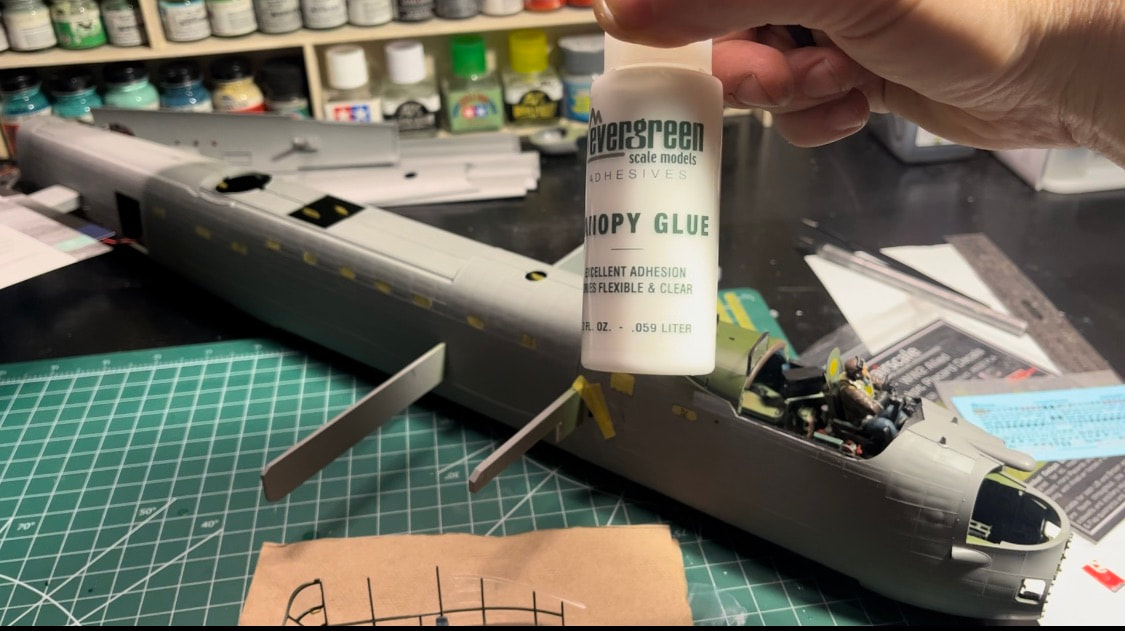
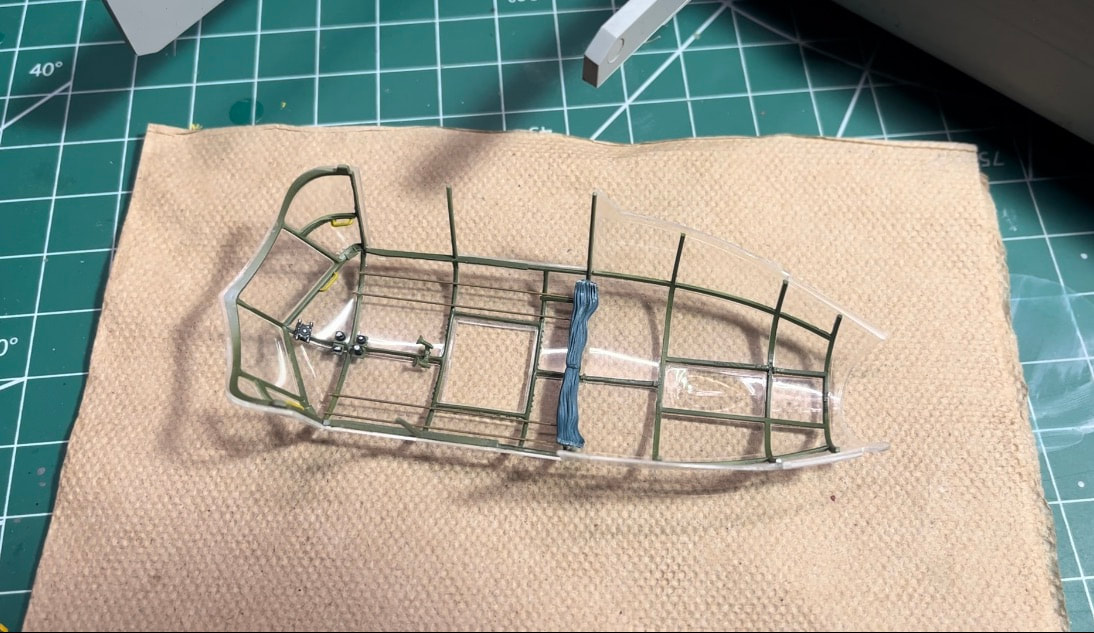
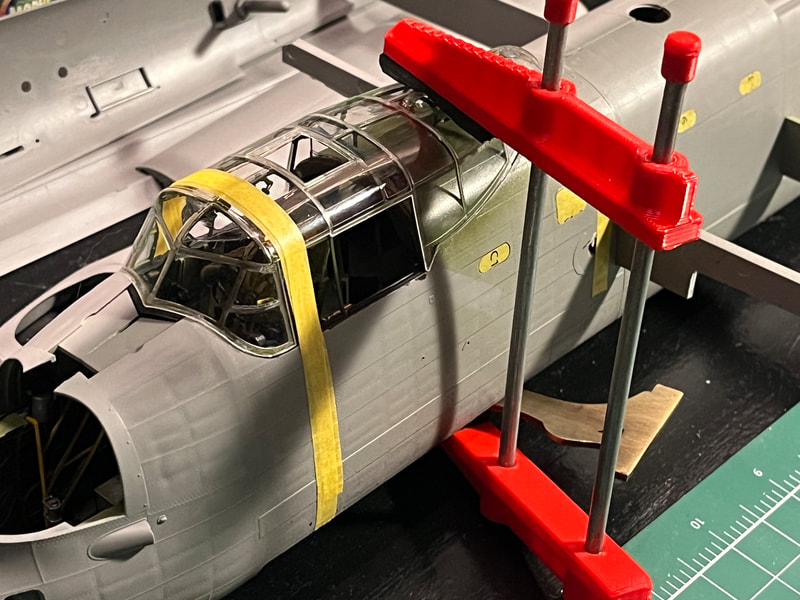
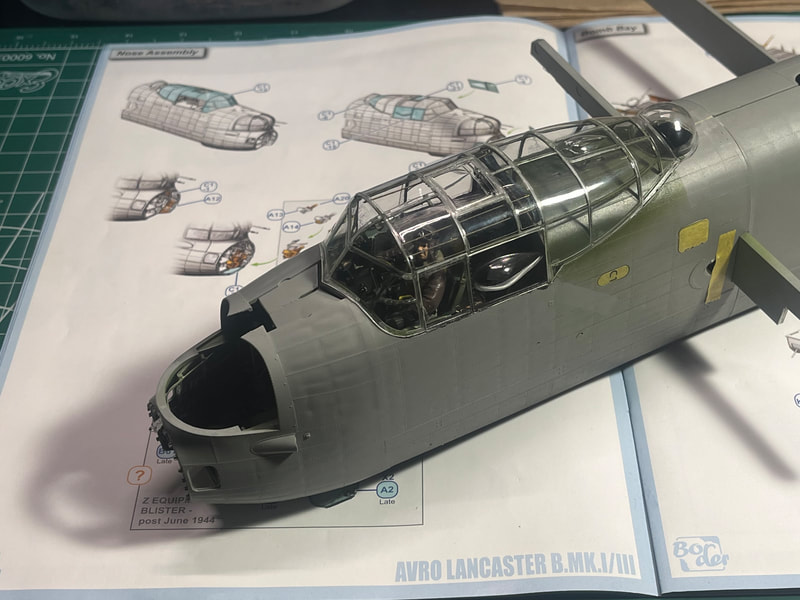
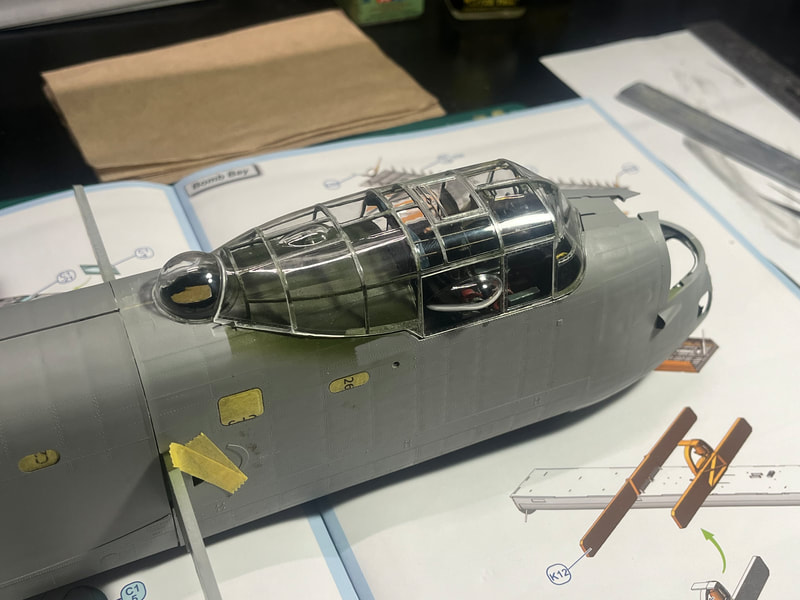
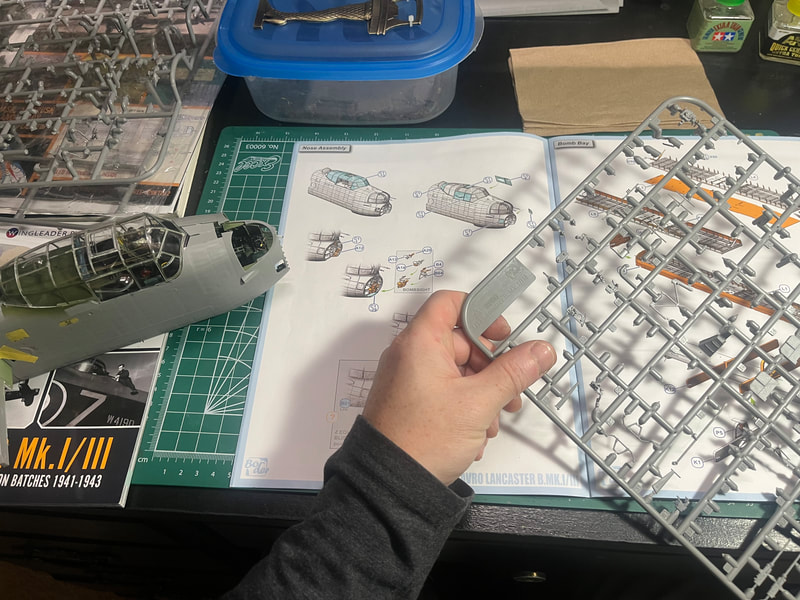
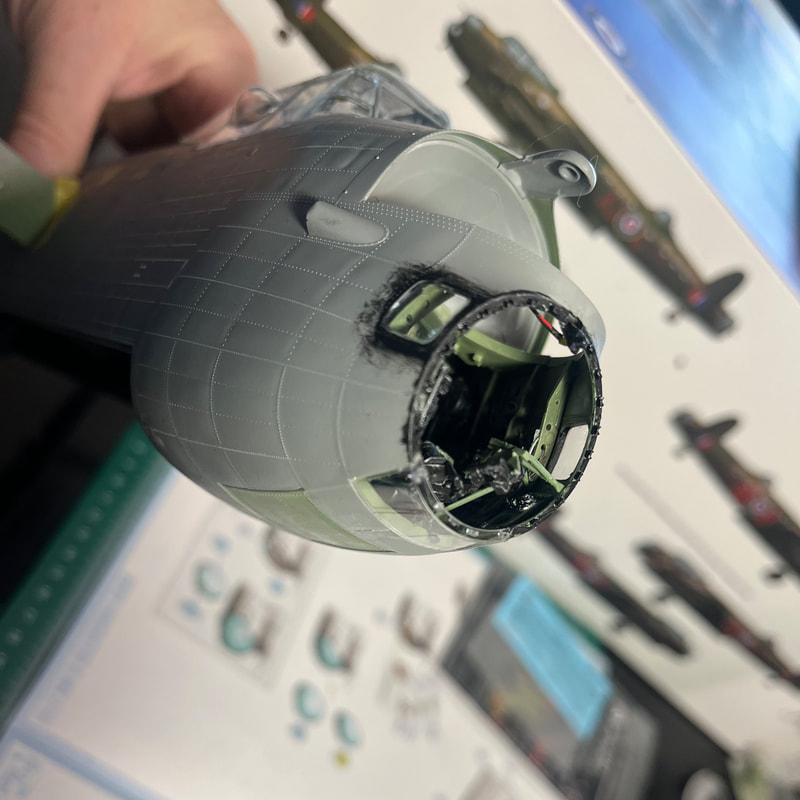
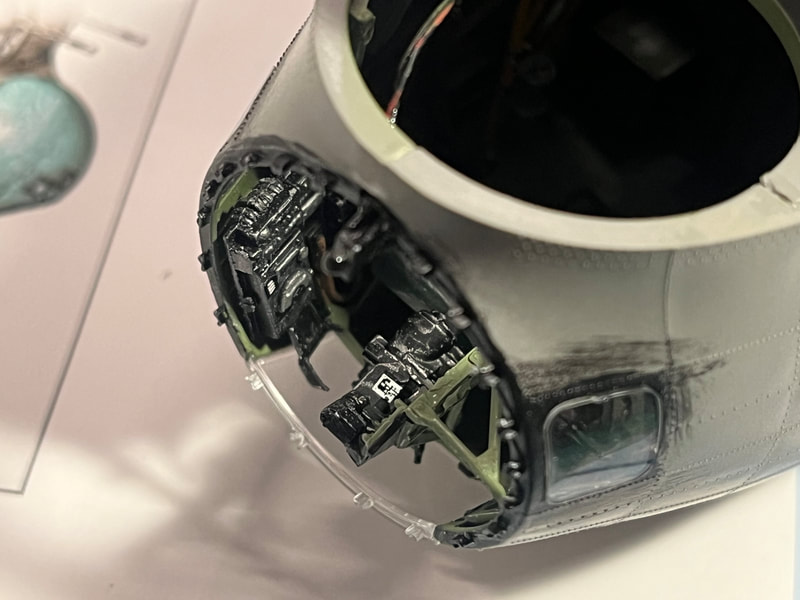
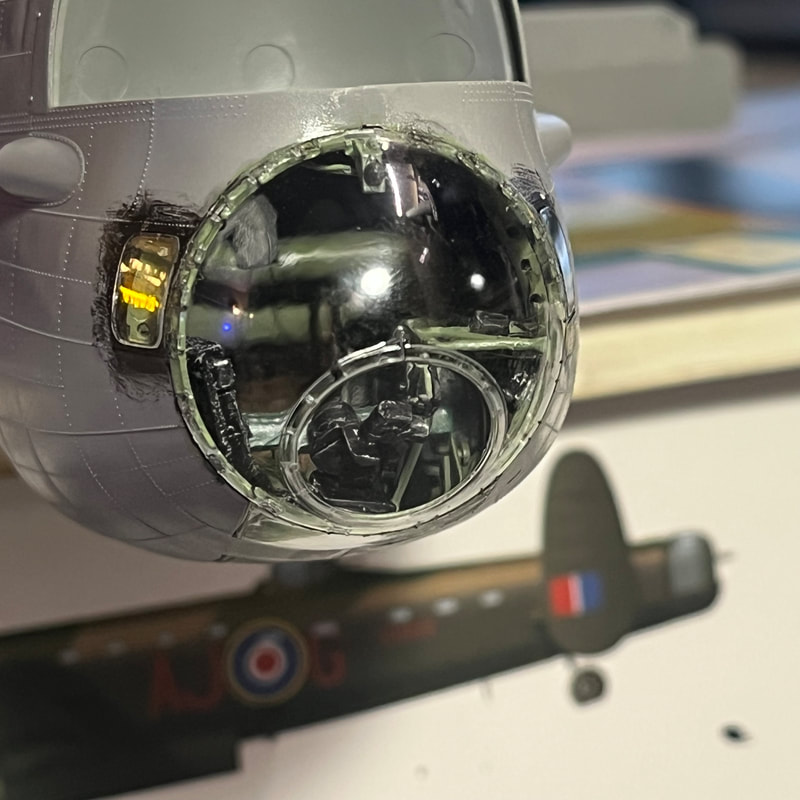
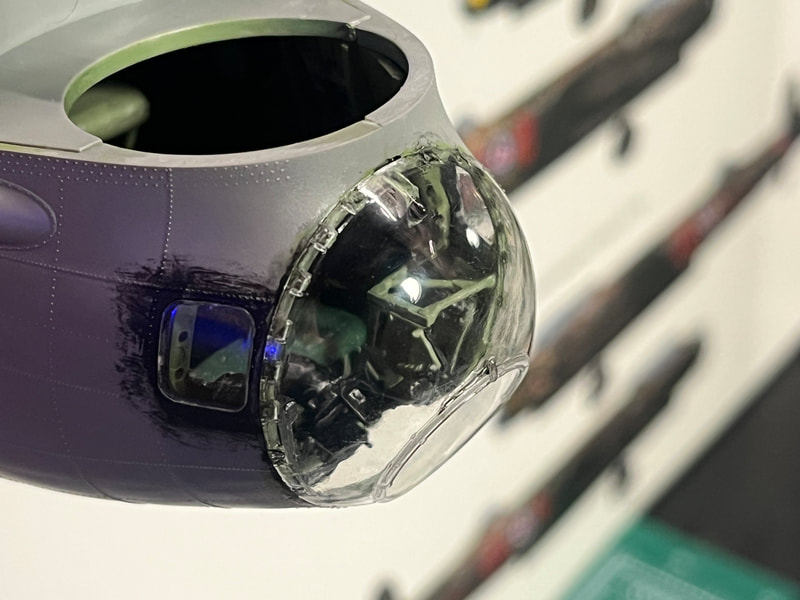
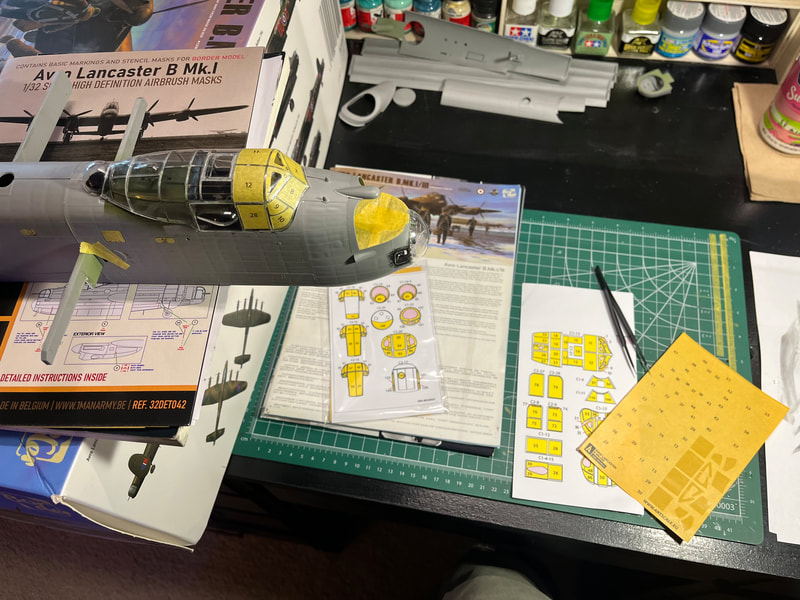
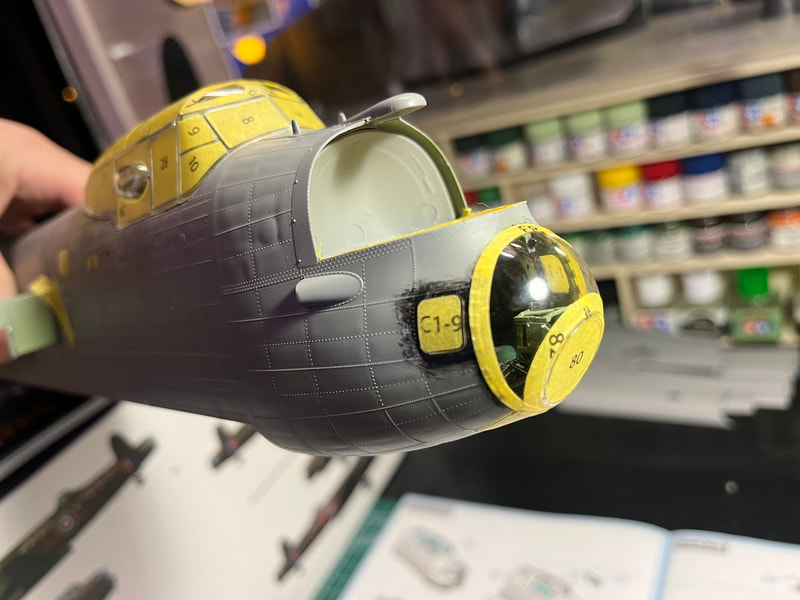
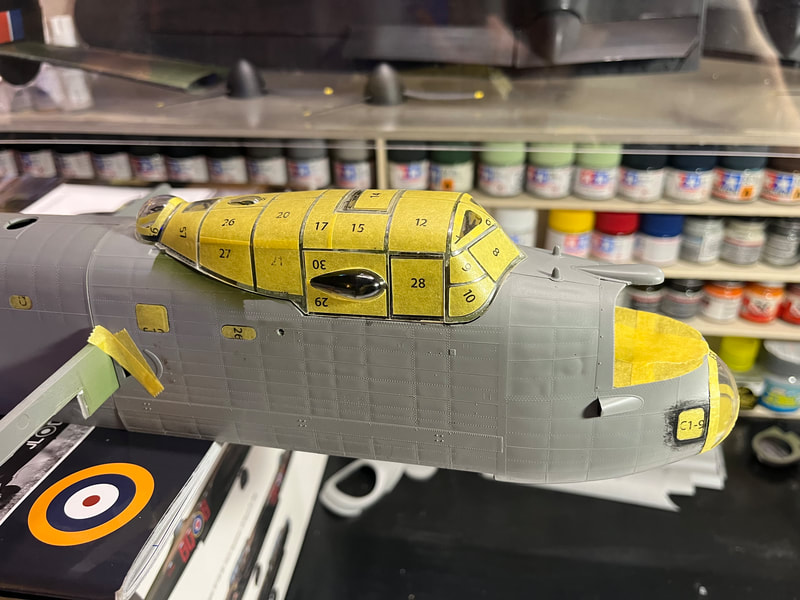
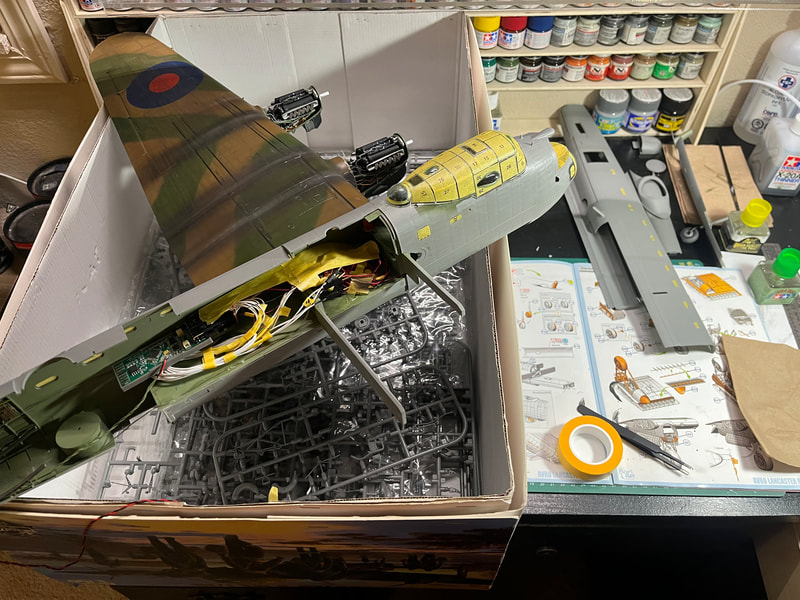
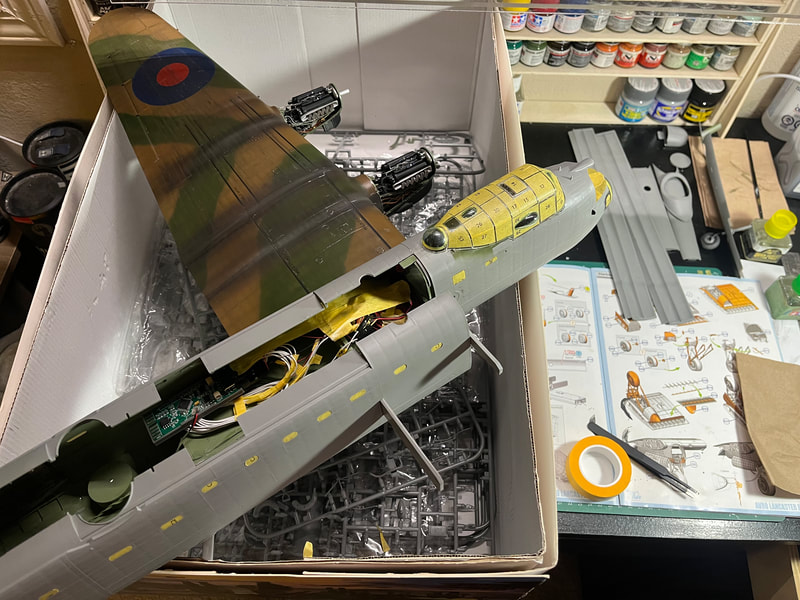
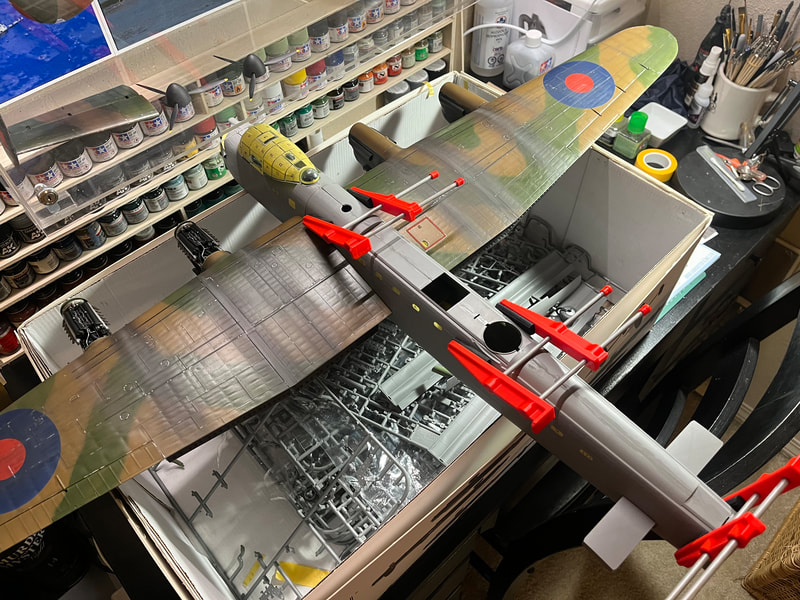
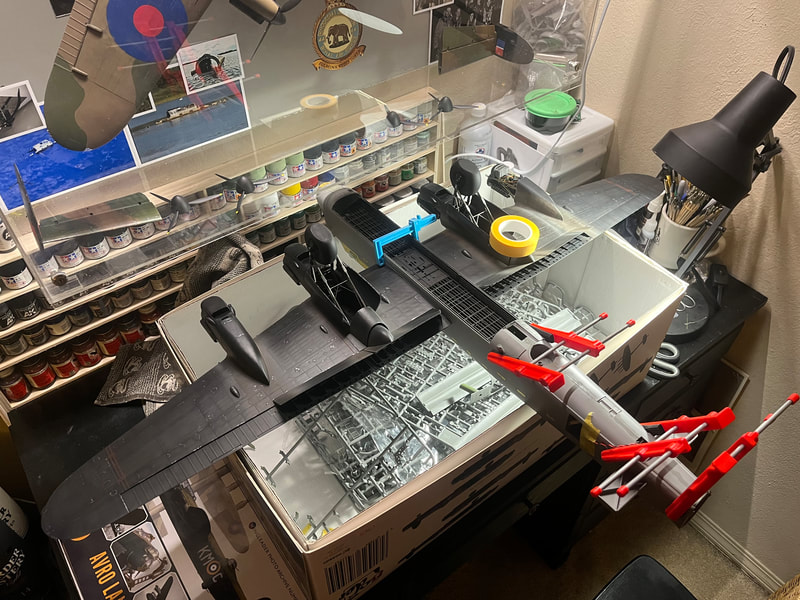
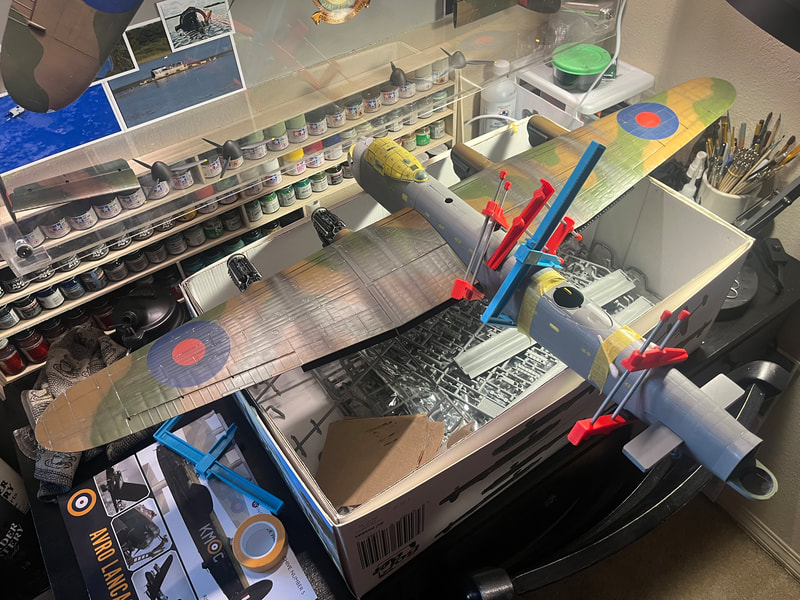
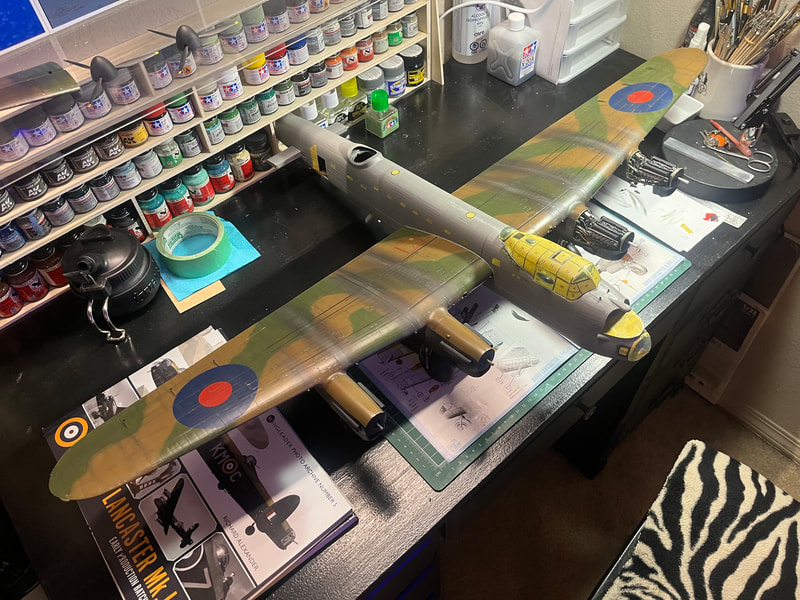
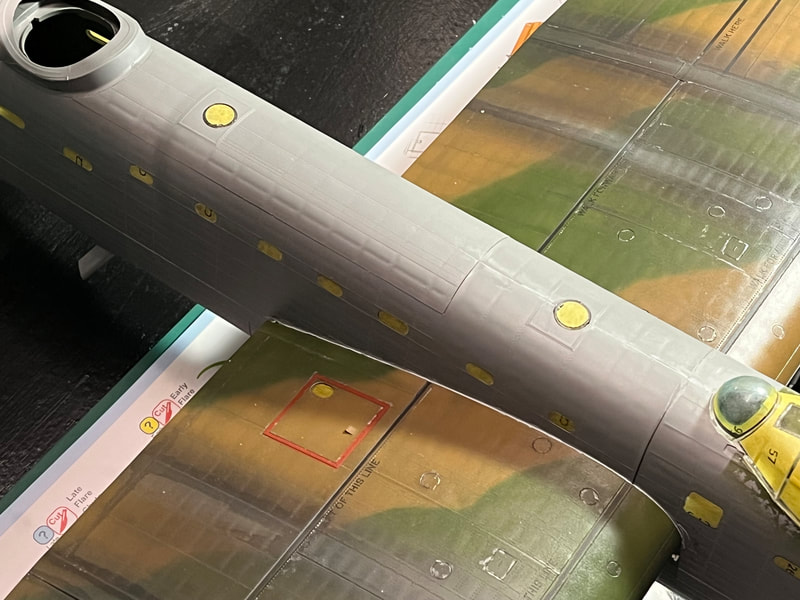
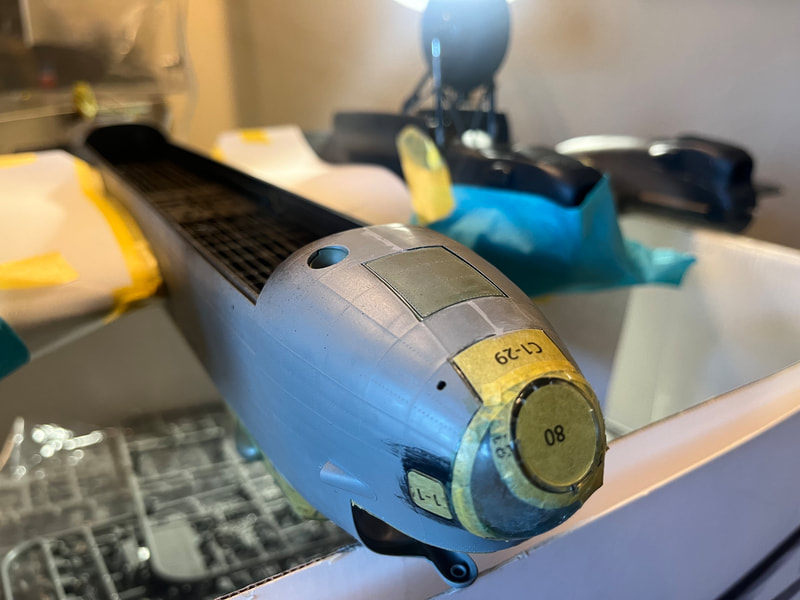
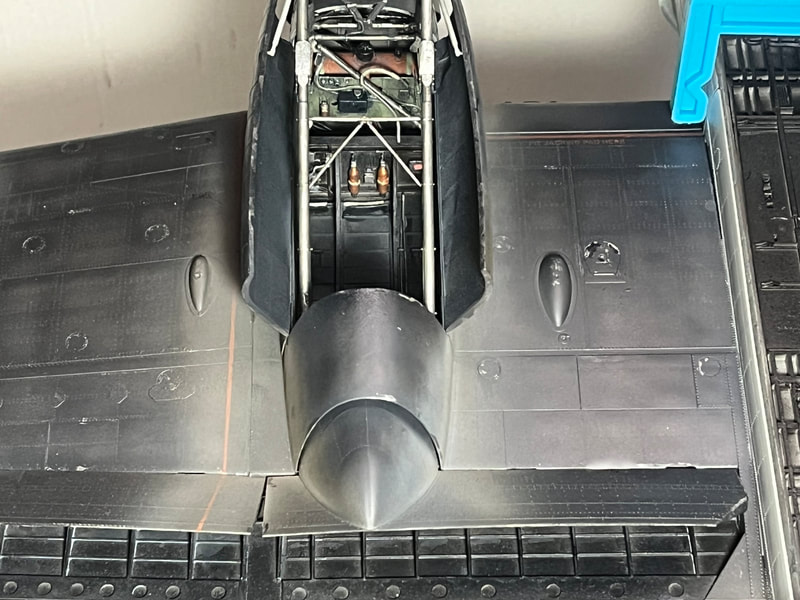
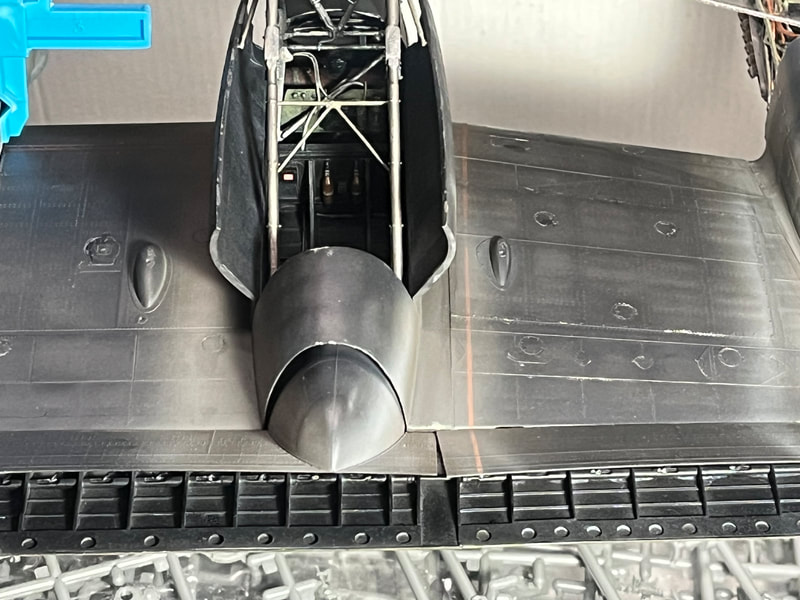
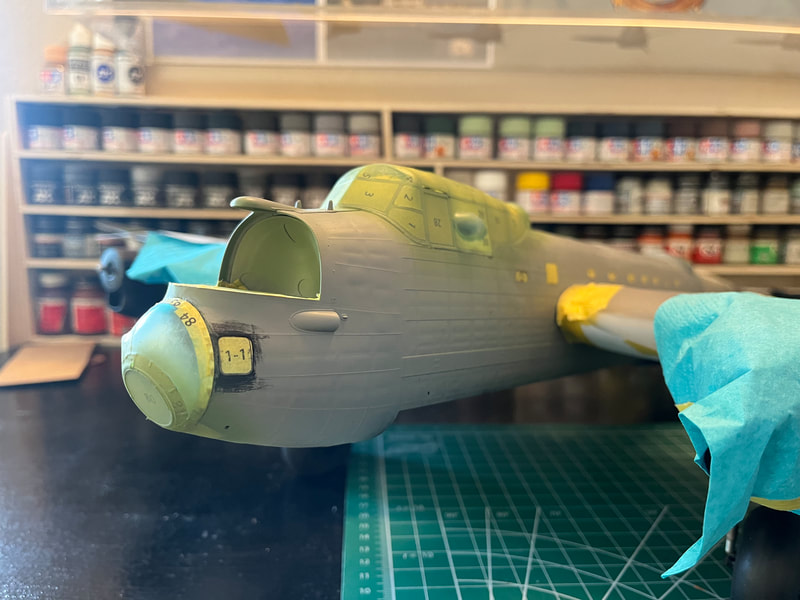
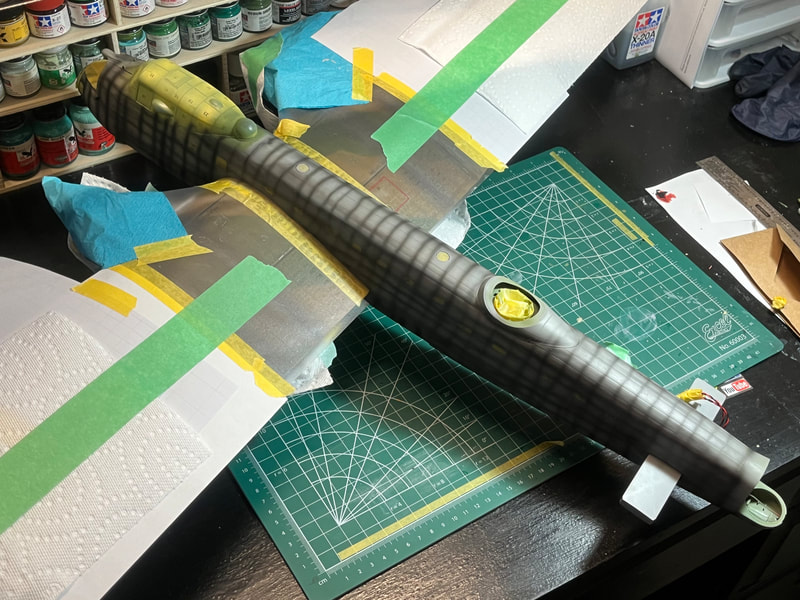
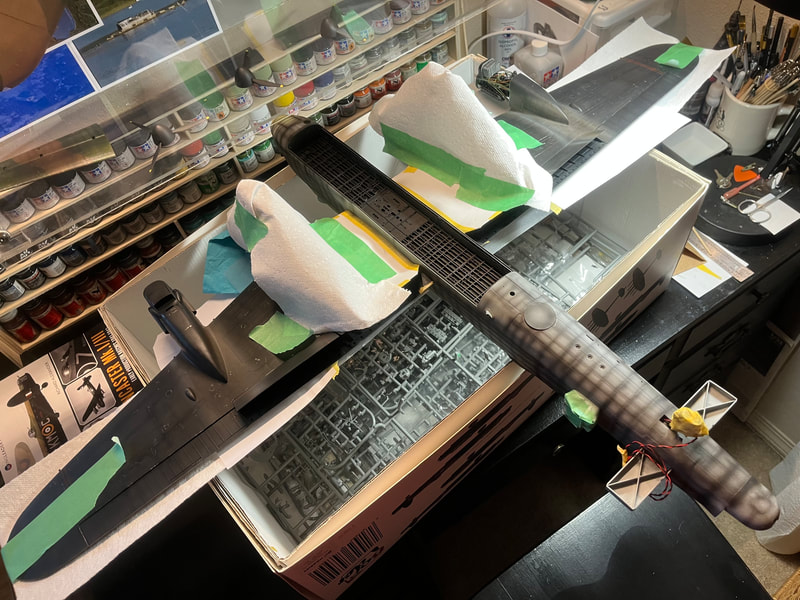
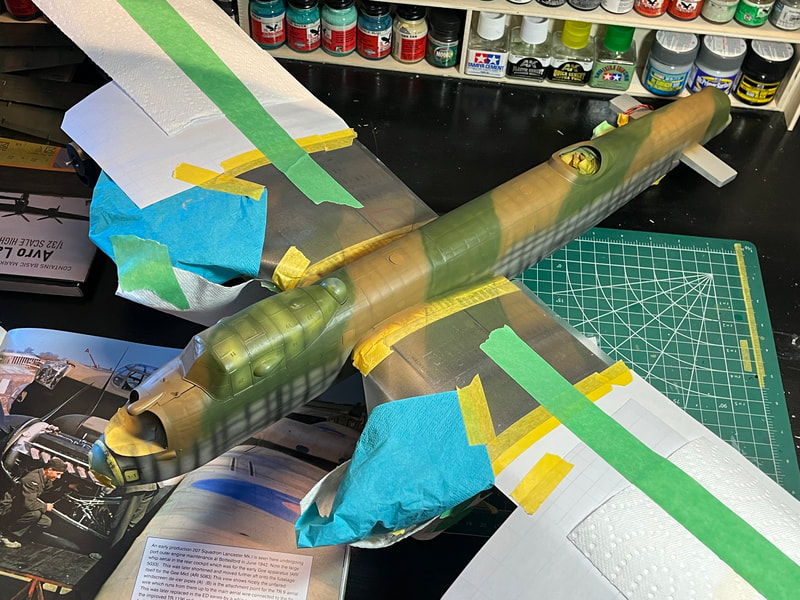
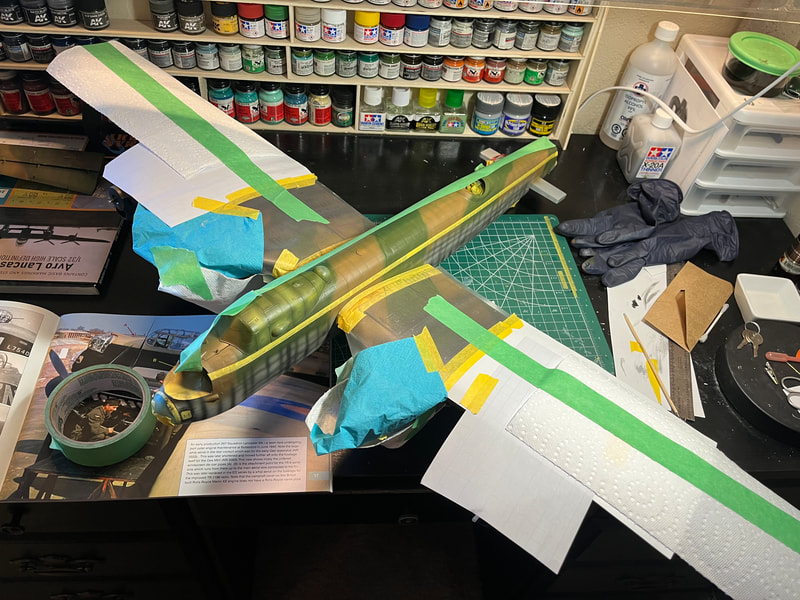
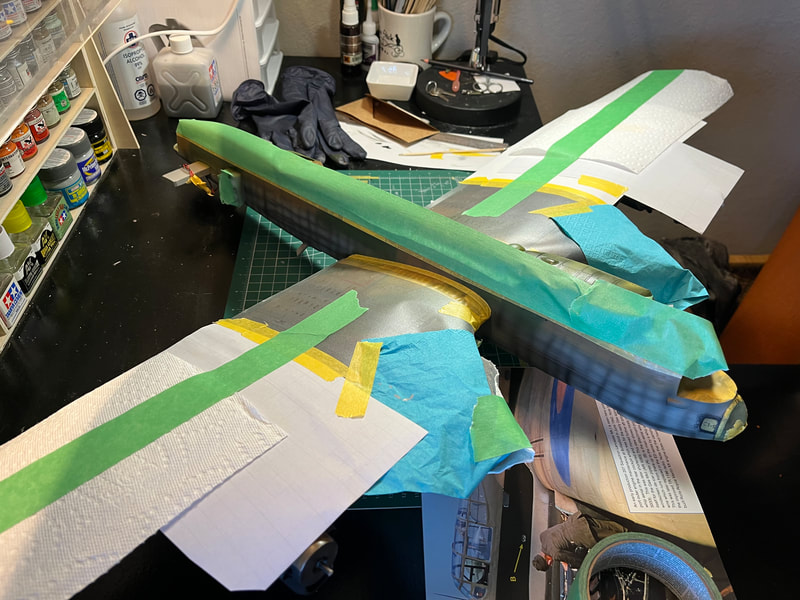
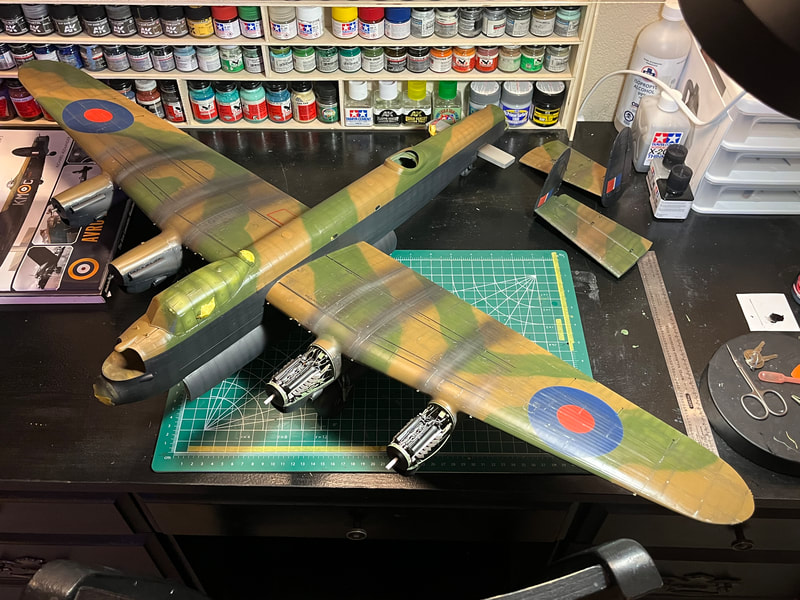
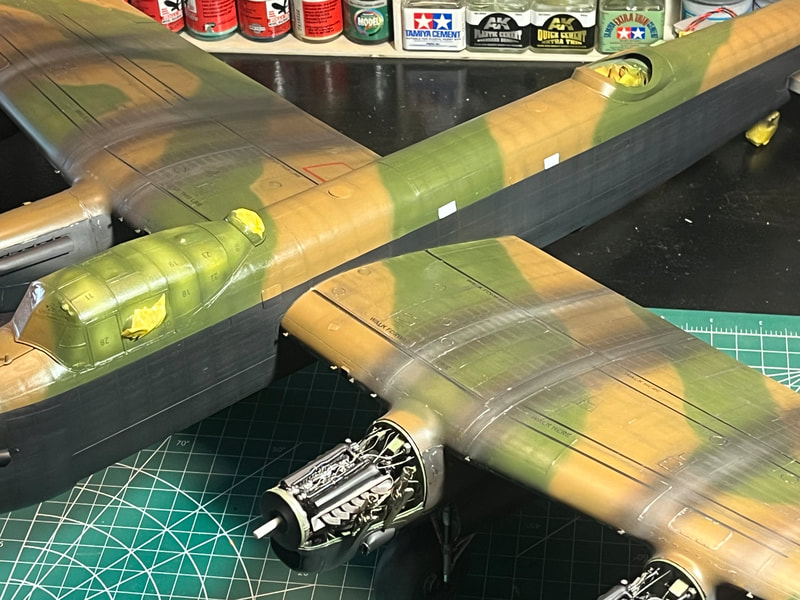
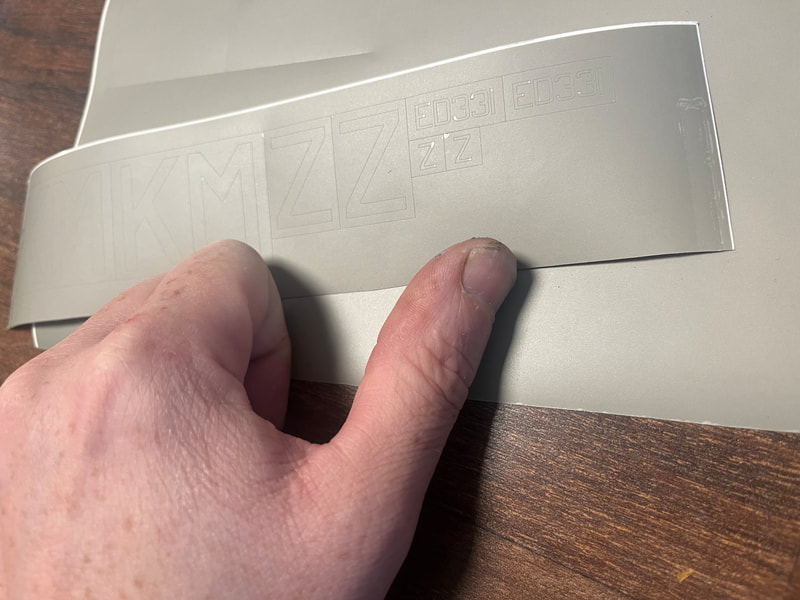
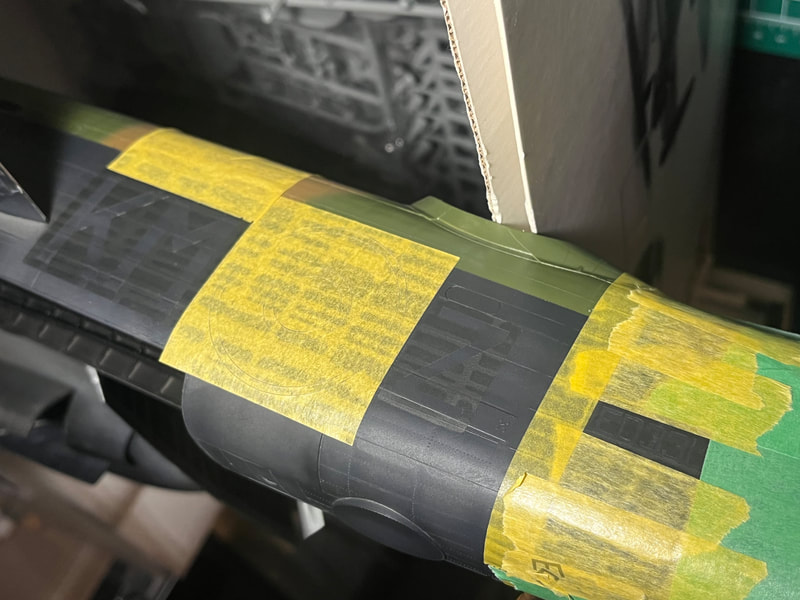
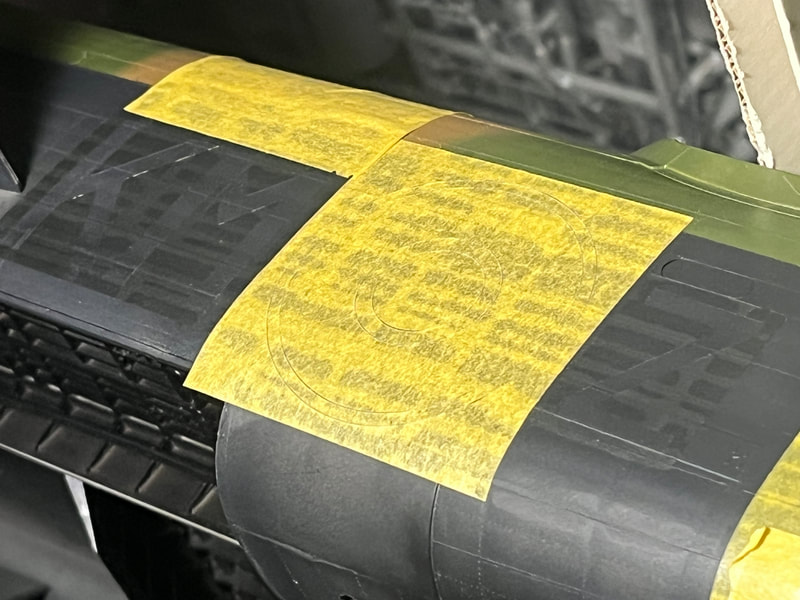
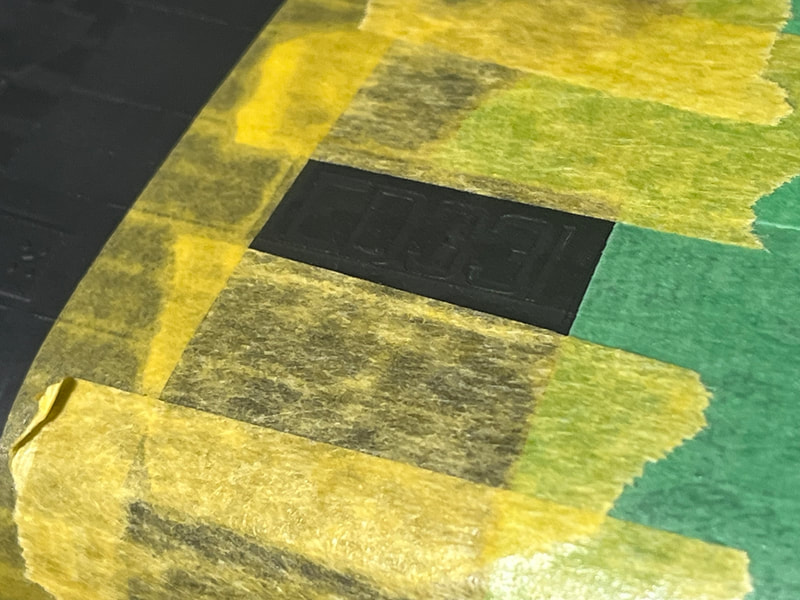
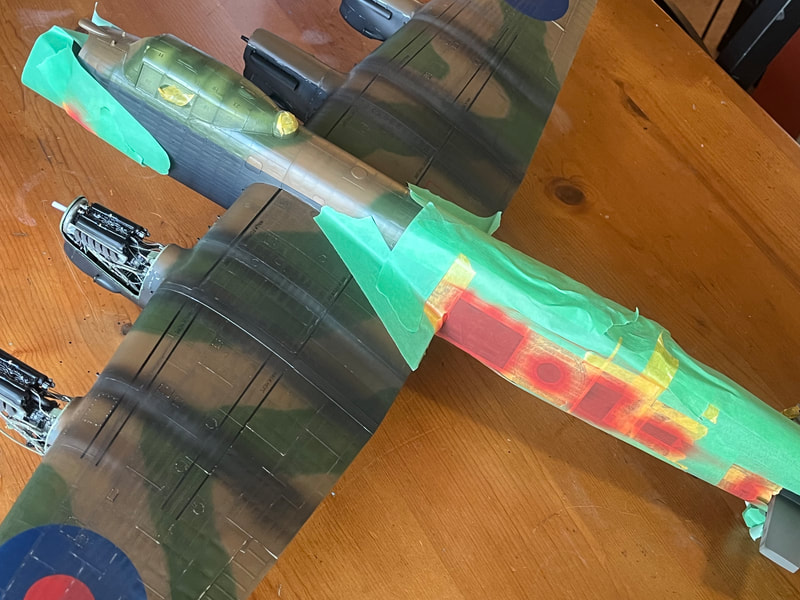
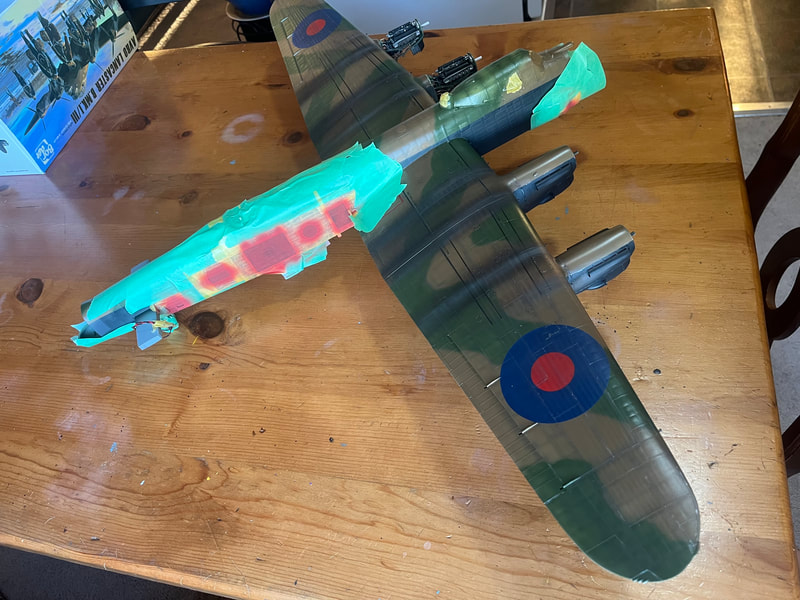
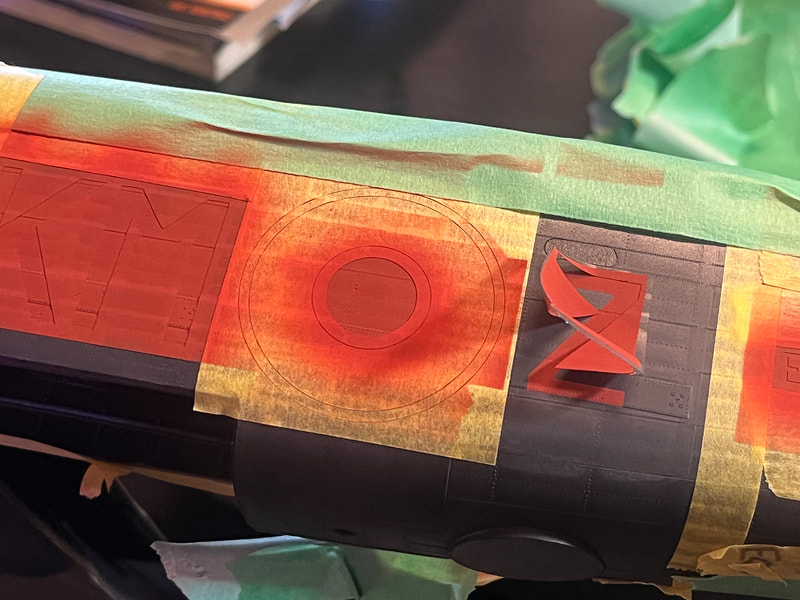
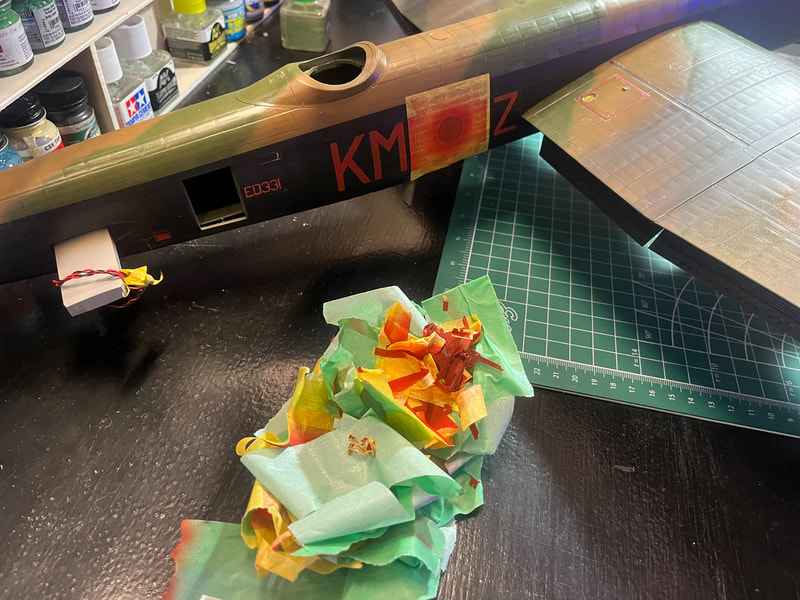
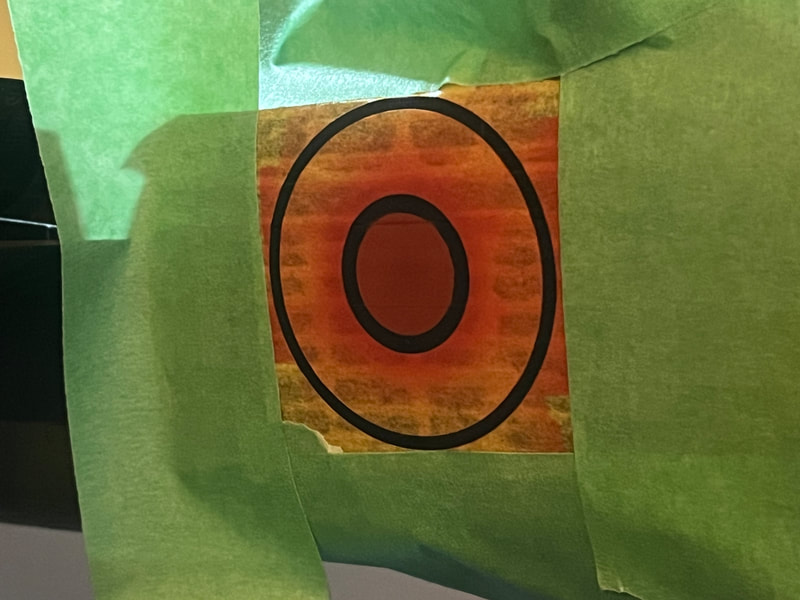
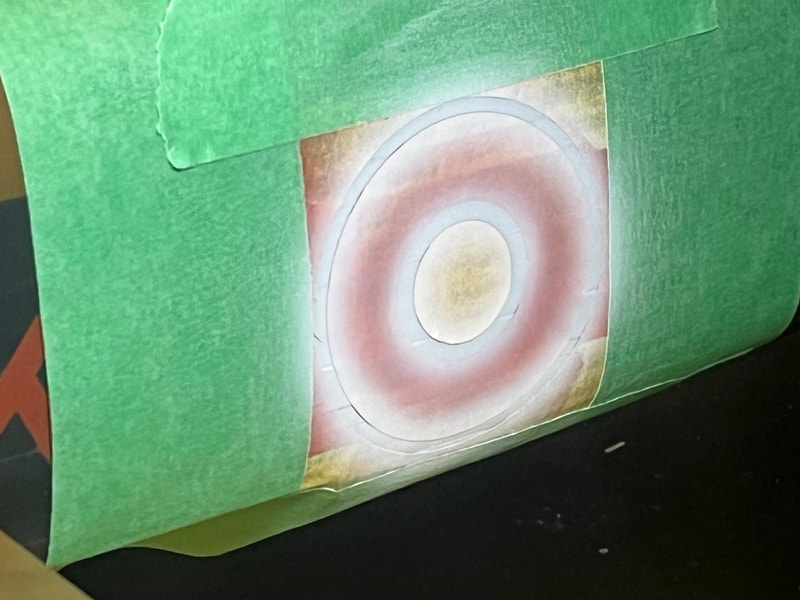
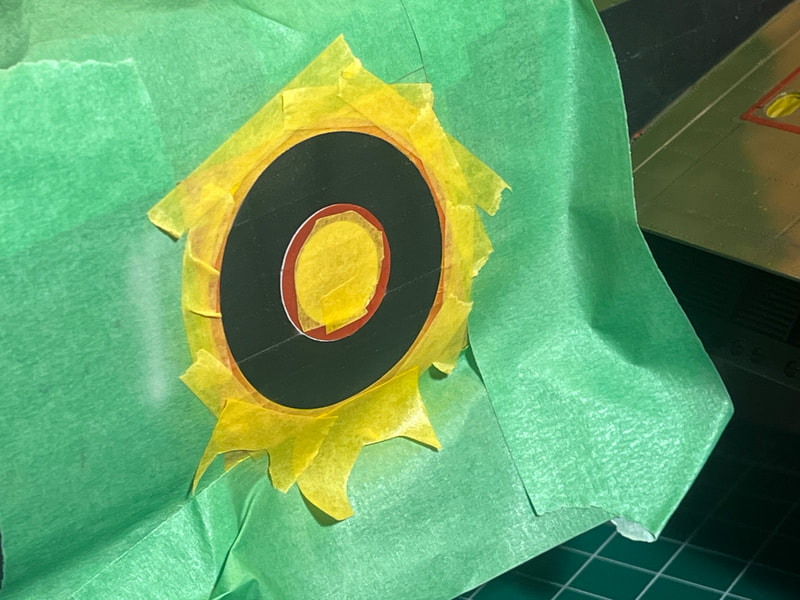
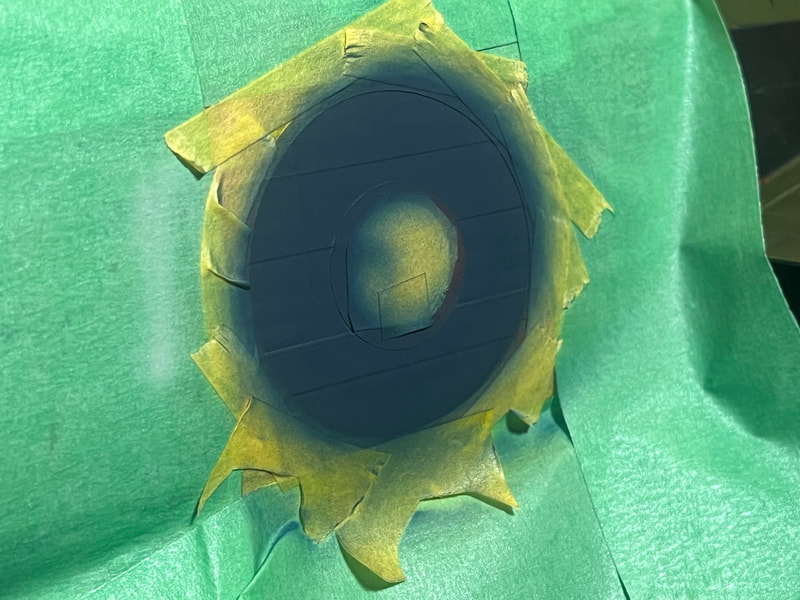
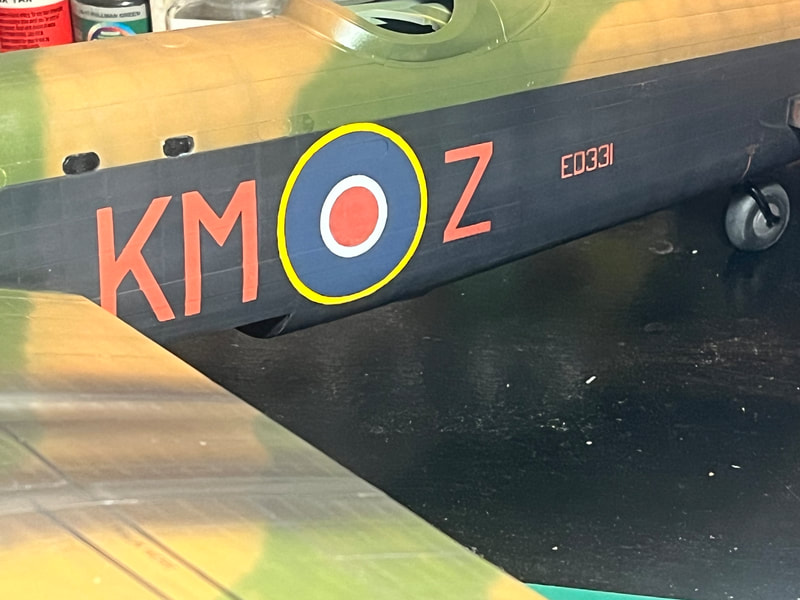
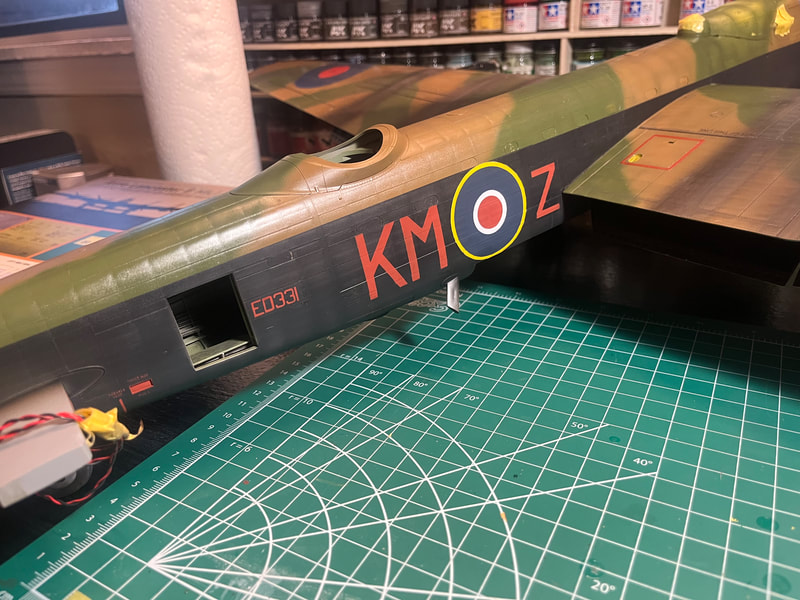
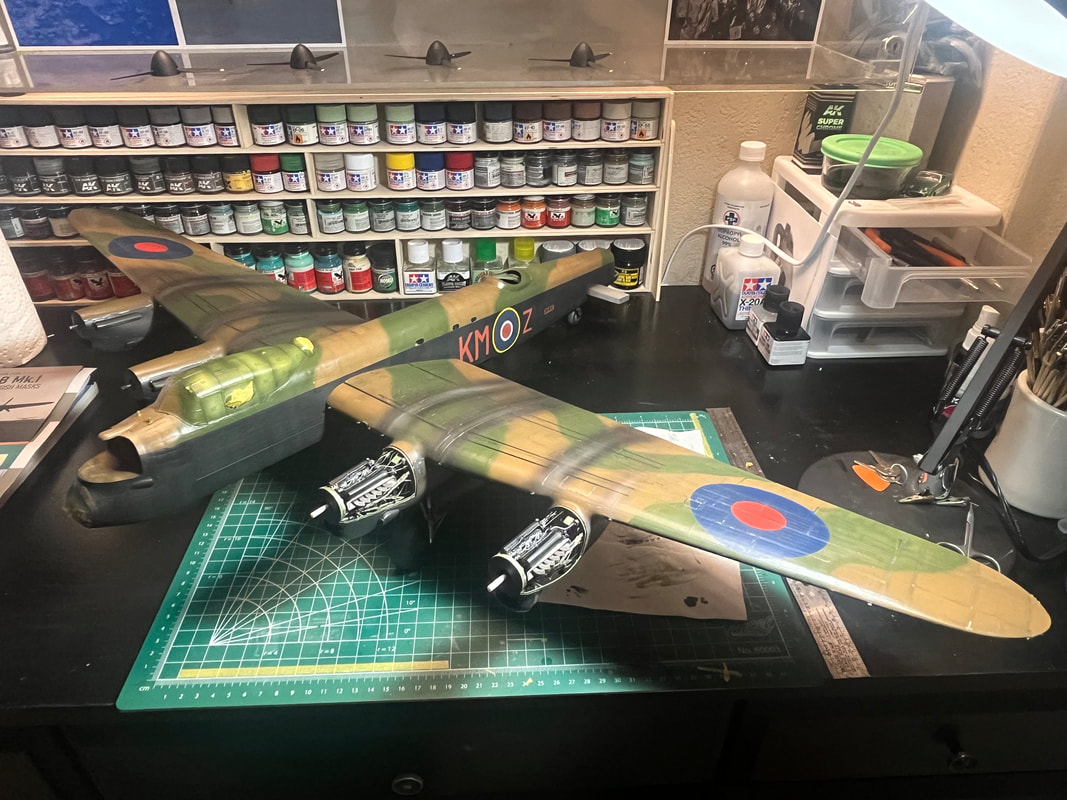
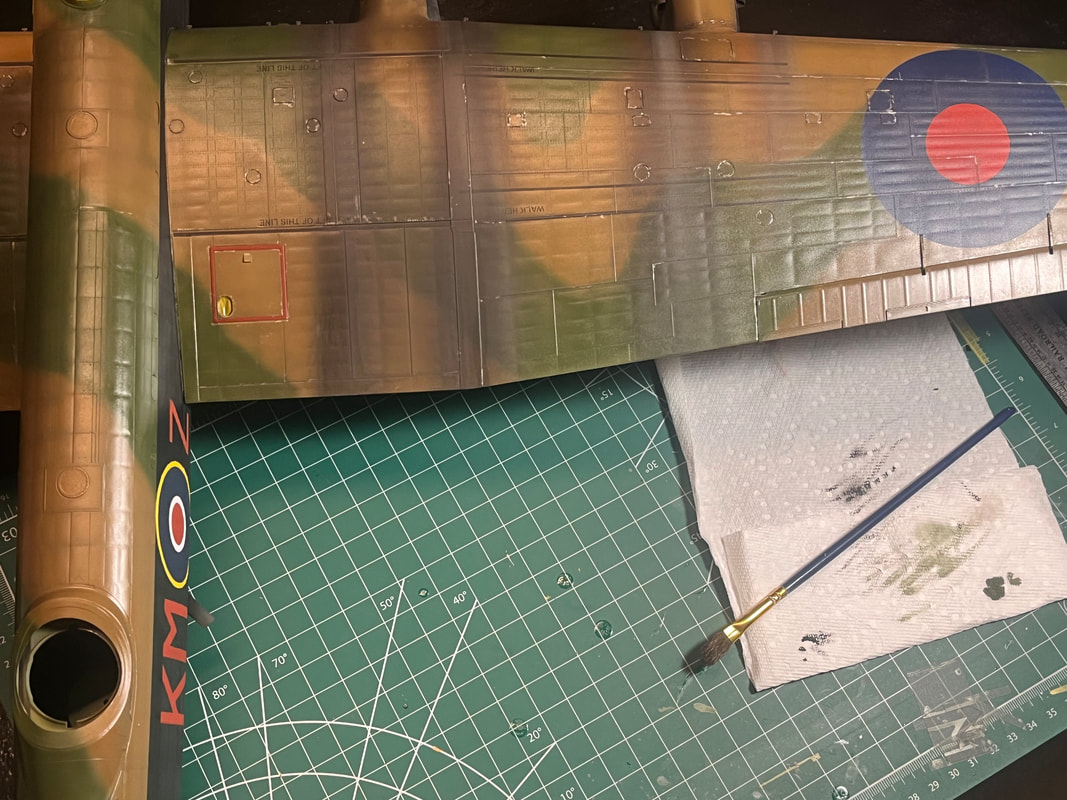
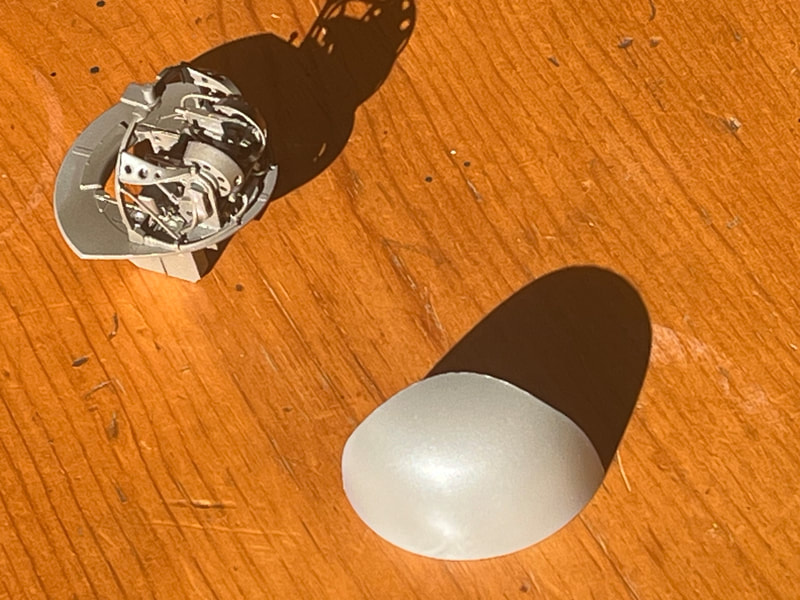
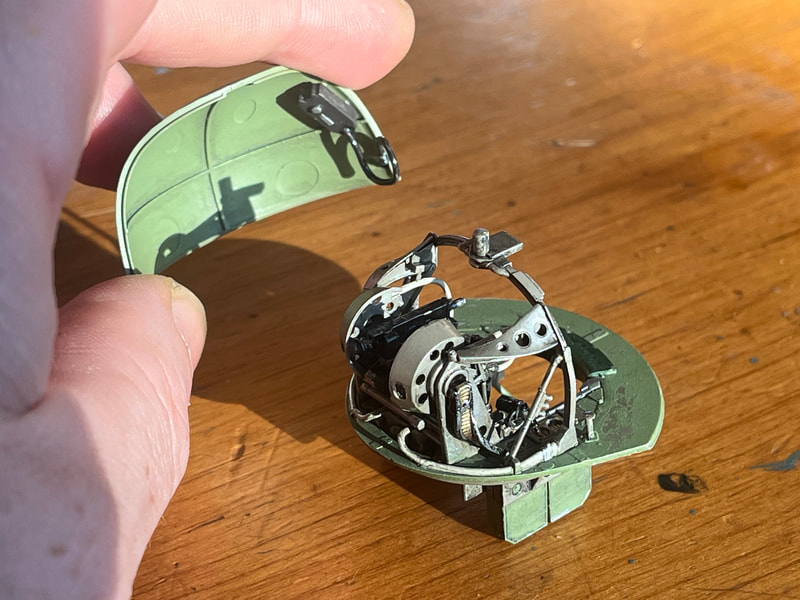
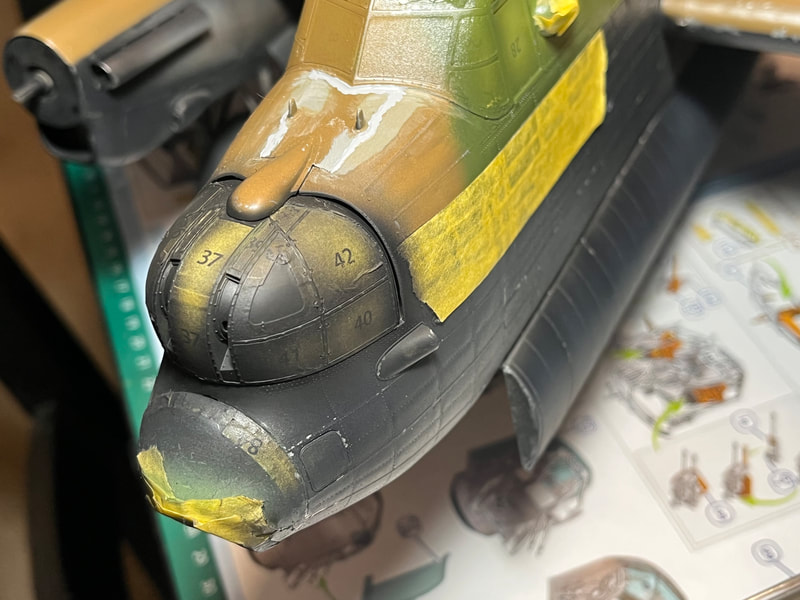
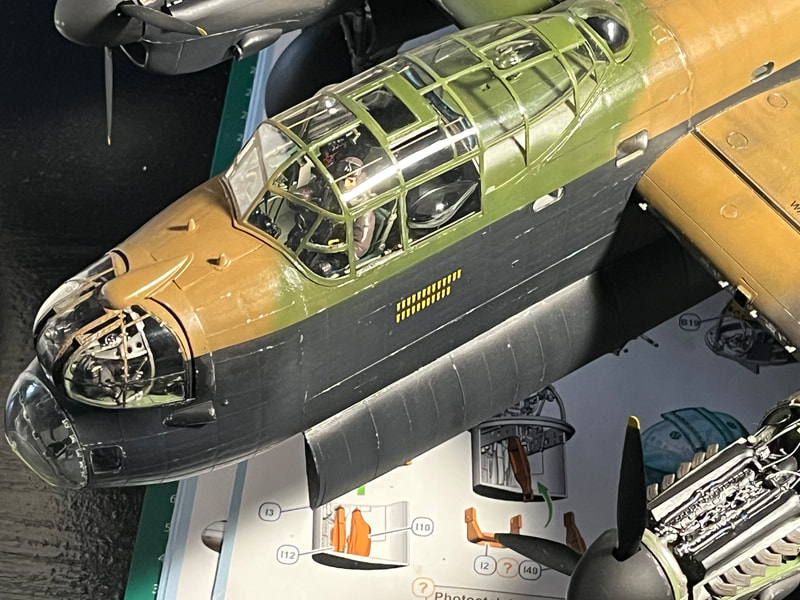
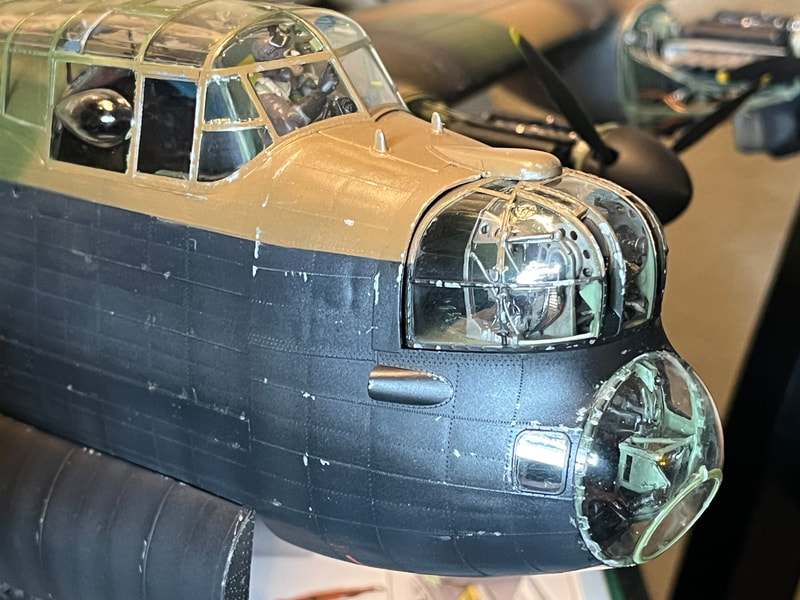
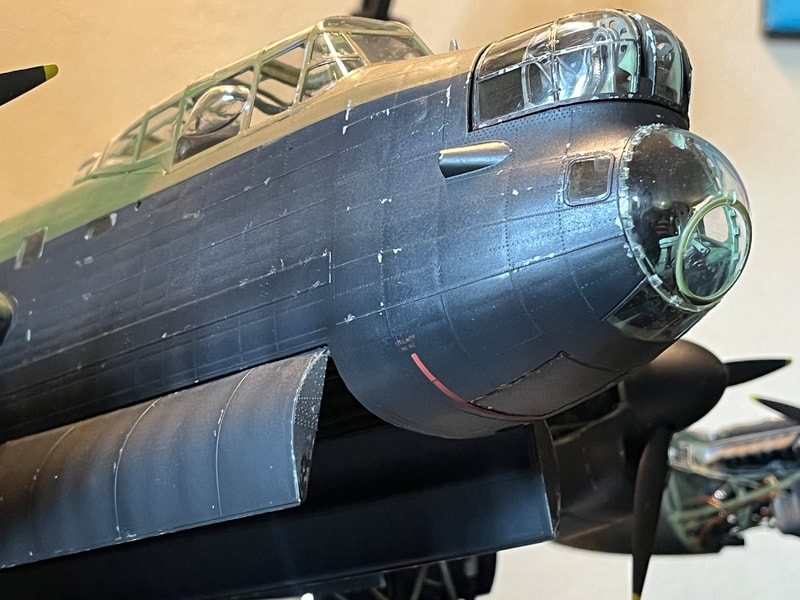
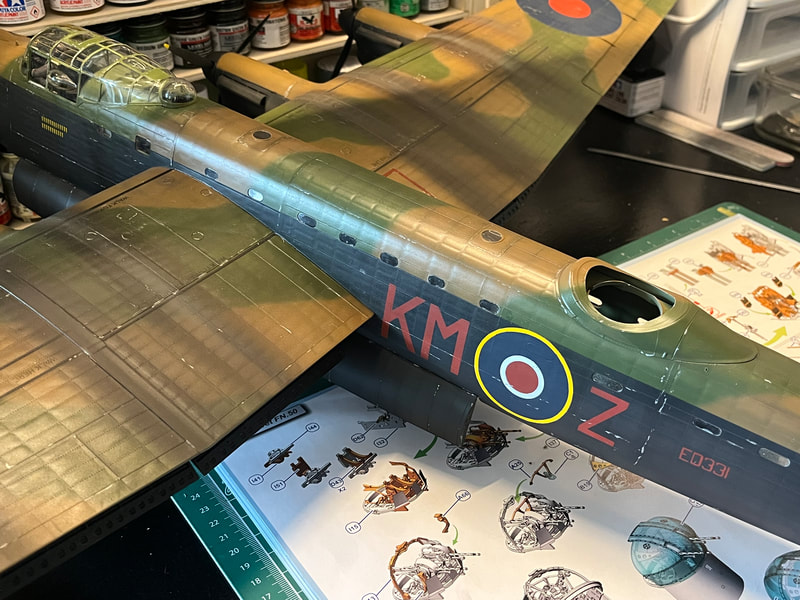
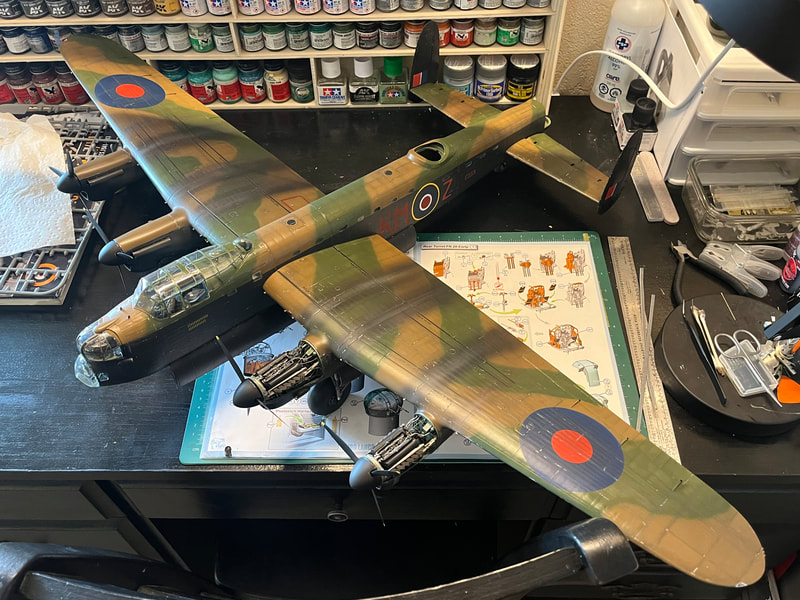
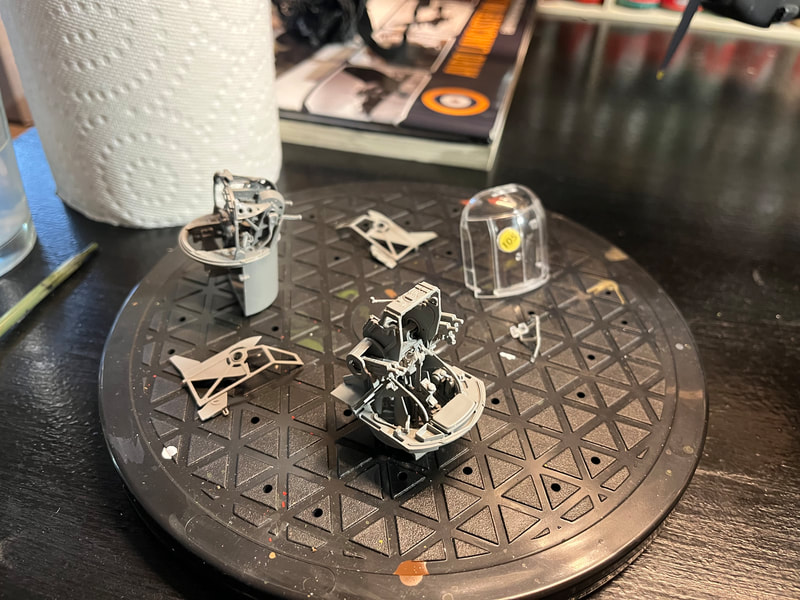
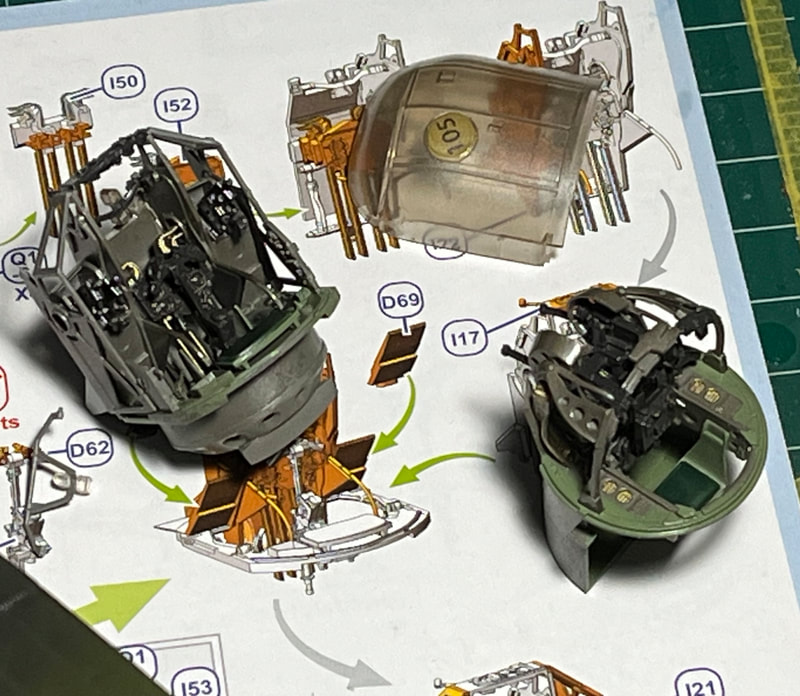
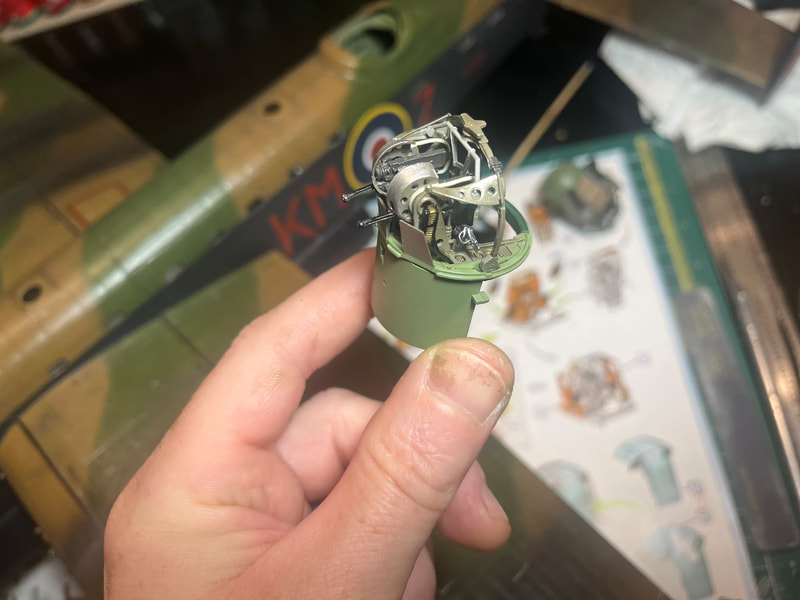
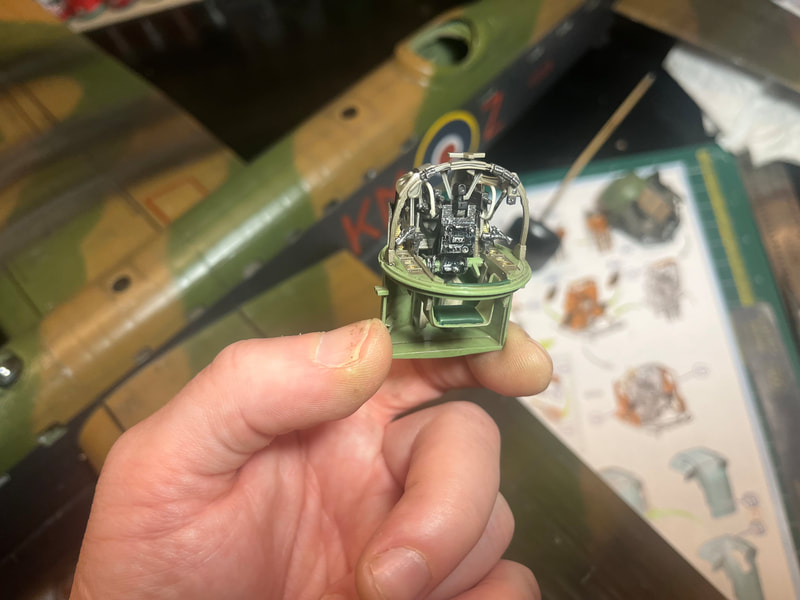
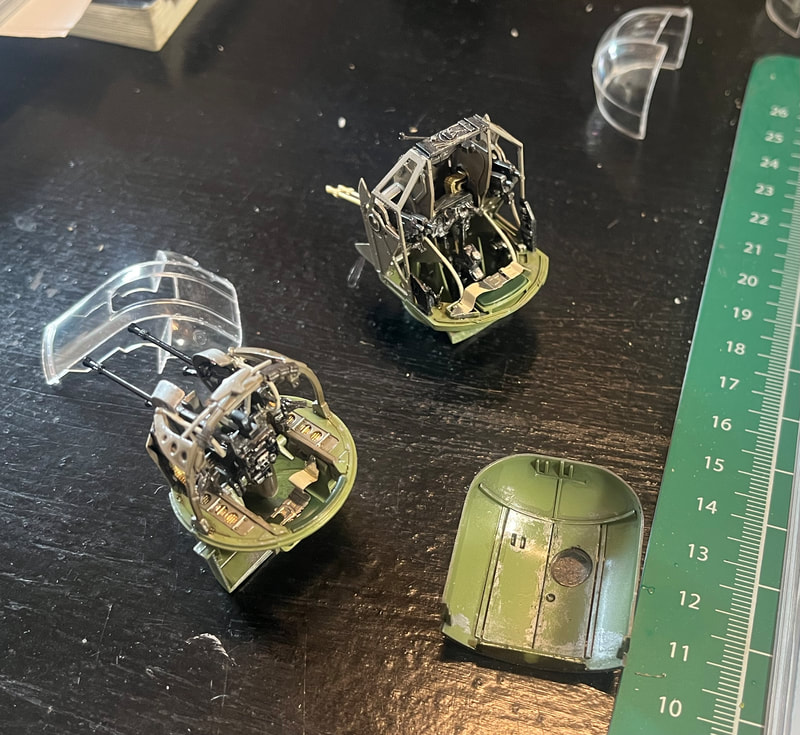
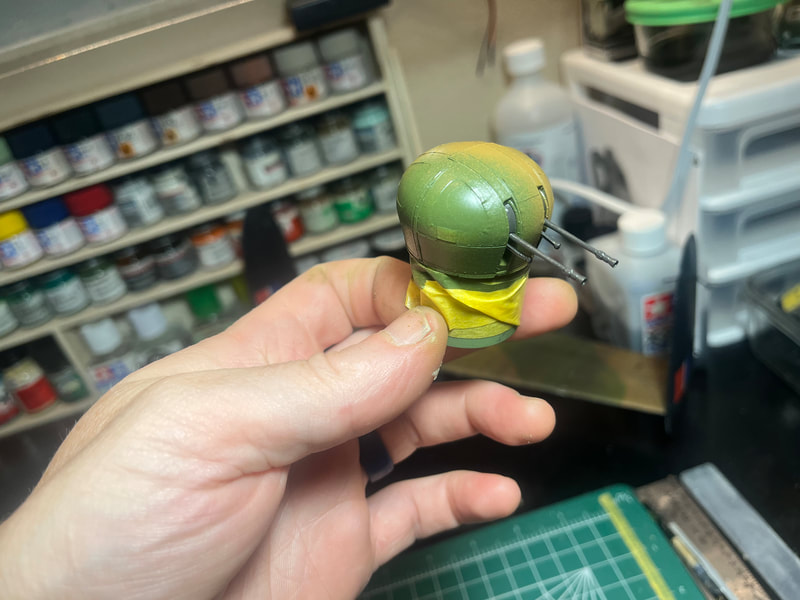
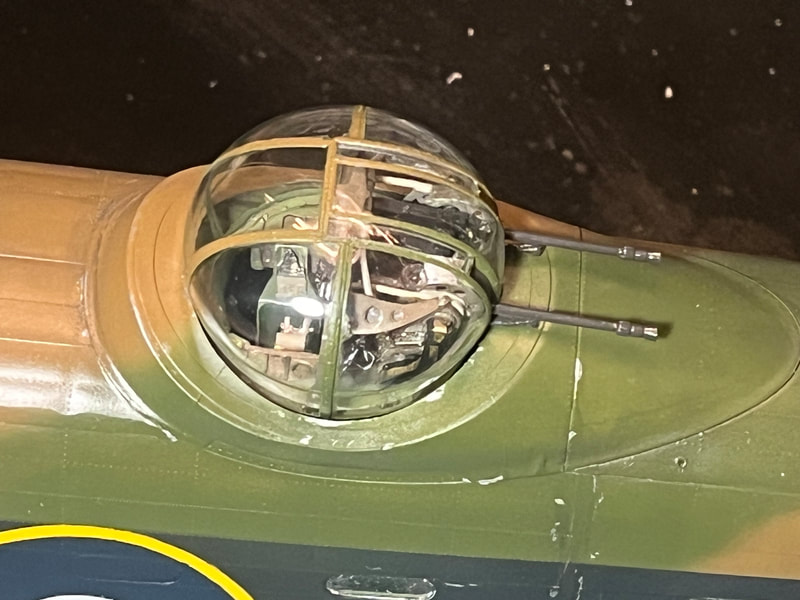
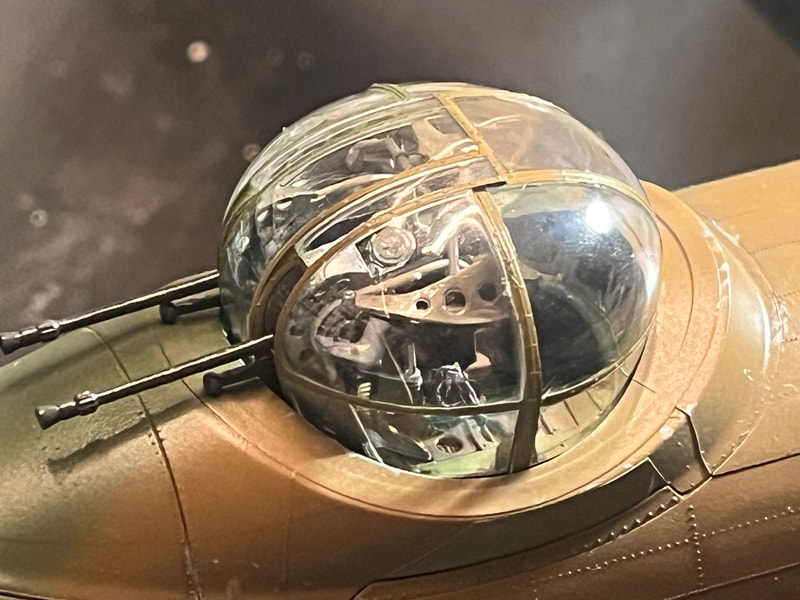
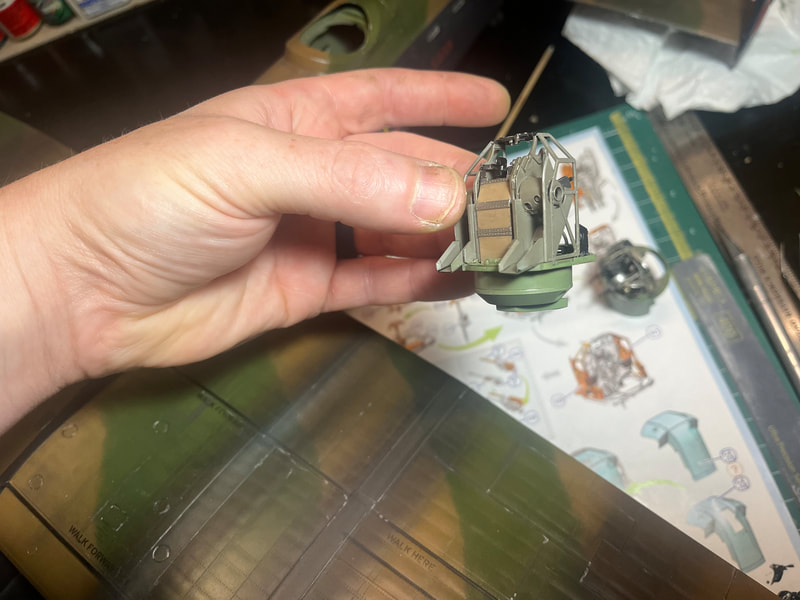
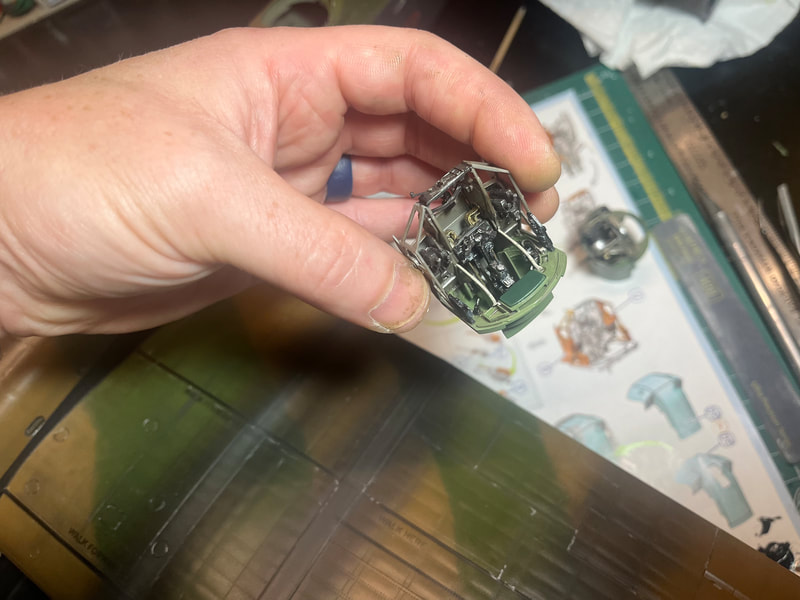
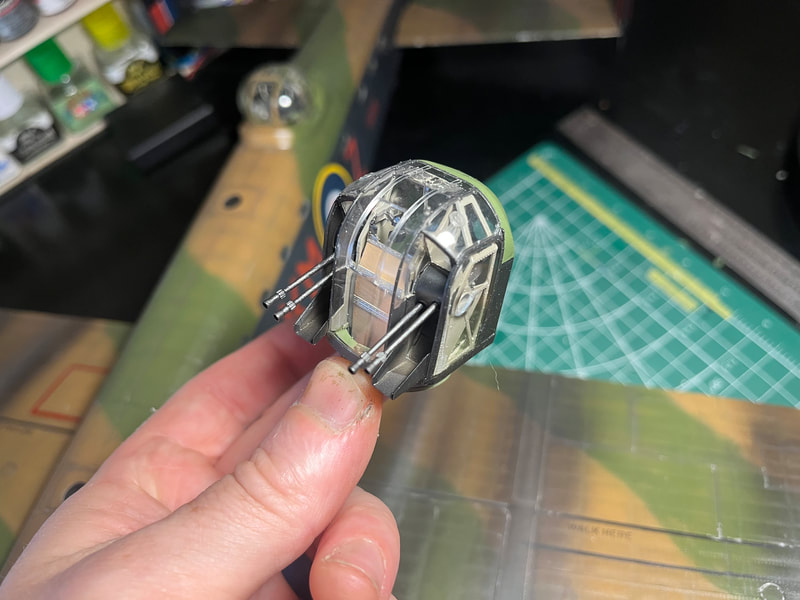
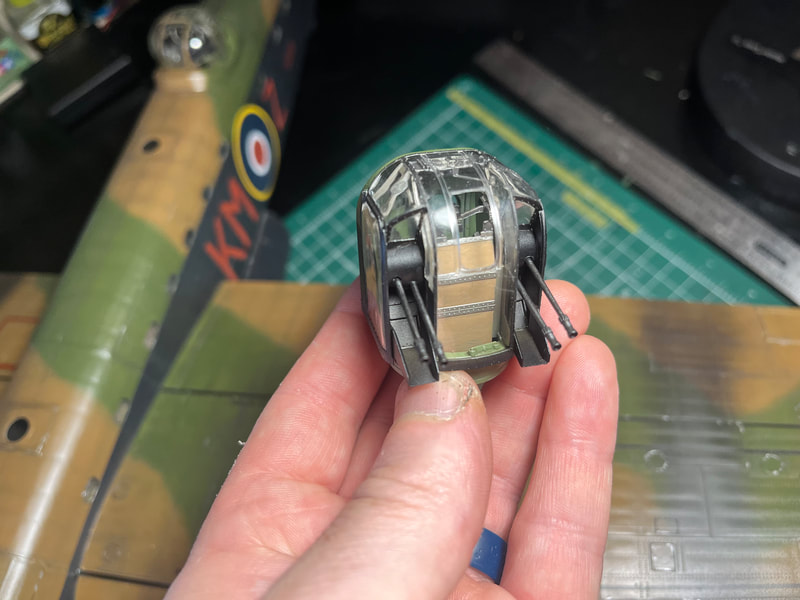
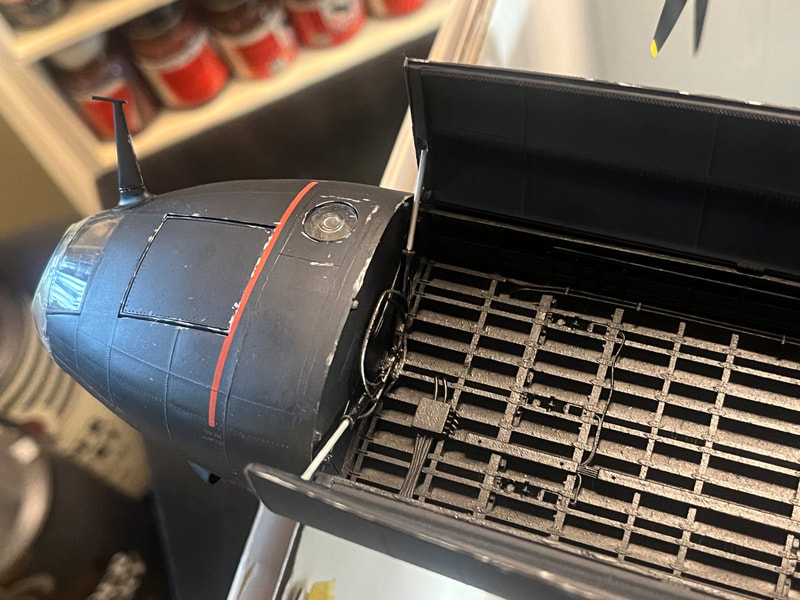
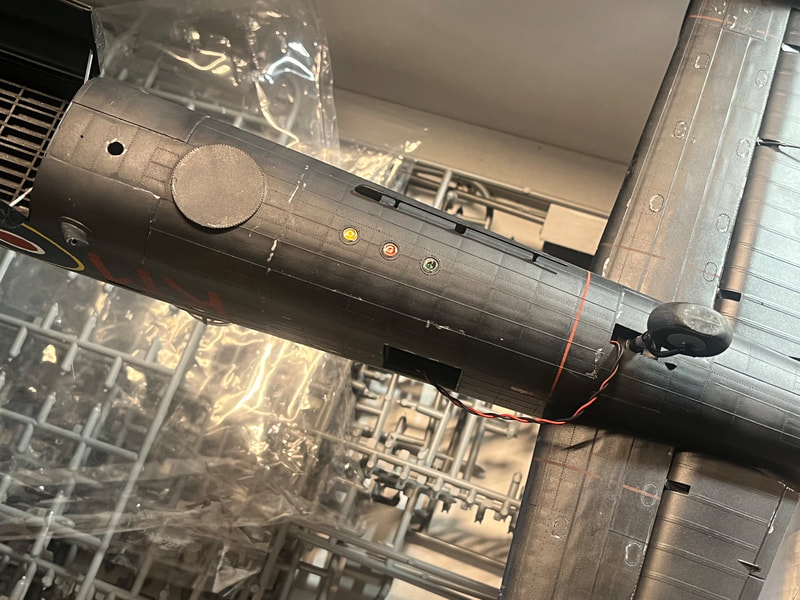
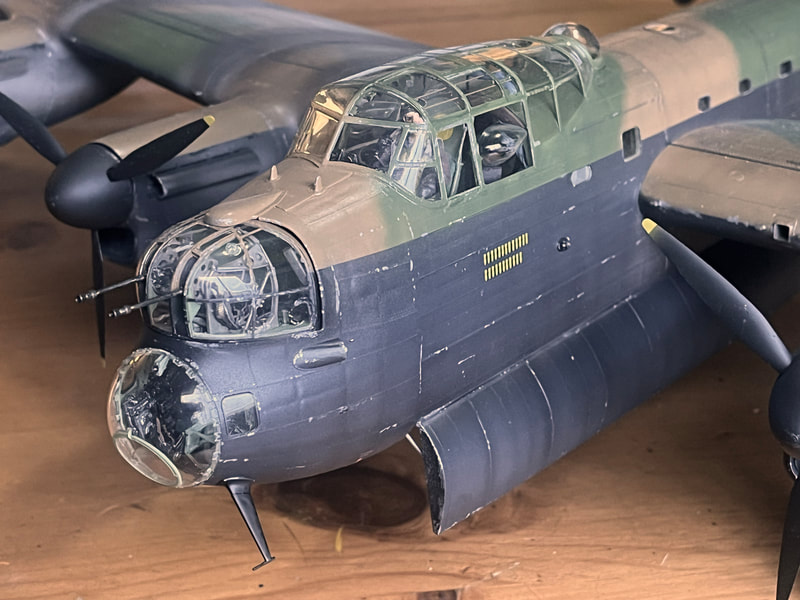
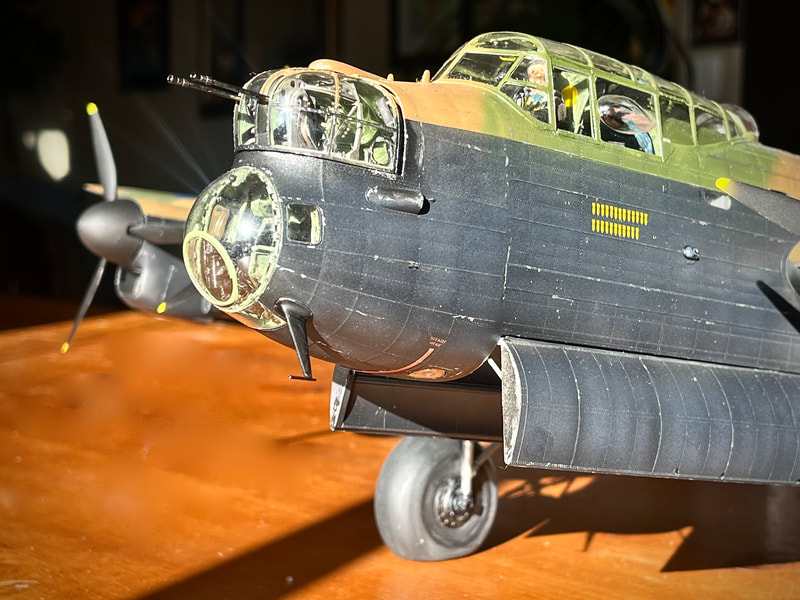
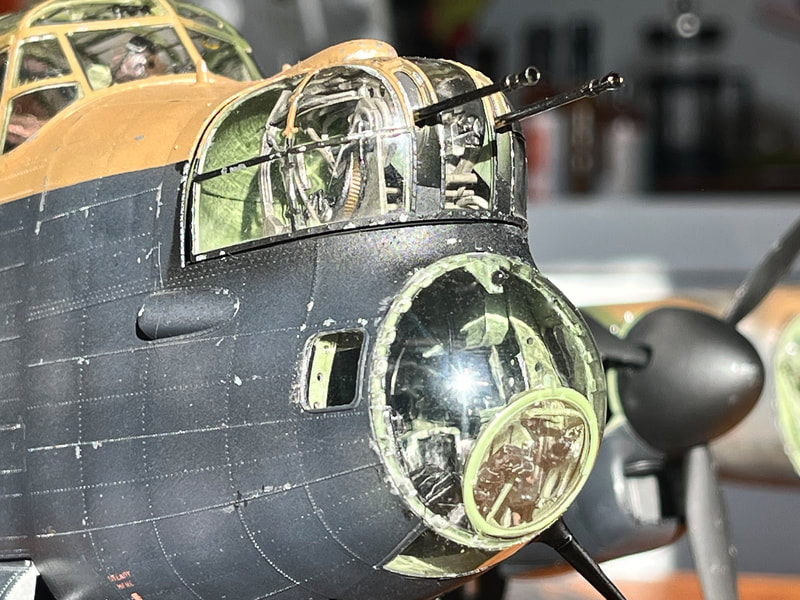
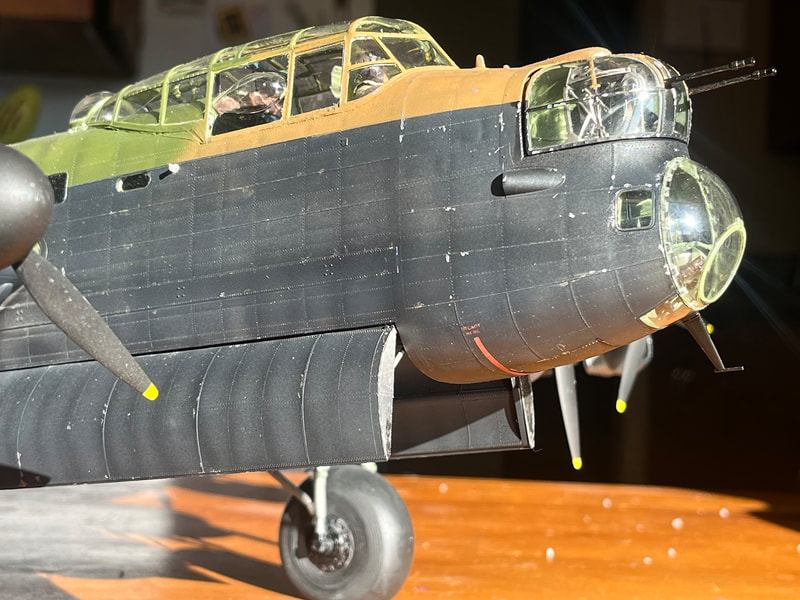
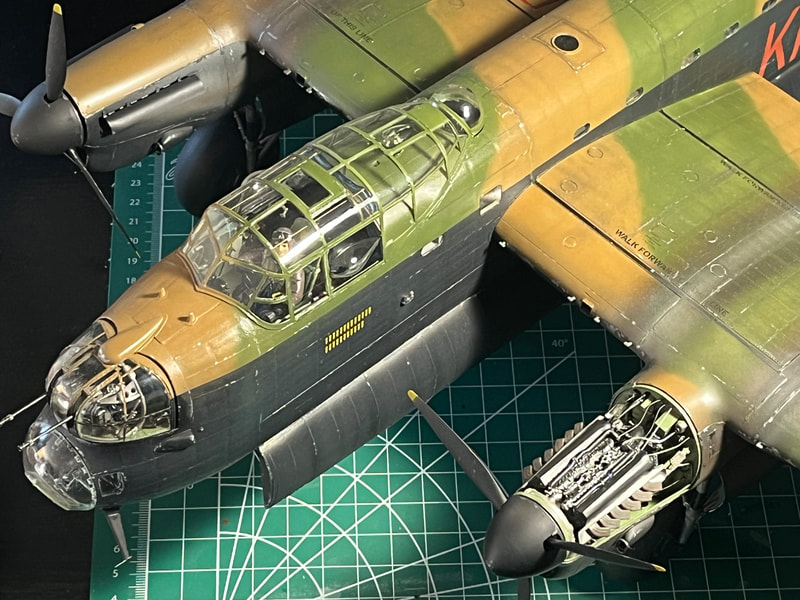
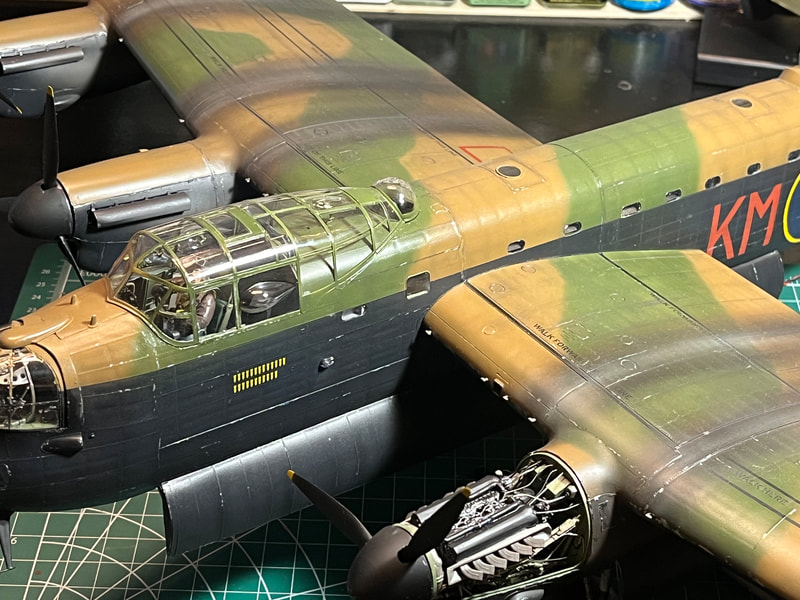
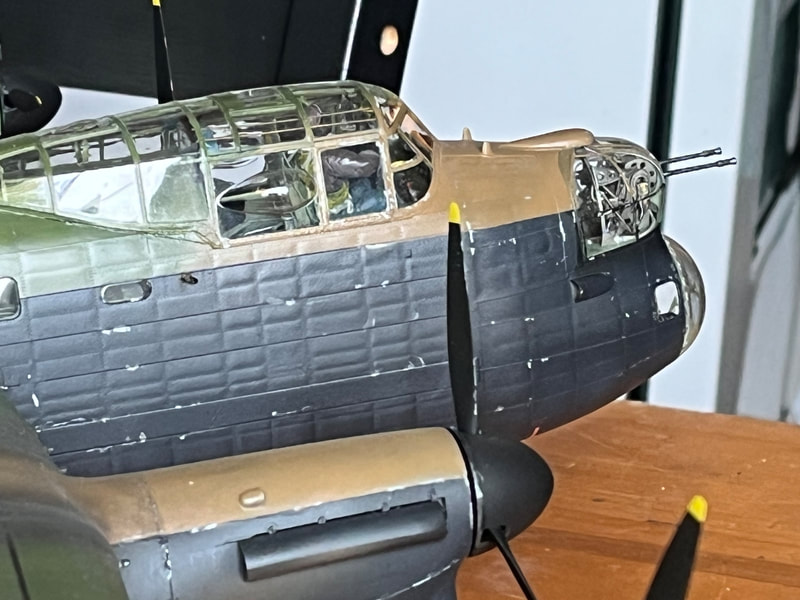
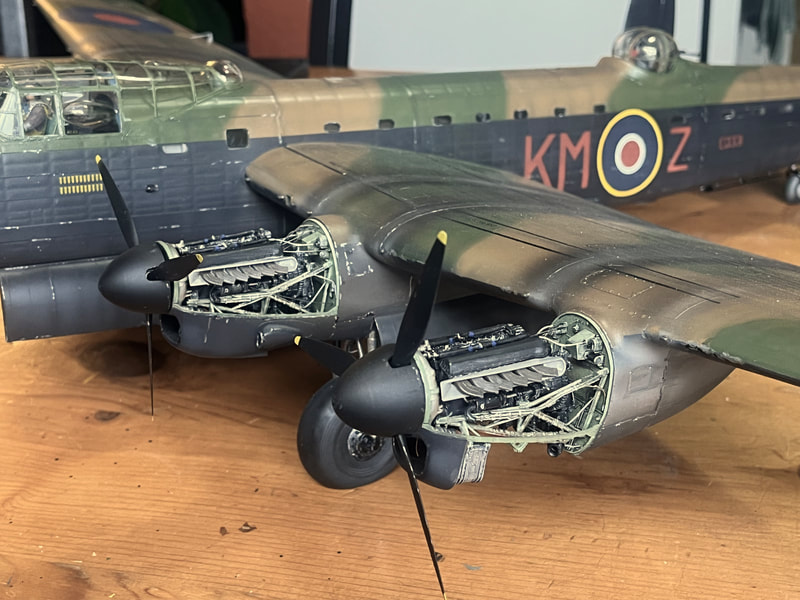
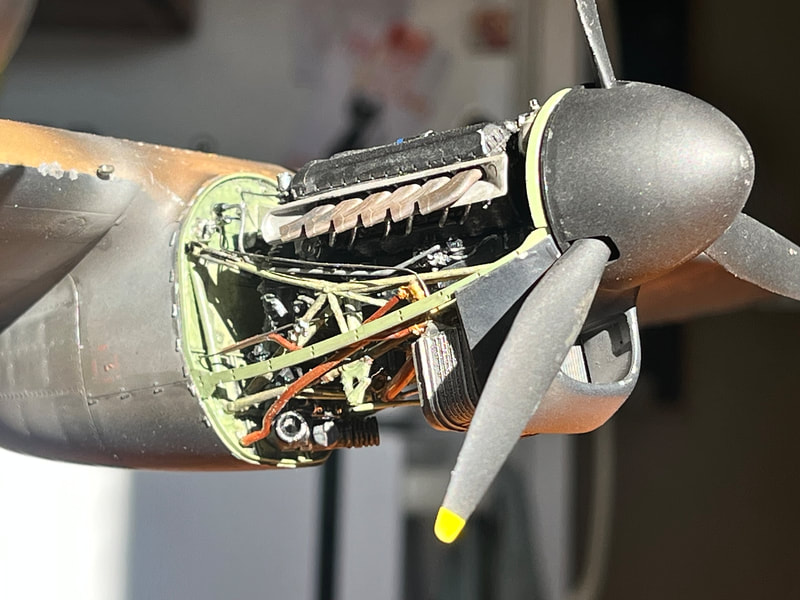
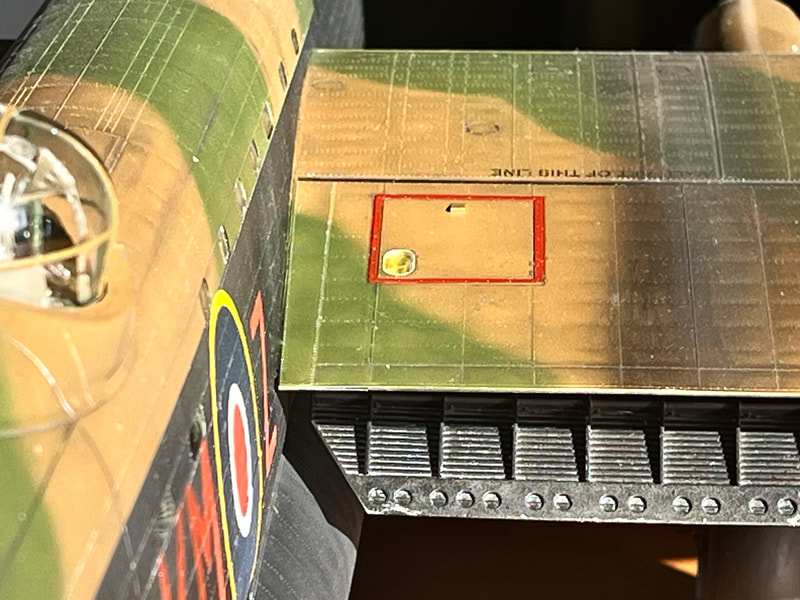
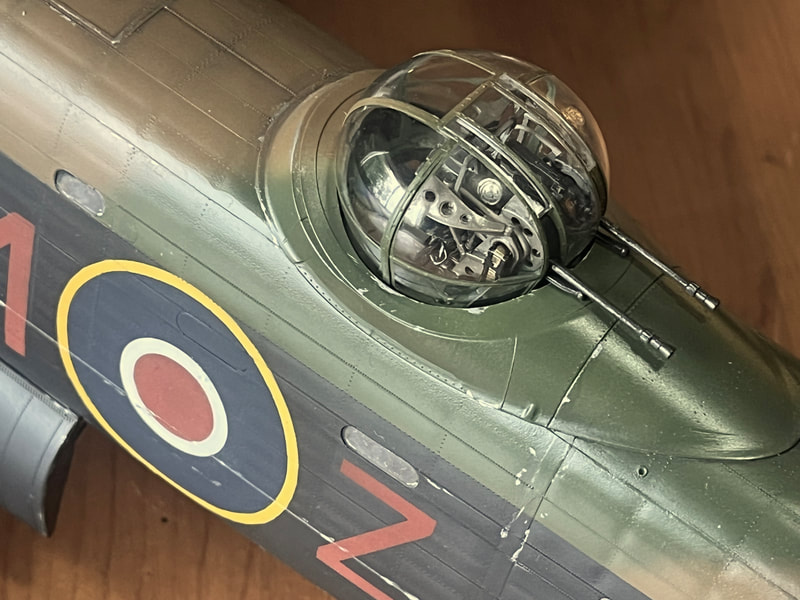
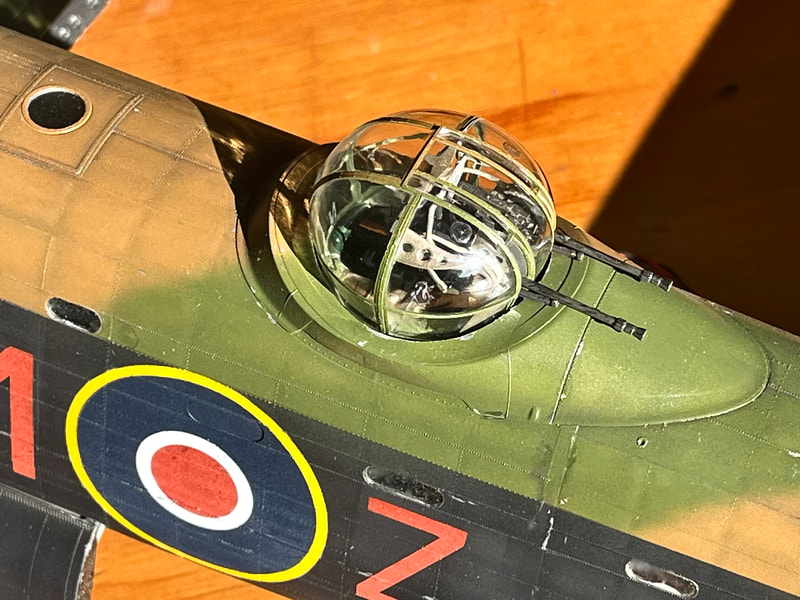
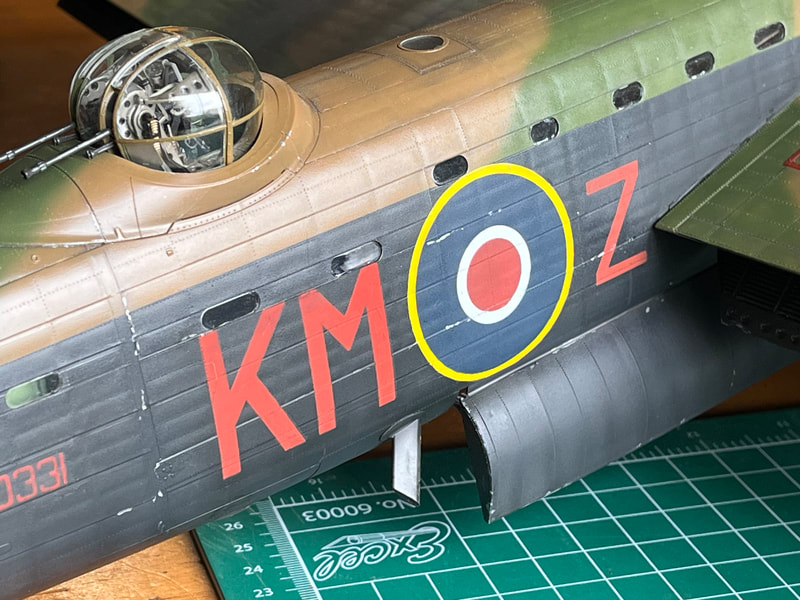
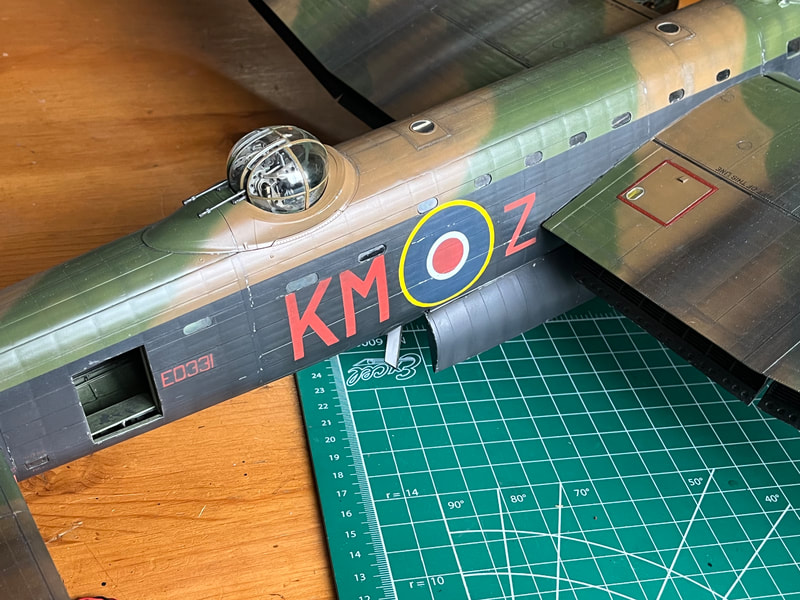
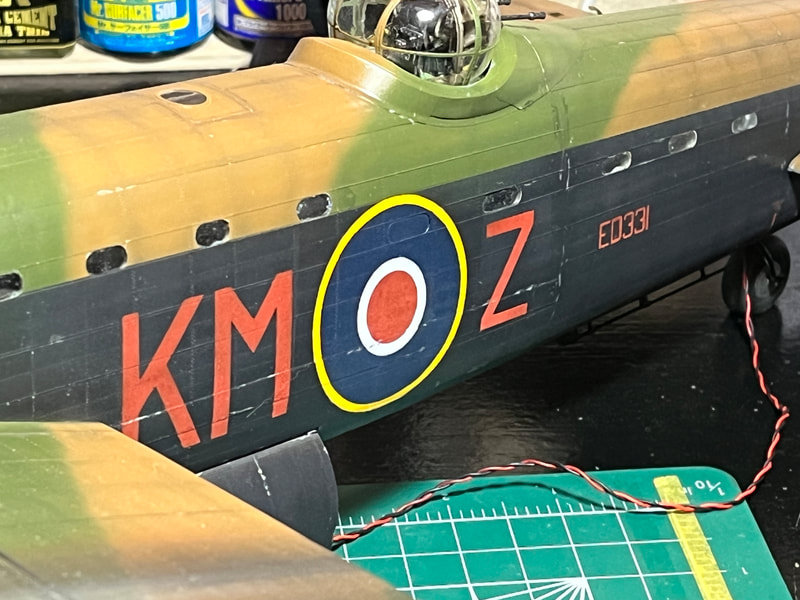
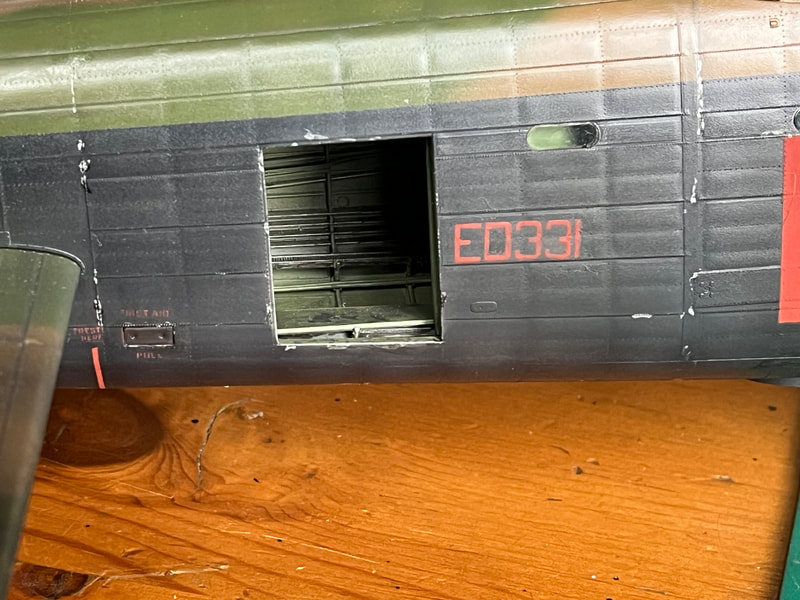
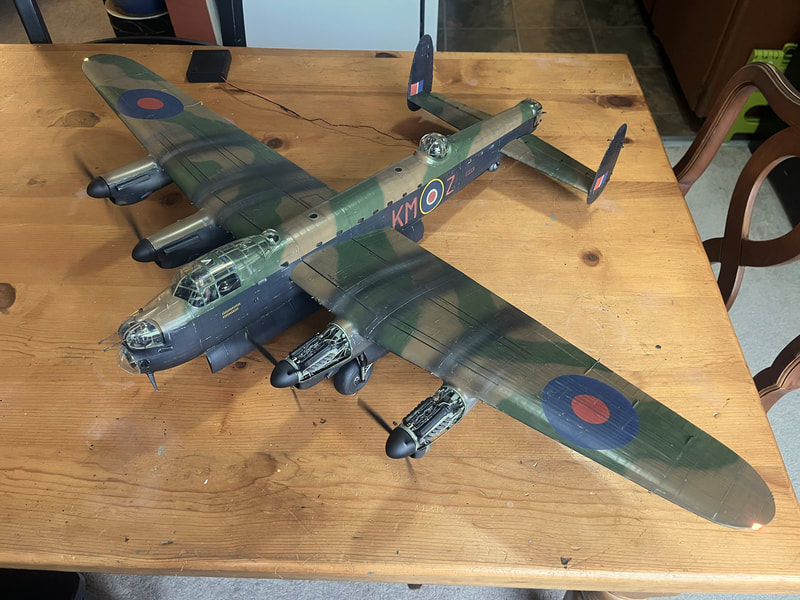
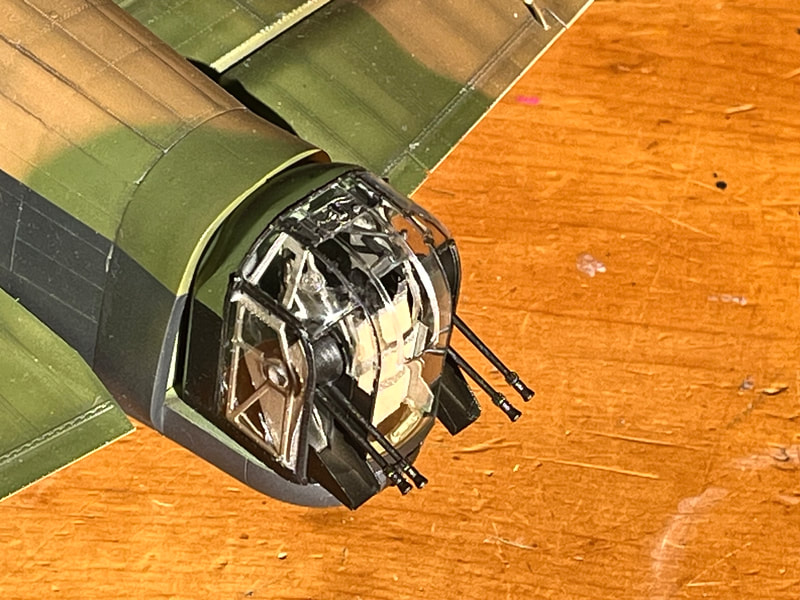
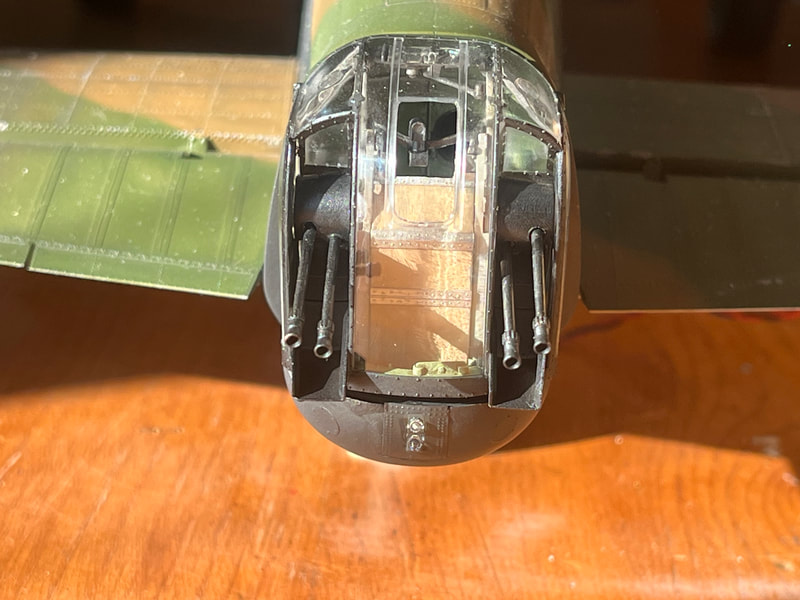
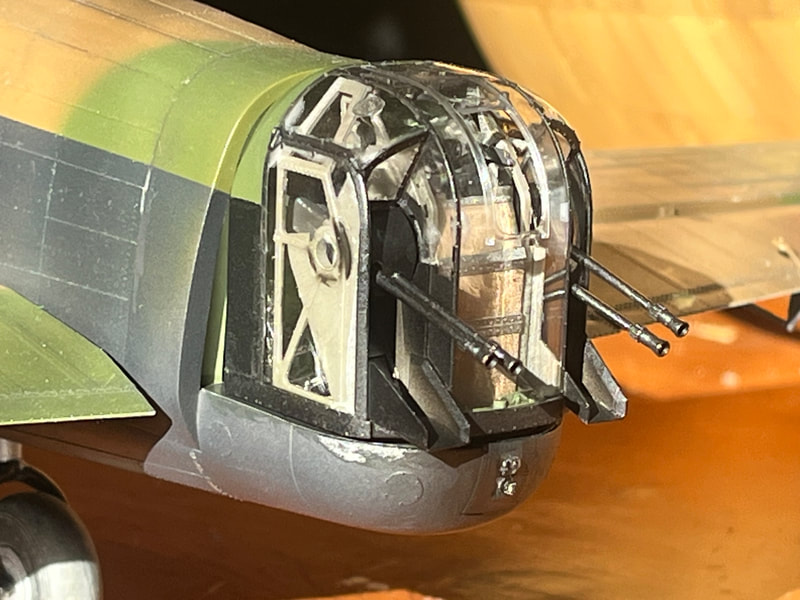
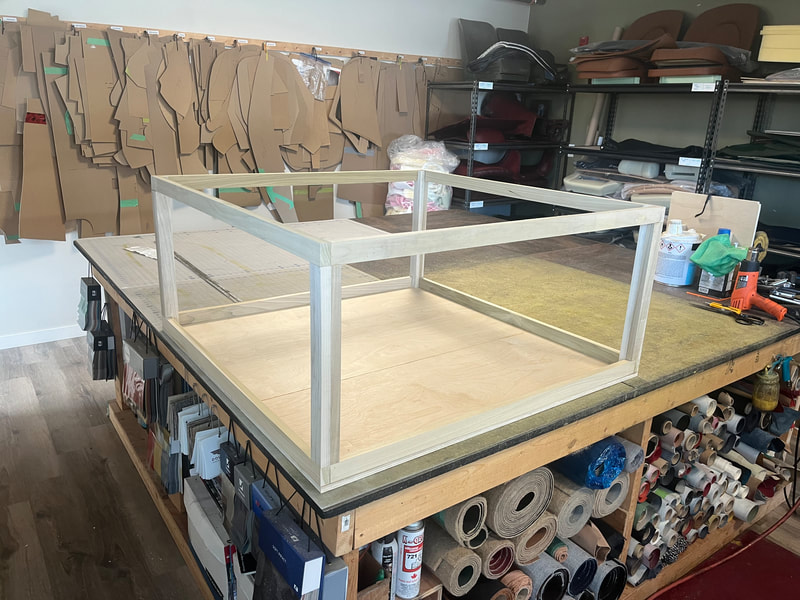
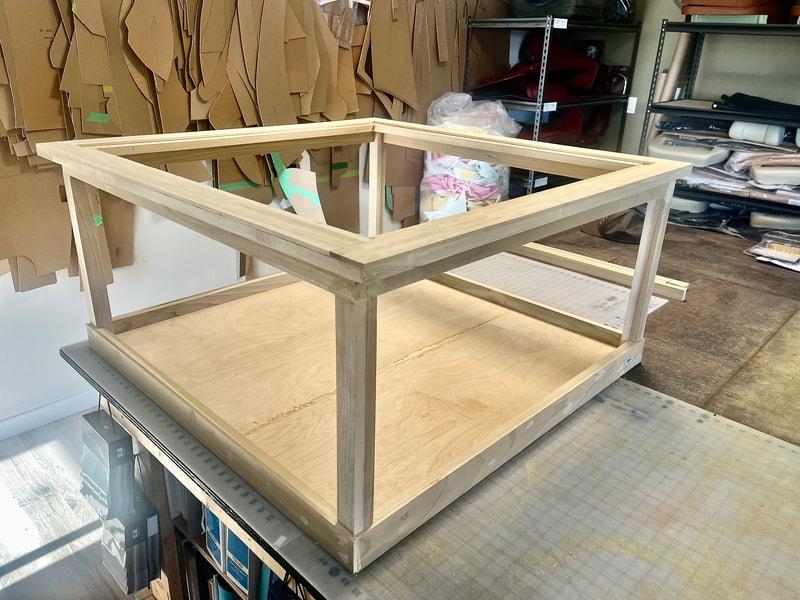
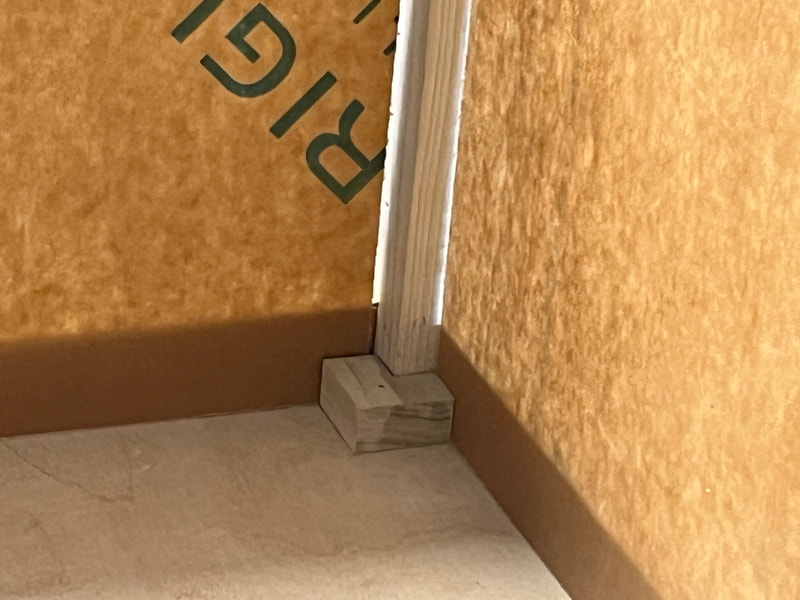
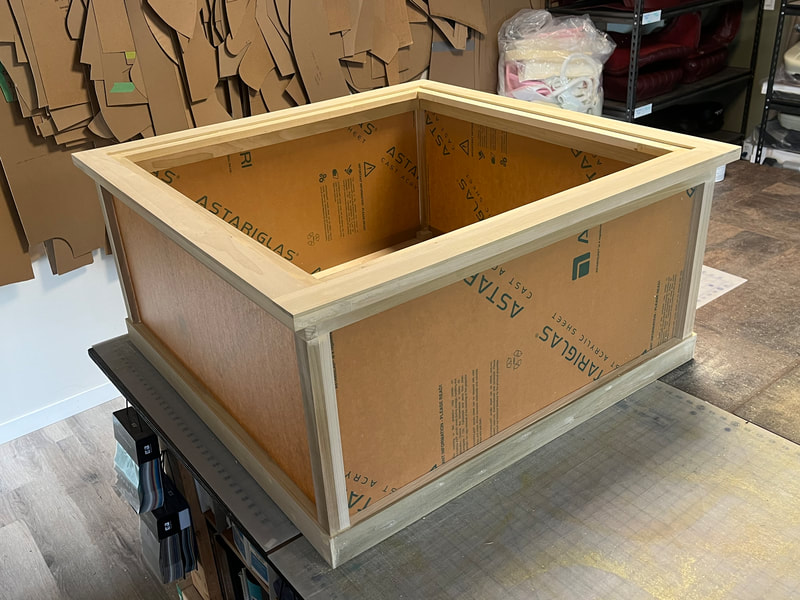
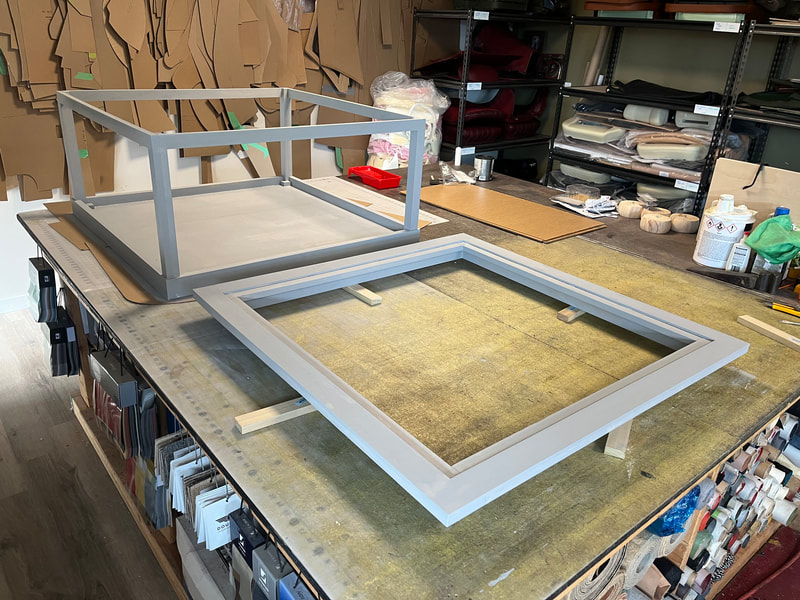
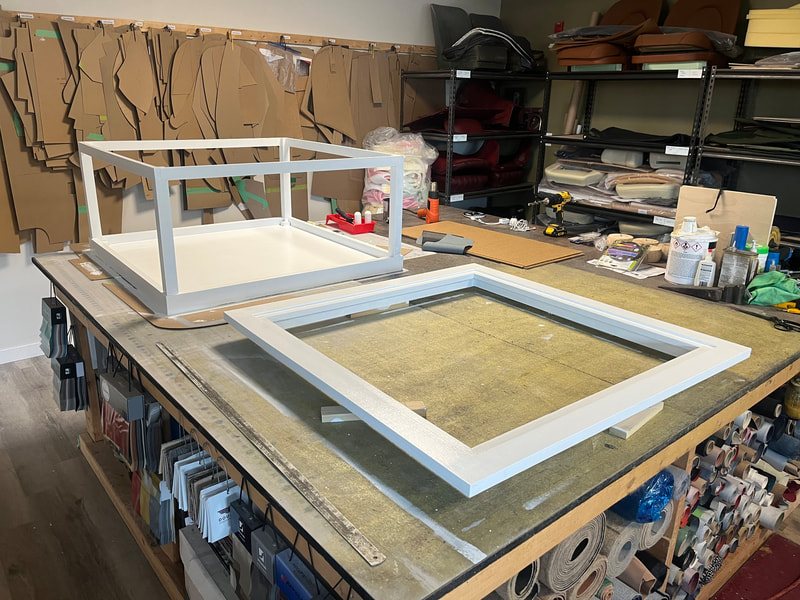
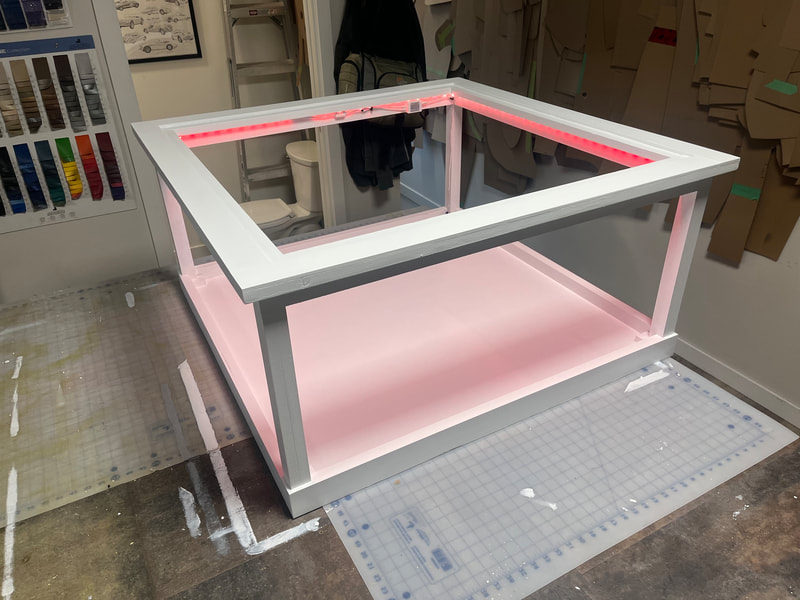
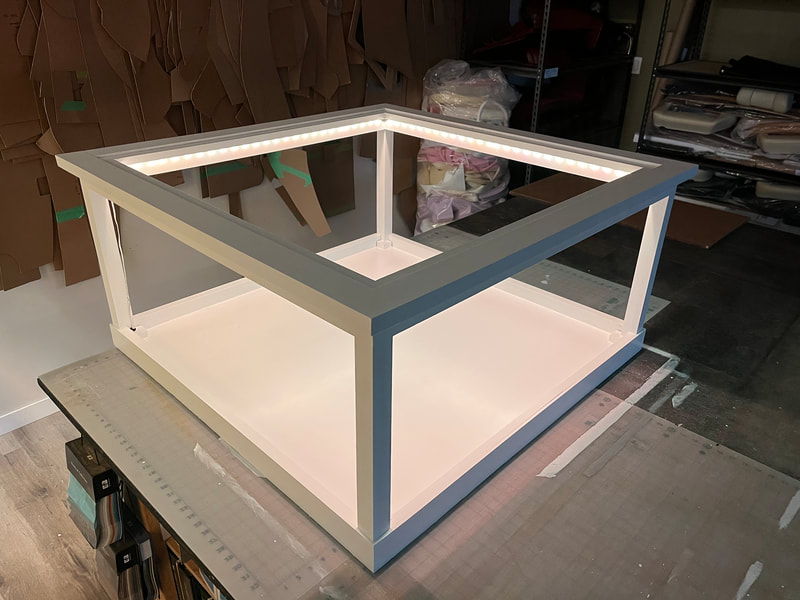
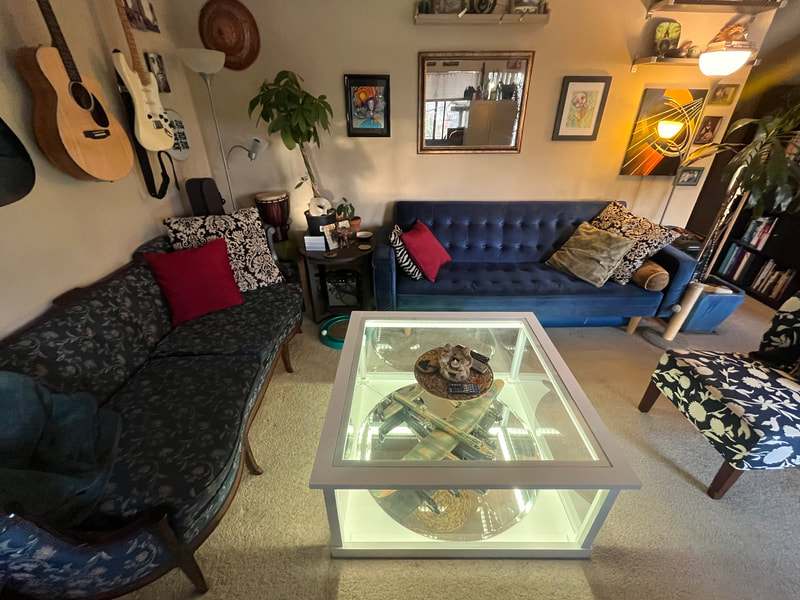
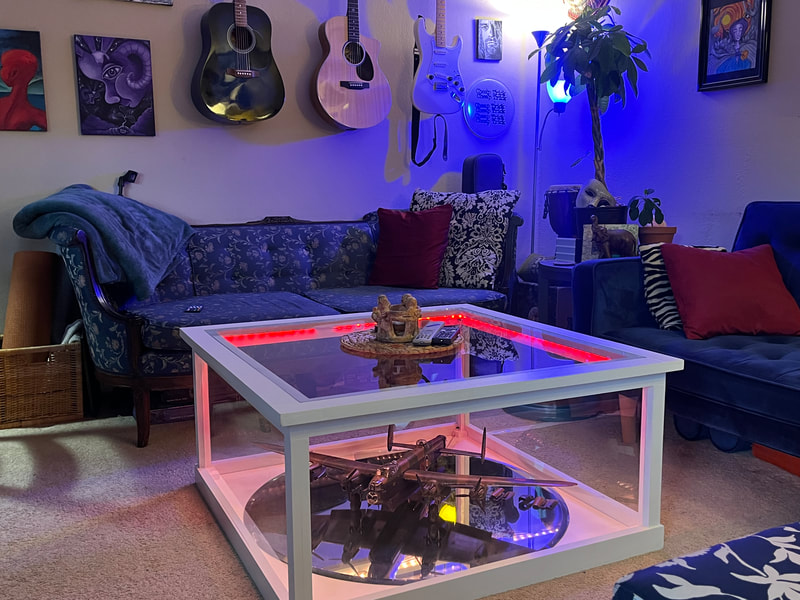
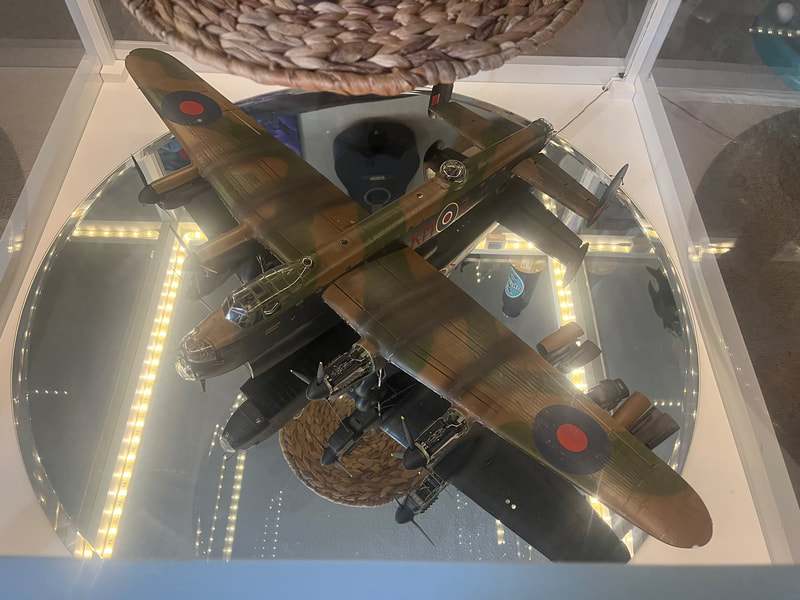
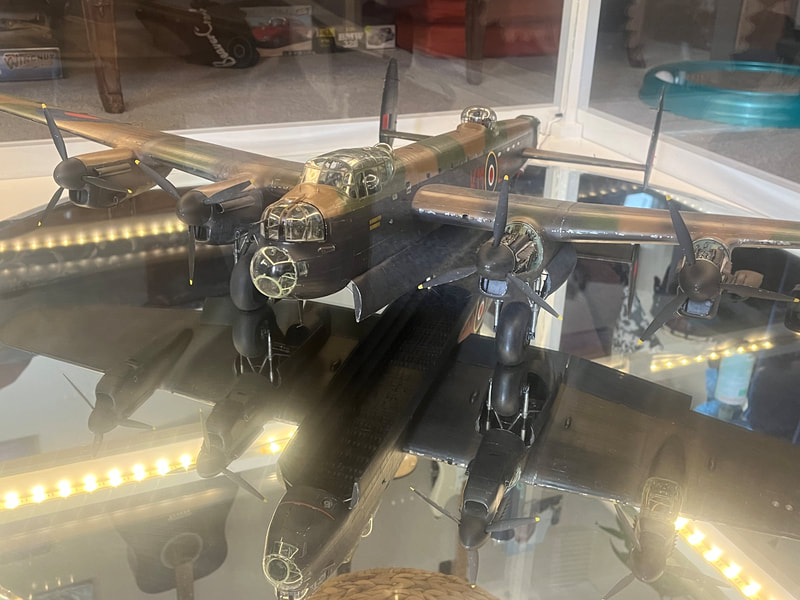
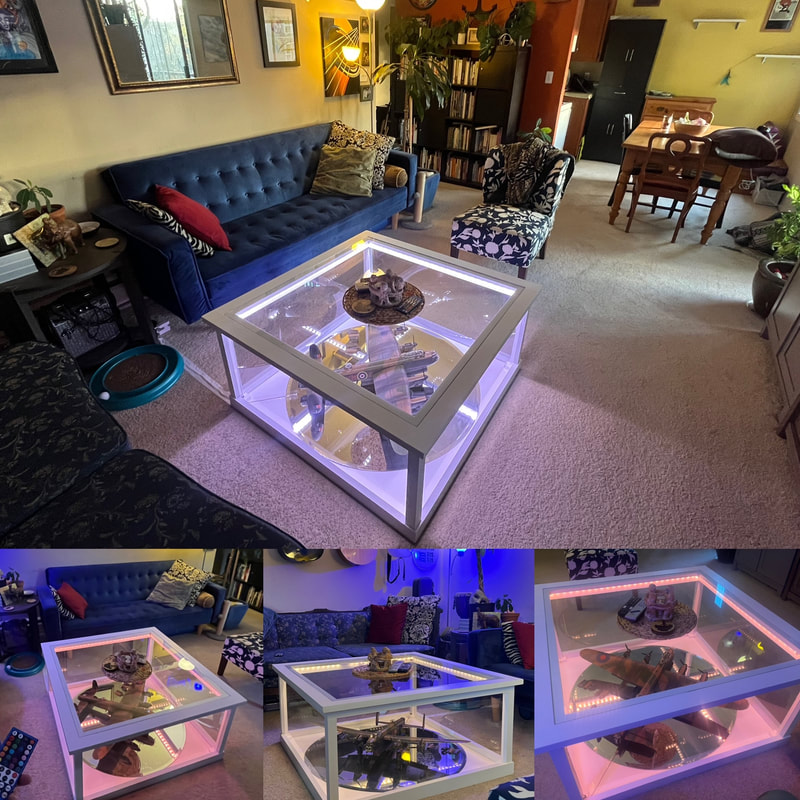
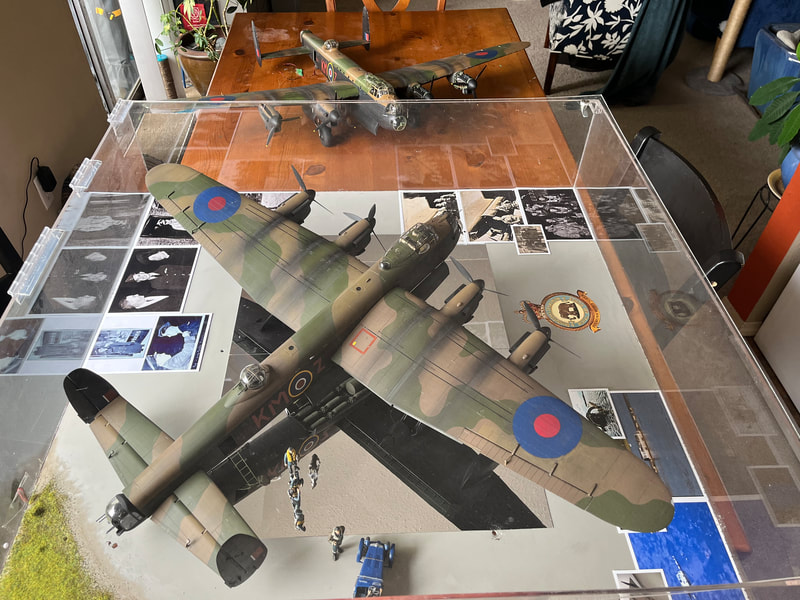
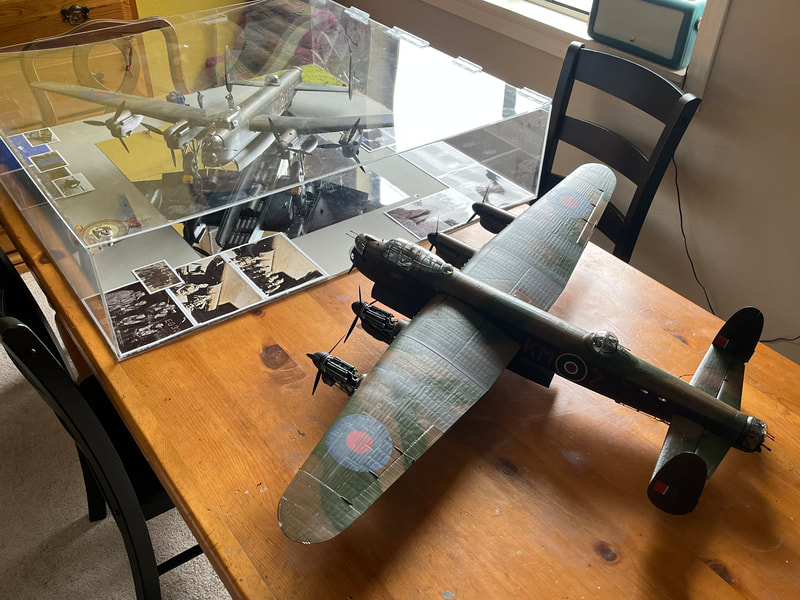
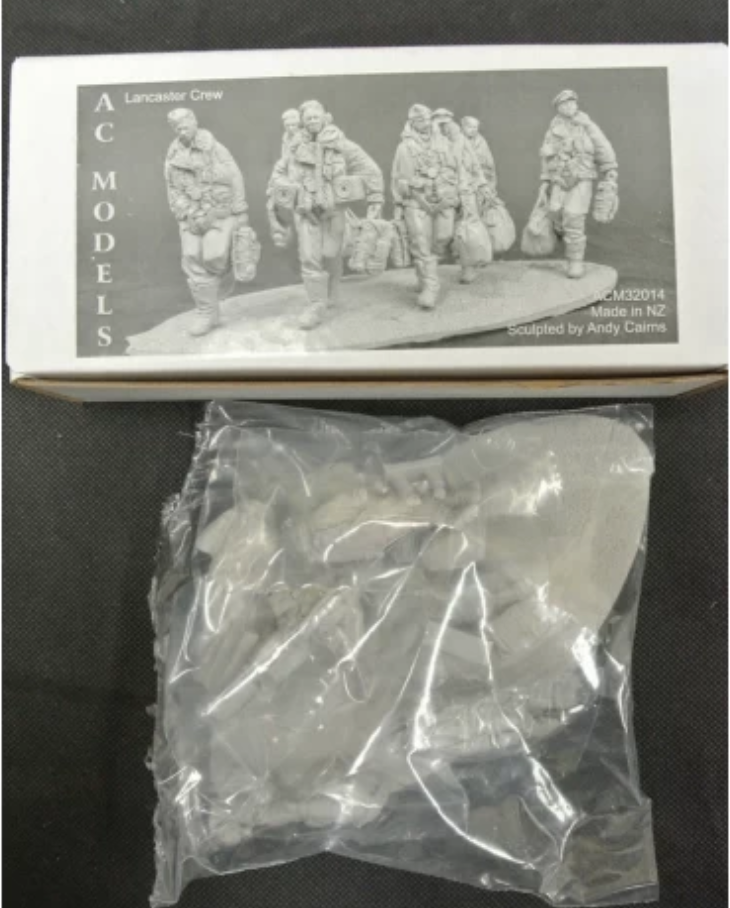
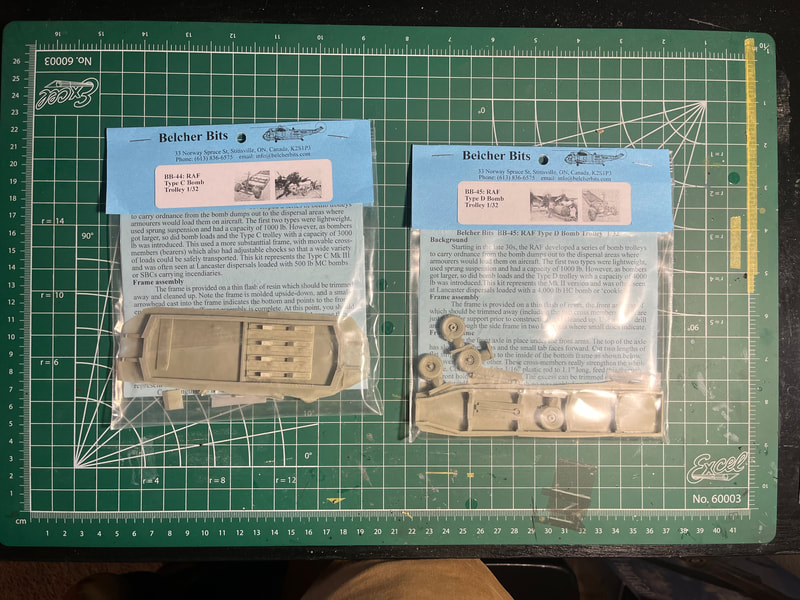
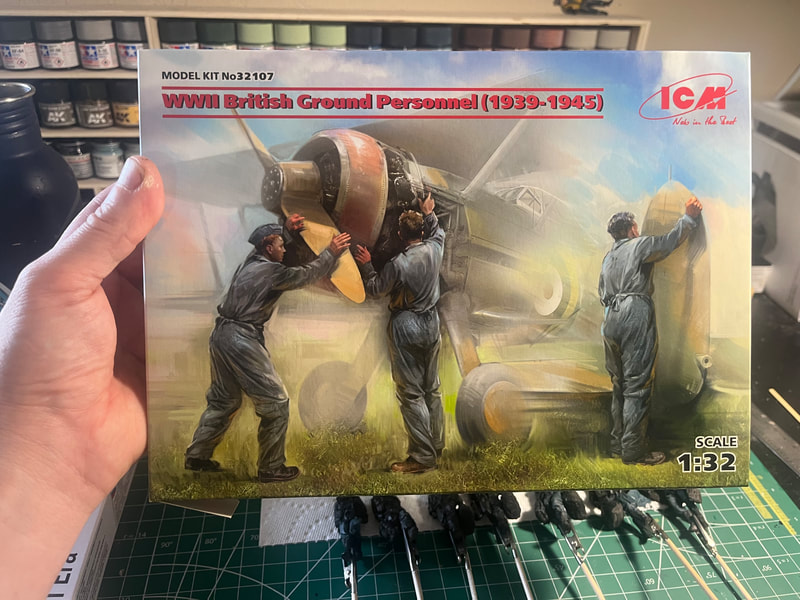
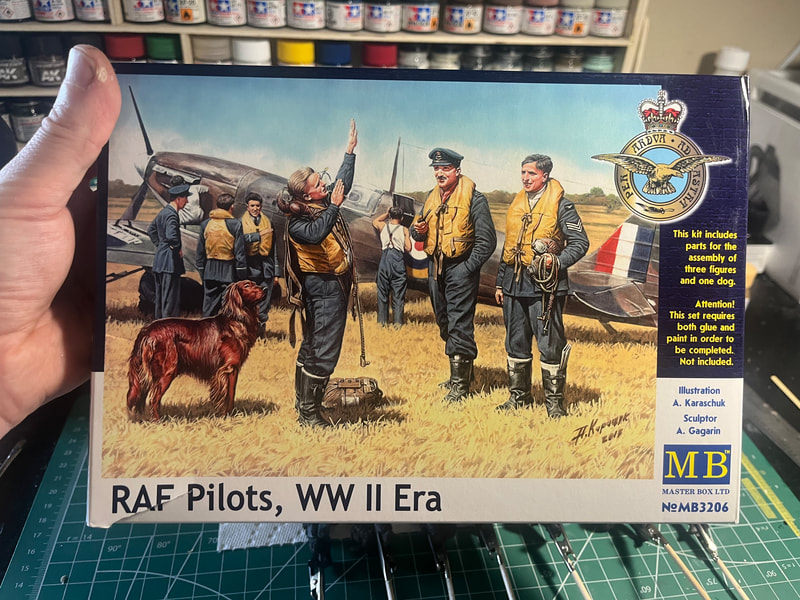
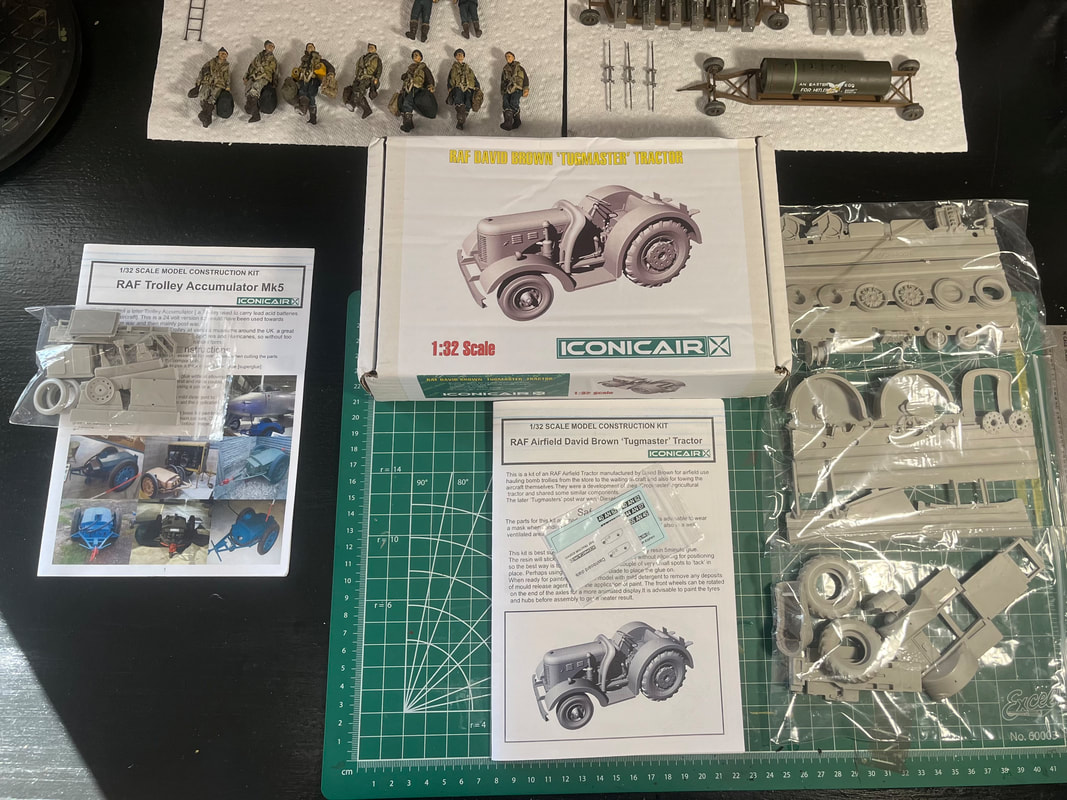
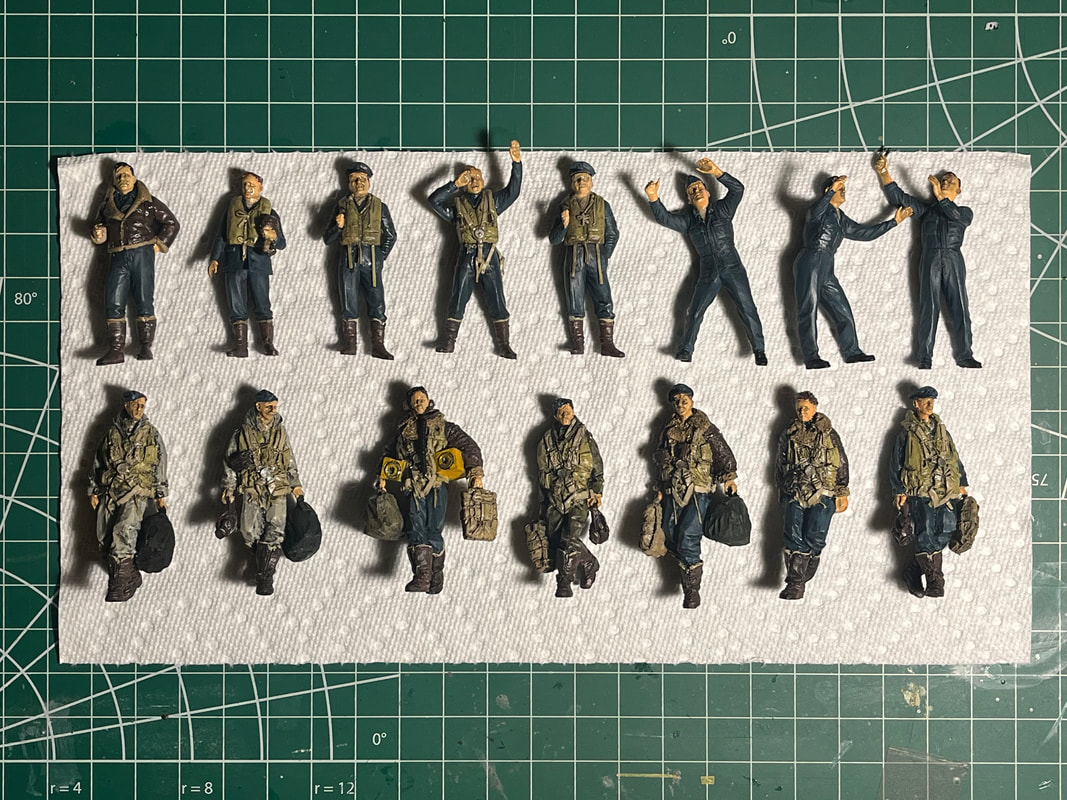
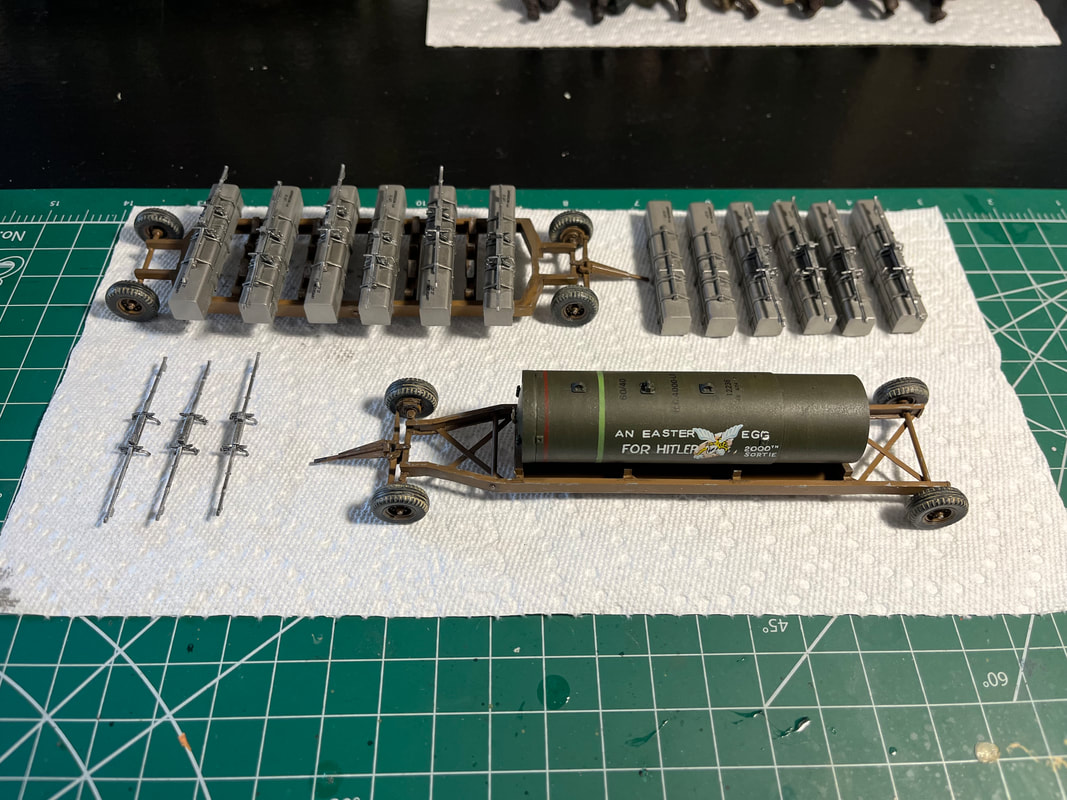
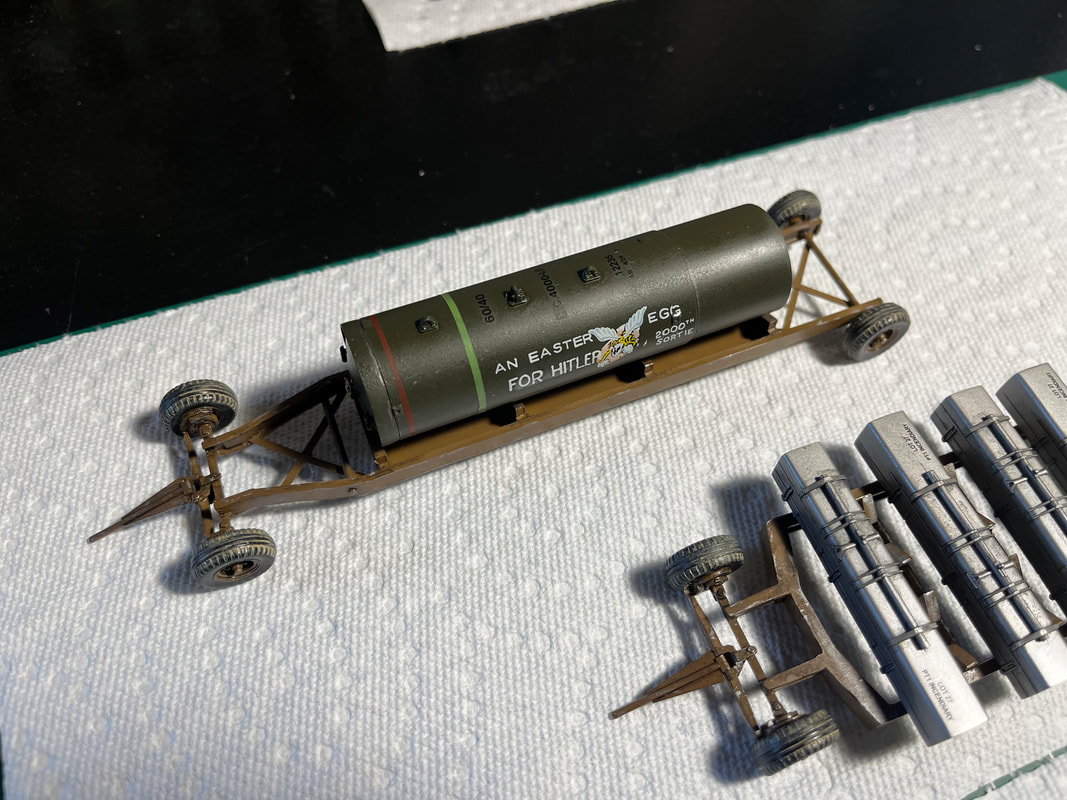
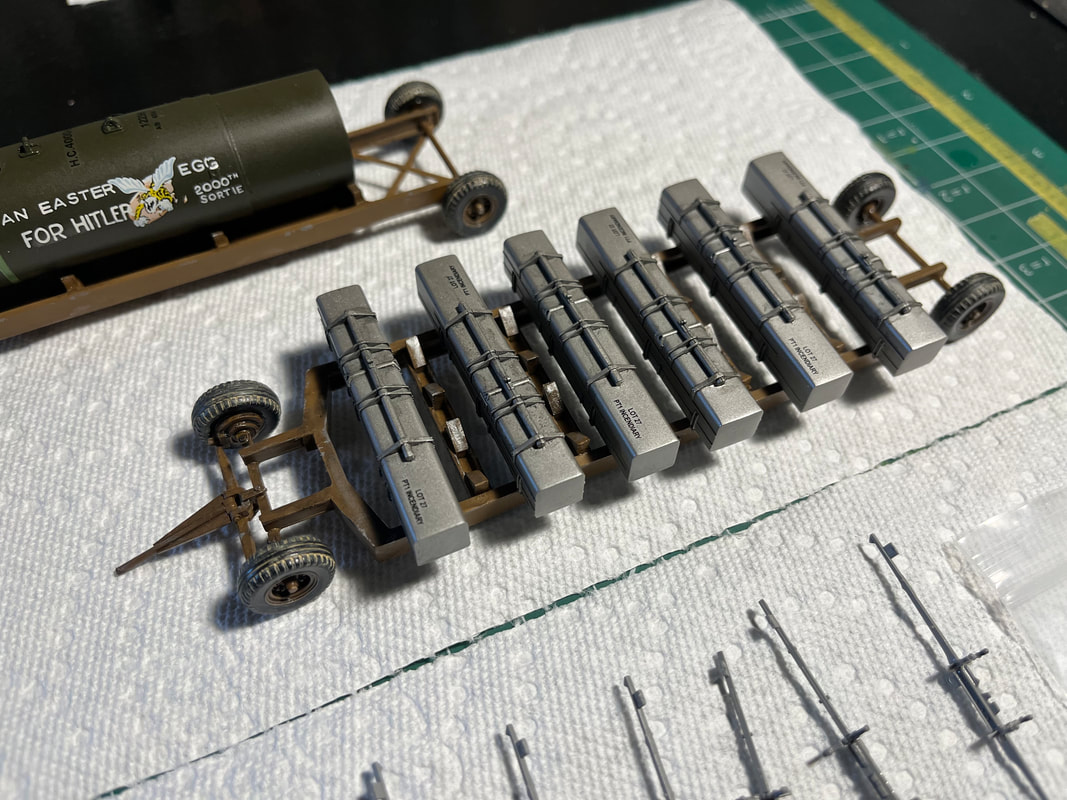
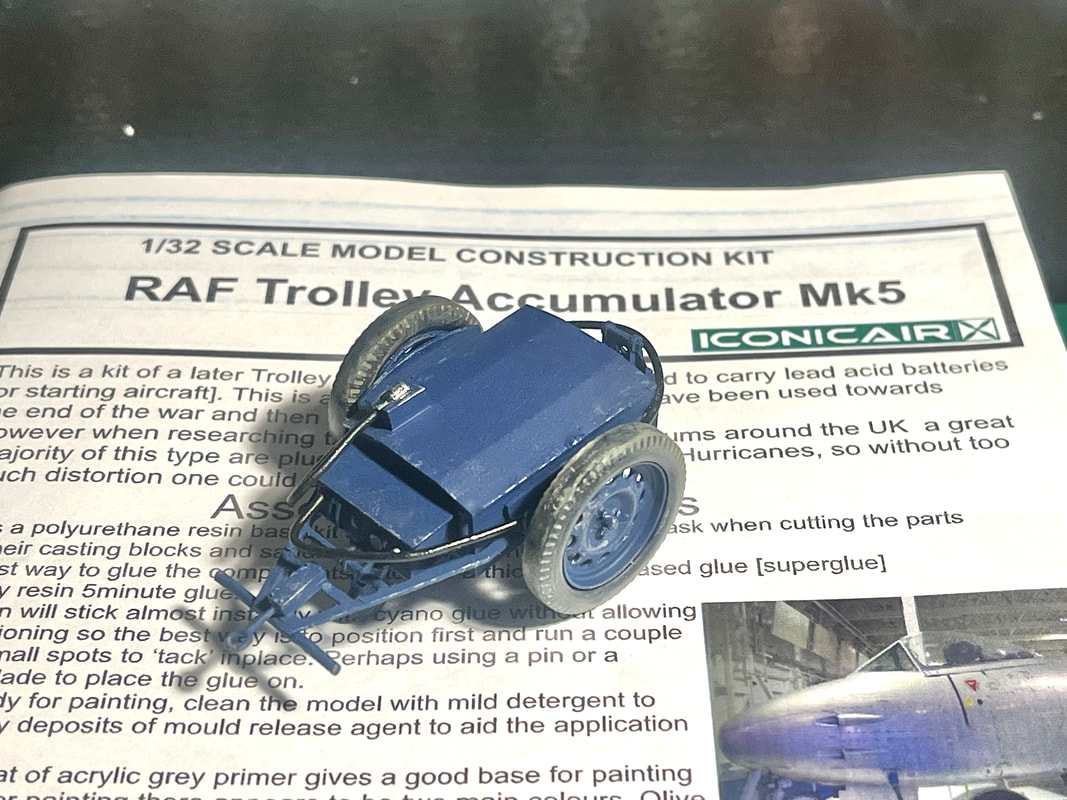
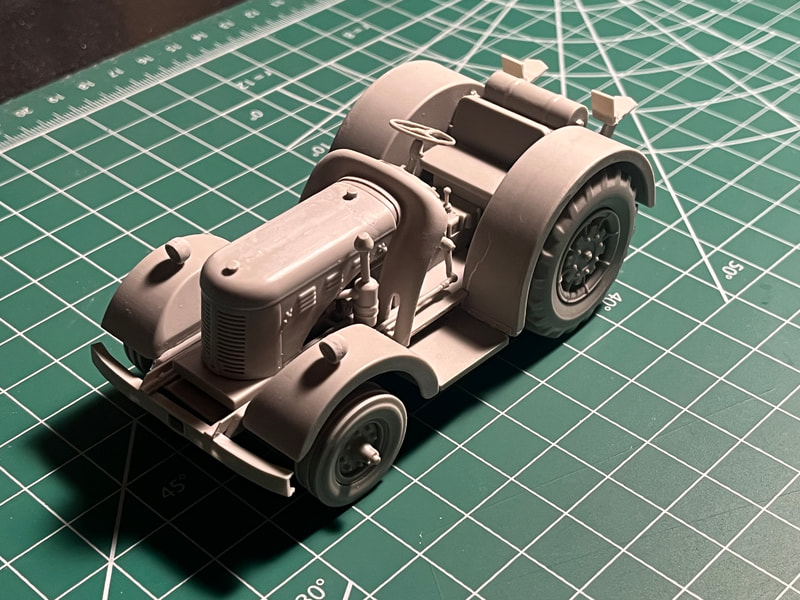
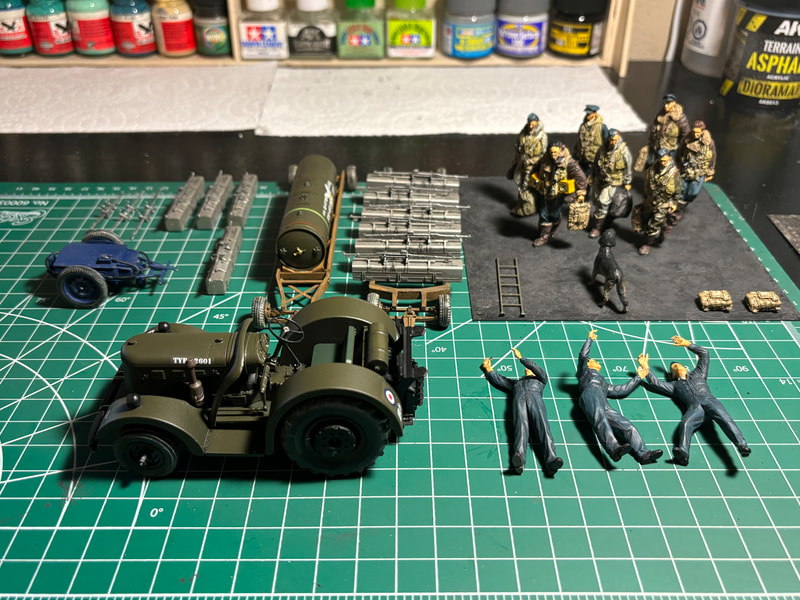
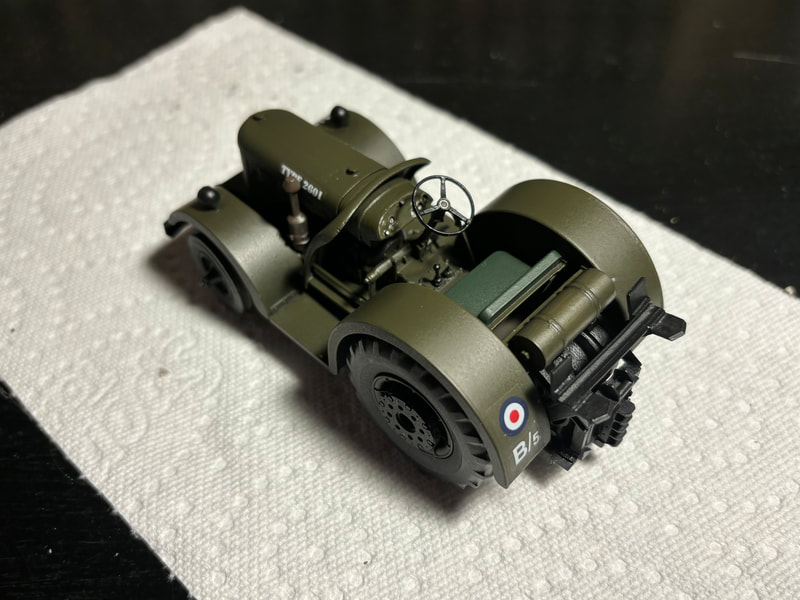
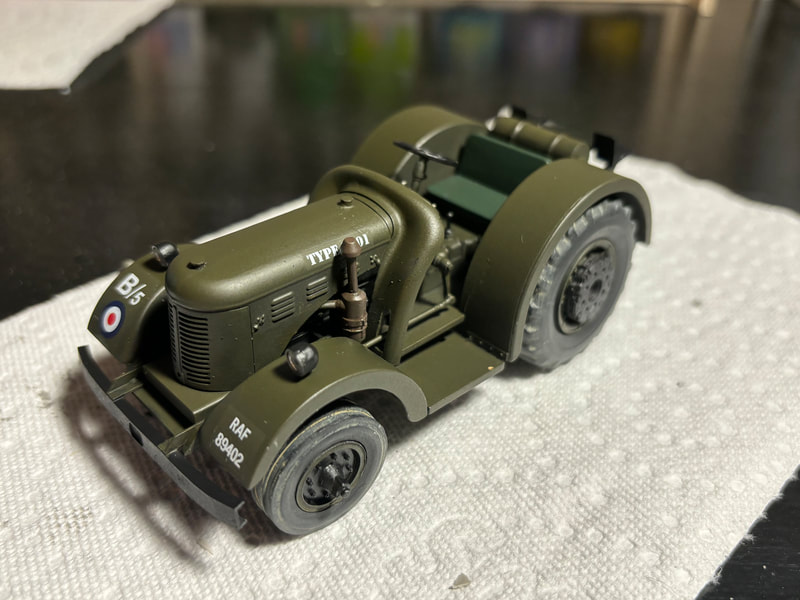
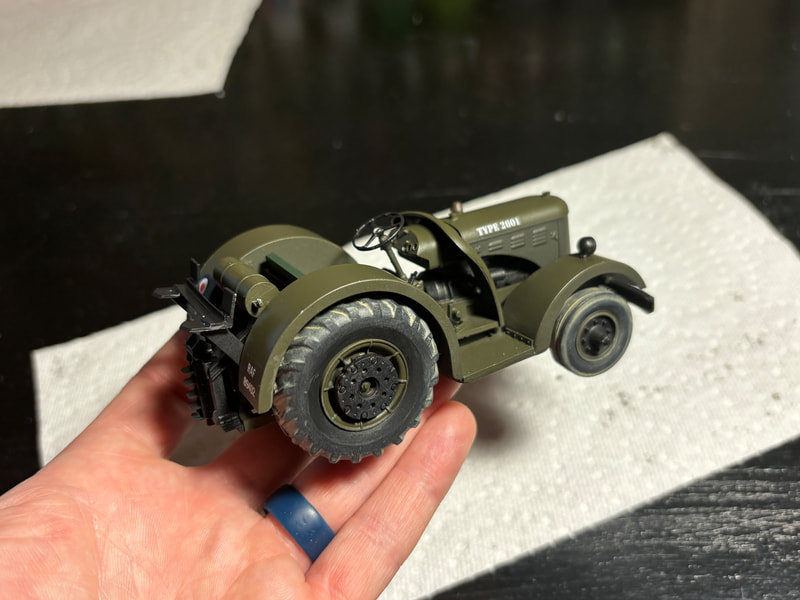
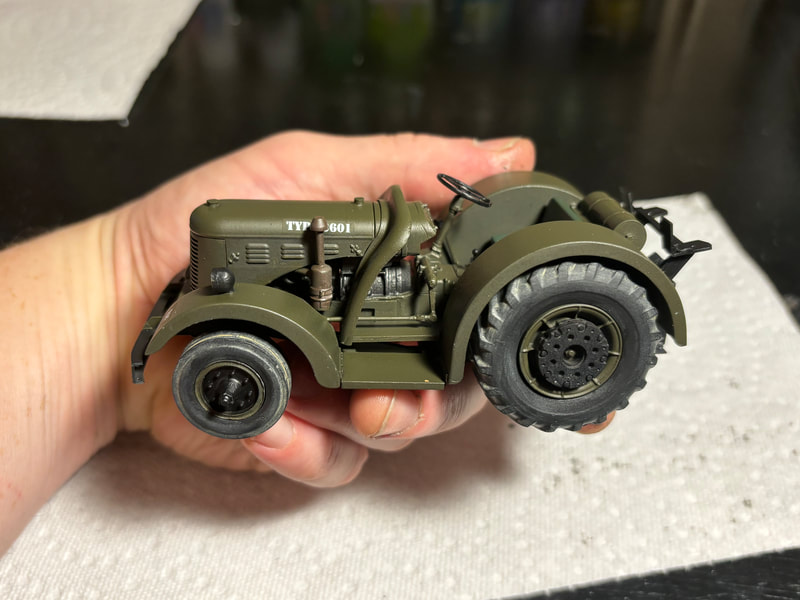
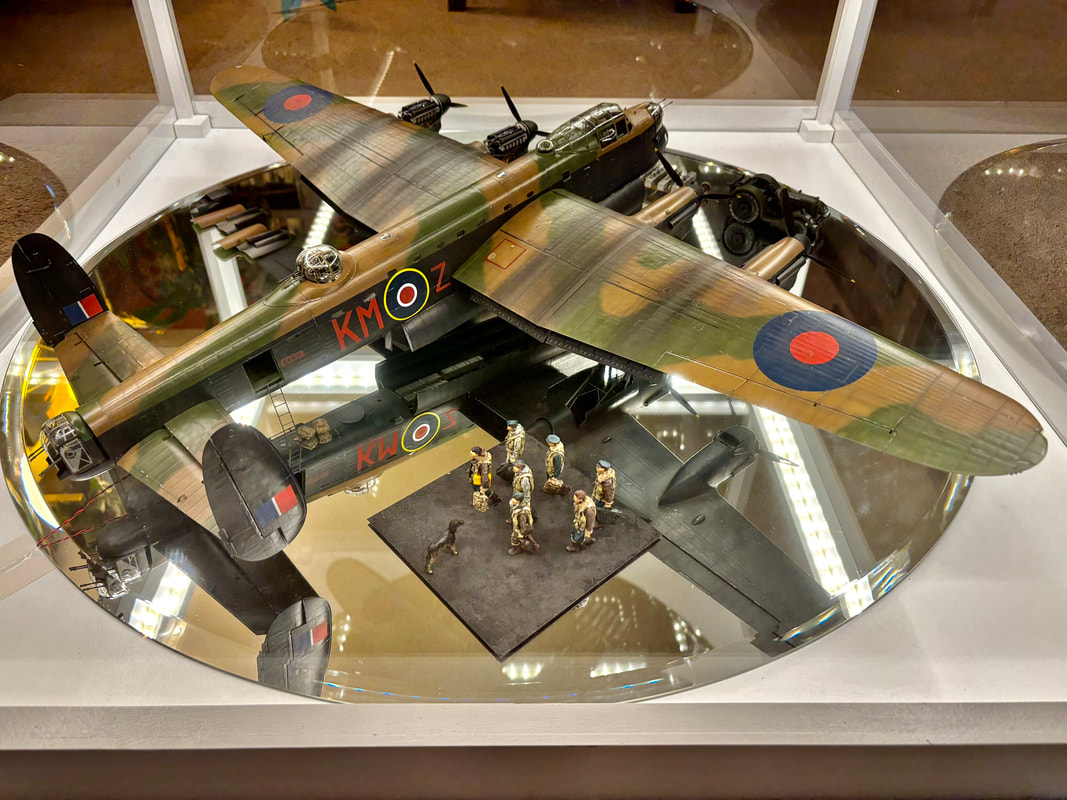
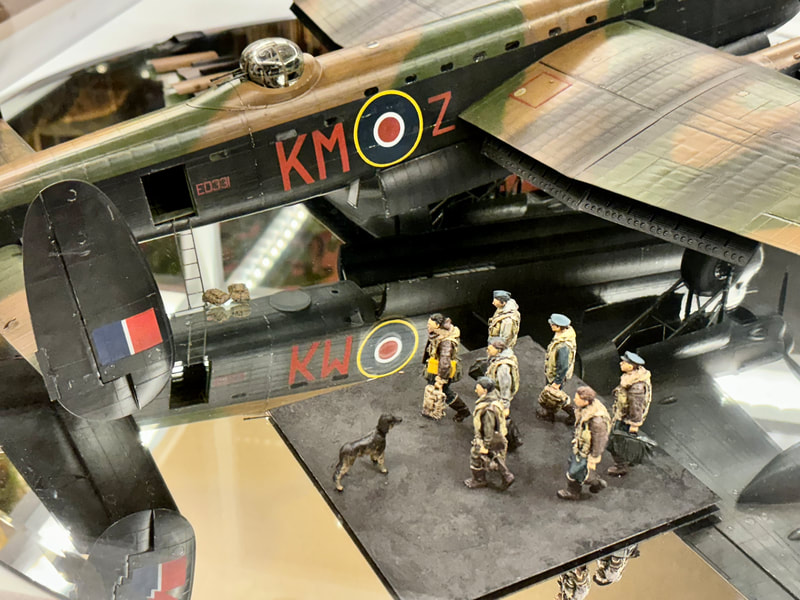
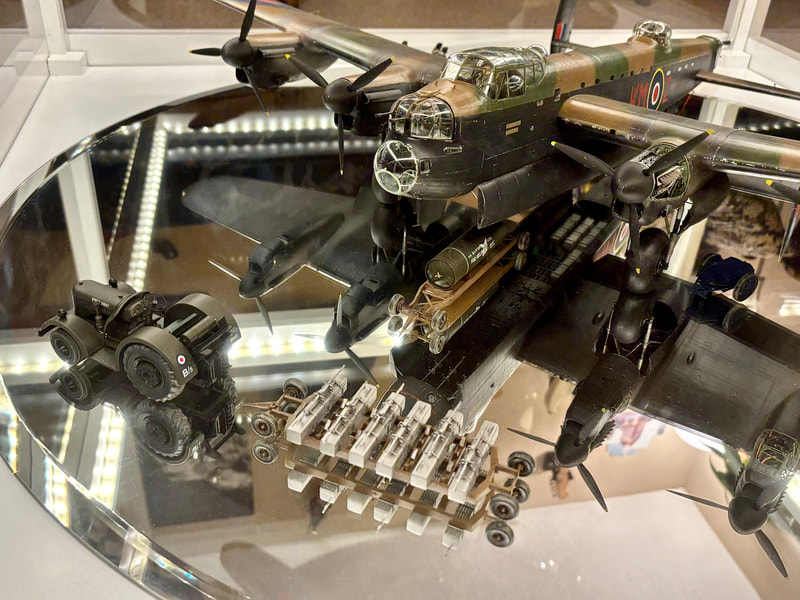
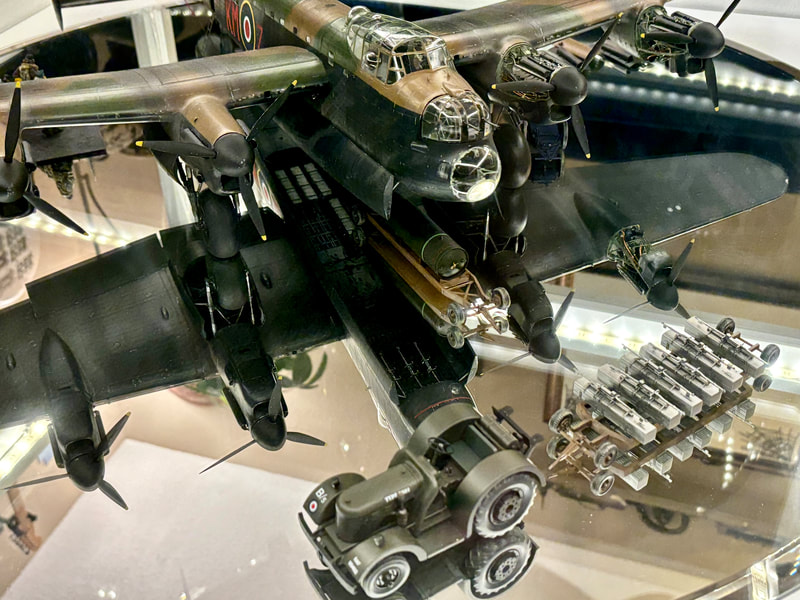
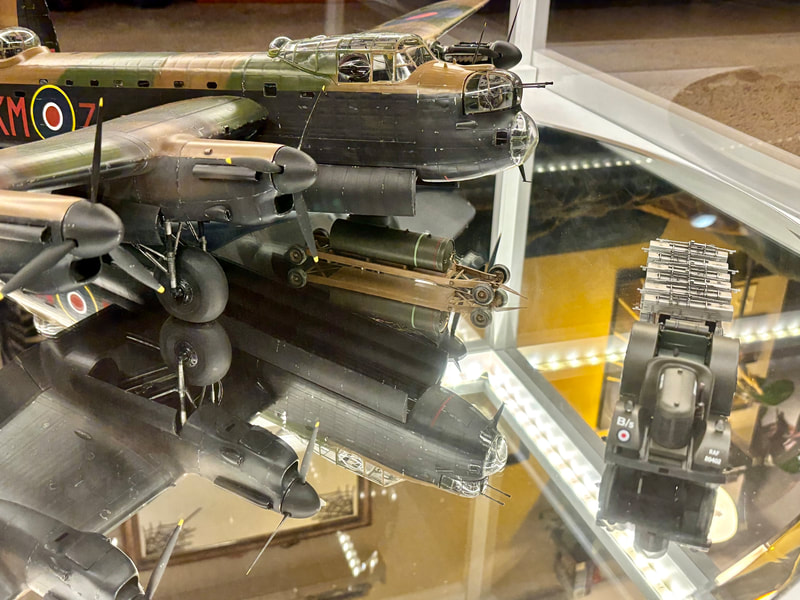
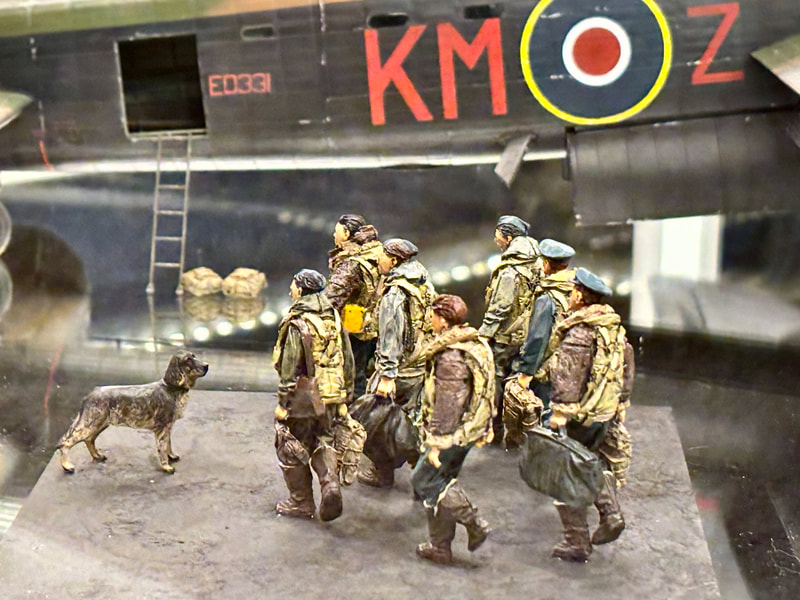
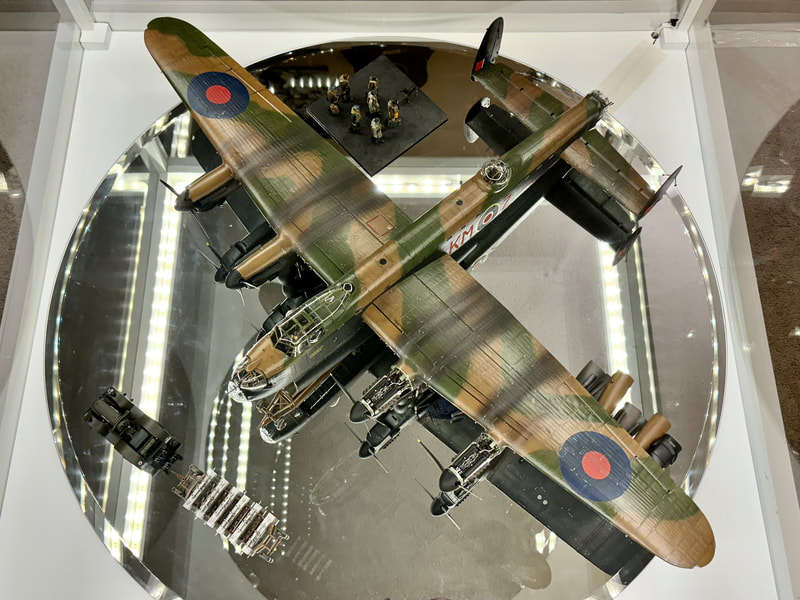
To start off, I will mention that this is an ongoing article that will be added-to and updated as I progress with the model. So please come back and check for updates every few weeks or so... I have always had a huge interest in building model aircraft and especially the Avro Lancaster. I grew up in Hamilton Ontario, and lived just down the street from the famous Canadian Warplane Heritage museum which has one of only 2 flying Lancasters left in the world. I remember the day in 1988 when they finally finished its 10yr restoration and had it's first flight around our neigborhood. To this day I recognize the sound of those Merlins from miles away. For my model I decided to build a model of Lancaster B1 ED331, KM-Z from 44 squadron. Here's a video that shows my progress with the cockpit and fuselage detailing - but it also covers a bit of the family related history of the aircraft I'm modeling: My family has a lost relative Reg Harding who often piloted this aircraft with his crew throughout the spring of '43. I found record of 6 sorties that he and his crew flew in this very aircraft which is just a few more than they flew in other Lanc's from that squadron. The aircraft itself was eventually lost in operations in June of '43 by the squadron's Wing Commander VC John Neddleton, and his crew. John Neddleton was famous for having earned the Victoria cross just a year before flying Lanc's in a daylight raid on Augsburg U-boat engine plant. This is my previous attempt (using the HK models kit) to build Lancaster ED331 of 44 "Rodesia" squadron: Just my luck a year after completing the HK model, I discover the newly released (ex Wingnut Wings) Border models Lancaster in the same 1/32 scale! Literally twice the price, twice the amount of parts, and twice the quality, accuracy and exquisite detail... looks like I'm going back to the modelling bench to make an even better model of ED331... Here's the interior cockpit & nose sections being painted, I used a lot of different techniques like paint chipping with hairspray, using washes, and pre/post shading with an airbrush.. Here's a selection of detail pics to show the cockpit, wings and landing gear coming together... Now to help bring this model to life, like my HK model, I decided to incorporate the Magic Models electronics kit which adds realistic start-up sound, lighting and motors for all 4 engines. Here's a video showing the engine & motor build up: Incorporating the motors, lighting, and speakers into the wings and engines was a trick! requiring a lot of careful planning and modifications of the kit parts to hide & fit the electronic components... Here are the engines coming together with electric motors hidden inside to spin the propellers... On the other wing I decide to have the engines closed and so used the kit's "dummy" engines - which actually had provisions for electric motors in them already! These pics also show the exhaust sections being painted, weathered and added to all 4 engines... Then came time to start painting the fully assembled wings. Starting with pre-shading all the panel lines in Mr.Surfacer 1500 - black - diluted 70%... After pre-shading came the paint. I used AK Real colours for the camouflage, and I used AK nato black and more Mr. Surfacer black to do the undersides... Here's a video showing the wings painting & lettering: For all the lettering I decided to try 1 Man Army airbrush paint masks instead of decals. This is my first time using these masks, and they're amazing! - So much better than a decal which looks shiny and sometimes shows carrier film...Plus I can get the colours just right! Here's how the wing lettering was sprayed using the masks: Then came some weathering... Next it was back on to the fuselage, starting with masking all the windows using the ASK window masking set... I also assembled & detailed the canopy area adding some cockpit placards from Airscale before sealing the cockpit closed with the canopy... Here's a video showing the canopy and nose assembly, as well as the main fuselage join.. I assembled and detailed the bomb sight, adding some more placards to give accurate detail. Then I added the perspex pieces after first painting the nose surround cockpit green - (not black like I first thought it was in some of these pics!) Finally the main join of fuselage halves and wings with all of the wiring and plugs. What a rats nest! I carefully plugged everything in and test ran the system before finally gluing the fuselage and wings together... While I had the Airscale placards out, I added a few into the landing gear bays along the firewalls... Next it was on to the fuselage painting. I started by spraying the insides of the canopy frame in the cockpit green, Then did all the pre-shading using Mr. Surfacer black, Then did all the camouflage using AK Real colours, then finally the black using AK nato black and more Mr.Surfacer... Here's a video of the painting and lettering of the fuselage: Next it's on to the fuselage lettering... I thought I would have to either make my own masks out of tape, or use decals to do the KM-Z, ED331... But then as fate would have it, I was contacted by a local fellow who found me through my YouTube video's of this build. He actually offered to make me a set of masks for free using a program and cutting machine he has. He also just happened to live in my same town on Vancouver island and delivered the masks to my door the next day after talking to him and sending him the dimensions! Amazing!! Thank you SO MUCH Doug! I'm still in shock at the synchronicity that lined up here... Here's Doug's clear/grey paper peel & stick masks going on for the lettering... Of course I'm still using the 1 Man Army masks for the roundels... Masking tape removed, the roundels and lettering look fantastic! - a proper "painted on look" we modellers are always trying to achieve.. Next steps will be to weather the fuselage, and build up the turrets... I decided to build and install the front turret first because it has fairings that need to be fit, blended and painted with the nose area.. Great detail in the turret, the kit uses 36 parts to build the turret - That's a lot of little pieces packed in there! but the end result is stunning. I painted mine in the earlier cockpit green with aluminum coloured frame work.. later Lanc's had this all painted black.. I finished weathering the fuselage with chipping paint, panel liner washes, then sealed it all with a satin clear coat before removing all the ASK window masks... Here's a video showing the turrets and final details being added to the model... Next I got into building and painting the mid-upper, and rear turrets... Again doing them in the earlier green/aluminum colour schemes before they too were eventually all painted black... Finally I added the final greeblies like the pitot tube, nose camera, bomb door actuators, radio antenna's, and nose gun barrels to basically finish the aircraft itself... The next step is to build a display case for the model,.. I decided to build a custom new coffee table/ display case with a wood frame, plexiglass sides, and a 1/4" thick tempered glass top. It has a round mirror in the bottom and LED lighting inside the top perimeter. Turned out to be a great addition to our living room! As I can only fit one of these Lanc's at home, I moved the old HK model in its wall mounted case from our home to my workshop, and put the new coffee table/display case at home... Moving day was probably the only time I'll see both models side by side like this - big birds, require lots of real estate! In recent days I've just purchased some sets of figures, bomb carts, accumulator, and a tractor to add to the new scene: Finally I've added the crew, tractor, accumulator and bomb carts to finish the scene. With all the lighting, and start-up routine included this has turned out to be quite a mesmerizing scene! Until next time...
0 Comments
Your comment will be posted after it is approved.
Leave a Reply. |
Archives
December 2023
|

 RSS Feed