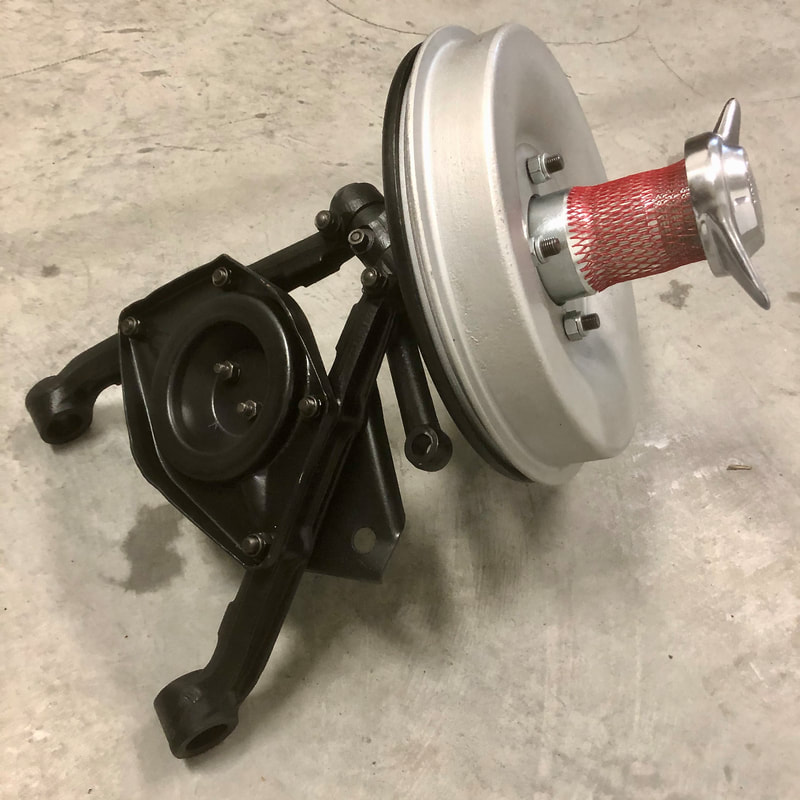
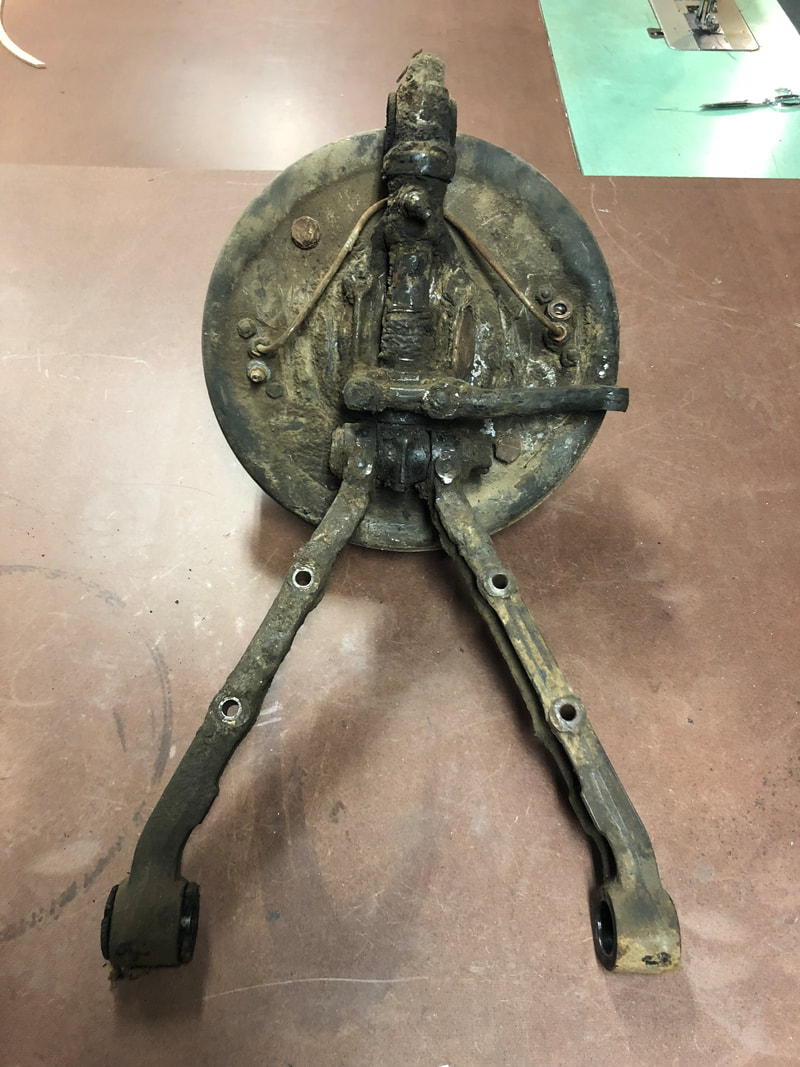
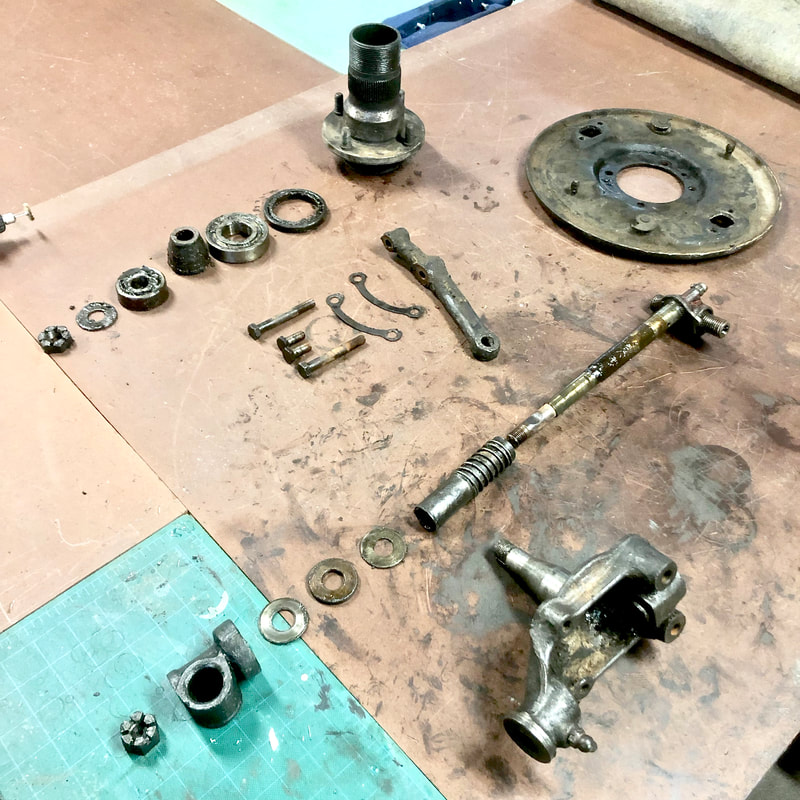
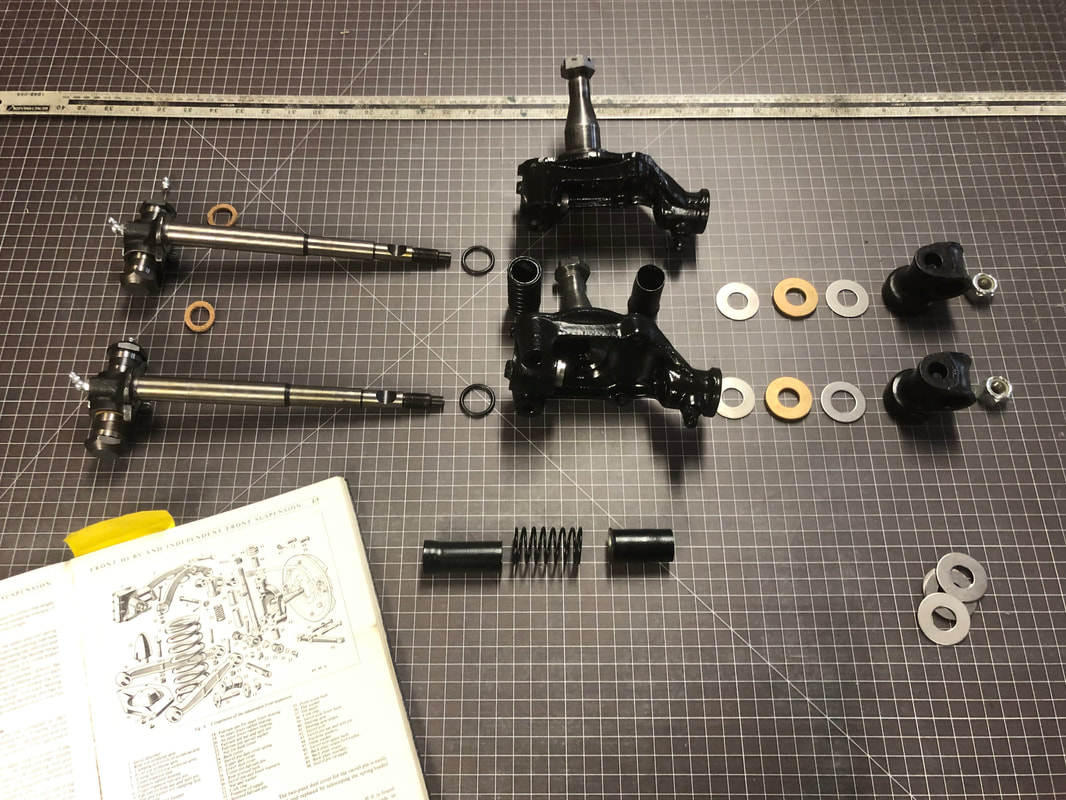
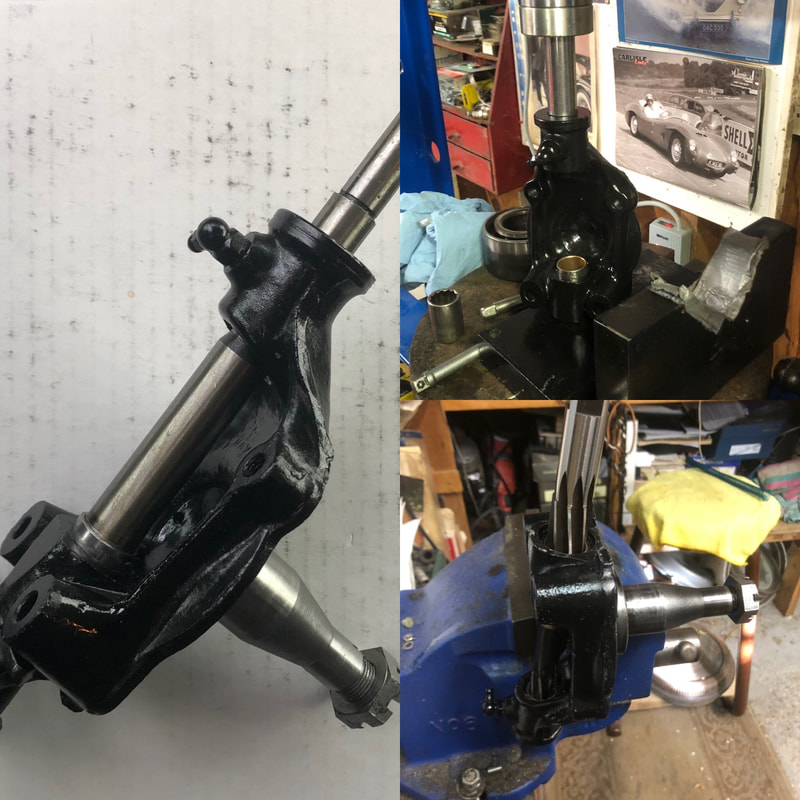
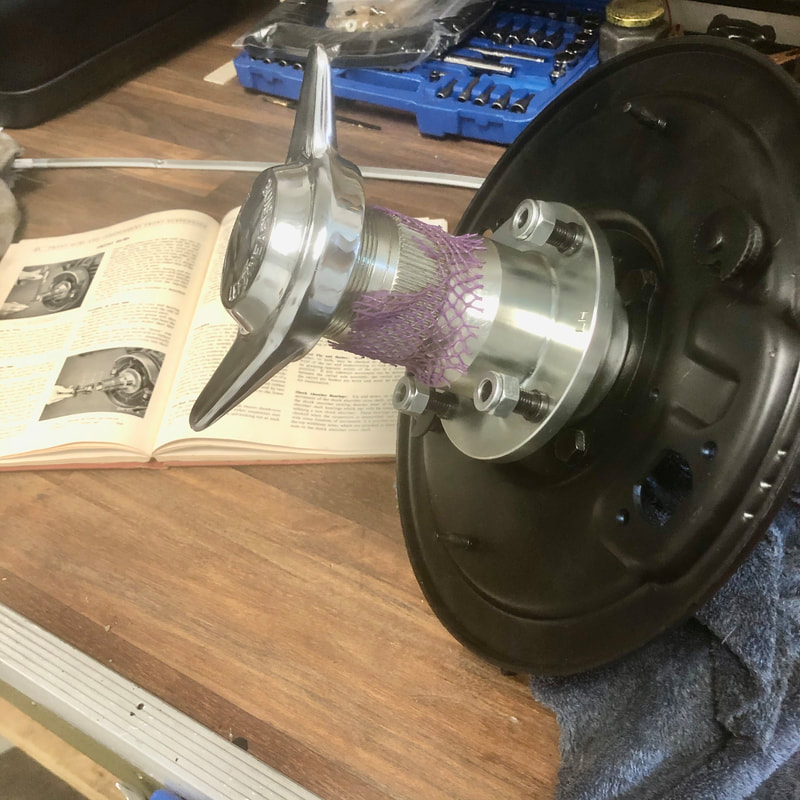
 This article covers the restoration of my front kingpins, swivel axles, brakes, steering levers, and lower control arms: Upon initial disassembly, I first documented, cleaned, bead-blasted & refinished all of the components in their respective finishes. Then I purchased new kingpin kits and installed them into the swivel axles with new bushings pressed in and reamed to size, with new spacers and seals. - Luckily I was able to borrow my good friend Trevor Parker's king pin bushing reamer tool which is essential for this process to get a perfect fit! It was necessary to actually cut off the upper tip of the king pin after the top nut was tightened down, because the new pins were made with a strangely tall tip that sits almost 1" proud of the top nut and will actually foul on the bodywork when installed! - it's unfortunately so typical that most repro-parts are incorrect in one way or another and require modification to fit properly! 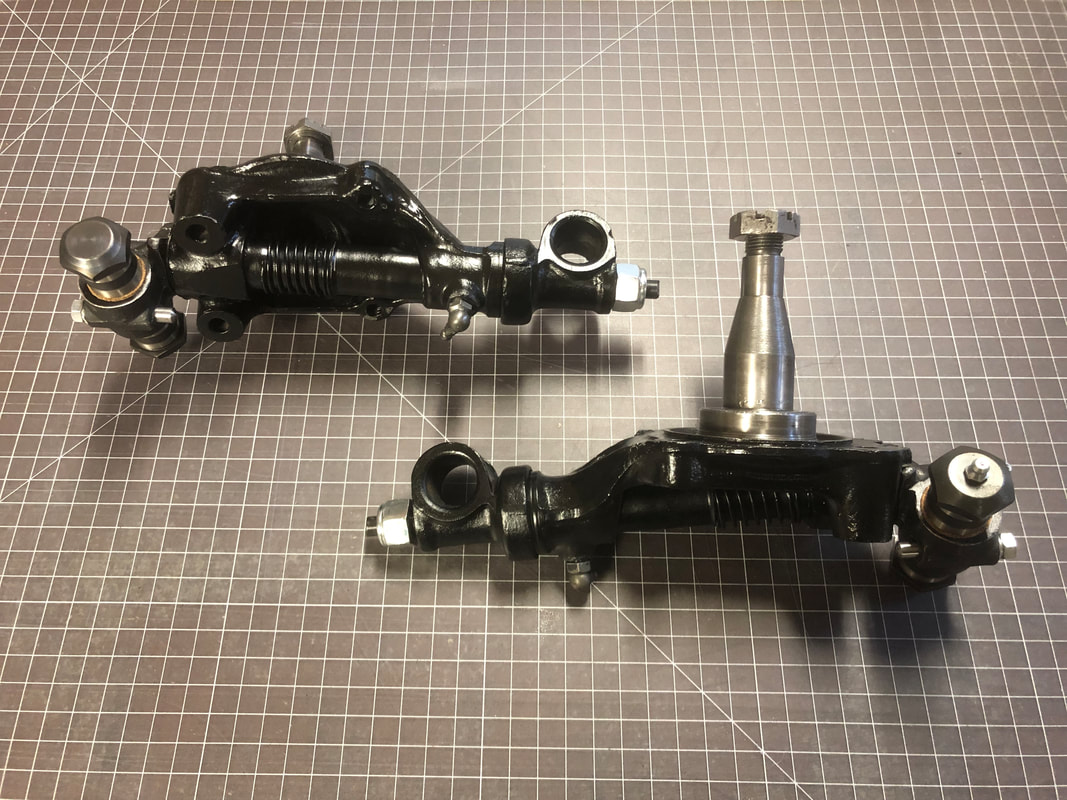 One other issue I had with the new kingpins was that the lower cutouts for the control arms needed some grinding away to properly clear the control arms, so they could be tightened down all the way and pivot properly without binding:.. 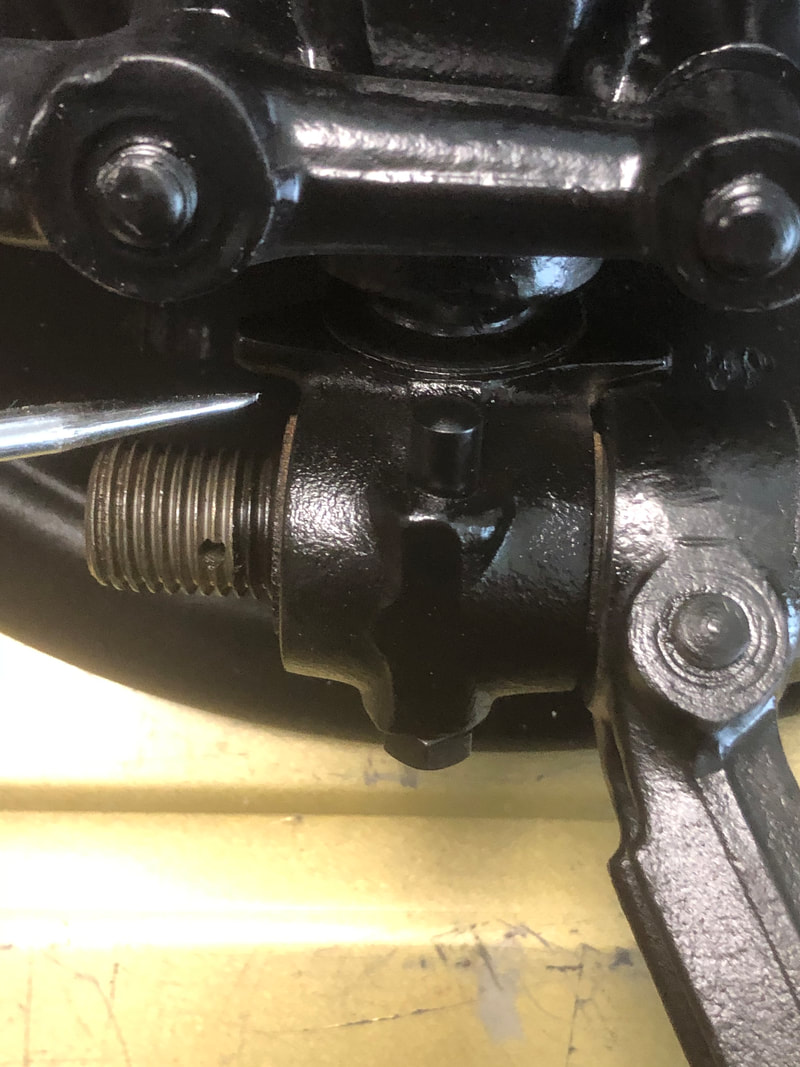 After fixing that problem I touched up the trouble spots with some satin black paint, and eventually finished bolting them together with some fresh grease smeared on the inner pins & pivot faces. I should note that I did temporarily bolt up the lower spring pans between the A-arms to assure that I had them aligned correctly before I tightened down the lower pivot screws. There should be .002" clearance under each screw to assure proper movement. The last and most important part of securing the lower A-arm/King pin pivot joints is to tighten down the tapered cotters (3 each side) that secure the pivot pins & screws and prevent them from eventually unscrewing themselves! 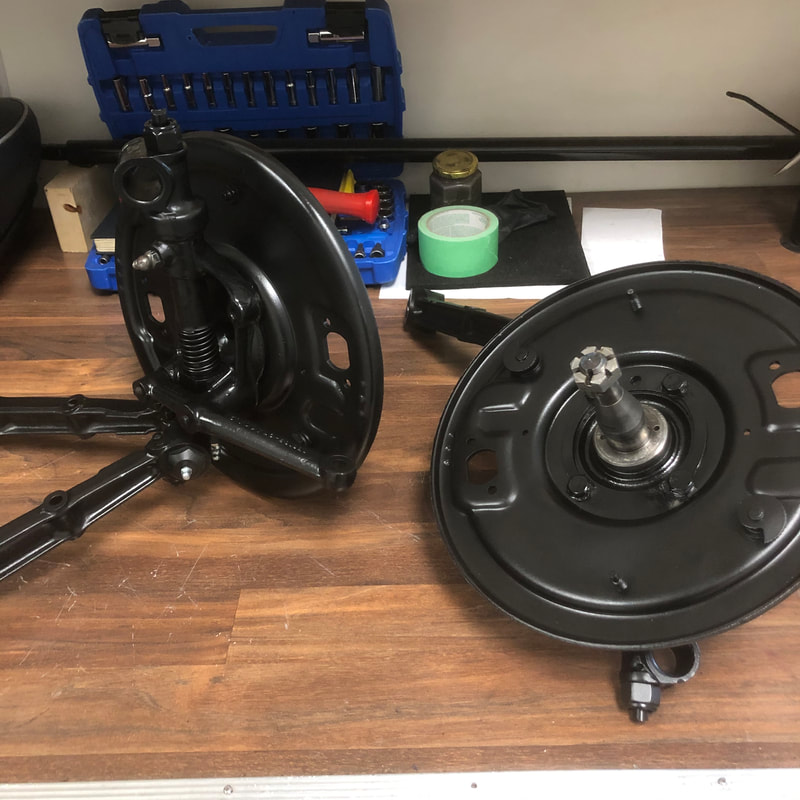 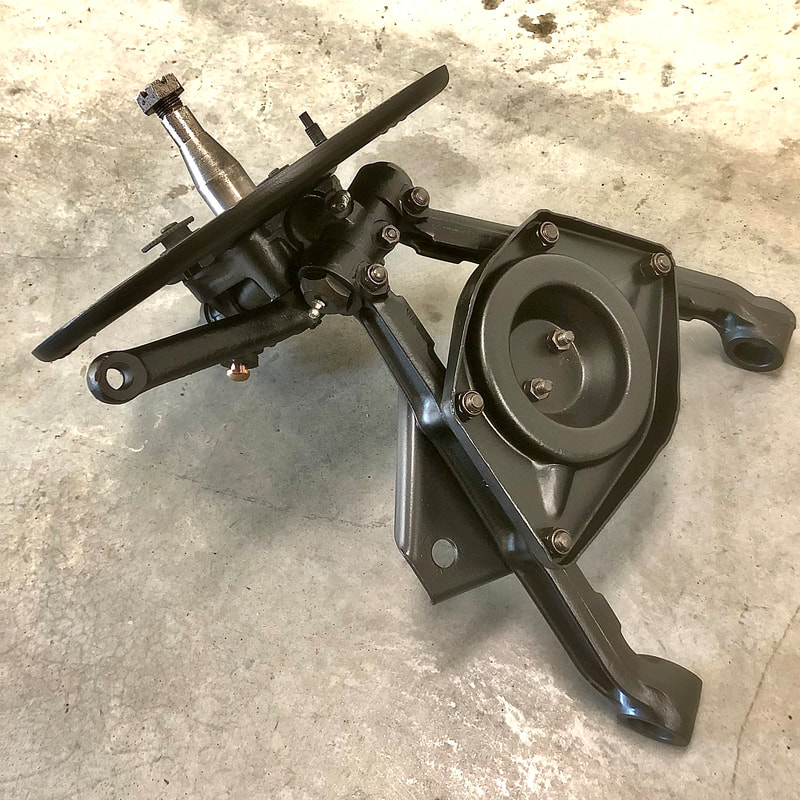 I purchased all new splined hubs with new studs that had to be tightened into the hubs, and then peaned over on the backsides to prevent them from ever coming loose.. Then I assembled the hubs to the stub axle with new seals & bearings, thoroughly packed with fresh grease, and finished with the big nut and cotter pin, and finally the packed grease cup pushed home... 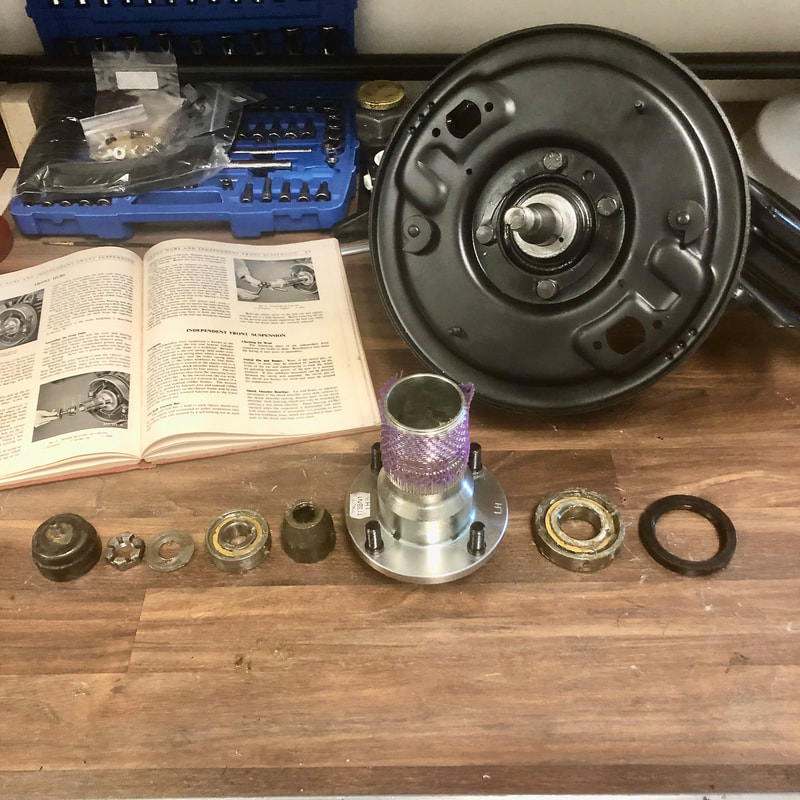
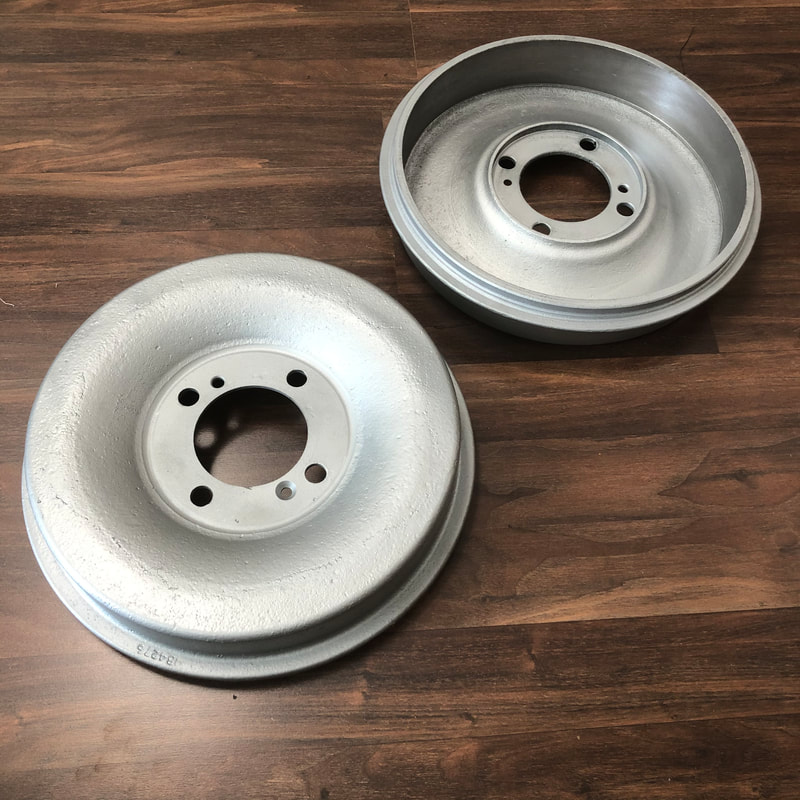
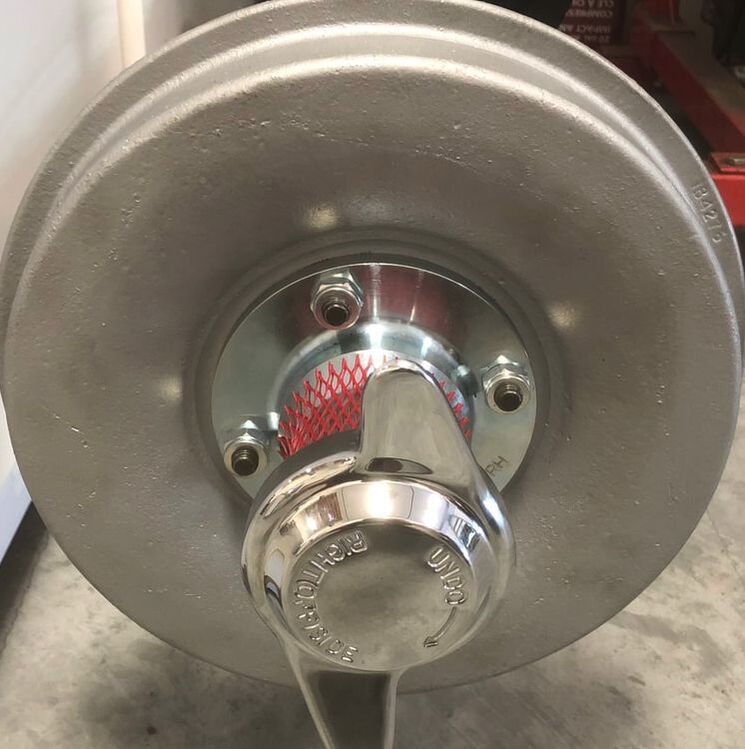
Next I installed all new wheel/brake cylinders to replace my old ones which had shown some light corrosion in the cylinder bores. Then I offered up the new shoes and springs, and adjusted them all the way down to fit the freshly turned drums... 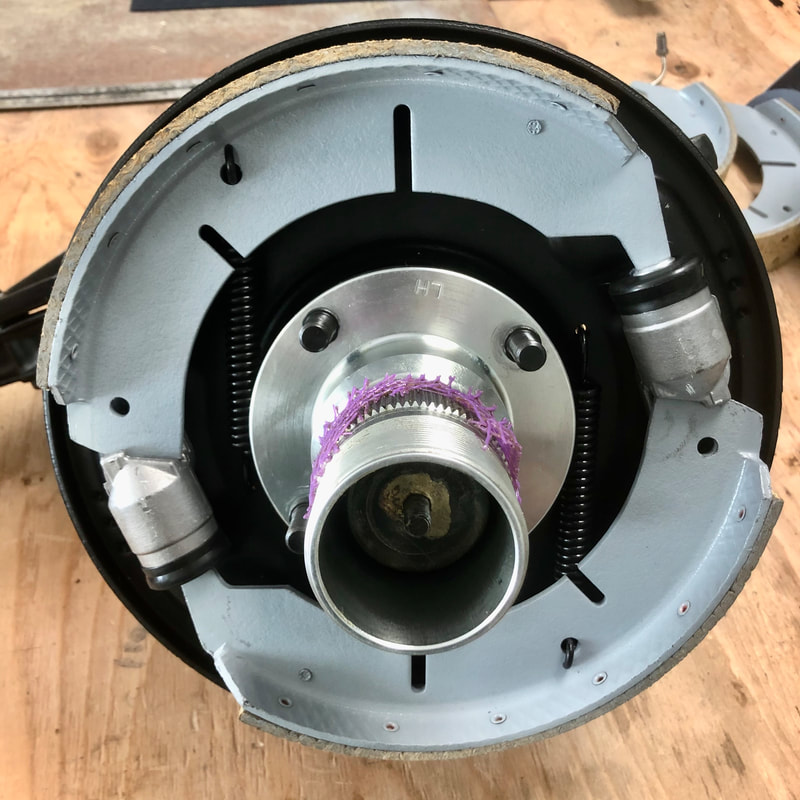
I finished them off by installing the new brake lines and bleed screws to the back plates, and adjusting the shoe angles and positions with the adjustment screws on the back plates... 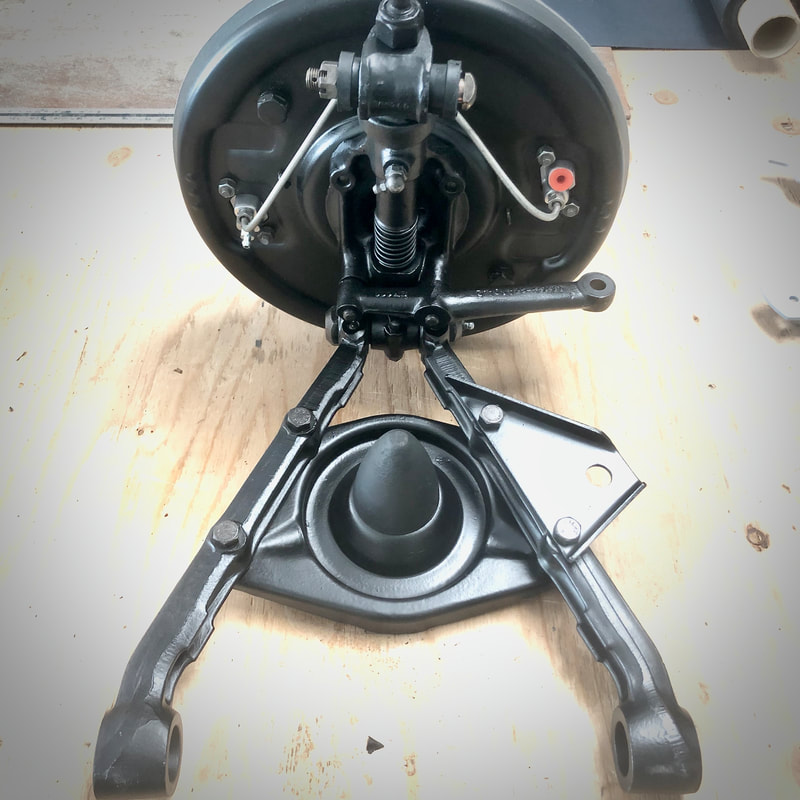 In other news, last week my front and rear Armstrong lever shocks arrived back from being rebuilt by Apple Hydraulics in NY. While Apple most often offers an exchange for the common shocks, mine had to be rebuilt because they're the earlier & rarer 5612 style. They did a beautiful job on them and I promptly gave them a fresh coat of satin black paint to finish them off as original: 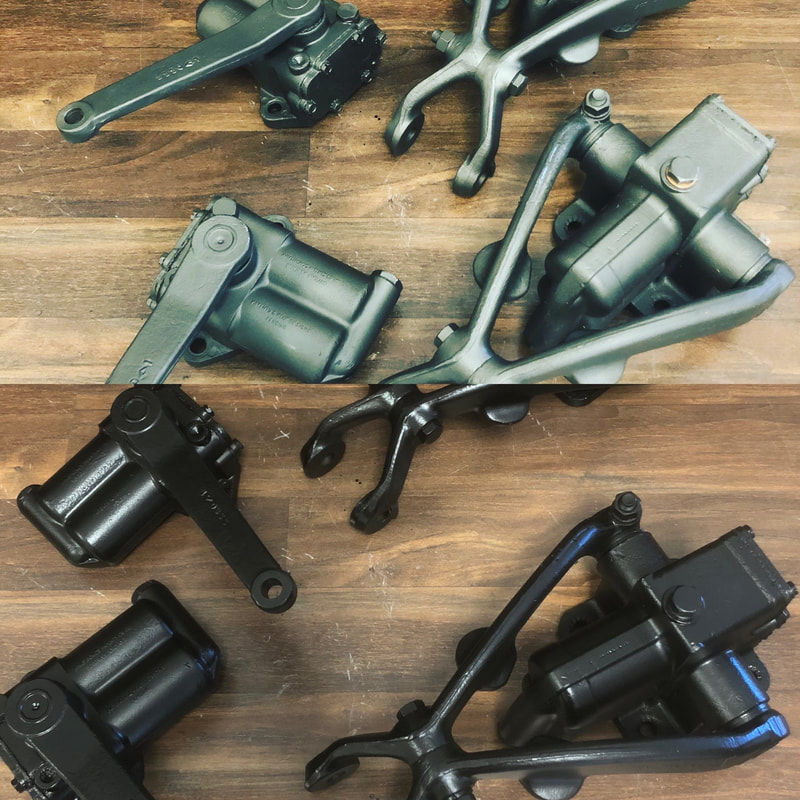 Now my front suspension components are all rebuilt and ready to be re-installed to the car when my painted chassis finally arrives... Until next time -
1 Comment
|

Archives
December 2023
|

 RSS Feed