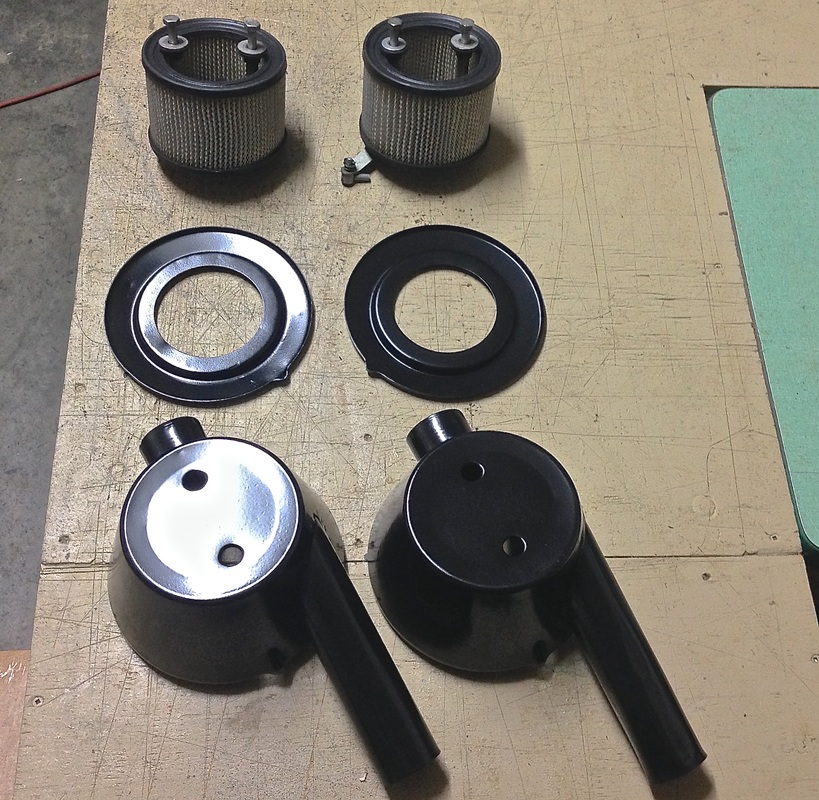
 Another week has passed, while my days were spent passionately working my job (which this week included making new leather door panels for a 1937 Packard). My evenings and all day Saturday were spent working on my 64 MGB... I sandblasted and painted several components this week, like the air cleaner housings -
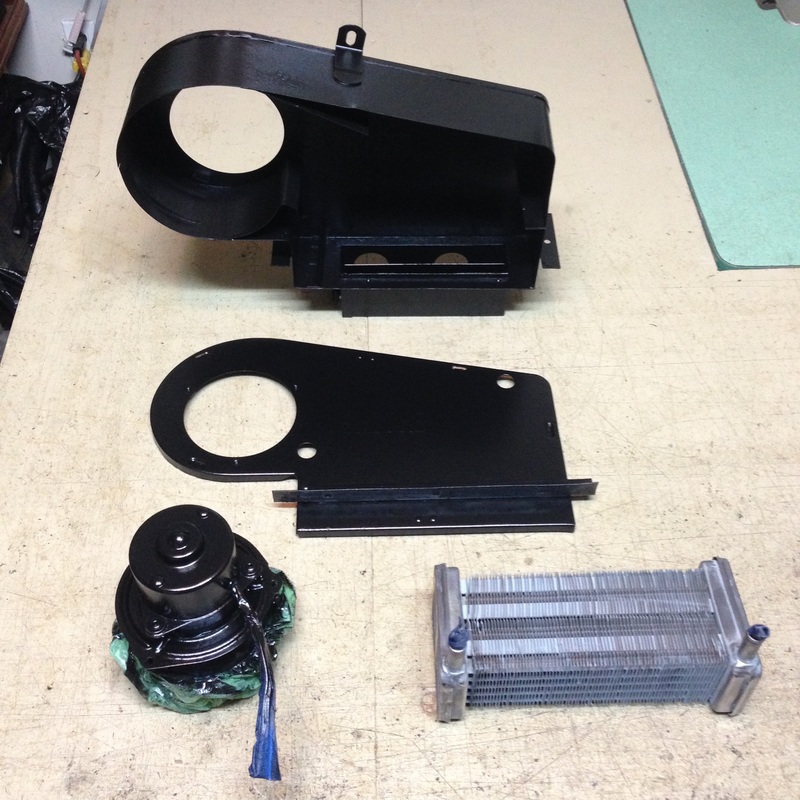
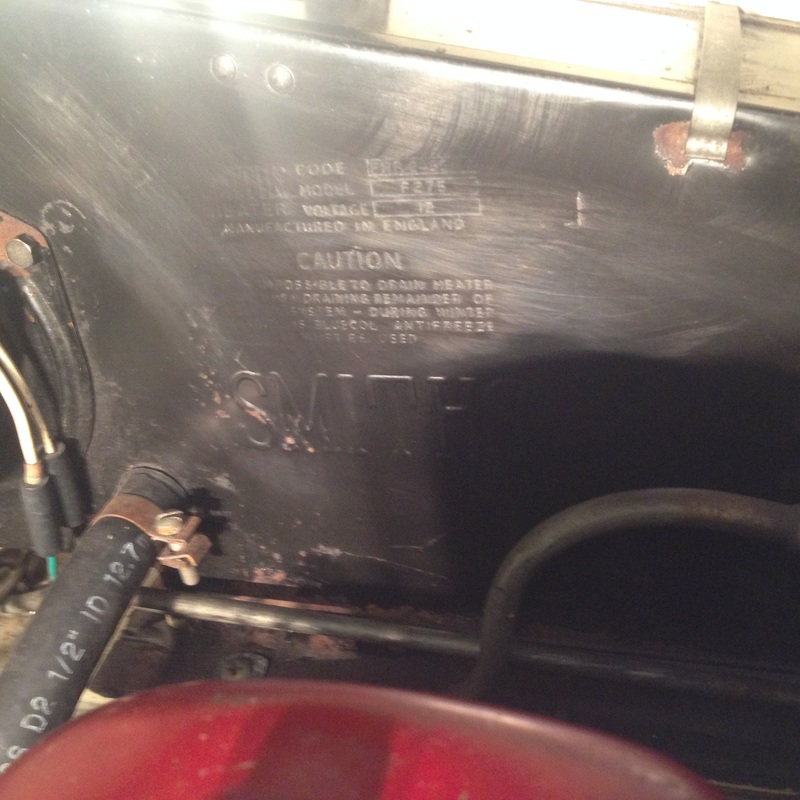
And the heater assembly, I soda blasted the main body sections and painted them gloss black again. I'm plating all the hardware in zinc as original, and the heater core I carefully cleaned by hand. I'm desperately trying to find some way of replicating the original raised letter labels that this early style of heater had - not to be confused with the later style stickers that are readily available. Anyone know of anyone making replacements for these early labels? or even stencils?
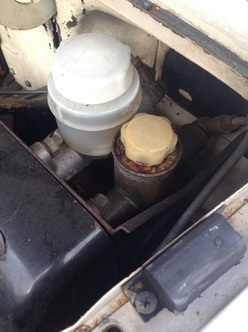
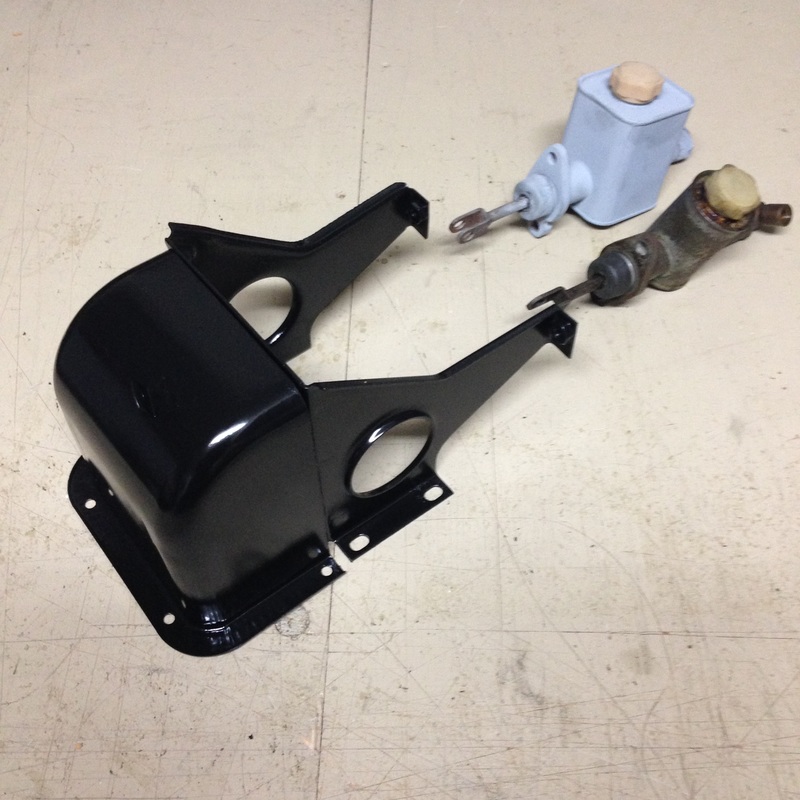
I also sandblasted and painted the pedal box assembly and acquired an original replacement brake master cylinder. I still have to rebuild both master cylinders and I'm still not sure how I will refinish the bodies - any suggestions as to the correct original finish on these? zinc or golden cad?
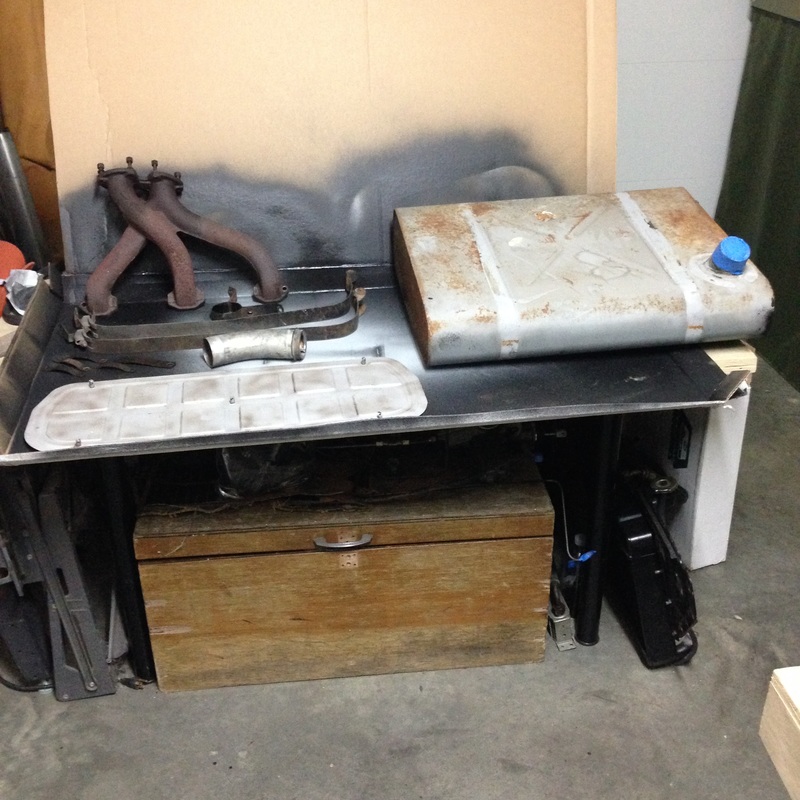
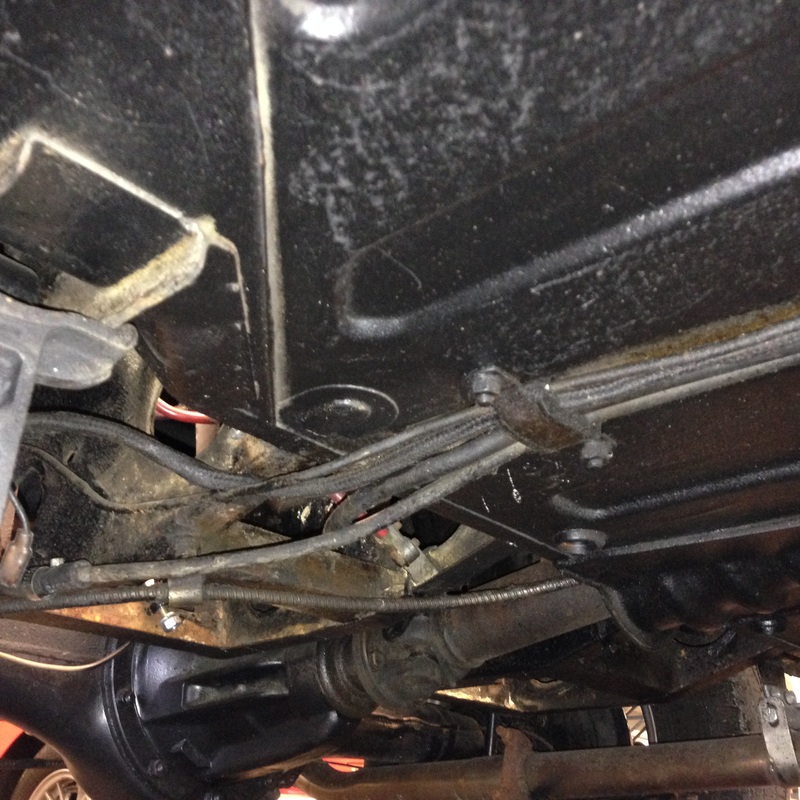
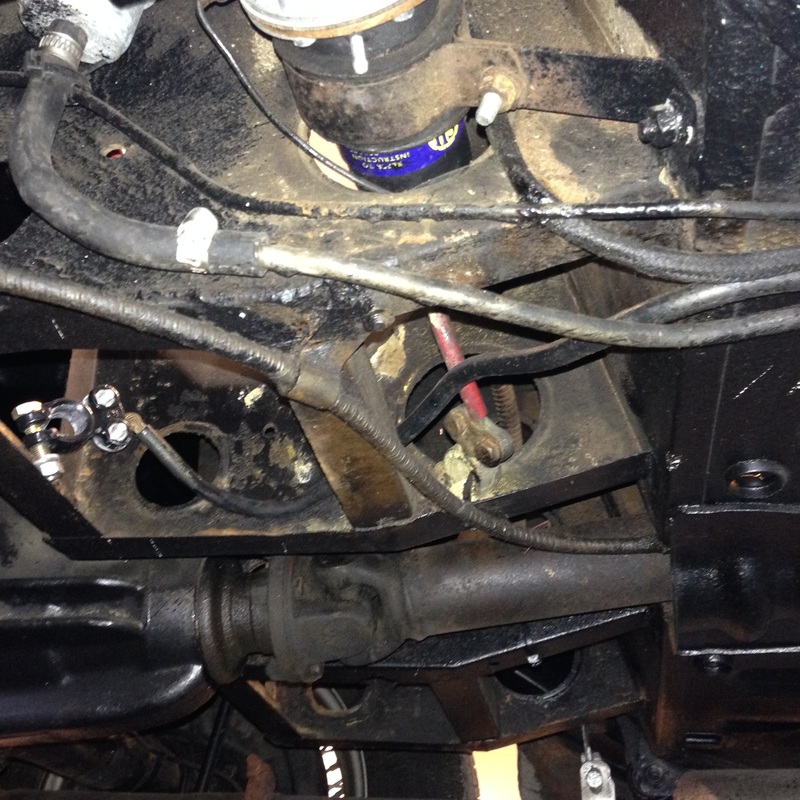
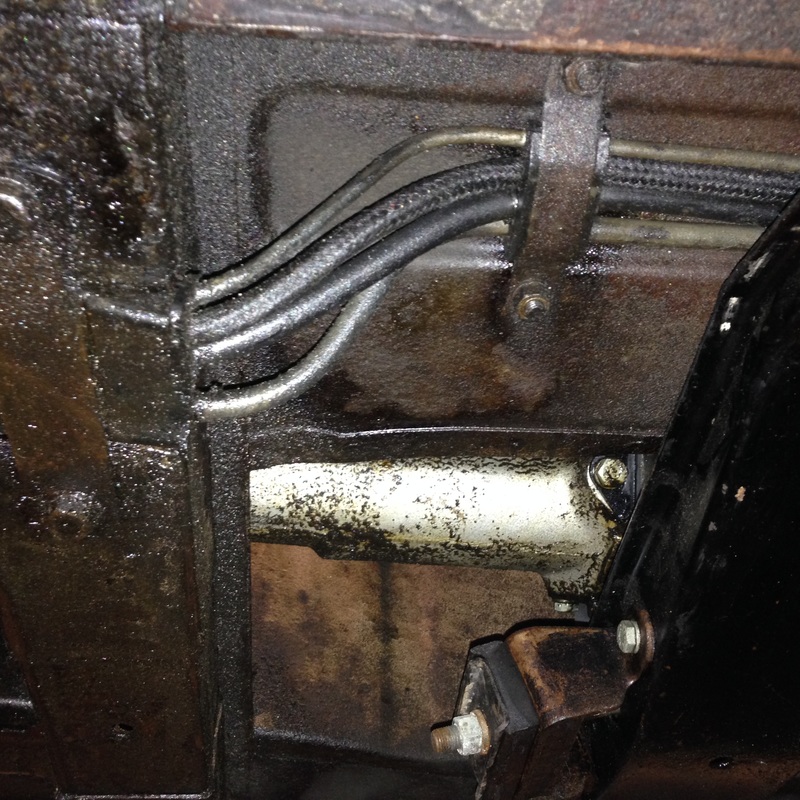
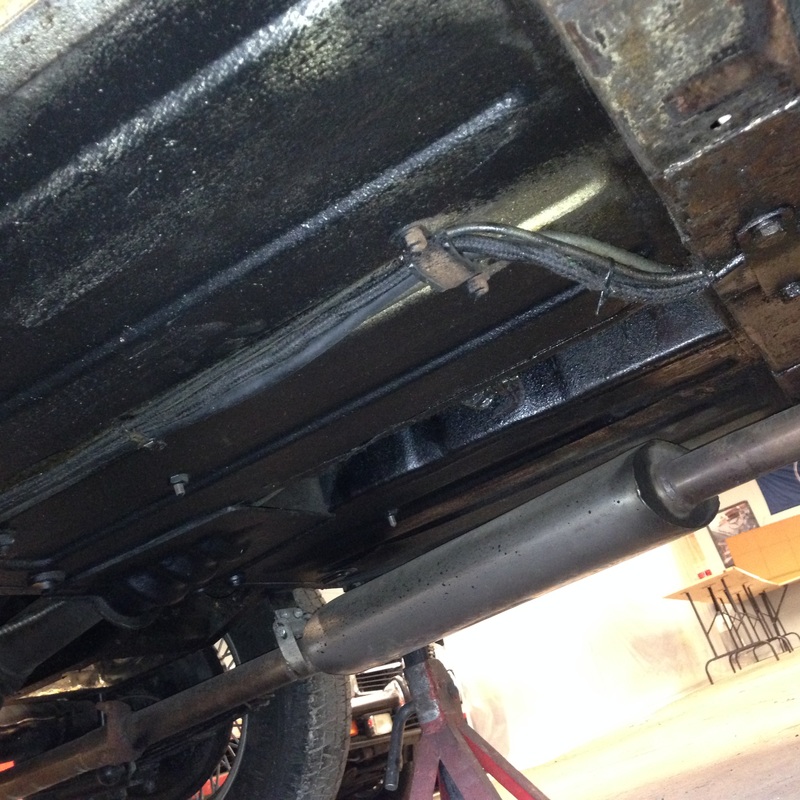
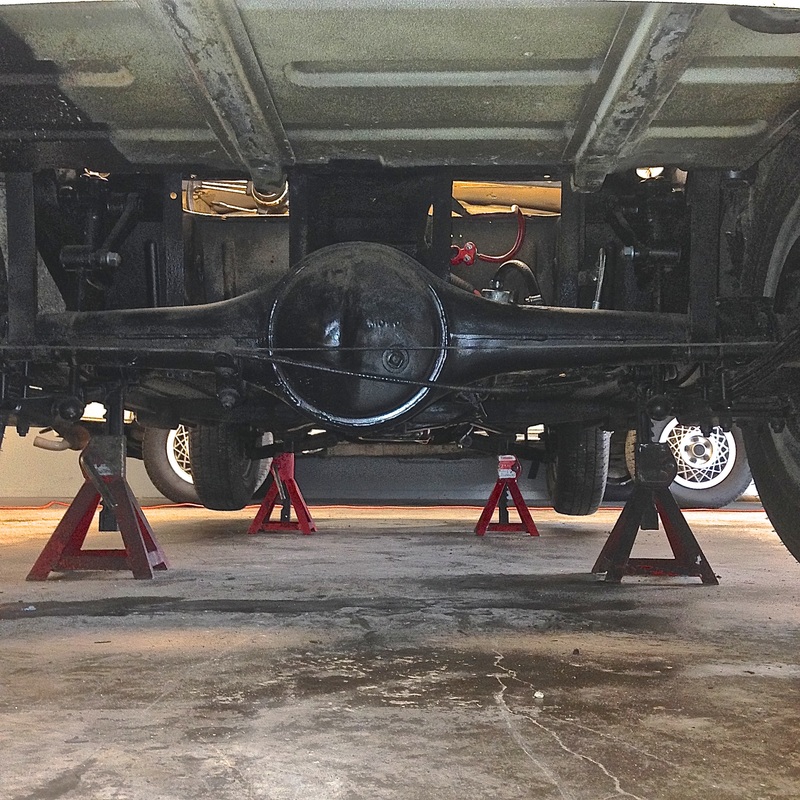
On Saturday I spent the day working under the car documenting and removing more components to prepare for pulling the engine next weekend. I started by removing the early style gas tank and fuel pump. Noting the original routing of all the wiring and fuel/brake lines. As you can see in the first pic, my gas tank was a replacement one and is still just painted in grey primer. I'll still use this tank as it is the correct one, but of course I will clean and paint it correctly in gloss black first...
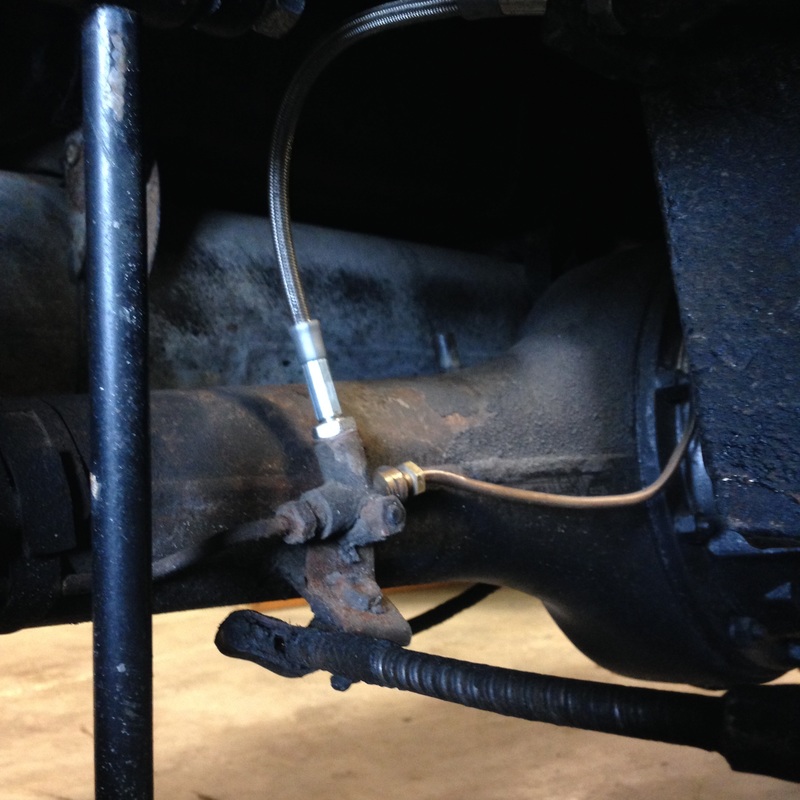
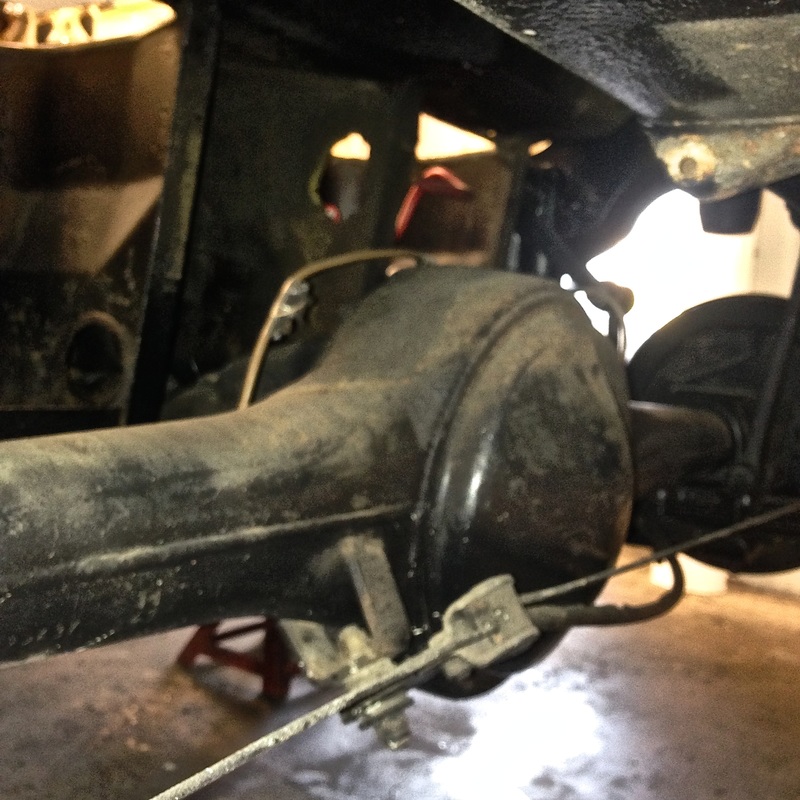
As you can see, the underside of the car is filthy with grease and grime. Someone sprayed a thin layer of black undercoating in some areas but not everywhere. It probably helped preserve the car but will be a chore to remove. The next things to come out were the complete exhaust and the brake and emergency brake lines/cables...
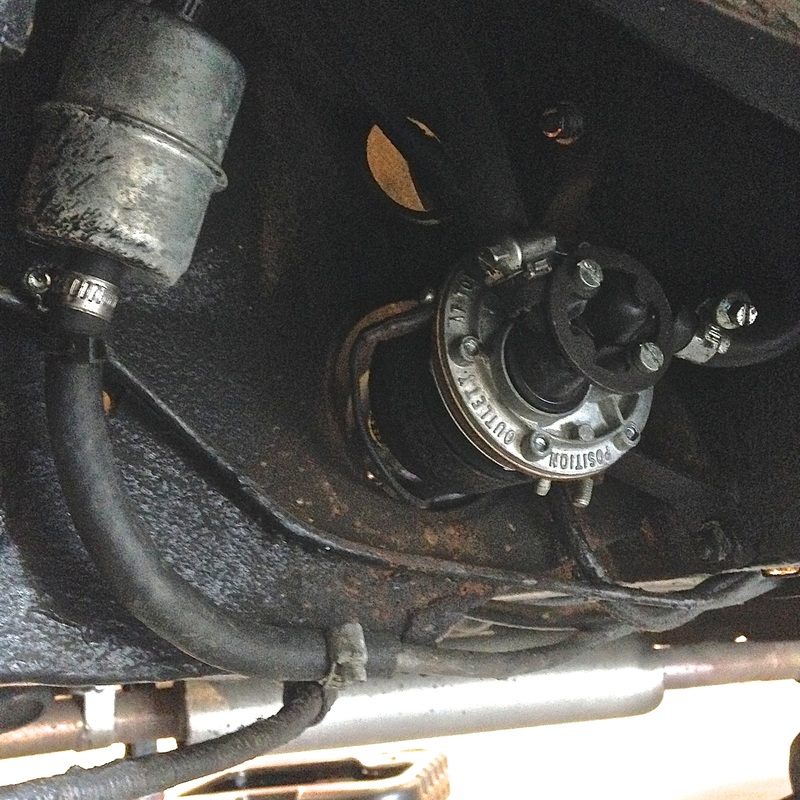
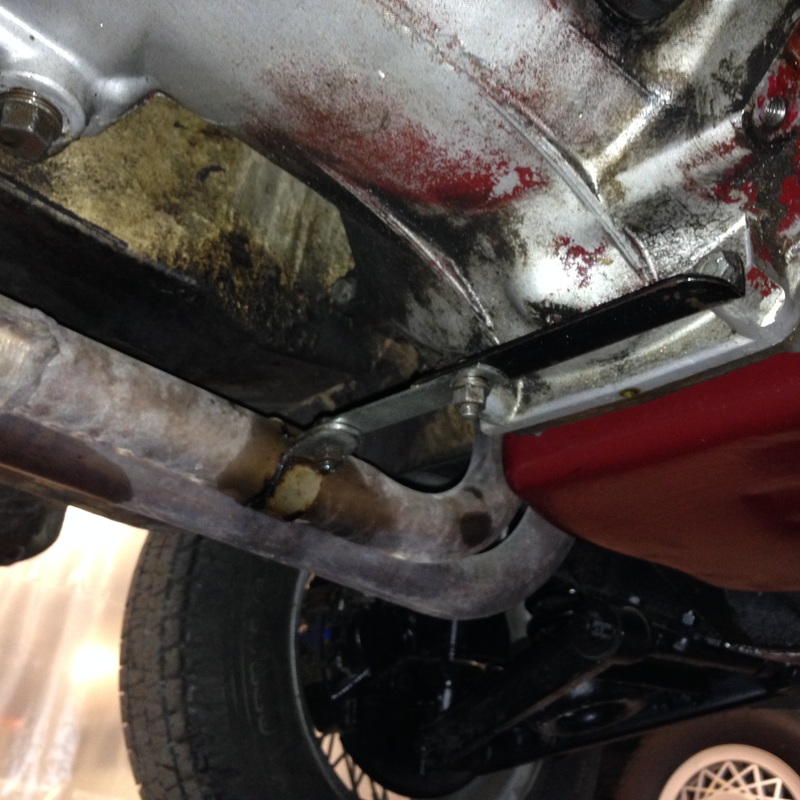
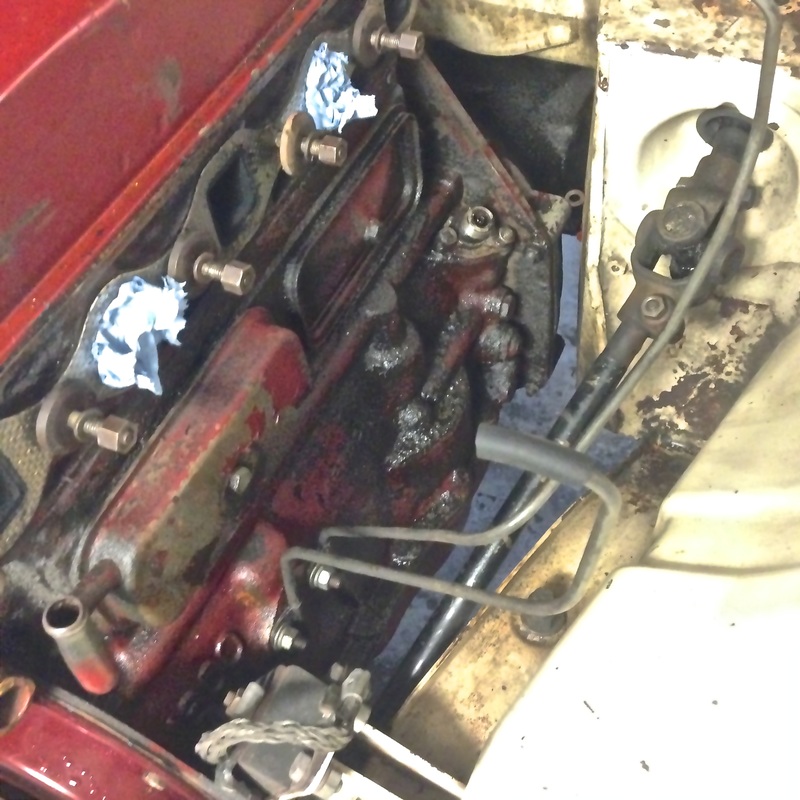
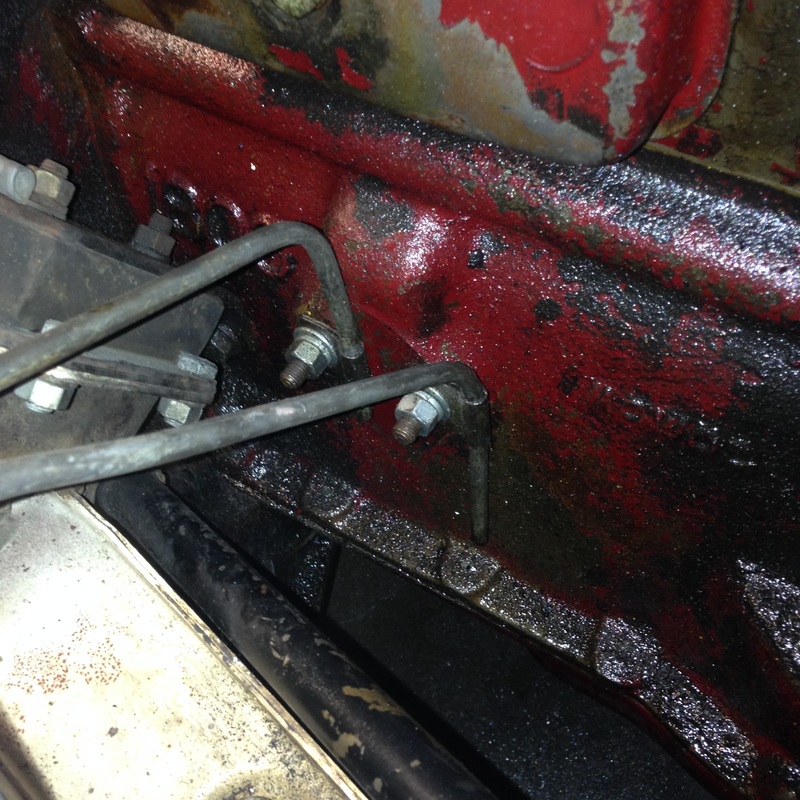
After removing the exhaust and the exhaust manifold, I was able to get a few pics noting the correct routing of the carburetor overflow pipes...
As you can see it's been a productive week. I now have plenty more parts to go through and refurbish piece by piece. I'm now ready for the engine and gearbox to come out next weekend. Then it will be ready to tackle the metal and paint work.
Until next week -
Ciao for now -
0 Comments
Your comment will be posted after it is approved.
Leave a Reply. |

Archives
December 2023
|


 RSS Feed