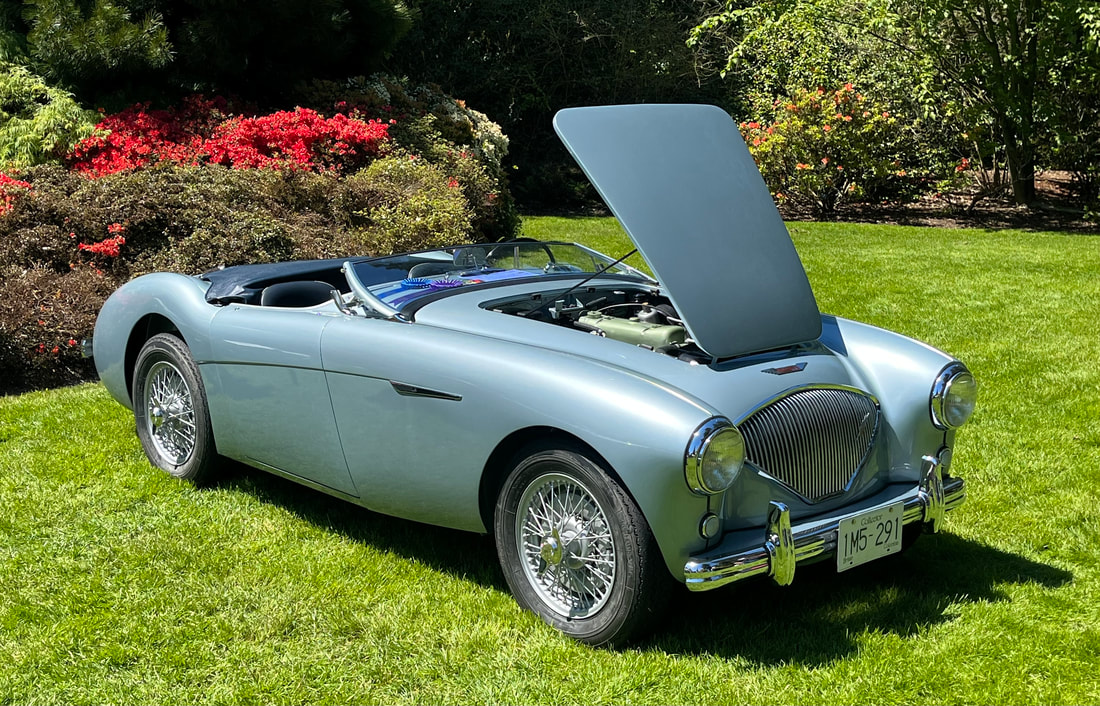
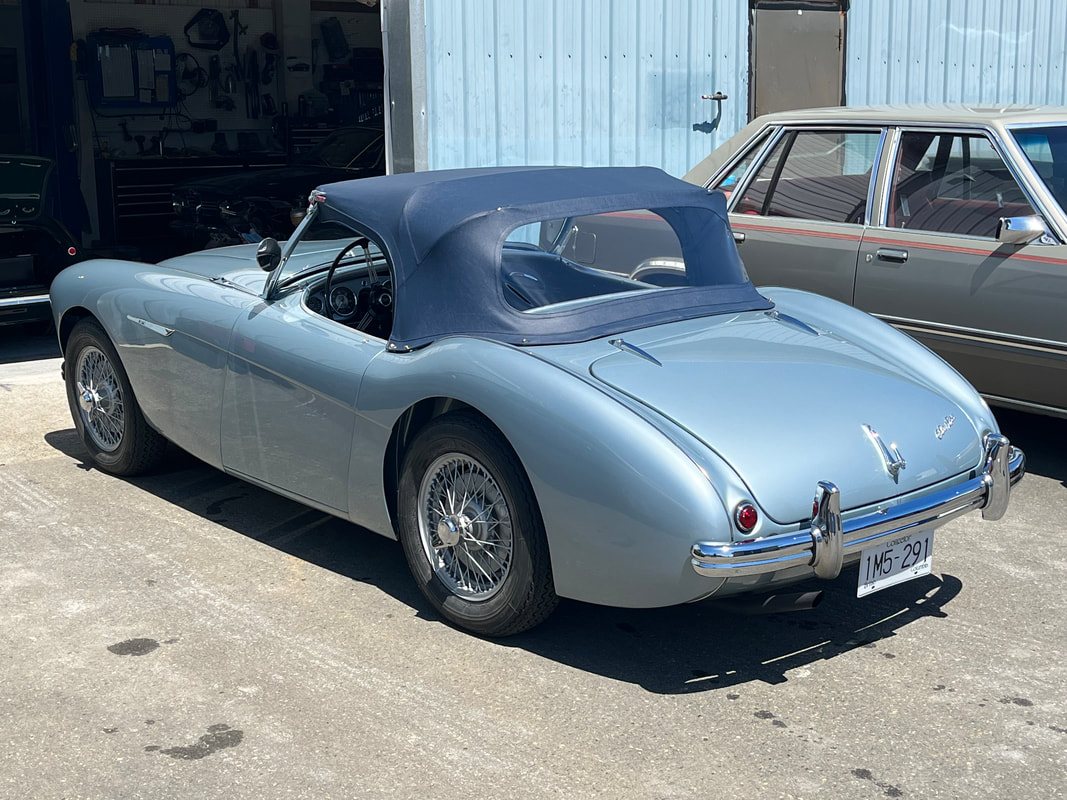
 Well it's been several months since my last post, life has been very busy - but also very good! I've been driving and enjoying and improving my BN1 more all the time...
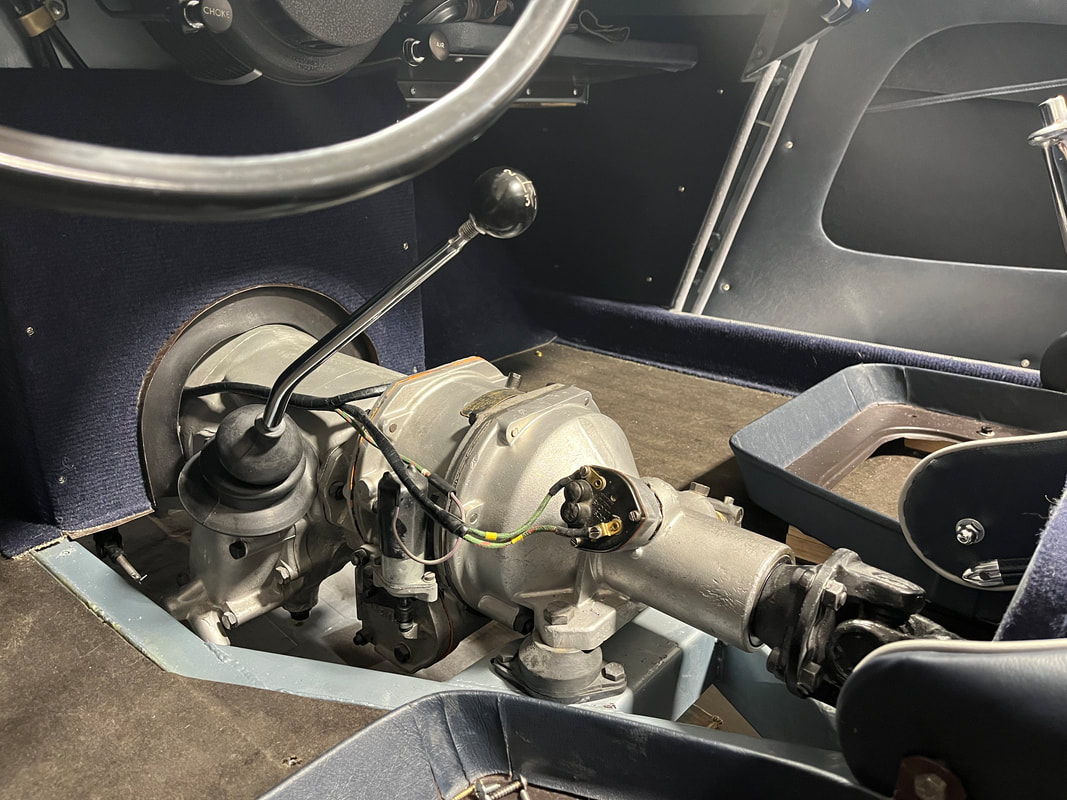
My first issue was to resolve some noisy tappets/valve train that I believe was caused by my aftermarket push-rods not having the correct profile in the dish that makes contact with the rocker arm adjustment screws. I replaced the push-rods with a good set of originals with the correct profile and the valve chatter does sound much quieter now,.. though still not perfect - I've had a few experts tell me it's likely the poor quality tappets themselves, so I'll be adding it to my list of winter projects to replace them too. 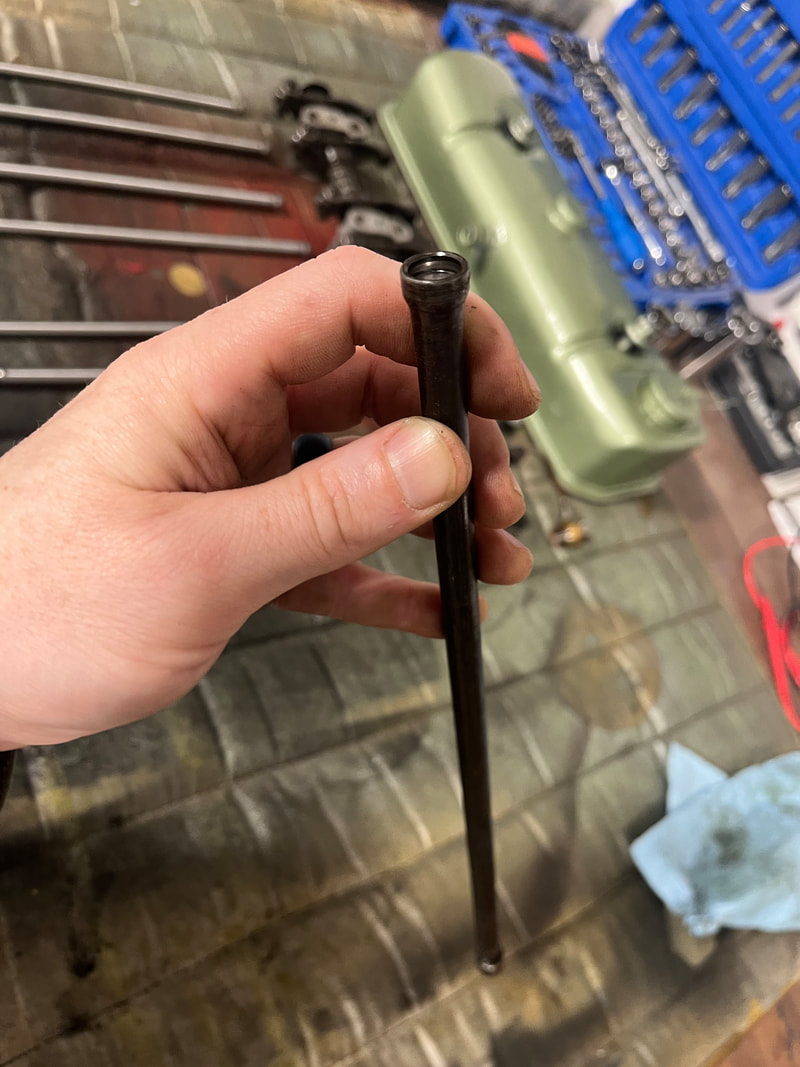 The next running issue I had to resolve was the overdrive, which would intermittently disengage itself at speed - especially once it was warmed up/hot.. After many tests that showed the solenoid losing power at the same time as the overdrive disengaging, I replaced the centrifugal switch, and eventually even bypassed the switch all together!
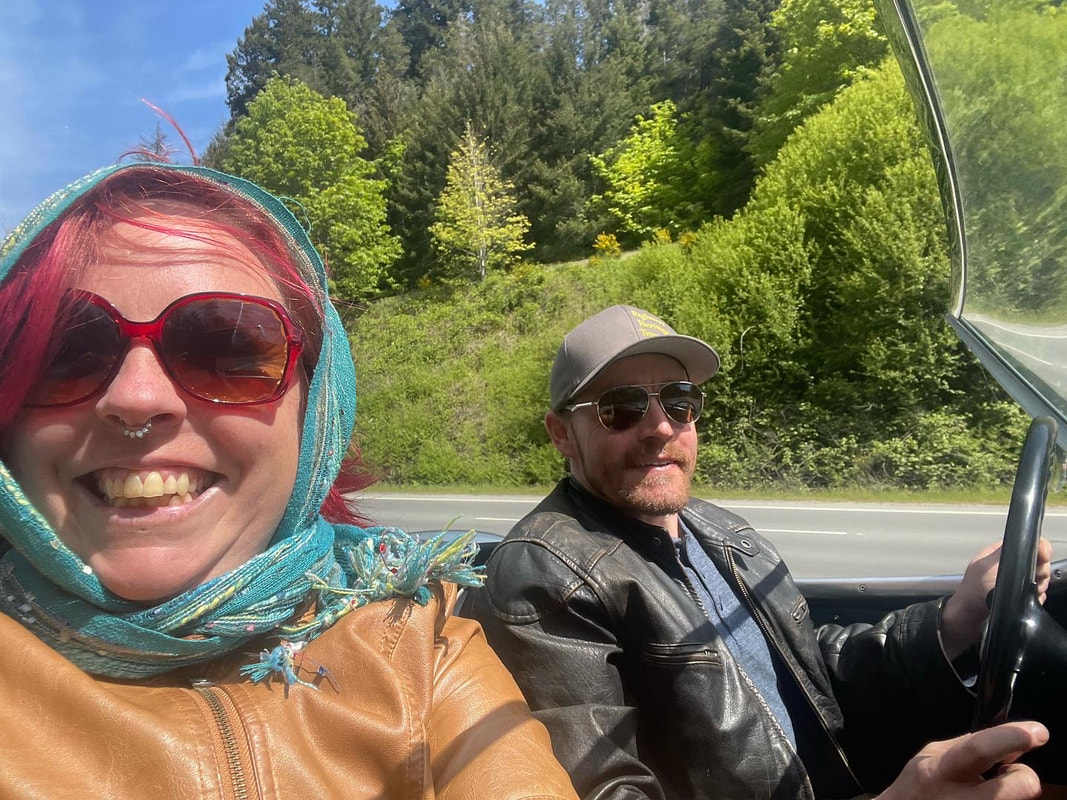
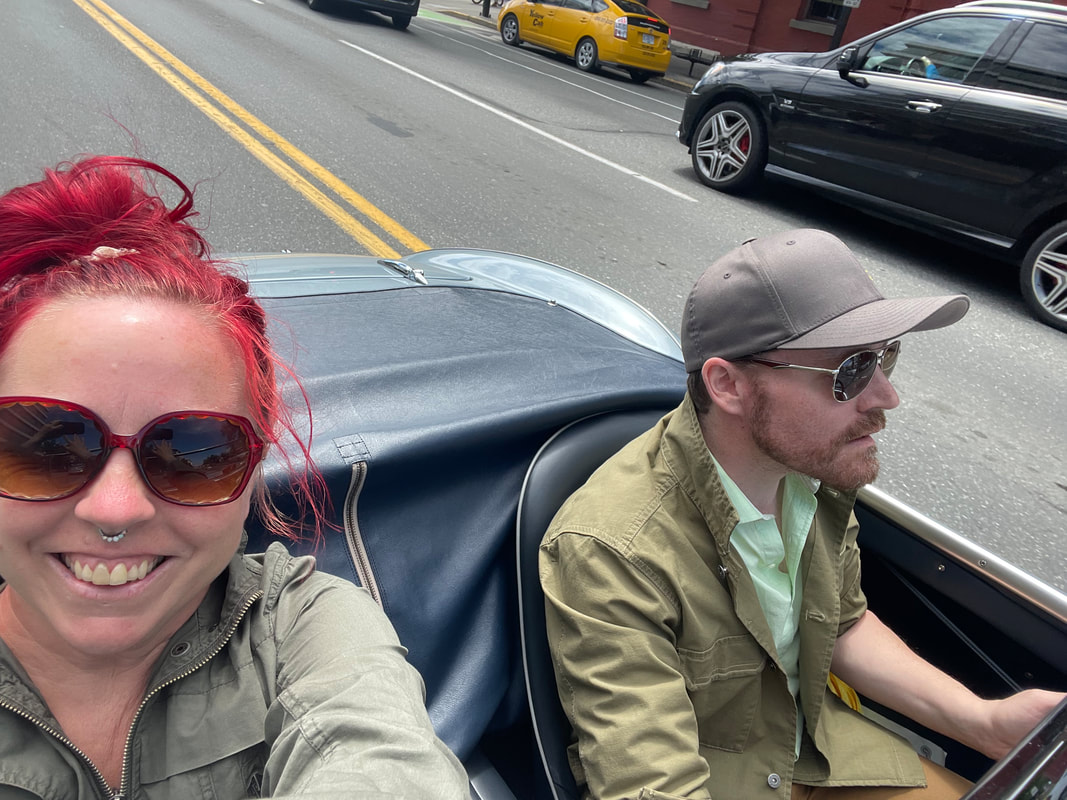
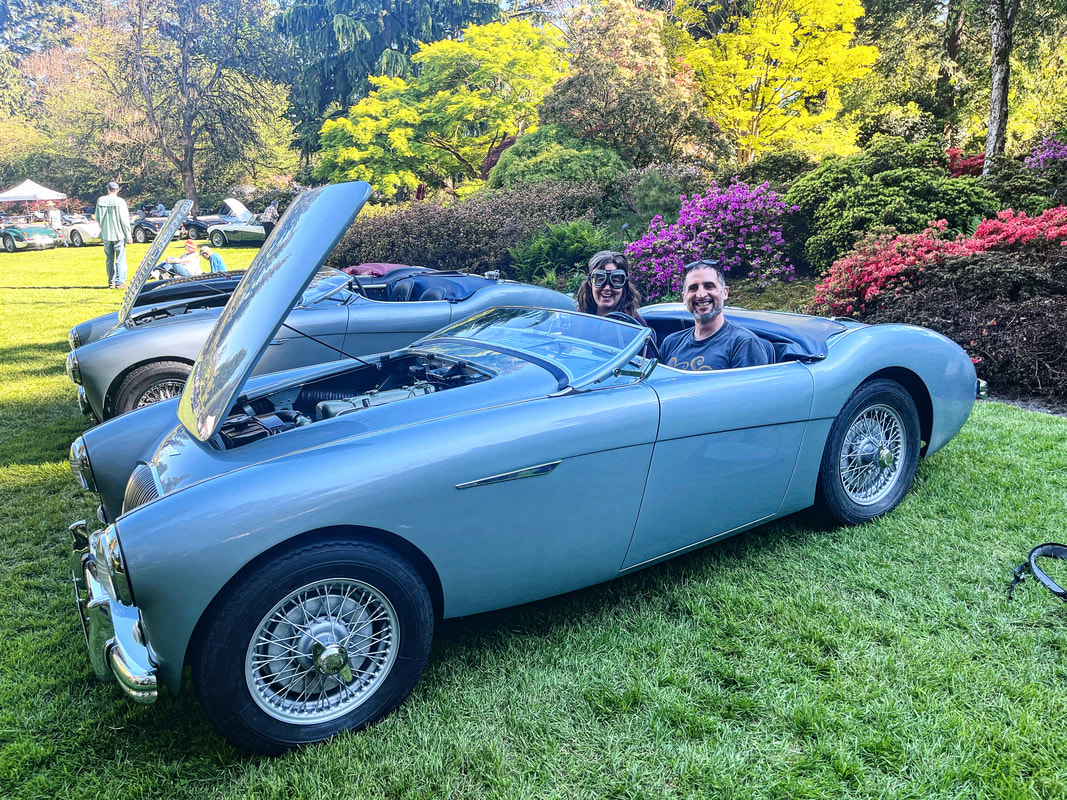
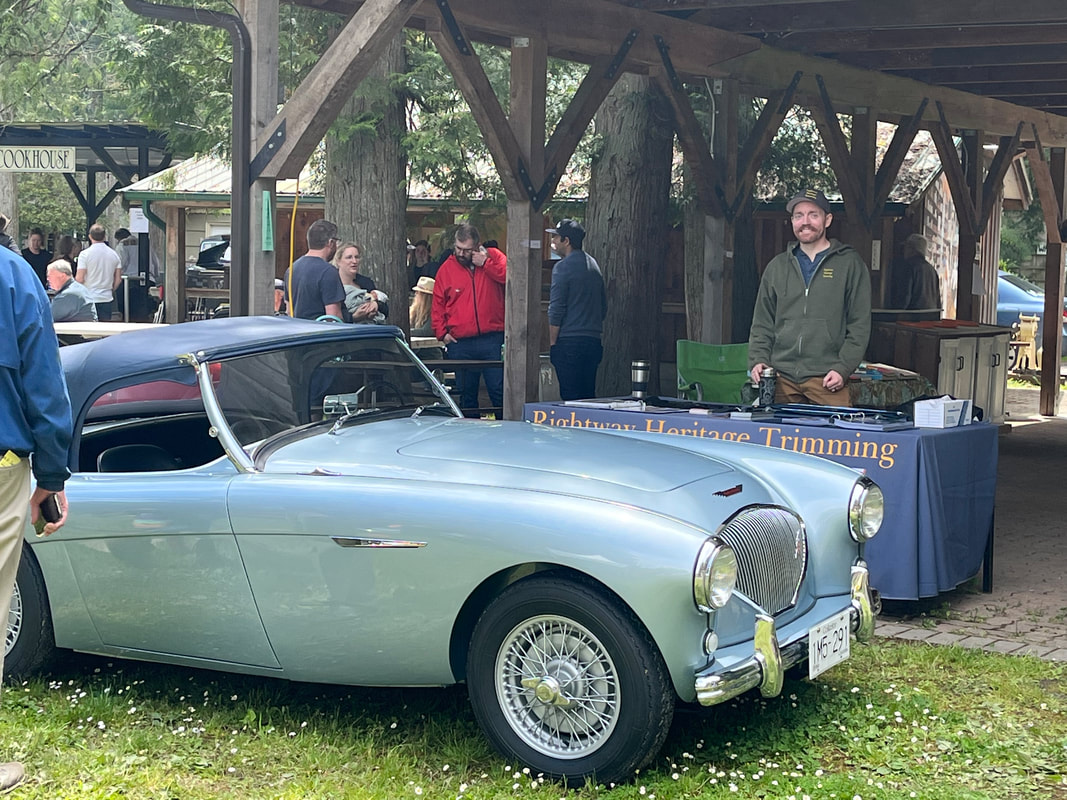
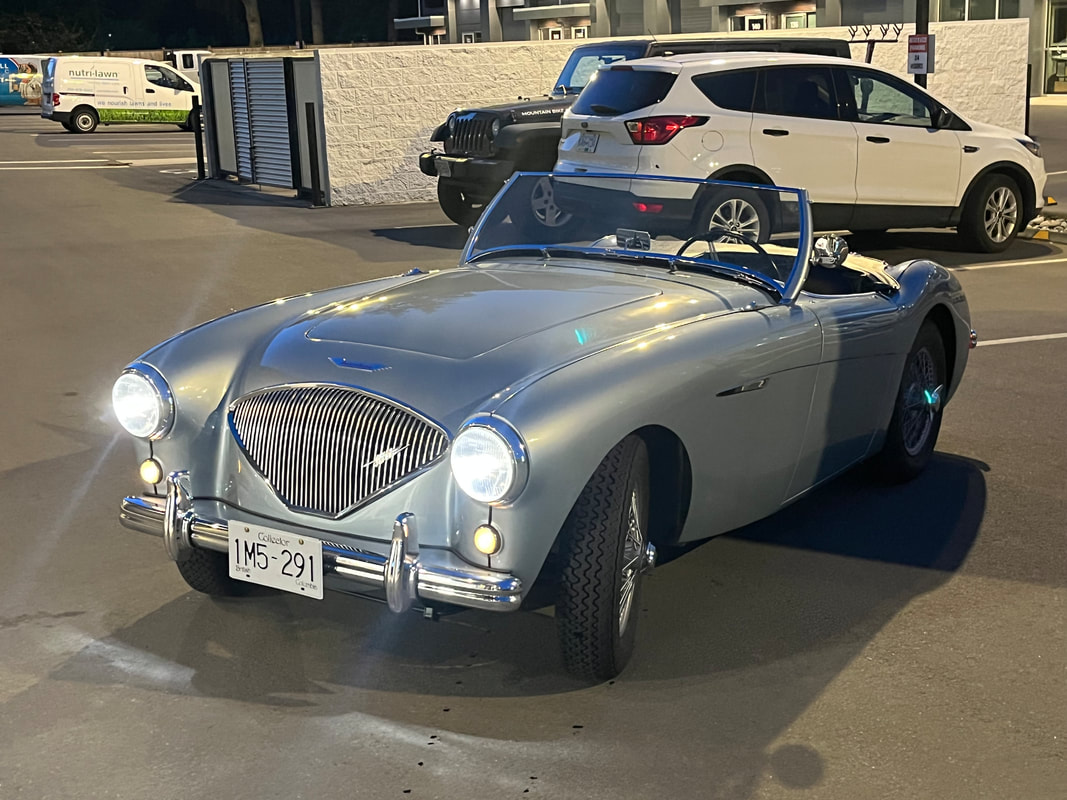
Unfortunately that still didn't solve the problem! So I replaced both of the O/D relay switches under the dash. I had to fill in the 'C3' on the new switch that should read 'C1' on original switches... 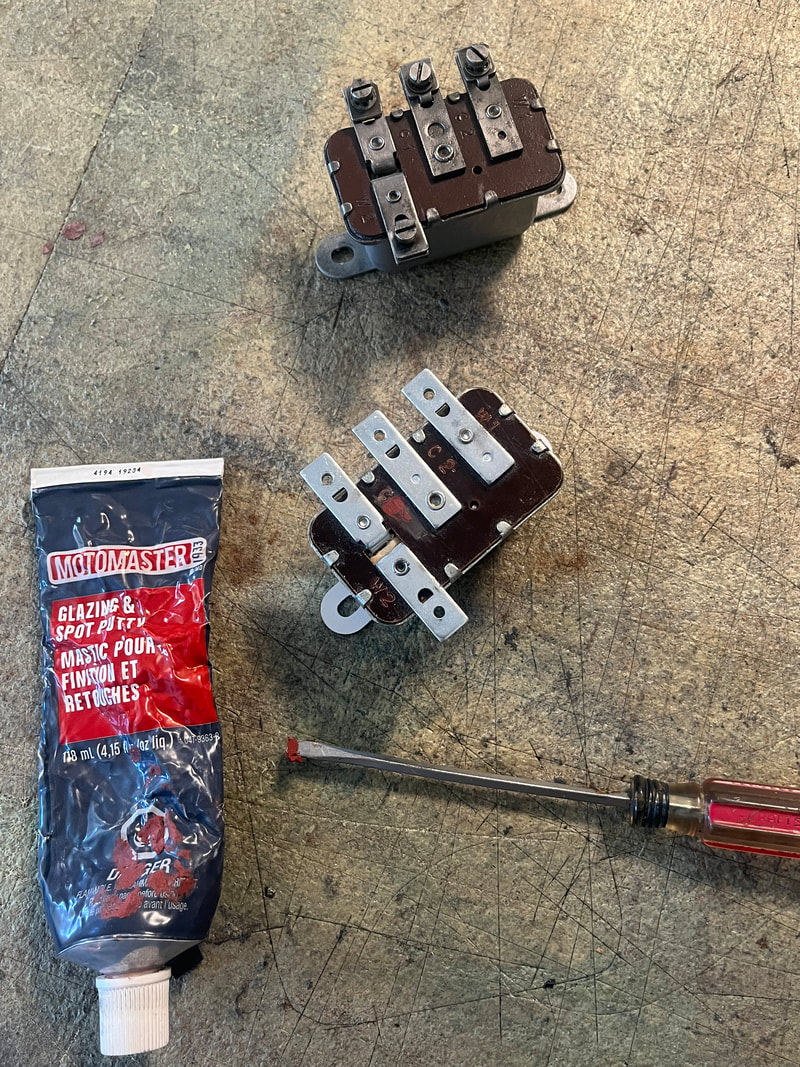 I replaced the condenser because the condenser was starting to fail causing some really rough running! 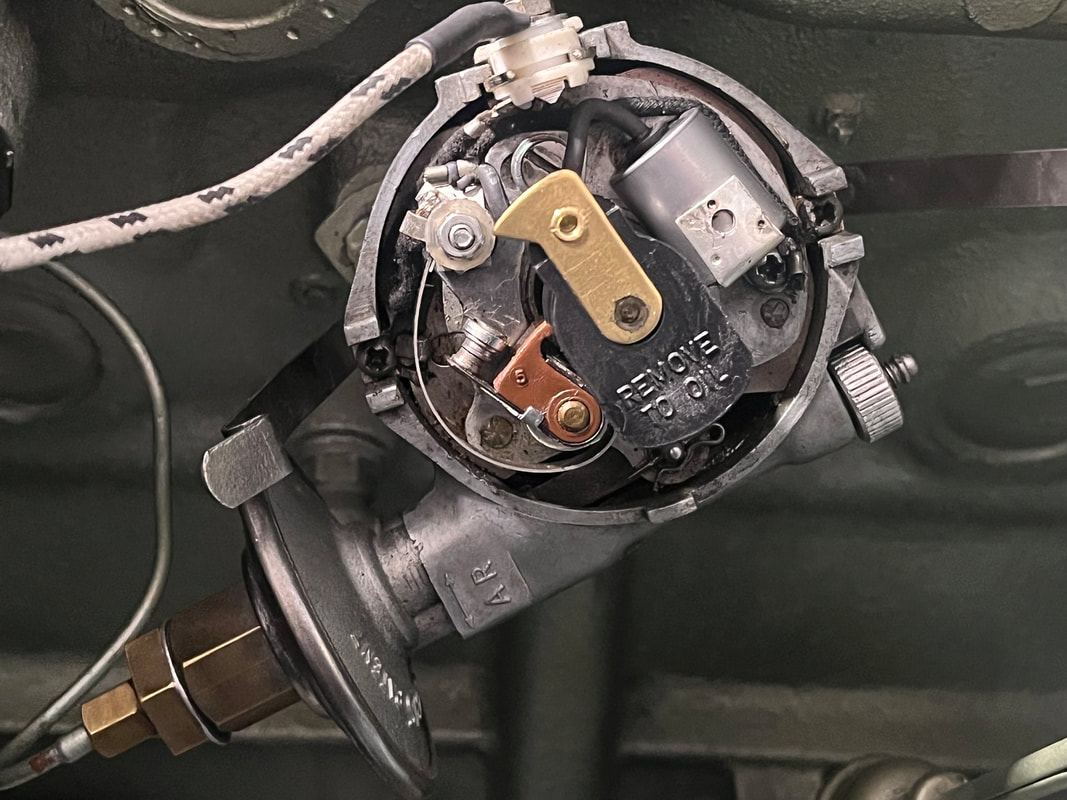 I still have a significant oil leak from the rear scroll seal - I may eventually pull the engine and have a proper rear seal machined & installed into the block,. But for the time being I'm considering installing a PCV valve to relieve crank case pressure... As you can see in the pics below, here's a good way of doing it, utilizing vacuum from the intake manifold cross pipe and routing a PCV valve into the existing crank case vent pipe to give it more effective venting. A plug would be installed below the new PCV pipe entry.. 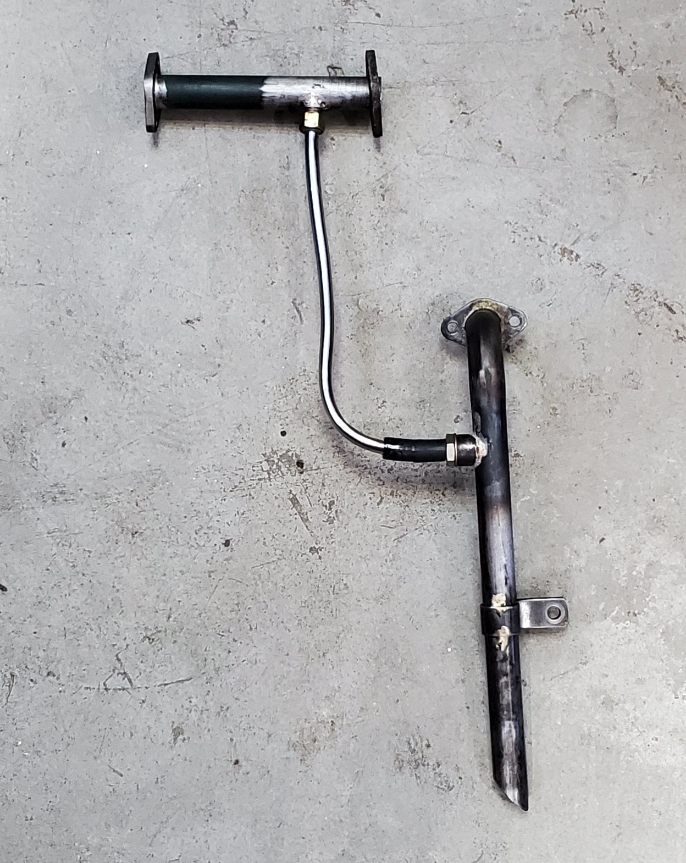 Beyond those issues, my wife Cat and I have been thoroughly enjoying our drives in the Healey! Getting out to lots of local car shows and driving every sunny day we get... 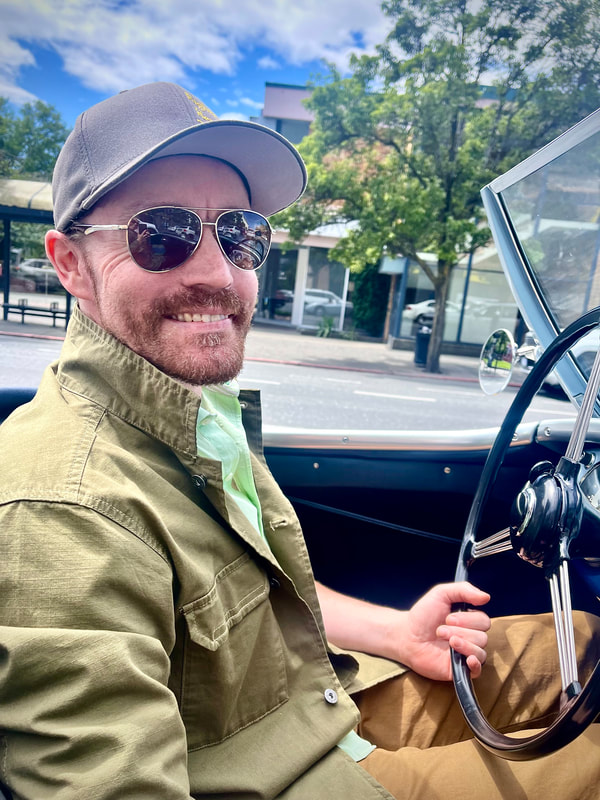 
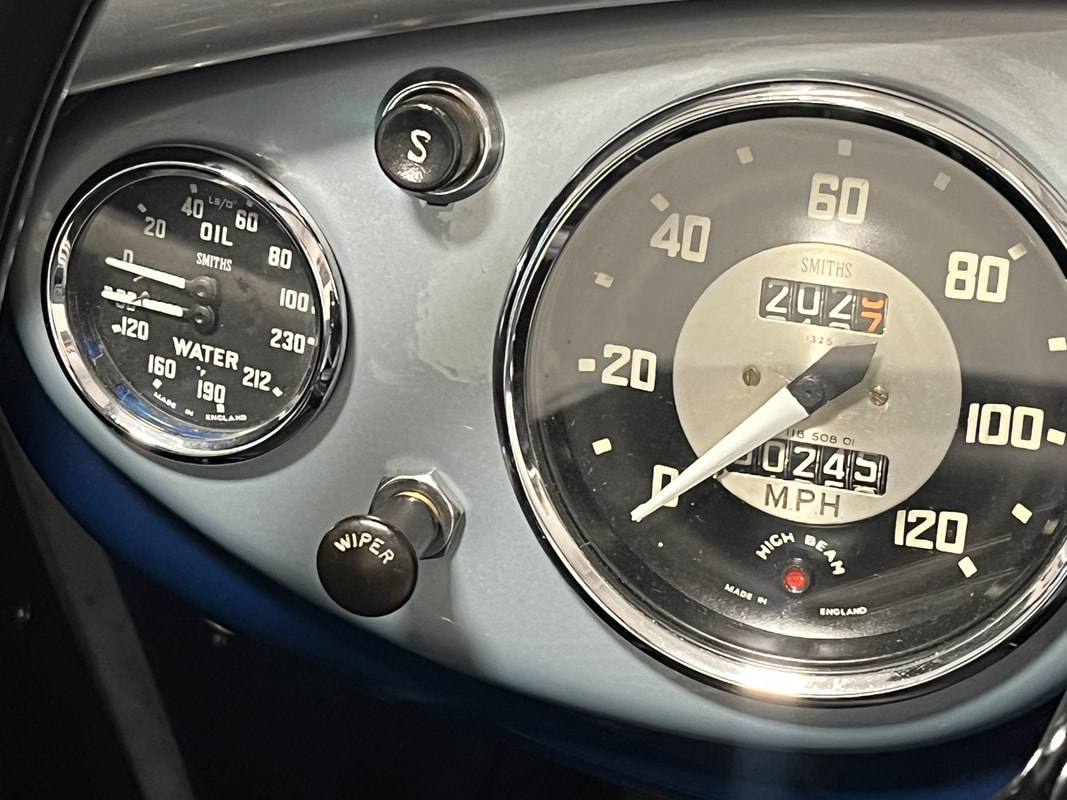
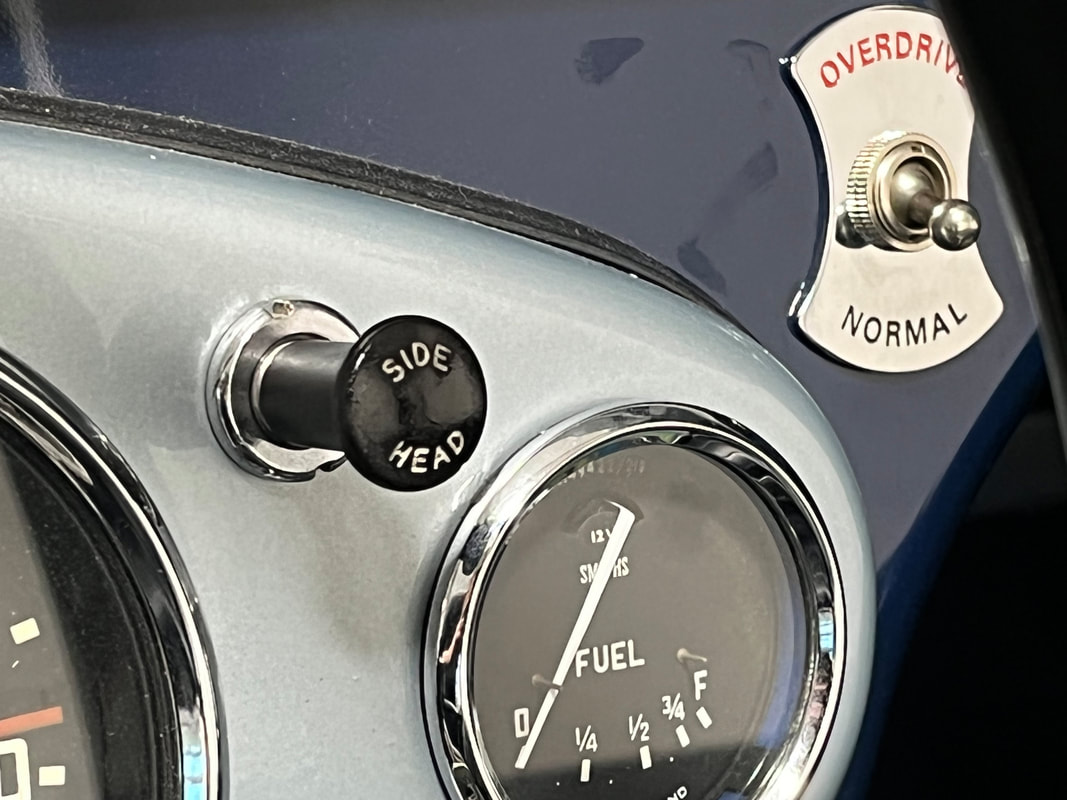
I did make myself a small lumbar cushion to give me some better lower back/tailbone support... I made it in the same materials as the seat so it doesn't look too out of place. Makes a big comfort improvement for longer drives!  I replaced the wiper and headlight switch knobs with original Bakelite ones I got from my friend Richard - so now my dash has a complete set of original instruments in the same patina. - Thanks Richard! 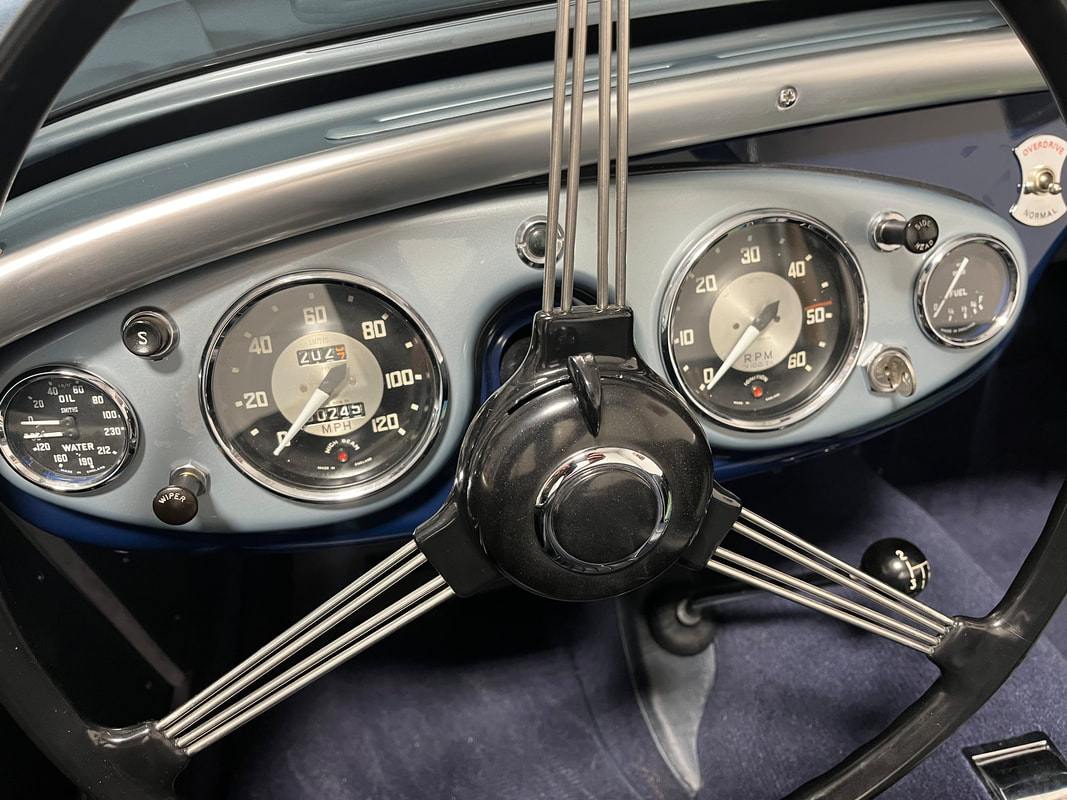
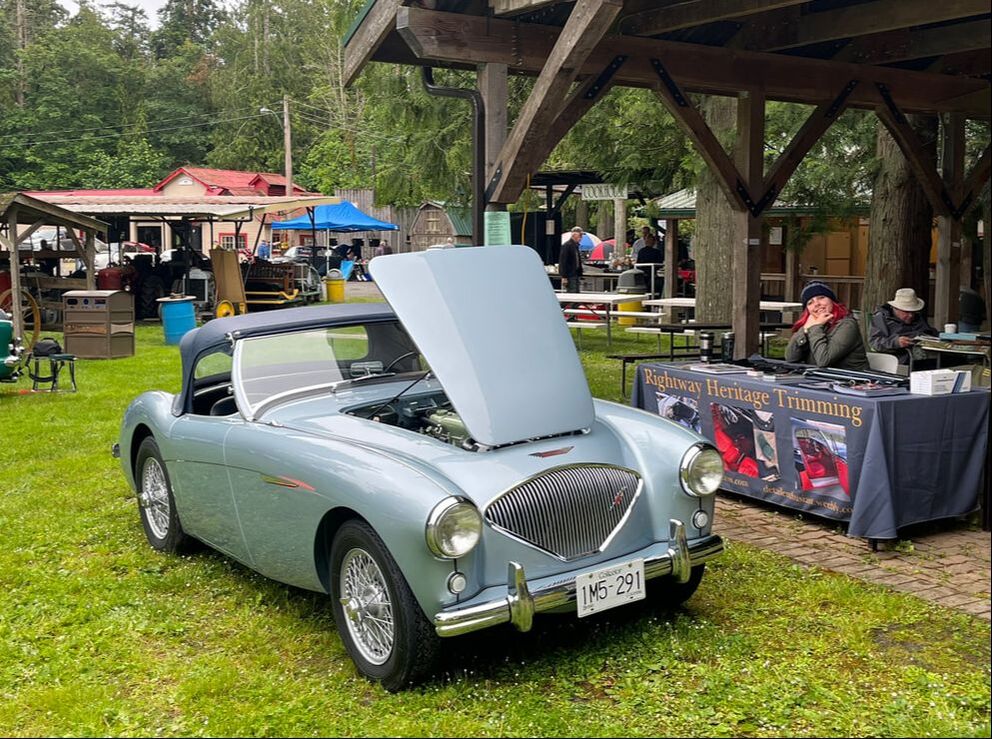
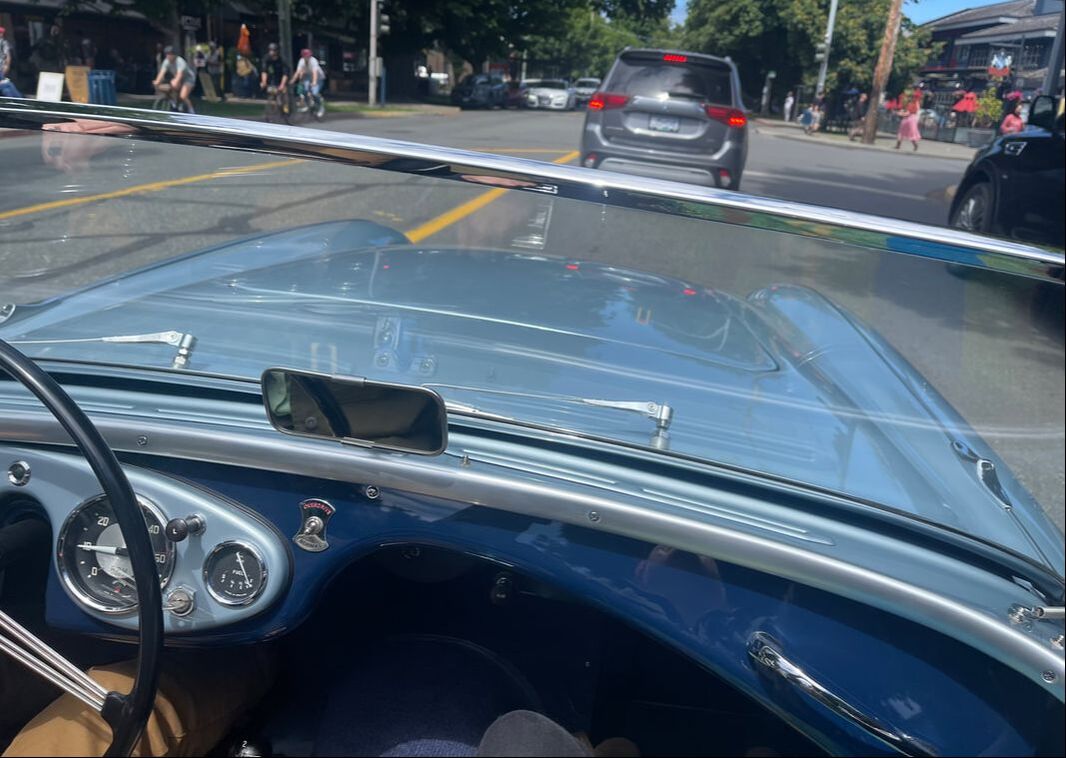
I detailed the rearview mirror by having the brackets engraved with the correct 'Eversure' lettering and part number, I also replaced the adjustment screw with a correct cheese-head screw... 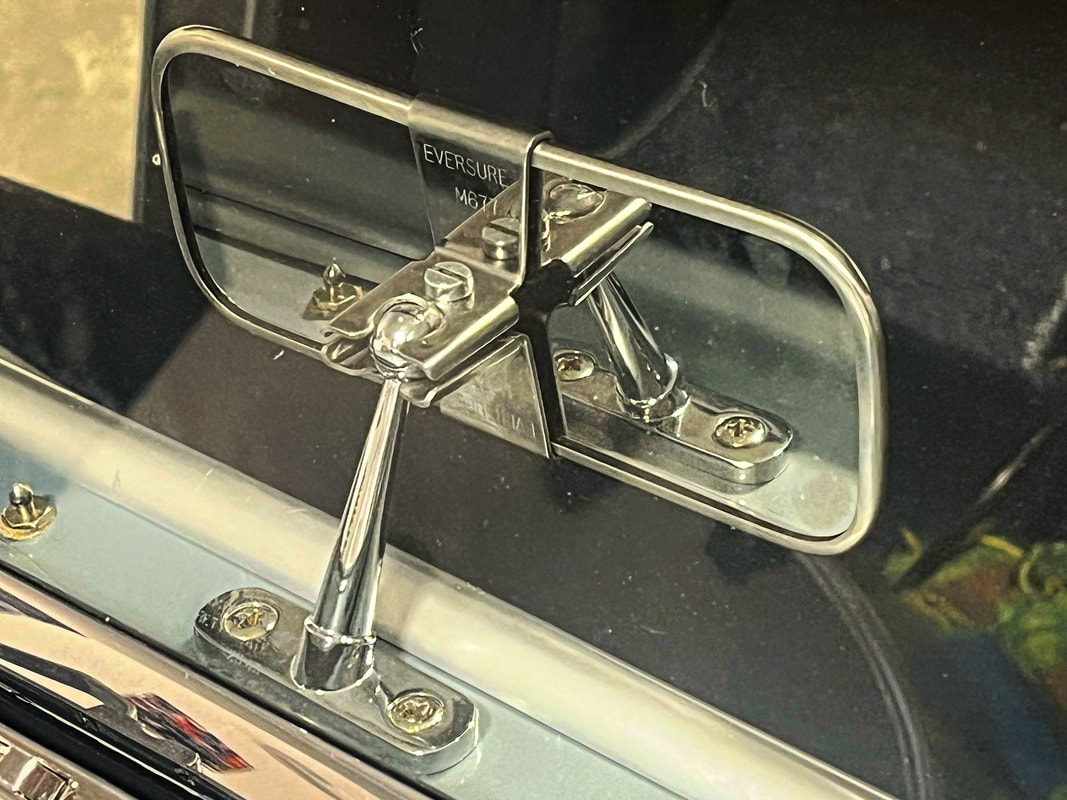 I replaced the cover of my voltage regular with another original that's in better condition - my old one was cracked in the corner... 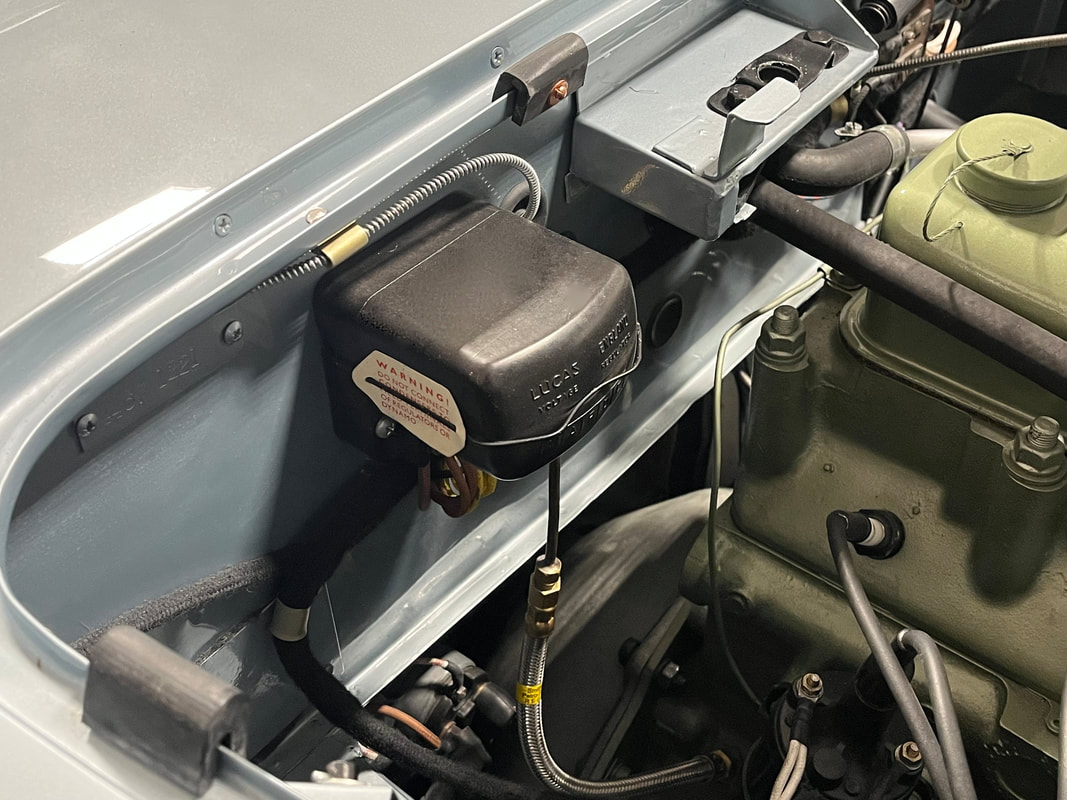 My friend Blair sent me a stencil he'd made for etching the windscreen with the proper logo and date code for 1953. I was able to etch it myself using a small sandblast gun set at 70psi spraying some fine aluminum oxide for 6 seconds - I practised on some scrap pieces of glass before finally masking and doing my windscreen... - Thanks again Blair! 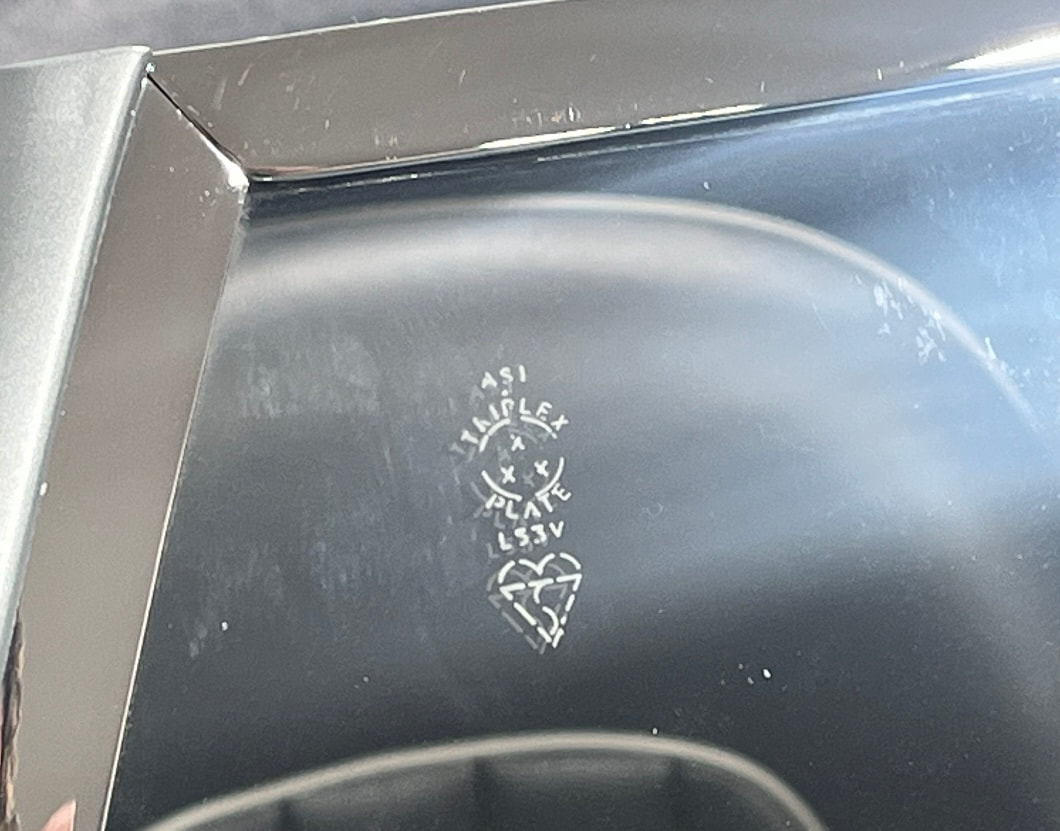 I replaced my rad cap with an original one that my friend Mike sold me. I had to restore it with a new rubber seal, but it came out nicely - a very hard piece to find! - thanks again Michael! 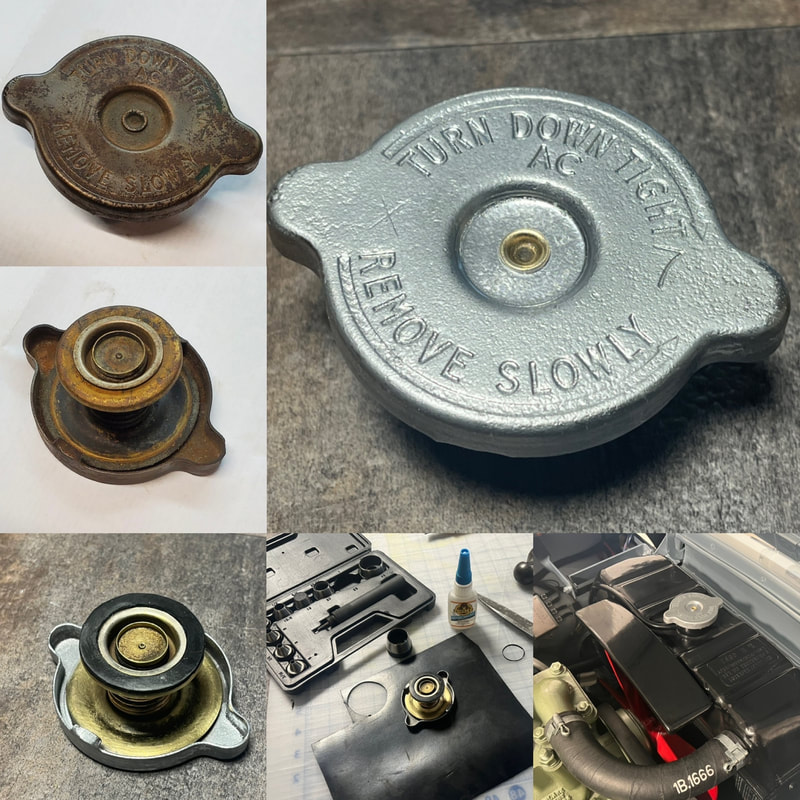 Here's a neat pic of my completed and detailed engine bay... 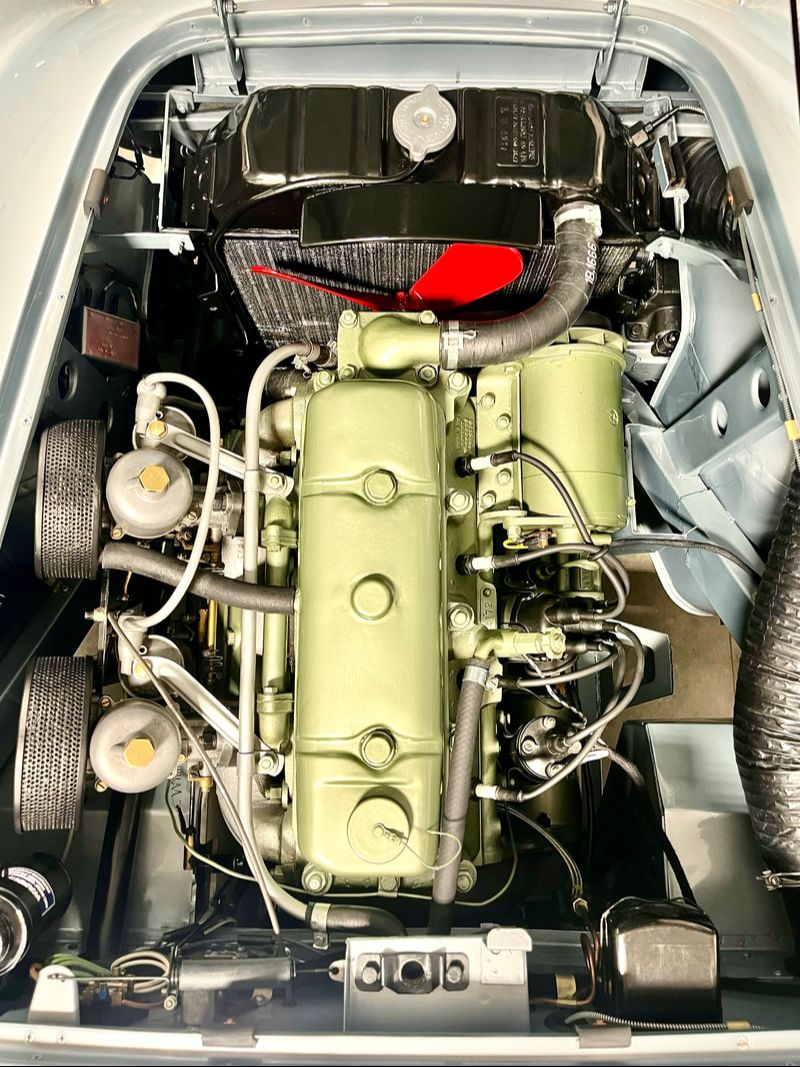 It's only just now turned August and there's still months of good driving season ahead, with each improvement I'm getting all the more comfortable and thrilled with the car. Every drive is an exciting experience I feel grateful for... could this be love??? - luckily my wife is into it too! lol.  Until next time -
0 Comments
Your comment will be posted after it is approved.
Leave a Reply. |

Archives
December 2023
|

 RSS Feed