 A few more steps were taken this week on my Healey BN1 #1221. Firstly, I found some good used tunnel sections that I was needing through my friend Jason Stoch - these early BN1 tunnels can be hard to come by, so I'm glad to have found a good one that is correct in being the early (second) style of BN1 tunnel without the bulge near the back that was added to later BN1's.
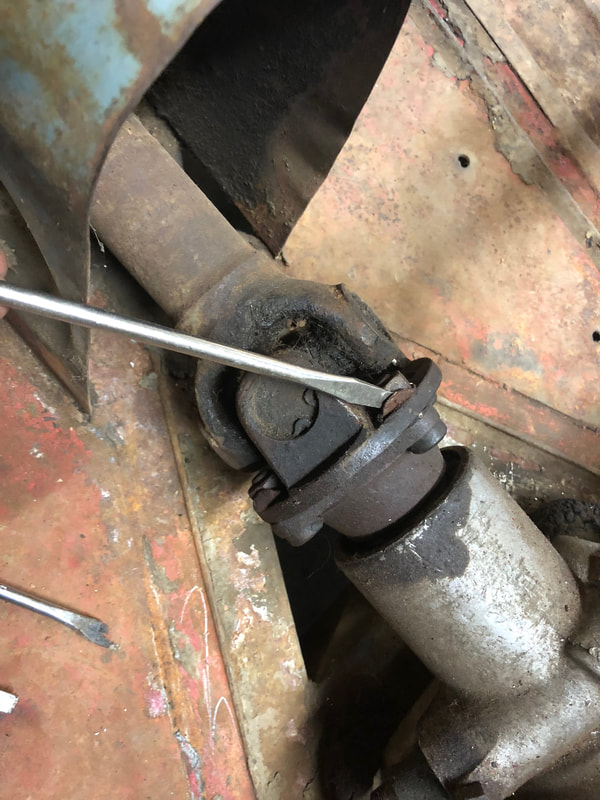
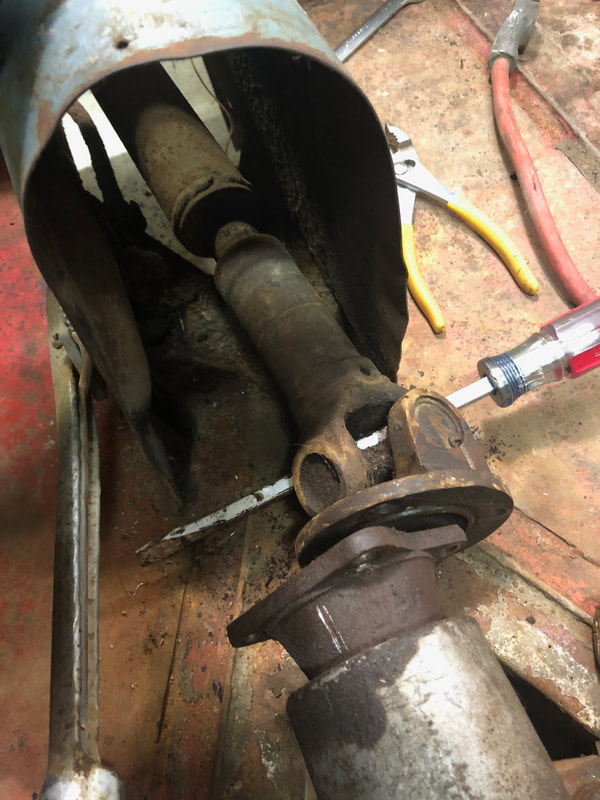
I've continued on with careful disassembly and documentation of the car. I removed the drive shaft, noting the locking tabs for the bolts and marking the orientation of the driveshaft itself with the axle and gearbox.
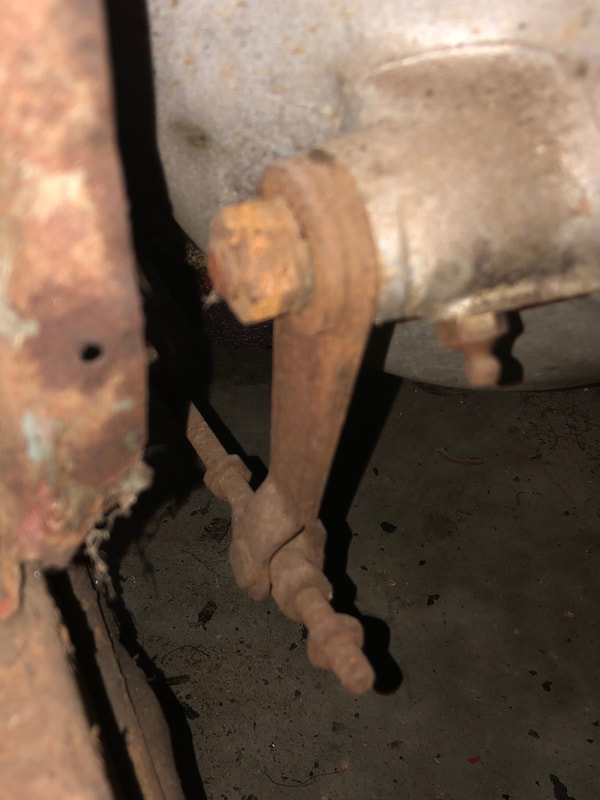
Then I removed the rest of the pedals, starting with the mechanical clutch linkage:
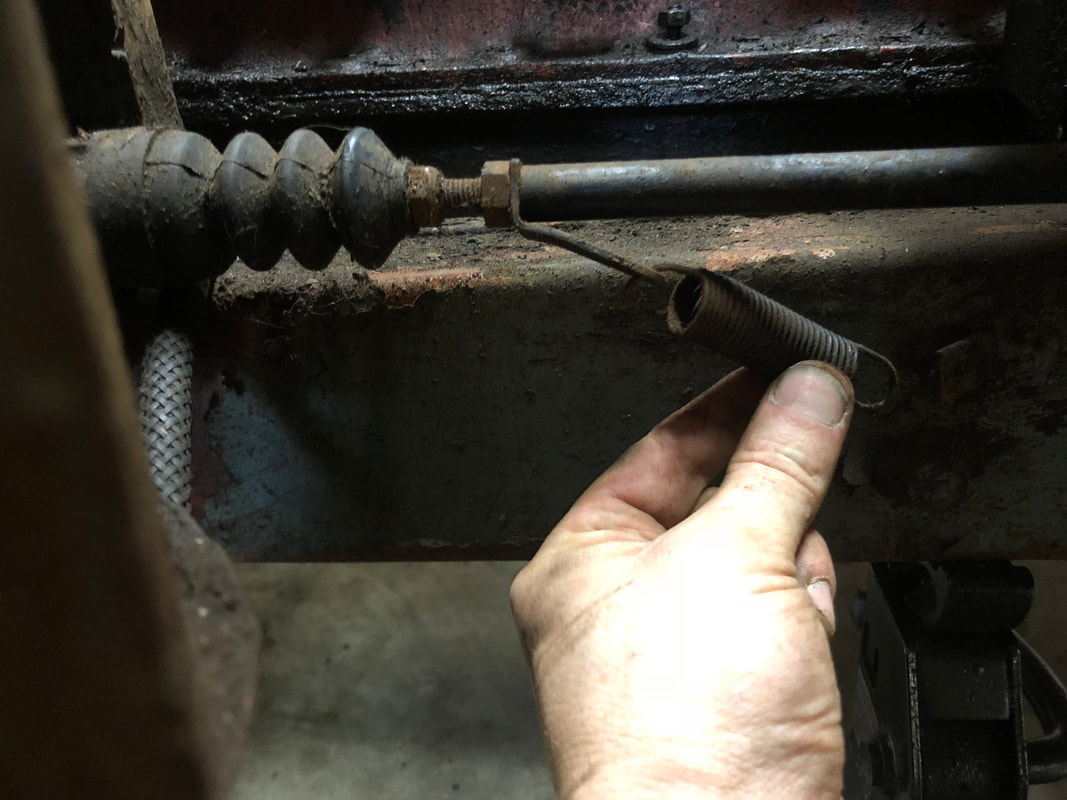
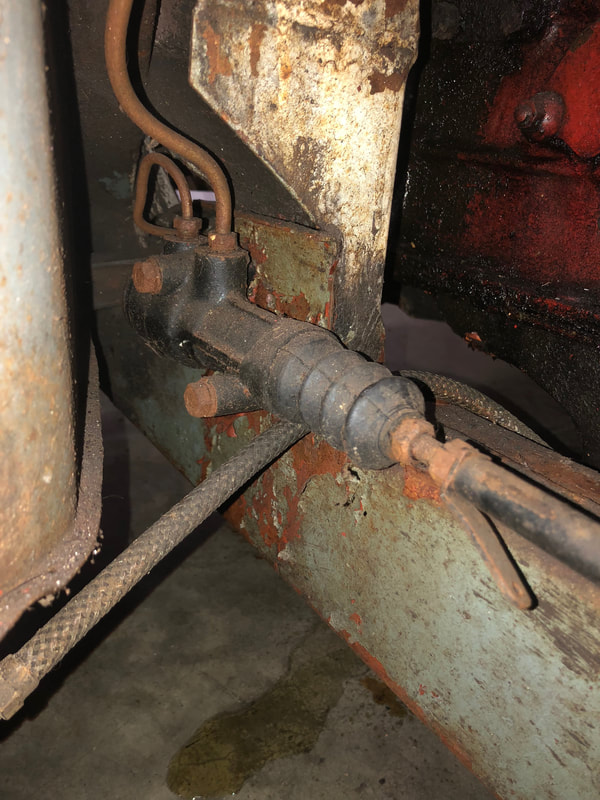
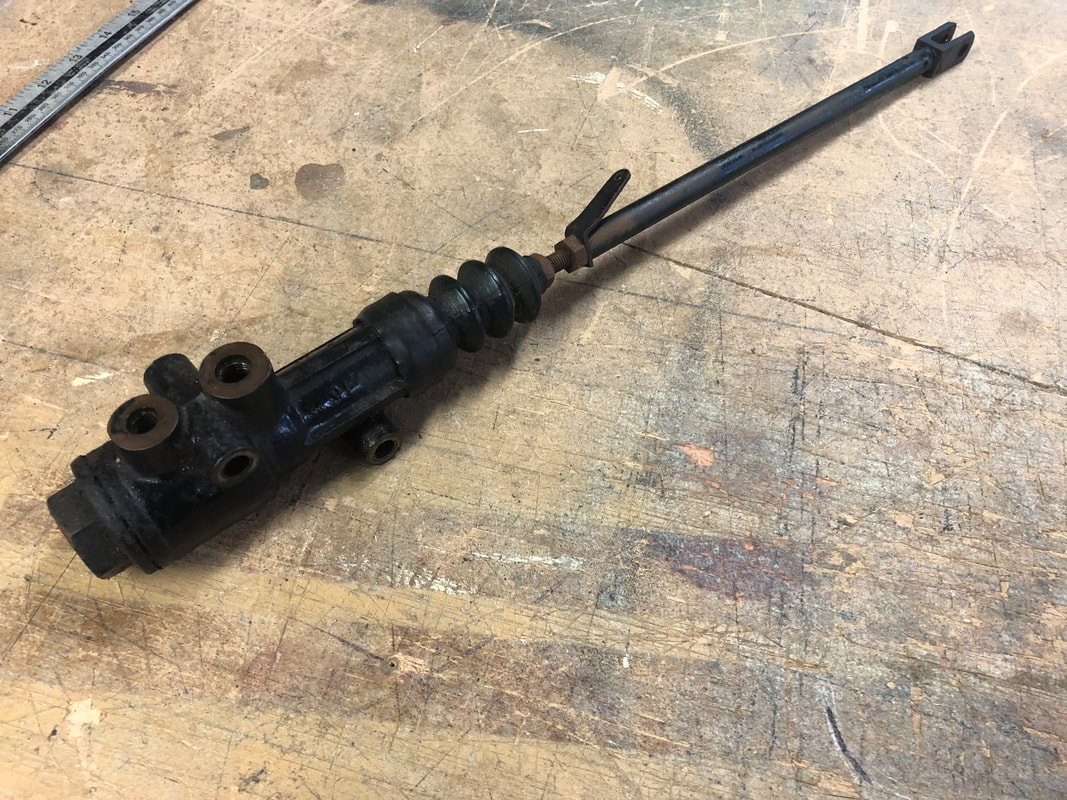
Then the brake master cylinder, shaft, return spring and both brake and clutch pedals...
It's clear why there are little 'V' cutouts in the bottoms of the outer sills and fenders, I've noted this on another all original BN1 #1267 (only 46 numbers apart from mine) - it's to allow clearance for removal of the pivot shaft the pedals both pivot on. My car has this cut out on both sides!
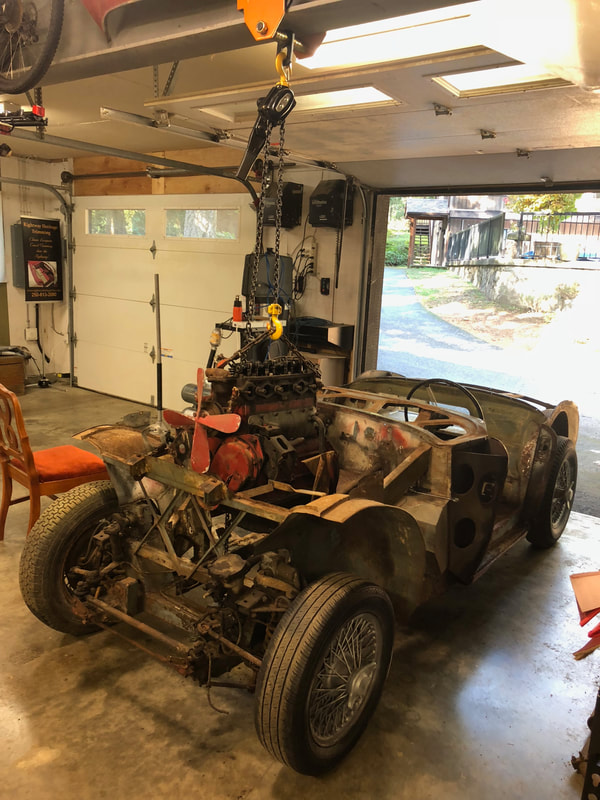
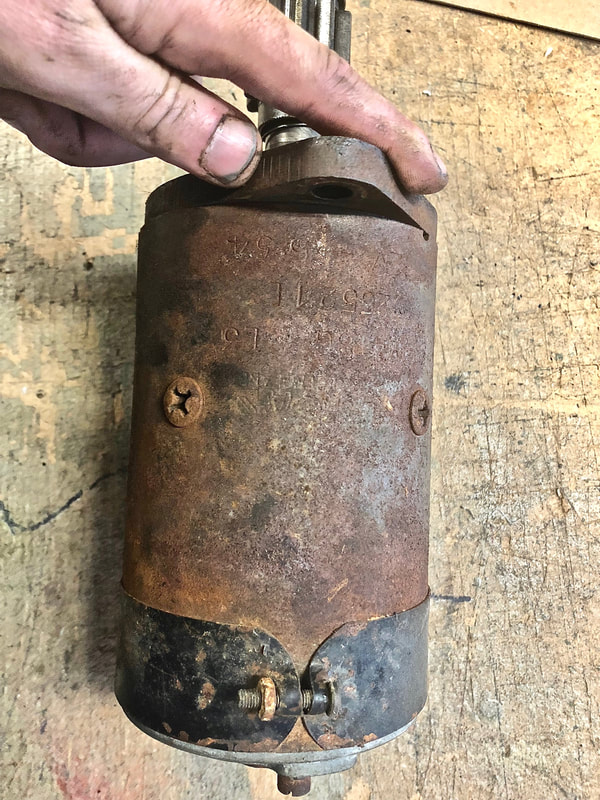
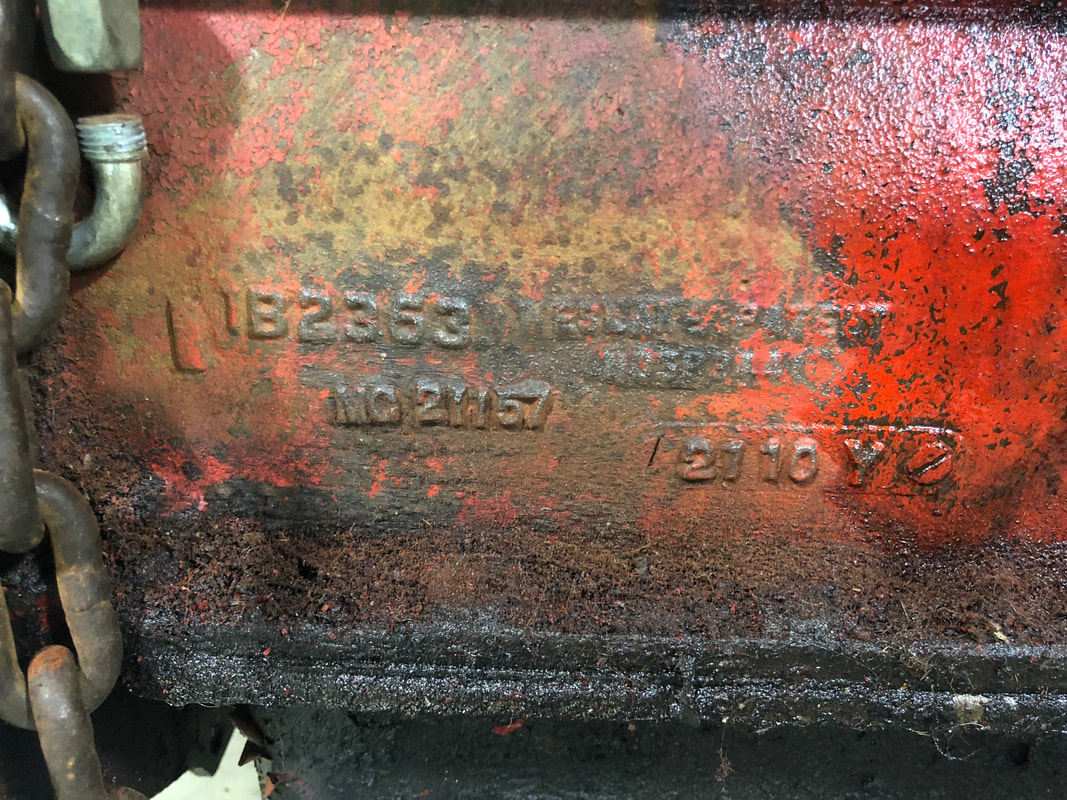
On Saturday I spent the day at the shop continuing work on the car and got a lot of big steps done. My shop has a huge steel i-beam running right over the the 2 garage bays where the cars park. It had been my intent to tie into that with a chain lift of some sort to lift anything I might want to. So I purchased a great little 1 ton trolley for attaching to the i-beam, it has wheels in it so I can move it along the beam easily. Then I borrowed a simple ratcheting chain hoist from my friend and fellow Healey owner Trevor Parker and hooked it onto the trolley. All set! - thanks Trevor! I decided to remove the starter and gearbox first with the engine still in place, so I put a support jack under the rear of the engine and first pulled out the starter motor - which seems in pretty good shape..
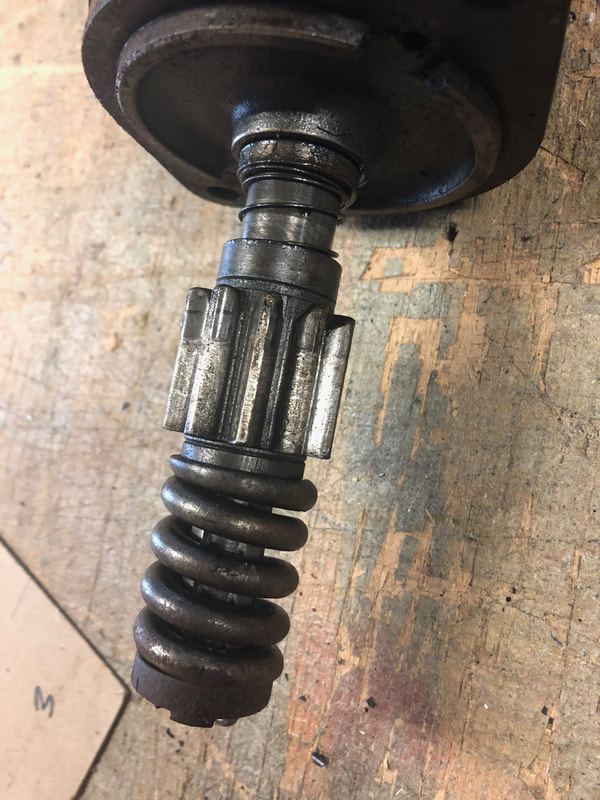
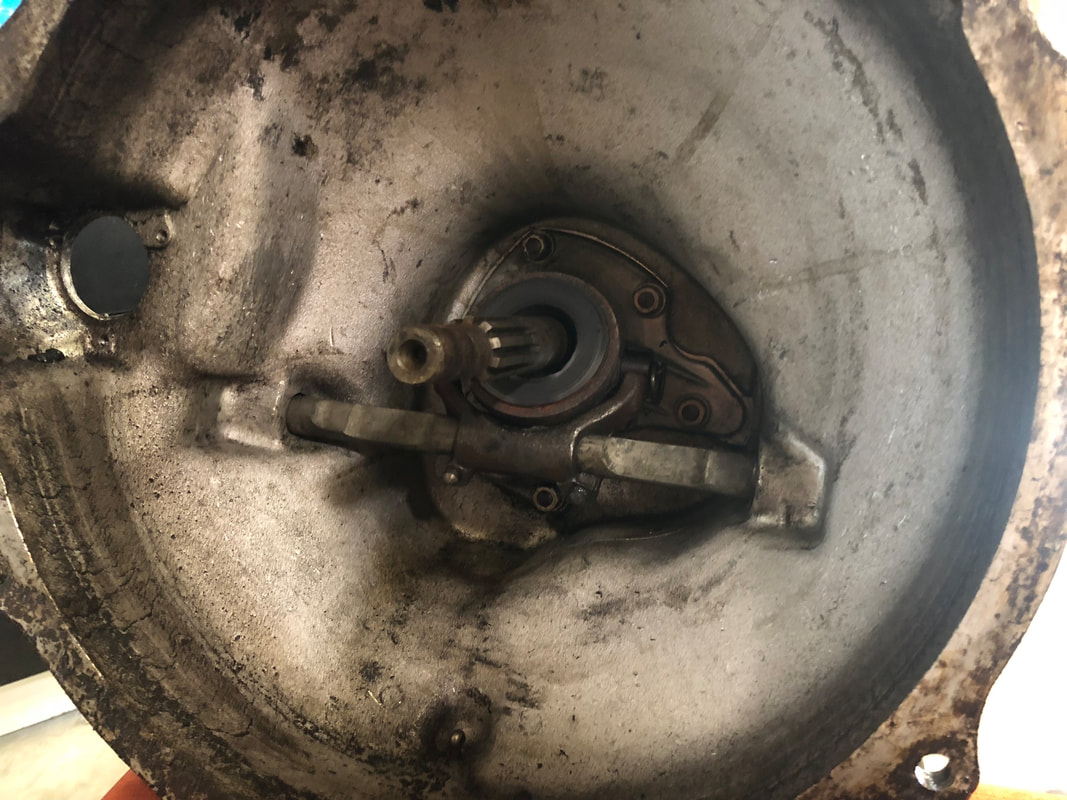
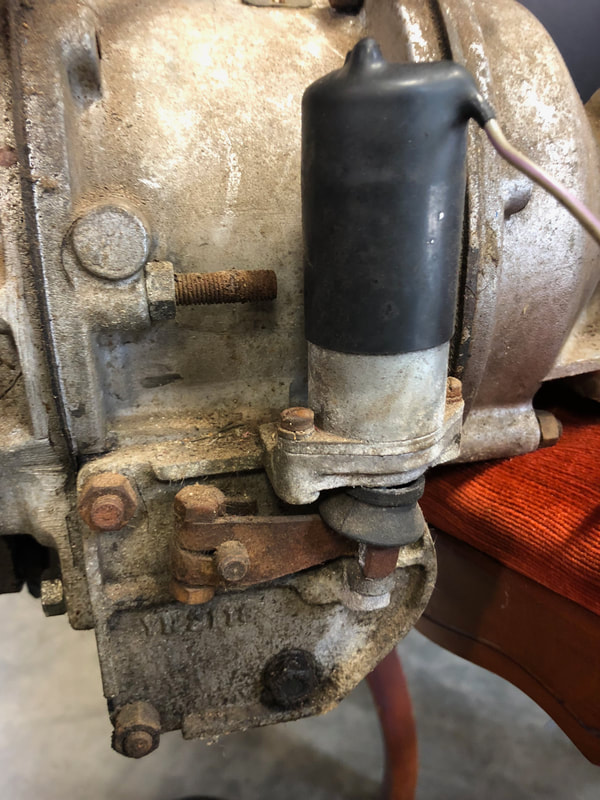
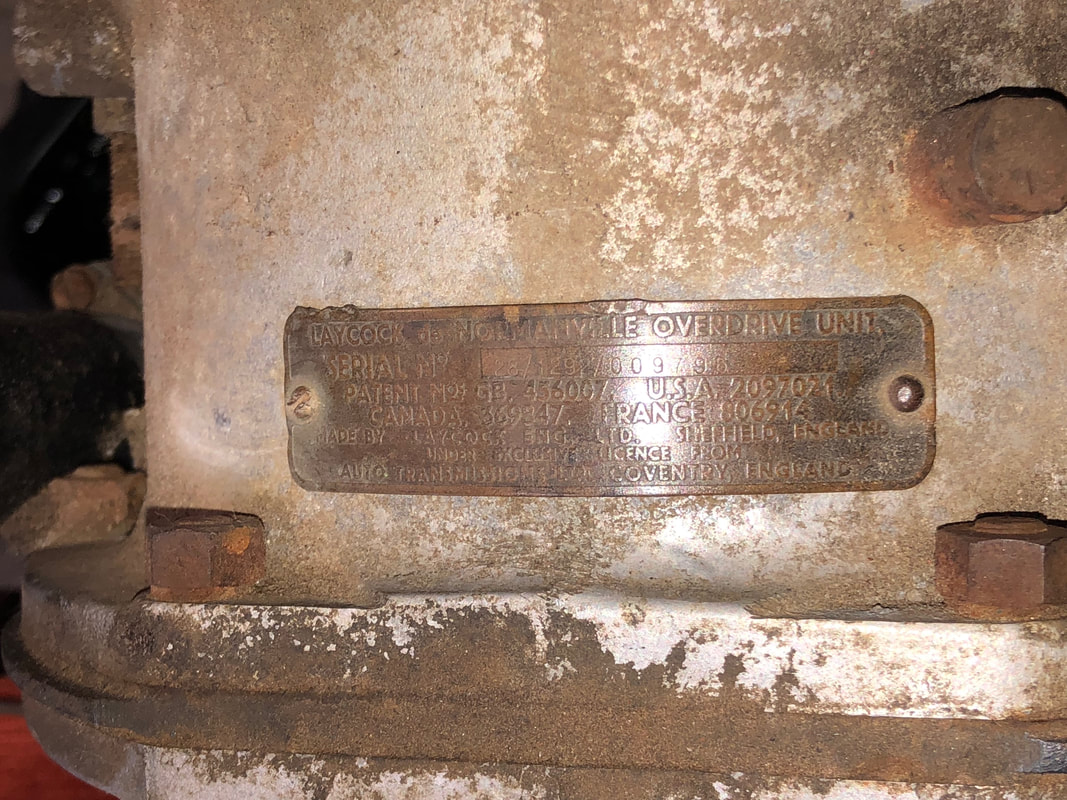
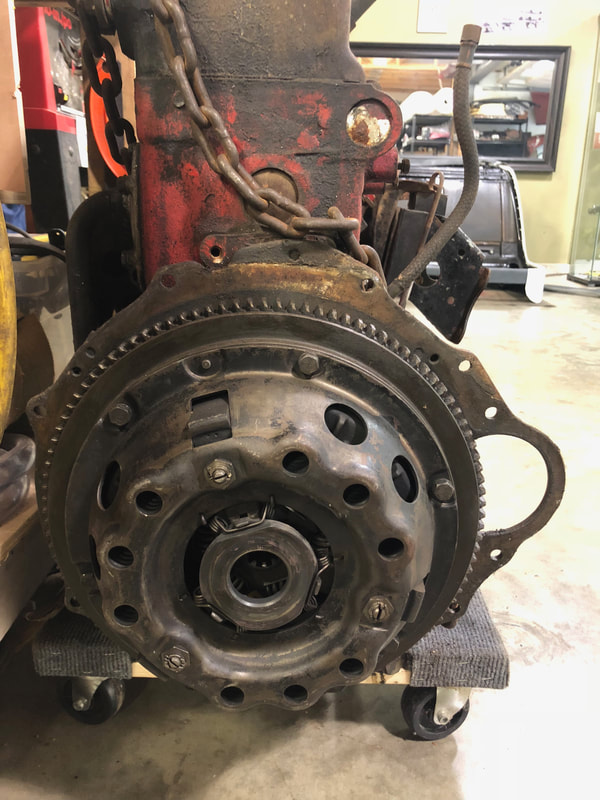
I removed the gearbox stay rod from underneath.. 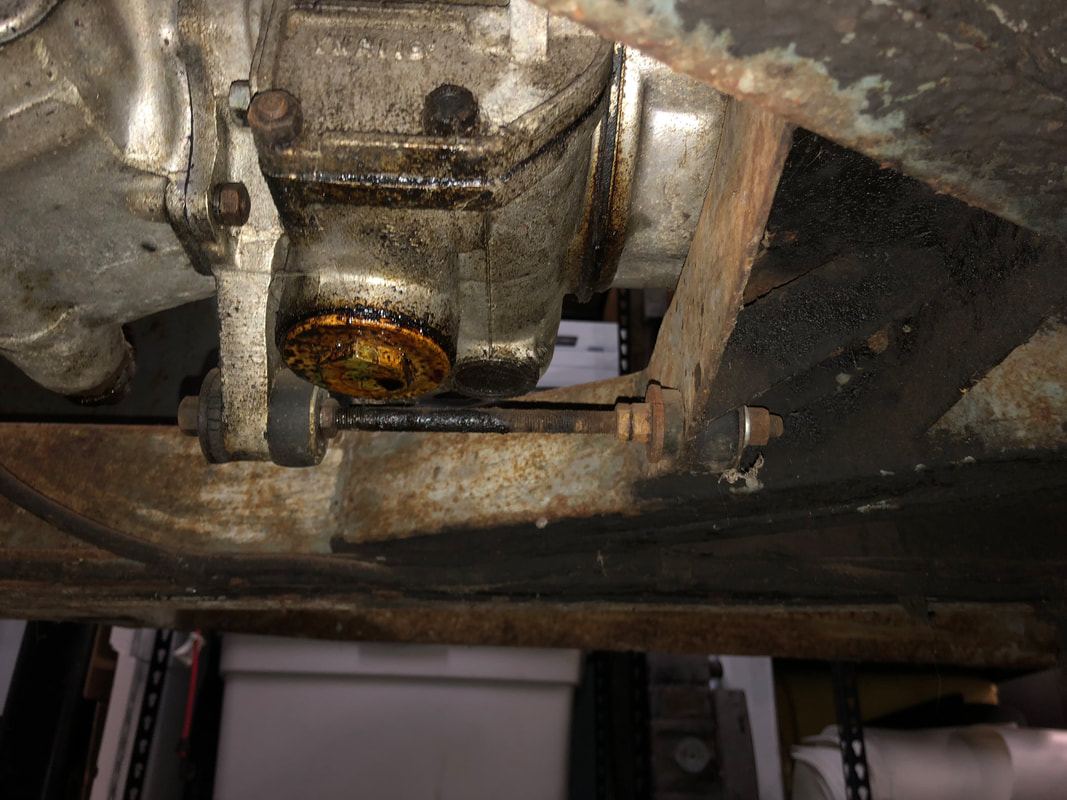 Then I unbolted the gearbox, pulled it straight back to disengage the input shaft, and lifted the whole unit out of the cockpit by hand.. Here are some detail pics of the gearbox, supports and overdrive unit..
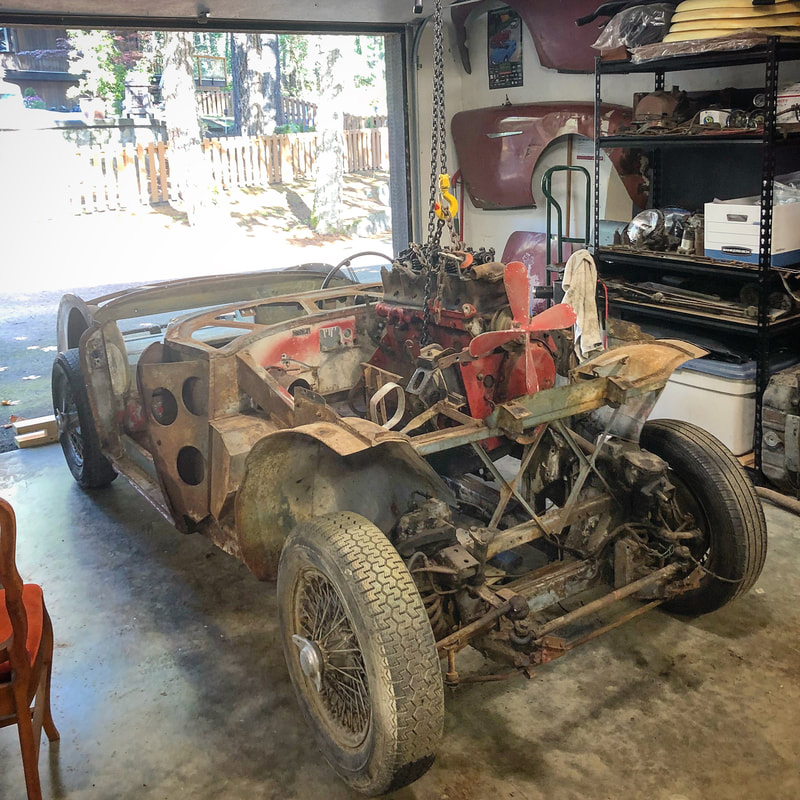
With the gearbox out I got to work on removing the engine itself. I hooked up some chains and brackets to some opposing head studs, brought the chain hoist in, and out she came! I was lucky I'd pulled the gearbox out first because I only had about 10" clearance to roll the car out from under the engine while it was in the air as high as it would go. If the gearbox had been on it would have hung a lot lower and on an angle.
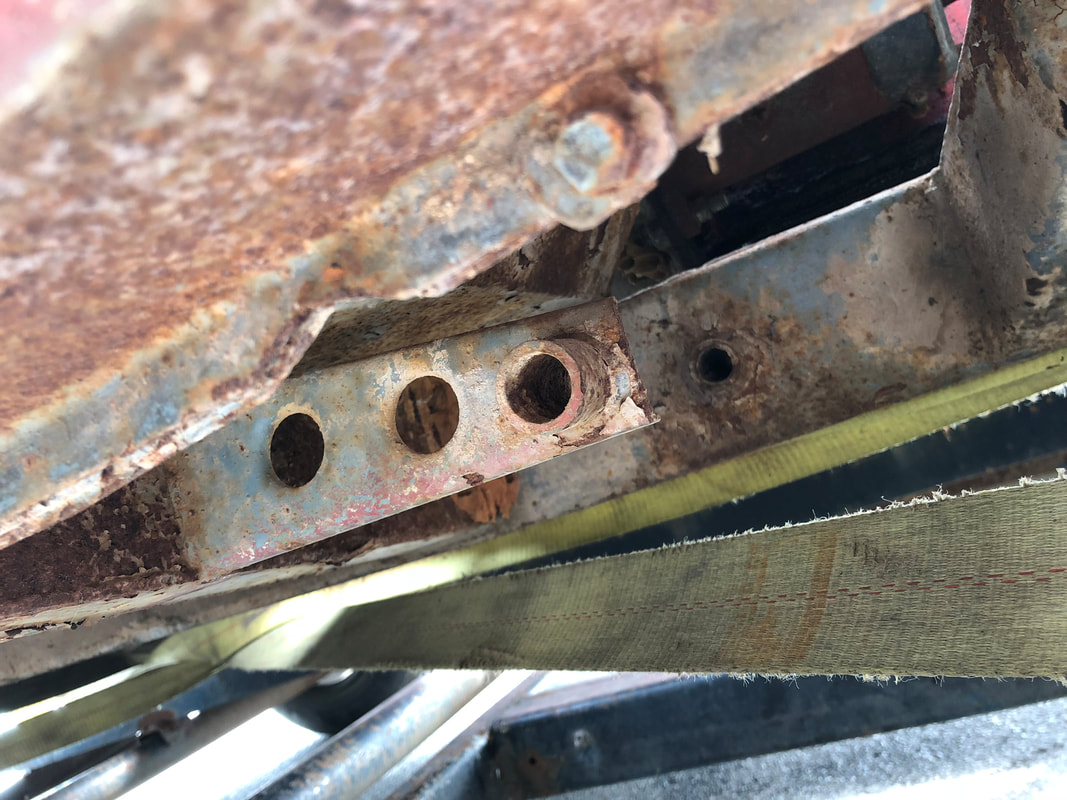
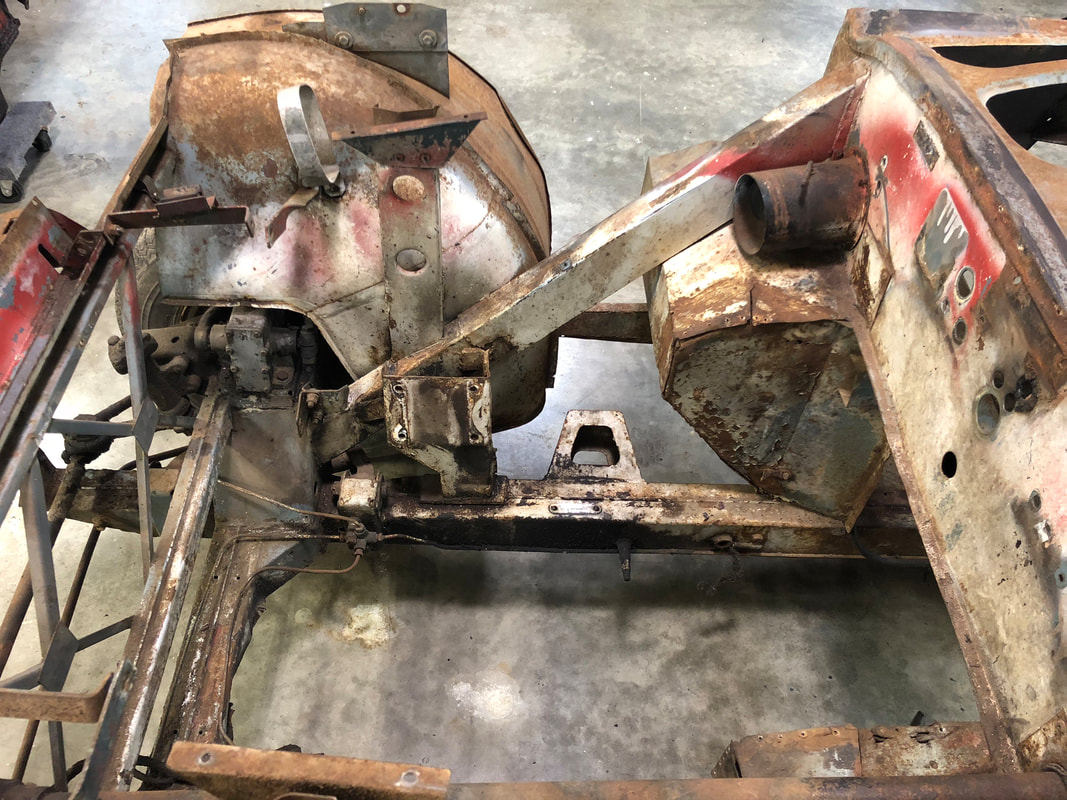
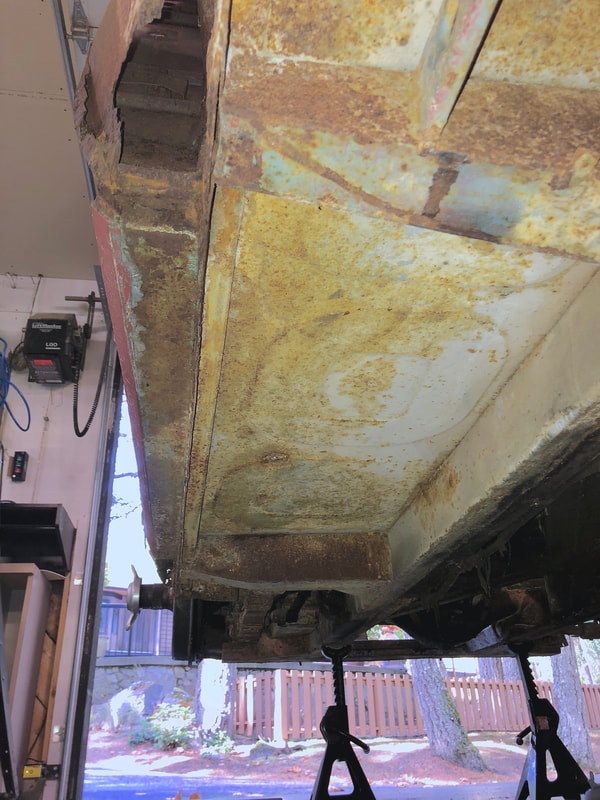
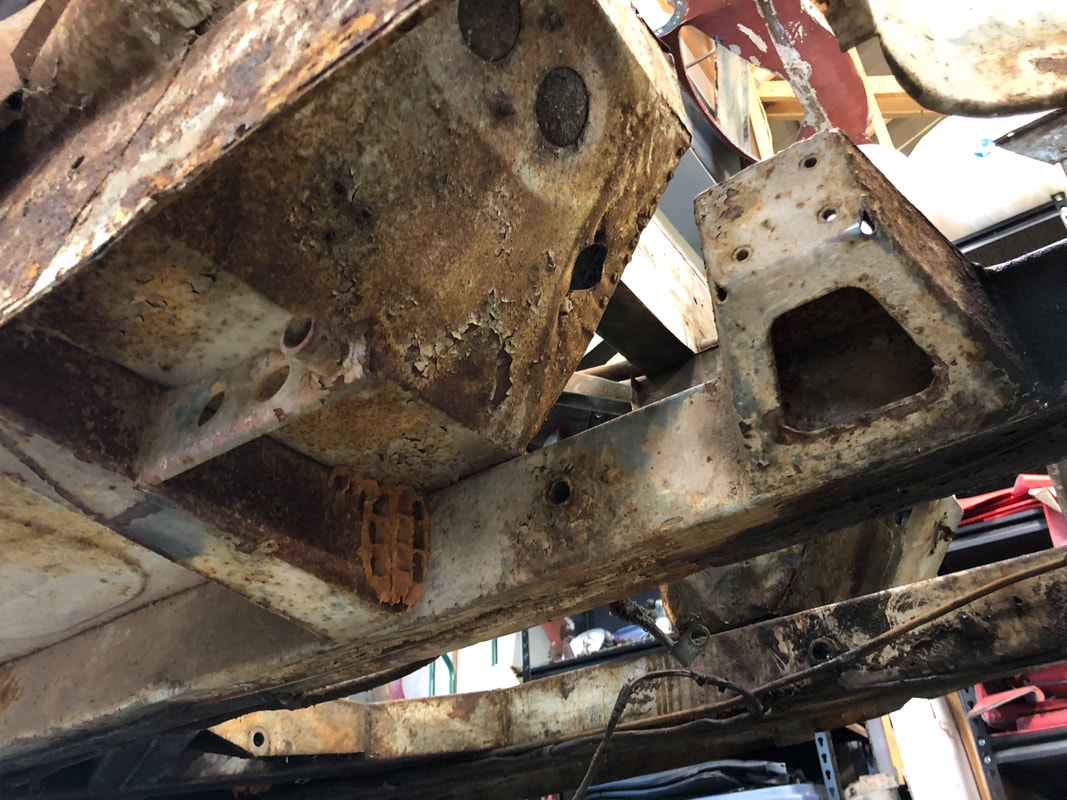
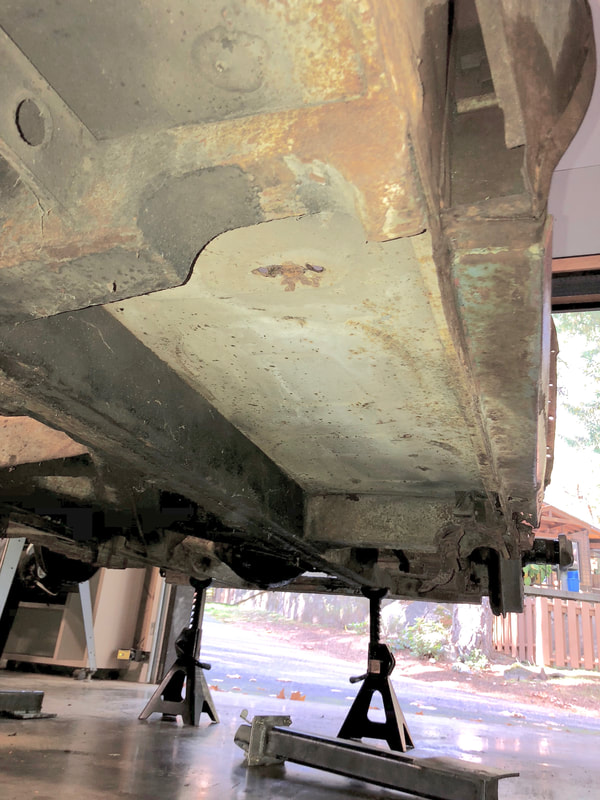
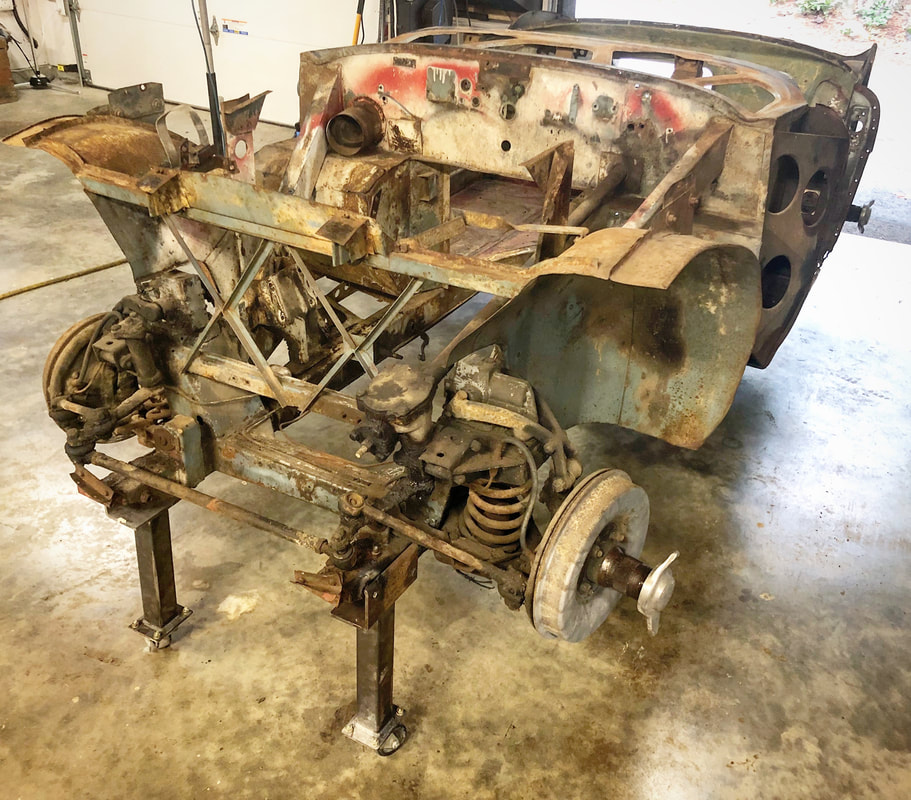
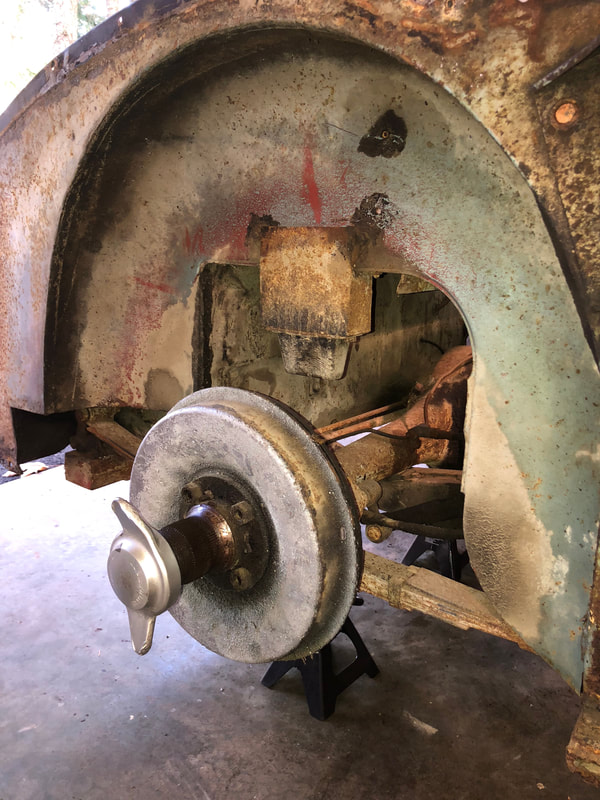
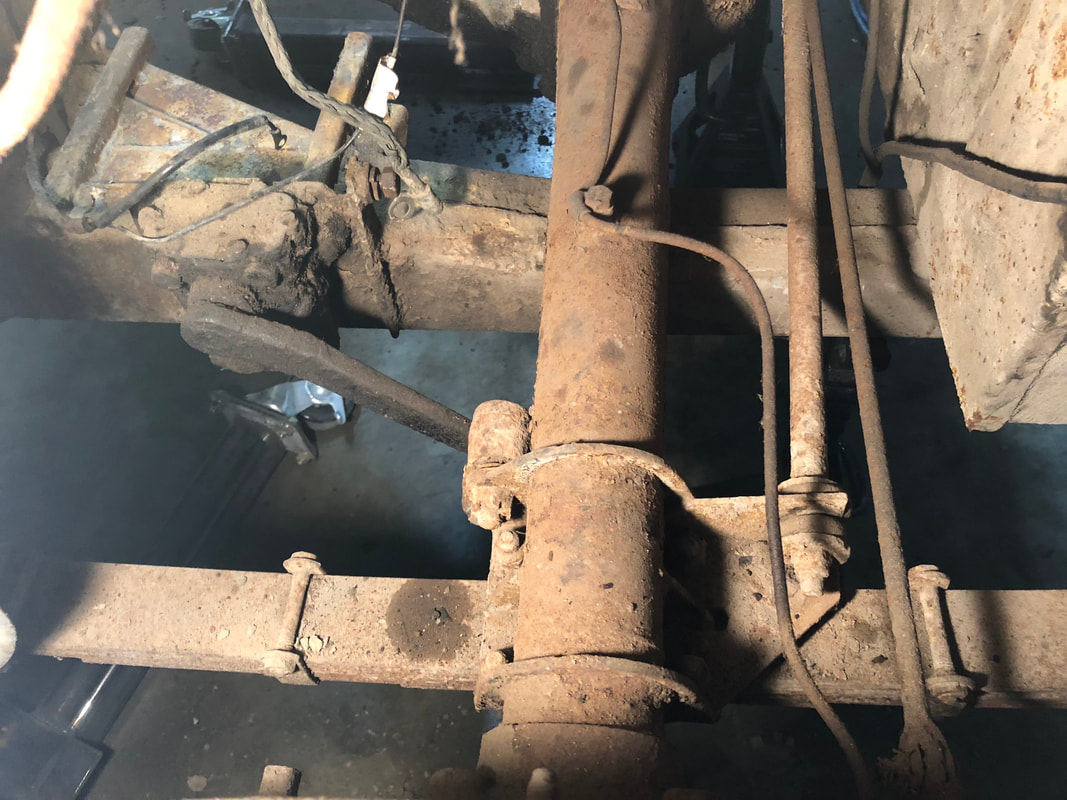
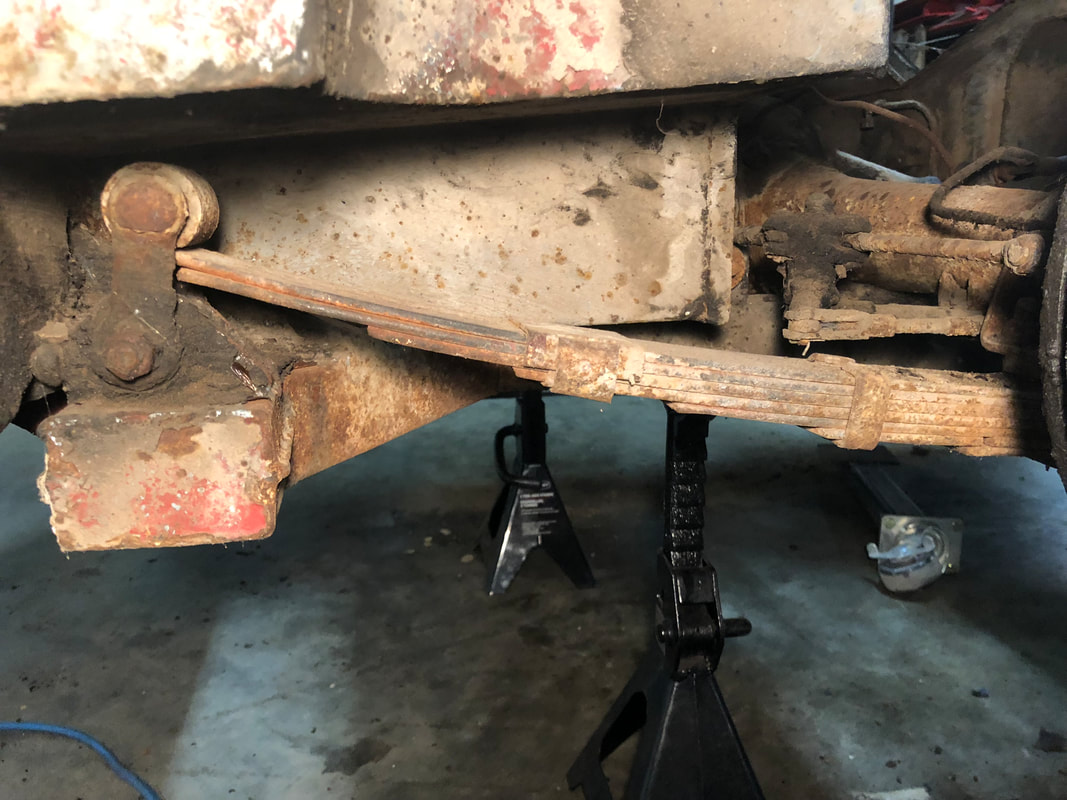
With the engine out I jacked the car up high on some axle stands and took some good pics of the state of the metal on the chassis and frame...
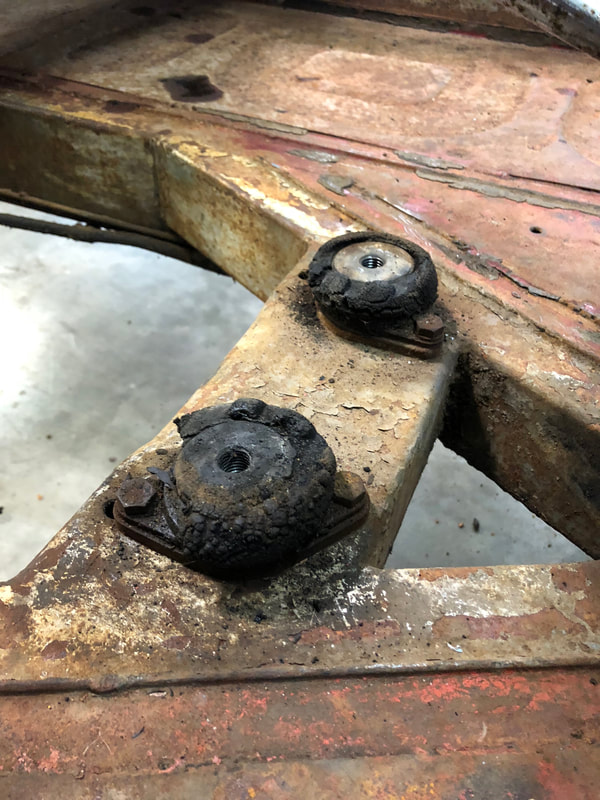
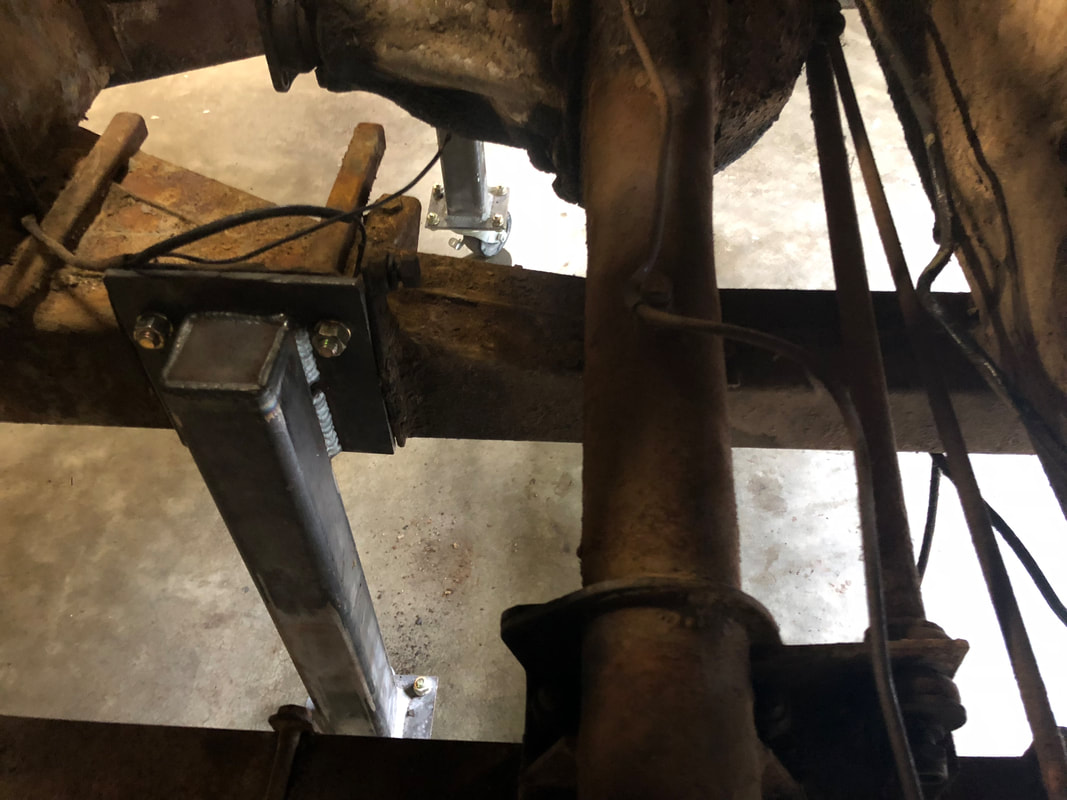
 As I thought, it looks like the chassis will need outer sills, lower rear door posts, a front cross member and some very minor patches here and there - not bad at all for an un-restored BN1! The next steps will be removing all the front and rear suspension. I've borrowed some custom made Healey brackets with heavy castor wheels on them from Jason at Jetstream. These 4 brackets will mount to the front bumper mounts at the front and the rear shock mounts on the rear frame and allow the chassis frame to remain elevated at a comfortable work height and easy to roll around - thanks again Jason!
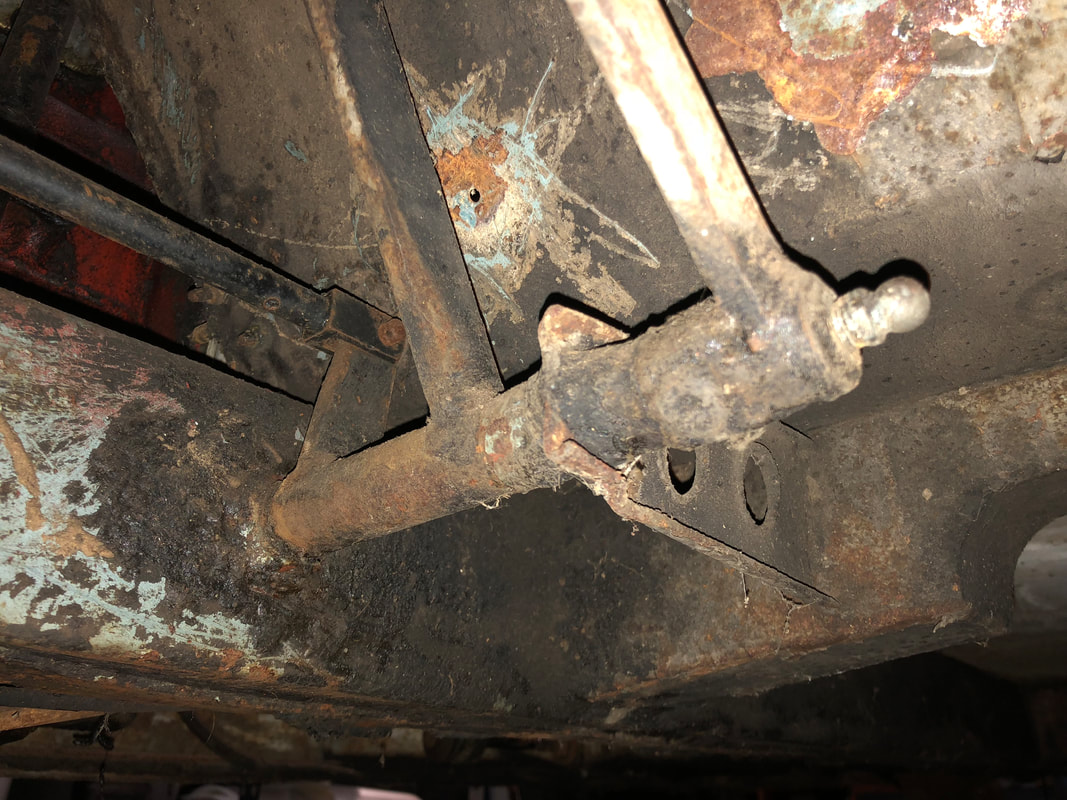
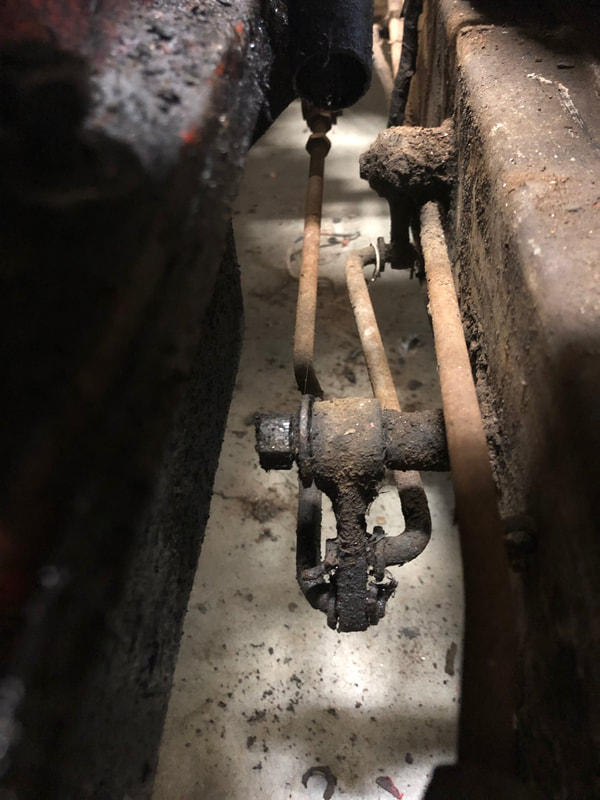
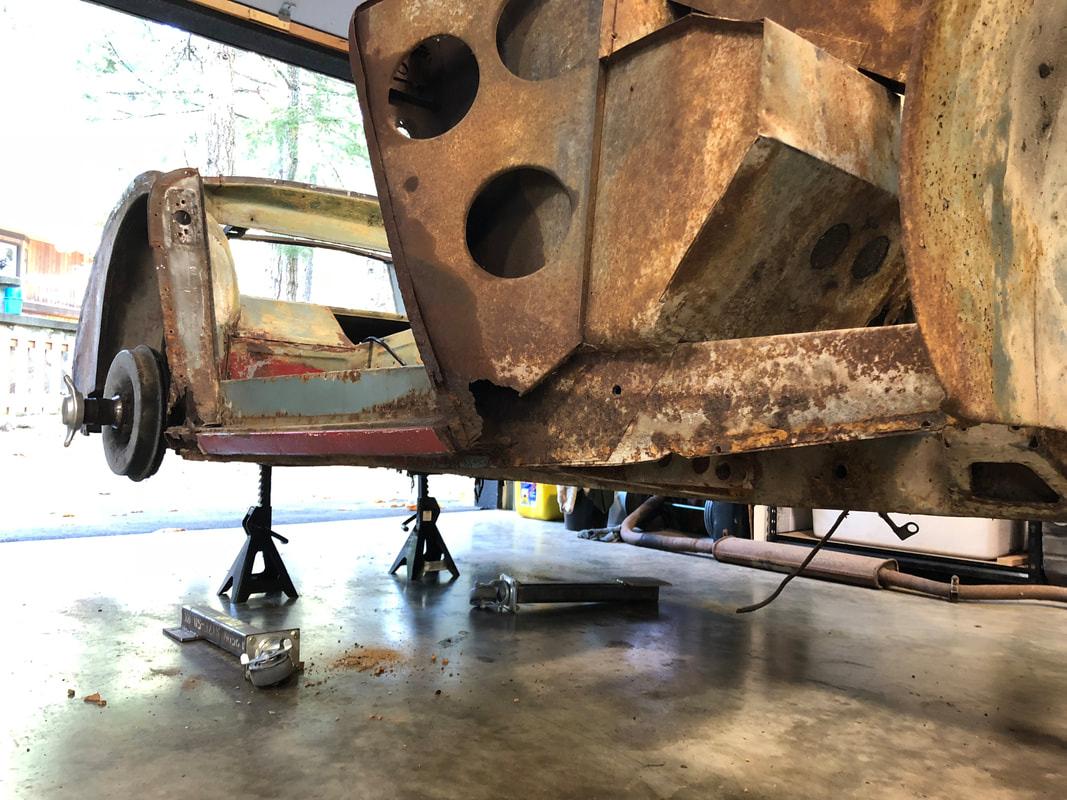
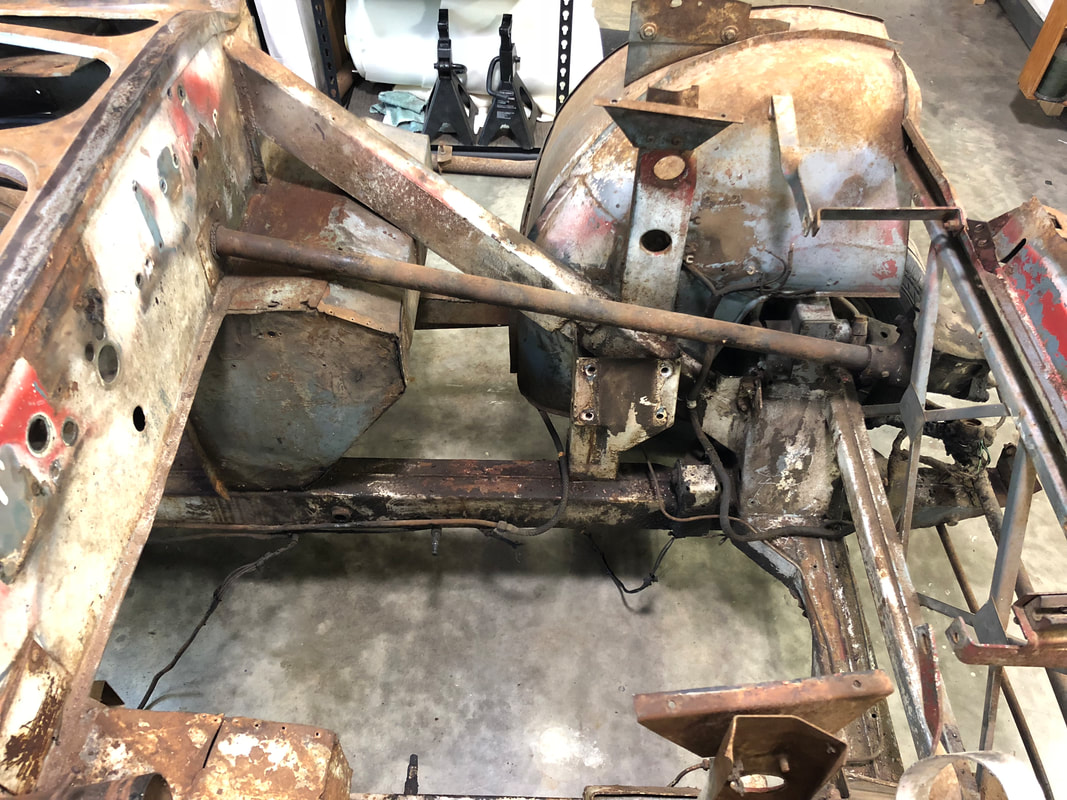
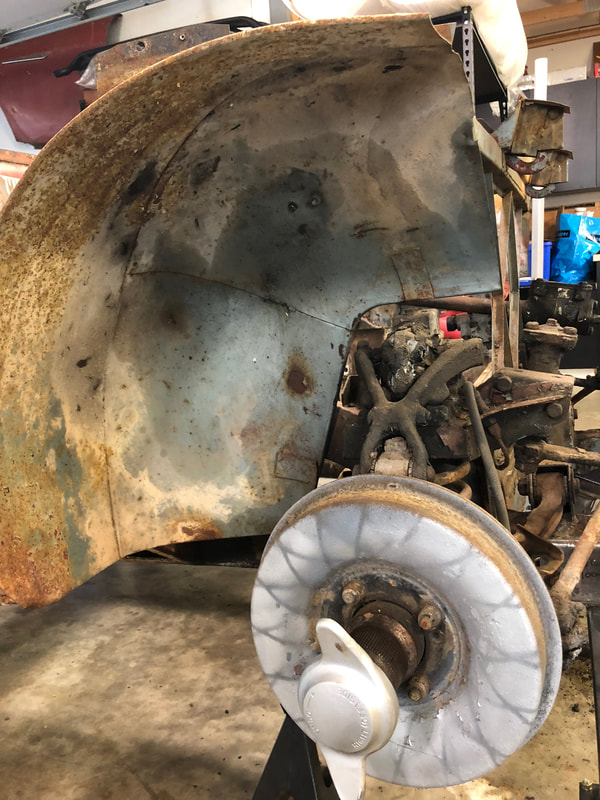
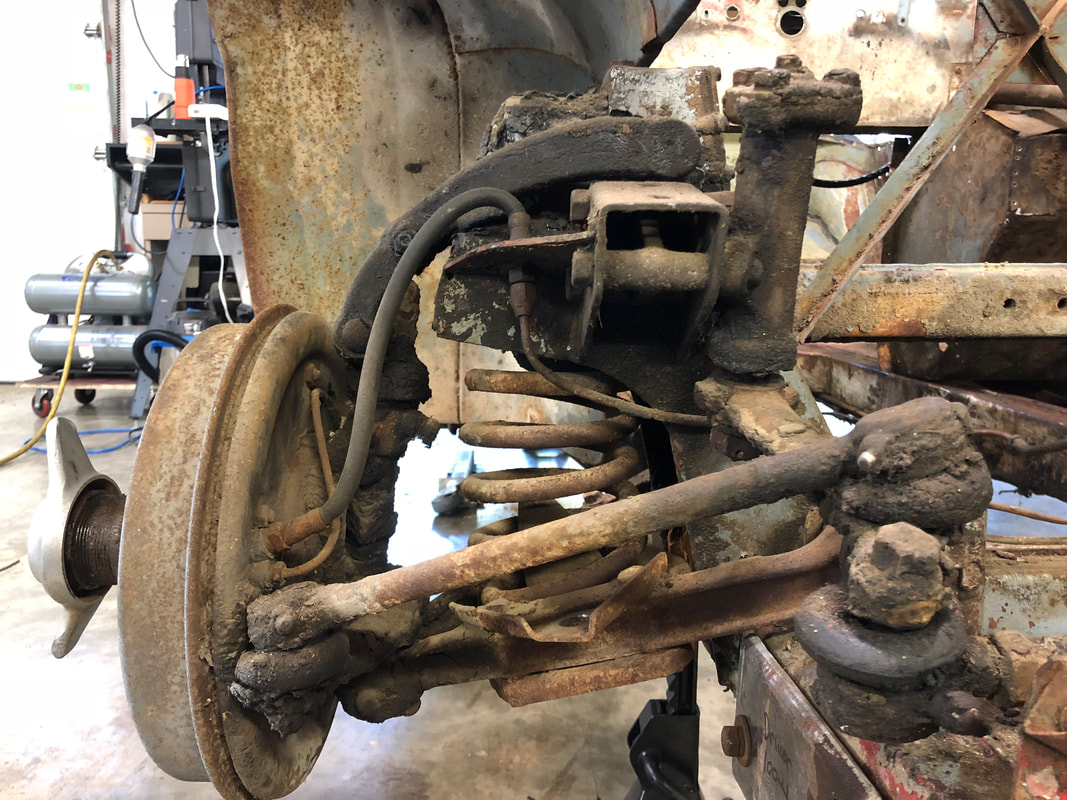
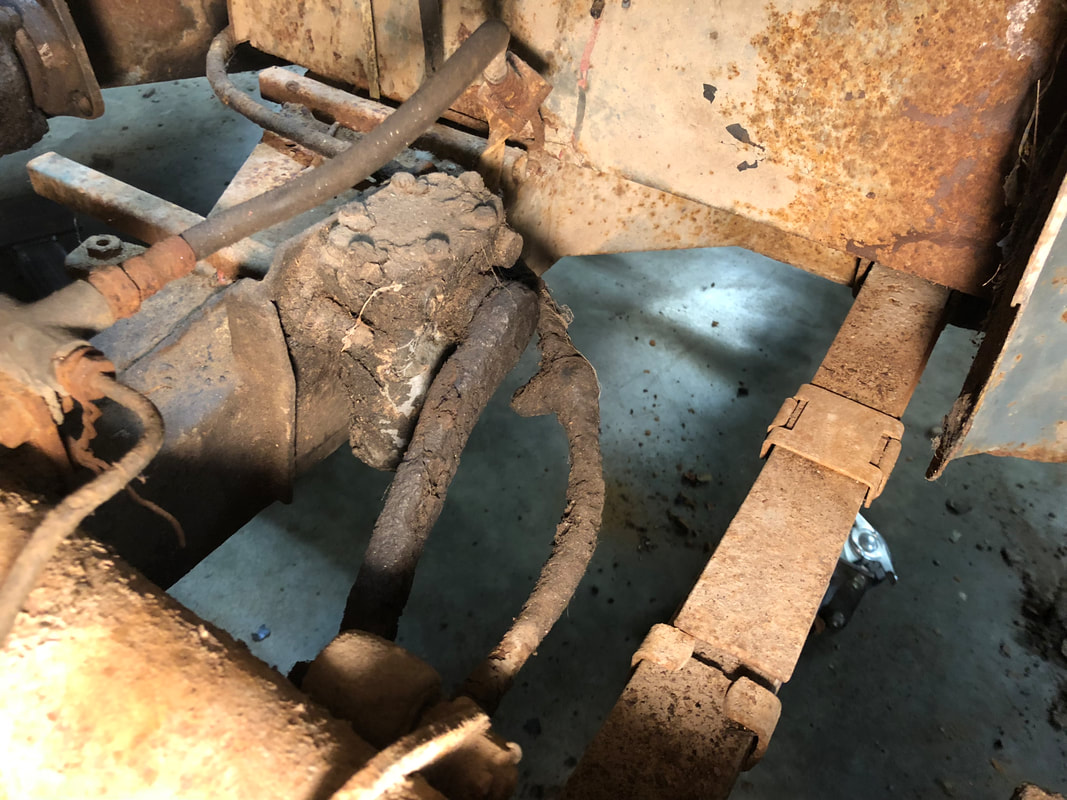
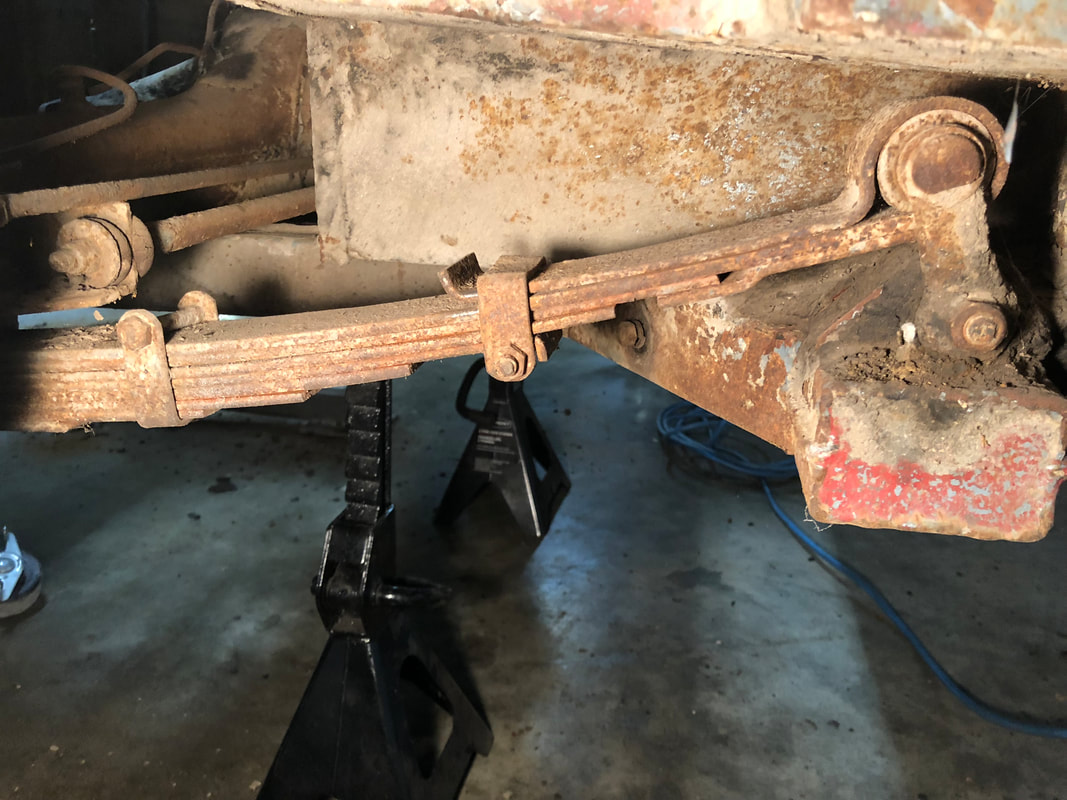
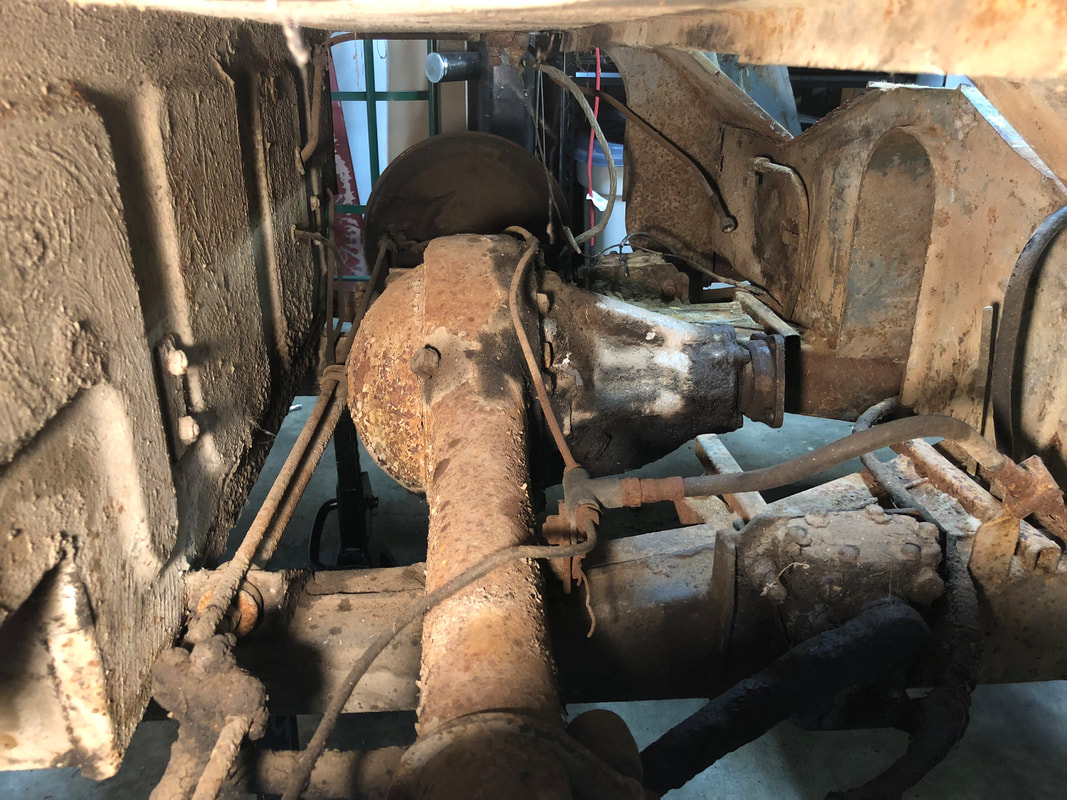
I took some overall pics of the suspension components before dismantling...
There will be much more to come as I remove the suspension and get the bare chassis sent out for sandblasting.
Until next time -
0 Comments
Your comment will be posted after it is approved.
Leave a Reply. |

Archives
December 2023
|


 RSS Feed