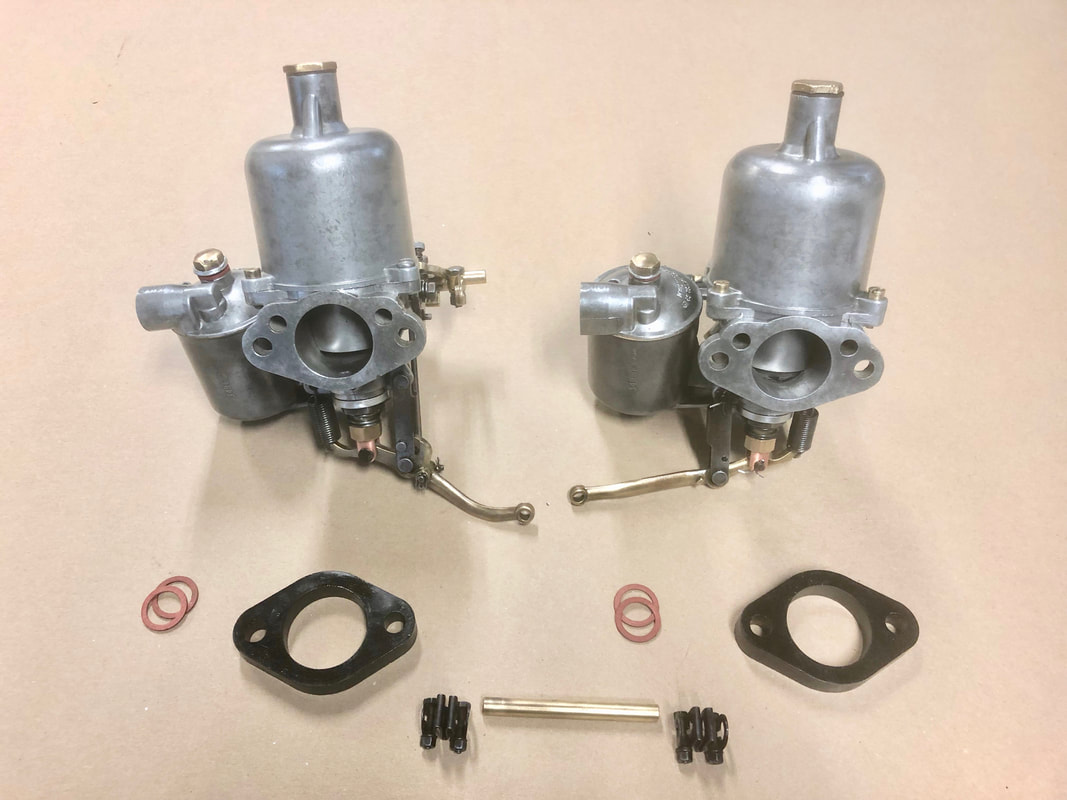
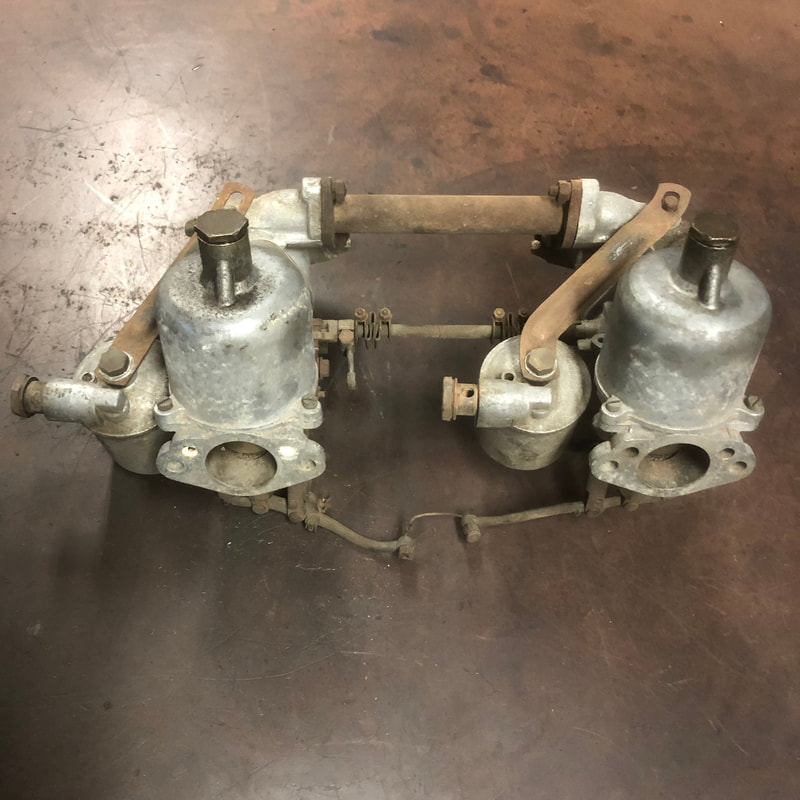
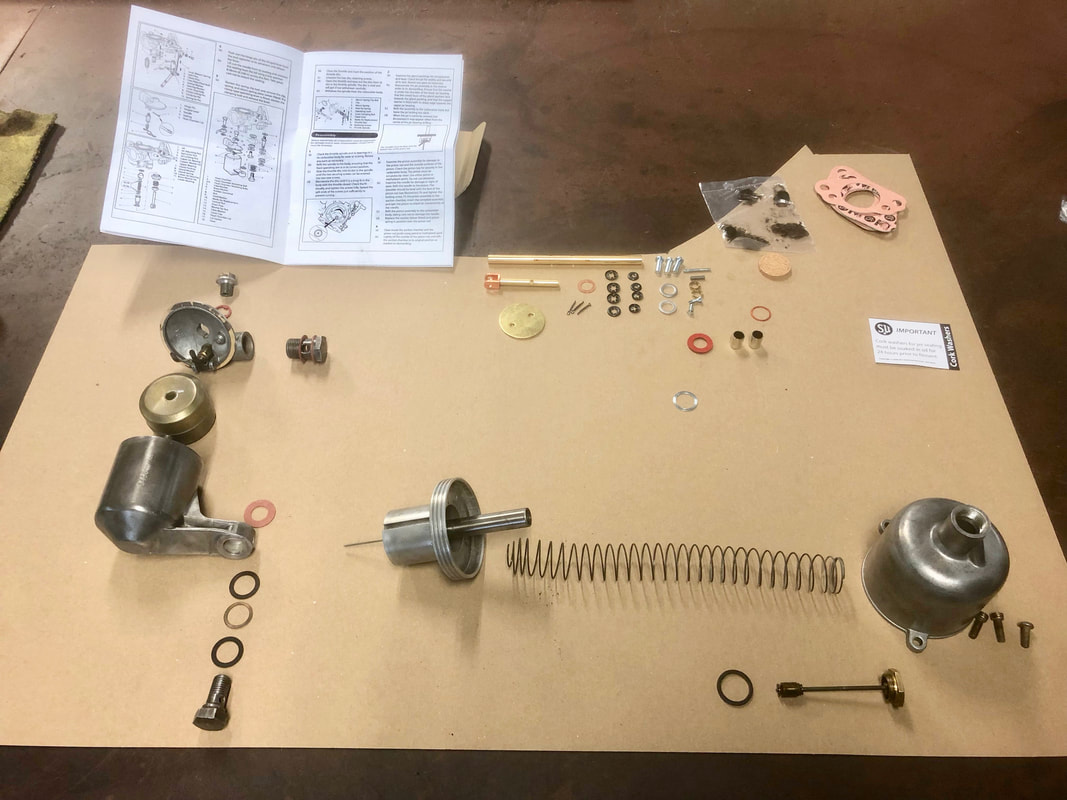
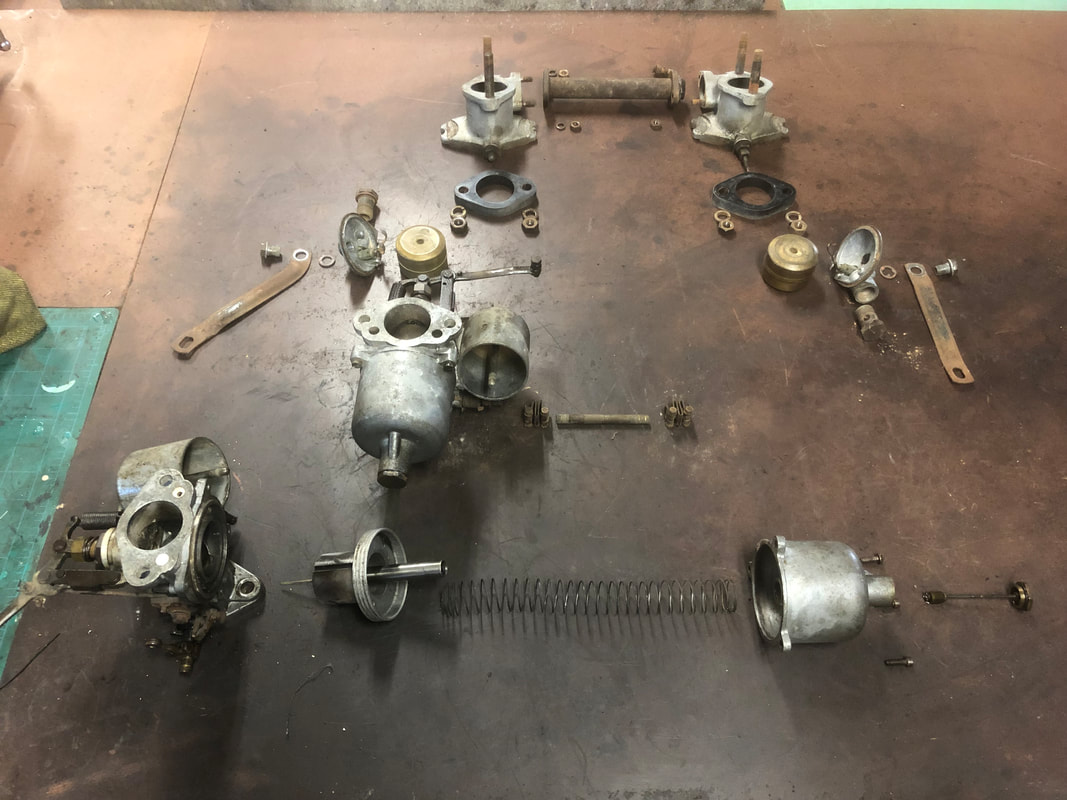
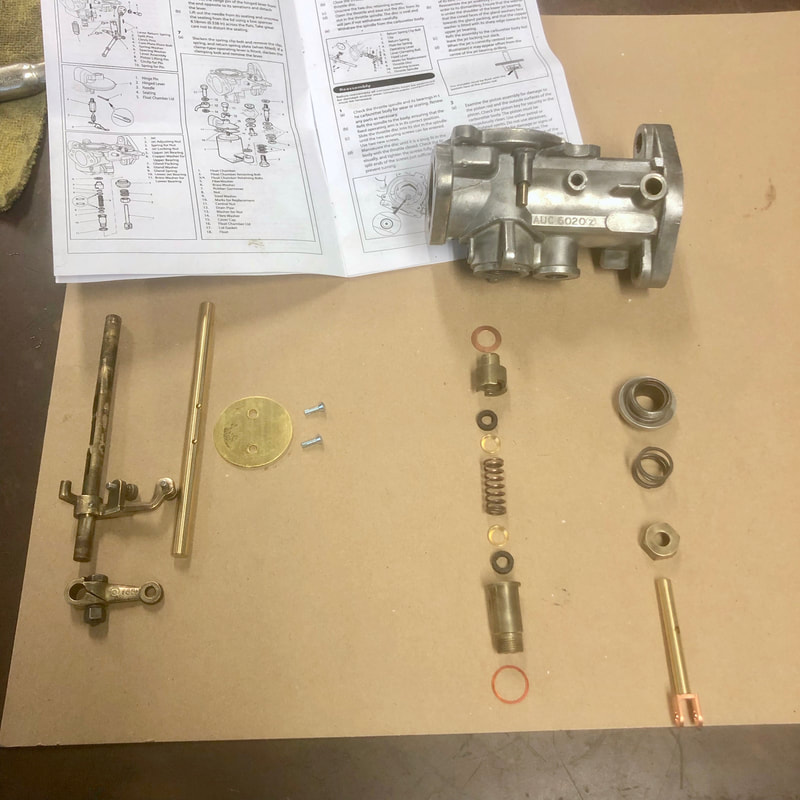
 With summer in full swing the classic car upholstery business always slows down a bit as usual. -Tis' the season most owners are out and about enjoying their cars! In the meantime I've had lots of time to focus on my own project. Over the last few weeks I've been working away on several projects with my BN1. I cleaned and rebuilt my SU carburetors with a pair of new SU master rebuild kits... 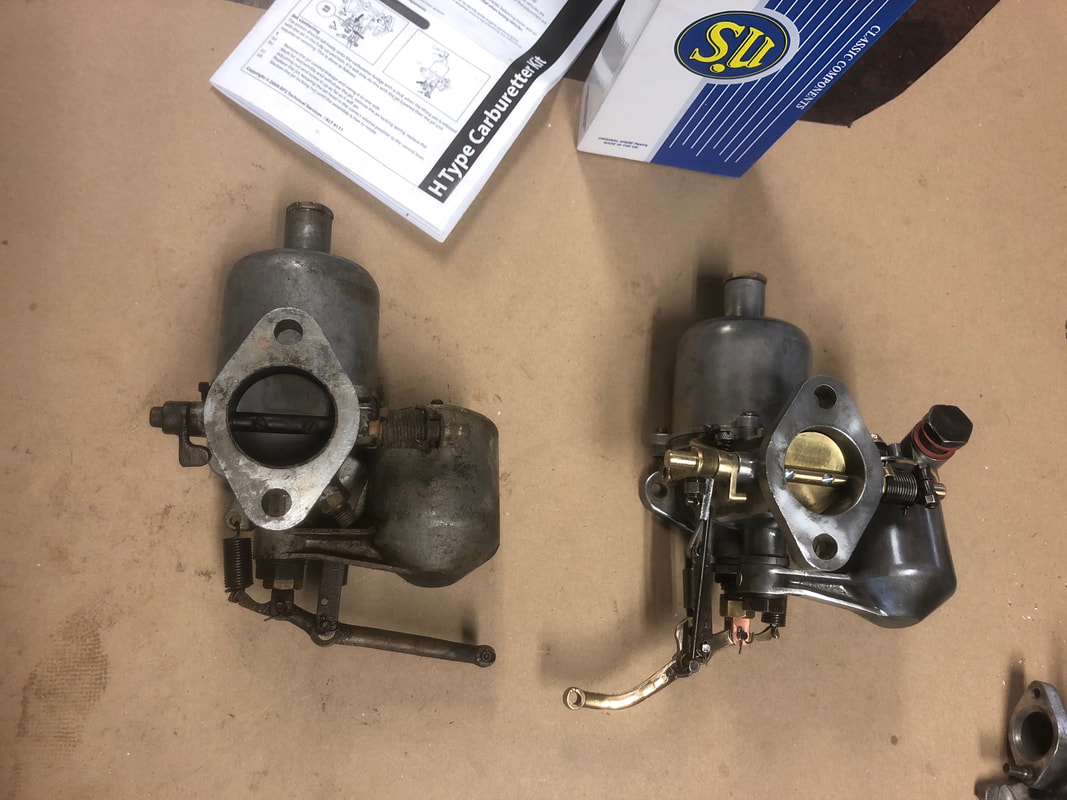
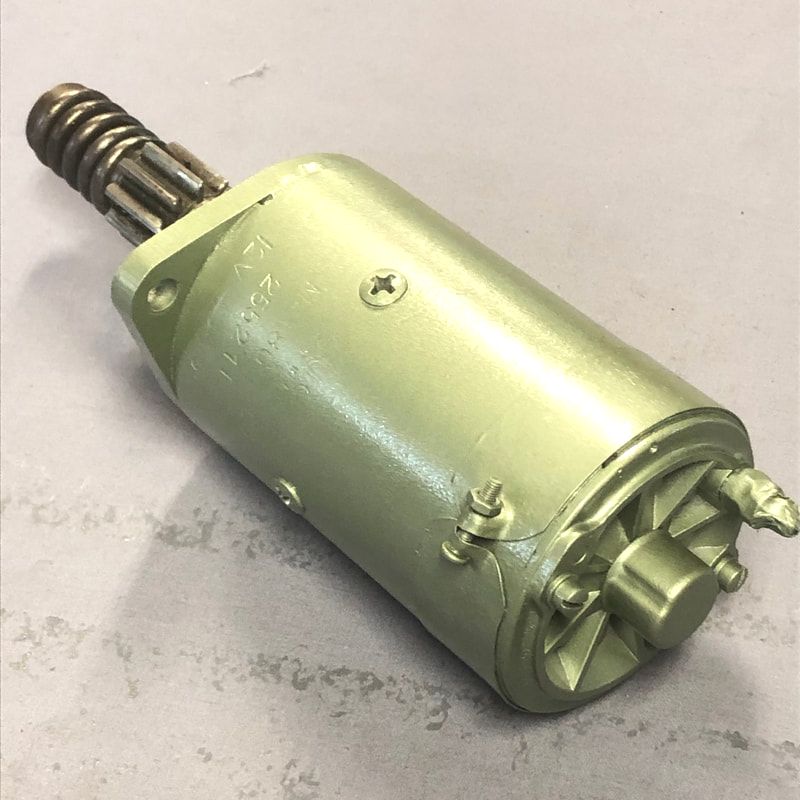
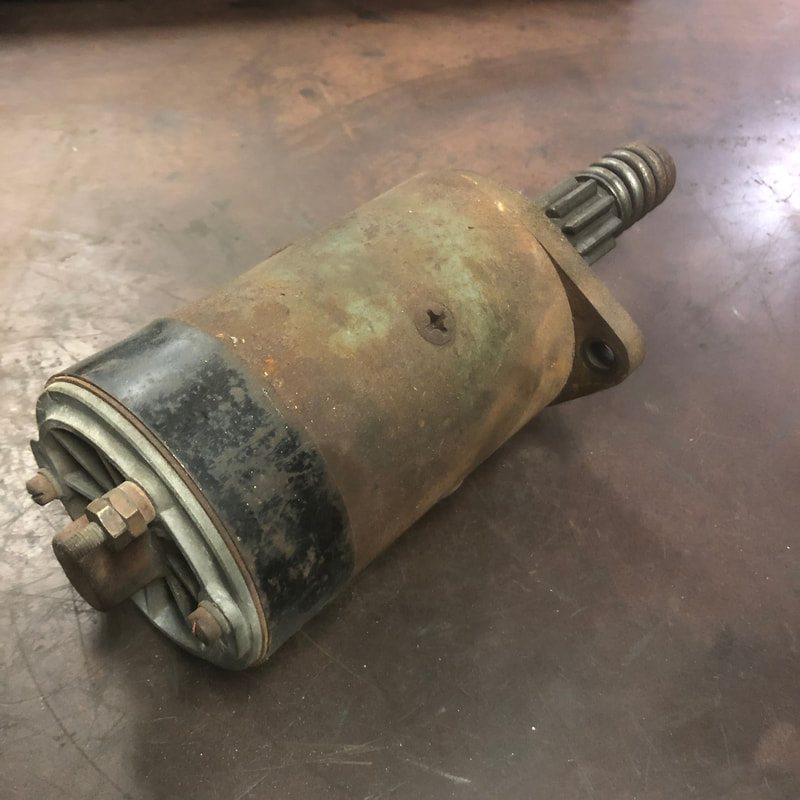
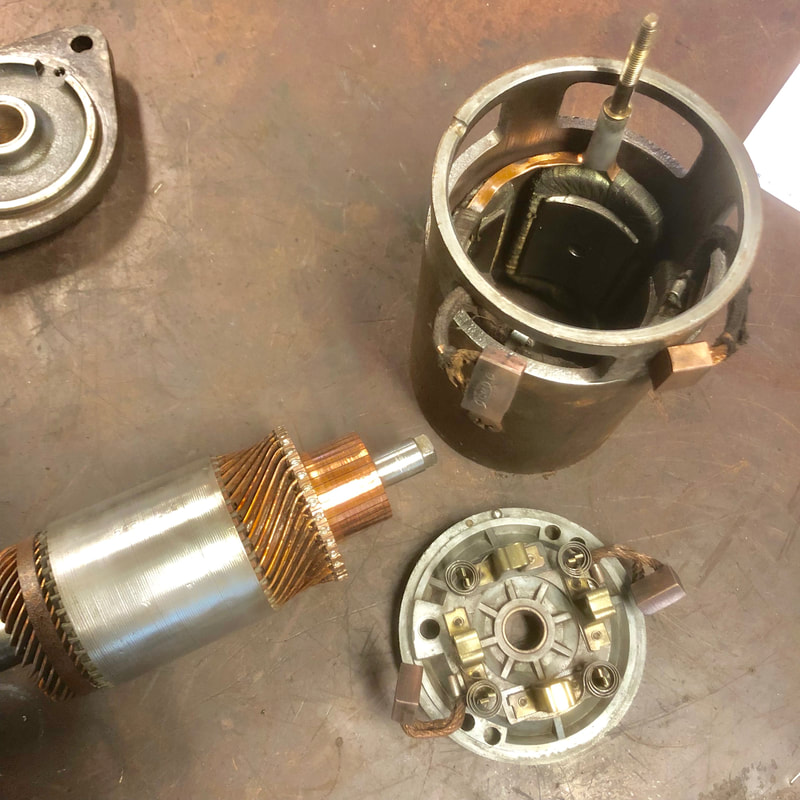
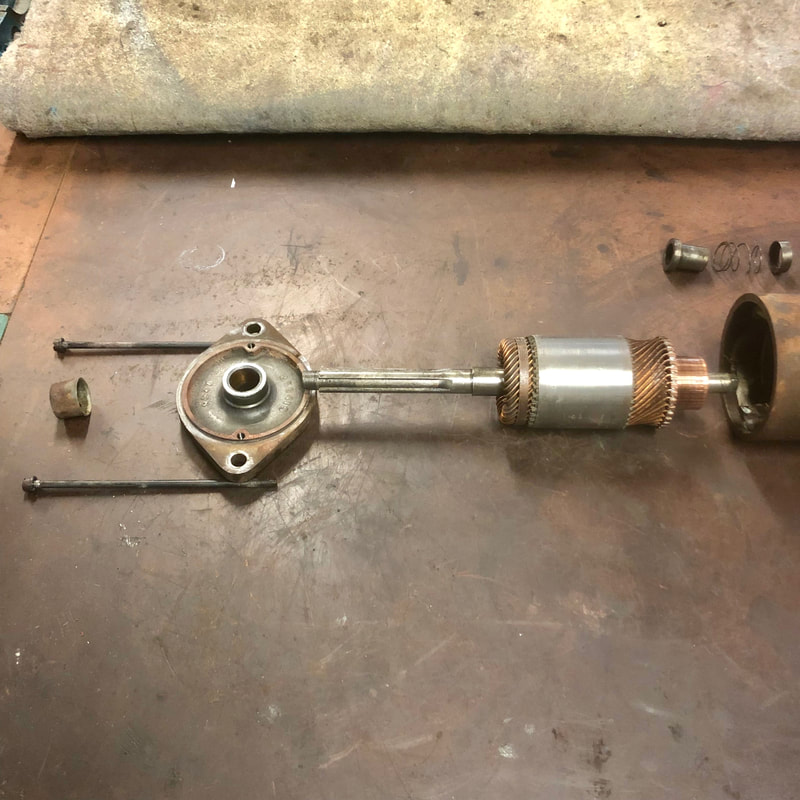
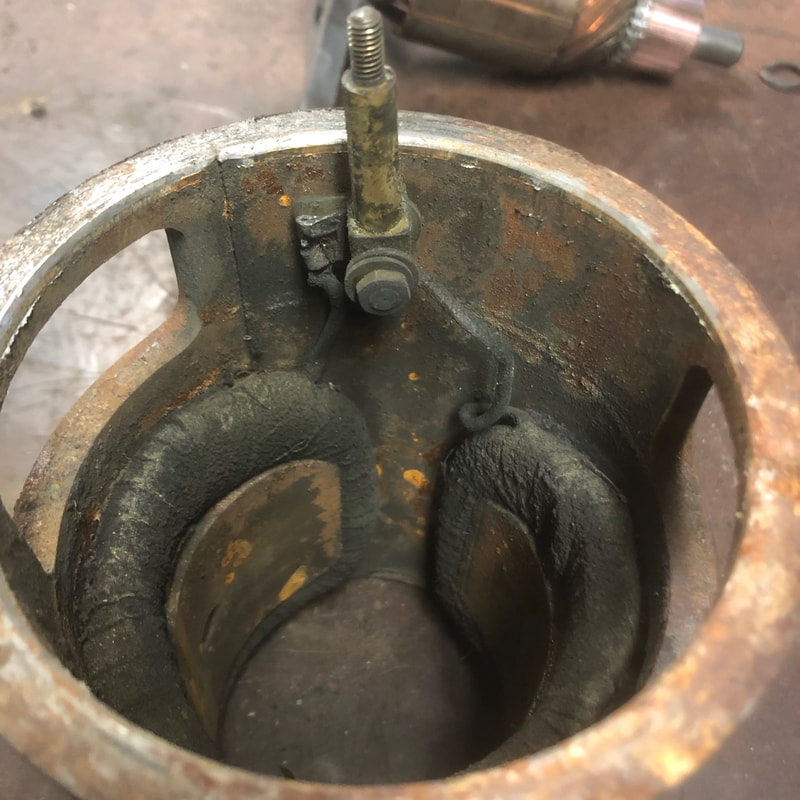
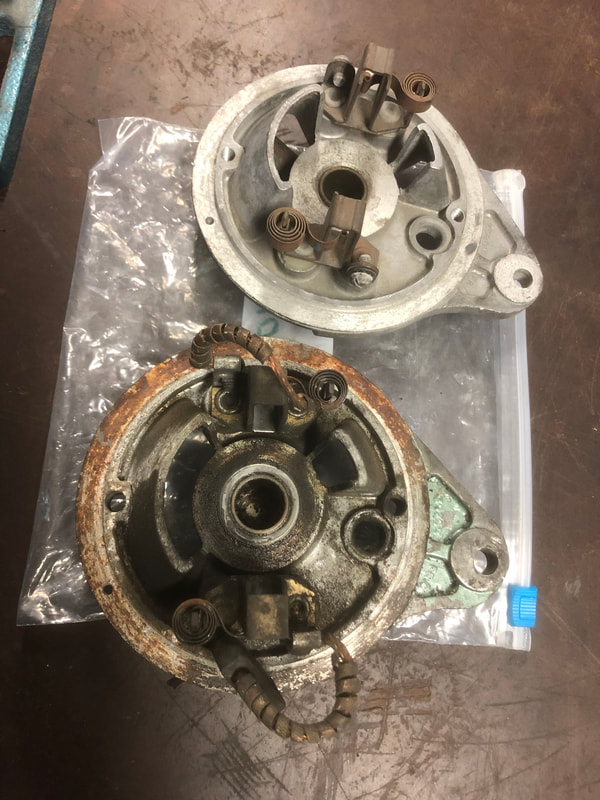
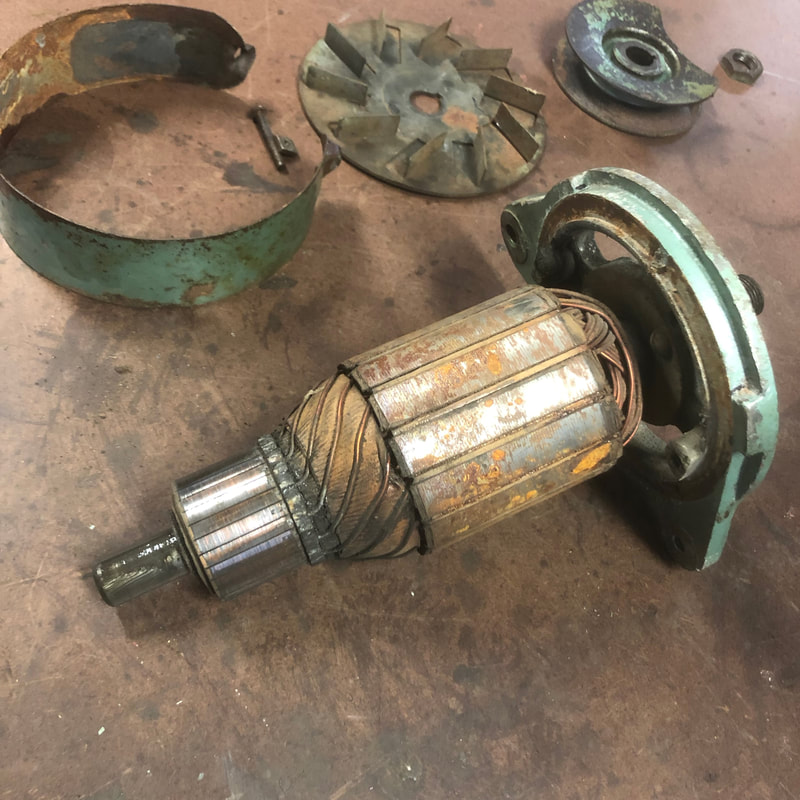
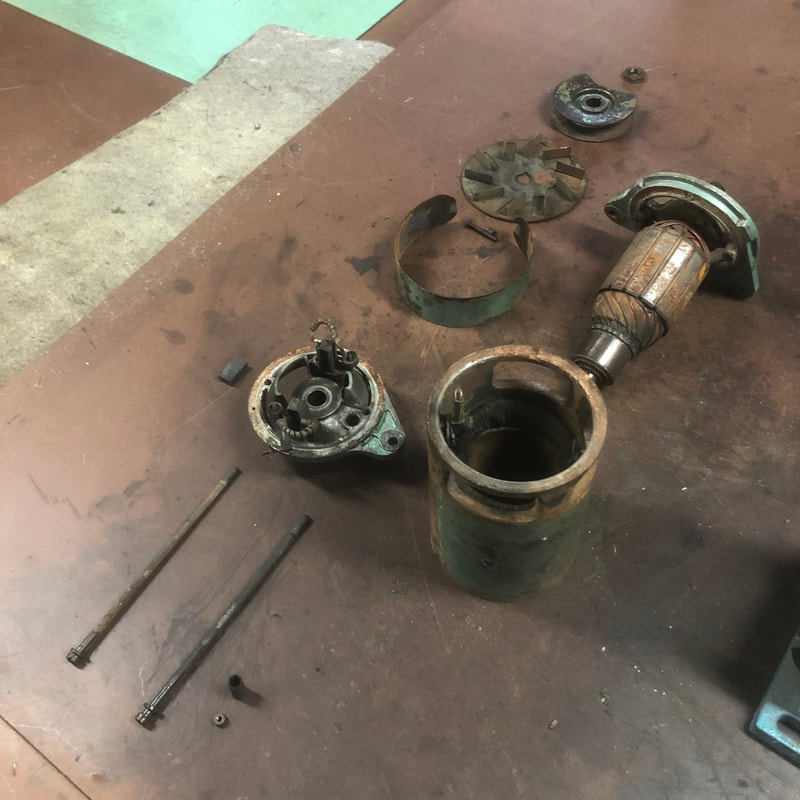
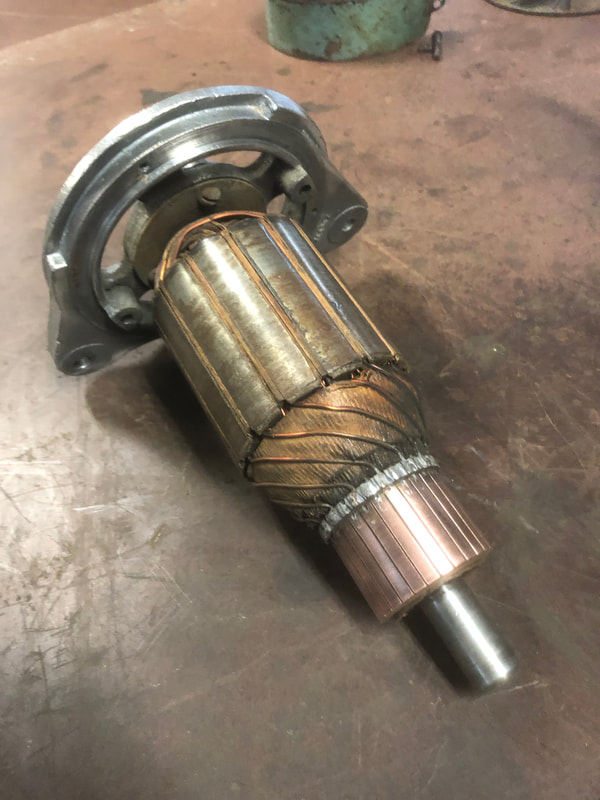
Following the instructions carefully I even replaced a butterfly valve on one of them, they came out very nicely and seem to function as they should - I look forward to the real test run on the car someday. 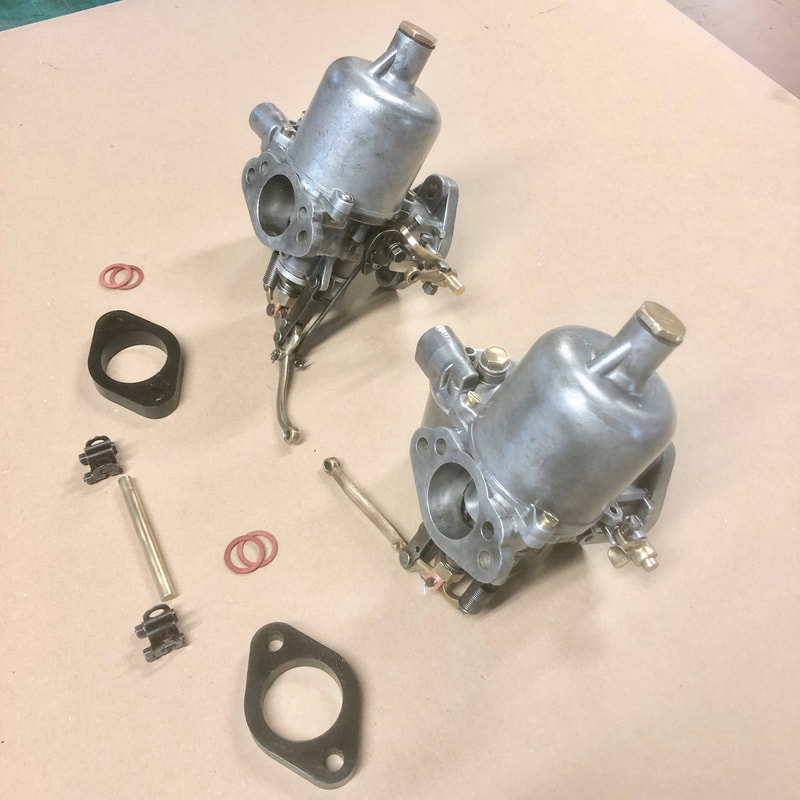 I rebuilt my starter motor and thoroughly cleaned everything inside, the brushes still have tons of meat on them and are making good contact. The armature and field coils look in good condition and I tested the resistance with a multi-meter following the instructions in the shop manual. With no play in the bushings either, I reassembled everything with a dab of fresh grease in the bushings, and primed the outer body with a high heat engine primer to prevent any rust before I paint it with the engine later...
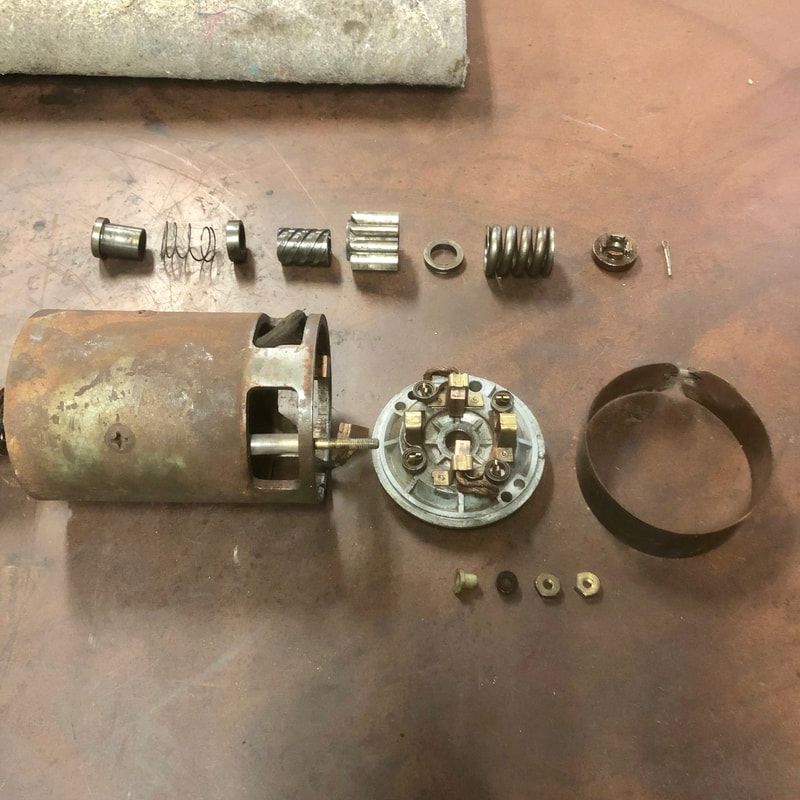
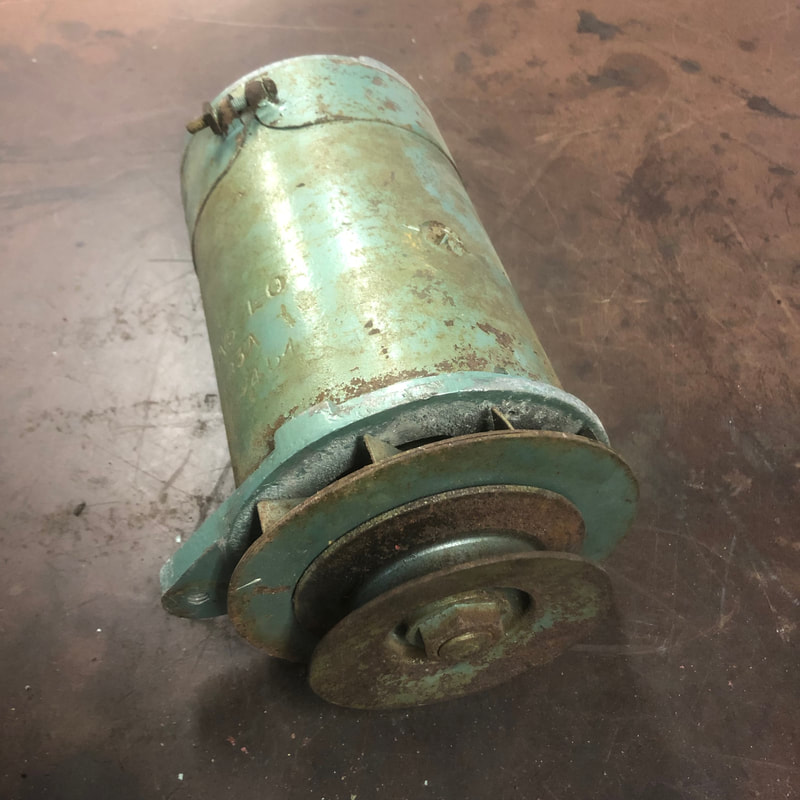
 Next in line, I took apart the generator. I have a replacement commutator end to install with this generator. Unfortunately the pulley cracked when I was separating it from the body with a puller. The armature and field coils inside have had some corrosion build up over the years of sitting. In fact I'm not sure I completely trust the state of the armature, so I'm going to bring it in to a specialist for a second opinion. Provided it checks out, I'll be replacing the brushes, pulley, and the drive bearing to complete this rebuild...
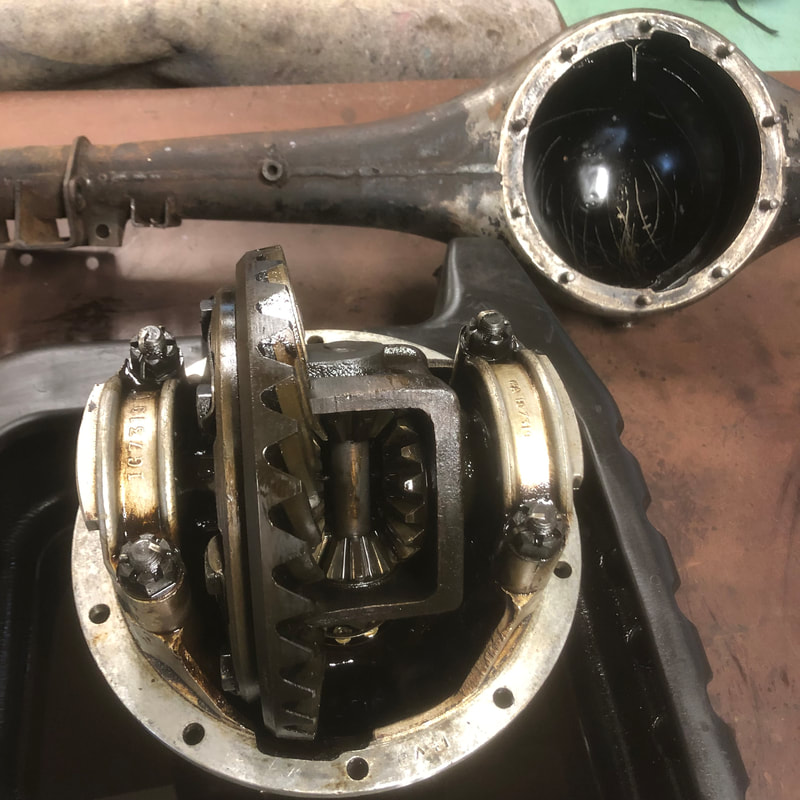
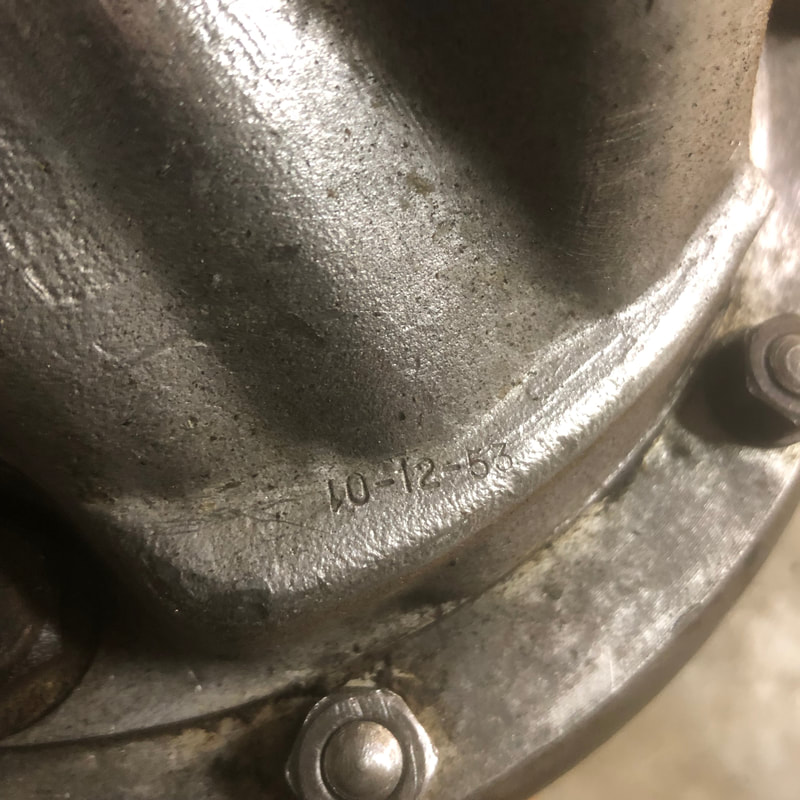
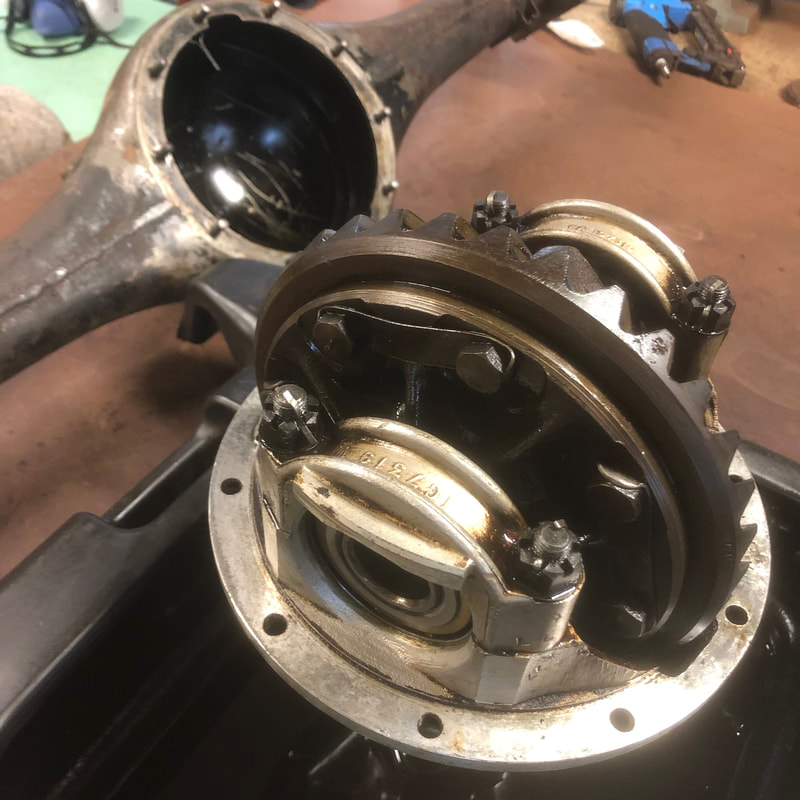
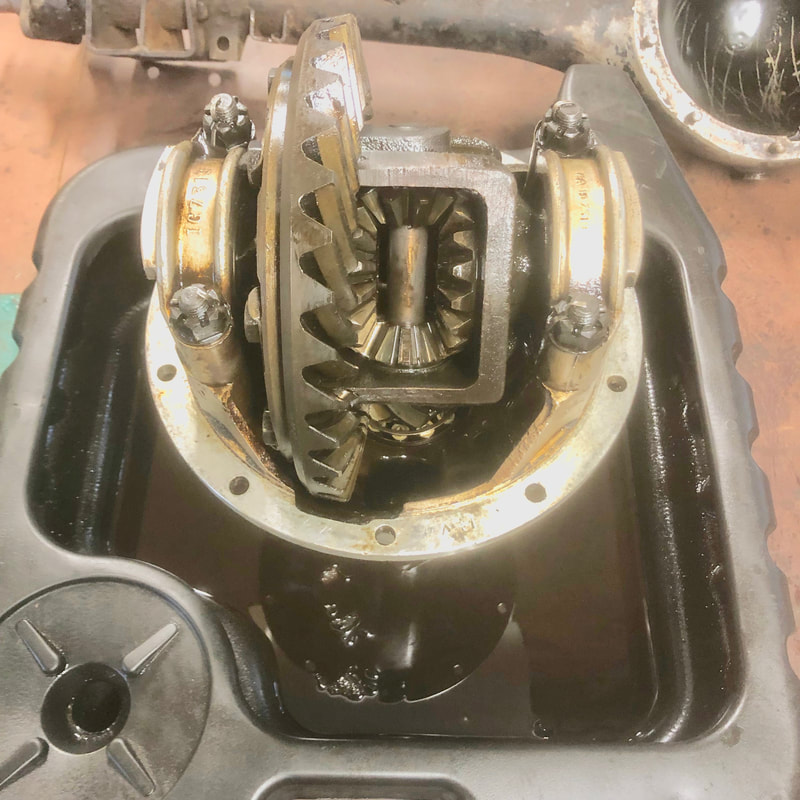
I disassembled and thoroughly cleaned my spiral bevel rear axle. I'll be replacing the pinion seal and gaskets, but everything else checked out ok, the crown gear is straight. The bearings look almost new and are smooth and quiet, there's no play in anything and almost no backlash on the pinion when I turn it back and forth. Once the replacement seals are in I'll reassemble everything and paint the finished unit. 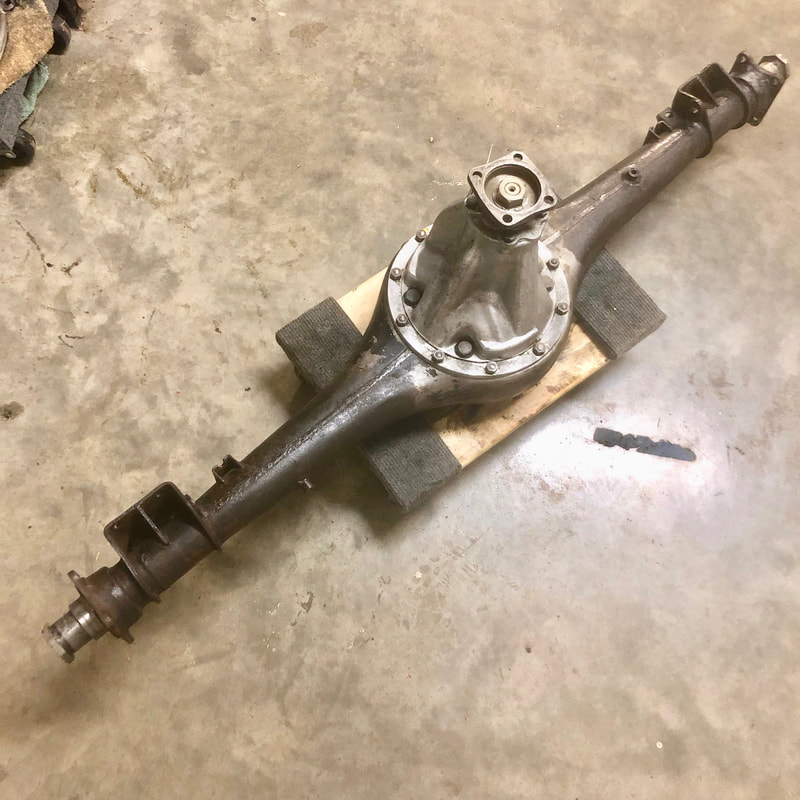
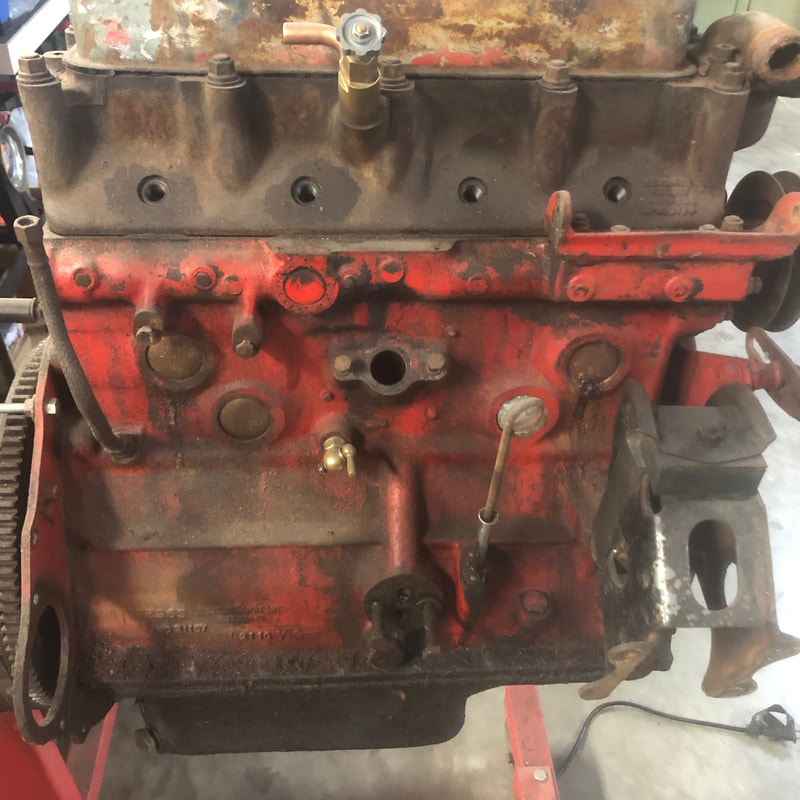
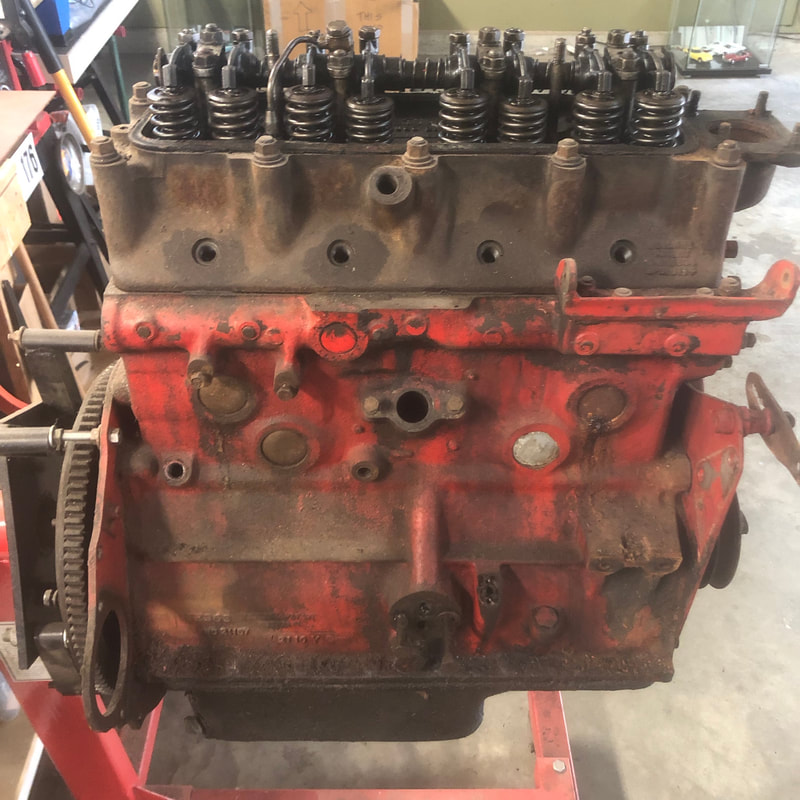
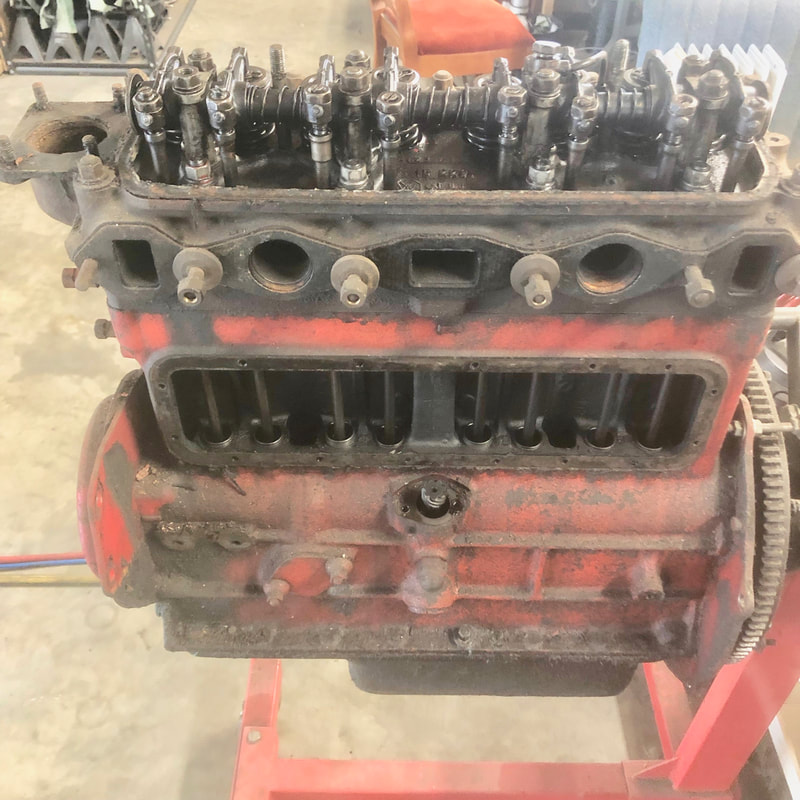
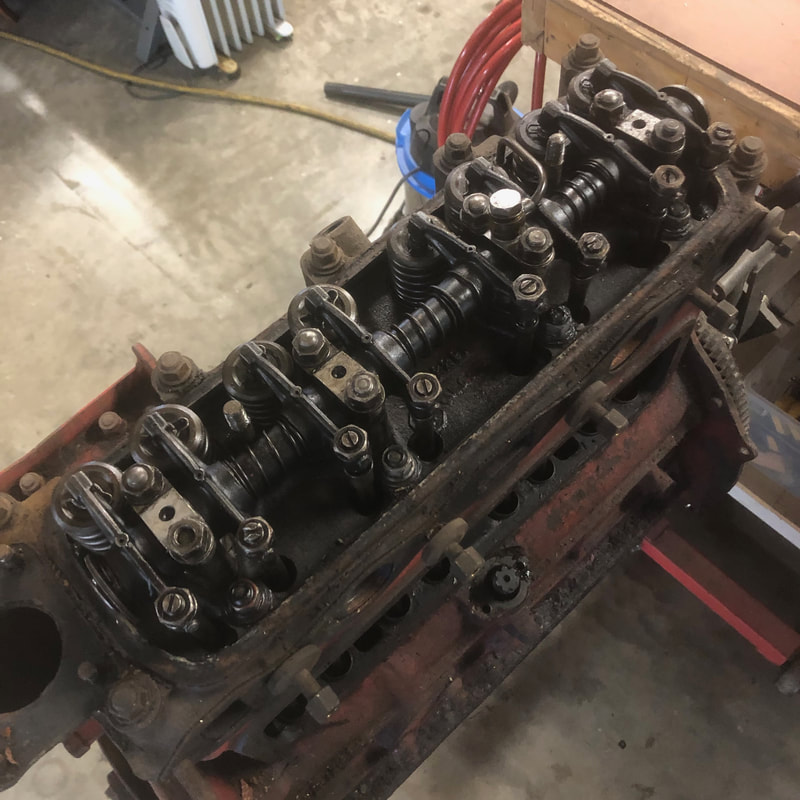
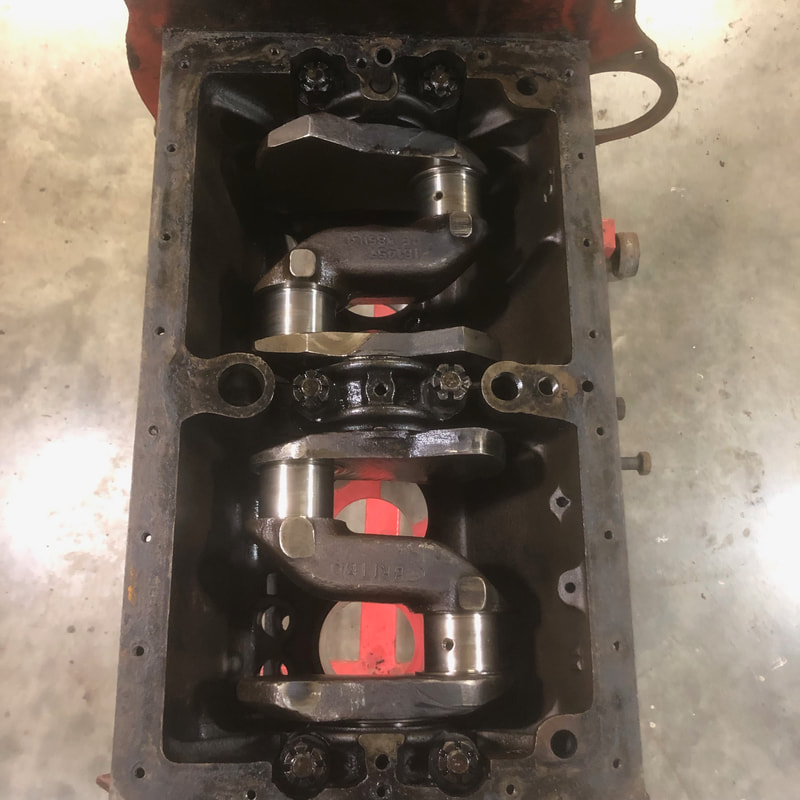
Last week I got right into disassembling my engine too! I found plenty of evidence of at least one previous rebuild and component "upgrades" inside...
The tappets and push rods have been replaced with these lighter bucket style of tappets with longer push rods - all good except one of the push rods (#3) is a different style than the rest! 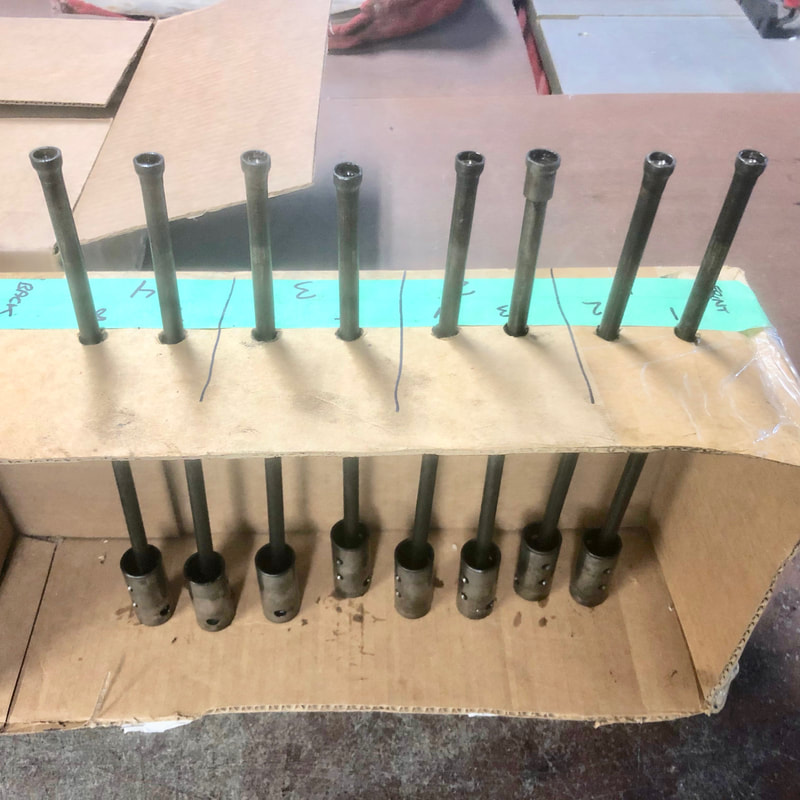 With the head removed I found no visible cracks which is good... 
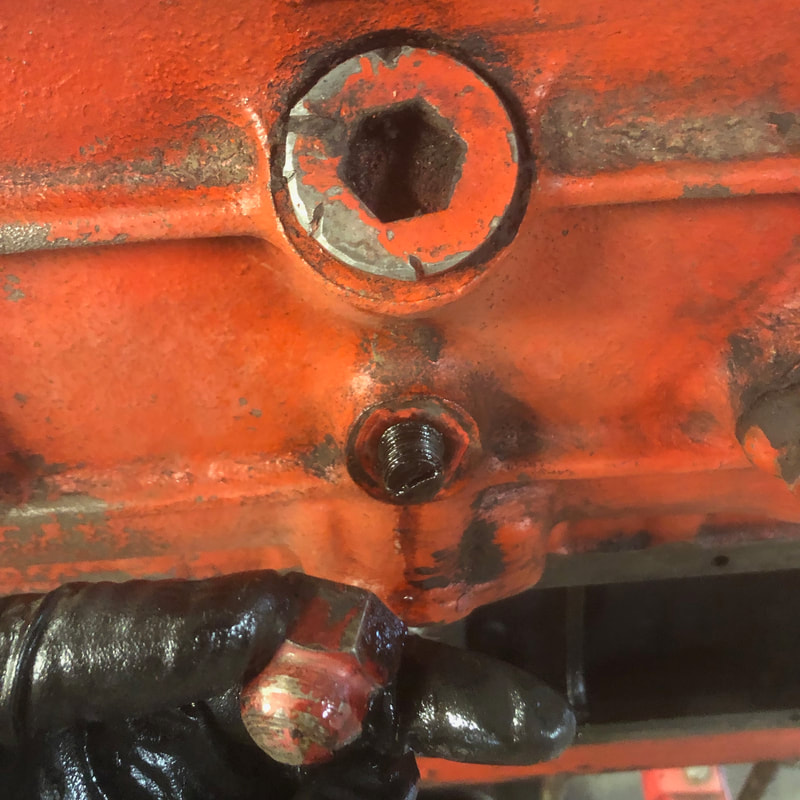
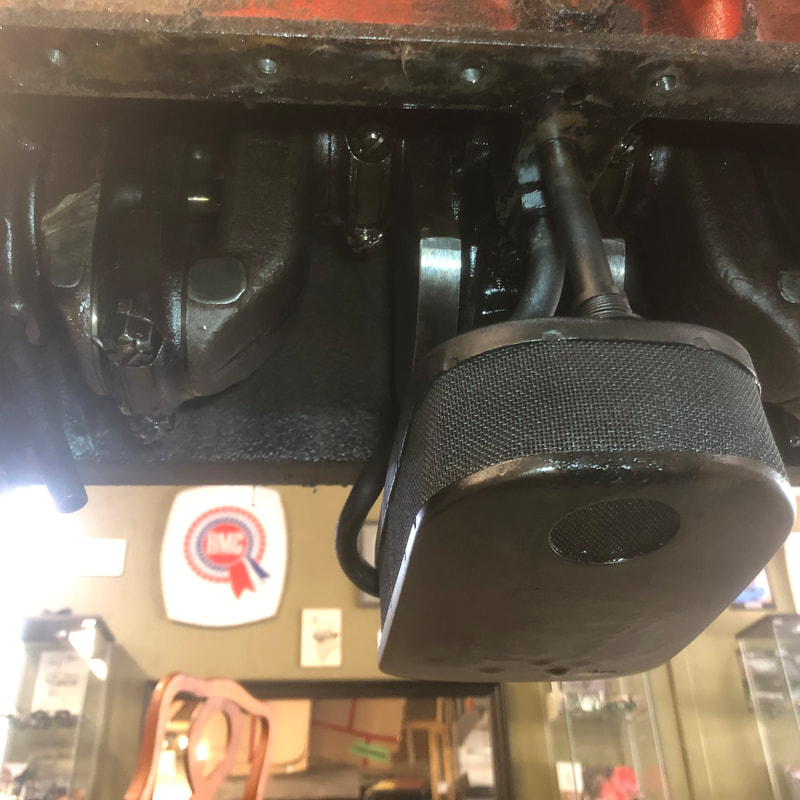
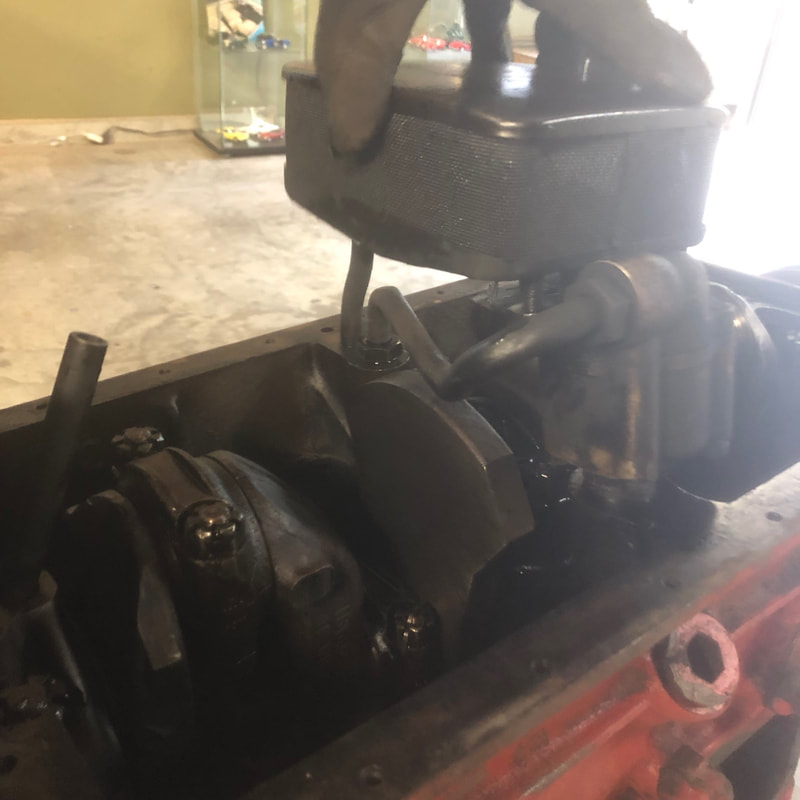
I continued by removing the oil pan which had some big dents to pound out. But luckily inside the oil pump and strainer look almost new!
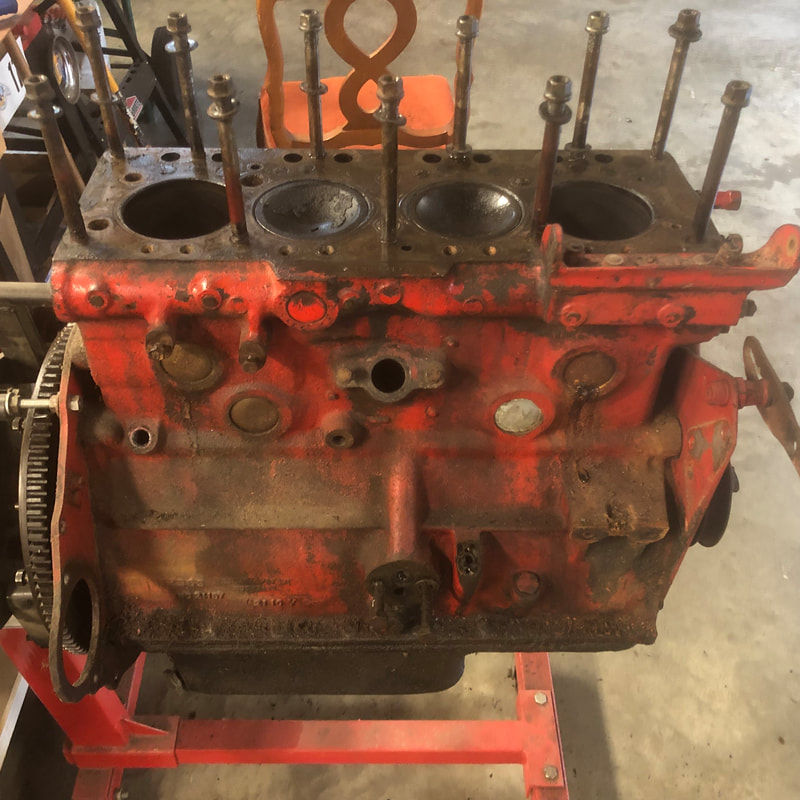
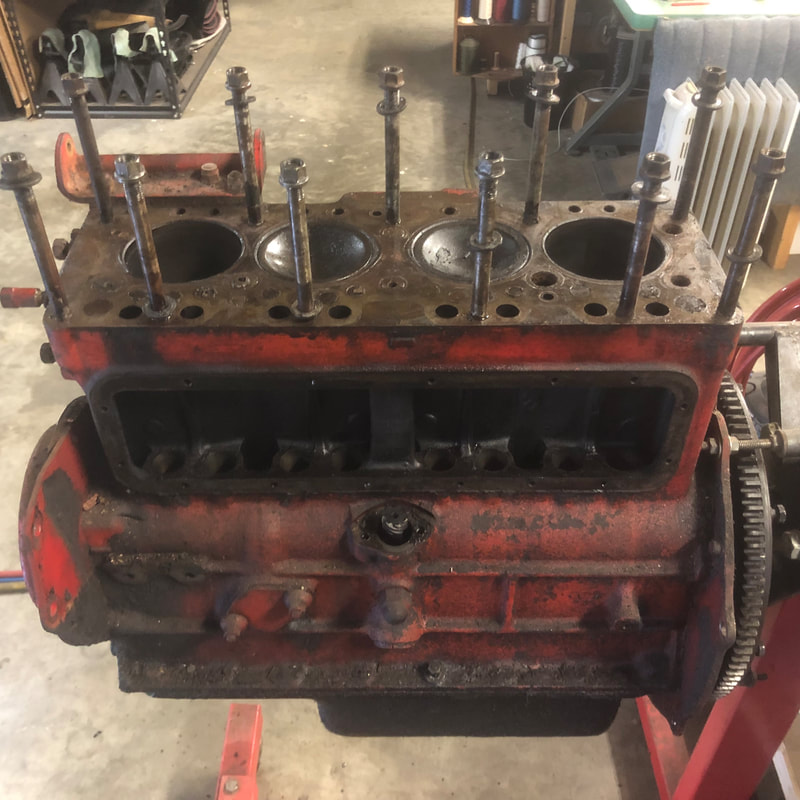
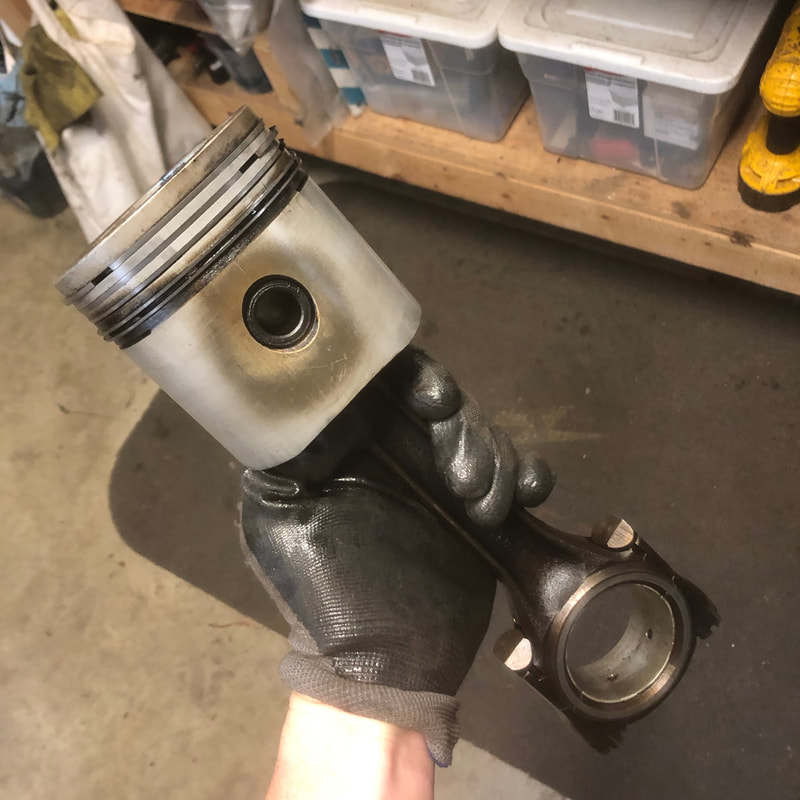
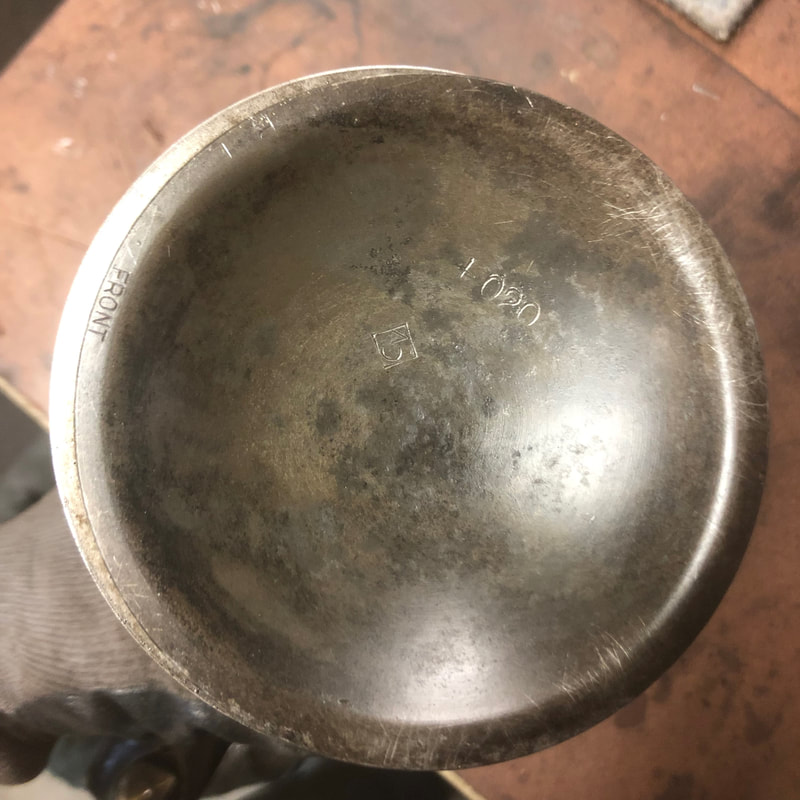
As are the pistons - marked .020" over, and the bearings are all .010" over - still plenty of room to reground the crank and hone the bores..
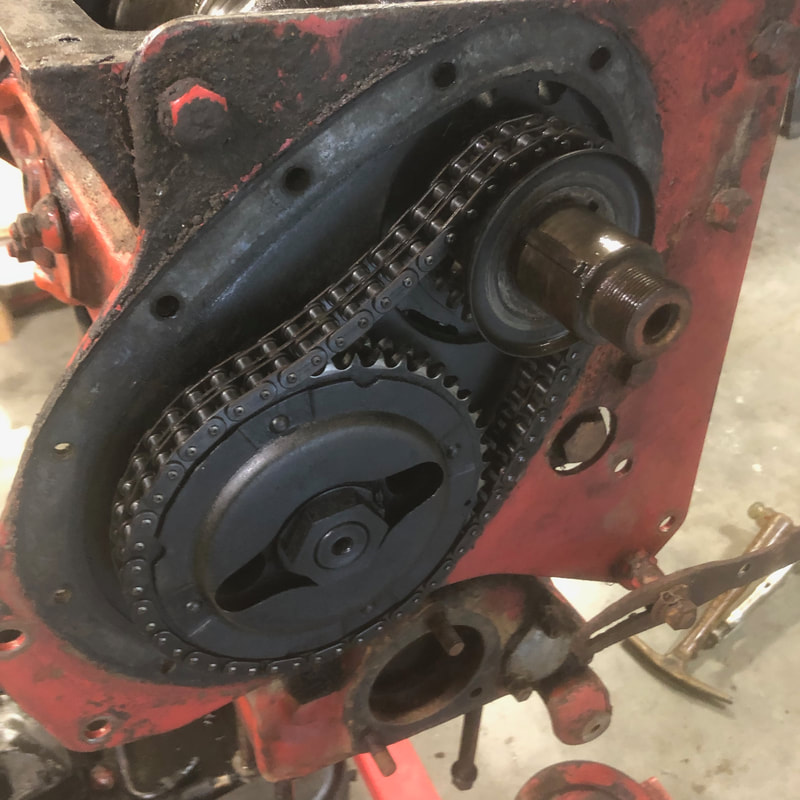
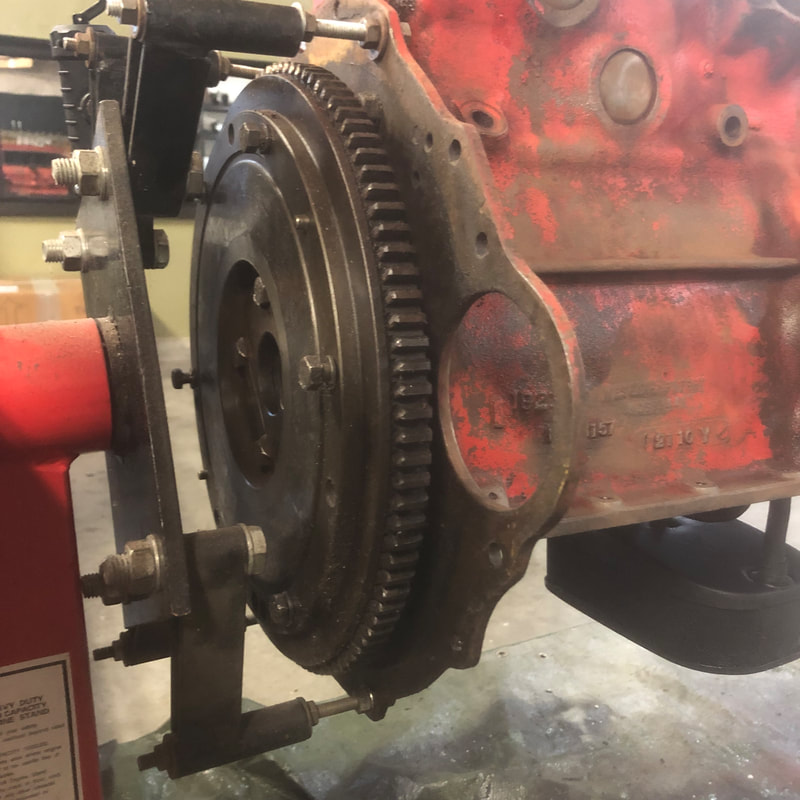
The timing chain will be replaced with a new tensioner. The flywheel has been lightened, which I've been told could be detrimental to the vulnerable 3 speed gearbox. I might try and find an original full size BN1 flywheel if I can -
I've carefully cleaned and organized everything, and primed the external components with a high heat engine primer... 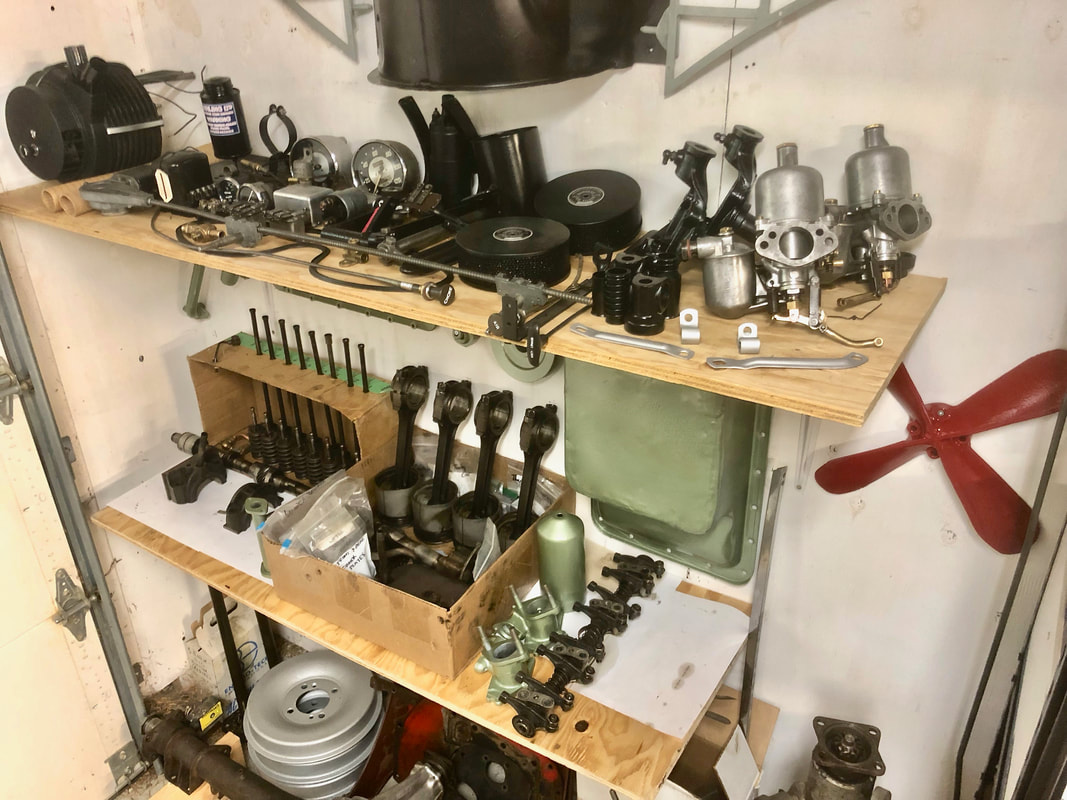 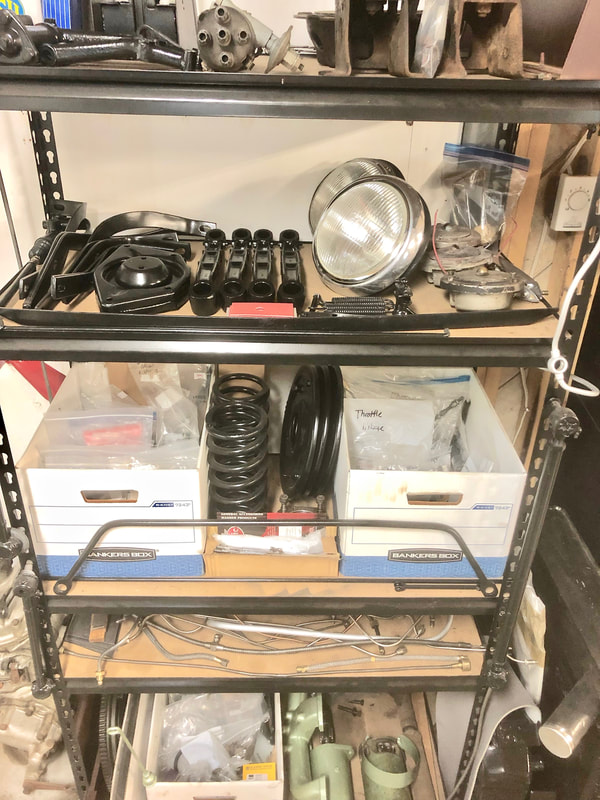 Finally, I've even started to compile the materials I'll be using for my interior! I have found a source for the correct type of vinyl used on the early Healeys, Here you can see the roll of new vinyl I got in compared with my original vinyl spare wheel block... 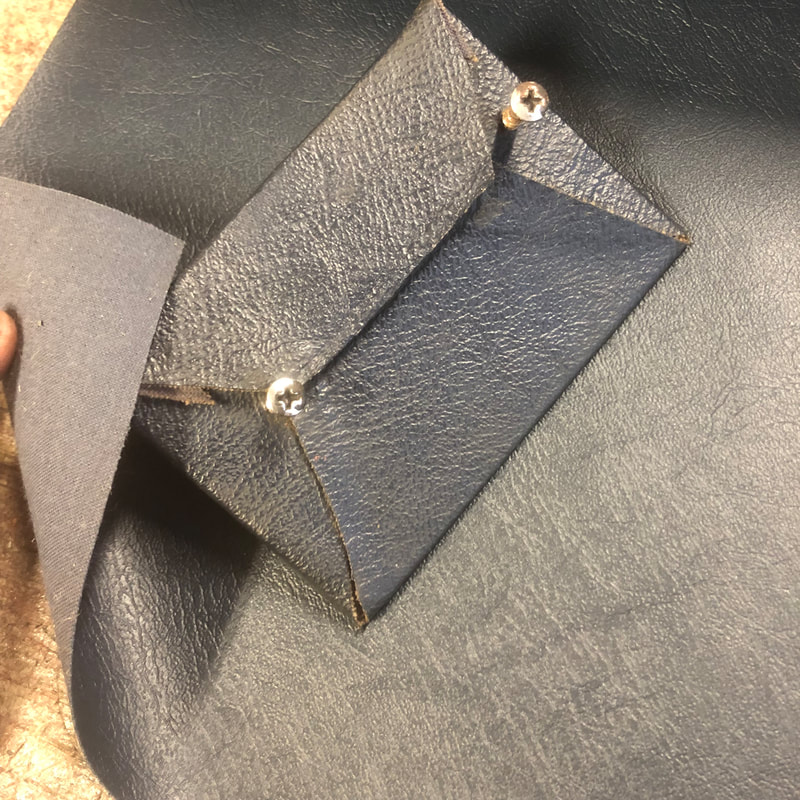 I put together the rest of the materials of leather, vinyl, light grey piping, Armacord for the boot, Karvel carpet, and Everflex for the weather equipment... 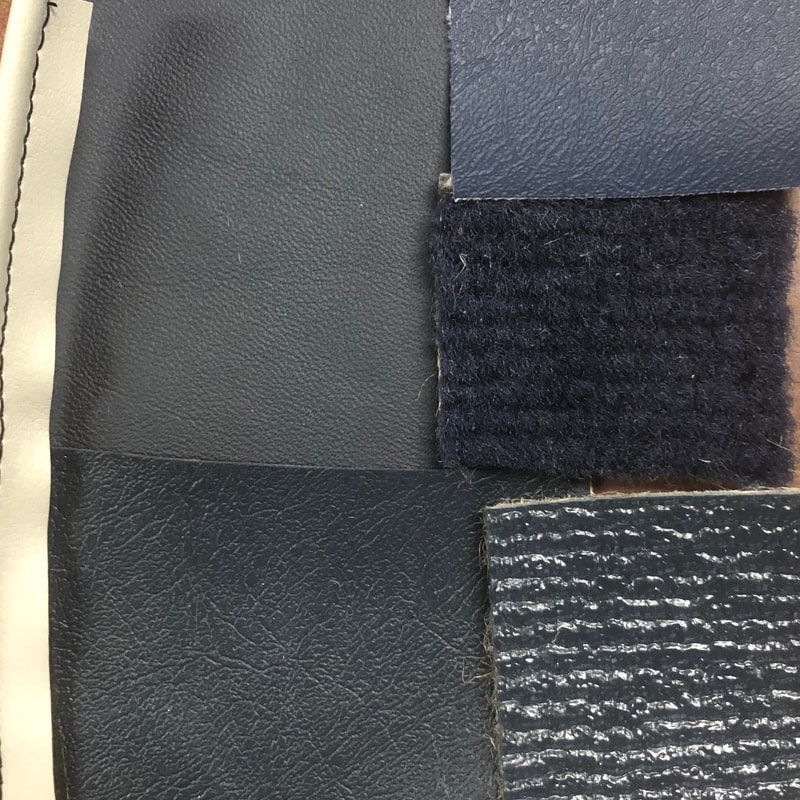 Lots of work ahead!
Until next time -
1 Comment
Geoff, Your comment will be posted after it is approved.
Leave a Reply. |

Archives
December 2023
|

 RSS Feed