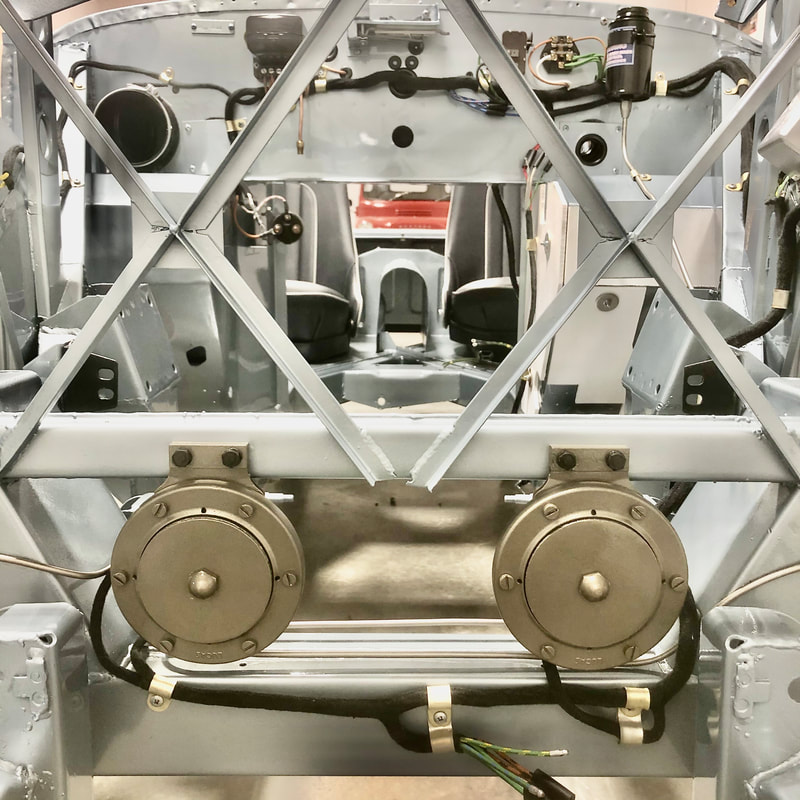
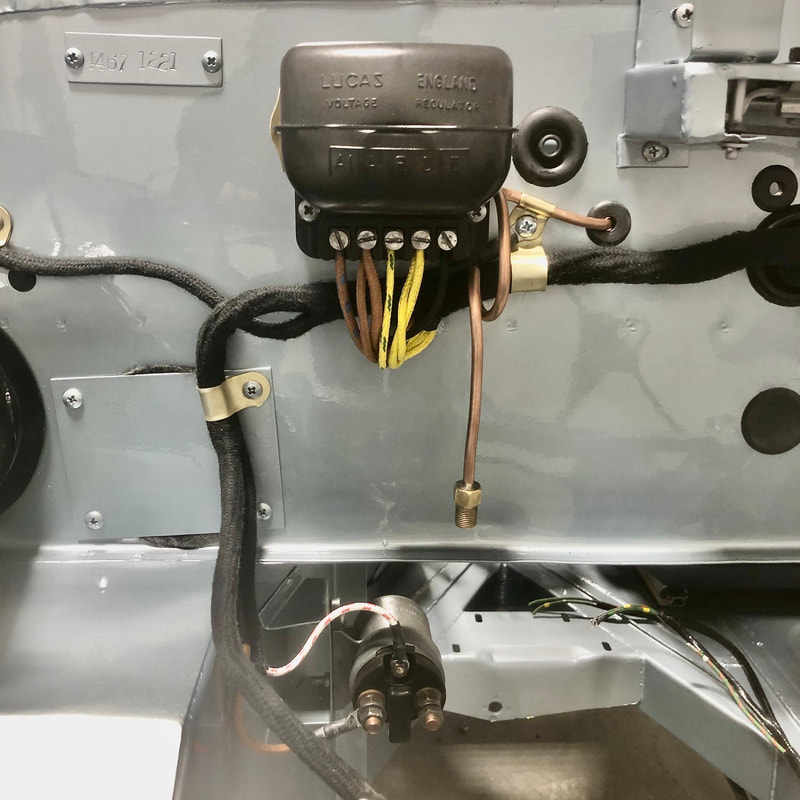
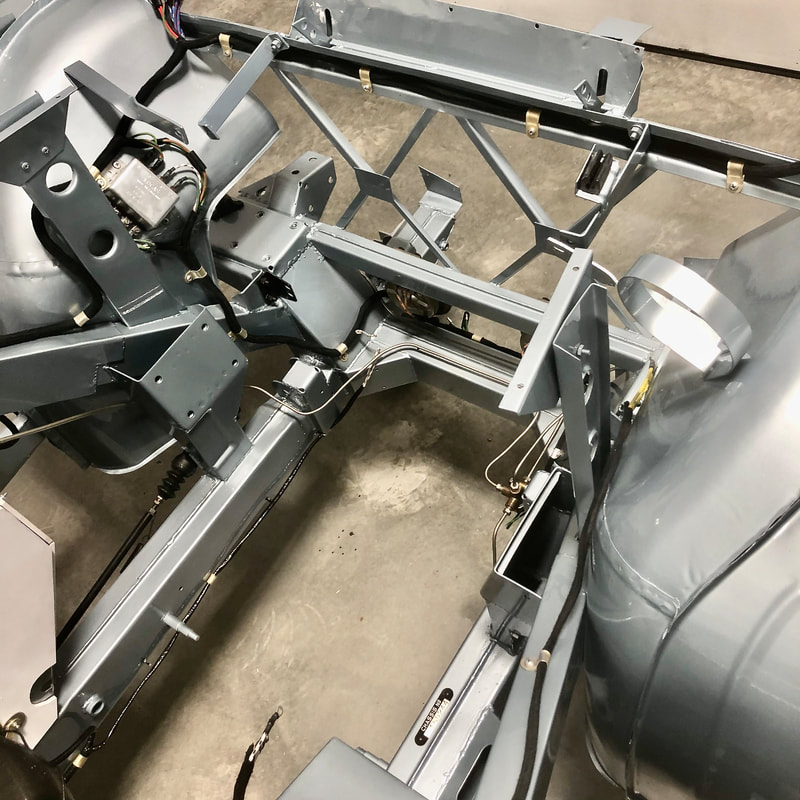
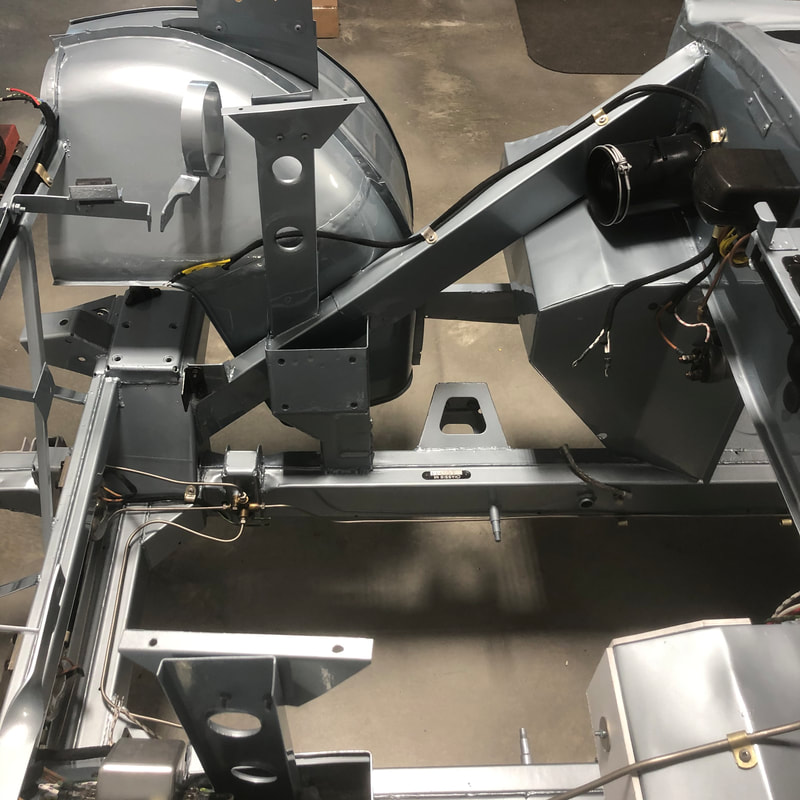
 I decided to make the faux Asbestos insulation panels for the drivers side foot box - The early BN1 style is not currently available, so I cut these out of some dense 1/4" soffit board and then thoroughly coated both sides in a flame retardant BBQ paint that dries in a flat white finish. I will be hiding some 3M insulation under the carpets on the insides of the foot boxes to provide the actual insulation...  I secured them with the correct zinc plated hardware including the proper 1/8" thick washers... Note also the yellow zinc wiring harness clips, with white zinc screw hardware - as original: 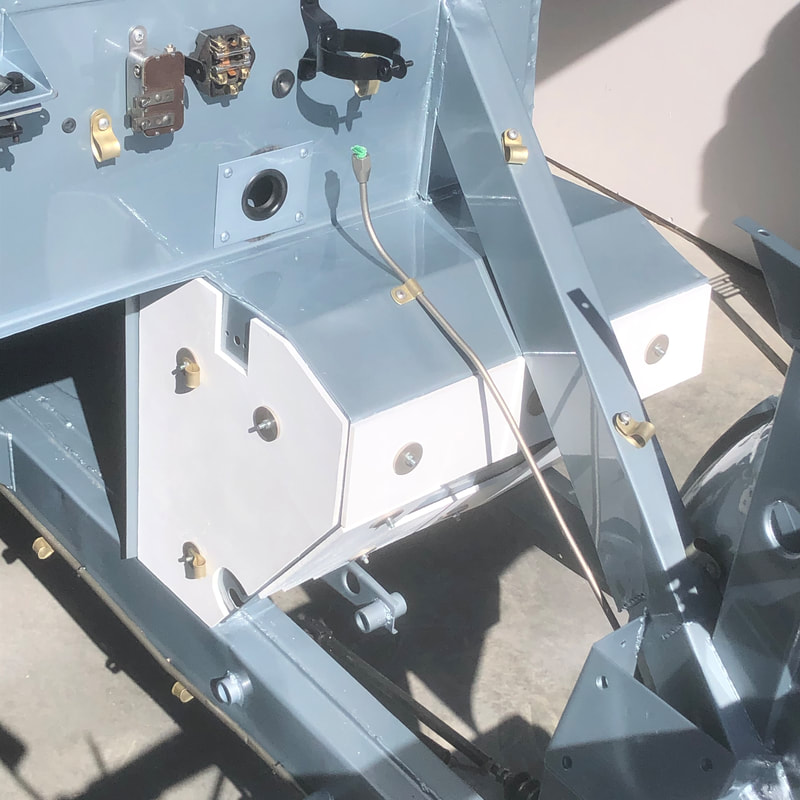 For the wiring harness, I purchased a new cloth on cloth woven harness from British Wiring, including a new cloth overdrive harness and a pair of cloth woven headlight pigtails - as original. I masked off all the wire tips and connectors and sealed the cloth harness with a clear rubberized spray coating to help protect it from the elements.  I also wrapped the under chassis and overdrive harness' with black plastic tape as original. Then I labelled the wires as to where they go, to make installation easy...  I purchased a Cunifer (copper-nickel) brake pipe set by Automec. The pipes come pre-cut and flared with new correct style fittings already on them. After bending them all to shape, I painted the lines to look like they're zinc plated - making sure to mask off the end fittings. I'll be purchasing some actual 5/16" steel line to hand make the new fuel lines out of, using my original brass end fittings... 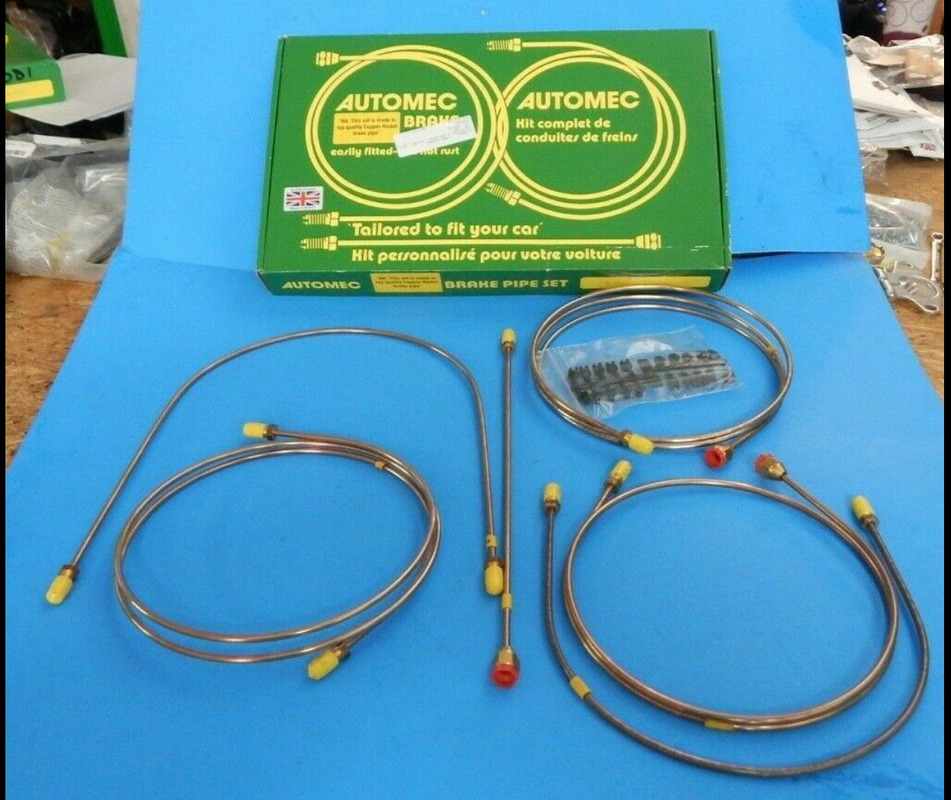 Here's some pics of the installed wiring and piping in the engine bay: 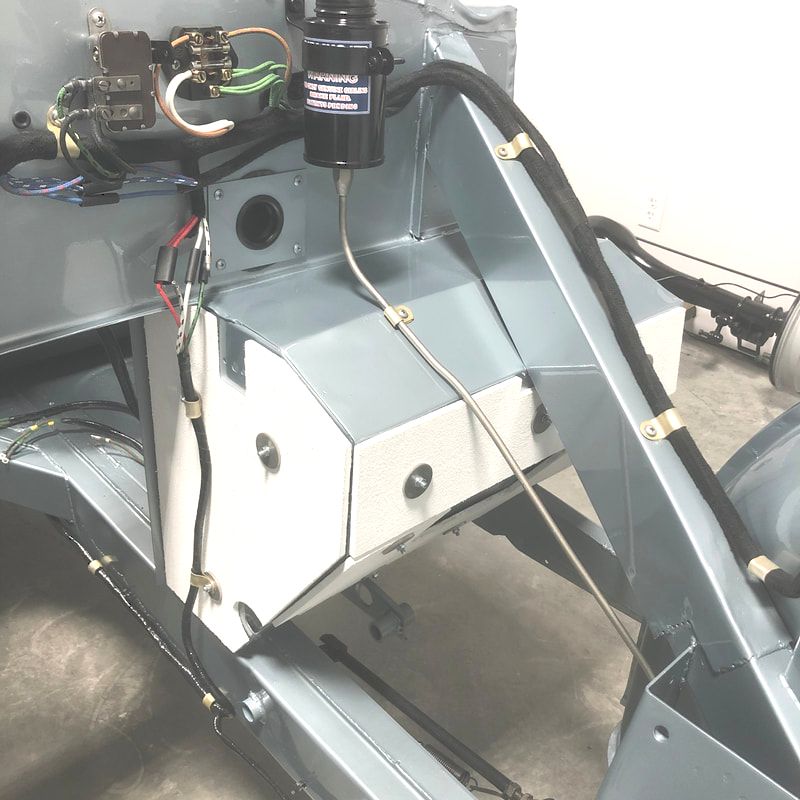
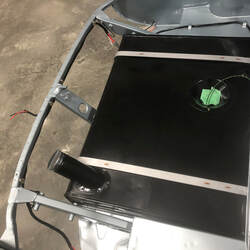
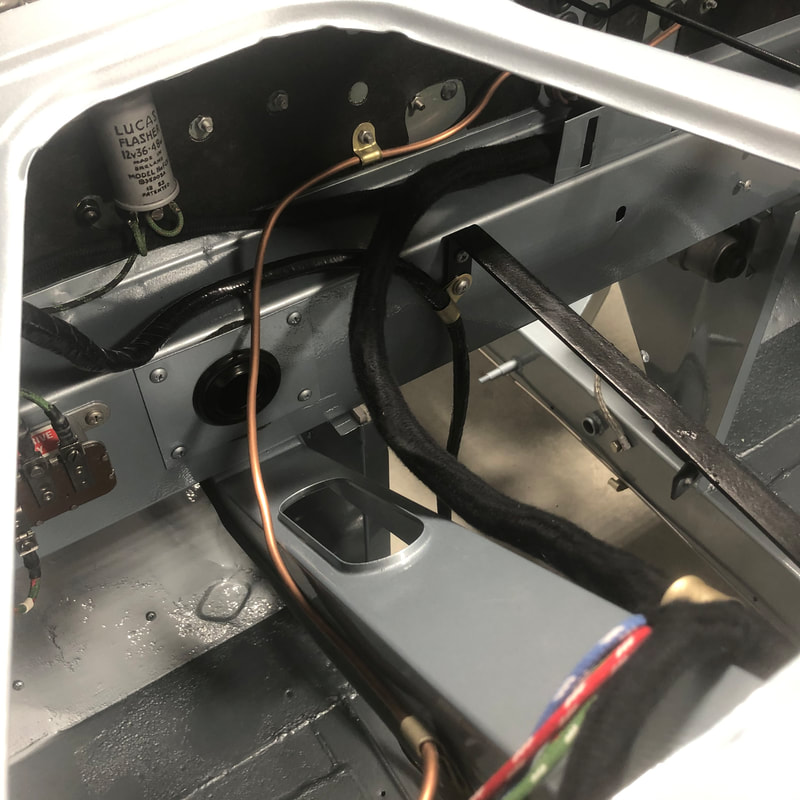
The inner firewall: 
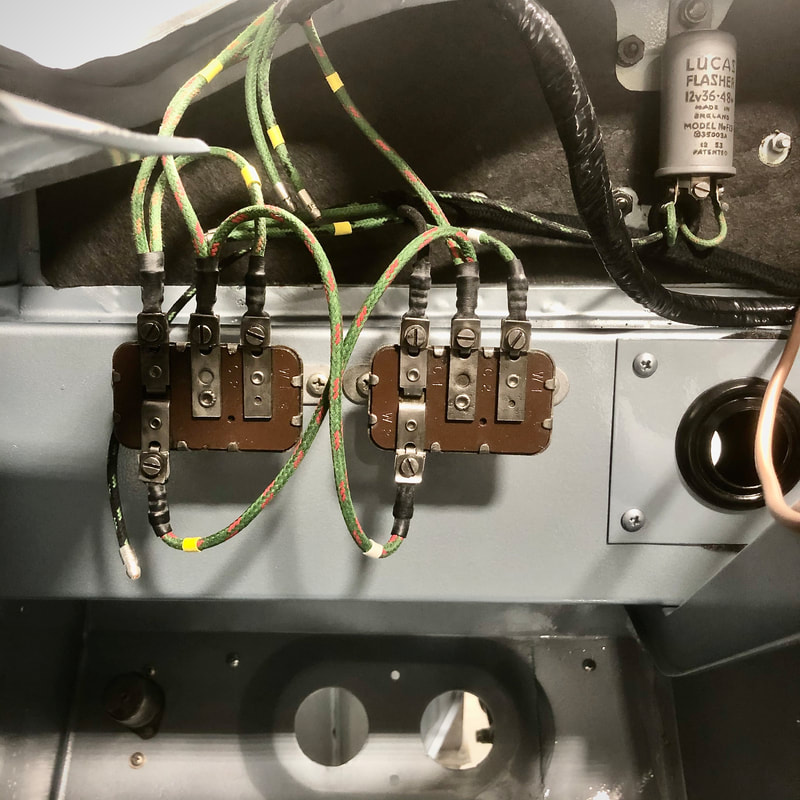
 The boot wiring... Of course I always like to do some before/after shots: 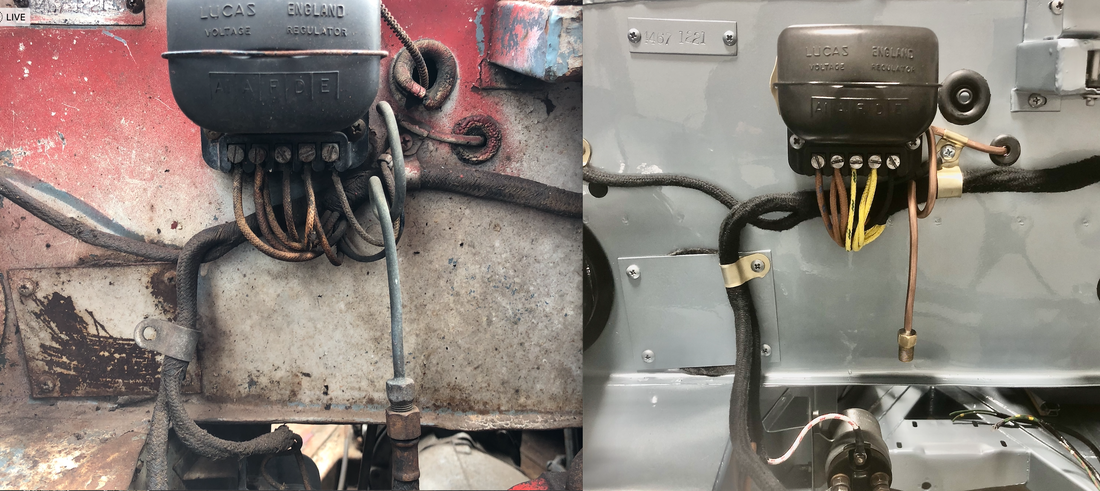  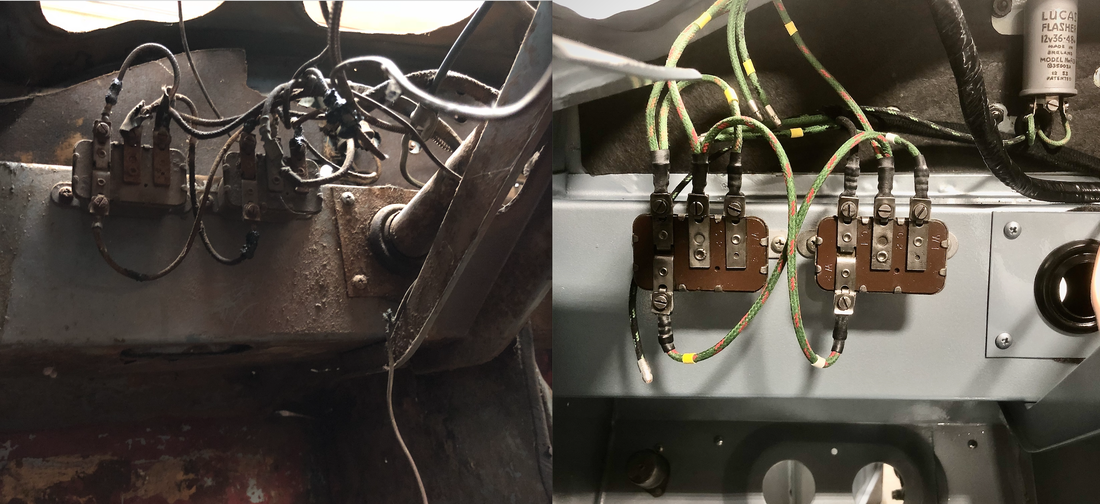 There's much more to come,
Until next time -
3 Comments
Harry Watson
5/24/2021 07:37:56 pm
Geoff your blog and new video is amazing. Your pictures are so professional. I just wish you had started before me. I could have used more help. Keep up the good work, blog and videos.
Jim Lesher
5/25/2021 09:32:19 am
You are amazing!!!! Keep up the good work!!! and I know you will. i will have to follow your details as I work on my 55 BN1 9/19/2022 09:34:28 pm
Such an impressive article, keep up the good work. Thank you so much for sharing. Your comment will be posted after it is approved.
Leave a Reply. |

Archives
December 2023
|

 RSS Feed