|
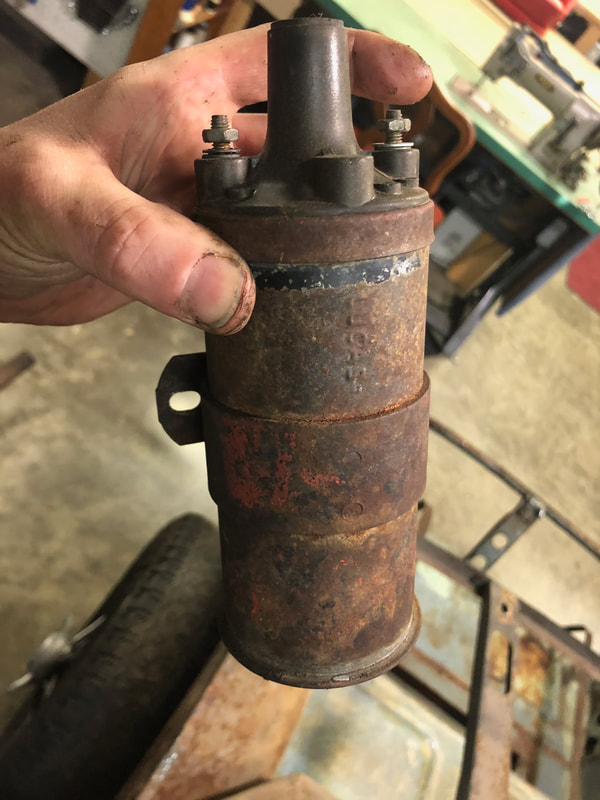
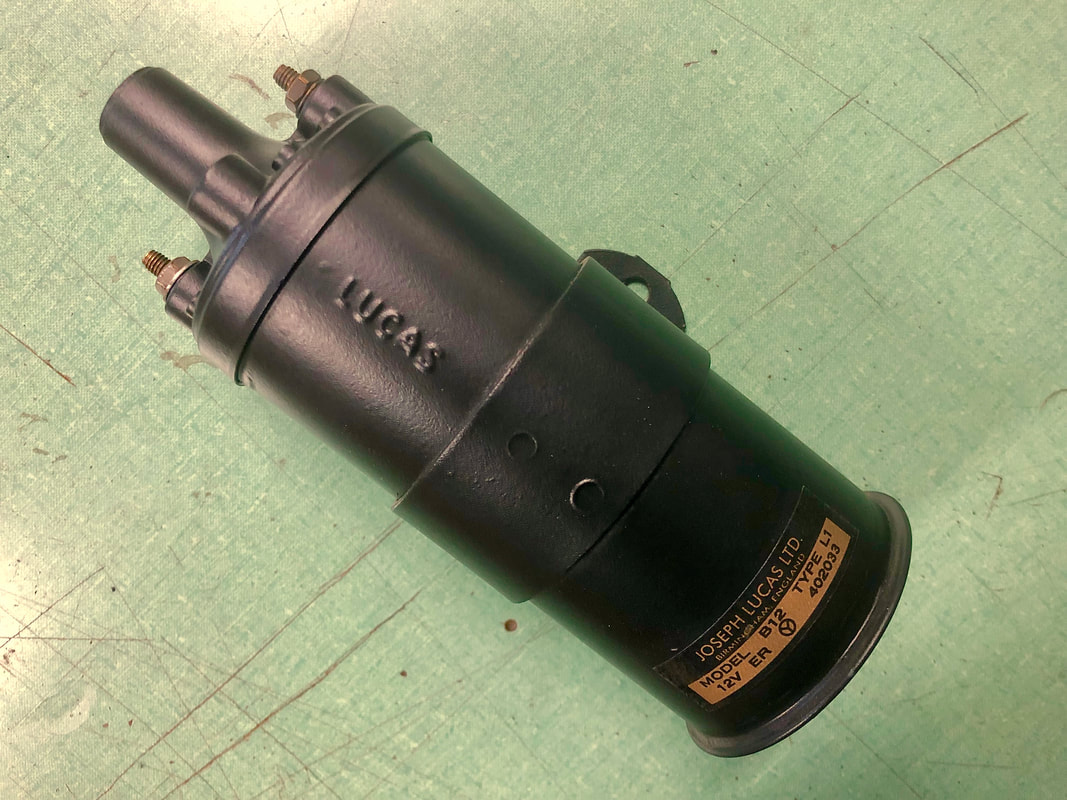
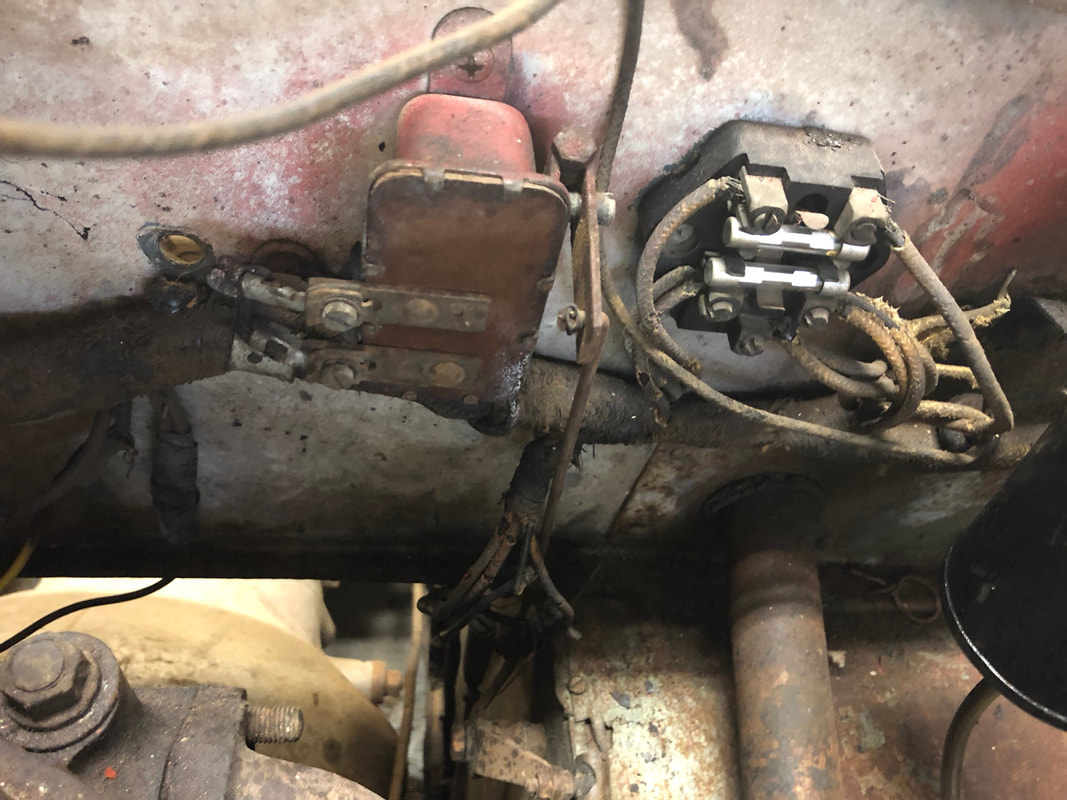
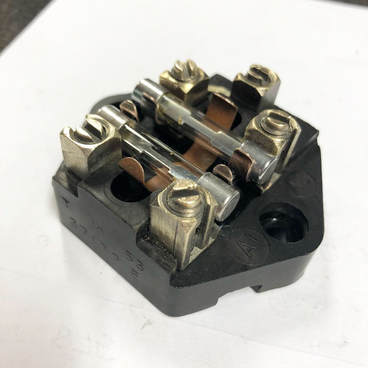
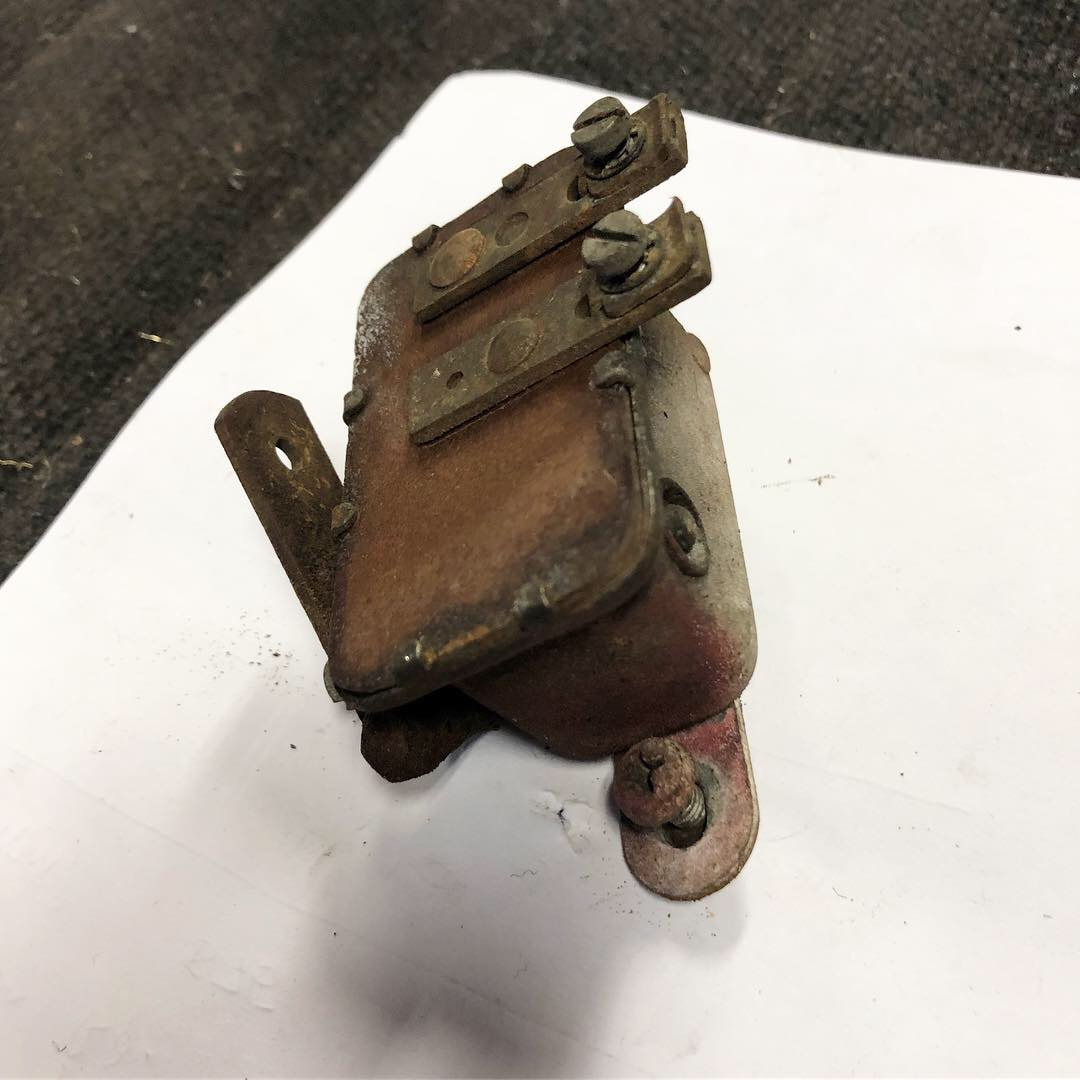
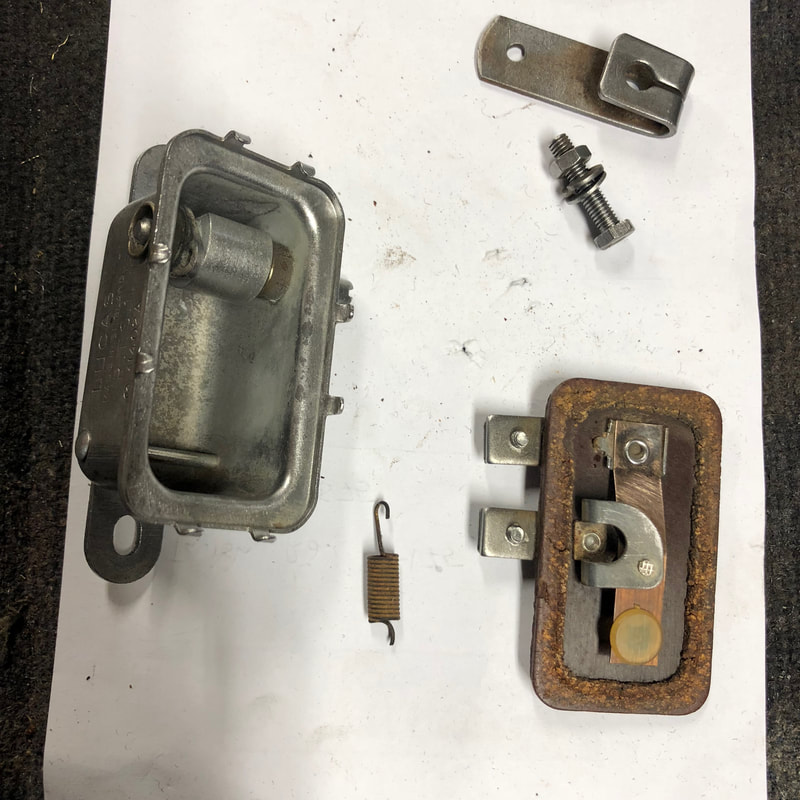
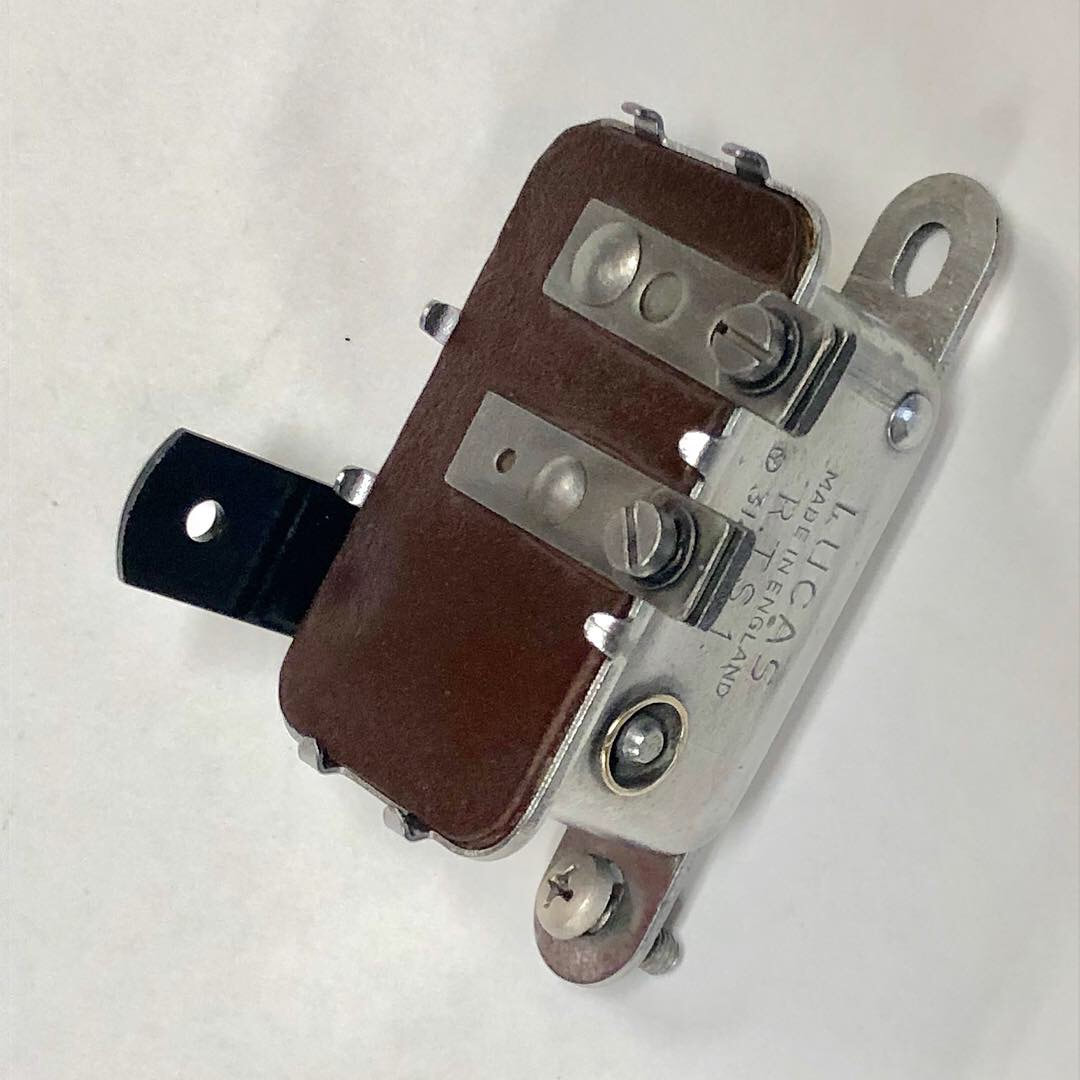
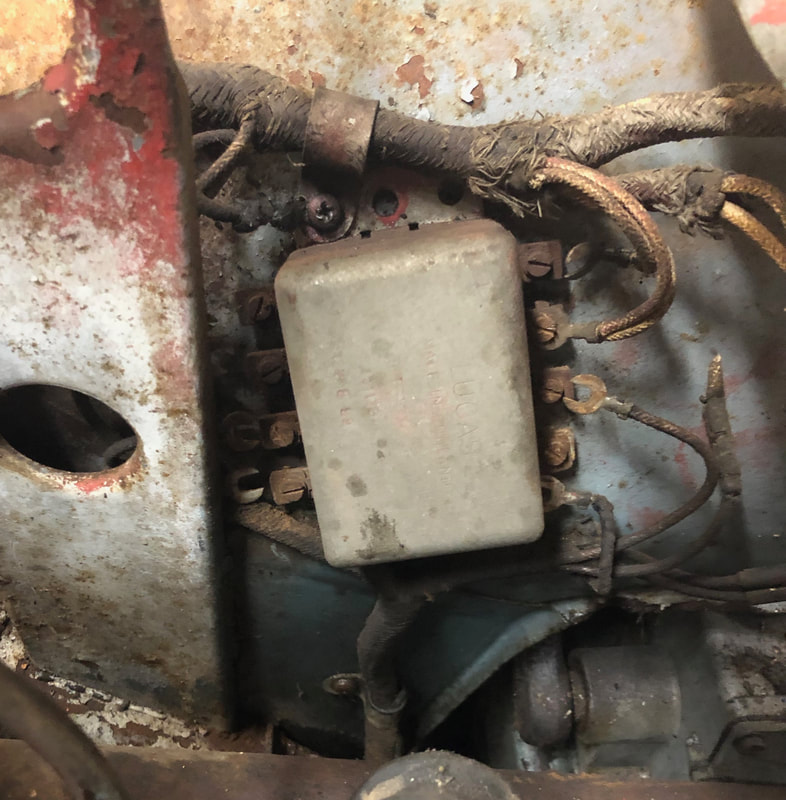
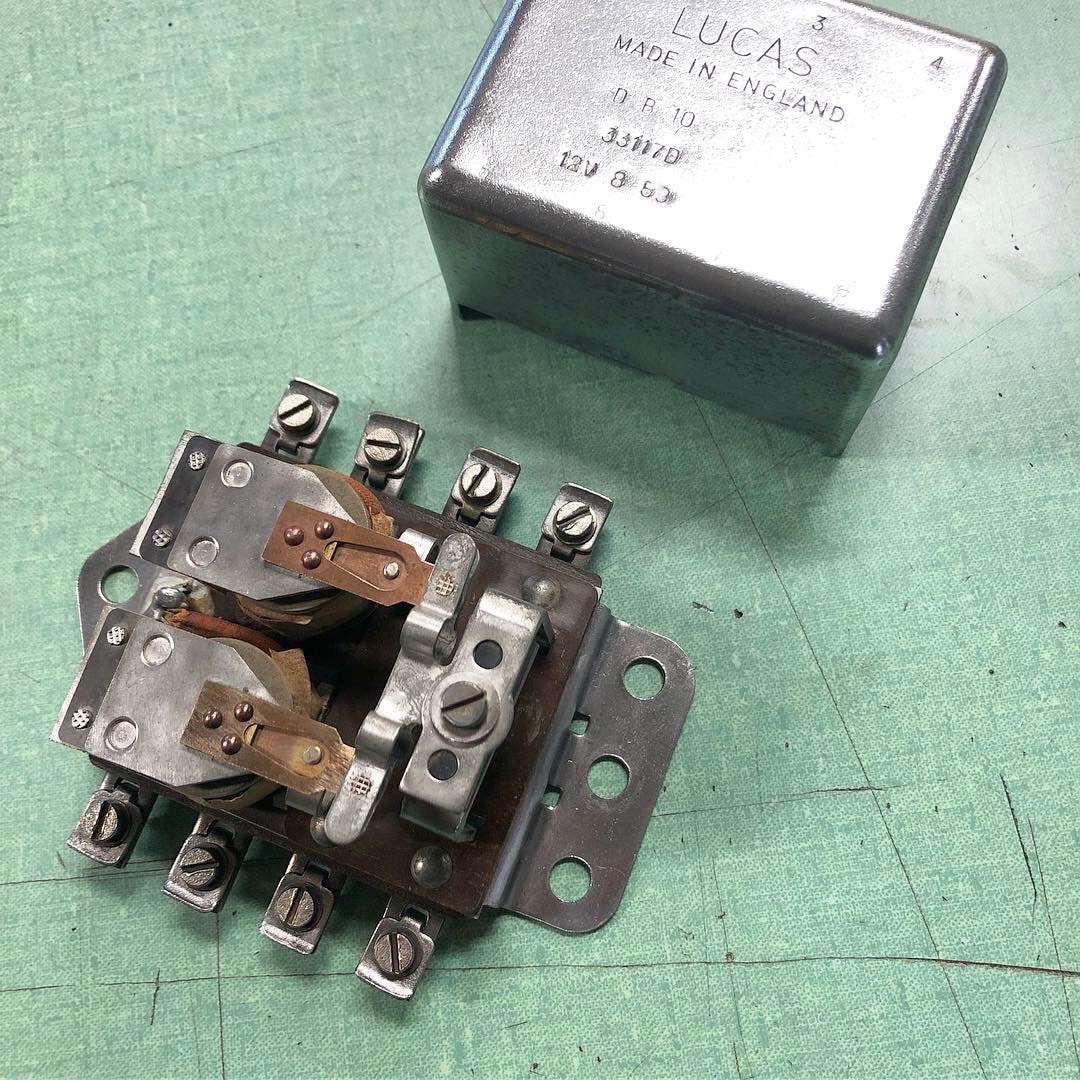
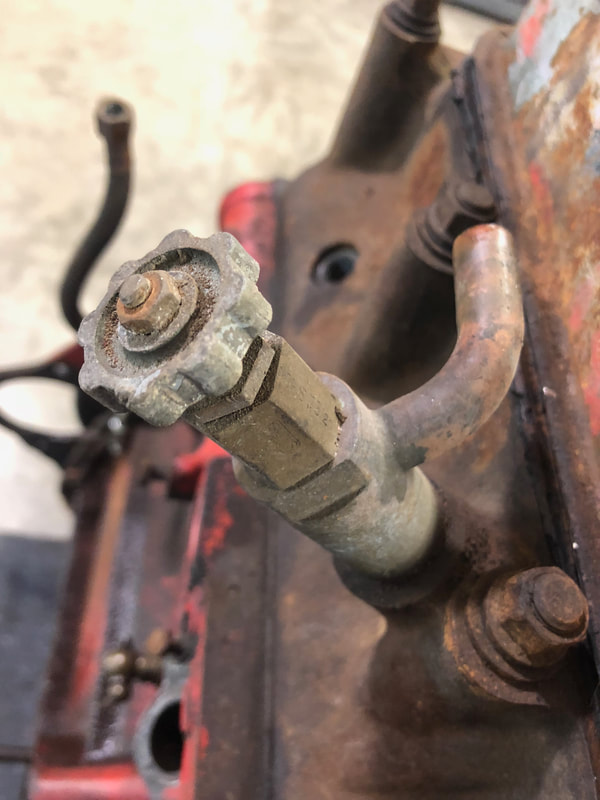
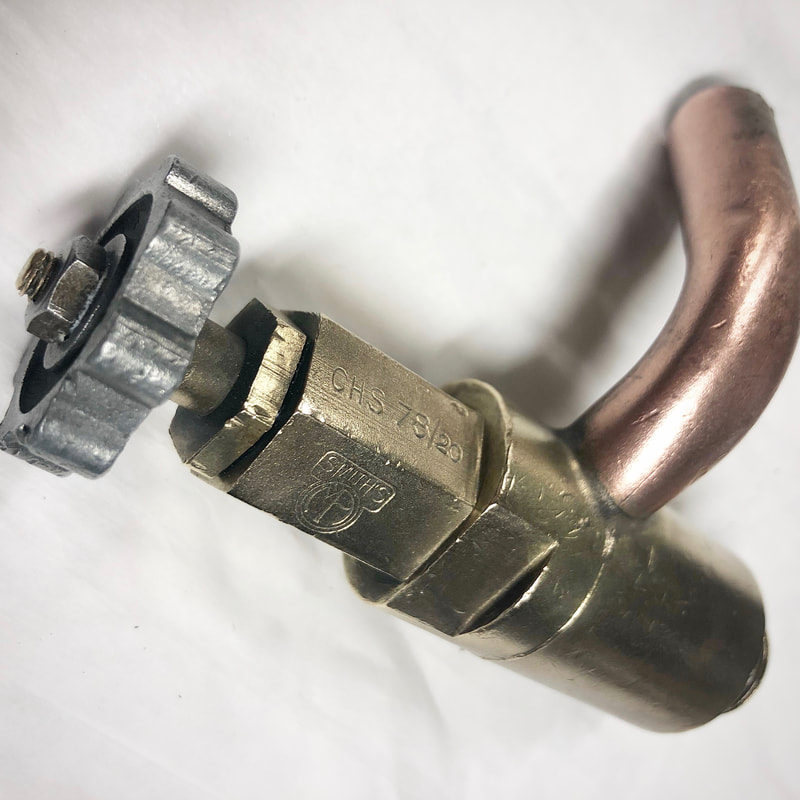
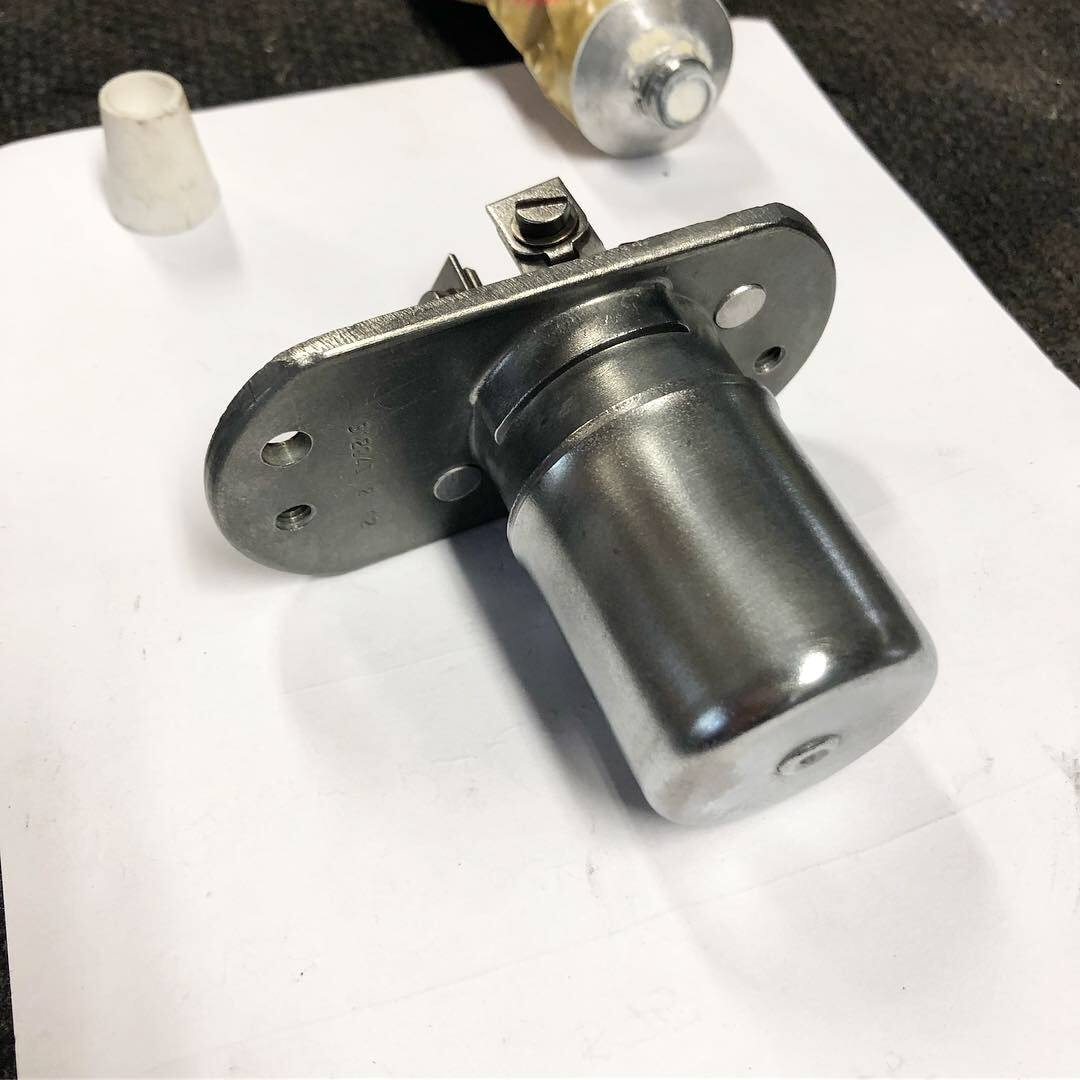
Well now that the car is down to the bare chassis, I have several shelves and bags full of all the delicious parts to keep me very busy for quite a while. On Saturday I went in and randomly selected a few pieces and set to work cleaning and refurbishing them. I started with the original Lucas ignition coil. I first had it tested by Brian Roberts Electric here in Victoria. With lots of life still left in it, I cleaned the body using the bench grinder with a soft brass wire wheel. I used some simple green and a tooth brush to clean the Bakelite top, and polished it with some black shoe polish. I used some small brass wire wheel bits in my Dremel tool to clean and polish all the contacts. I finished it off by masking the Bakelite top and spraying the body with a coat of some satin black paint, and finished it with a the proper early gold Lucas decal. Next I tackled some of the firewall components like the fuse block and the throttle pedal/overdrive relay... Again I cleaned the plastic with Simple Green and some elbow grease. I cleaned all the metal components and contacts with my little Dremel tool. I used a bit of metal polish on the aluminum relay box, and repainted the black linkage arm. Unfortunately I found a tiny broken return spring inside the relay box which I'll have to either find/or make a replacement for. Next I tackled the flasher relay box - I cleaned and polished the aluminum body, cleaned all the contacts and screws individually and used some q tips and a toothbrush to clean around the rest... Here's a before and after of the Smiths heater tap - it will eventually be painted light metallic green with the rest of the engine... Last but not least, I also cleaned and polished the headlight dimmer switch... Not bad for 5hrs on a Saturday! - I love taking my time and enjoying the restoration of each part like this, it allows me to learn about each piece intimately and it's hugely satisfying!
I'm also able to take notes on fastener hardware as I go so I know what I have and what might be missing for future reassembly to the car. When I send all the fastener hardware out for plating later, these will be valuable notes to have when I have to sort everything out again! Until next time -
0 Comments
Your comment will be posted after it is approved.
Leave a Reply. |
Archives
December 2023
|

 RSS Feed