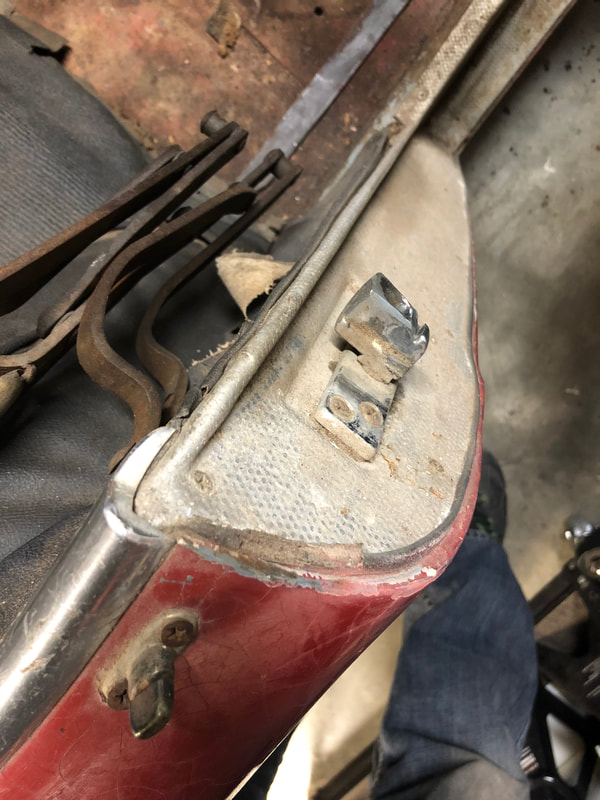
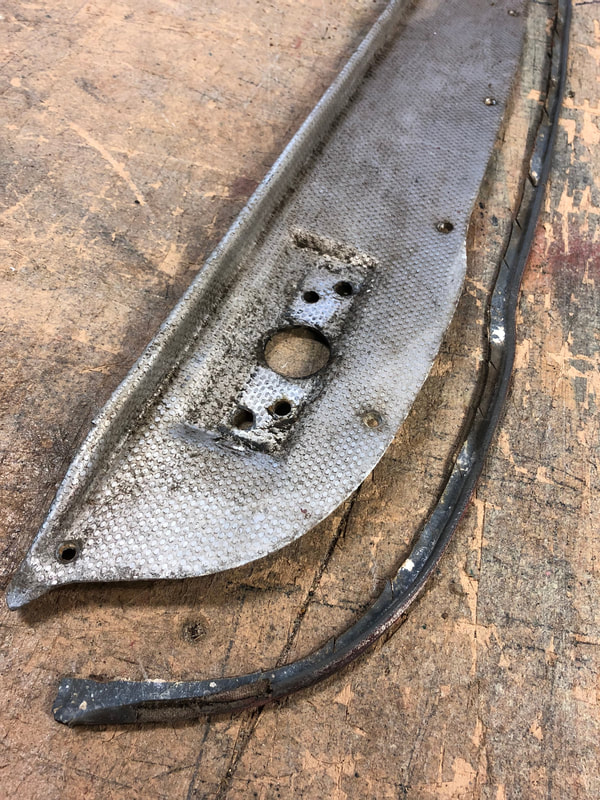
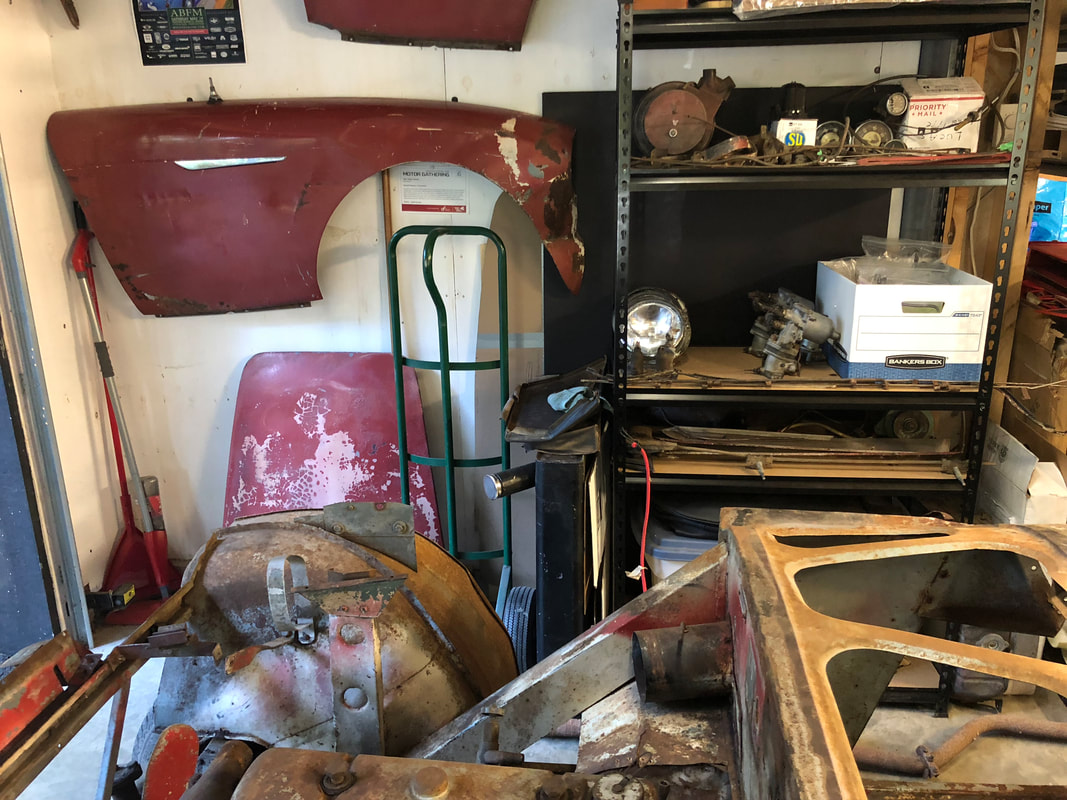
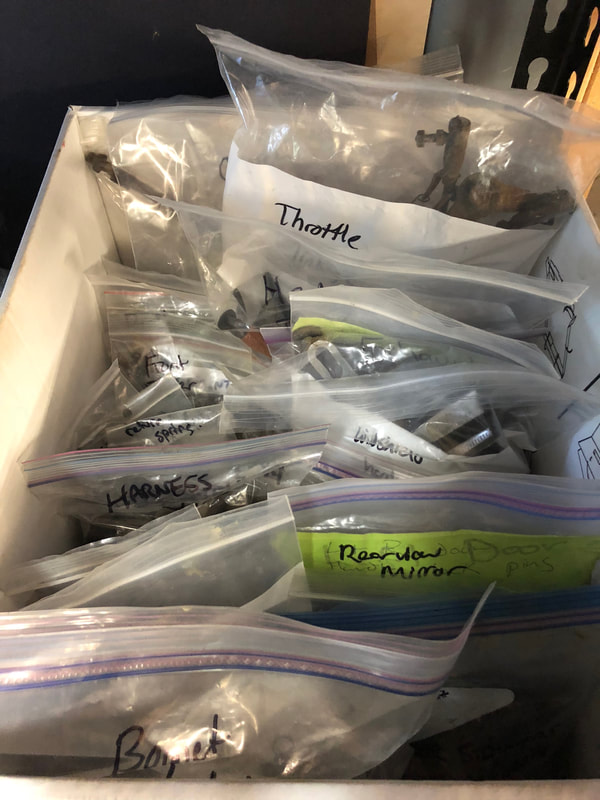
 It's been a productive couple of weeks on my Healey #1221. I've been carefully documenting with 100's of photos as I take her apart piece by piece. With each piece I remove, I bag and tag the part and it's fastener hardware and take detailed photos of the piece and how it fit with the rest of the car. These are just a few of the hundreds of pics I've been taking... With the interior trim already removed, I focused on removing the outer body panels next. Here are the original aluminum door casing panels with the early narrow style of door latch and thin piping to finish the outer edge of the B pillar panel. This small bead of thin piping was usually colour coded to match with the exterior body colour of the car - in this case it was originally a light blue/grey. These original door casings have tiny ovals in the aluminum pattern, unlike the repro's that have tiny circles instead.
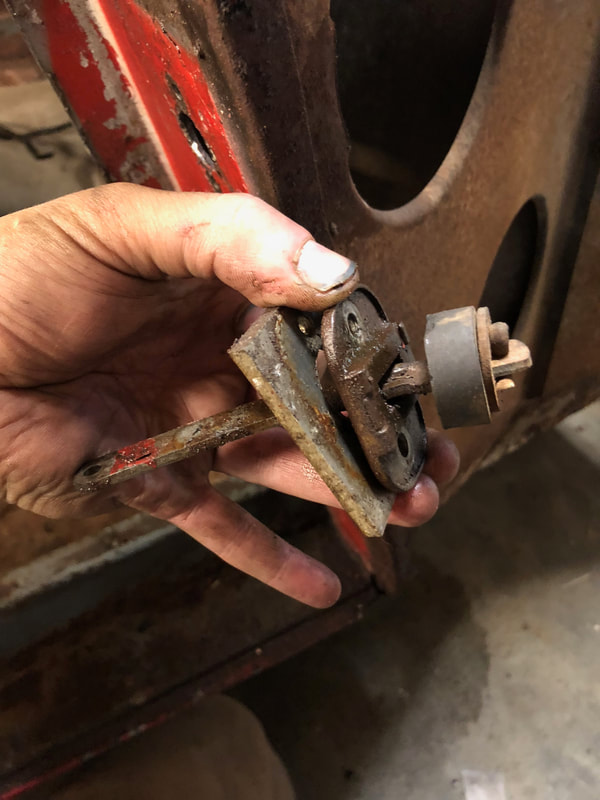
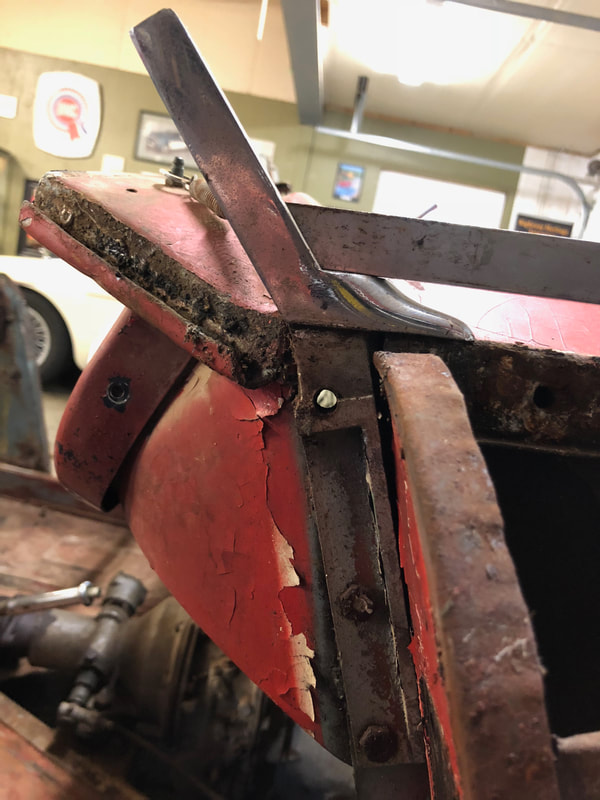
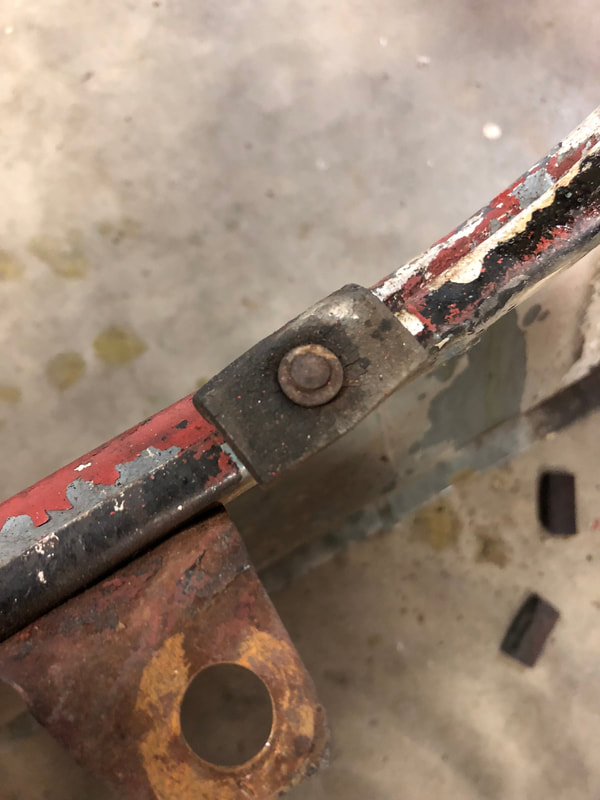
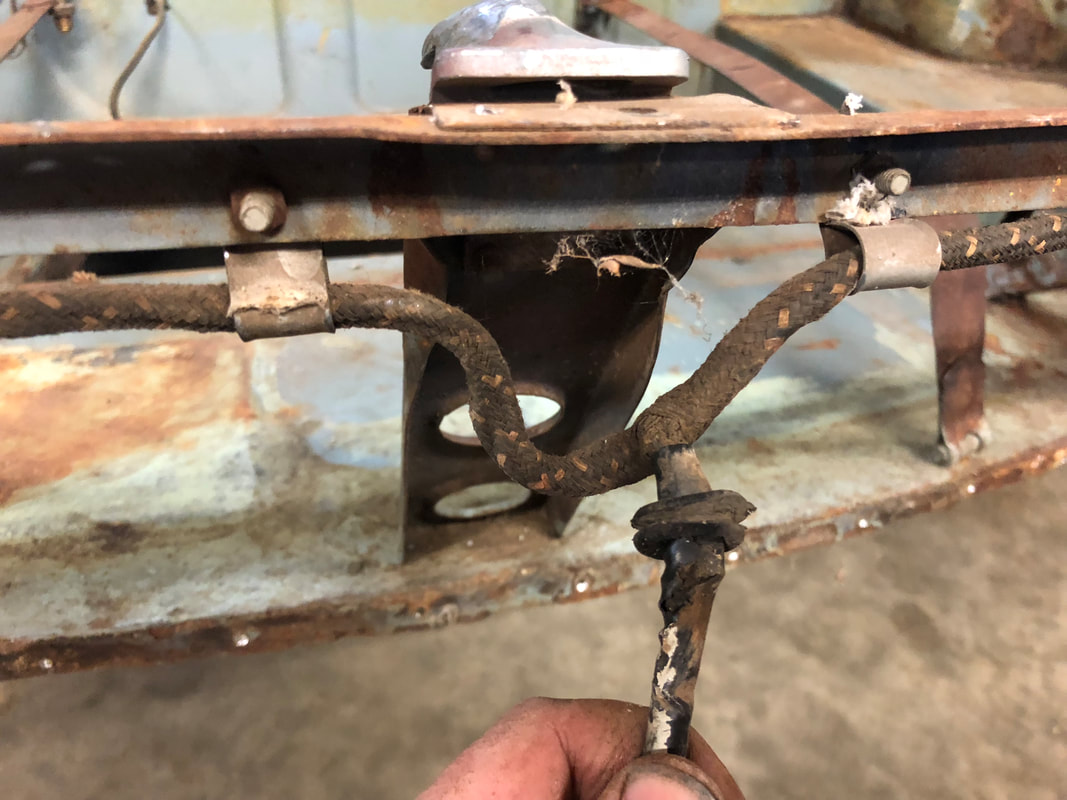
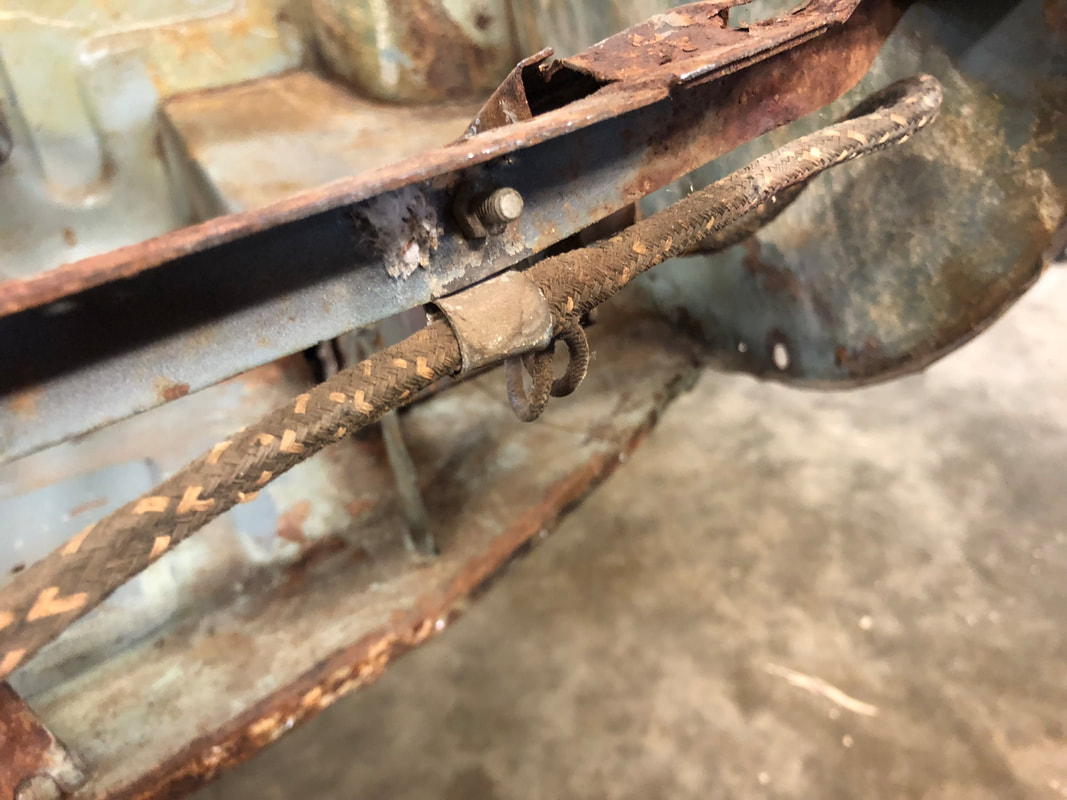
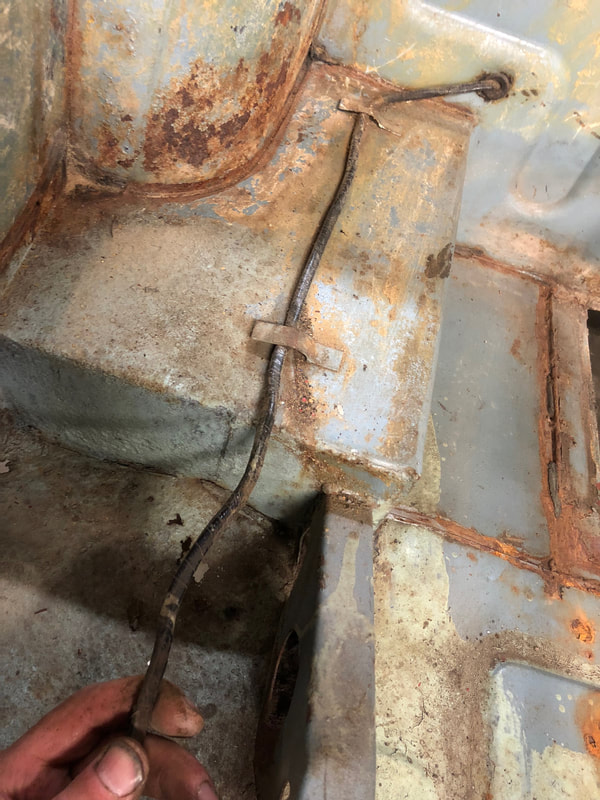
With the door trims removed I was then able to remove the doors themselves and the front fenders. The big Phillips door hinge screws were a bit of a nightmare trying to get out, I managed to save most of them after many hours of penetrating oil & reasoning with an impact driver, heat & curse words. Unfortunately I had to drill out the last few of the more stubborn ones. Here you can see a door check strap assembly & spacer.
Surprisingly both of the seem to be almost perfect! - in that they are rot and dent free. They both have small cracks where the door cord actuates the latch assembly - but these cracks can be easily welded.
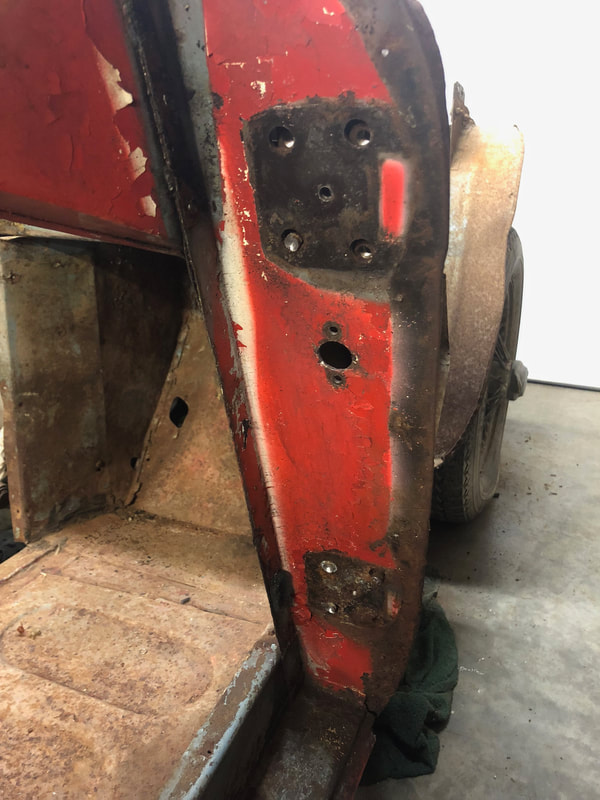
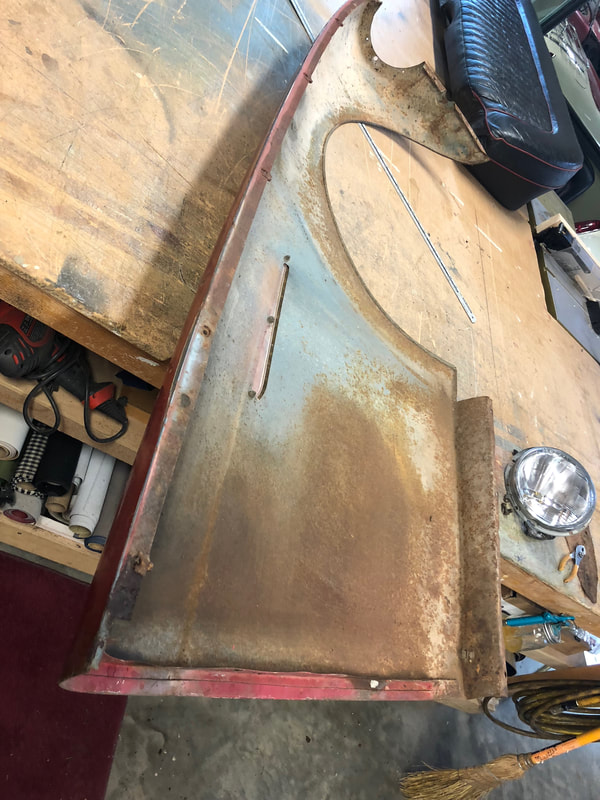
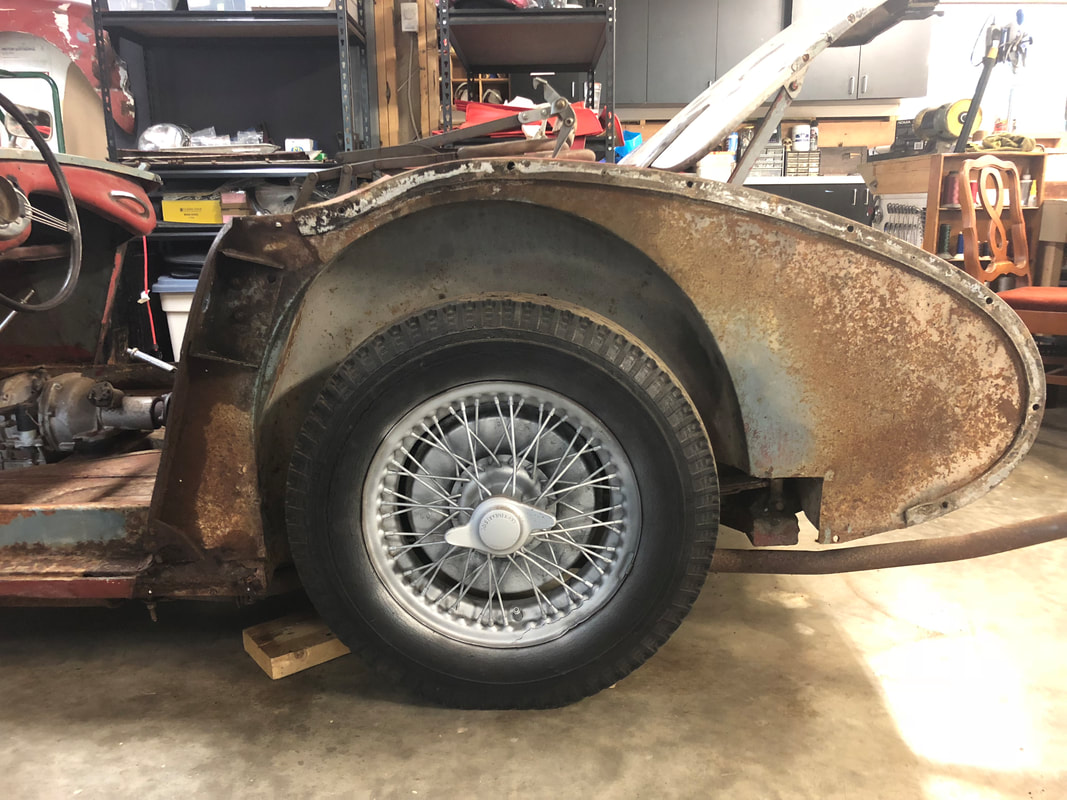
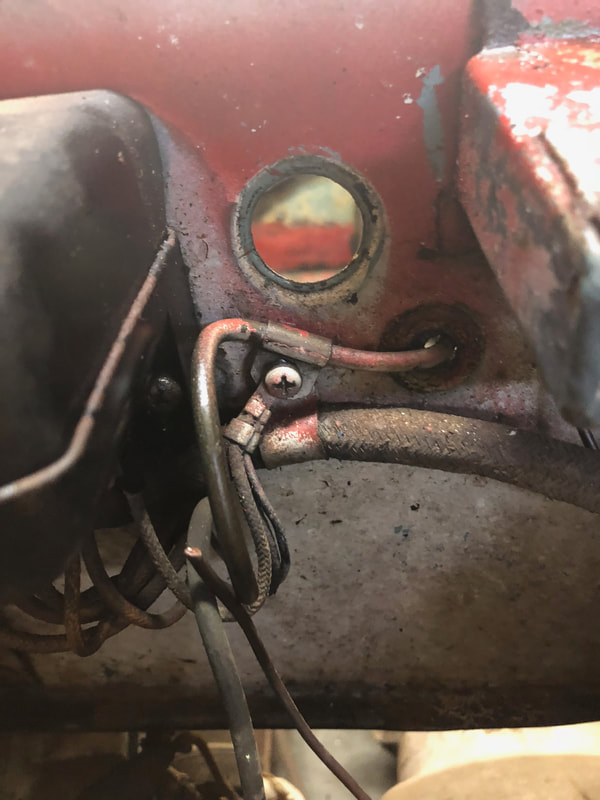
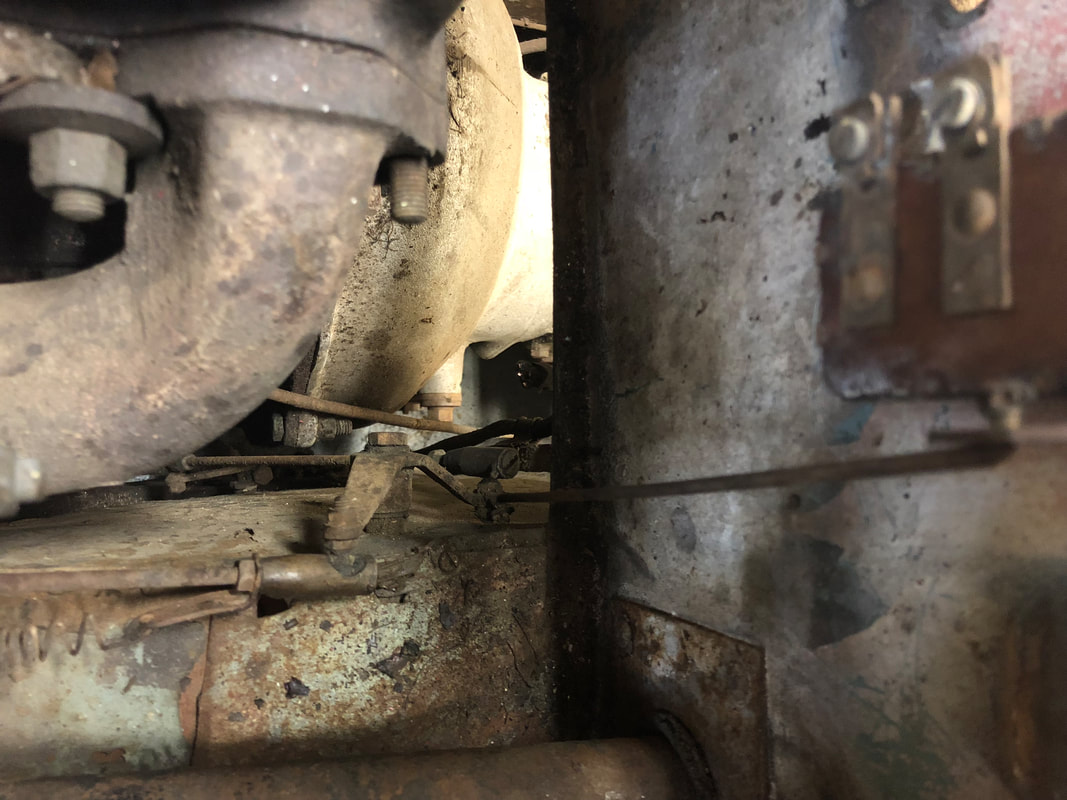
The left front fender was actually only being held on by a few screws and wire, however the rest of the screws that had been previously removed were found in a pile on the parcel shelf so nothing seems to be missing. Once removed, the left fender proved to be in just about perfect condition! - no holes, no dents or distortion - a beautiful front fender! The inner chassis structure under the fender also looks far better than I had expected which was another pleasant surprise! I took careful notes as to the routing of the wiring and clips along the inner front fender/shroud seams...
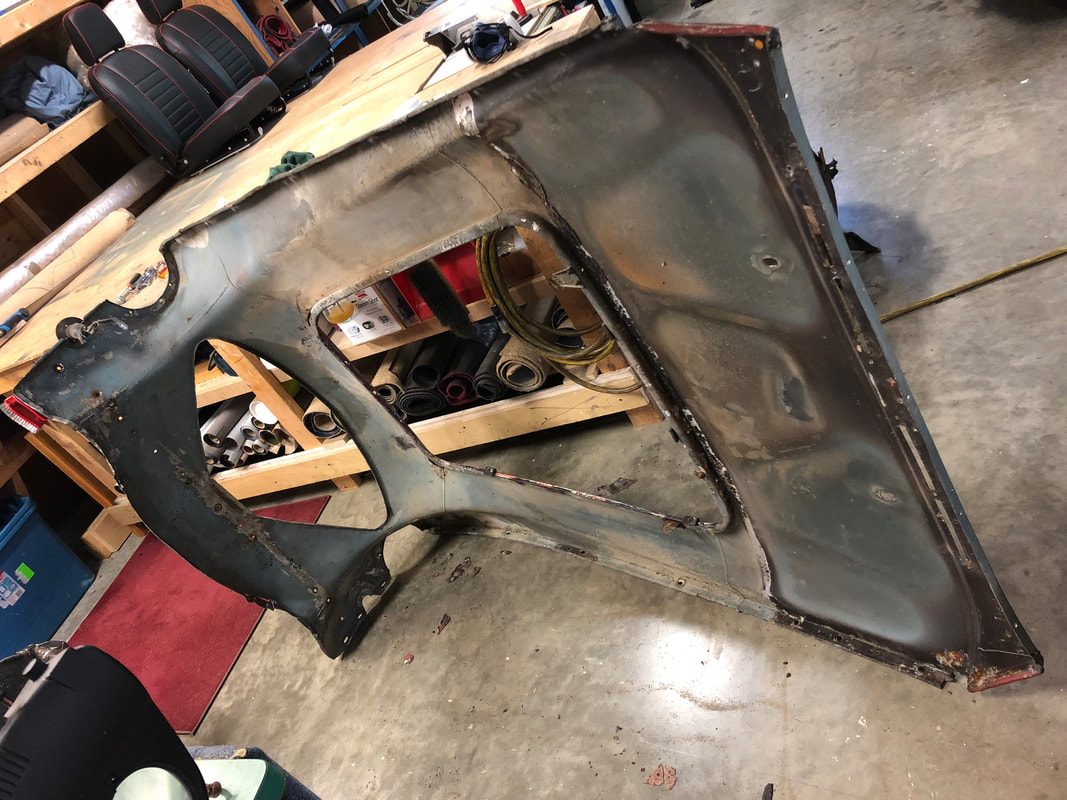
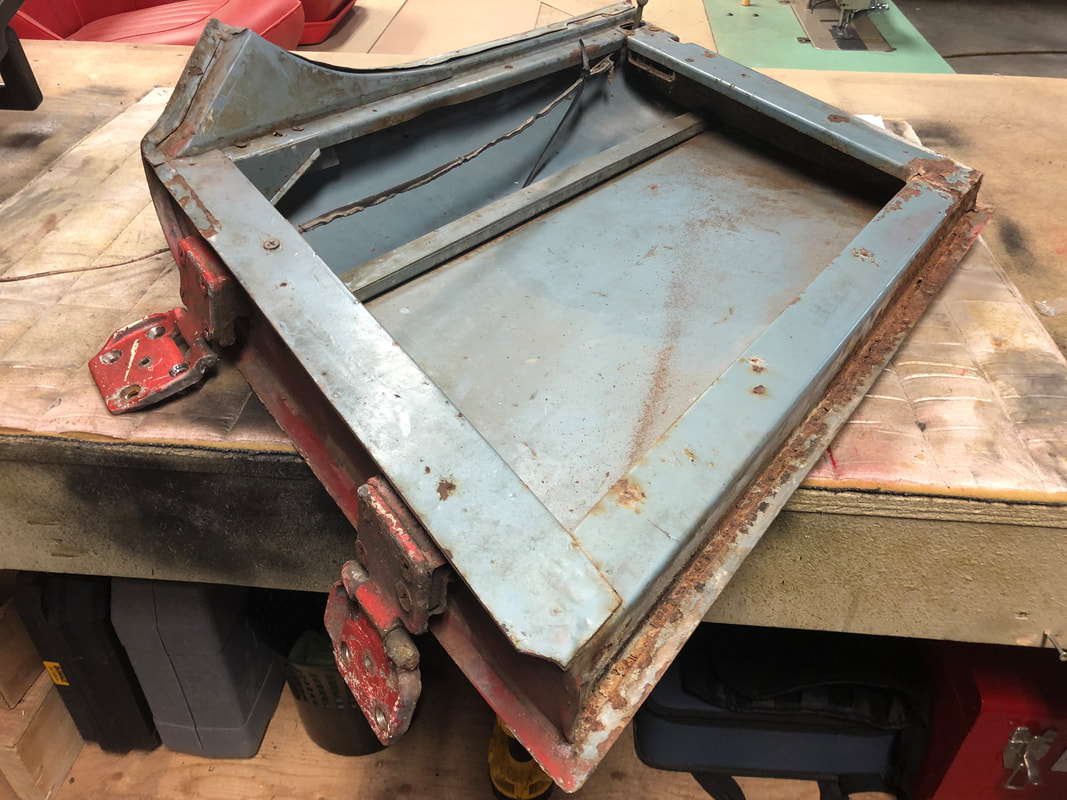
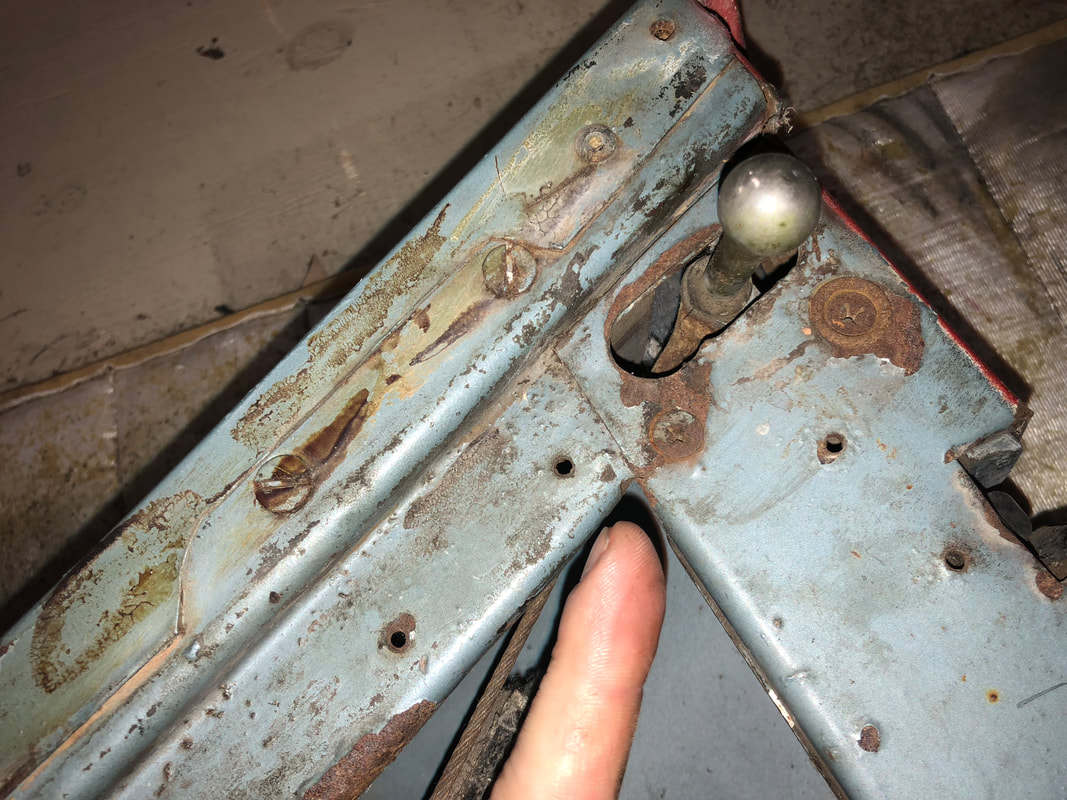
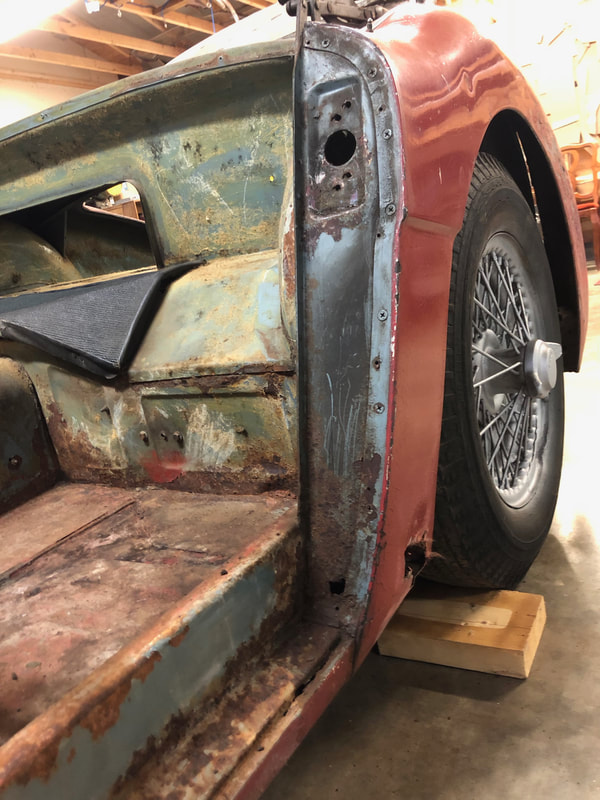
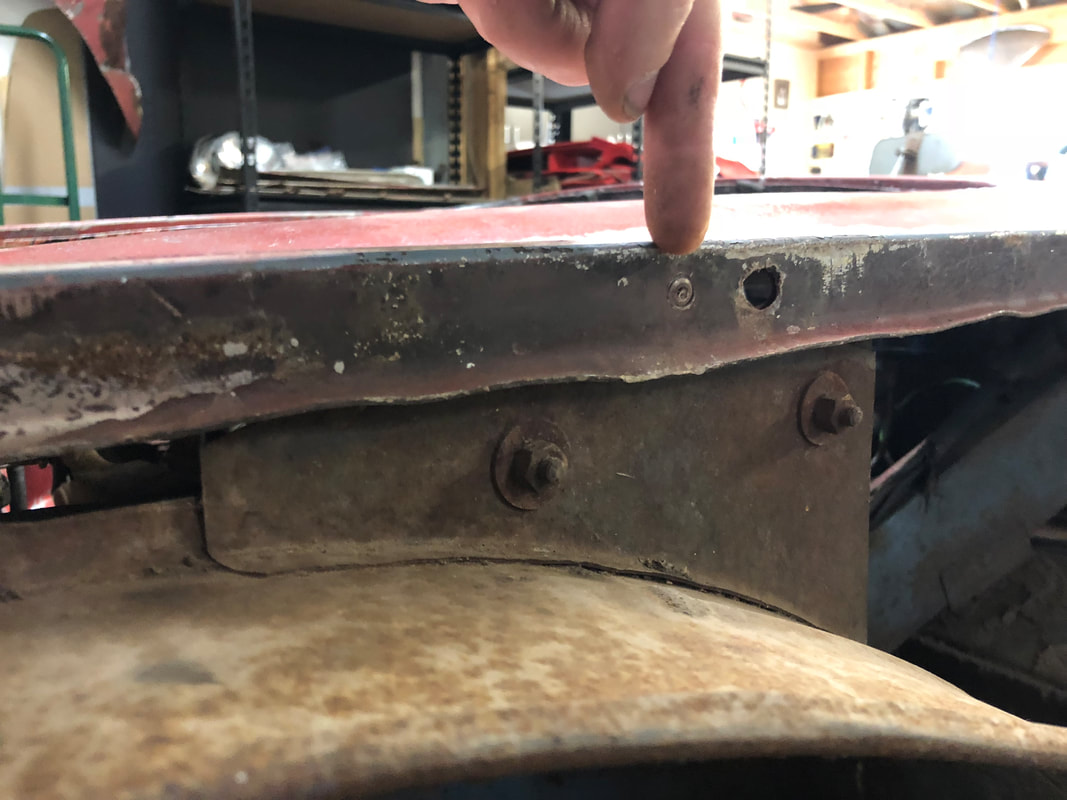
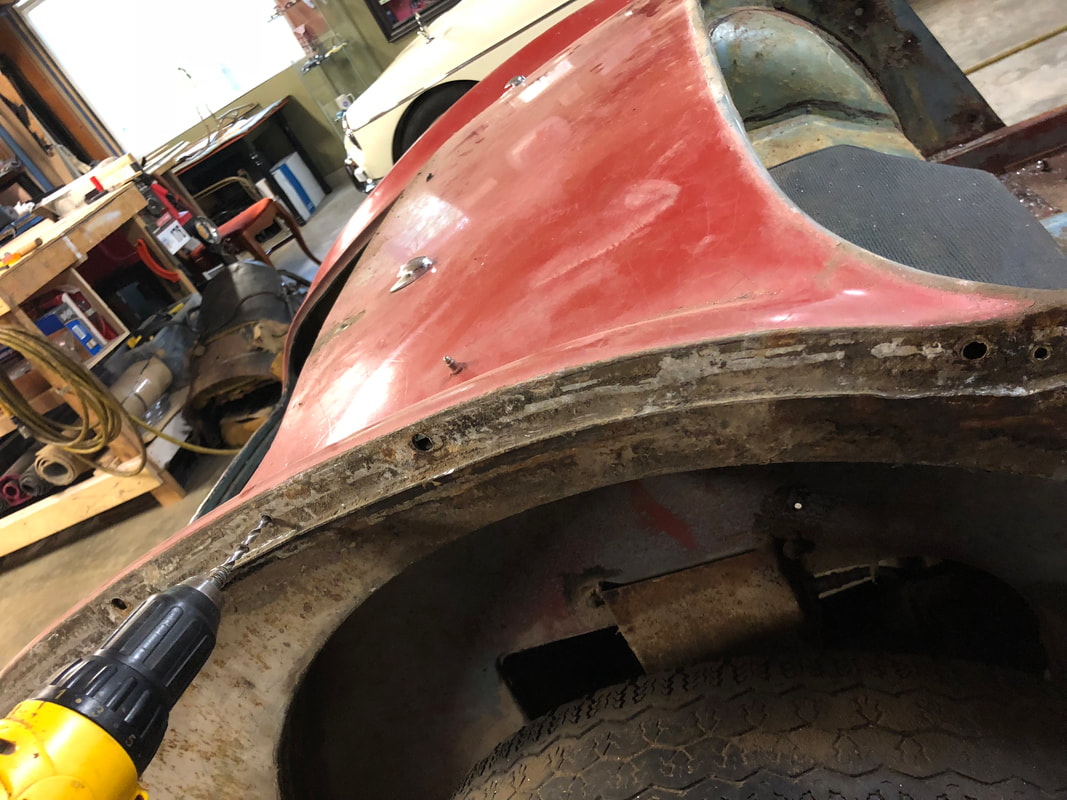
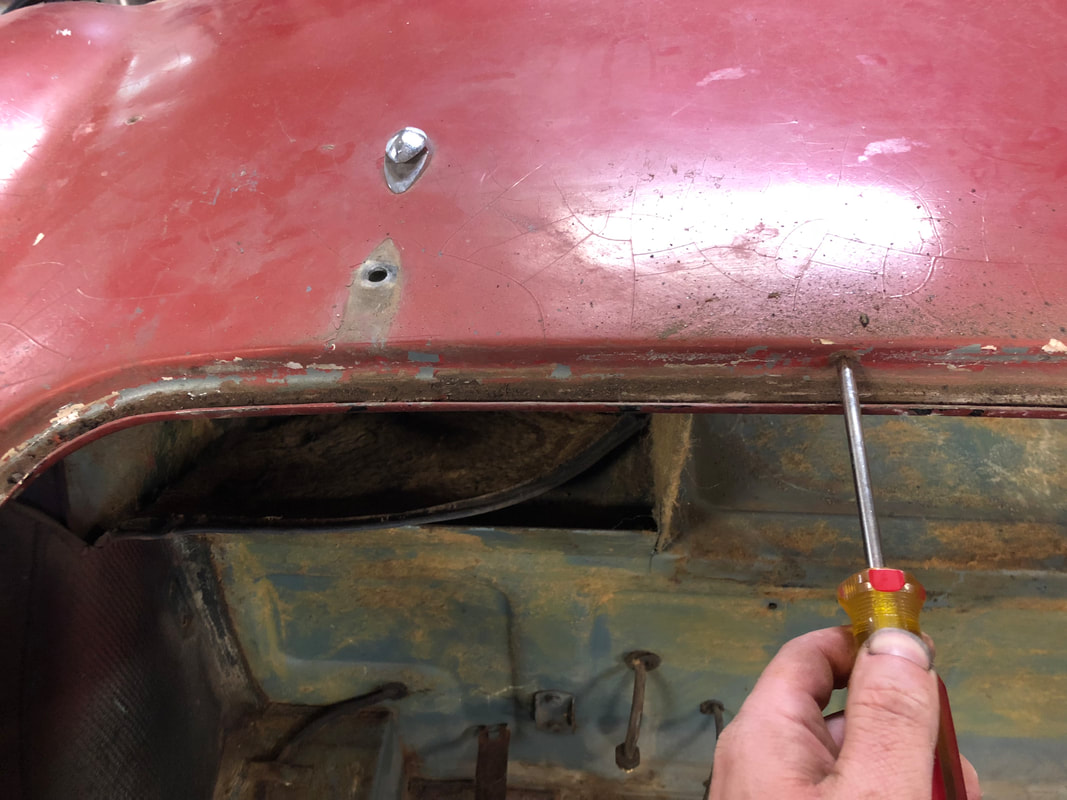
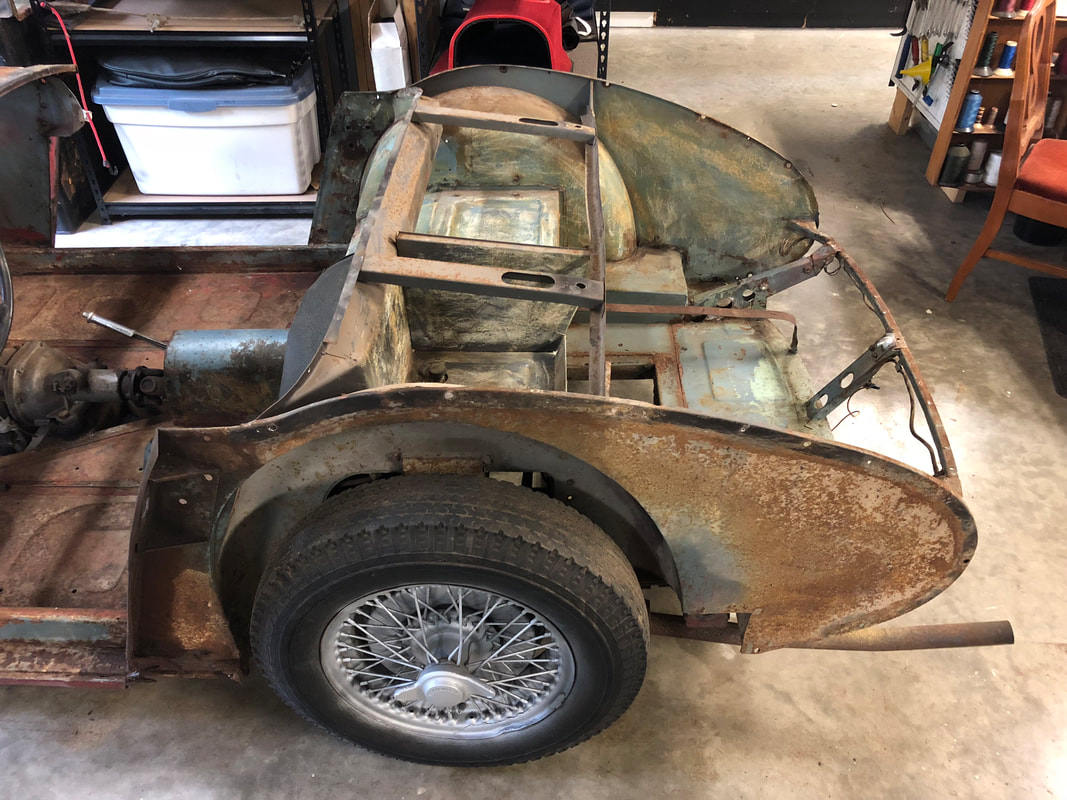
 Next I turned my attention to removing the rear fenders. I removed all the inner screws affixing it to the shroud/chassis, and the screws along the outer edge of the 'B' post. I took note of the little rectangular clamp plates that are held in place by a countersunk machine screw along the inner rear cockpit rim on both sides.
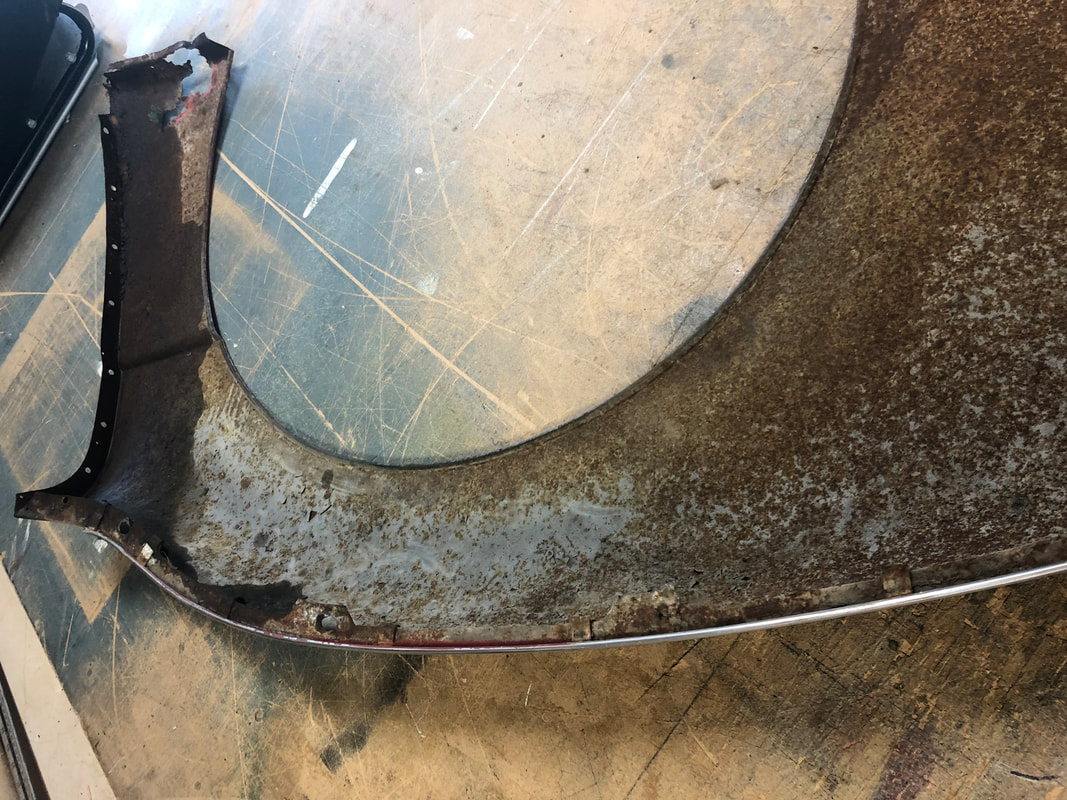
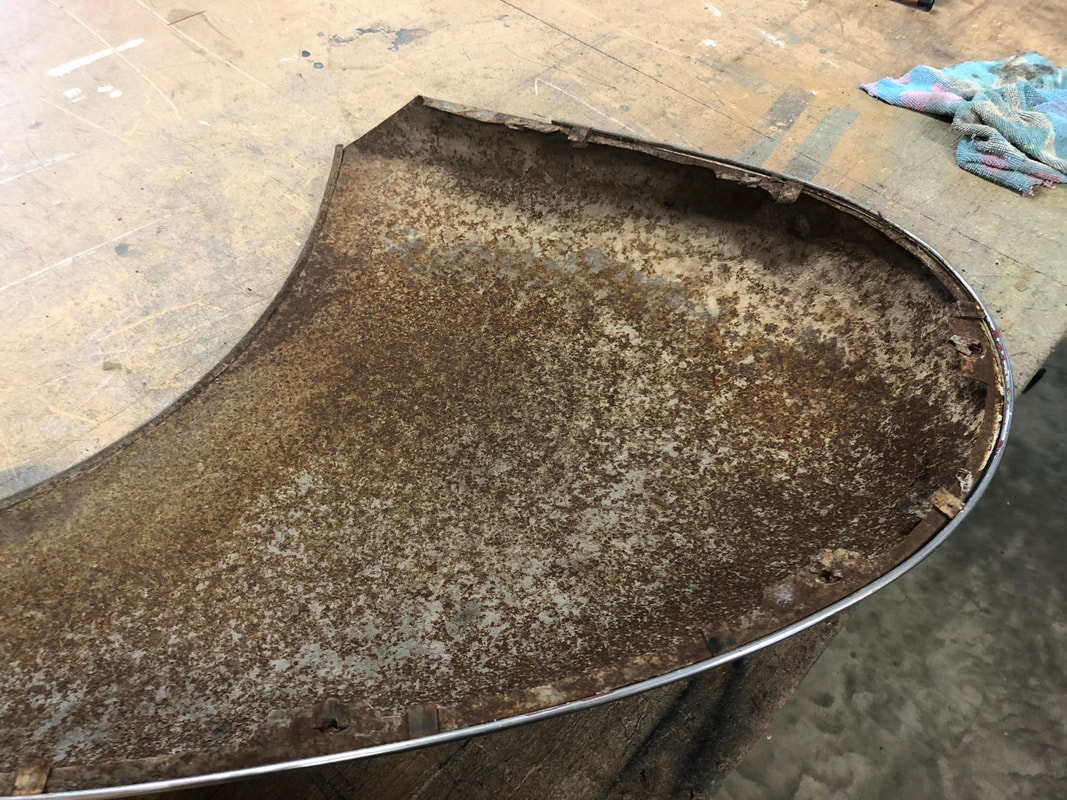
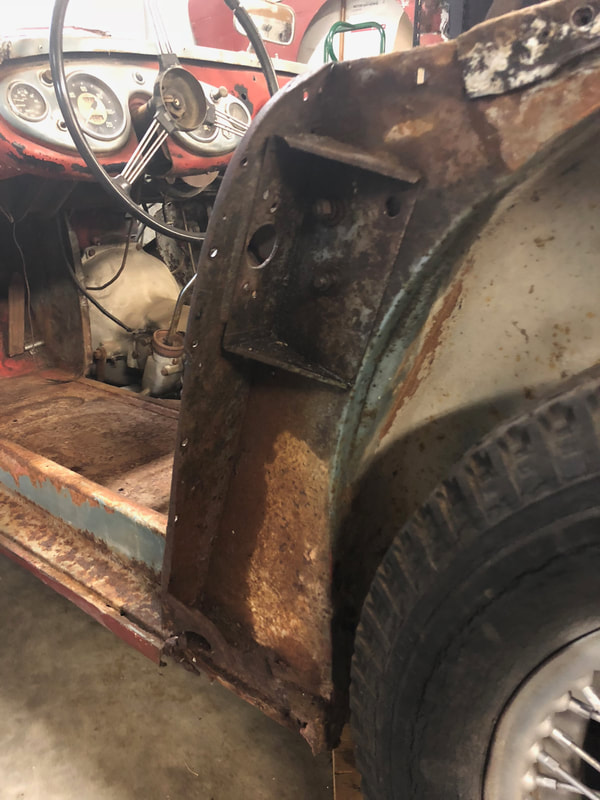
With the rear fenders off I was pleased to find them both very intact, with only the front lower dog leg areas needing repair on both fenders. Most original cars are typically rotten here as it's a trap for water and road grime.
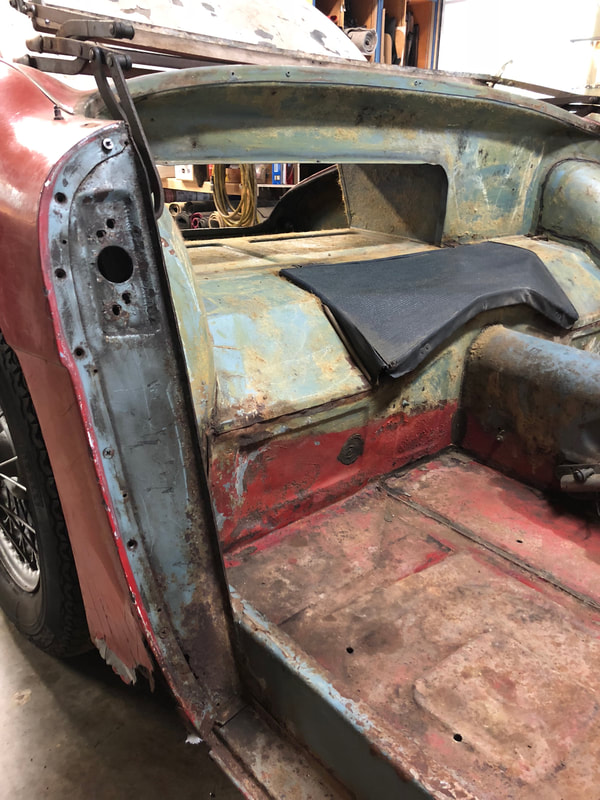
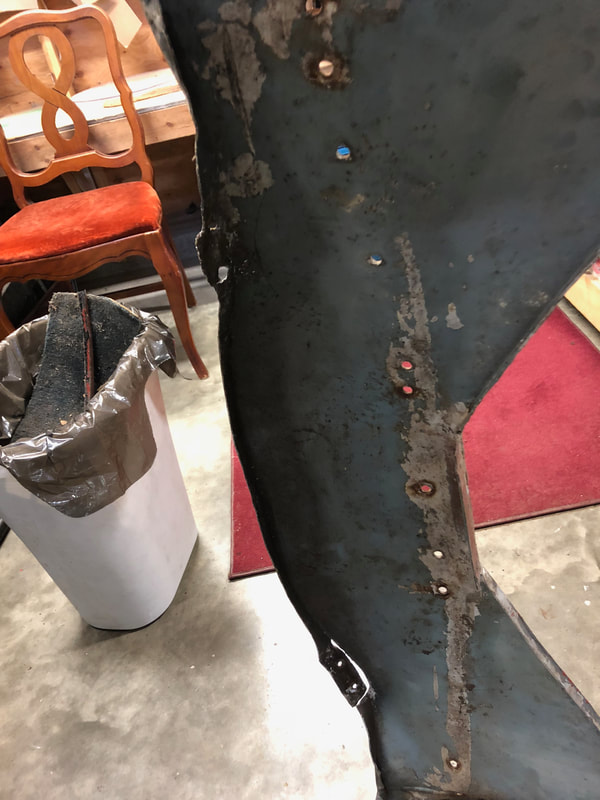
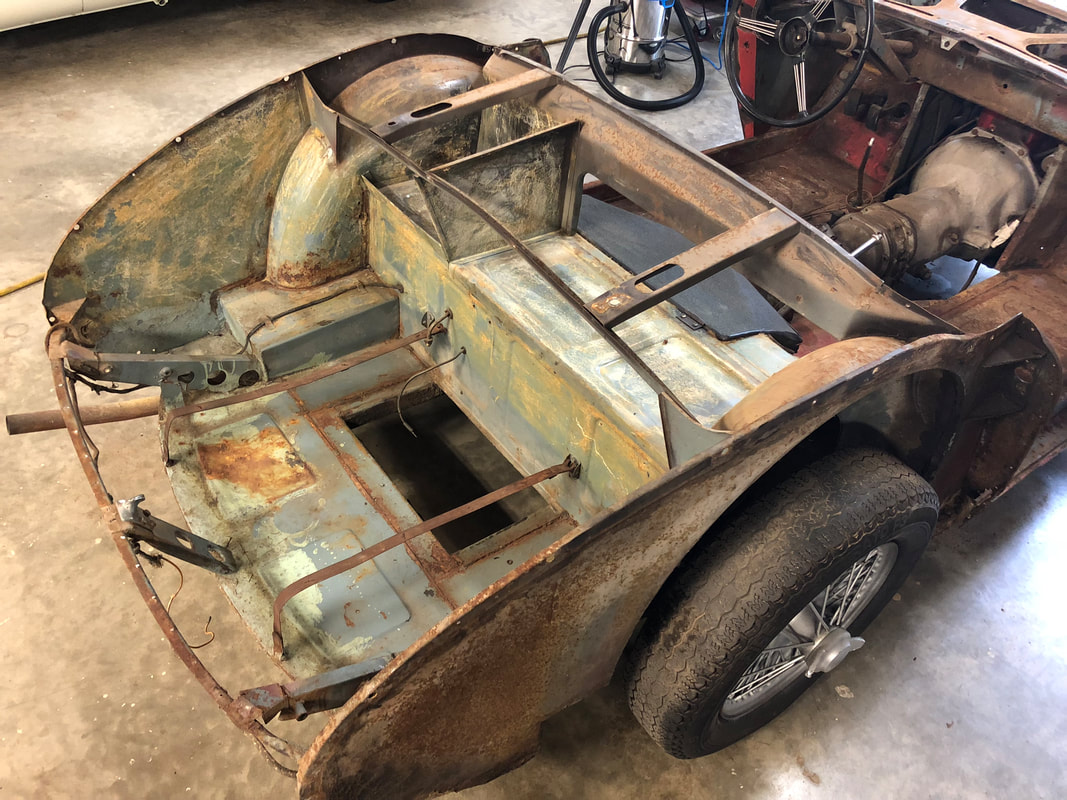
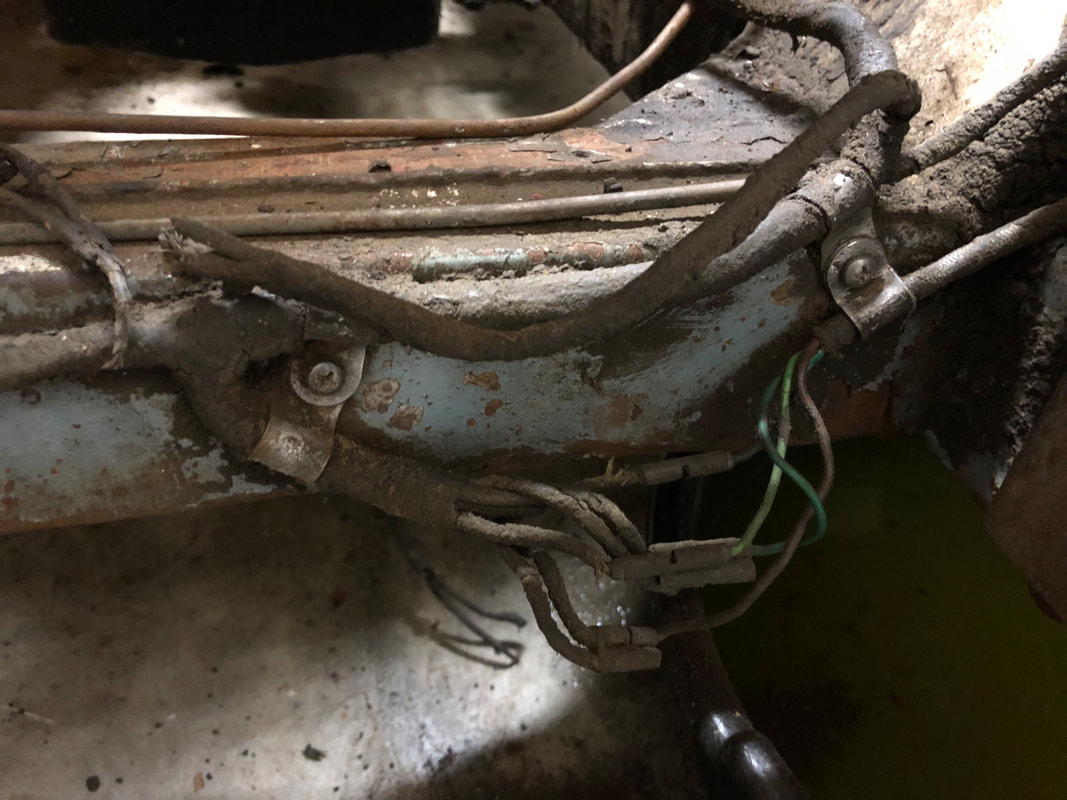
The inner chassis under the rear fenders reveals the extent of rot on the rear outer sill sections and the bottom parts of the rear door posts. Other than these areas though, the rest of the chassis seems very intact and structurally sound.
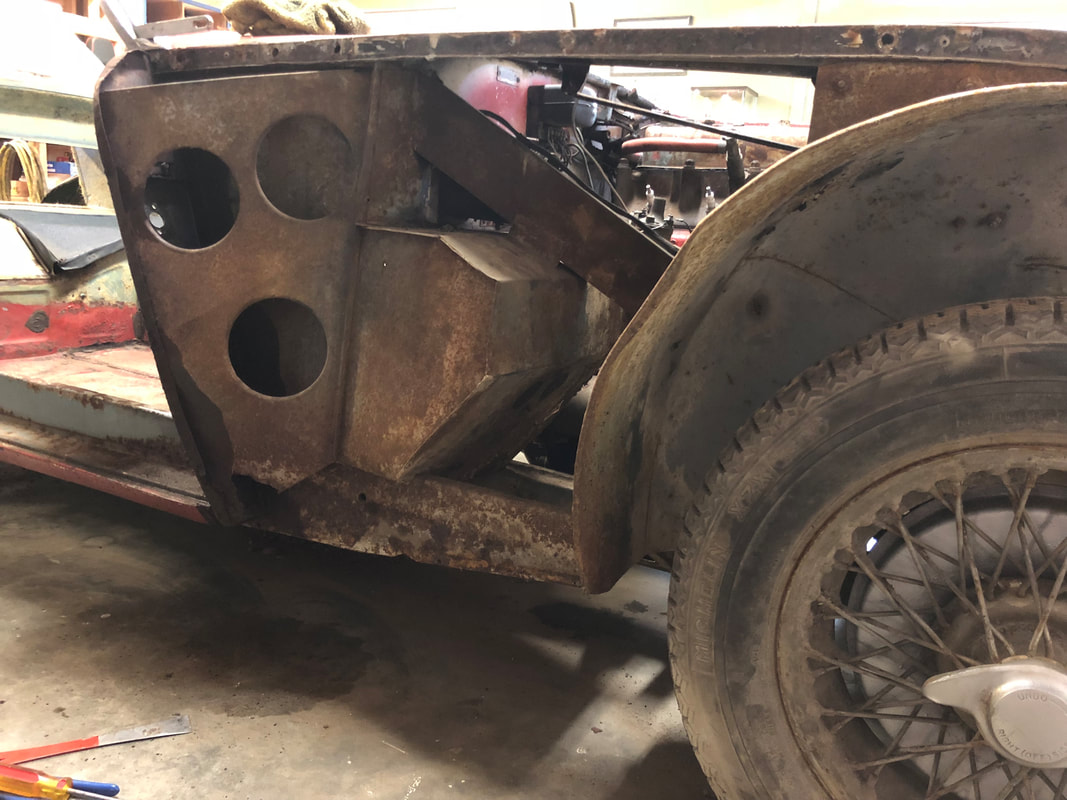
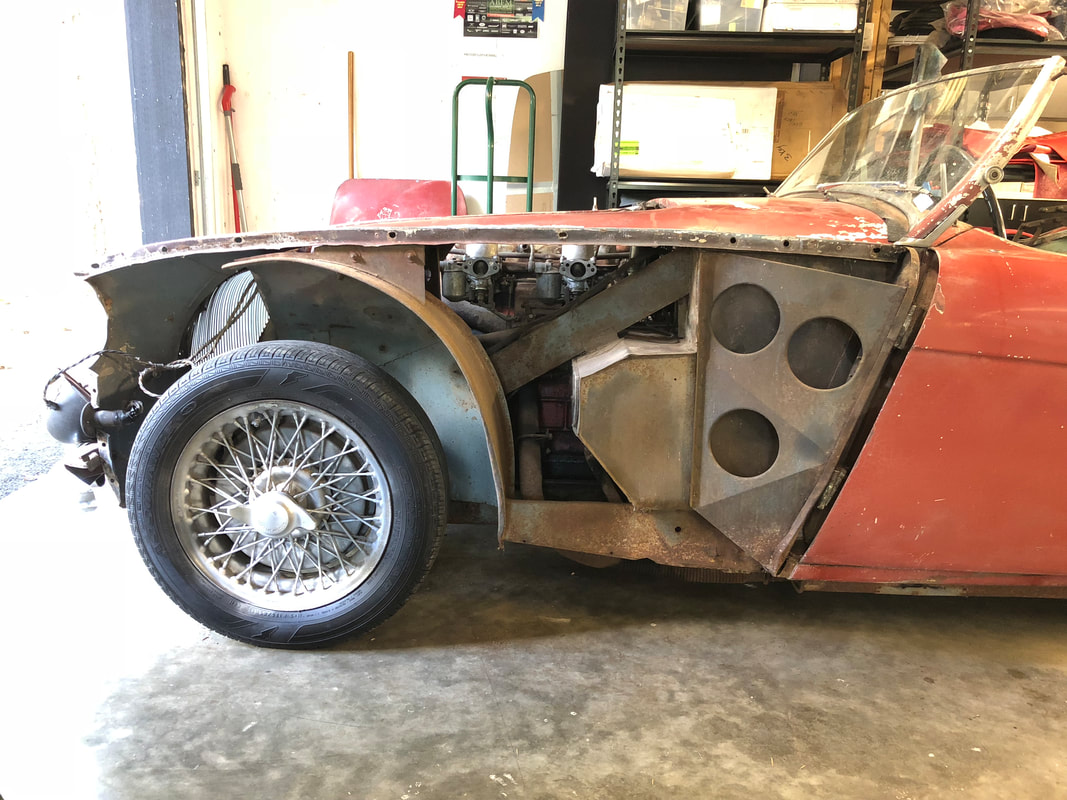
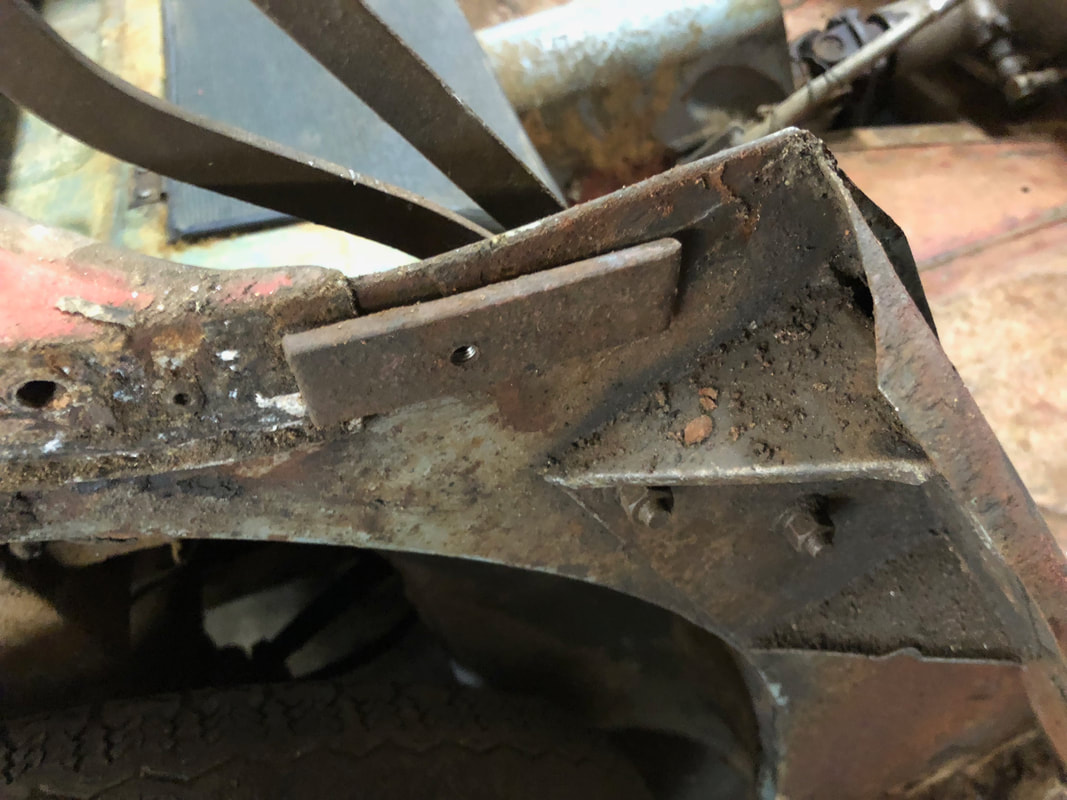
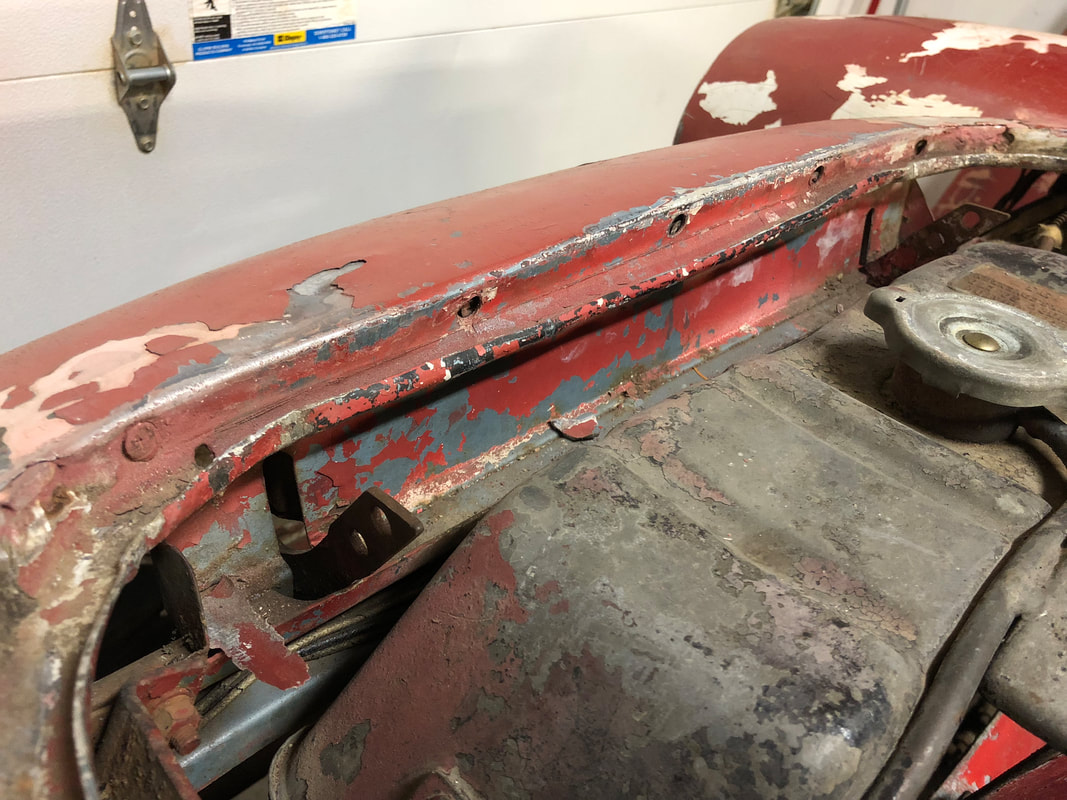
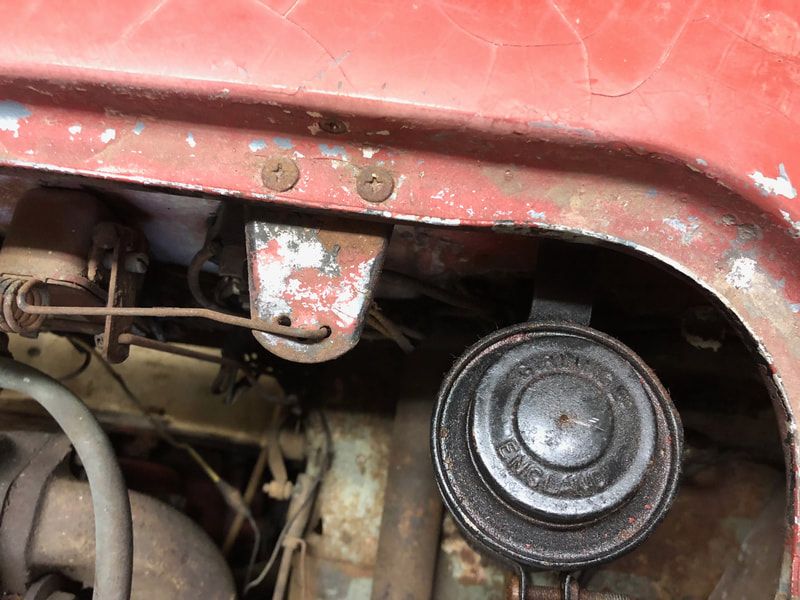
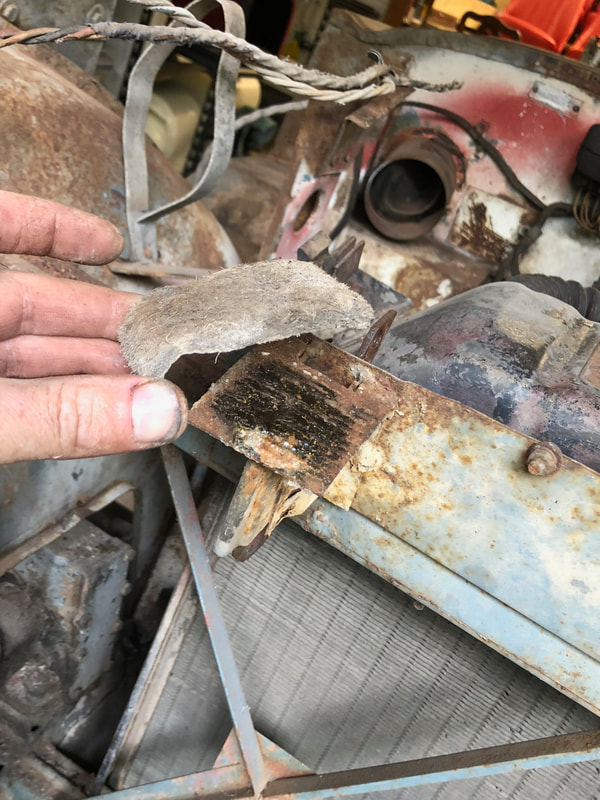
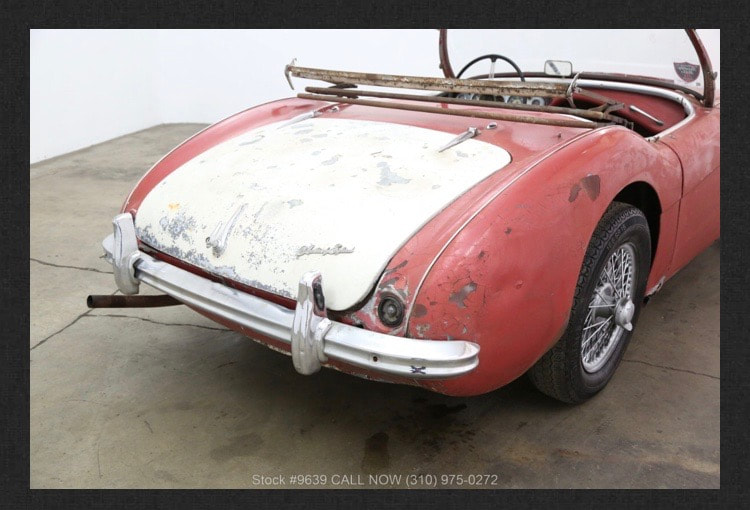
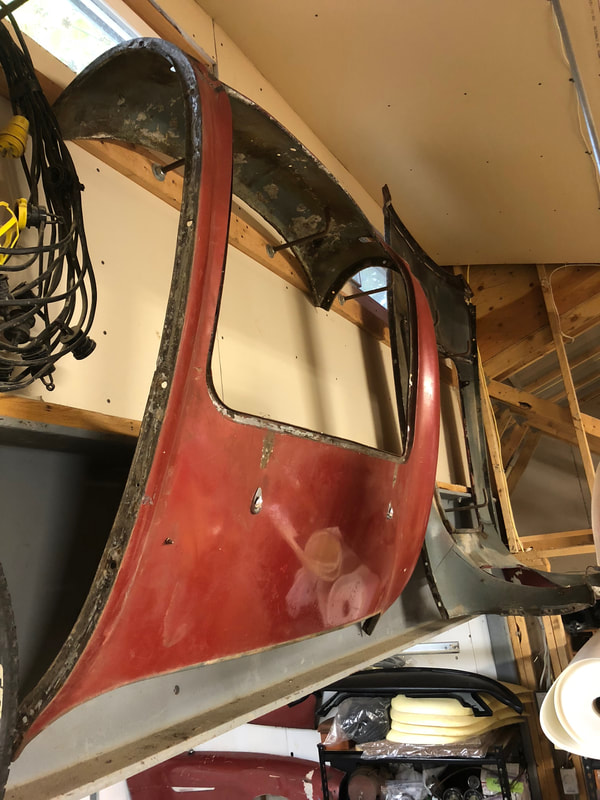
 The front shroud is removed! she's had a bit of damage where she fastens to the lower frame members along the bottom front edge. But thankfully no metal is actually rotten or missing, it just needs some careful mending by an aluminum expert!
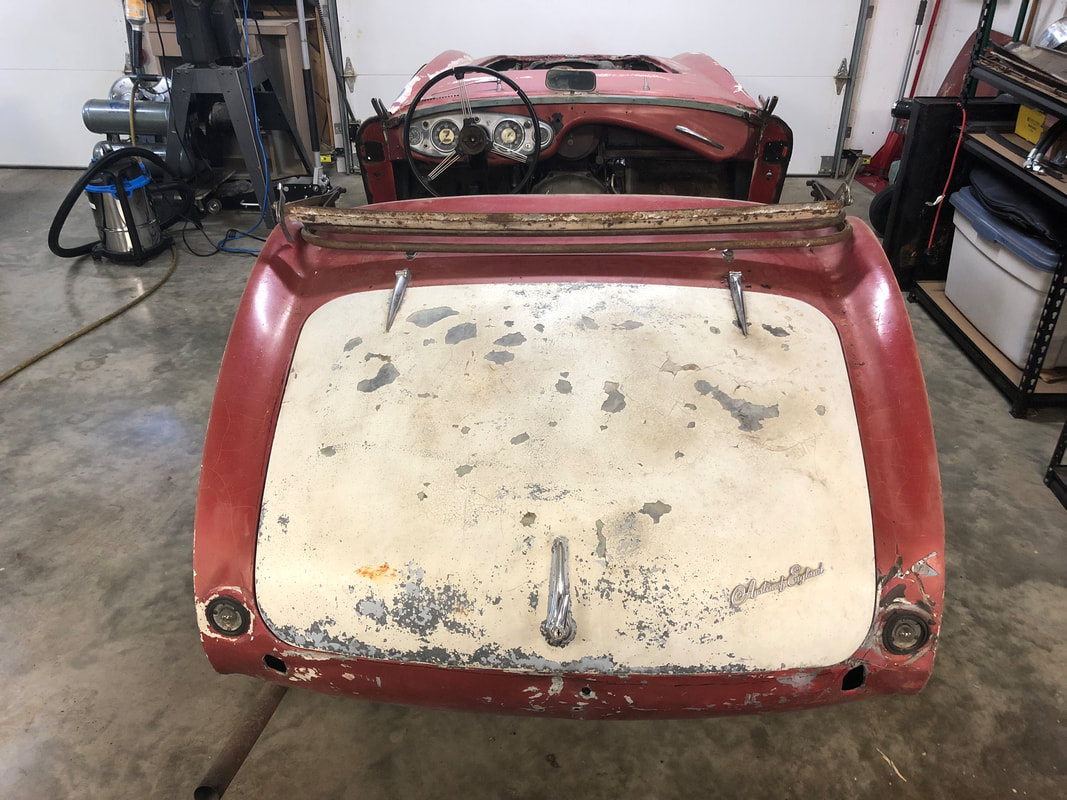
With the front shroud off, I turned my attention to the rear shroud removal - again lots of rivets to drill out all around and a few little screws along the upper edge of the boot opening..
And the rear shroud is off! I spent a bit of time carefully tapping out the dents and creases found in the rear where she probably backed into something. Going back and forth working on the frame and the rear shroud itself, with the undamaged boot lid as a guide, I actually got it back about 90% of the way for it to be perfect again. The lid wouldn't even close when I first got it, now it closes with even gaps, it just needs a bit more fettling around the bottom right corner which I'll get more into later down the road.
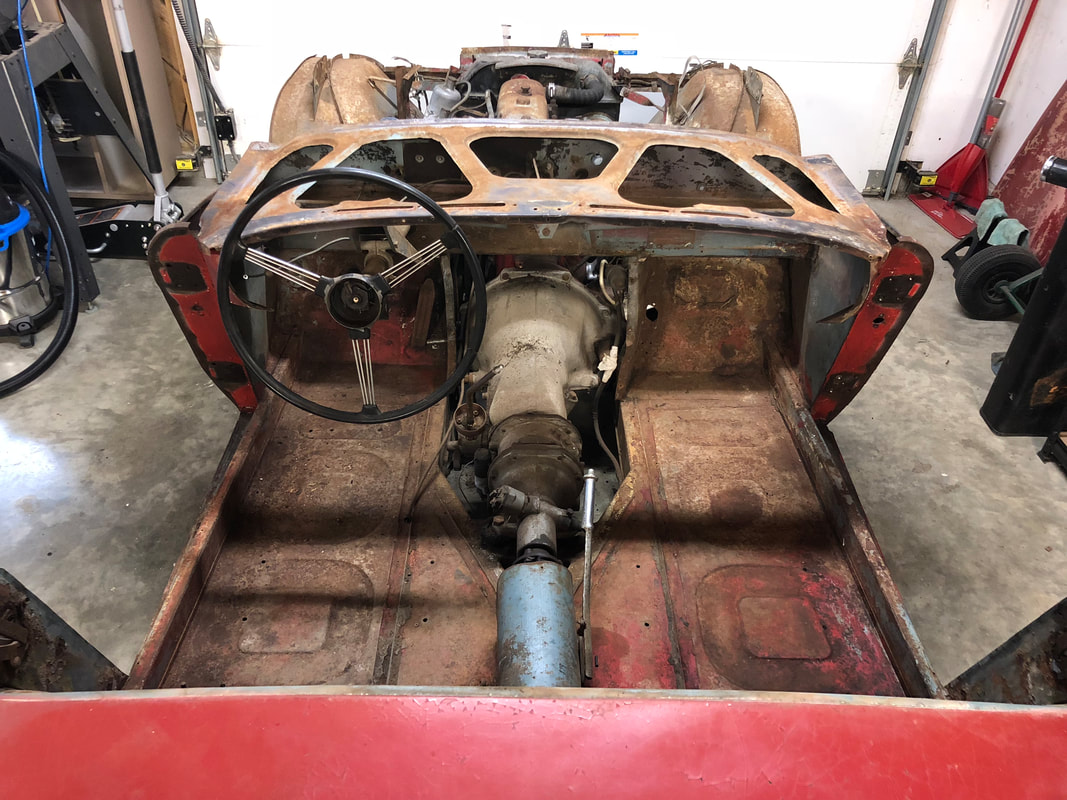
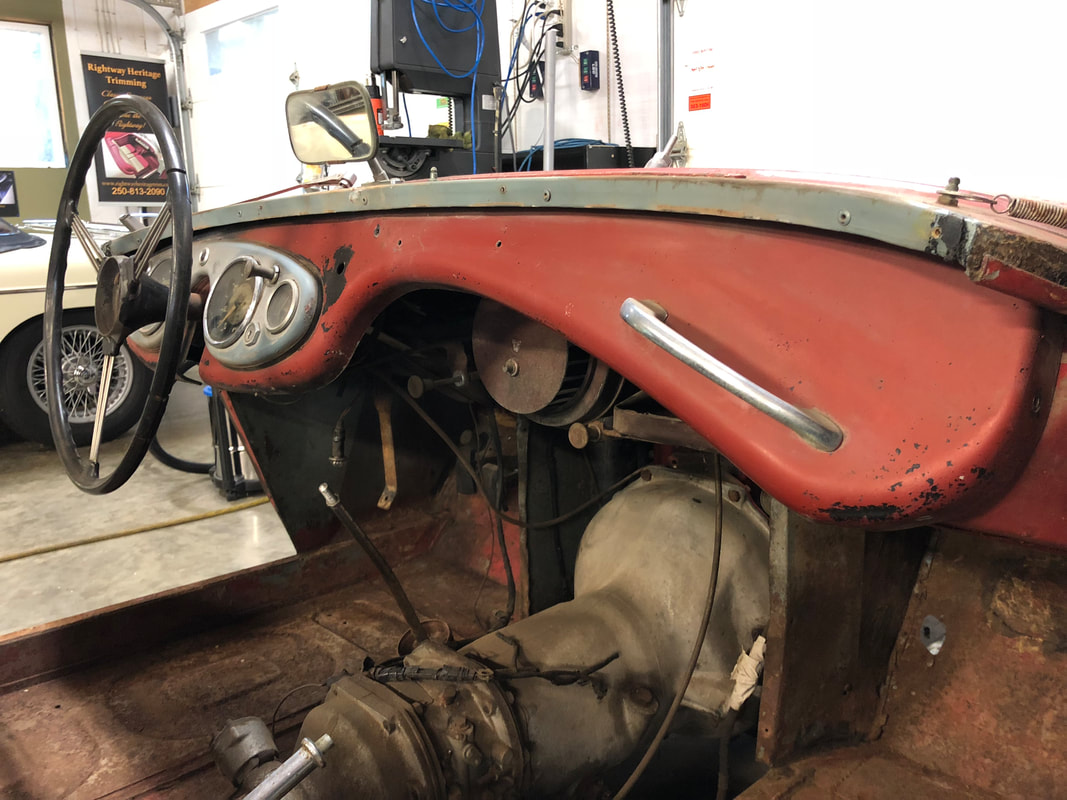
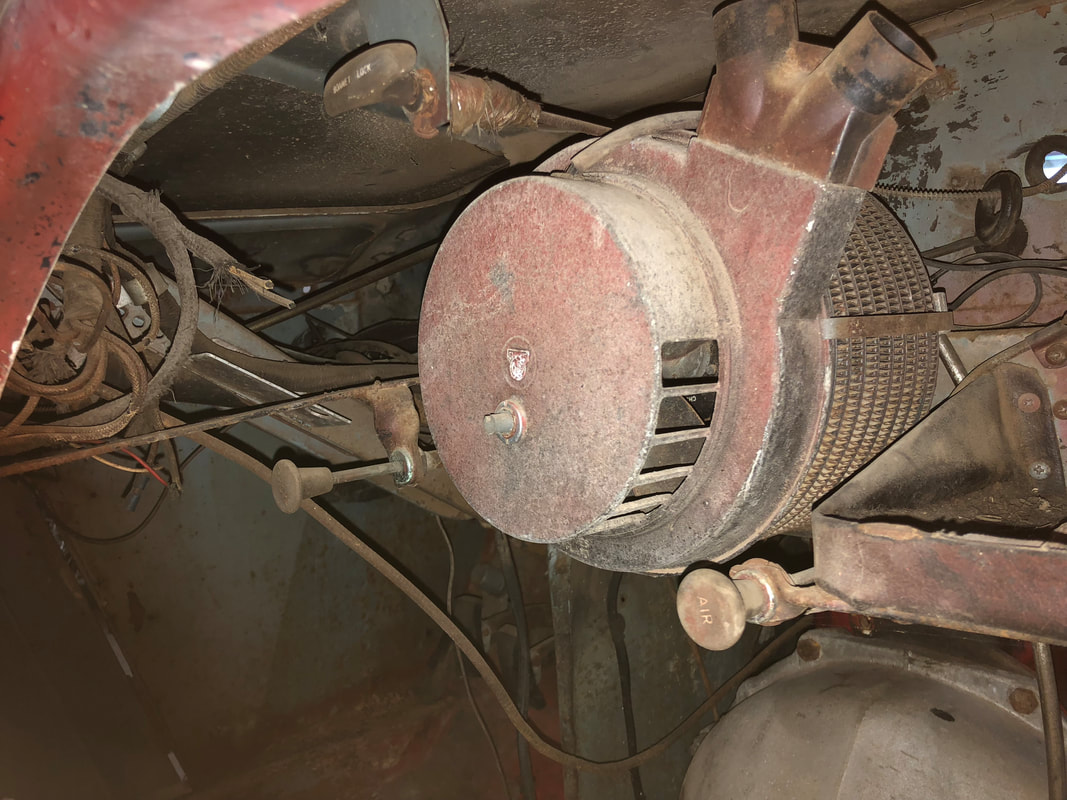
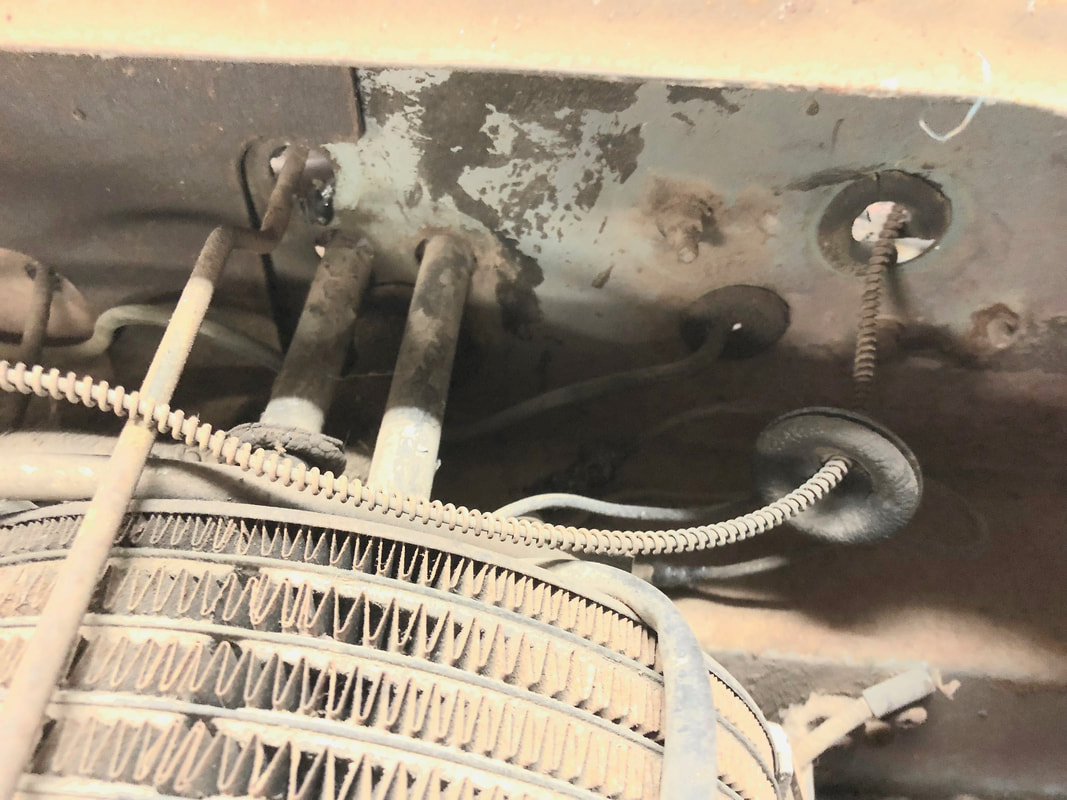
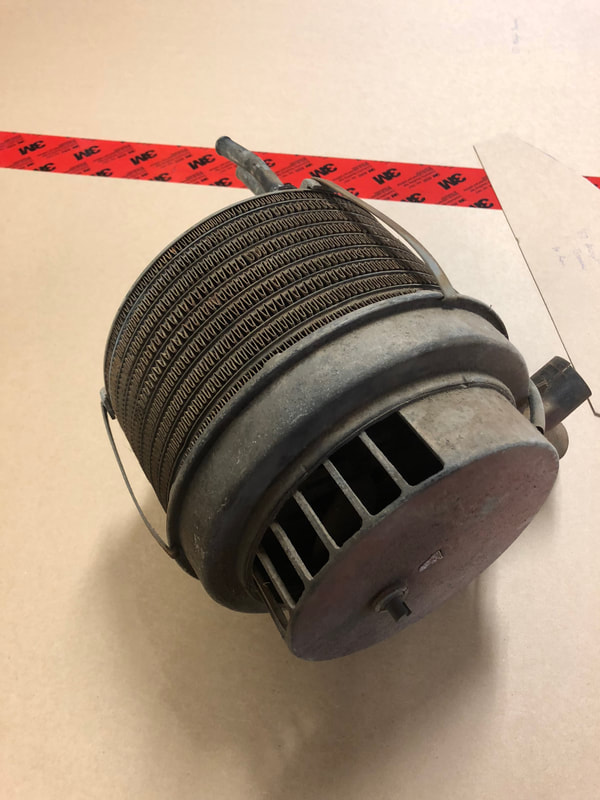
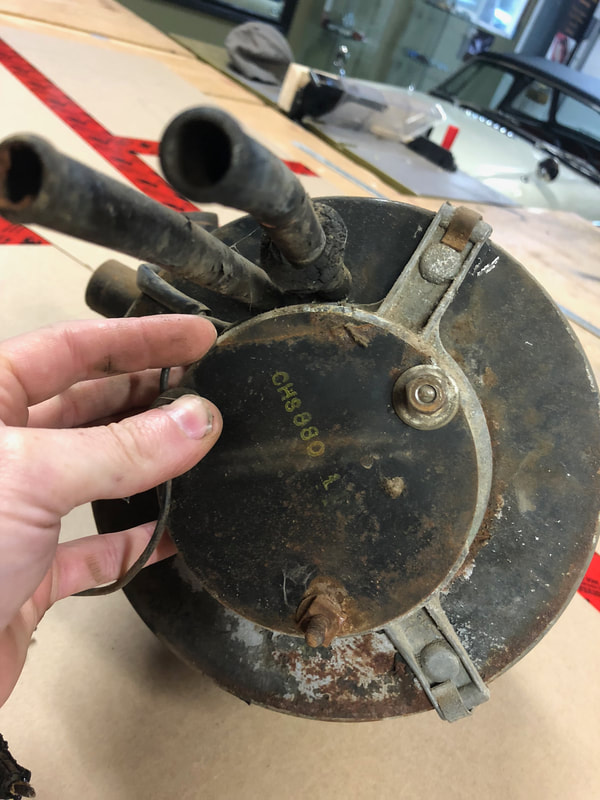
With the body panels now removed, I got into removing the dash, heater, and inner firewall components - note, the steering column/dash support was painted body colour, as were the steering column blanking plates on the firewall. 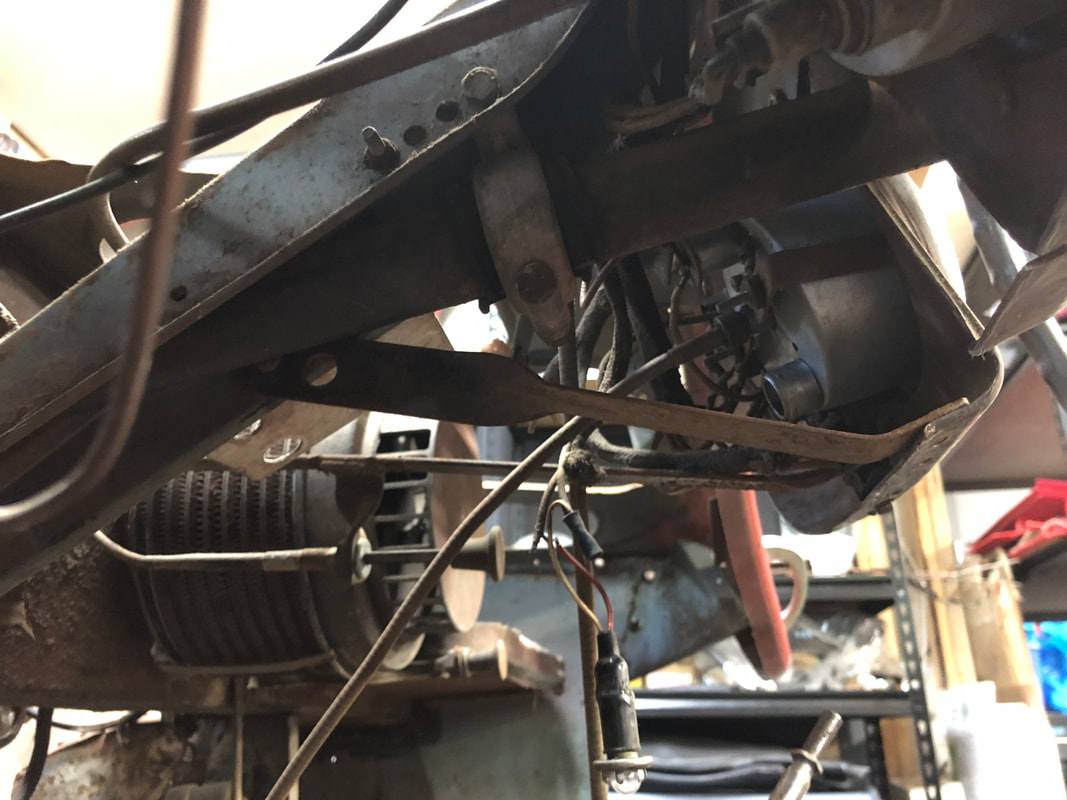
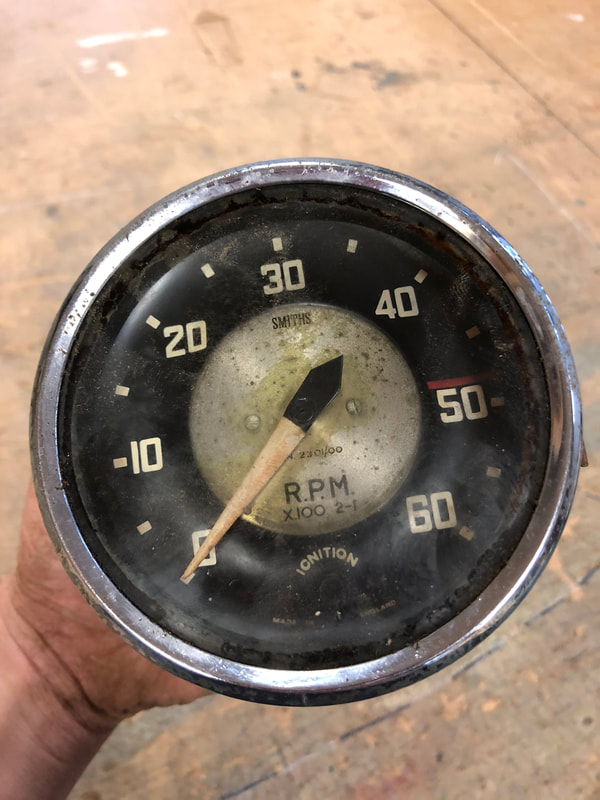
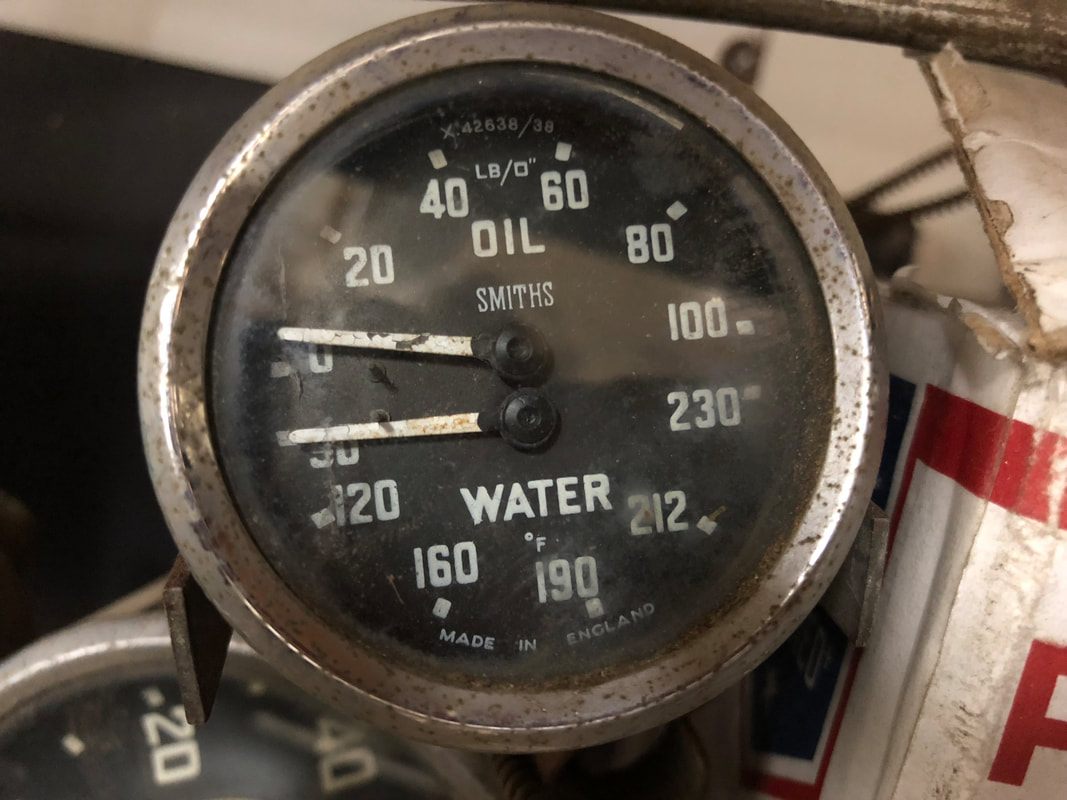
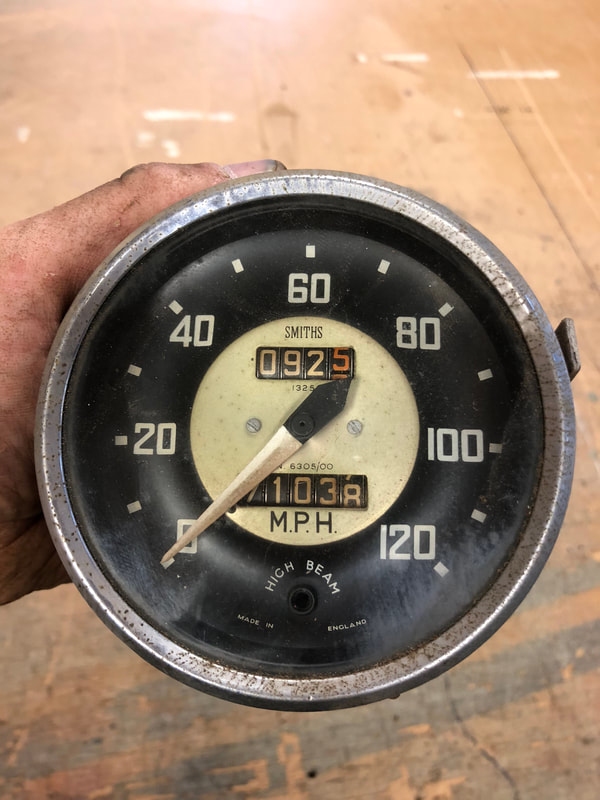
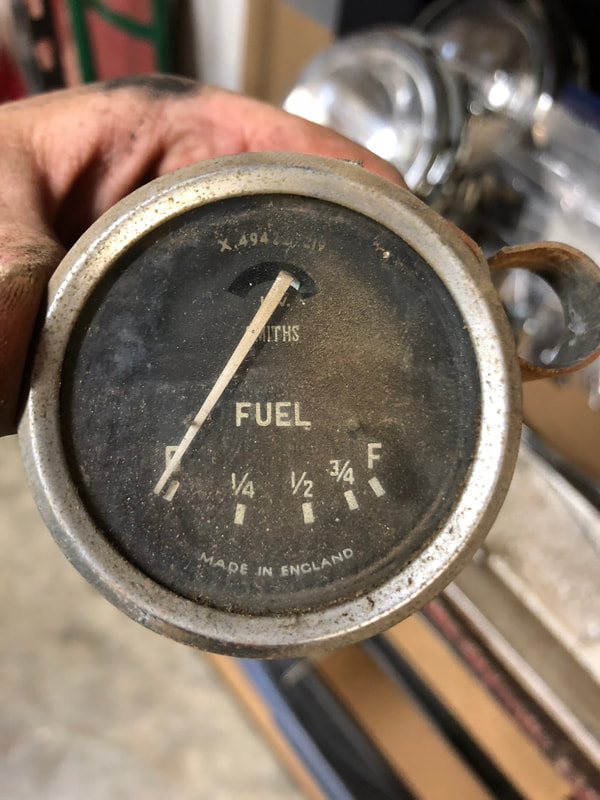
As it turns out, the larger tachometer and speedometer gauges are ones from a BN2. I'll find a good set from a BN1 and swap them back again someday.
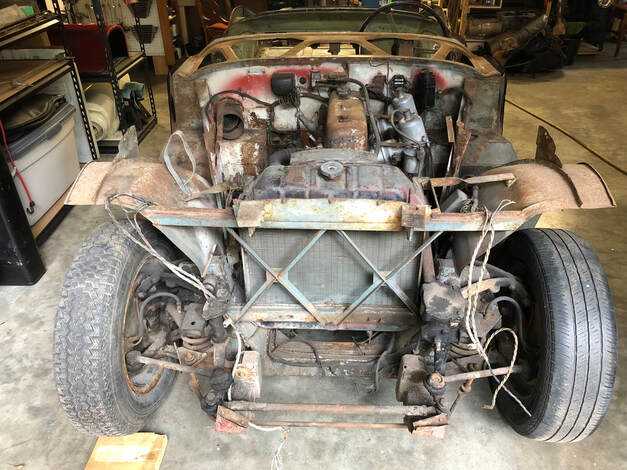
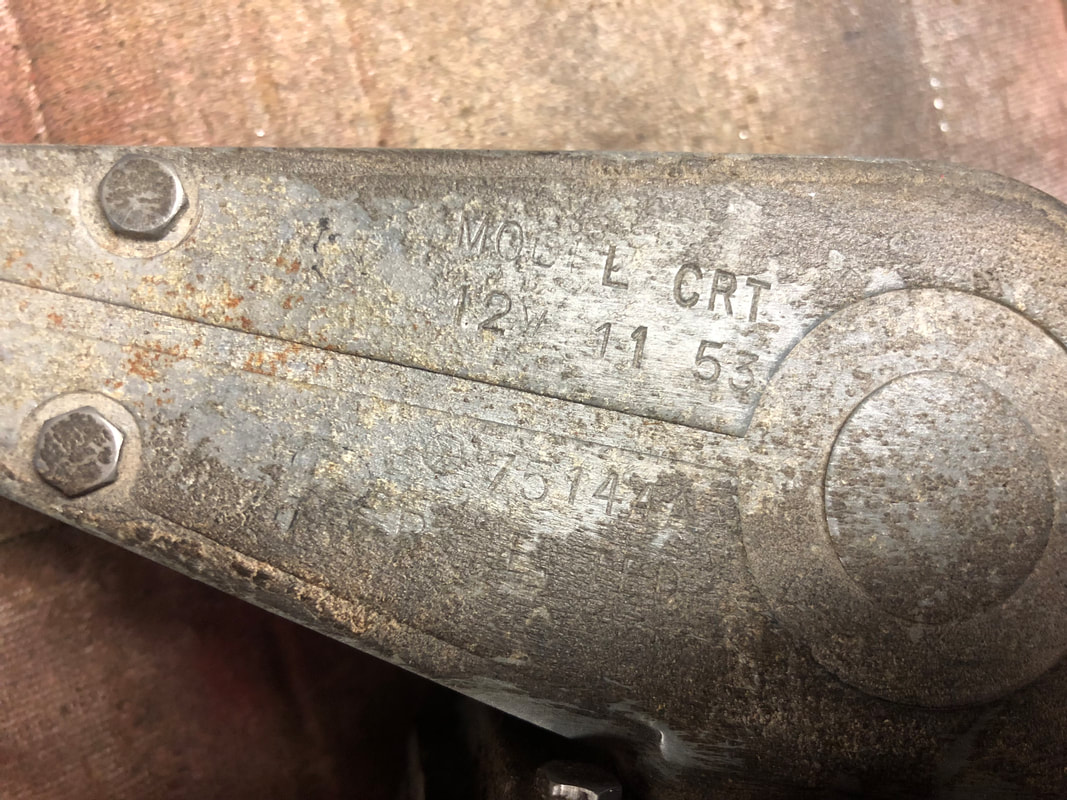
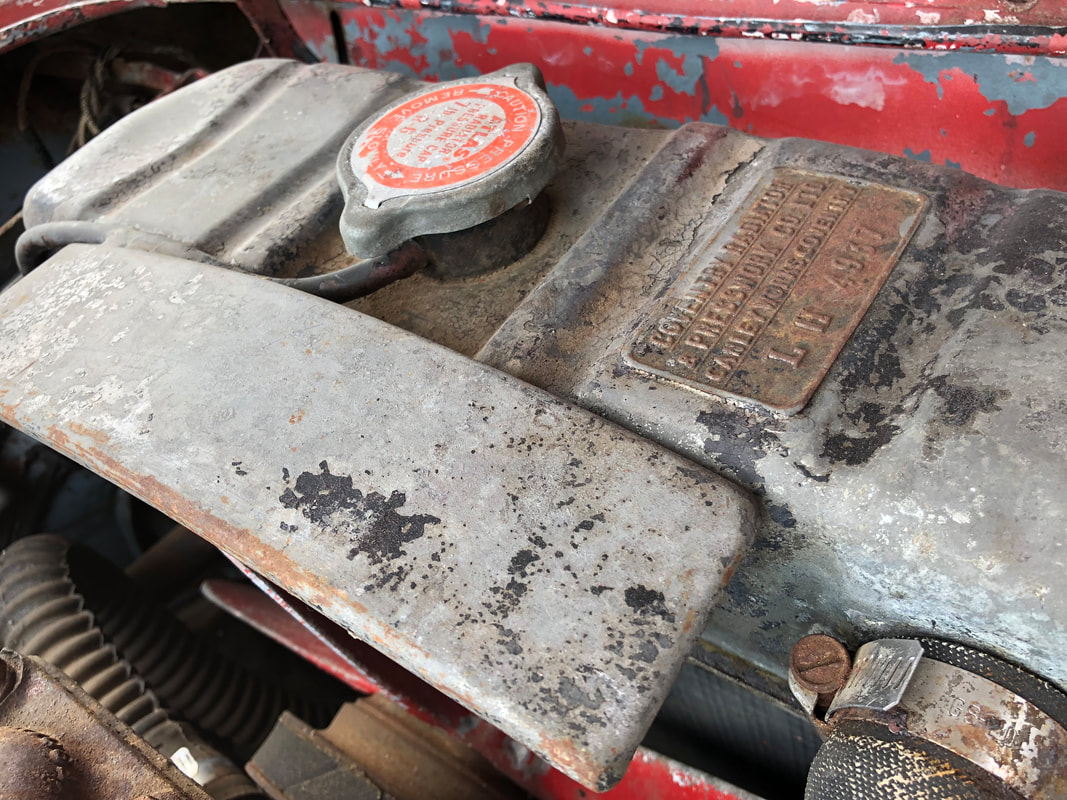
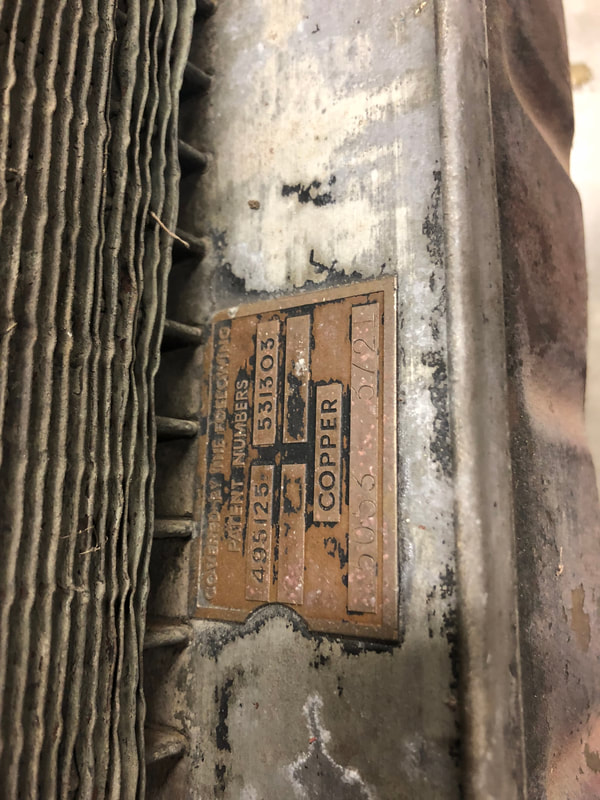
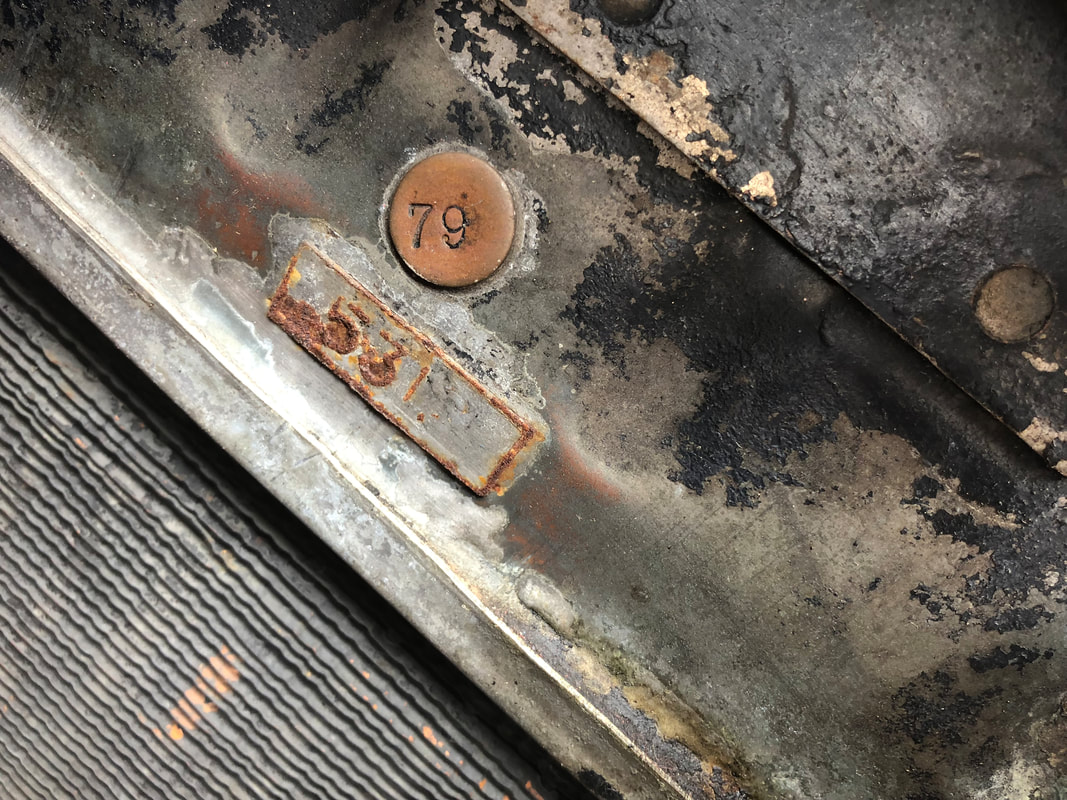
 With the inner firewall all clear, I moved onto removing the radiator. It had some non-original Allen screws used to hold it in place, so clearly it's been out before, but it does seem to be the original rad, dated Jan, 1953.
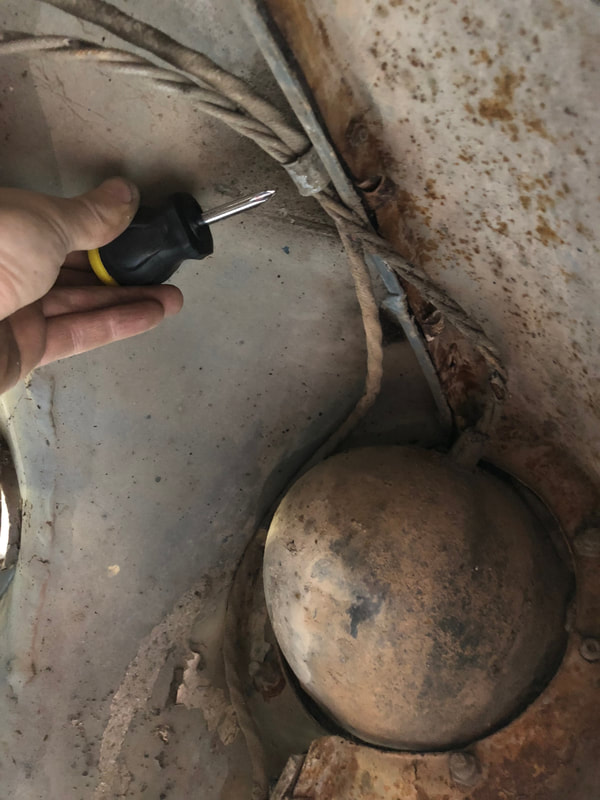
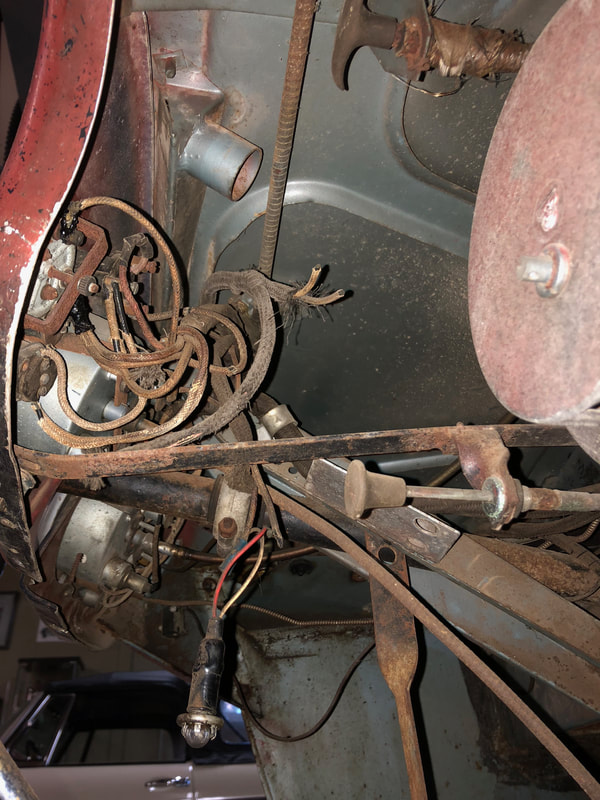
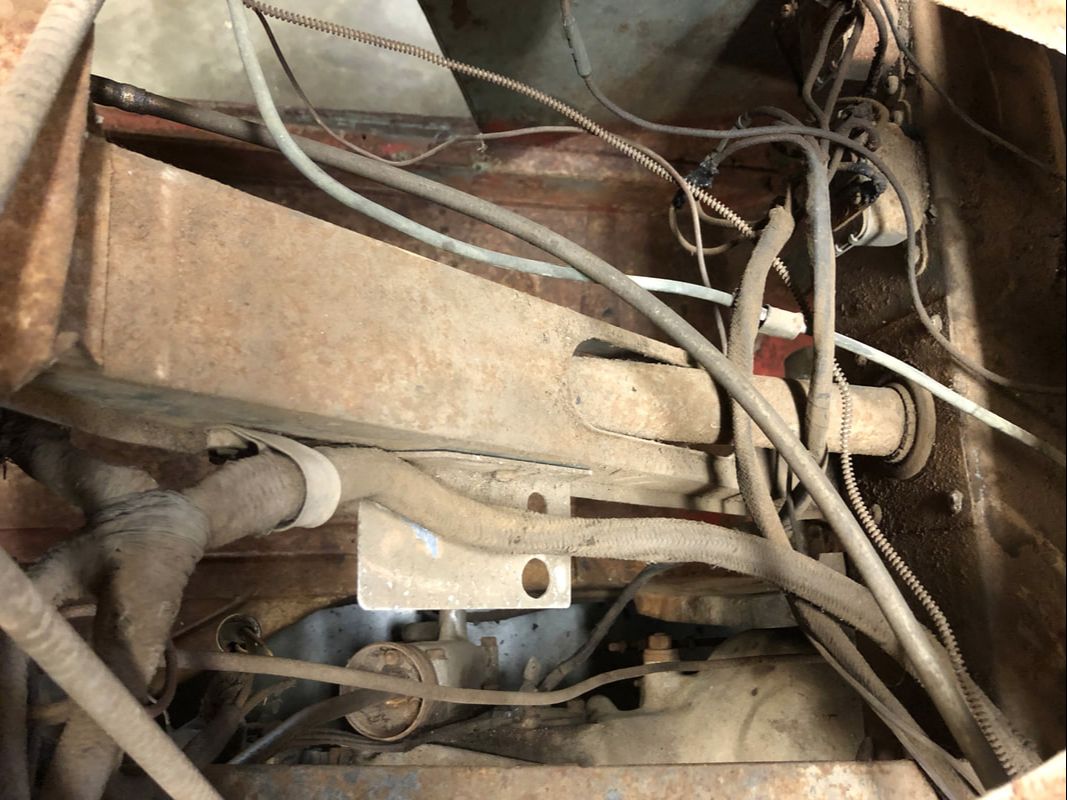
In the boot, I noted the wiring having a noticeable fleck in the loom pattern, as compared to the totally black loom seen all over the front of the car, and it had been wrapped in electrical tape where it went along the floor area beside the gas tank and through the bulkhead - is this original tape??
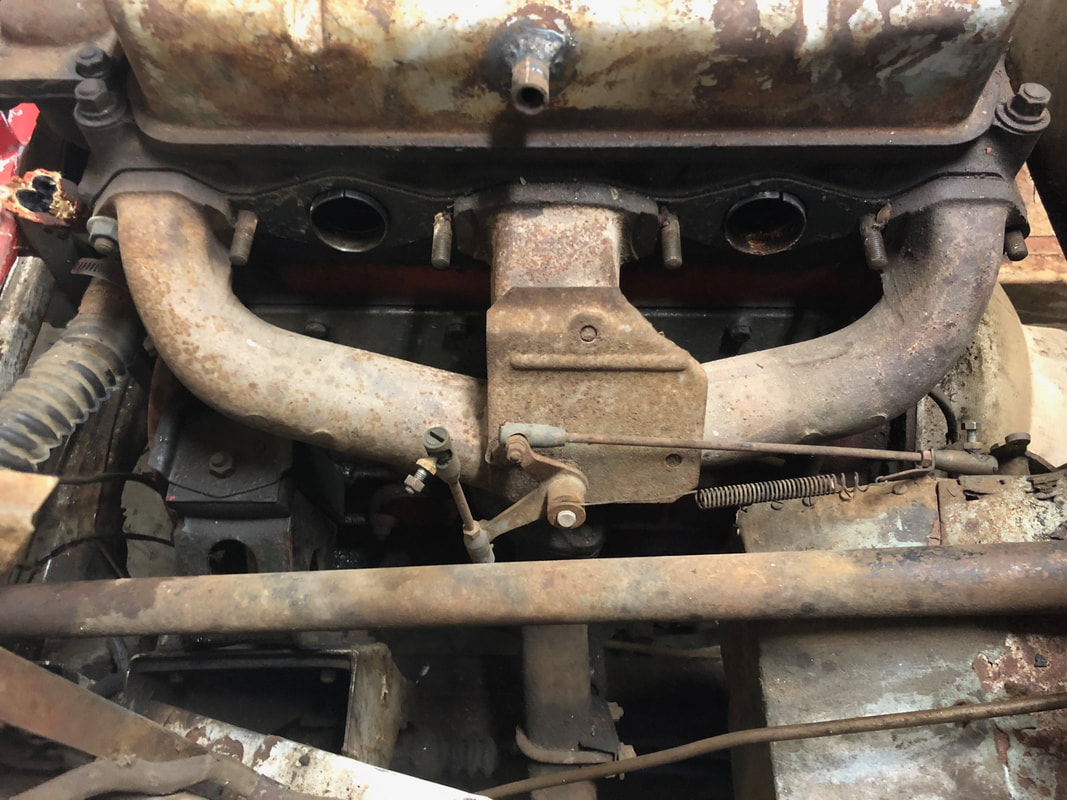
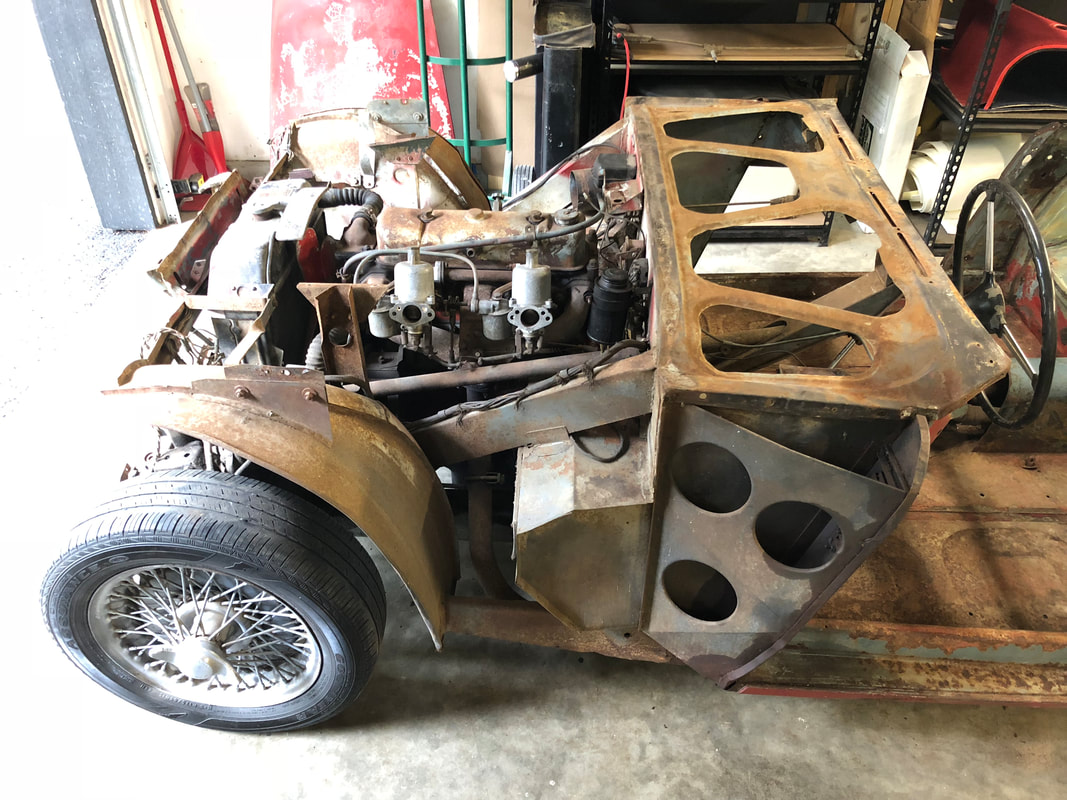
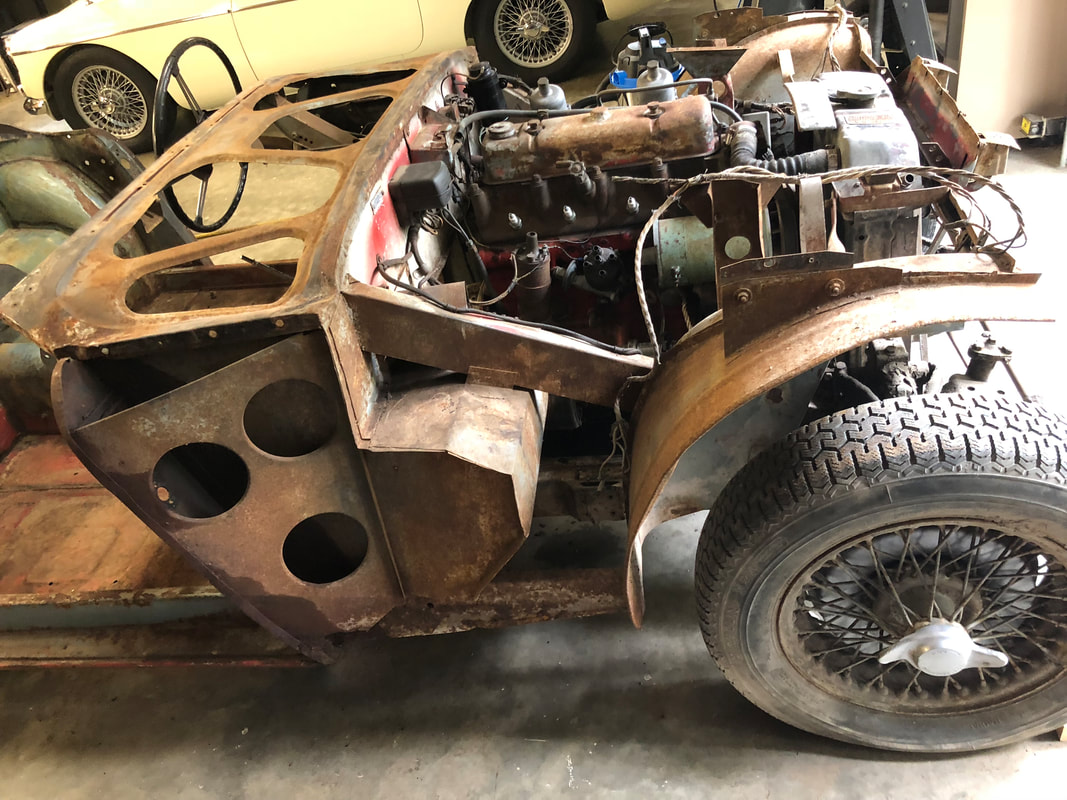
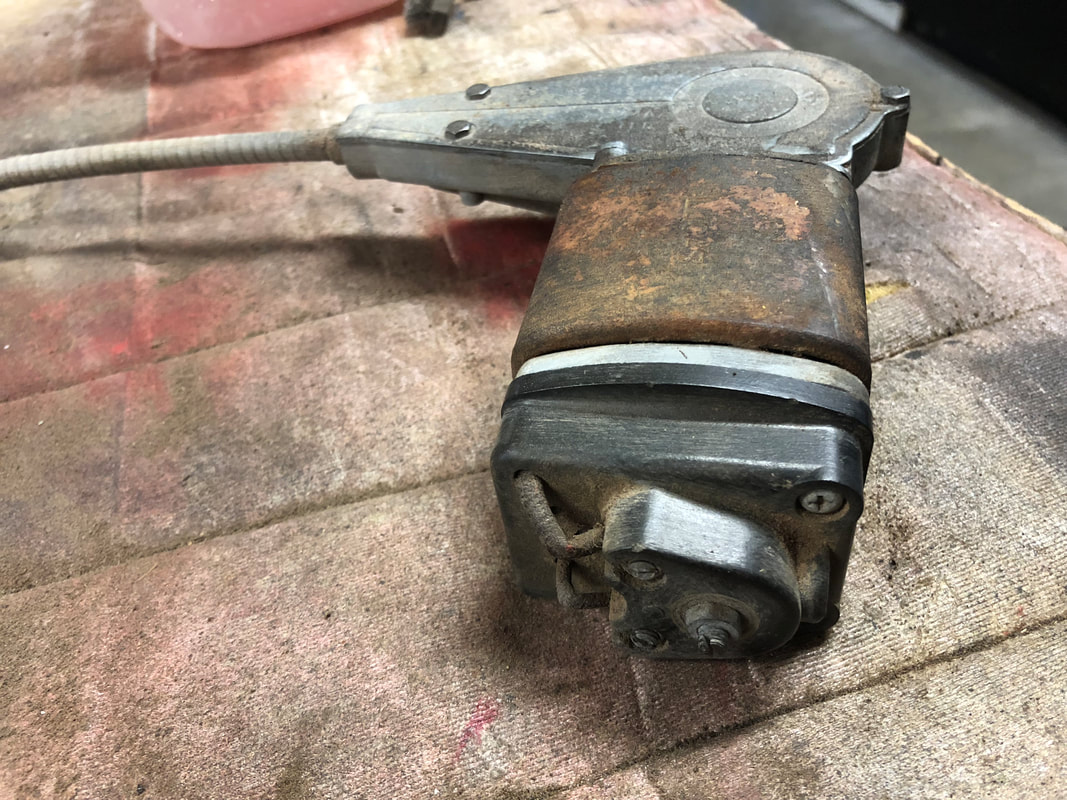
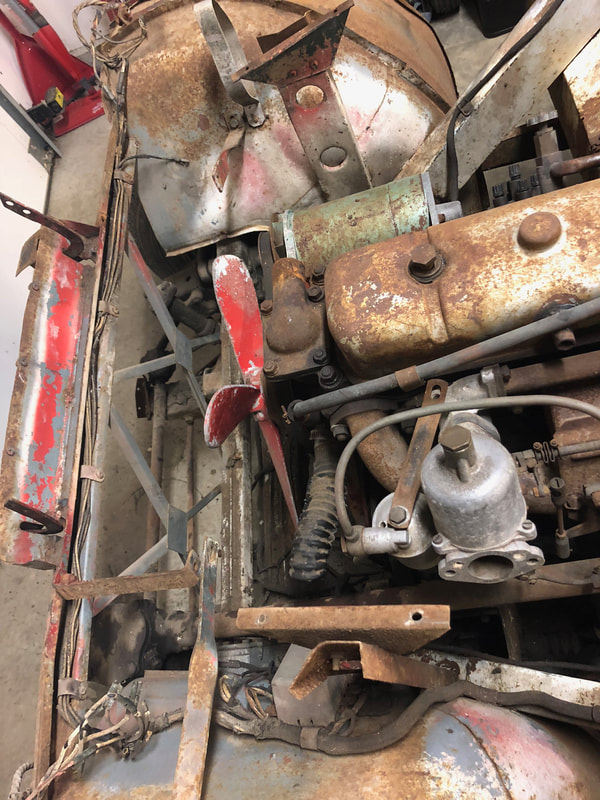
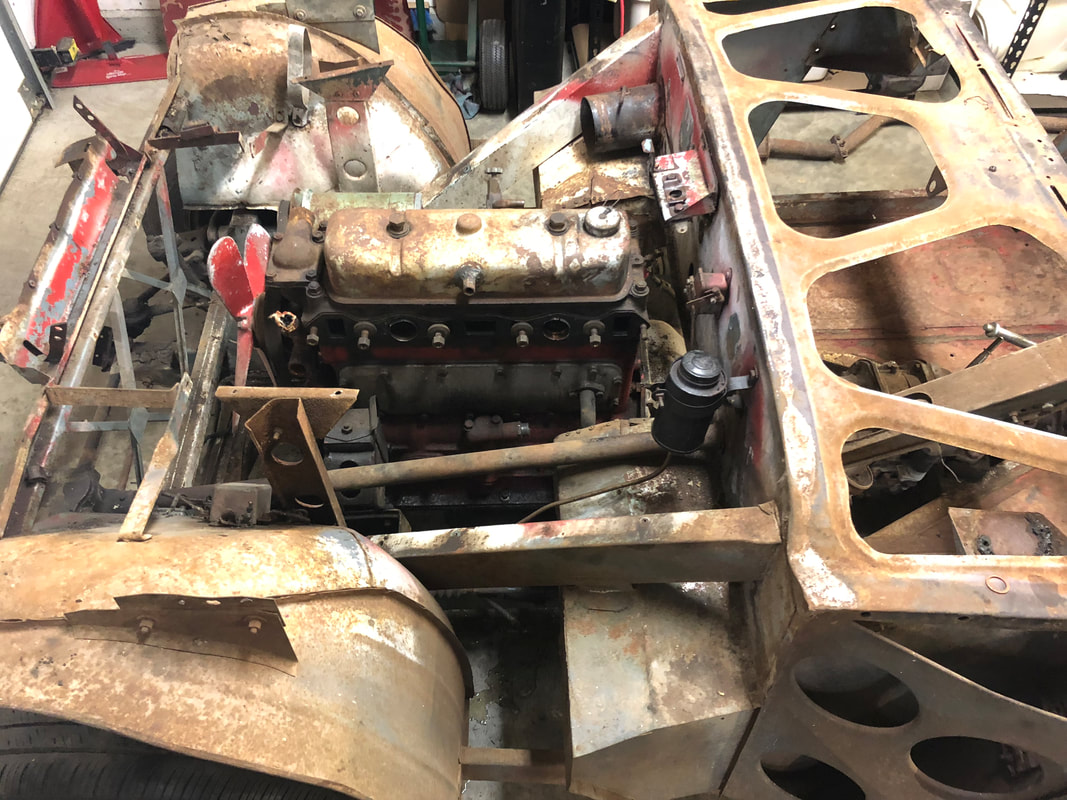
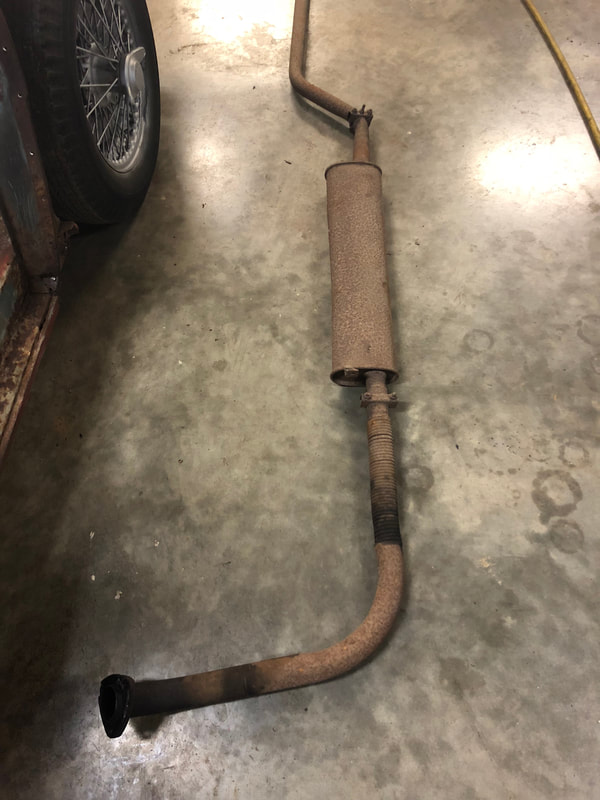
I finished the week by removing the carburetors, manifolds and exhaust. Noting the throttle linkage arrangement, exhaust supports etc. It was nice to find the carburetors still lubricated and not seized inside. I believe this could be the original exhaust too - though I cant find any Burgess logo's on it - in any case it will need replacement! When I tipped it up a large pile of nut shells came out from years of squirrels hiding and forgetting their stash!
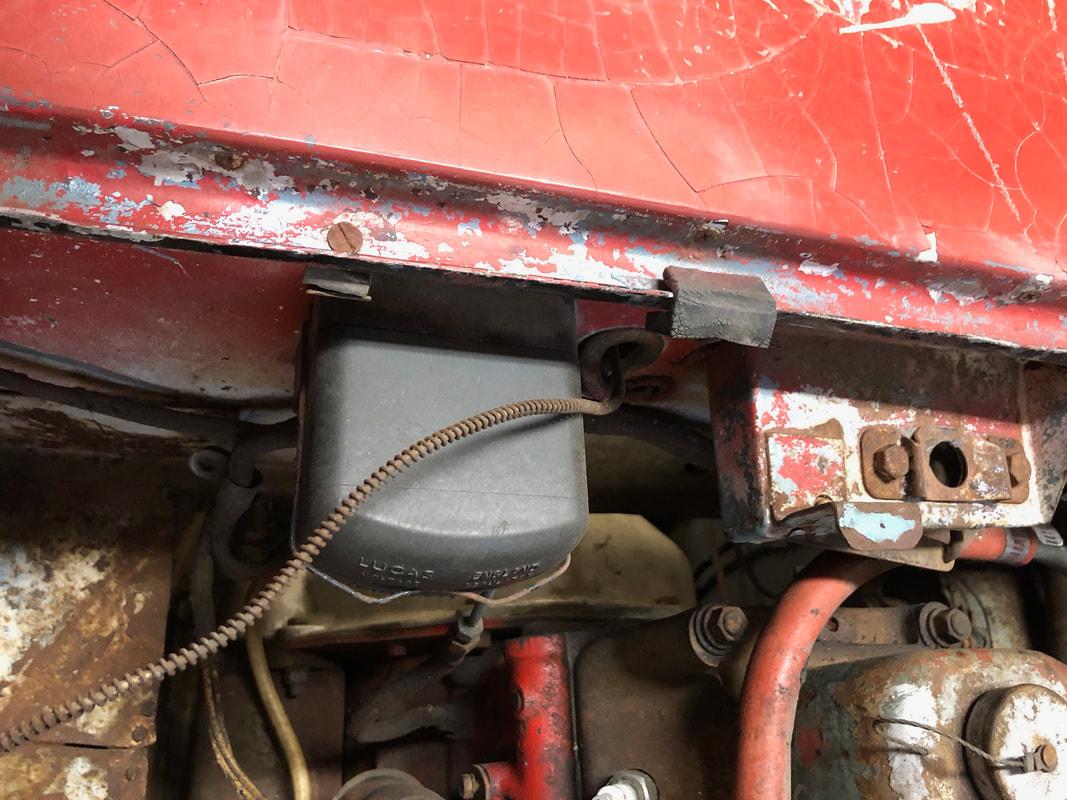
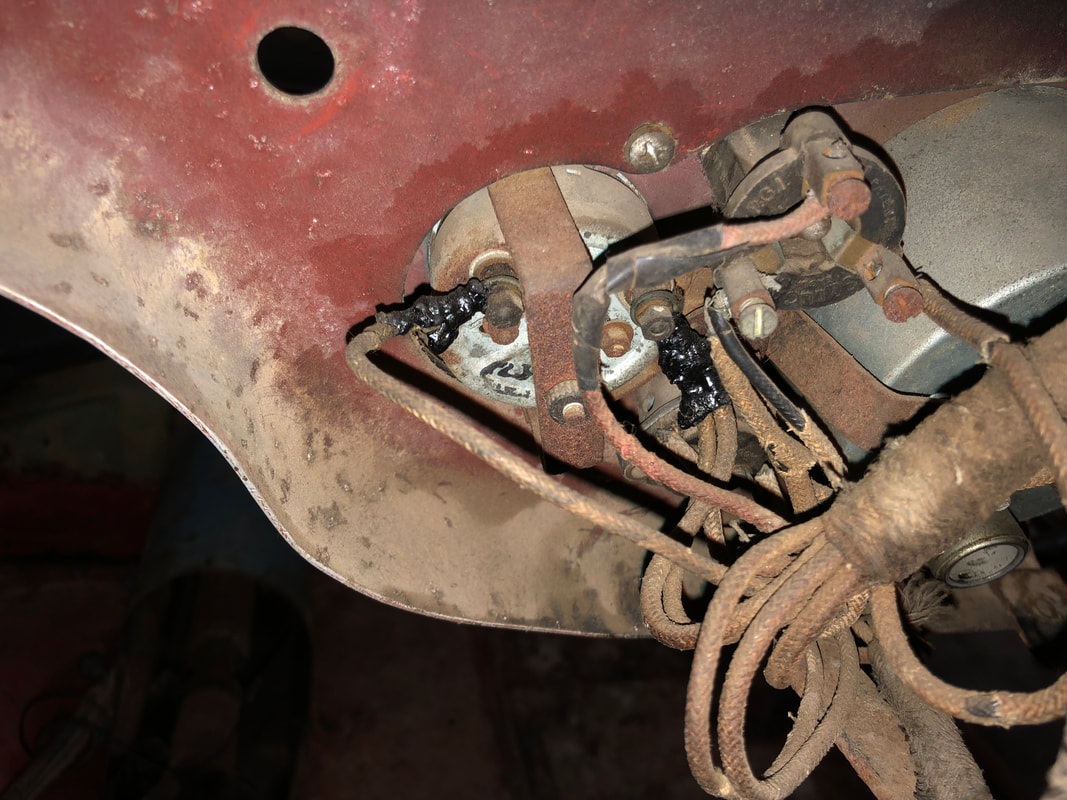
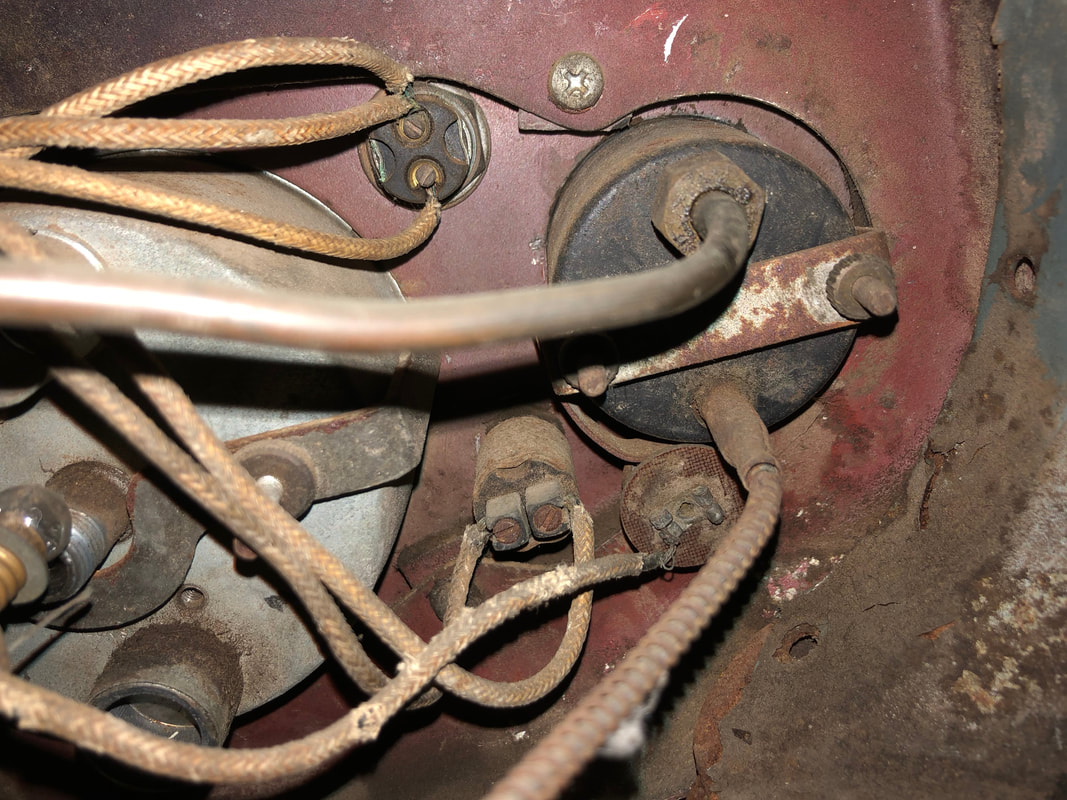
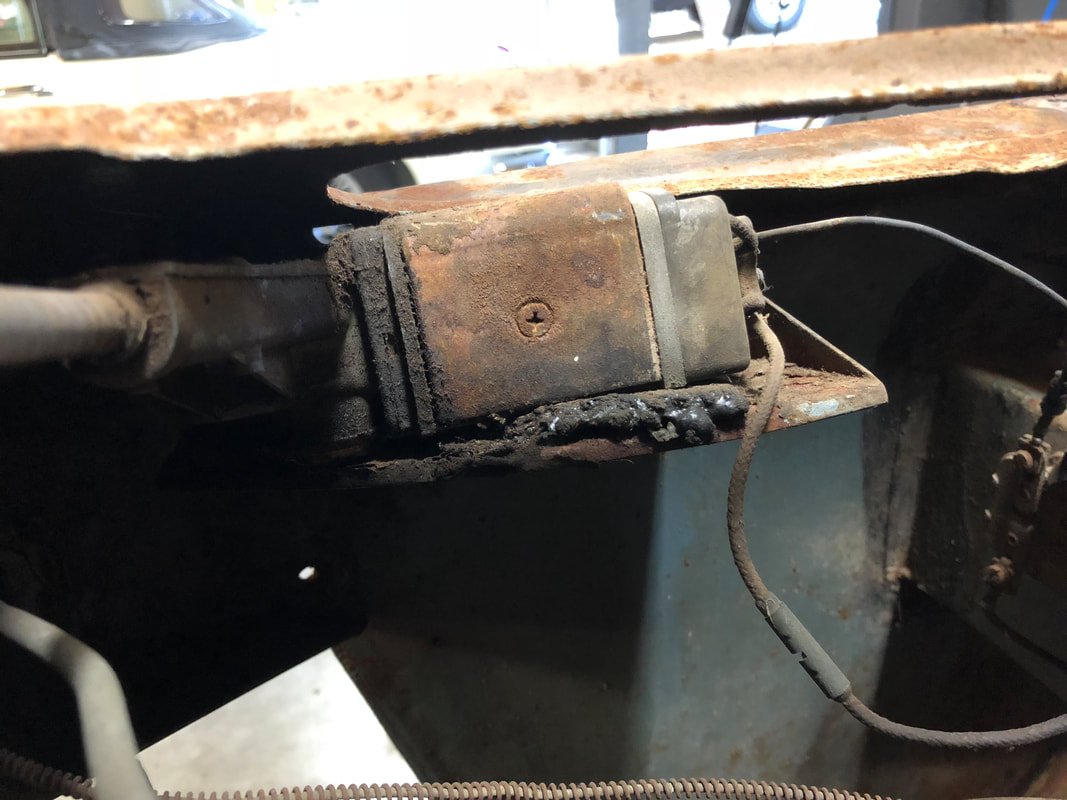
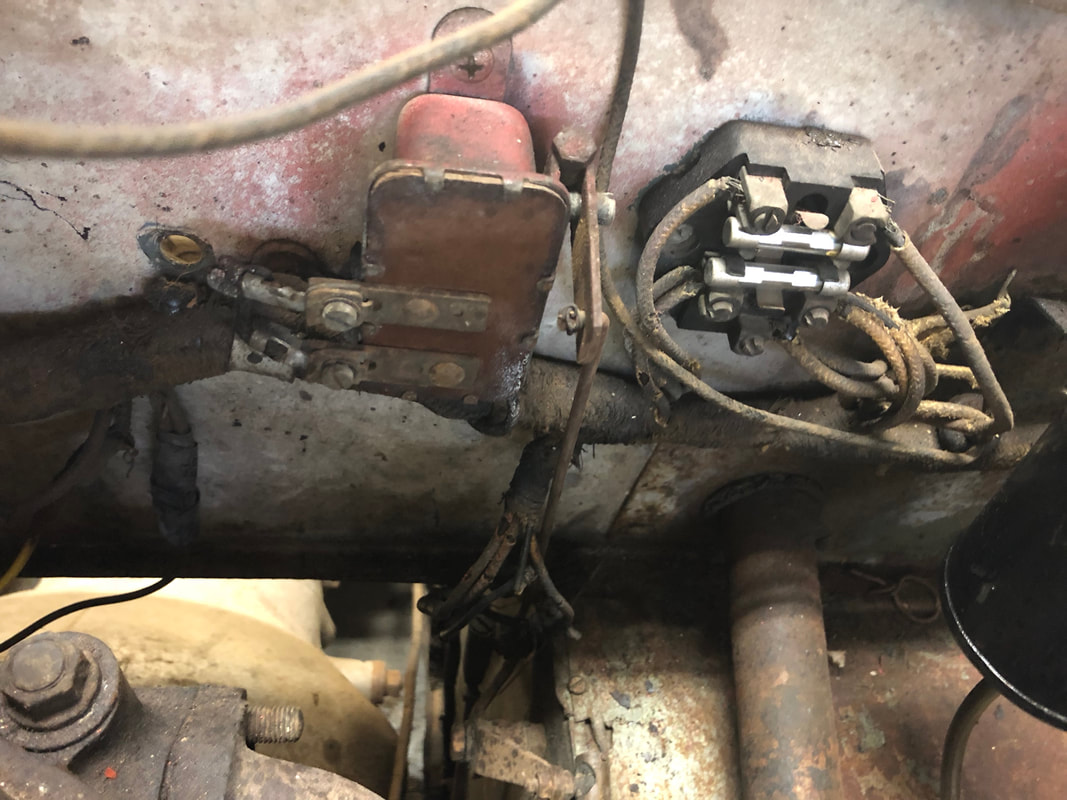
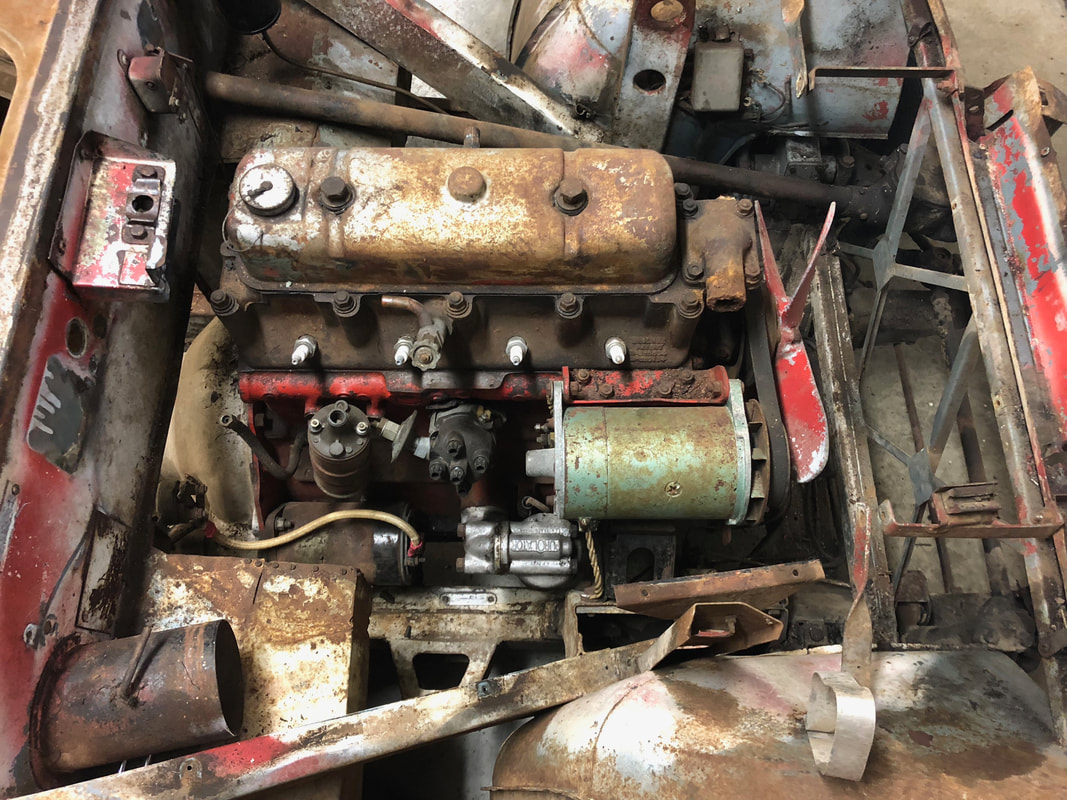
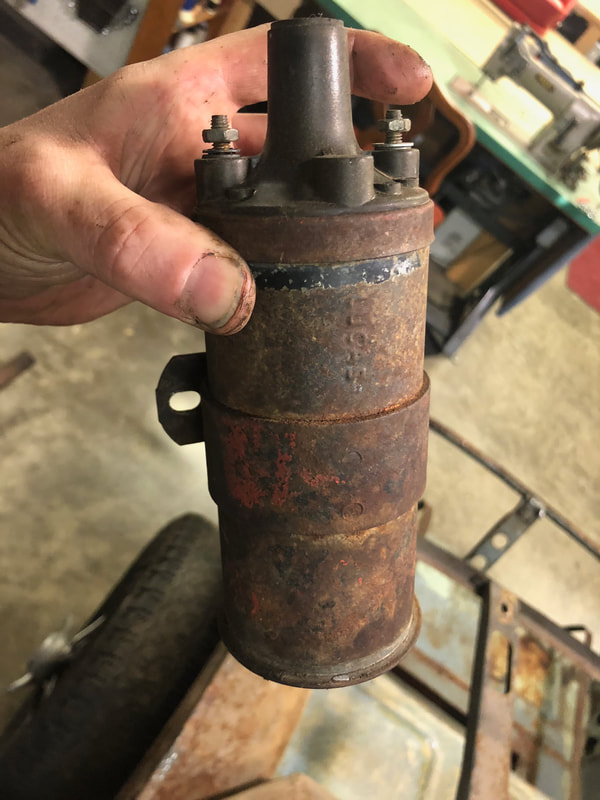
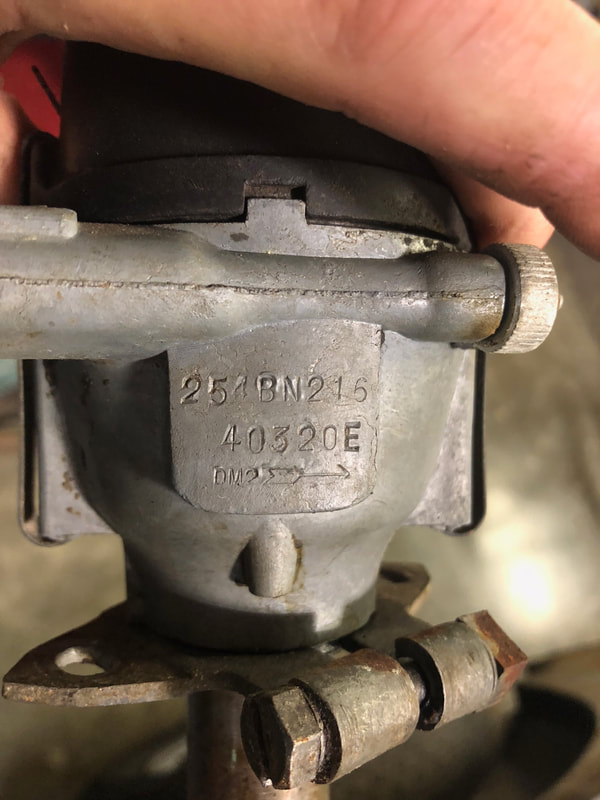
The original Lucas coil - would have been black with a golden label around the bottom. Also the original distributor...
Lots of parts and bags of hardware to go through and restore piece by piece. Should keep me busy over the next few years at least... Good organization, documentation and labeling are absolutely crucial at this stage!
1 Comment
Charles
11/22/2018 06:59:58 am
hi Geoff, this is an outstanding chronology of your restoration. Dad is restoring Healey #1169 and the photos/documentation you’ve provided are most helpful. Thanks, Charles Your comment will be posted after it is approved.
Leave a Reply. |

Archives
December 2023
|


 RSS Feed