|
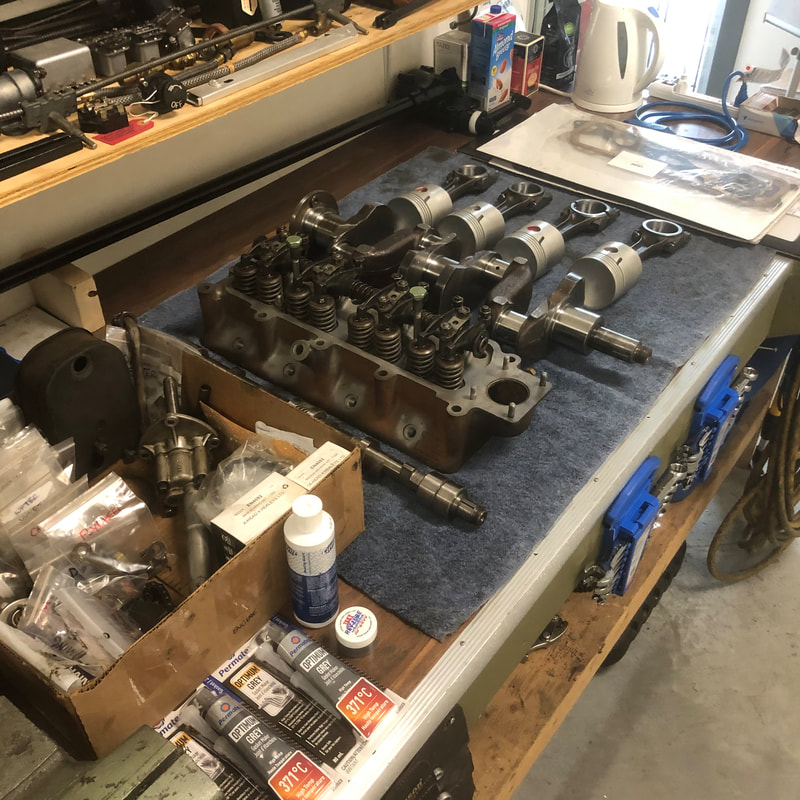
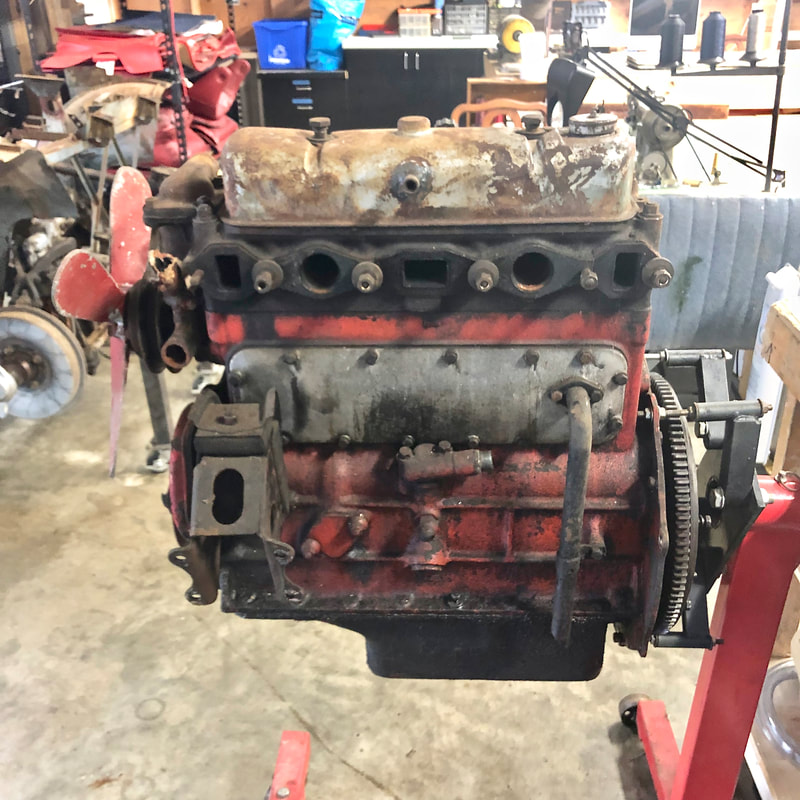
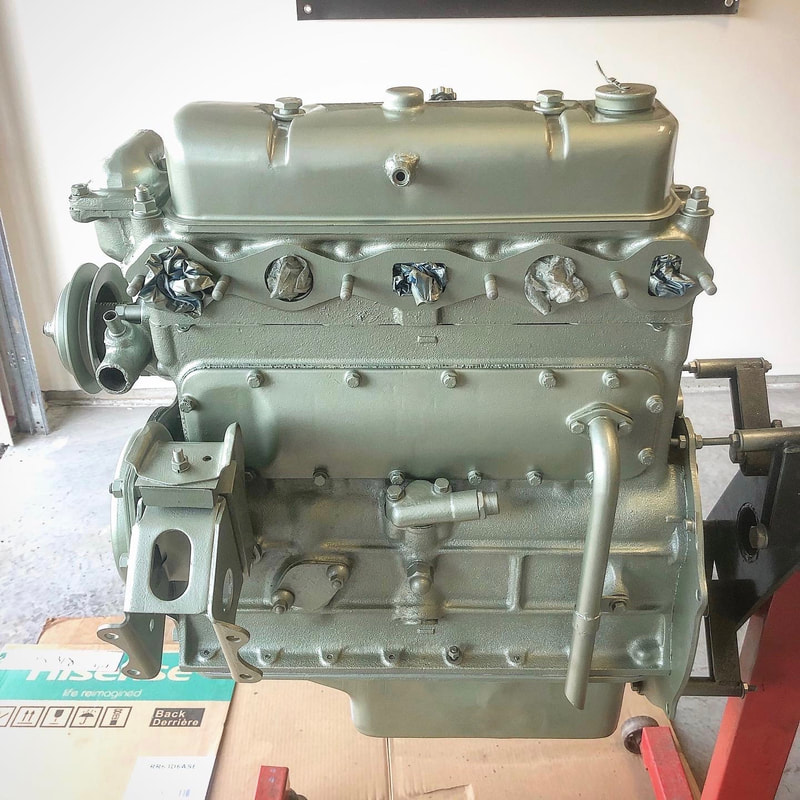
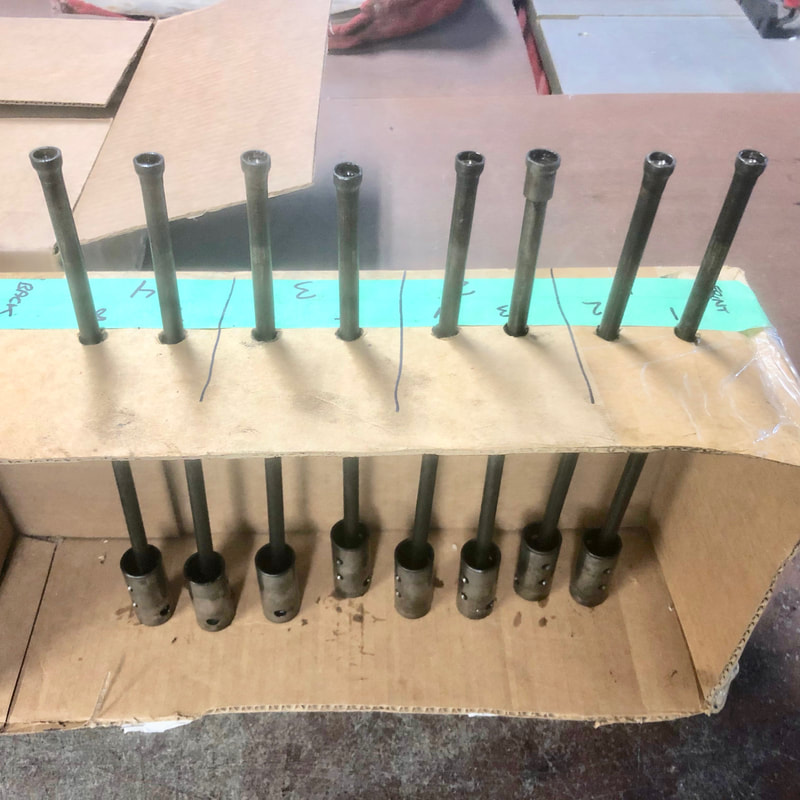
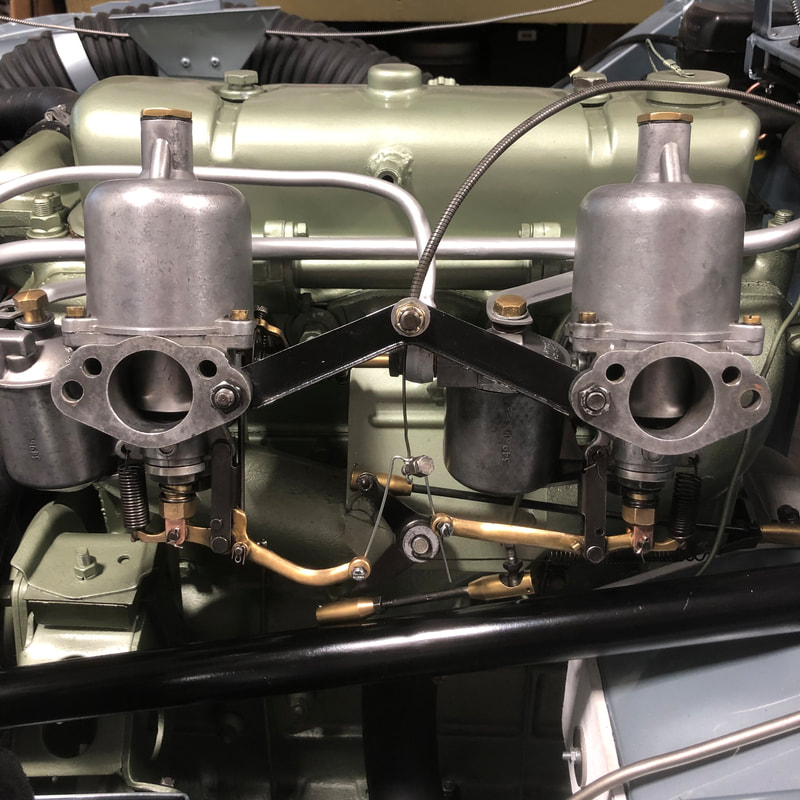
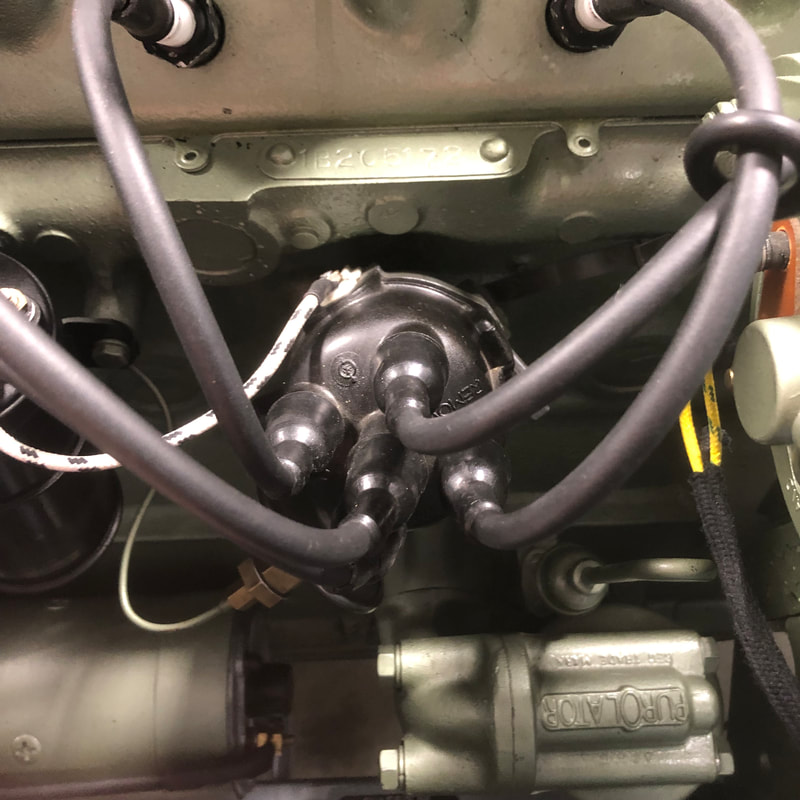
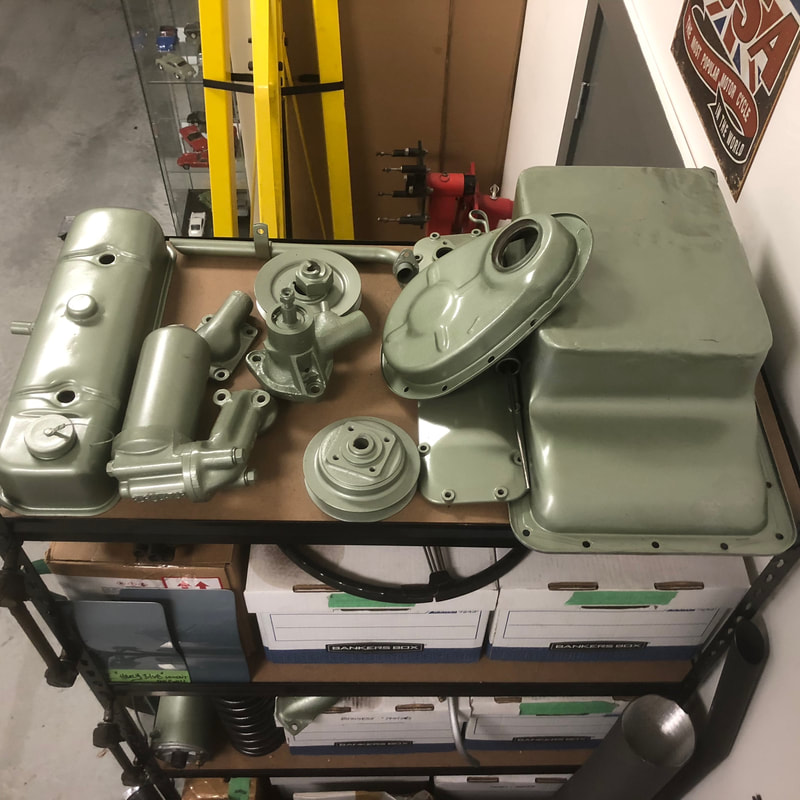
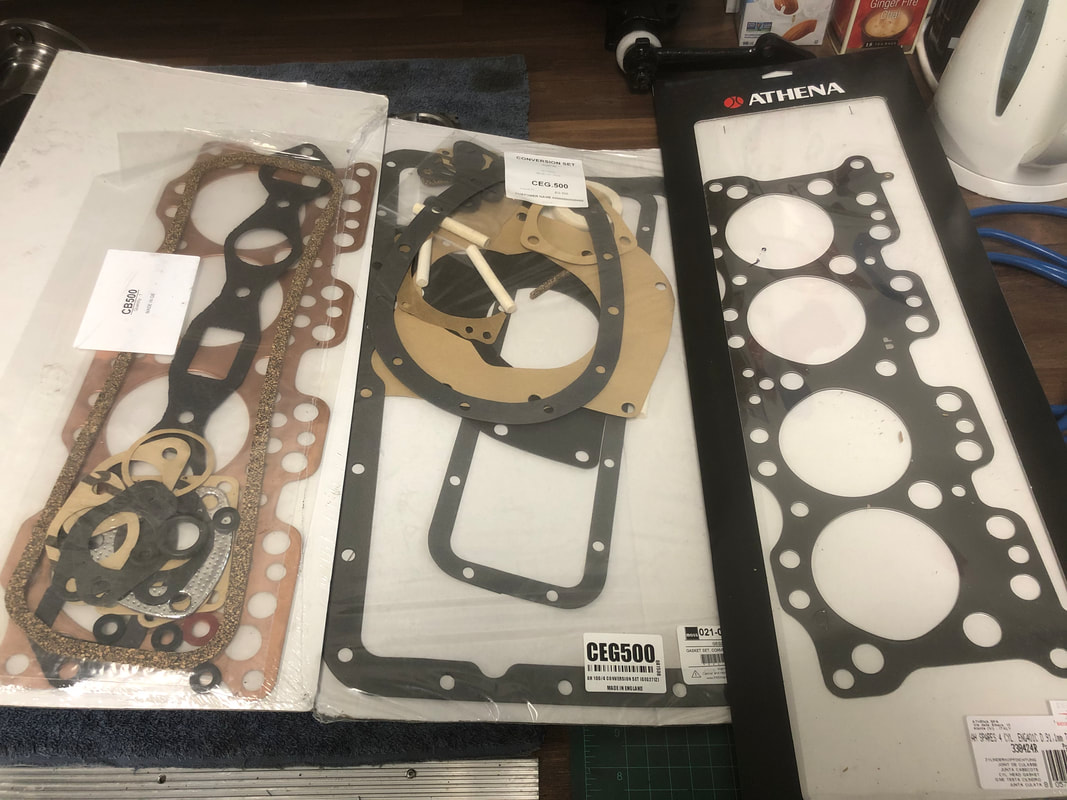
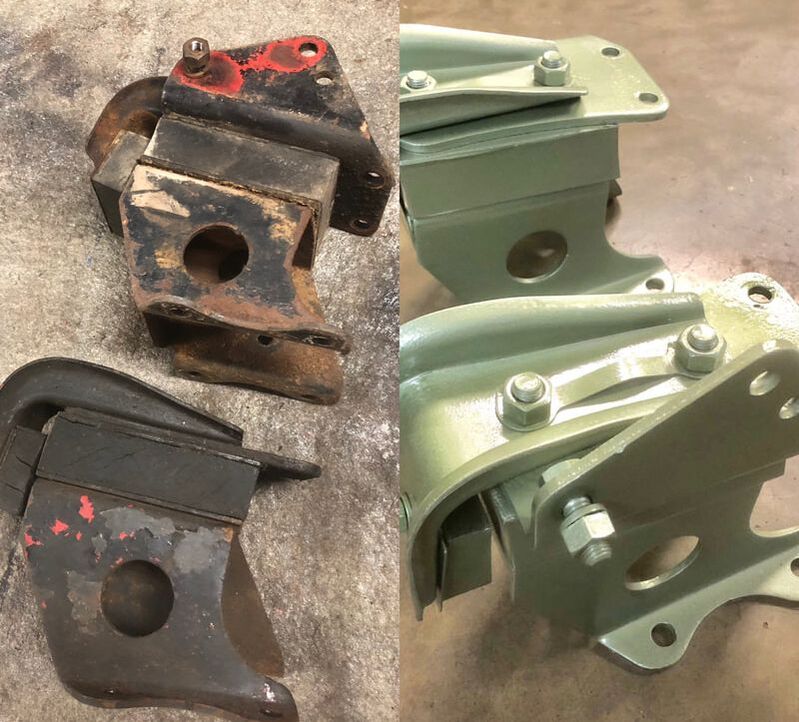
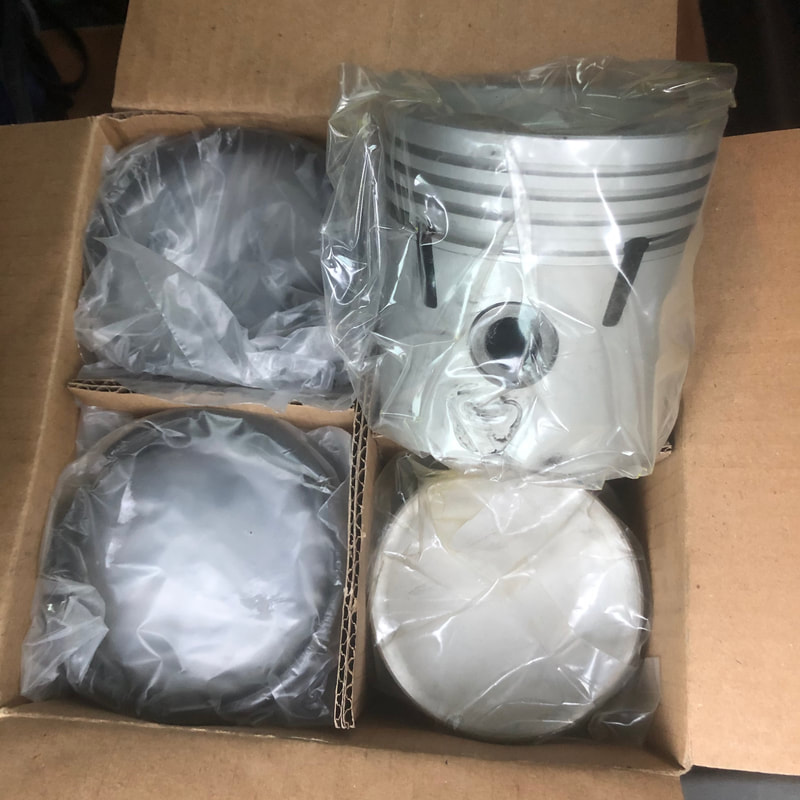
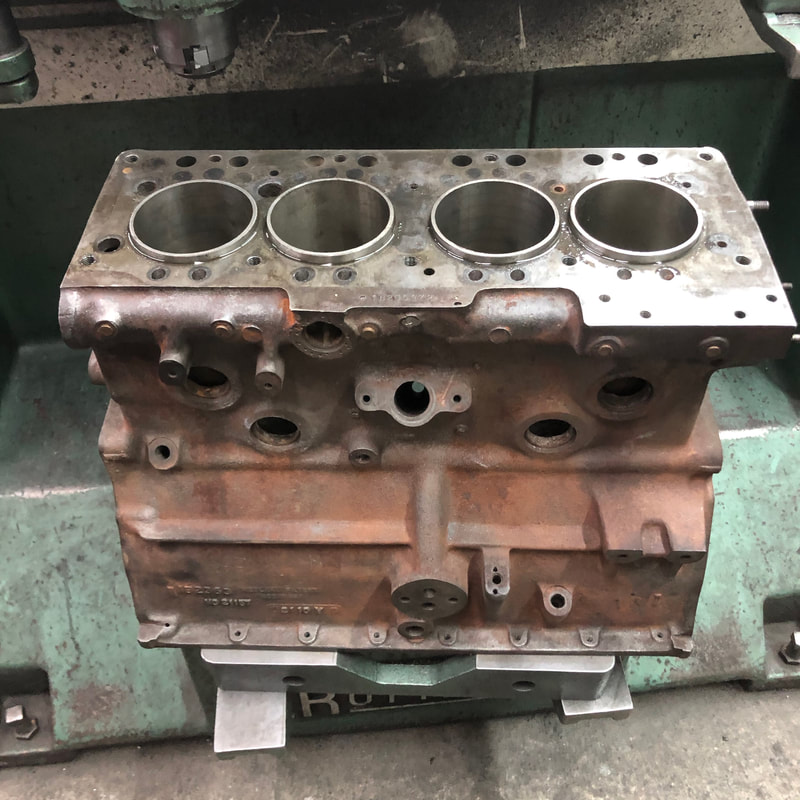
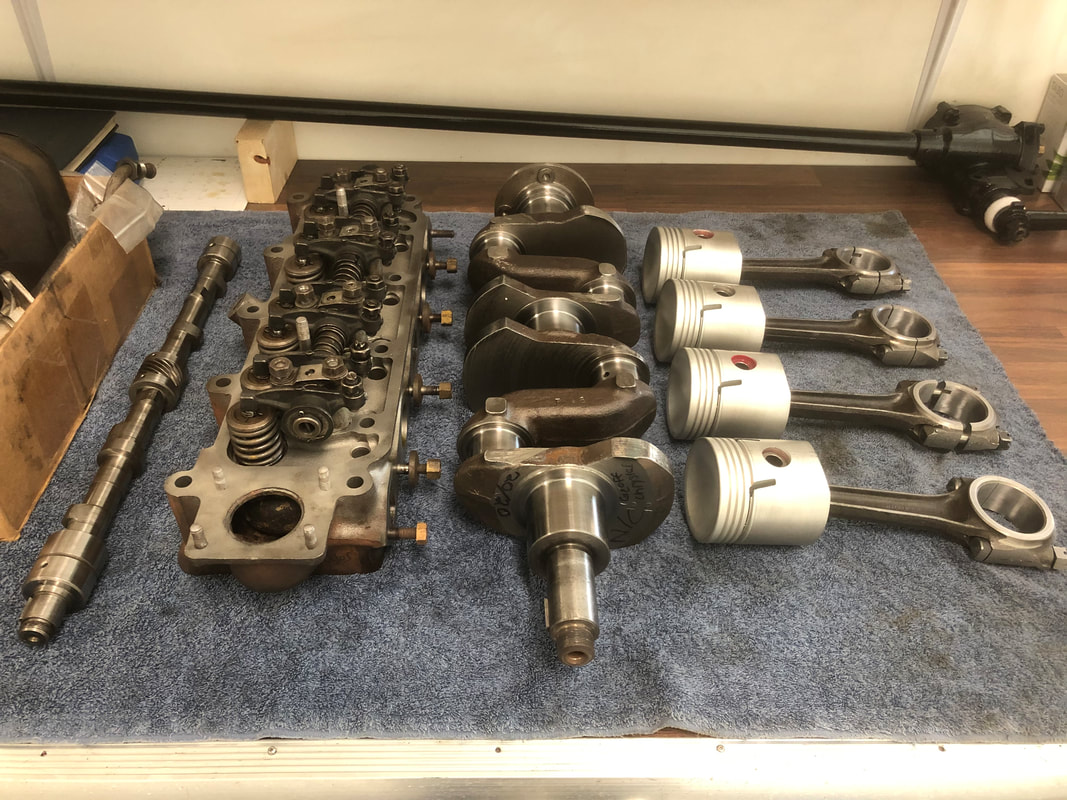
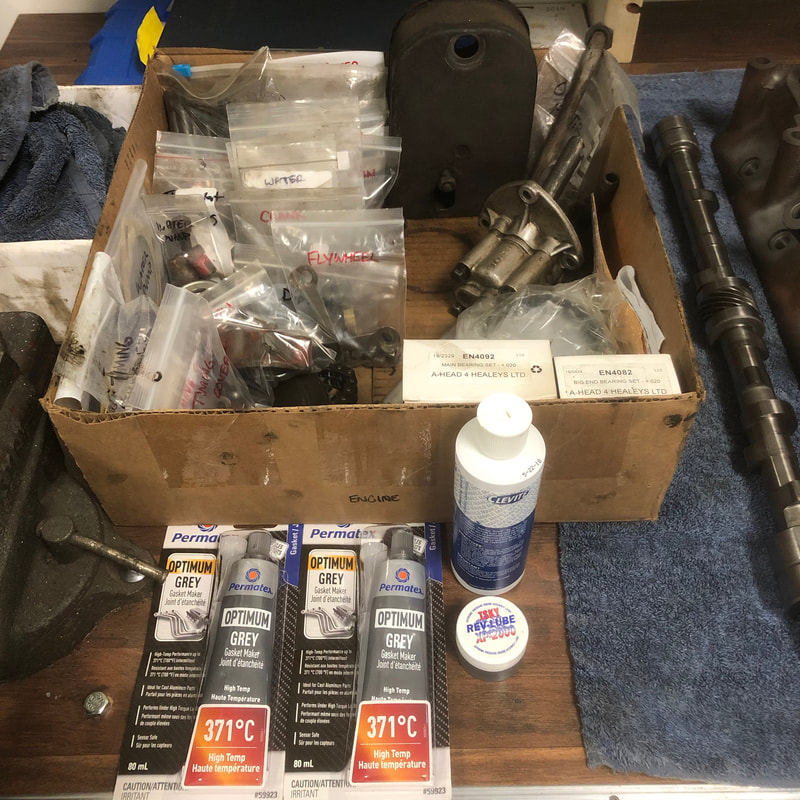
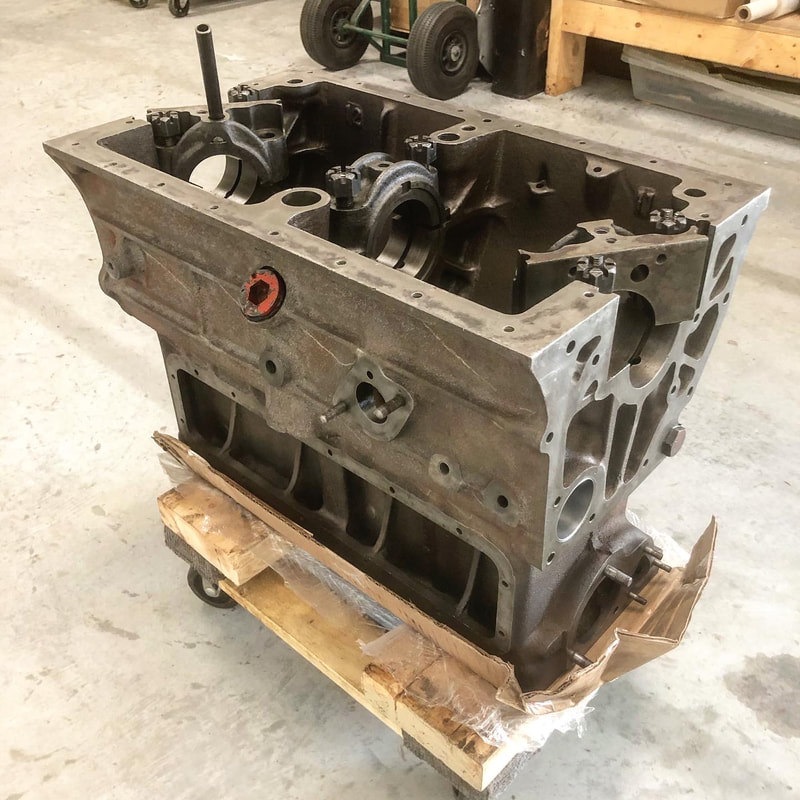
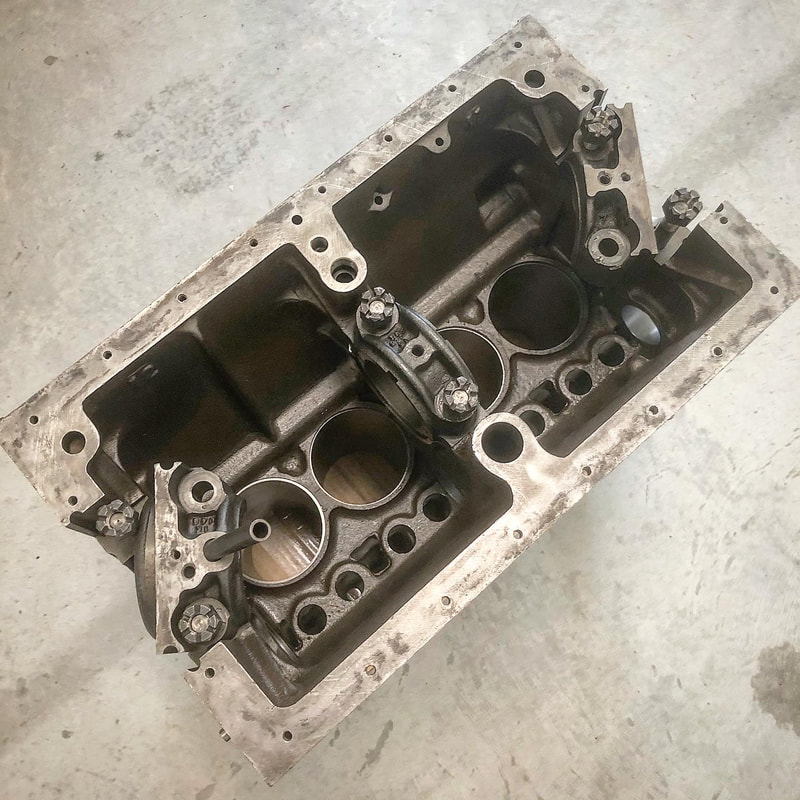
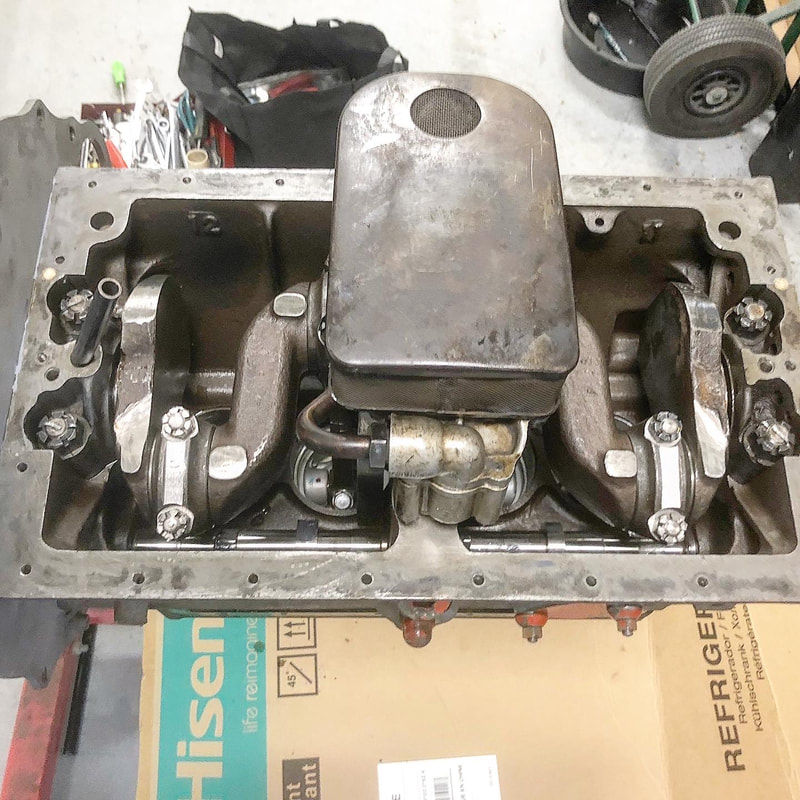
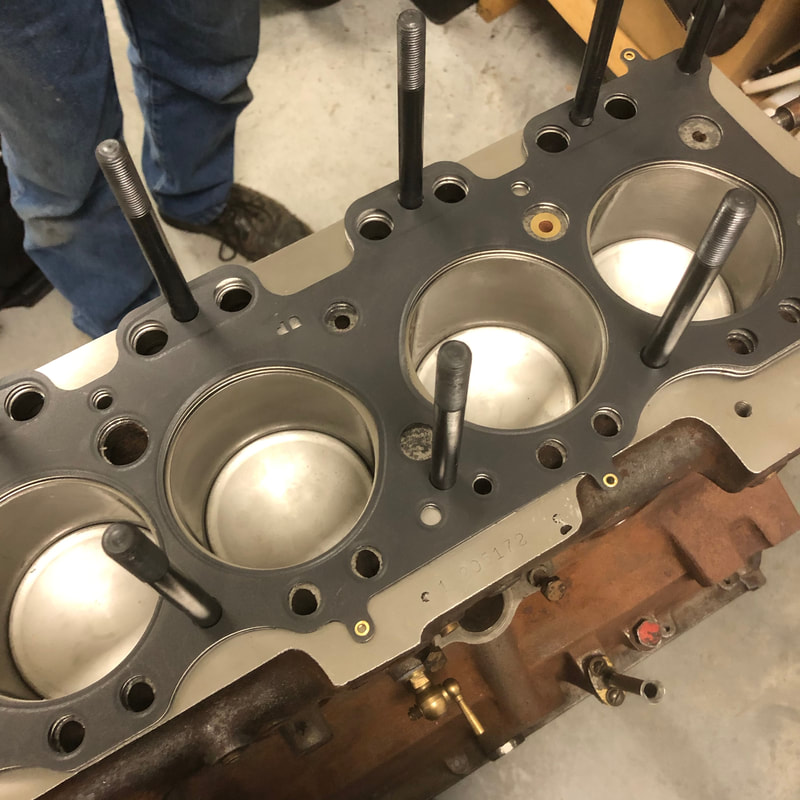
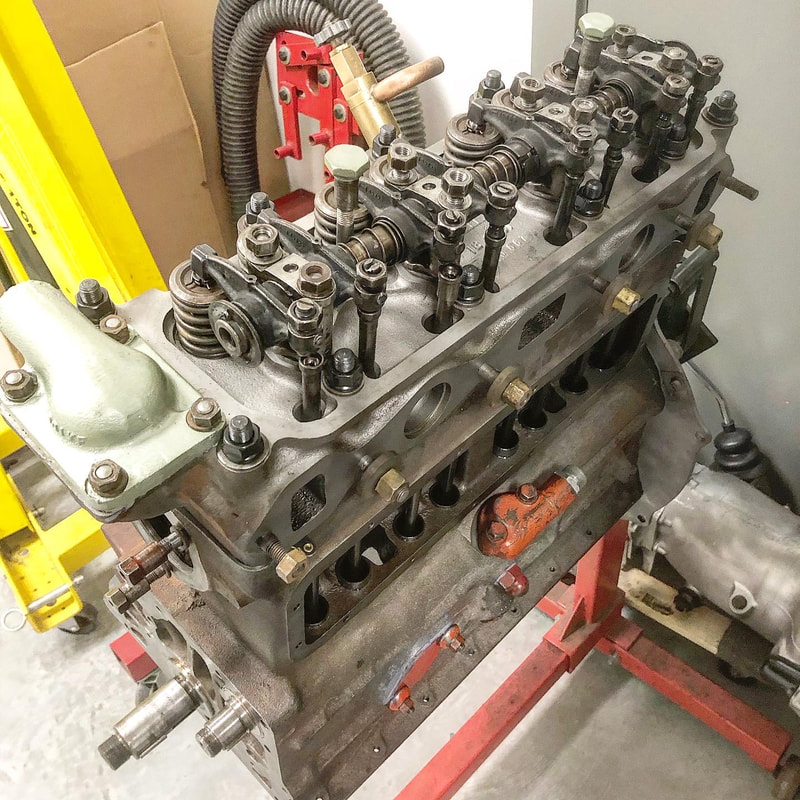
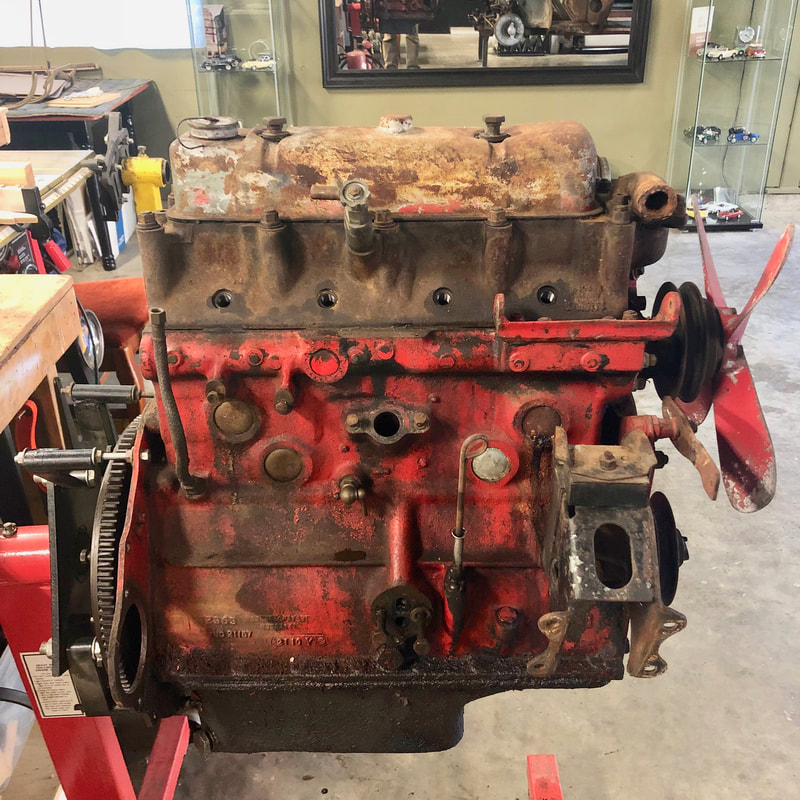
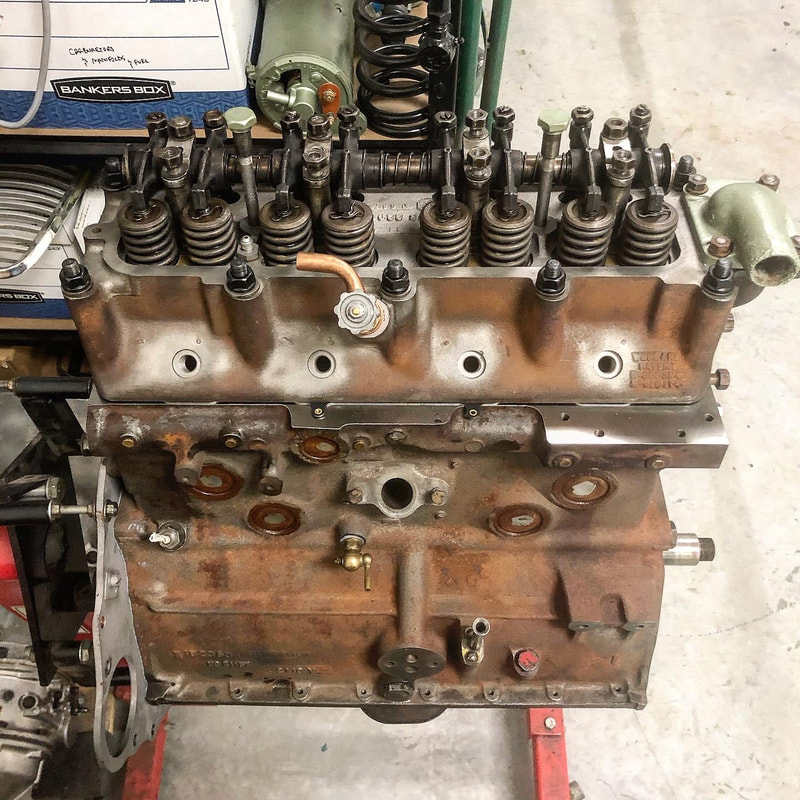
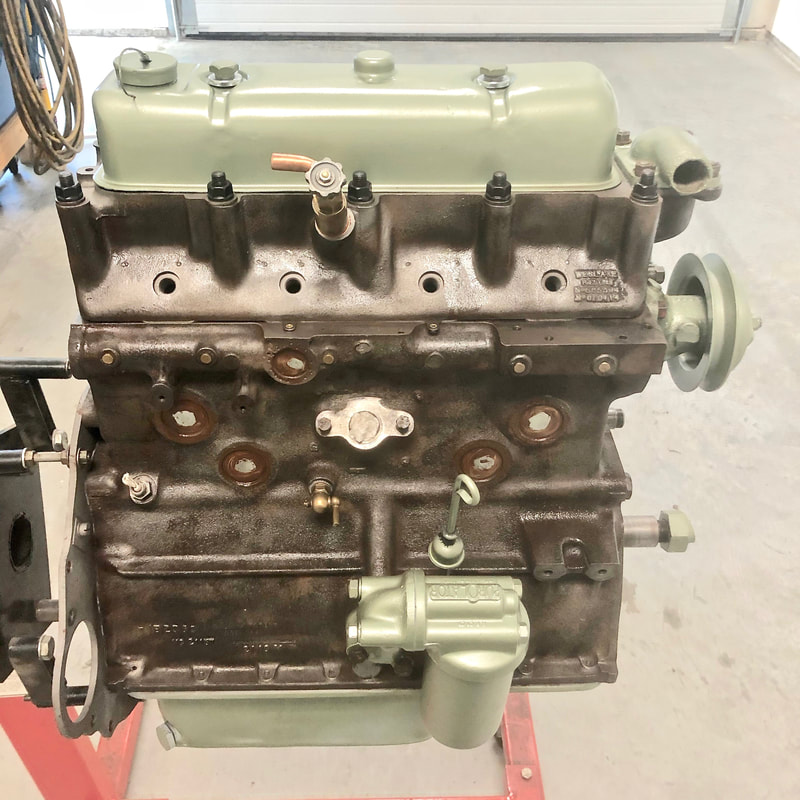
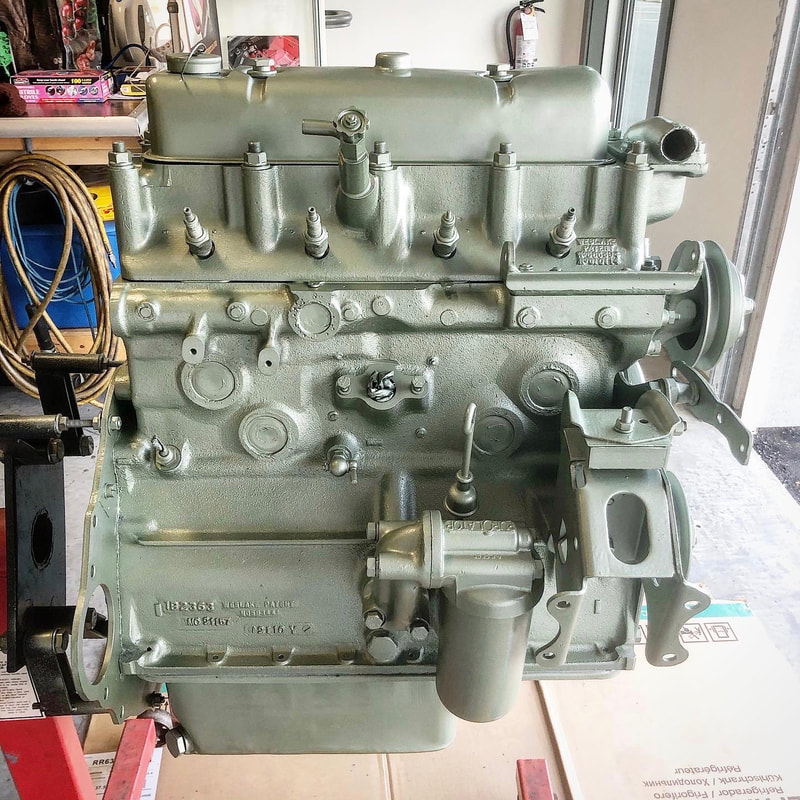
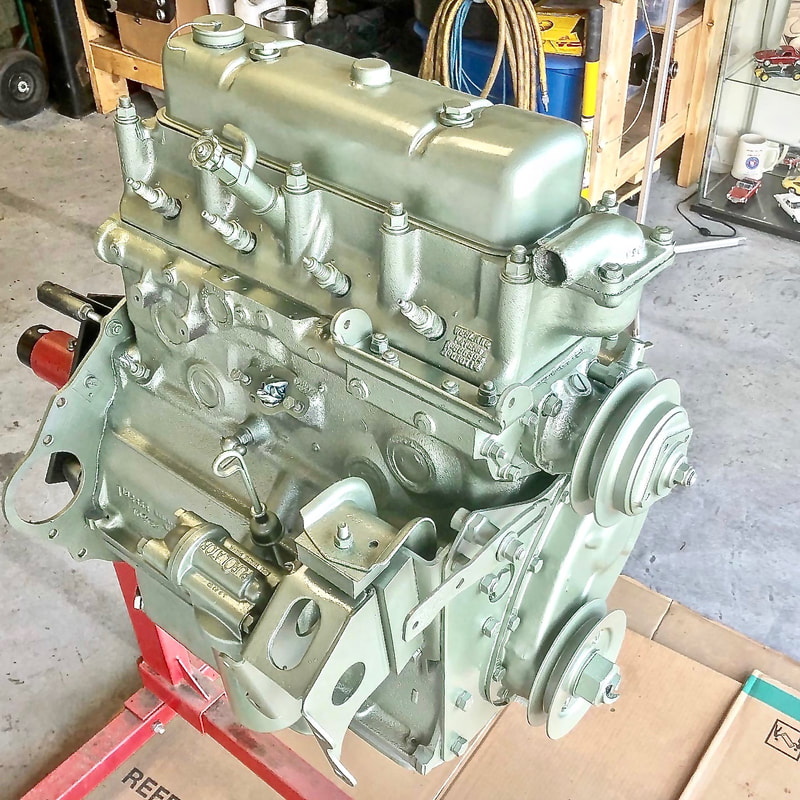
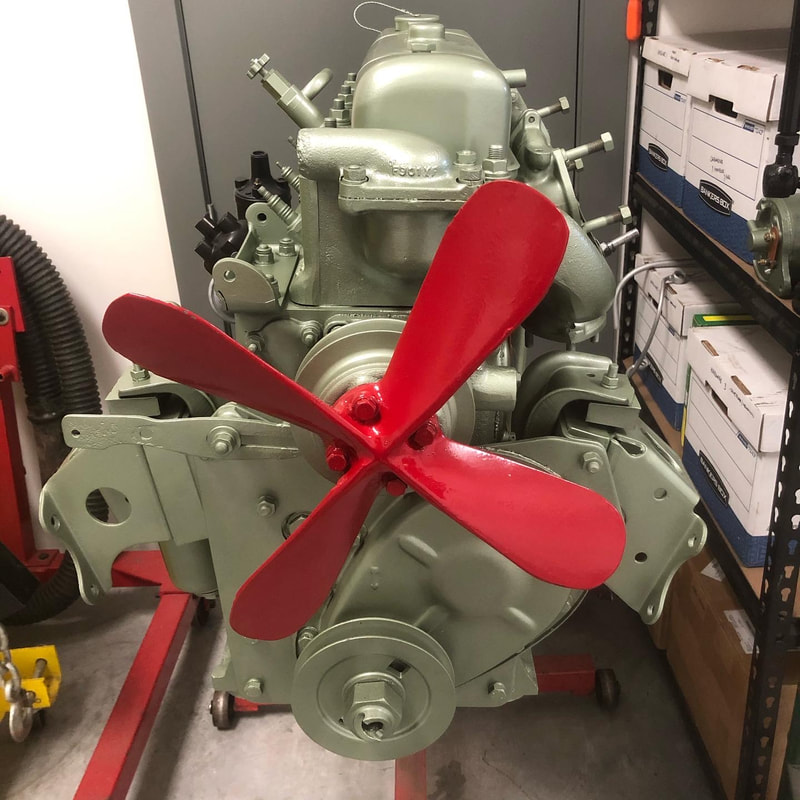
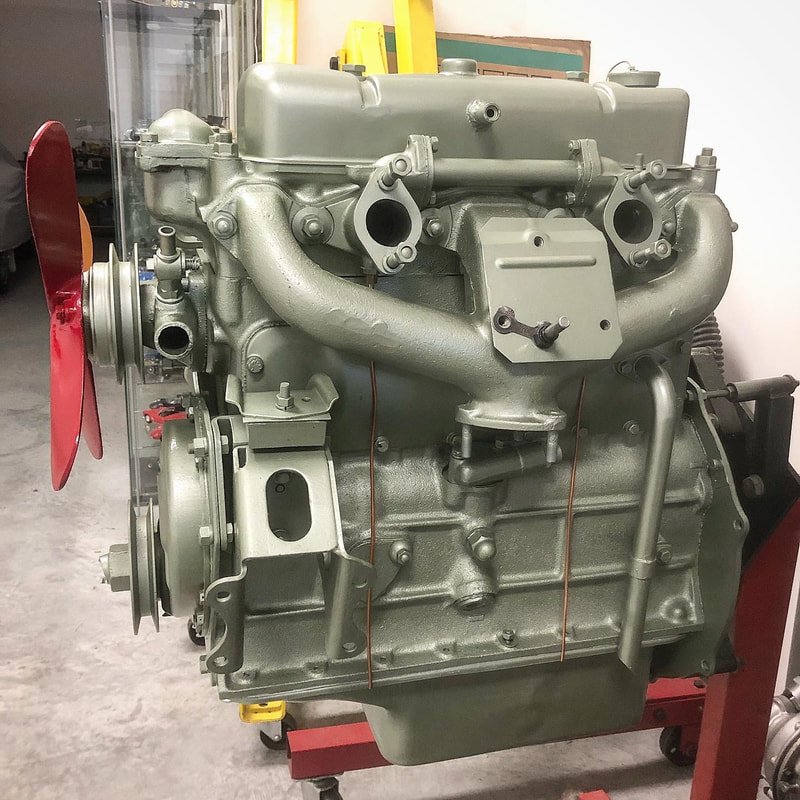
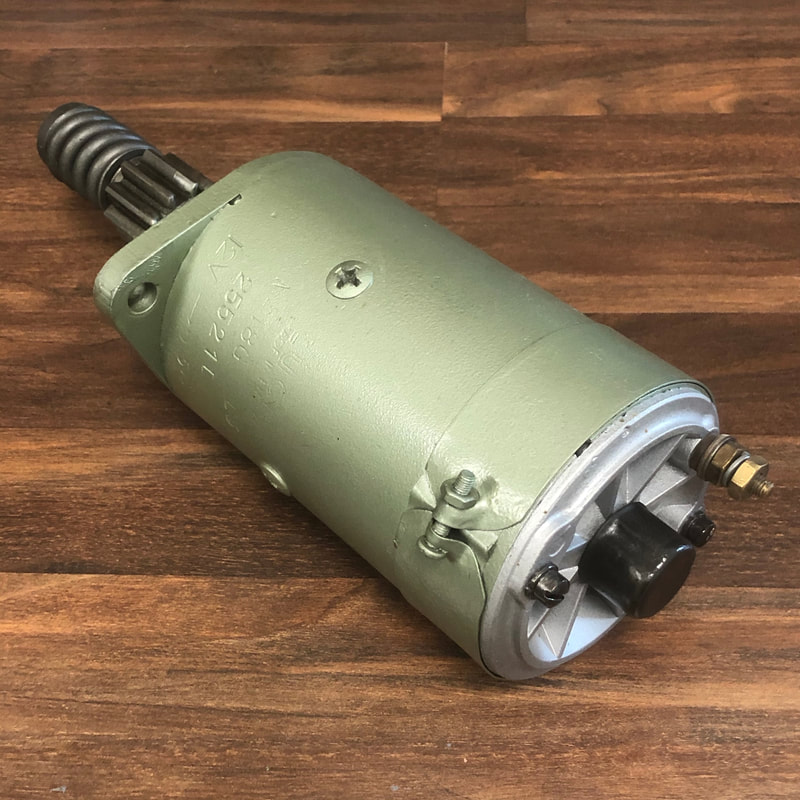
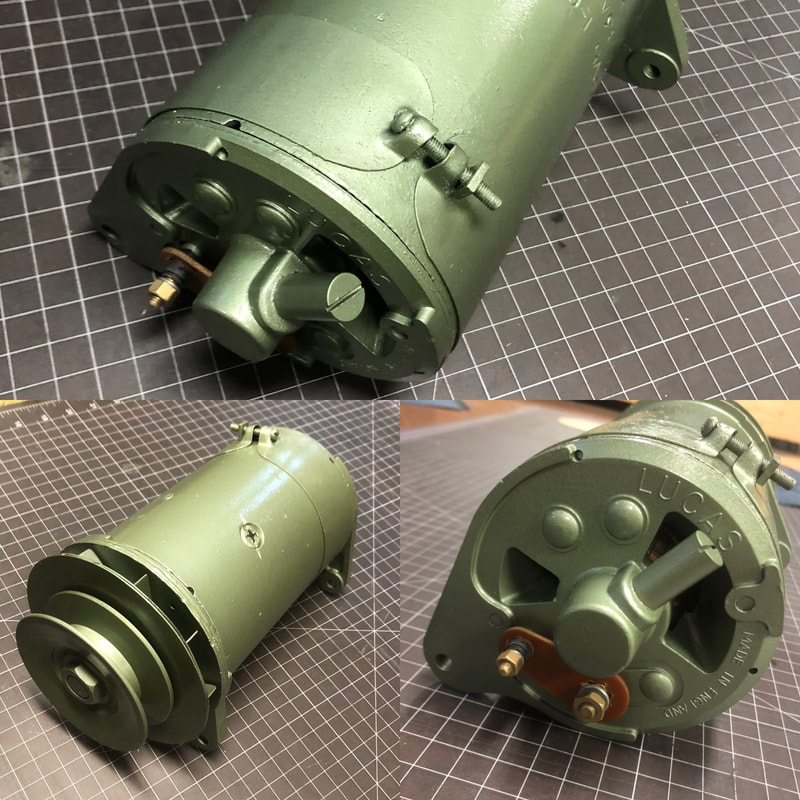
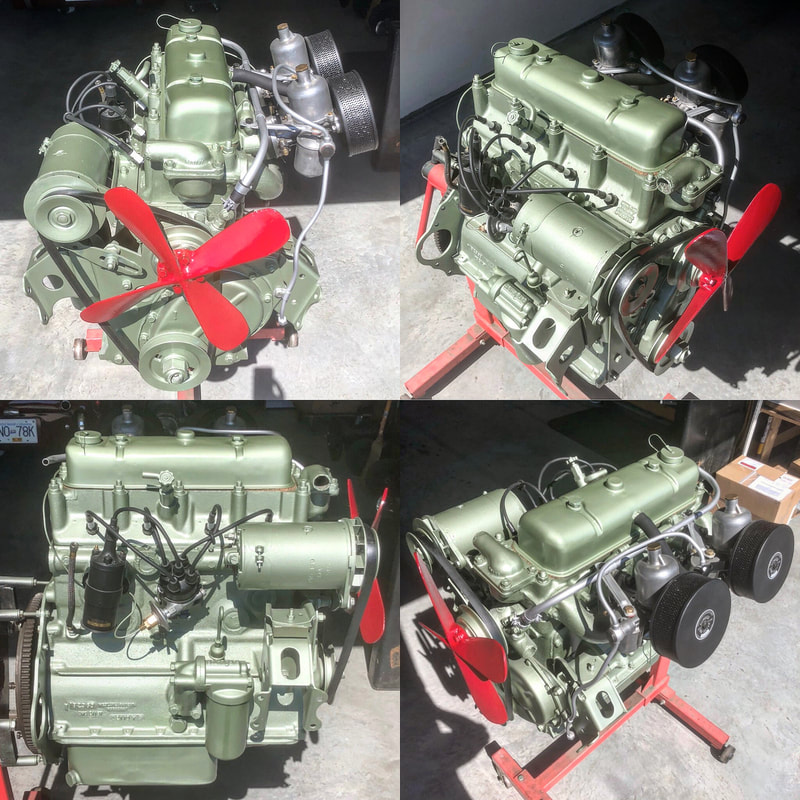
Over the past few months I've given the engine of my Austin Healey 100 a total and complete overhaul! As you can see in the pics below the engine as it was when I pulled it out of the car, was in typical filthy rusty shape with much deeper concerns hidden inside... Now though, it's been freshly machined and rebuilt with several new parts and fresh gaskets, bearings and finishings... I began the rebuild back in the fall of last year, I carefully dismantled everything, making sure to take lots of pics and notes along the way so I could keep track of any issues I found and keep the parts all very organized. What I found was a very tired engine that had clear evidence of being rebuilt in the past with several tuning "upgrades" added such as: -.020" over sized pistons, 2 of which had different ring arrangements that the others! -replacement 'bucket' style cam lifters and push rods -and a significantly lightened flywheel Many of the valves had been ground down to their limits, and the entire works would need to be properly machined and made right again. So I started saving up for the machining and inevitable parts that would be needed to make it all right again. In the meantime, I thoroughly cleaned and refinished all the hardware and various external parts like the oil pan, side covers, and rocker cover. It took some careful hammer & dolly work to get the dents mostly out of the pan and rocker cover! 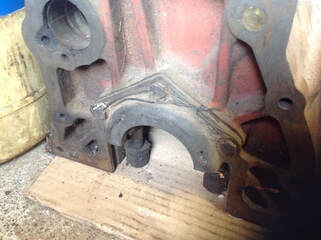 I was also intrigued to find that many of the original "Wiley" whitworth bolts used for the oil pan, side cover, and other various covers had wire holes through the heads - as if they were meant to be secured with mechanics wire. - I've never seen this practice on a Healey engine before, but maybe in '53 they were still using up old stock of fasteners meant for other engine applications? I ordered all new gaskets including a new performance steel head gasket which had been strongly recommended to me by several other owners. -I also ordered all new bearings throughout, -a full set of new standard sized pistons and rings, -new rubber blocks for the engine mounts, -all new intake and exhaust valves, -all new valve guides -a new water pump -new thermostat -replacement timing cover with a better/rubber oil seal machined into it. -new timing chain and rubber tensioner ring -and a full set of new head studs because originals are often prone to stretching over time.. In late Decemeber I packed up the head, block, crankshaft, camshaft, pistons and valve assemblies and handed them all to Mid Island Engine & Machine up in Duncan BC. Mid Island were strongly recommended to me as they've done lots of Healey engines in the past and knew what they were doing. They hot tanked the head and block to clean them back to bare cast iron and gave everything a proper inspection and full report. We decided to re-sleeve the block because the bores were all differing measurements and the pistons were being replaced anyway. The guys at Mid Island Machine proceeded to fully machine and rebuild the head with -new valve guides, -new hardened valve seats, -new valves -and a freshly machined deck that will mate perfectly to the freshly machined block. The block had its new sleeves installed, bored and honed to original spec, -new frost plugs were installed after the galleries had been properly hot tanked and cleaned of debris -the deck was machined flat again, -the camshaft was inspected and found to be true and in great shape, -the crankshaft has its journals all reground to be perfectly round again making them now .020" under size, so I made sure to get .020" oversize bearings to suit.. Finally in early February I picked it all up and brought it home to my new shop to be reassembled. The guys at Mid Island did a really nice job and were very helpful throughout the process. I highly recommend them to anyone rebuilding a vintage engine. With all my parts and hardware organized and ready to go, I got some fresh products to use in the rebuild process, including: -some Permatex grey high temp gasket maker/sealer -some Clevite heavy bearing grease designed for fresh rebuilds -Rev-Lube XP2000 for protecting the cam lobs and tappets -some fresh oil in a squirt can for lubing the pistons, cylinders and EVERYTHING internal -some Anti-seize for installing the new head studs I bought -and some rust converter for use on the exterior block surfaces that had quickly turned to surface rust without any paint on it. The freshly machined and cleaned block... With the help of my good friend and fellow Healey 100 owner, Trevor Parker, we got to work on a Saturday and proceeded to install the Crankshaft, Camshaft, all the new pistons, oil pump, new head studs, and finally the head. Trevor was a great help and also provided some of the essential tools like a piston ring expander, ring compressor and of course a second set of Whitworth sockets. The following weekend I finished it off by installing the front plate, timing chain and gears, timing cover, water pump, oil filter assembly, tappets and push rods, side cover, oil pan, rocker shaft, rocker cover, and engine mounts. Then I thoroughly cleaned the exterior, using a wire wheel on a drill to remove all the surface rust, followed by priming all the bare steel and iron with Rust Converter. Finally the next day I gave it all a fresh coat of new light green metallic Healey engine paint I purchased from Moss Motors. Here is a sequence of shots showing the engine before, and throughout the rebuild: Of course I should technically have installed the vacuum line, starter, generator and the fan belt for the final painting process - as that would have been what the factory did originally. However I decided to leave those off for now to make it easier to install the engine in the car later on... Those components and other ancillaries and details can be installed later. So for now, that's it!
The engine is all freshly rebuilt and I'm feeling quite confident that I've done a good job. It will hopefully provide me with decades of smooth running and minimal oil leakage - though with these engines, that have no rear main oil seal, a little is to be expected... Until next time -
2 Comments
parker hall
8/22/2020 09:30:48 am
What did you do to cure the dreaded rear bearing/seal oil leak. Surely someone has figured that out by now. Local solution is to fabricate a little drip pan which will collect the drips for an occasional drainage. At least with that set-up you won't be trashing everyones floor. This came up in preparing to take the tonneau to the shop to have the fasteners installed. Just now learning the local guys after having to repair the field coil brass terminal on the generator. The threaded end was missing and the wire was just soldered in place.
Reply
8/7/2021 11:42:39 pm
Walker, keep up the amazing photography and writing. You are an accomplished young man. It is a pleasure working with you. Mr. Parsons and Ian would be very proud of your accomplishments!
Reply
Your comment will be posted after it is approved.
Leave a Reply. |
Archives
December 2023
|

 RSS Feed