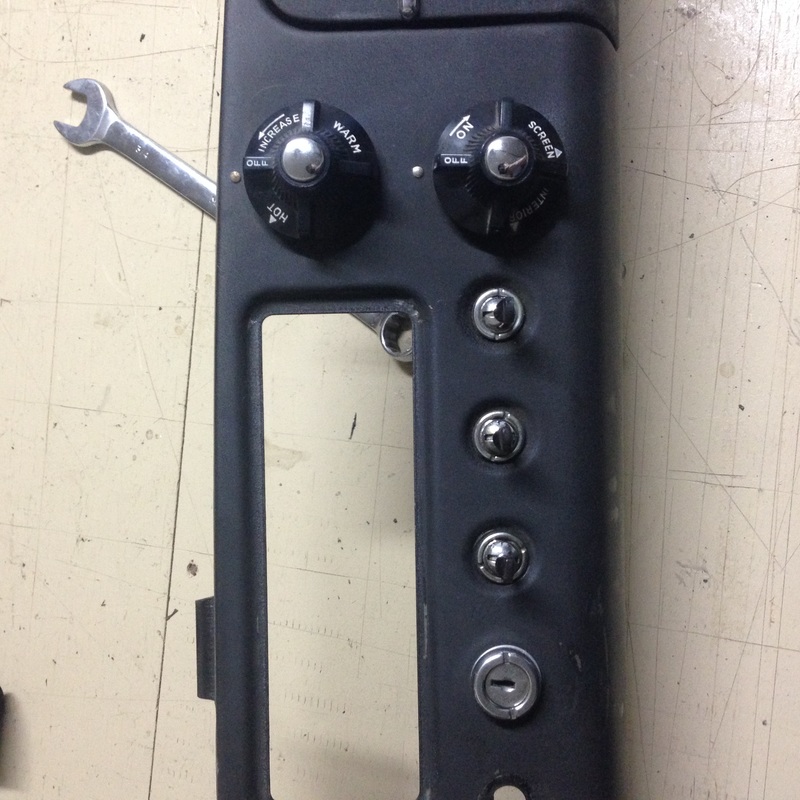
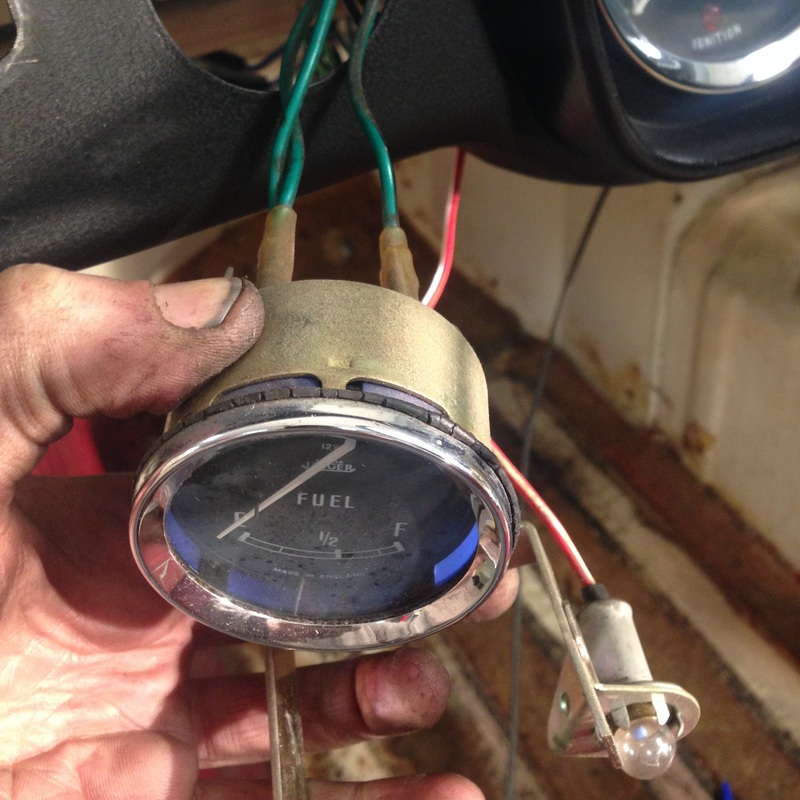
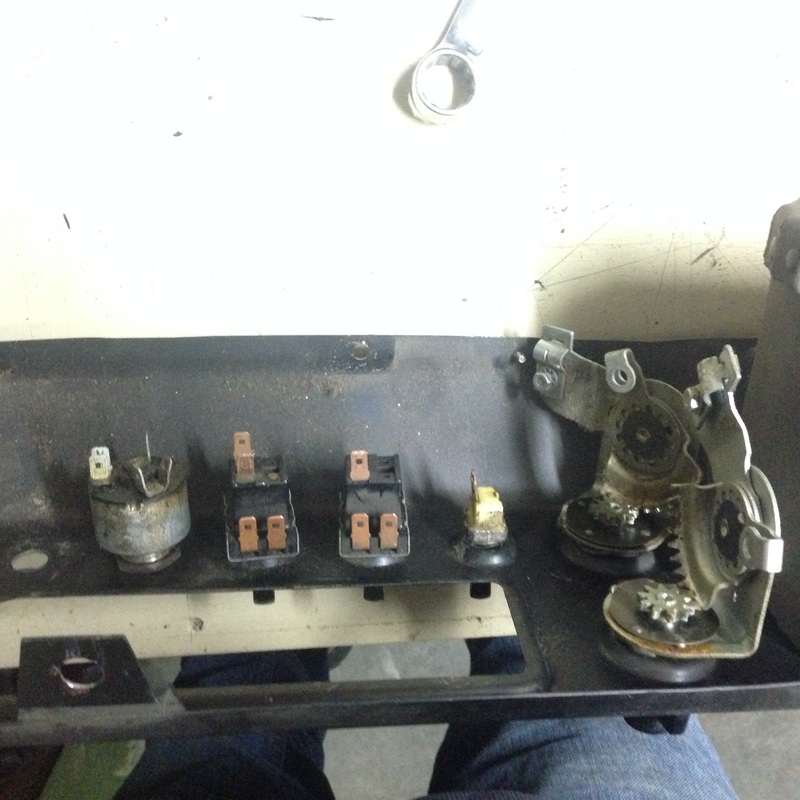
 Well I've been hard at it over the past few weeks, taking loads of detail photo's and carefully cataloging each piece as I continue to disassemble the MGB and prepare the body for metal and paint work. 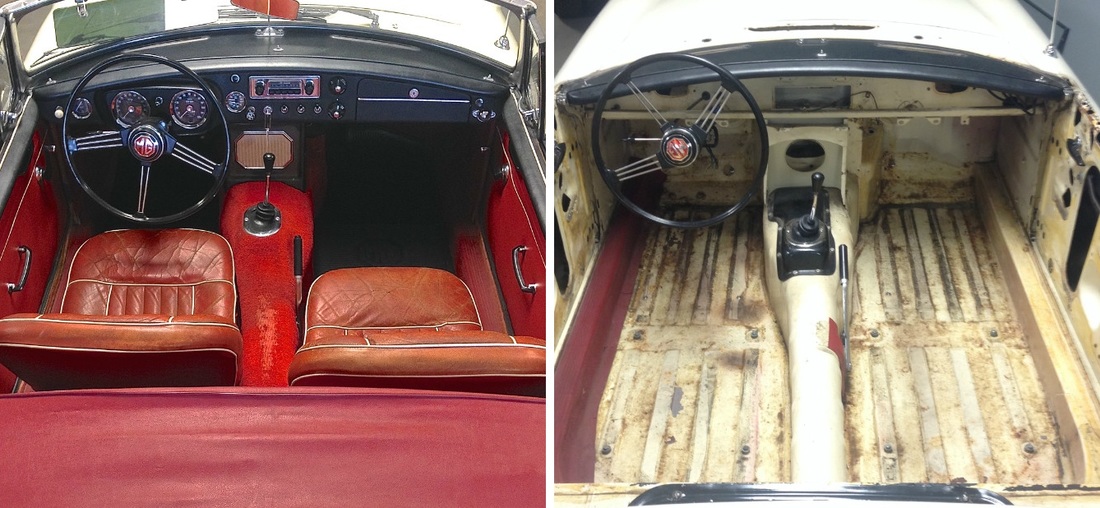 I carefully removed the steel dashboard, taking pics and notes on each switch and gauge and how it was wired etc..
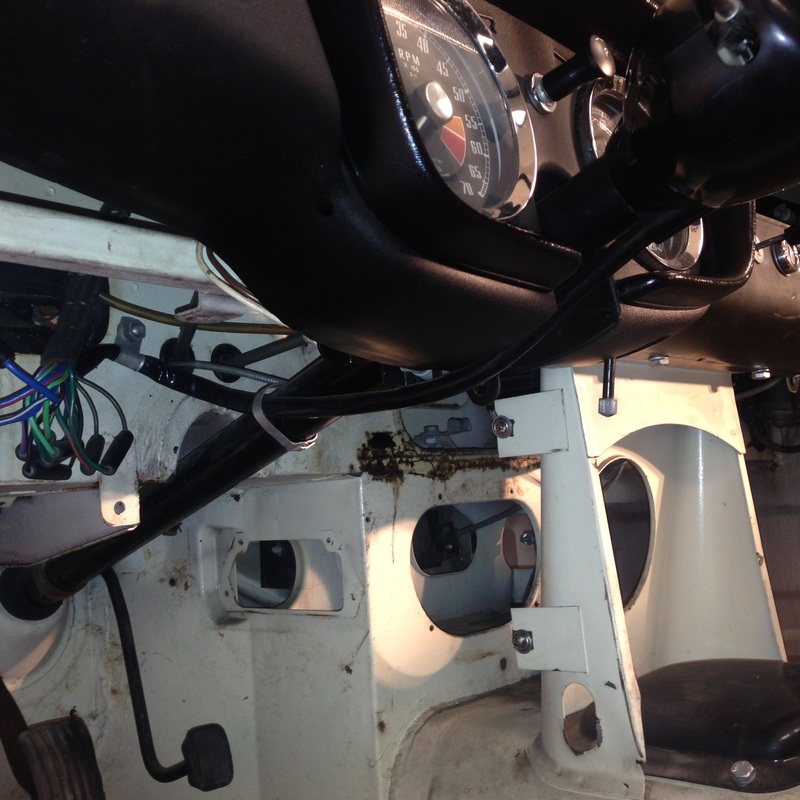
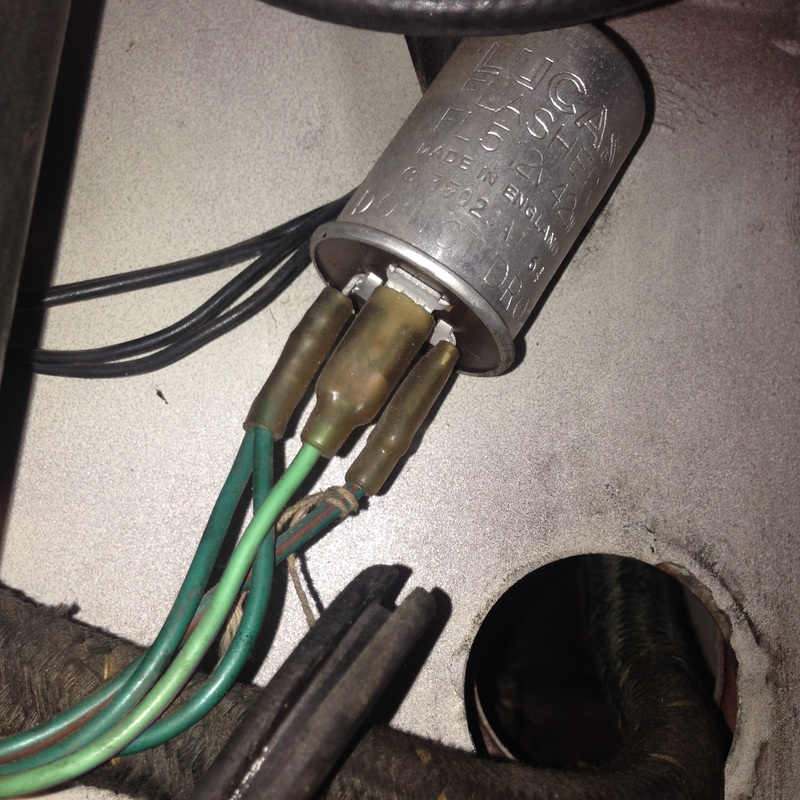
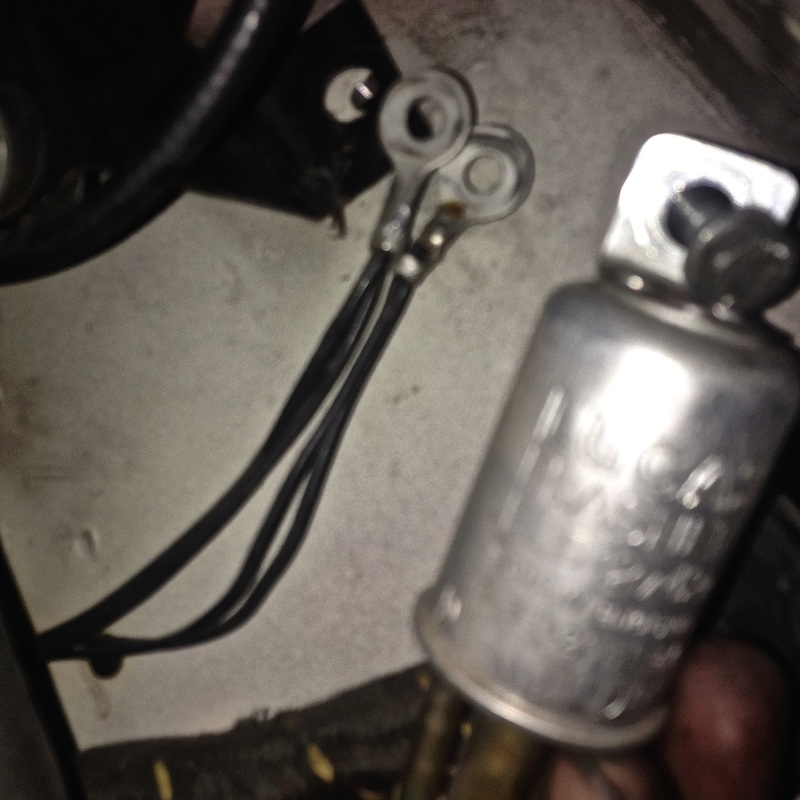
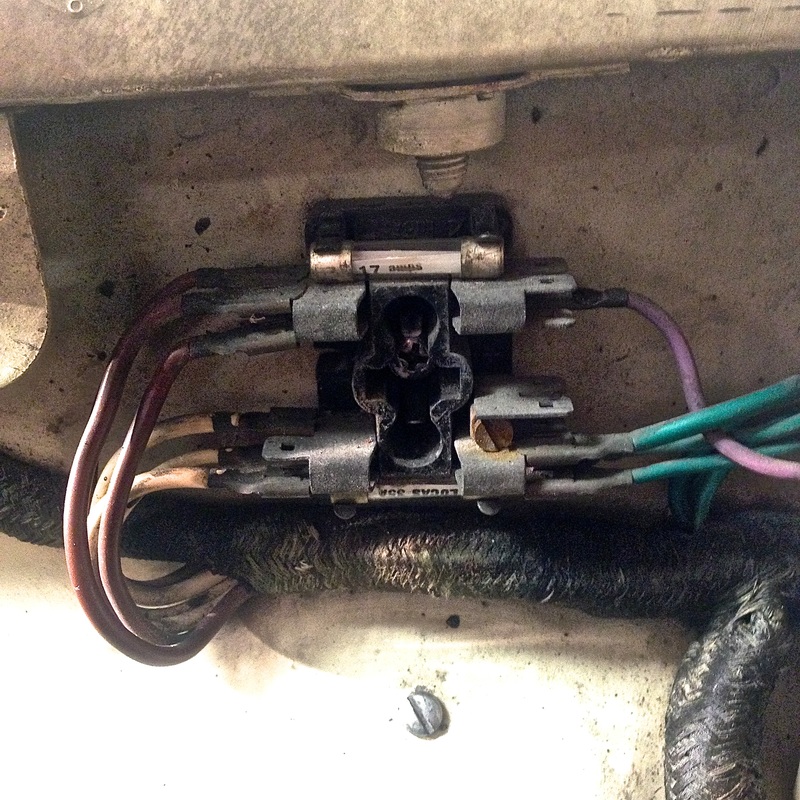
Details like the routing of the wiring harness along the firewall, the wiper motor and it's original finish, the location of the flasher unit hanging from the lower wiper motor bracket bolt as well as the local ground wires all sandwiched onto the same bolt...
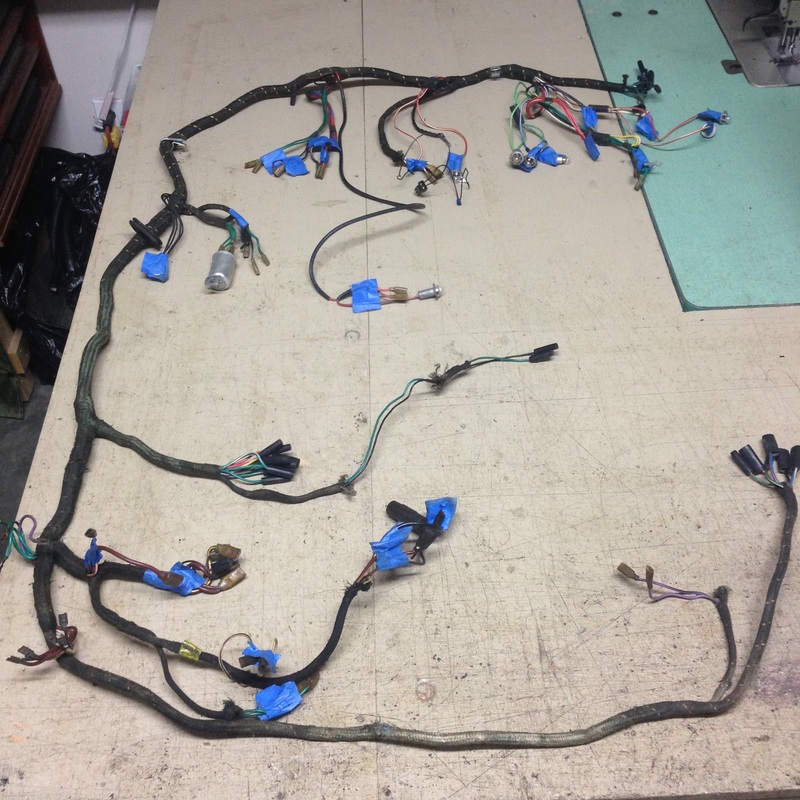
I completely removed the main wiring harness, tagging every junction and connection. This will make it easier to clean and refurbish the entire thing before putting it back into the car.
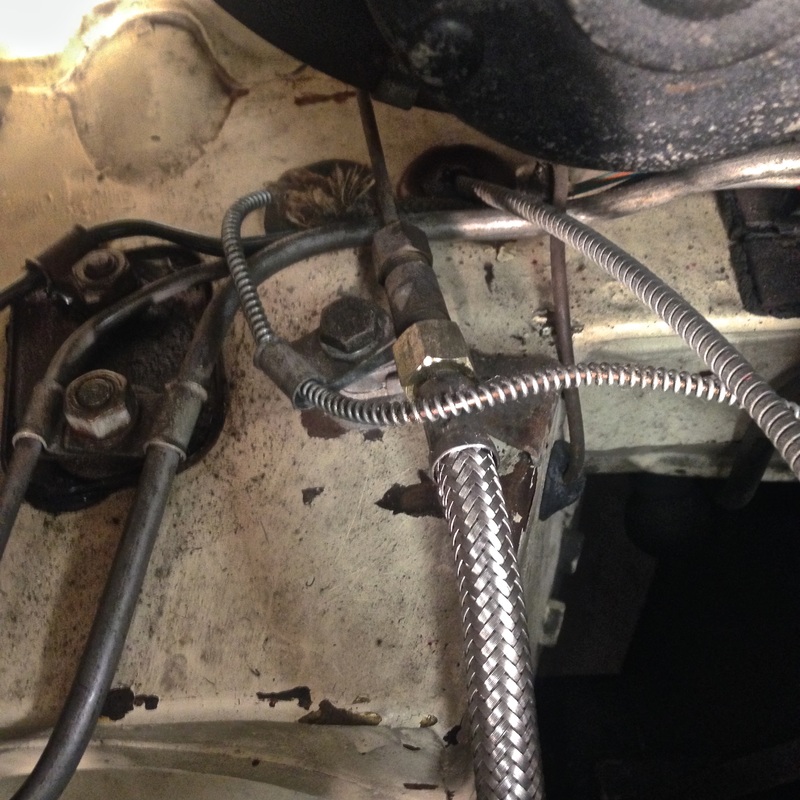
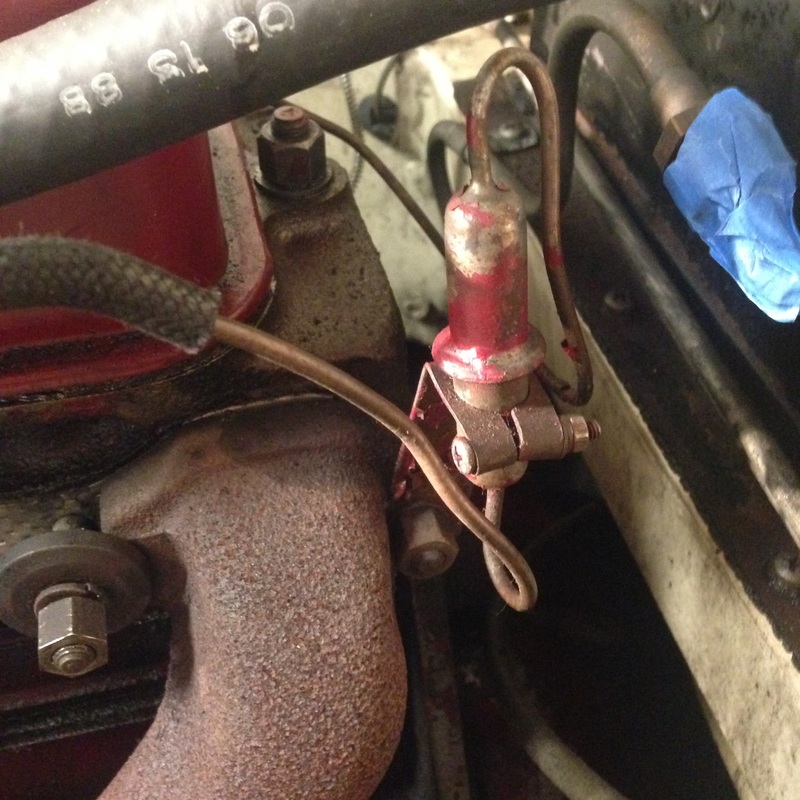
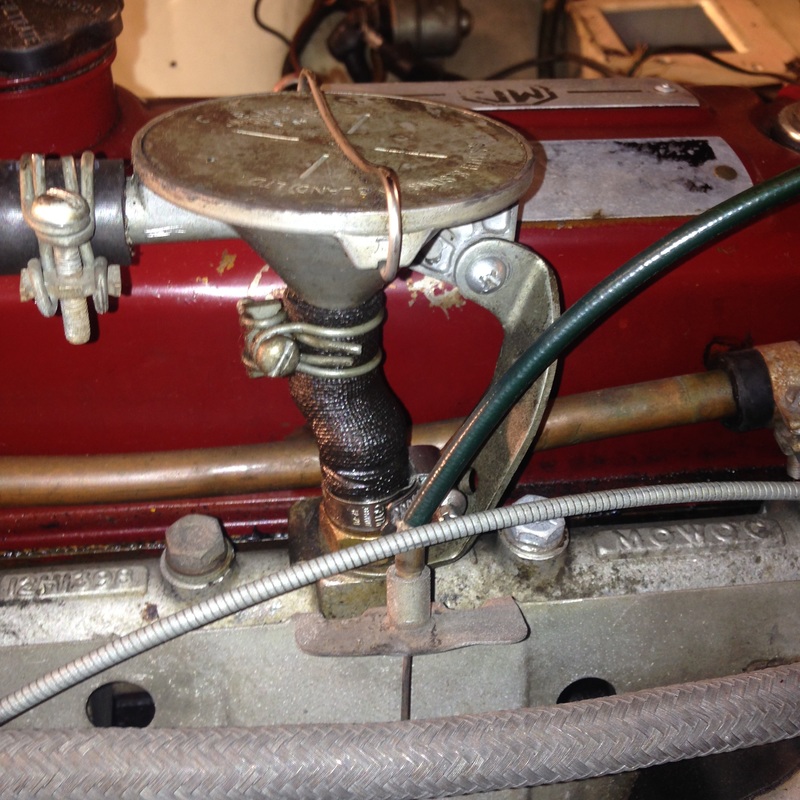
There were many early details I noted in the engine bay too, like the early style of oil gauge pipe bracket on the firewall, and the small hook for the temp gauge line that comes off the lower heater valve bolt...
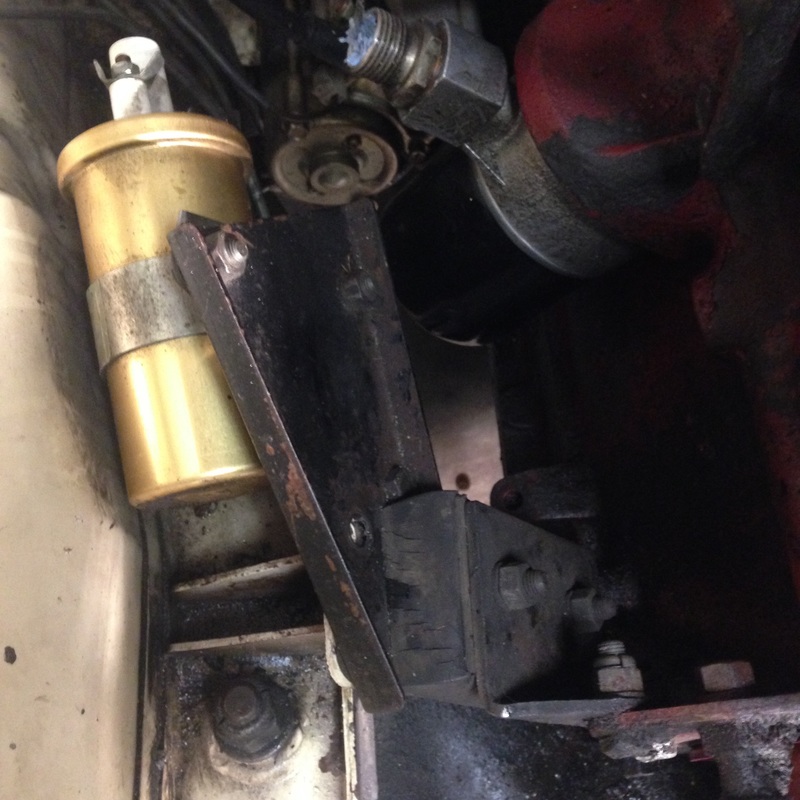
The early style of coil bracket that comes off the engine mount, and the early style of oil cooler hose bracket that comes off the rear generator mounting point...
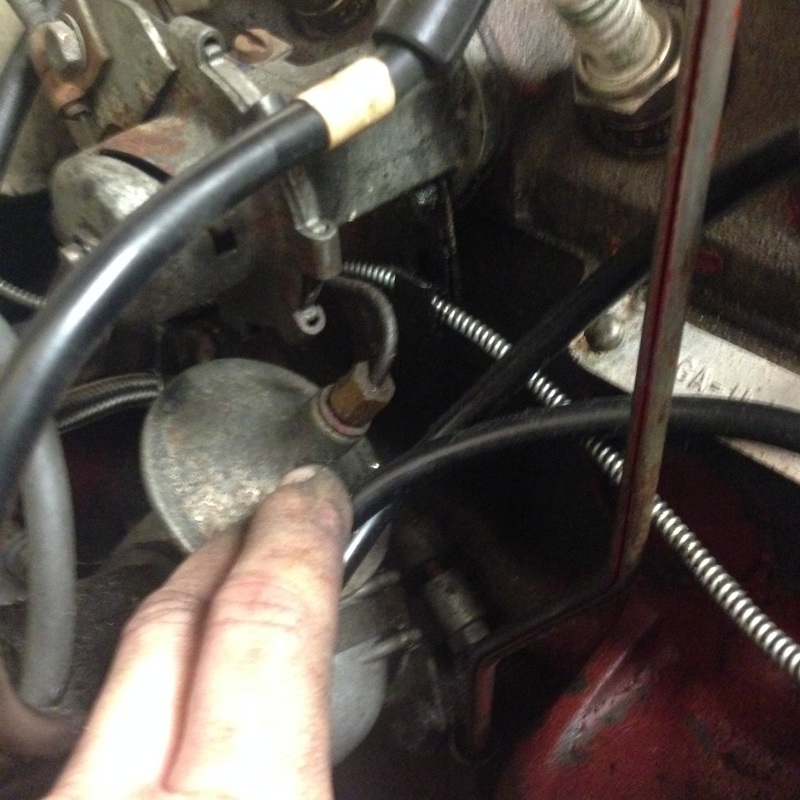
I also captured the small vacuum pipe from the carbs to the distributor, the engine breather assembly and the original green throttle cable. It's also worth noting all the engine components that have clear evidence of being painted in the maroon engine color - including the generator, starter, and this little vacuum pipe!
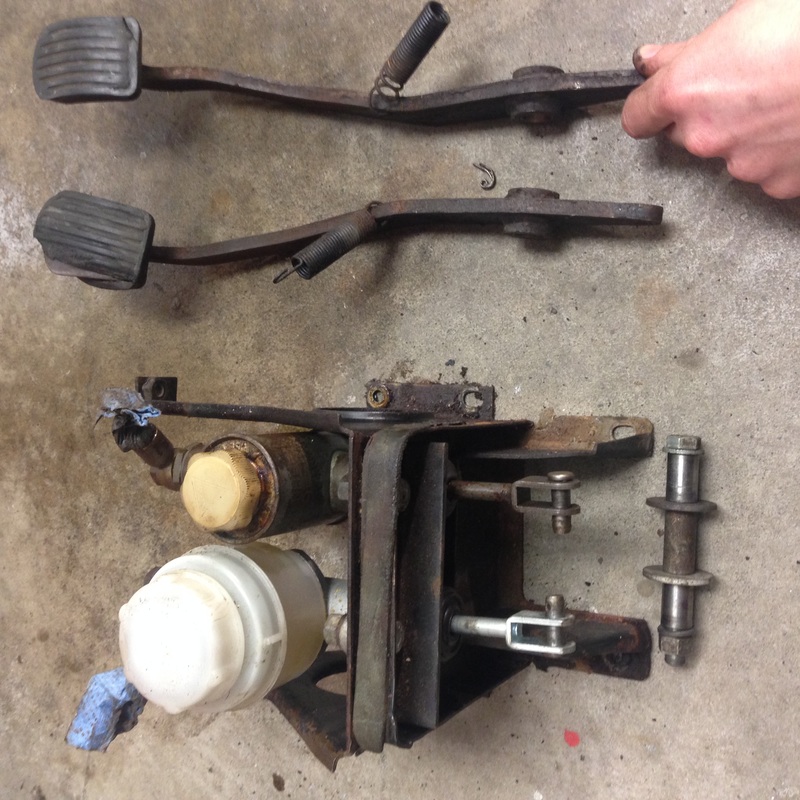
The brake and clutch pedals, box and master cylinders were removed. The brake master cylinder is clearly a new replacement that I will be changing out for a correct rebuilt early one. The clutch Master cylinder though is still the earliest style. I'm still trying to verify the original finish on these - I believe they would have been plated in golden cad or zinc, most people do zinc, but I keep seeing more evidence of golden cad - can anyone verify this??
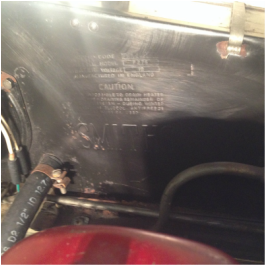
I also removed the heater and all the interior vents and demister assemblies. You can still see the original caution labels fading away on the heater body. I also started the process of refurbishing some things - like these interior heat vents...
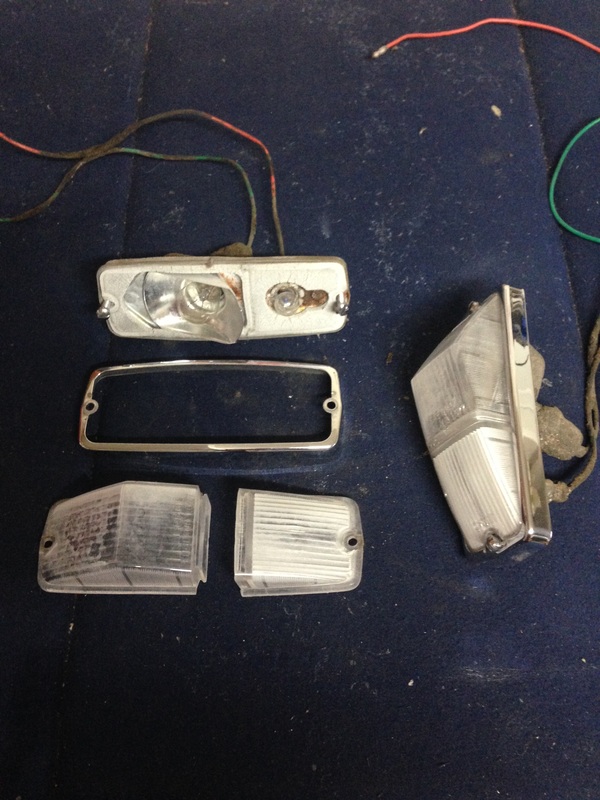
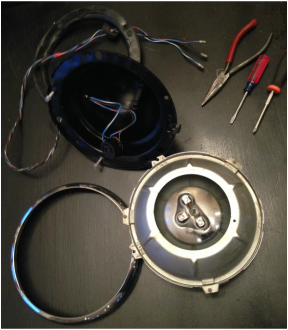
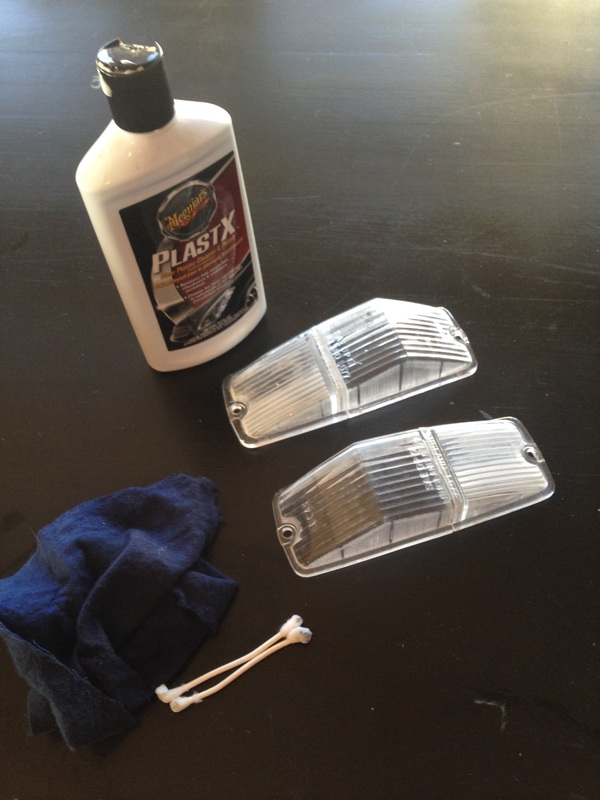
Speaking of refurbishing, I also tackled cleaning and restoring all the lights - The front headlights and the early clear signal lights were filthy with mud and black undercoating sprayed on them from the inner fender wells. But with a little time and care, cleaning and polishing, they all came out wonderfully..
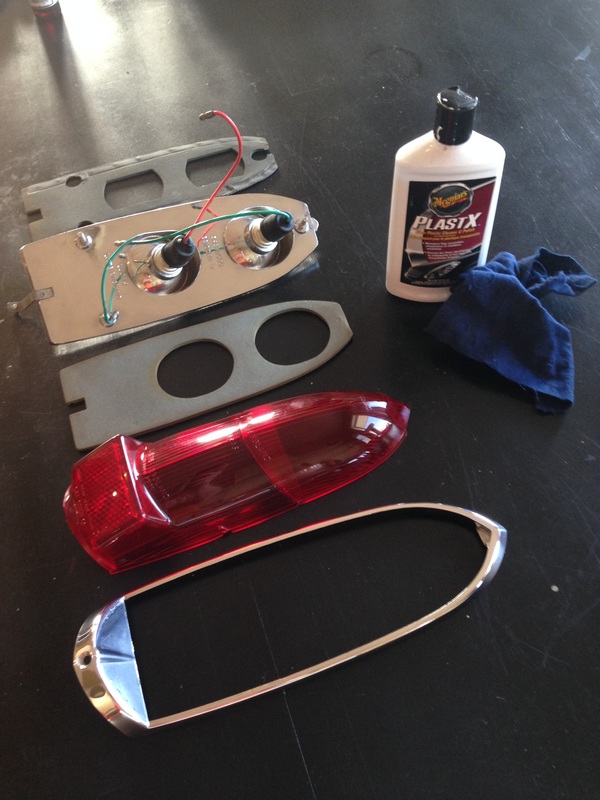
The tail lights also cleaned up beautifully with a little plastic polish on the lenses and Autosol used for the chrome... I also carefully cleaned and lubricated all of the bulbs (sparingly around the threads only) with dielectric grease, as some were badly corroded and stuck in the sockets.
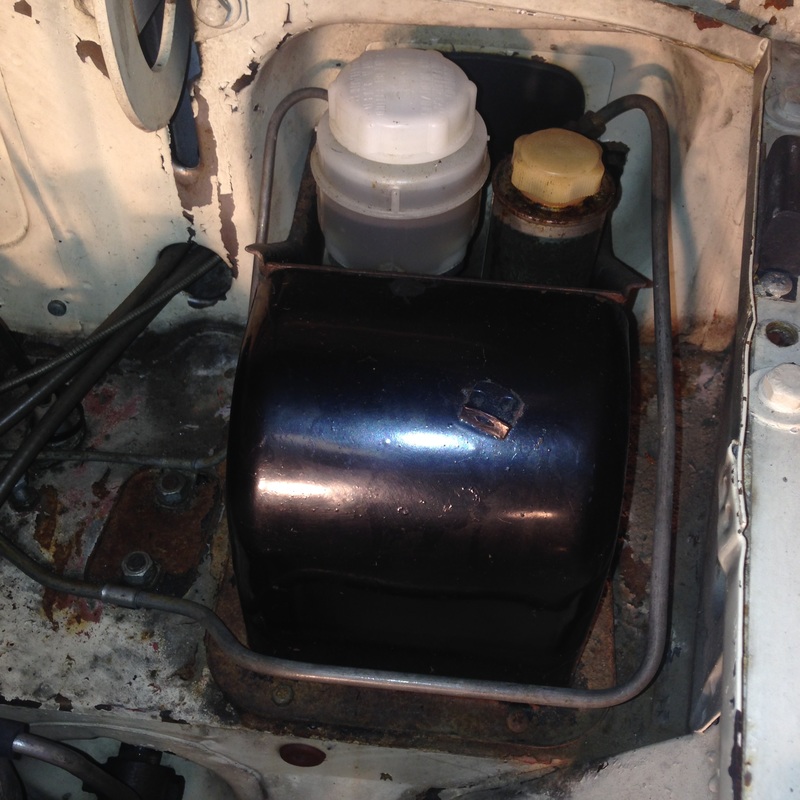
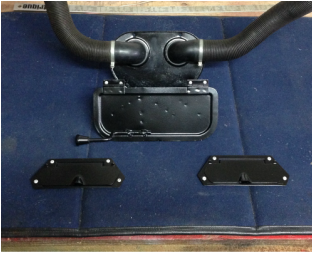
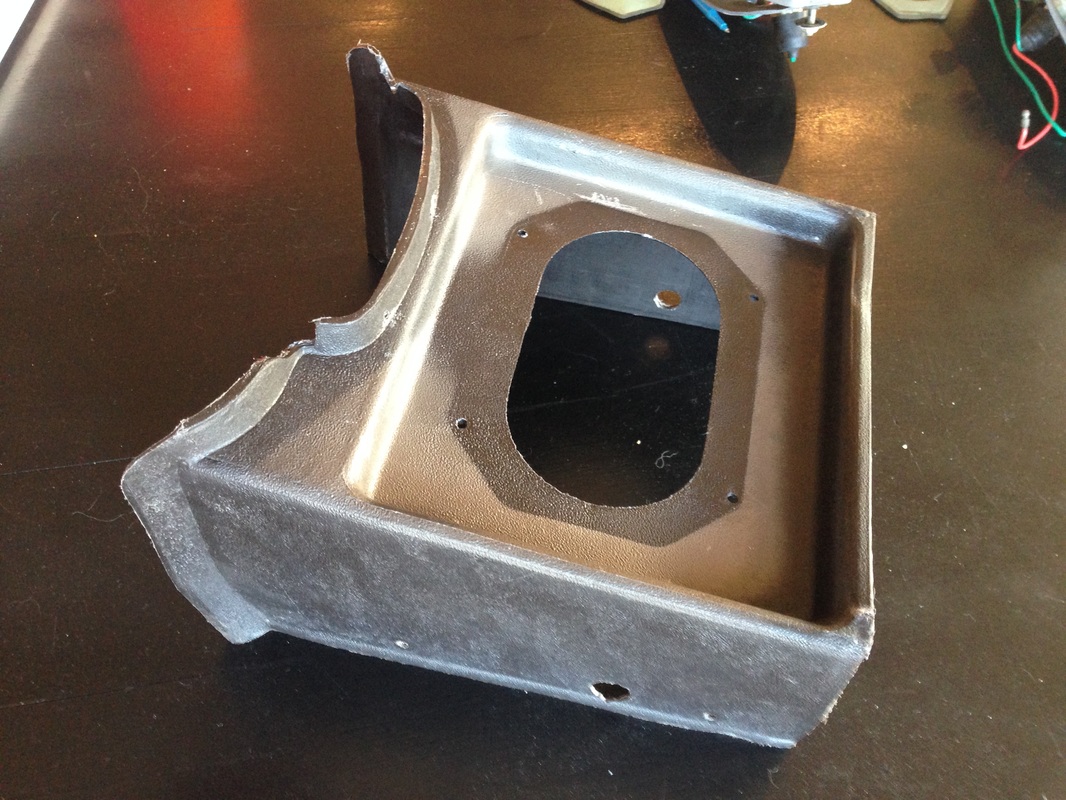
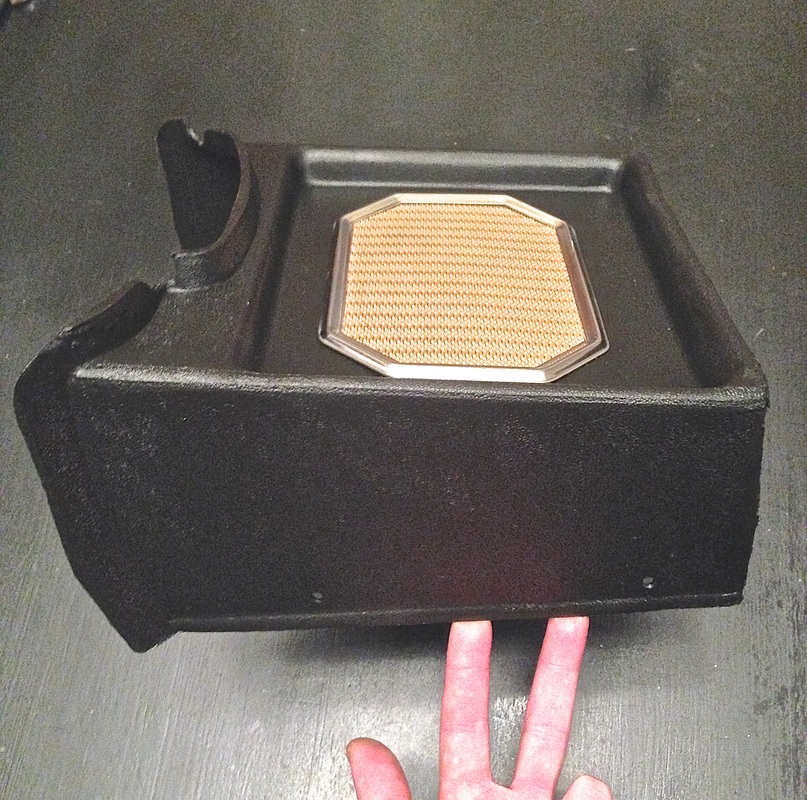
The original early style of Tudor washer fluid bottle, I cleaned and polished the bottle, touched up the logo by hand with matching paint, and soda blasted, primed and painted the metal brackets. All the screws and hardware I am plating in zinc as original. 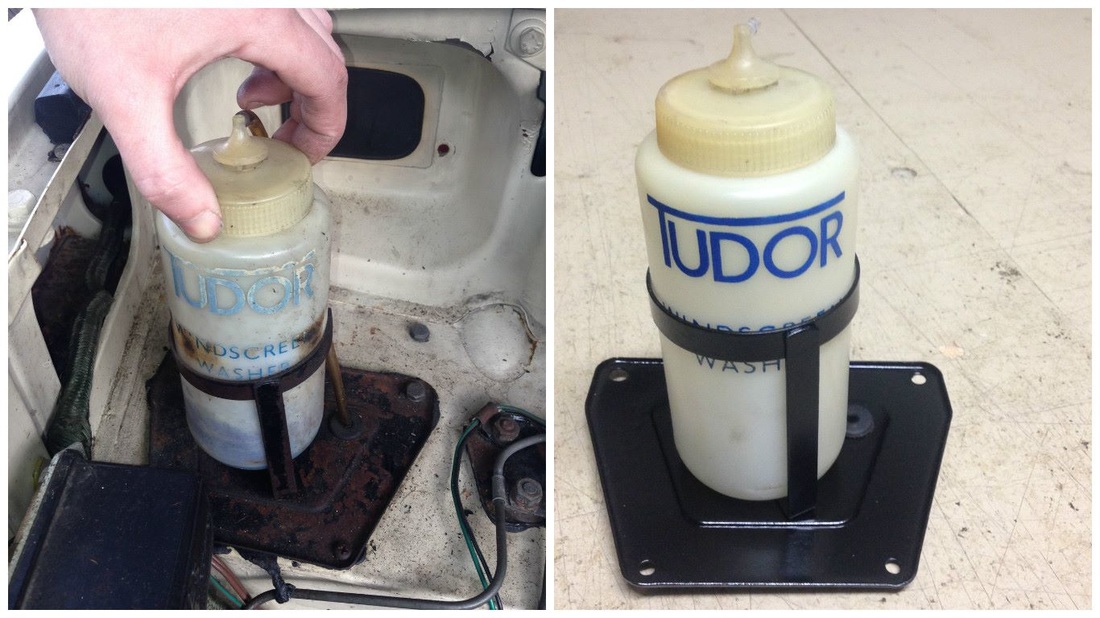 The original speaker box had seen better days, the finish had some sort of a spray on it, and there were 2 holes cut in the sides that I had to fill. I filled the holes with 0.80" thick styrene plastic cut perfectly to shape and glued with liquid cement. Then I spread a thin layer of plastic putty over the repairs and copied the texture of the surrounding body in it to make it blend in. After it was dry, I sprayed the whole thing with satin black interior/vinyl paint and reassembled the polished speaker, grill and chrome.
All in all, things are coming along very nicely! I thoroughly enjoy the process of restoring each piece as accurately as possible. When it comes time for reassembly, this car is really going to shine! The next few steps are to remove the gas tank and then pull out the engine and gearbox. In the meantime there's also lots of original parts to go through and refurbish so stay tuned! 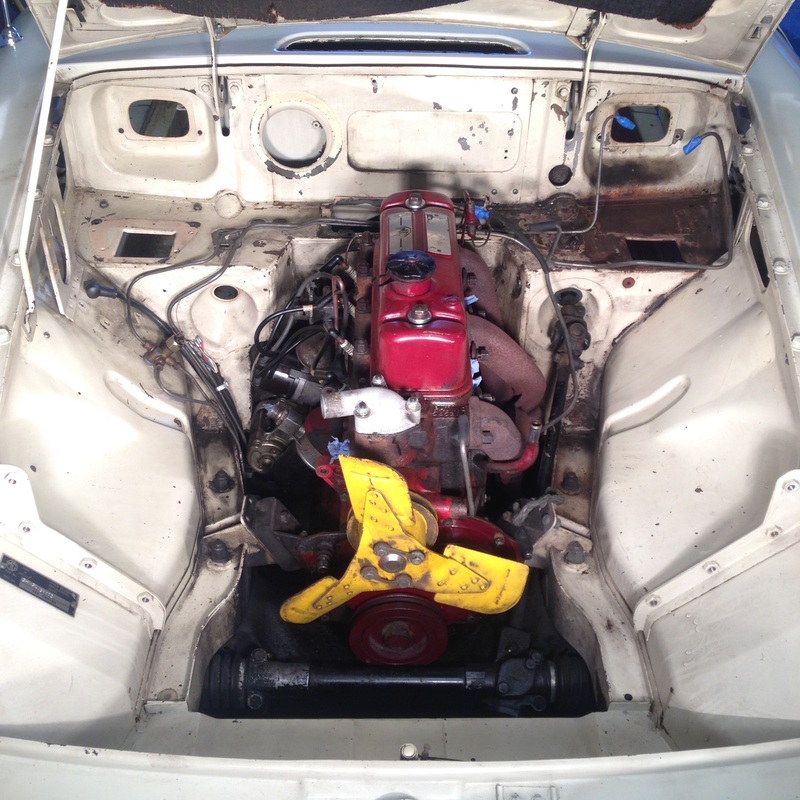 Until next - Caio for now -
7 Comments
Miatadon
1/13/2016 05:26:44 pm
Great job you are doing on the car, Geoff. It is nice to see a restoration with so much care given to keeping the car original, and it's kind of you to share this information with others.
Stuntflyr
1/13/2016 11:27:03 pm
Geoff, If you could I'd love to see an exploded view of the components making up the drivers side motor mounts and carb overflow tubing guide when you pull the motor. I know I've messed mine up and maybe my old brain can make better sense of the parts with a good photo or two. Beautiful job so far, can't wait to see more.
Geoff Chrysler
1/17/2016 08:58:34 am
I have included some detail pics of the carb overflow pipes in my most recent blog post "continuing to peel back the layers"
Brian Griffin
11/10/2020 03:12:19 am
I think your Tudor Washer bottle holder should be blue matching the blue on the bottle. The base plate stays black.
Geoff Chrysler (author)
11/10/2020 05:46:37 am
Brian, I appreciate your comment however your are incorrect. The Tudor blue bottle frame was introduced in late 1964/1965 along with a restyled Tudor bottle logo. Earlier cars like this however had a black frame with this earlier logo.
Brian Griffin
11/14/2020 05:03:50 am
Sorry Geoff, I just assumed being a 64. My info (having looked it up) is the change occurred in June 64. I have an MGA also and the cage is blue so I assumed that the blue followed through to the MGB. I never knew the earliest ones had a black cage. You learn something new every day. BTW I have been looking at your site. Amazing work, well done.
Don Scott
11/10/2020 11:39:36 am
The more MGBs I see, either in photos or in person, the better this car looks! These cars just don't get treated to this quality of restoration, probably because they aren't that valuable, like 356 Porsches for instance. In retrospect, I wish I had bought Geoff's car when he sold it. Your comment will be posted after it is approved.
Leave a Reply. |

Archives
December 2023
|

 RSS Feed