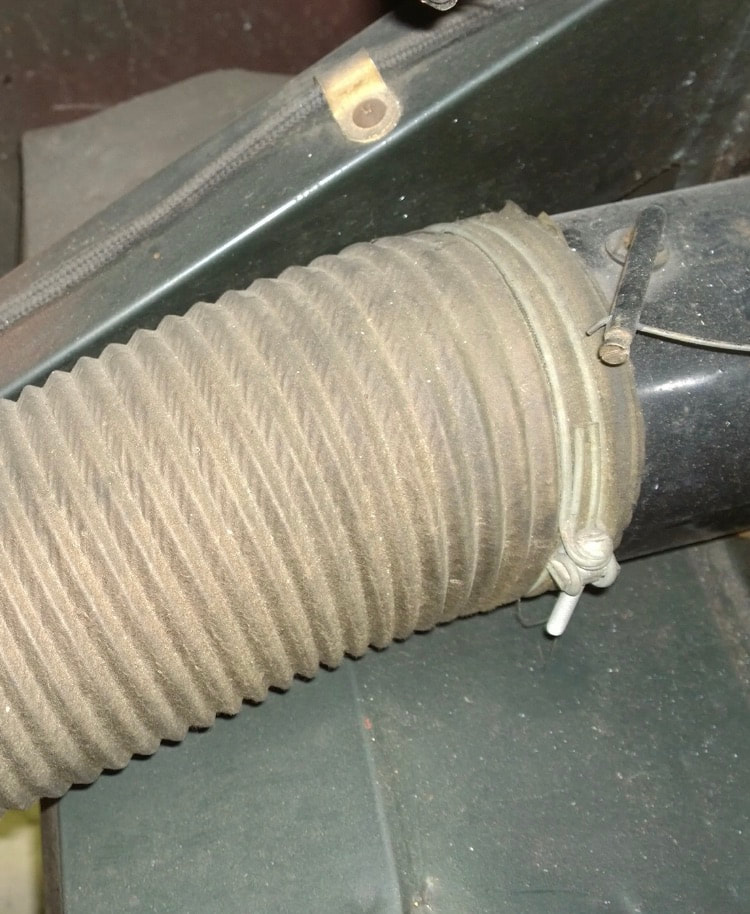
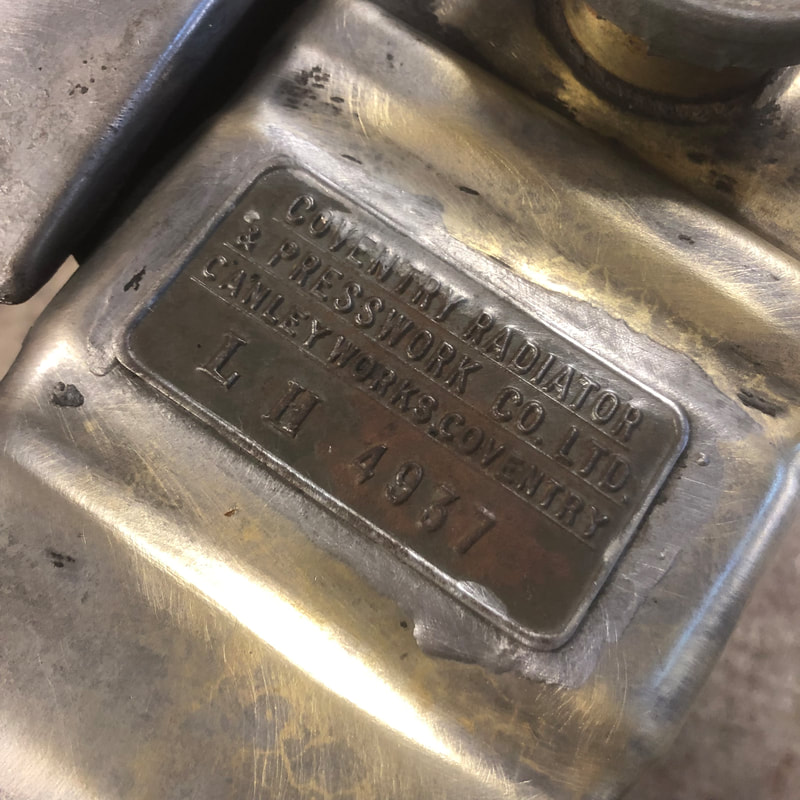
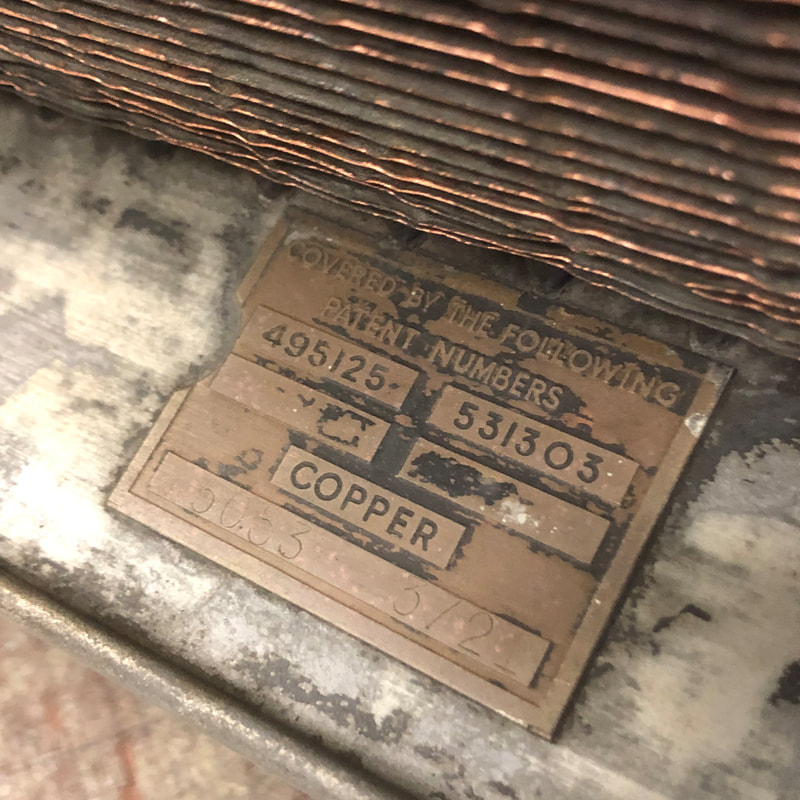
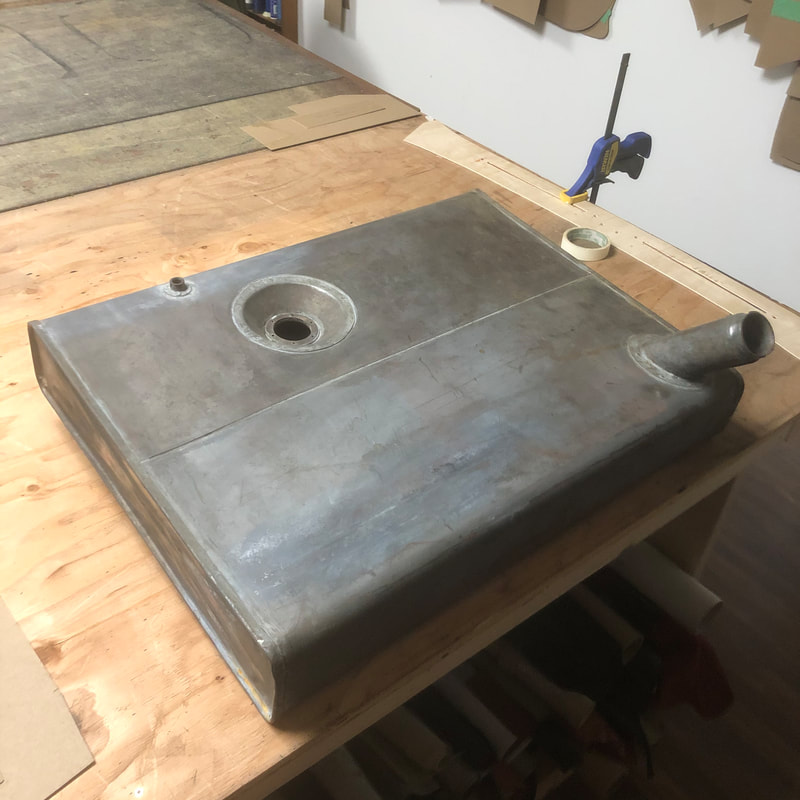
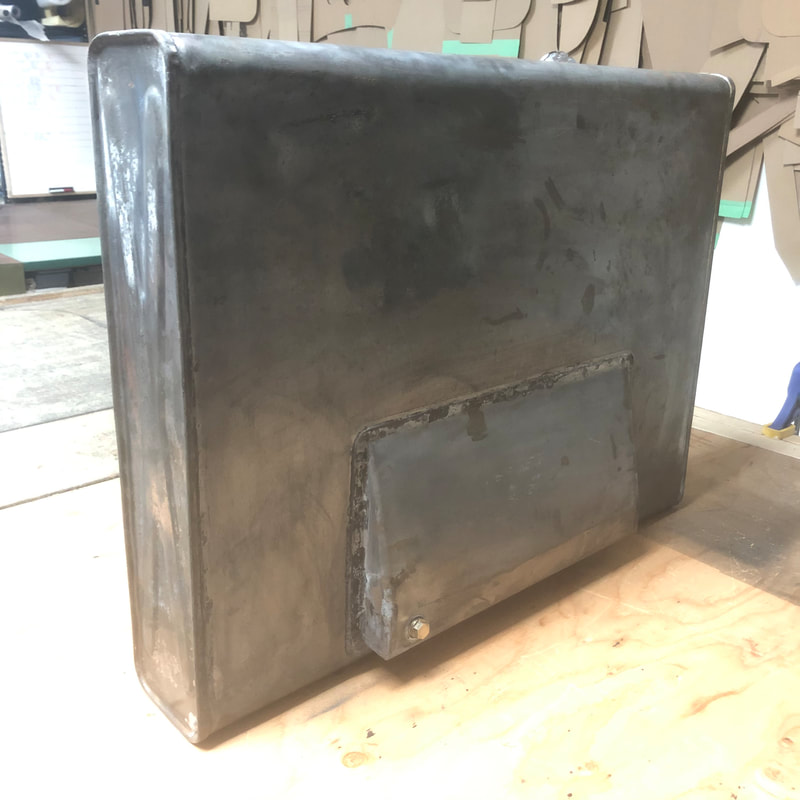
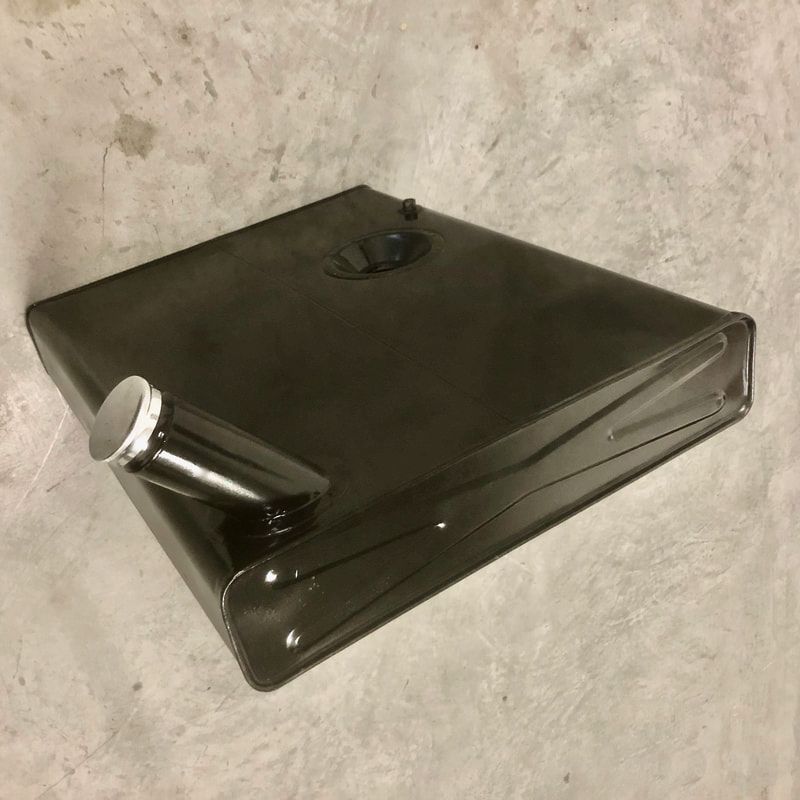
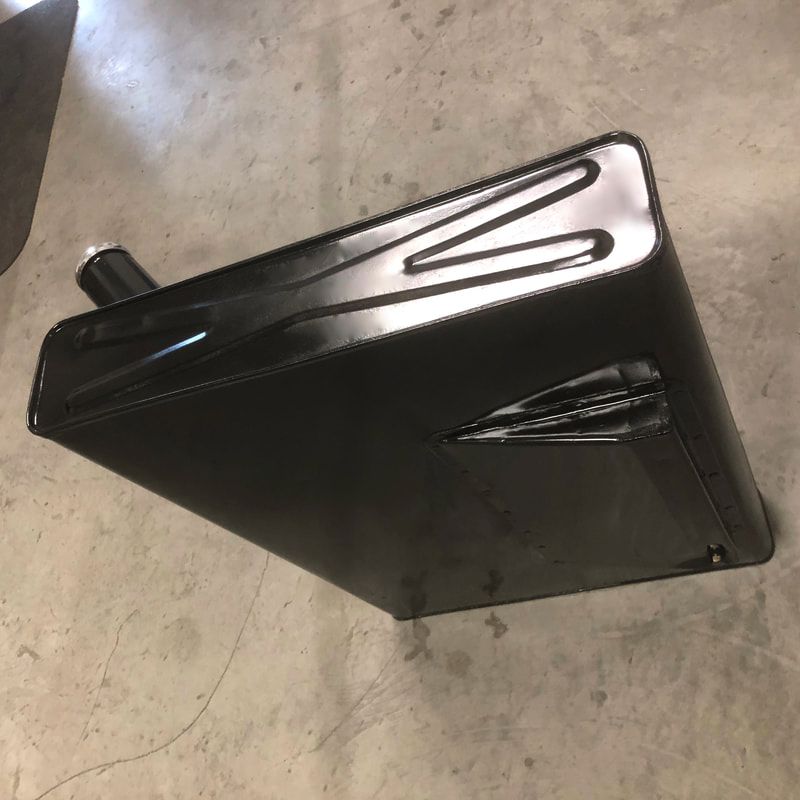
 The past few months have been relatively quiet as far as my BN1 restoration. I've been keeping busy with the upholstery world and not much else to do on the car as I wait for the next steps to unfold... In October I sent the Rad and the gas tank to Townside Auto Repair to have them properly washed out in their hot tank, I also had the rad core checked and pressure tested. Last week I brought home the freshly cleaned units and set about sealing the gas tank and painting them gloss black... 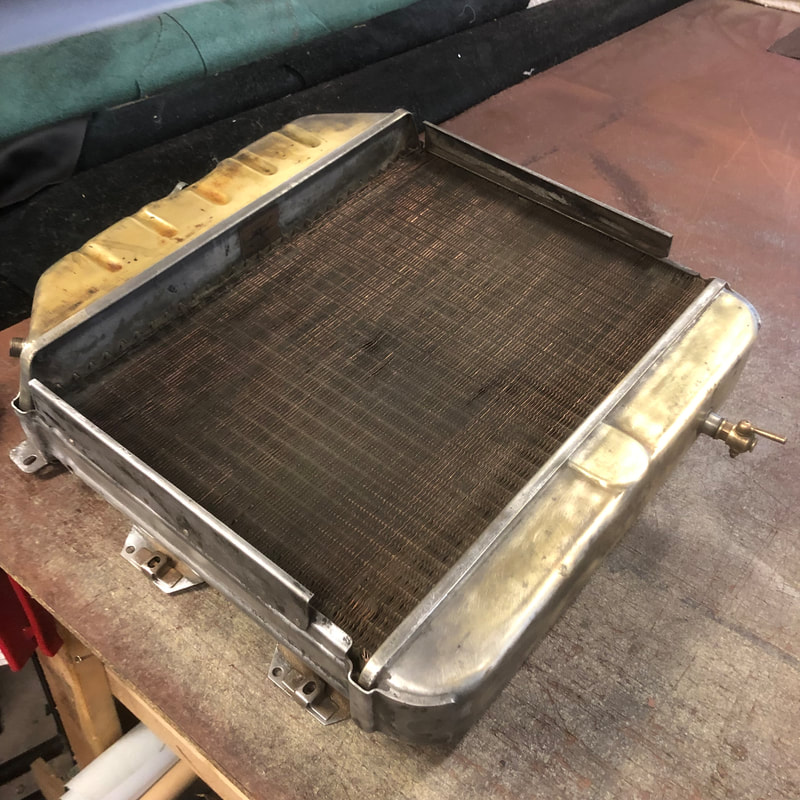
The inside & outside of the tank had been cleaned to bare metal after 4 days in the Townside hot tank. All the old rust and crud was gone, so I waited another week to let it thoroughly dry out. I had strongly considered sealing the inside of the tank with a liquid gas tank sealer like Por15, but after extensive reading of reviews and restoration forums, I decided against it. It sounds like most of these sealers will eventually fail and create an even bigger mess inside the tank.
So after a few weeks of drying and shaking out any loose material, I gave the outside of the tank a coat of black primer followed by 2 coats of gloss black paint.
Meanwhile, the body and chassis are still being worked in preparation for paint at Jetstream. - As their upholstery guy I can attest they've been extremely busy with many exciting classic car projects on the go lately, in fact my Healey is just one of 5 Healey's they have on the go there currently! - plus a half dozen or so other British and American classic restorations. It's nice to be a part of bringing so many great cars back to life! Here's what my car looks like currently: 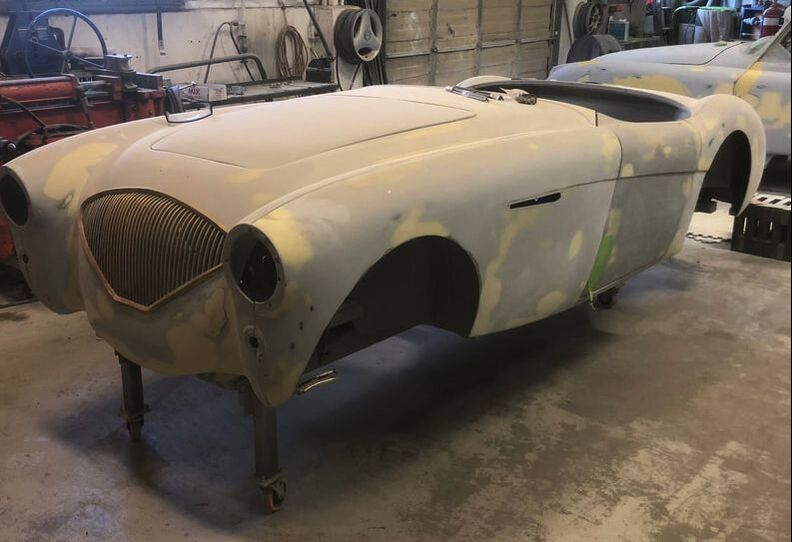 We've got the shrouds, fenders, and now the doors mounted up and lining up properly. Now we just need to adjust the bonnet and boot lid fit to be perfect before we take the body all apart again and paint all the inner chassis and inner body panels. 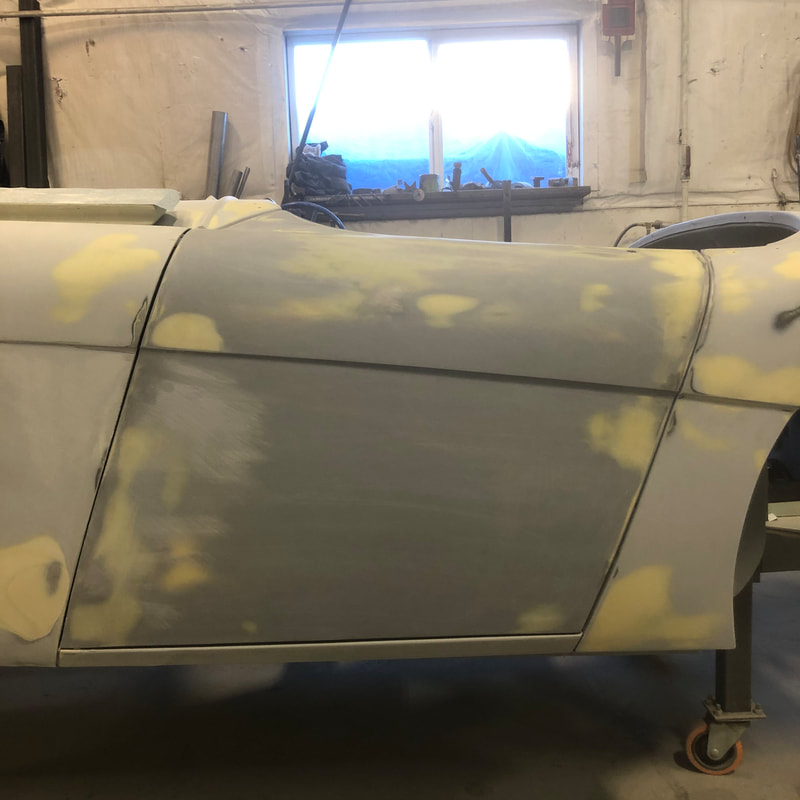 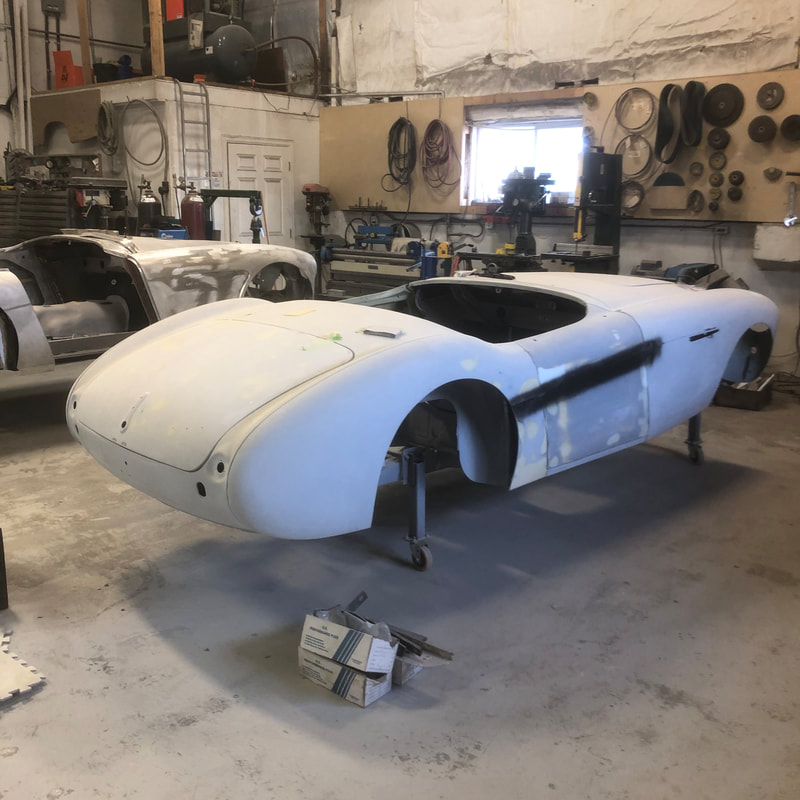 Until next time -
2 Comments
Harry Watson.
11/10/2020 12:35:21 pm
Great to see you moving forward Geoff. I also have been waiting for an update. I am at a similar stage as you. Just finished getting everything aligned and now everything is apart again on on the rotisserie. Will start that process next week. Meanwhile my friend Andy had started work on the engine. It’s beautifully cleaned and the camshaft got fitted today. Best regards. Harry. Your comment will be posted after it is approved.
Leave a Reply. |

Archives
December 2023
|
 RSS Feed