 It's only been a few weeks since my last post on the B, but a lot of great progress has happened since then! I worked a few evenings through the weeks, but most of the big progress happened this weekend in which I put 2 solid days of work in. With the car rolled outside in the beautiful hot sunshine, great music, food and drinks at hand - it was absolutely glorious! 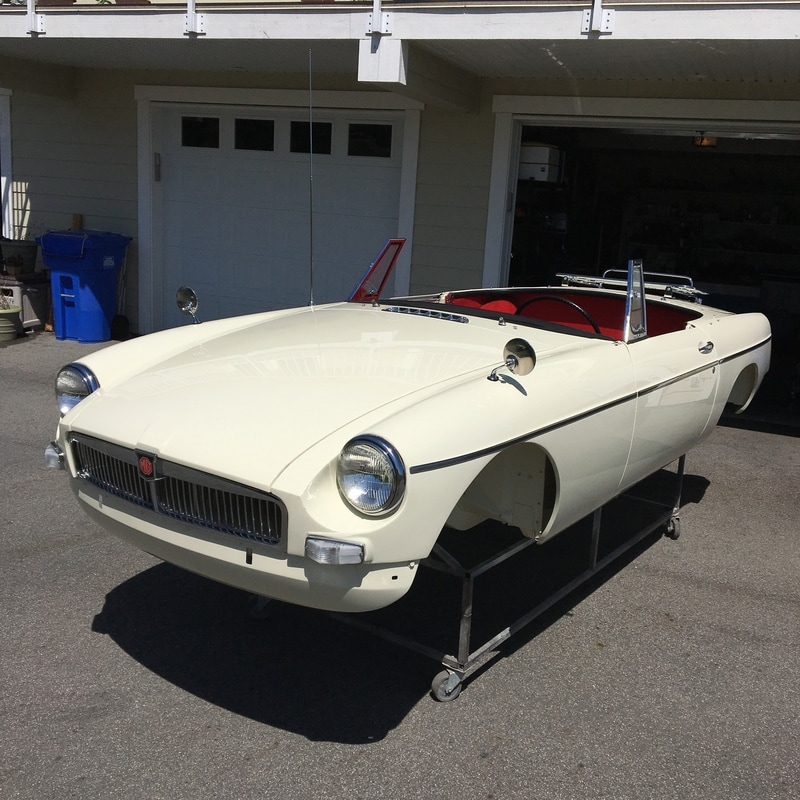
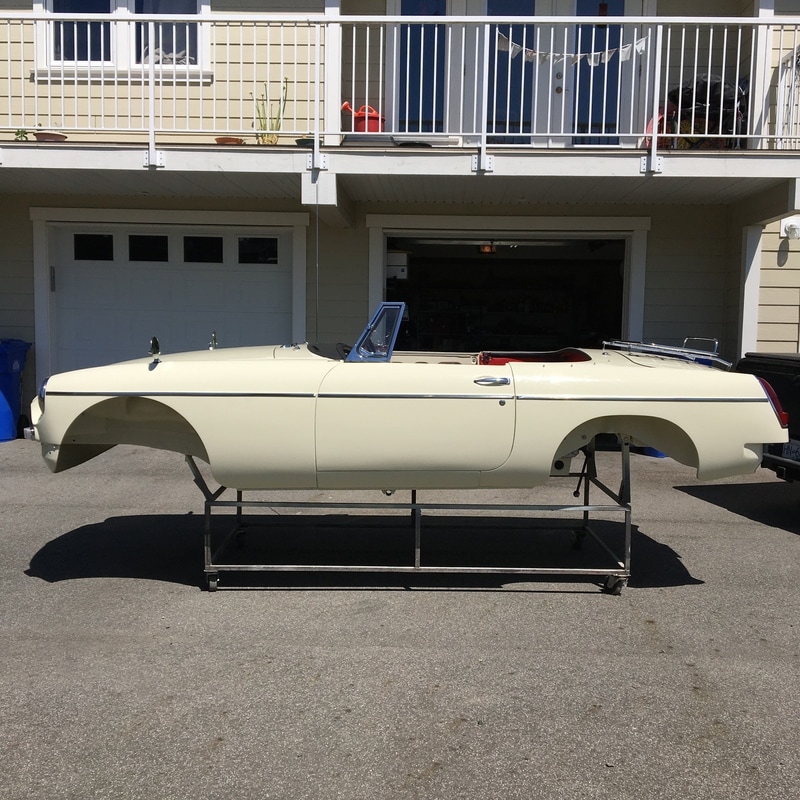
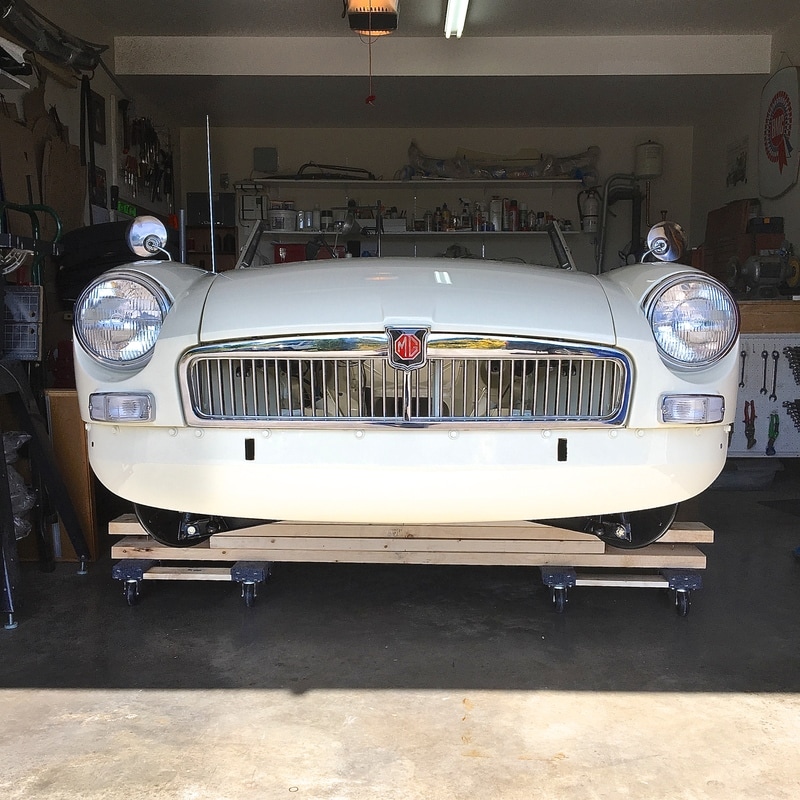
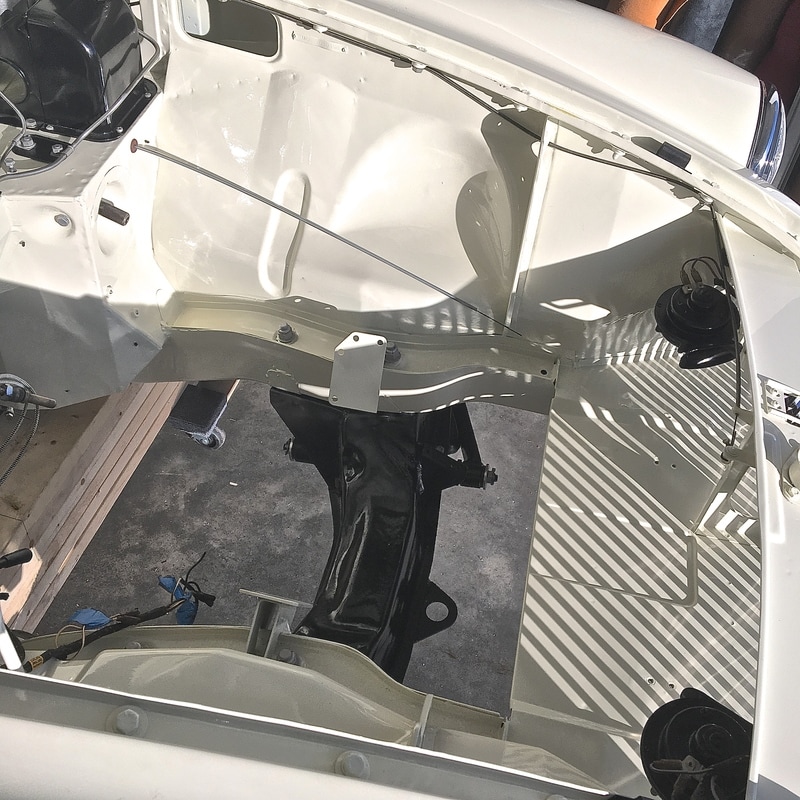
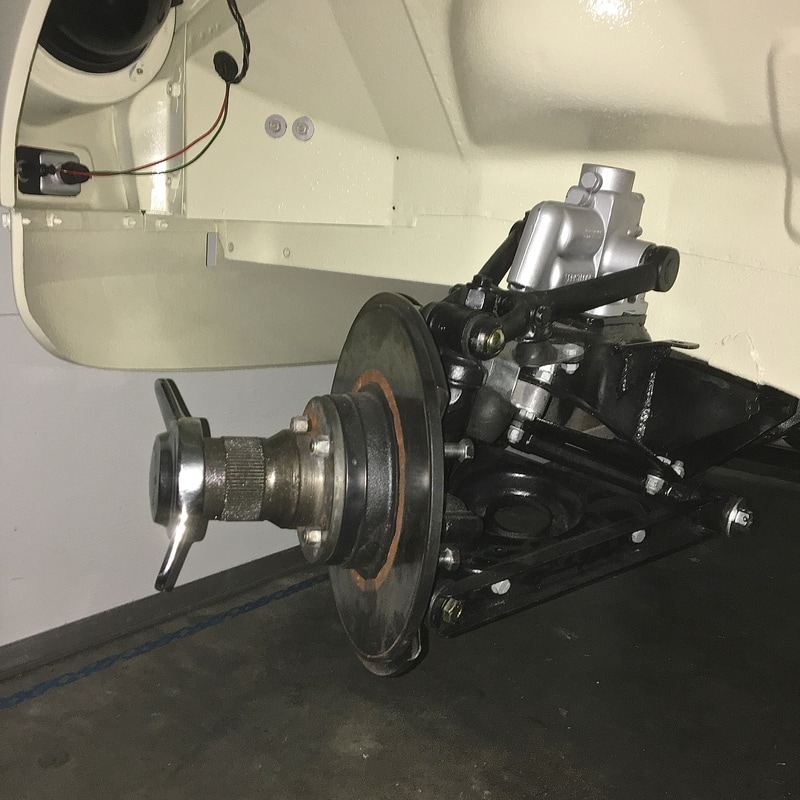
The biggest - and slightly tricky next step forward was getting the car off of the rolling cart that the body shop made for it. While the cart has been a very convenient tool for work height, and ease of rolling around etc. I have assembled as much as I can before getting the car back on her own wheels. With the help of a neighbour, we jacked the car high enough to remove the cart, and then lowered it onto some axle stands where I installed the rear axle & suspension. 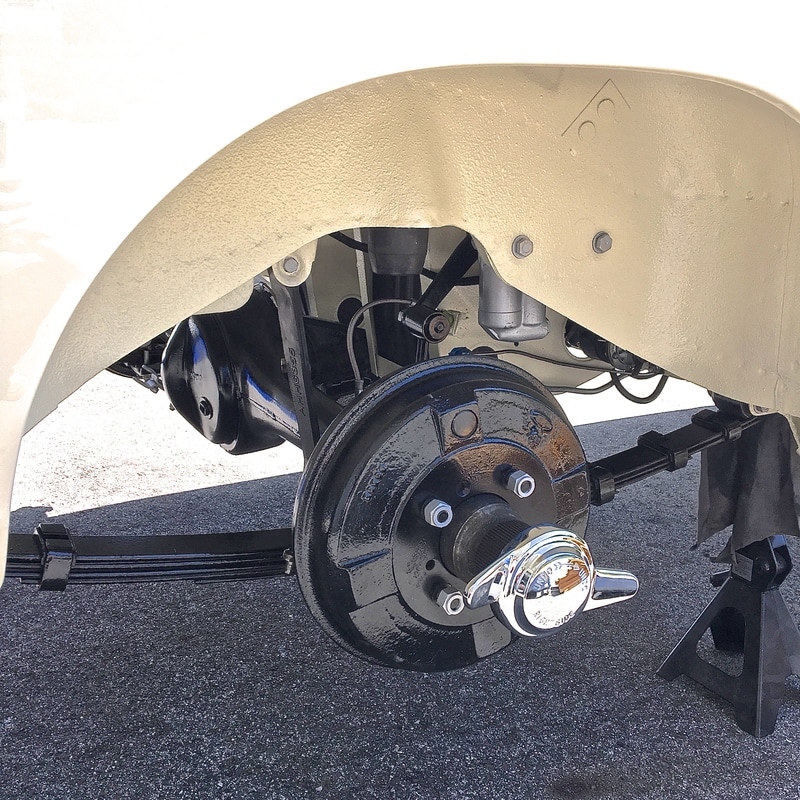 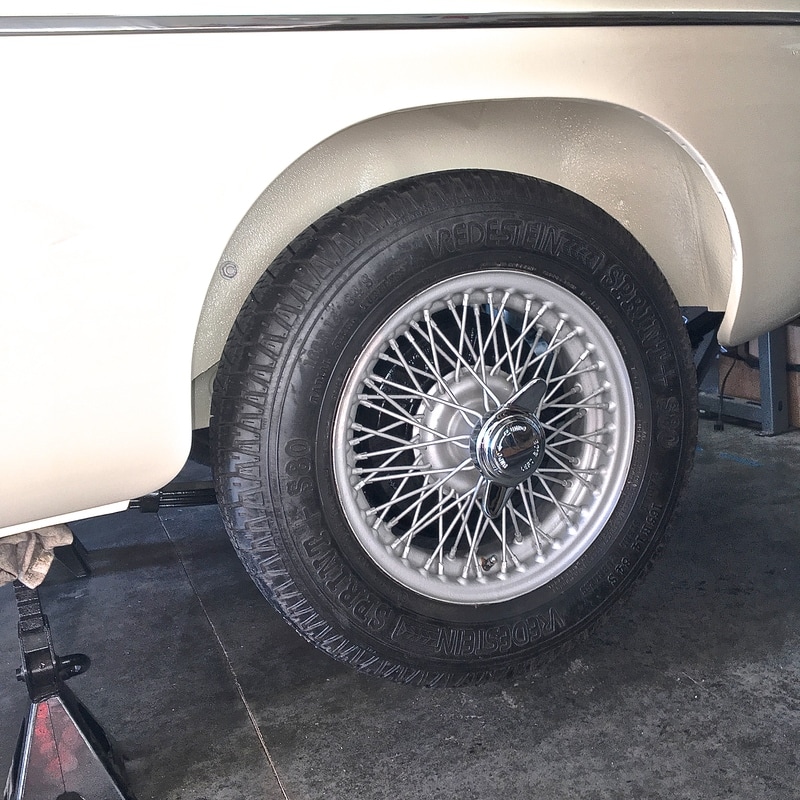 I also installed the front suspension cross member, but still without the coil springs. As I don't have the correct type of spring compressor, I'll need the weight of the engine installed first to be able to install the coil springs with a jack. Until then, I made a rolling cart out of wood to support the front end while the back end can now roll on her own wheels. I made sure to use Anti- seize on all of the hardware threads to protect them from corrosion etc. I've also been using a product called Fluid Film that is an oily rust inhibitor containing wool wax. It can be sprayed and wiped onto virtually everything except rubber & upholstery. It finds it's way into all the nooks and cranny's and prevents any moisture or corrosion from getting in. It's even recommended as an undercoating for vehicles that will stop rust and prevent anymore for forming. It even gives everything a nice shine when it's applied, water just beads off of it.
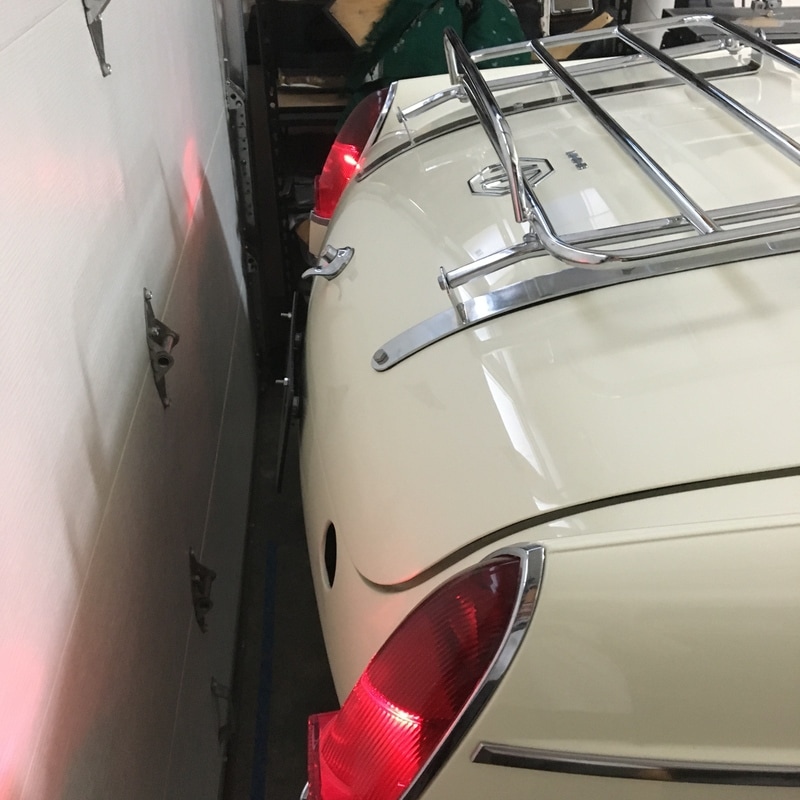
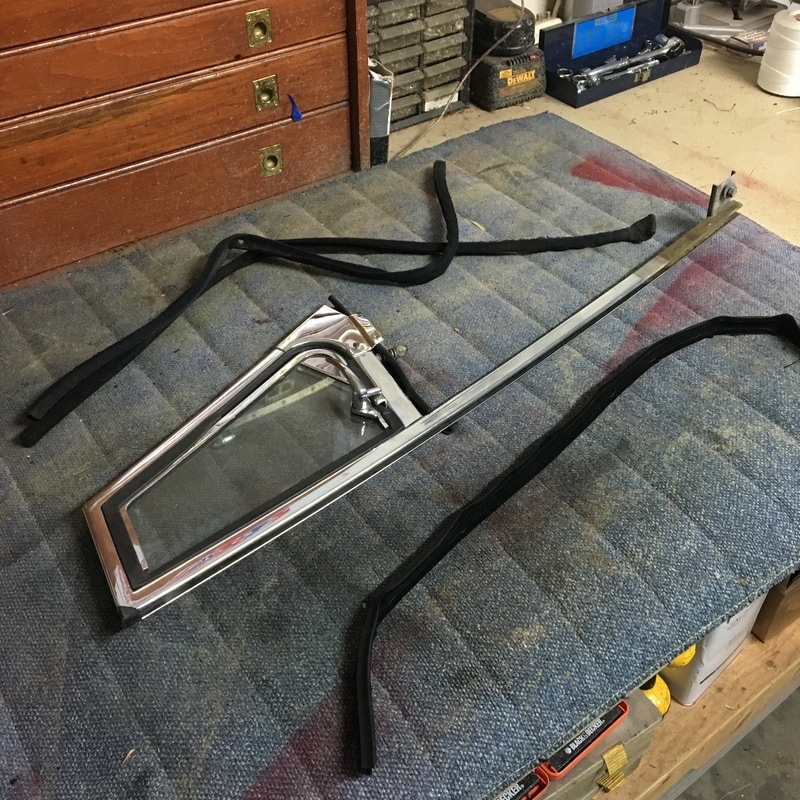
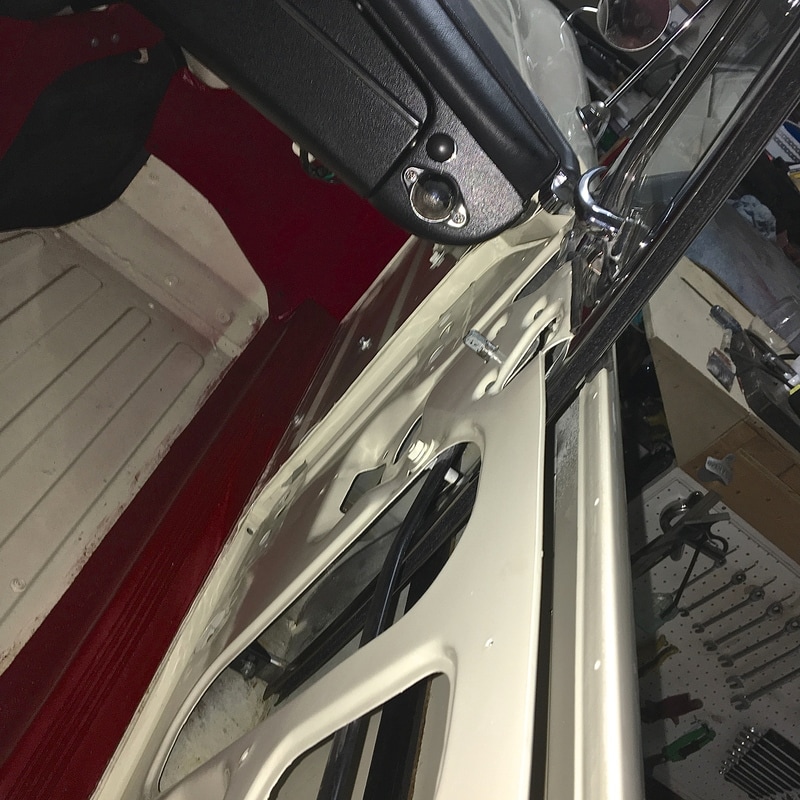
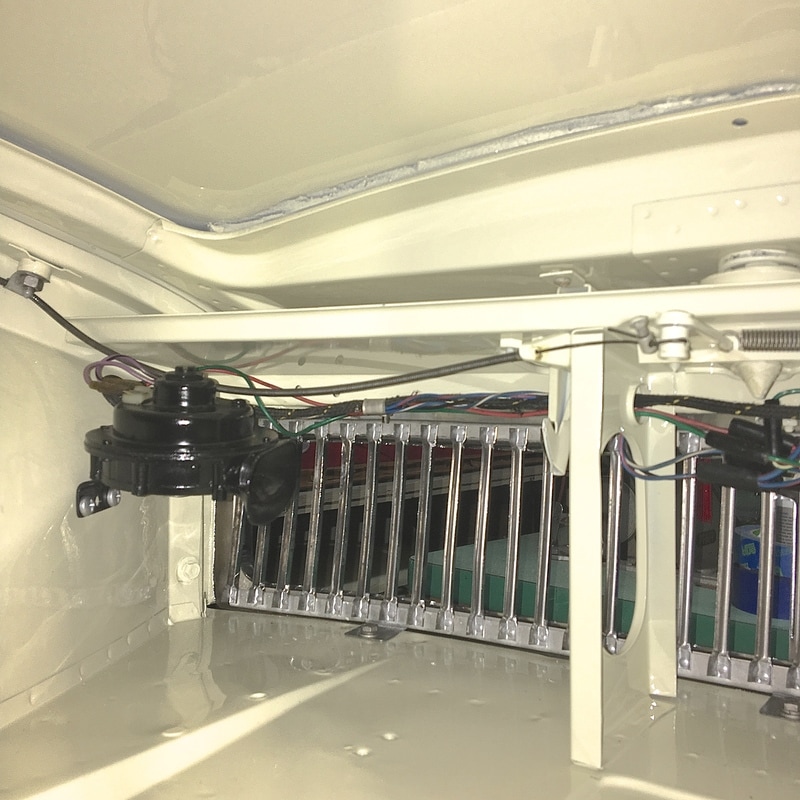
 In the interior I installed all the original 1/4" jute underlay on the floors and then the original rubber floor mats and seat tracks. 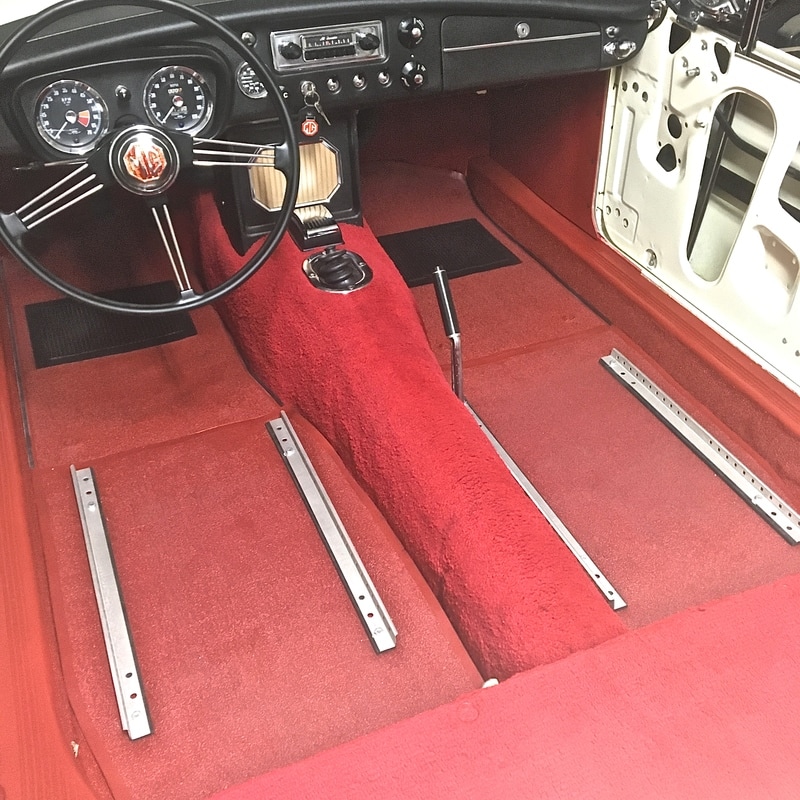 I also finished the rear cockpit area by installing the battery box lid with it's new rubber seal, and then installing all the original carpets, snap hardware, rear 1/4 panels, back board, and the rear cockpit rail. Interestingly my interior panels were all fit with black screws and washers rather than chrome. The carpets I spruced up by actually cutting and splicing in small worn areas with bits of matching carpet I salvaged from my second original tunnel carpet. It was crazy tedious to hide the small repairs, but I'm quite pleased with the results: 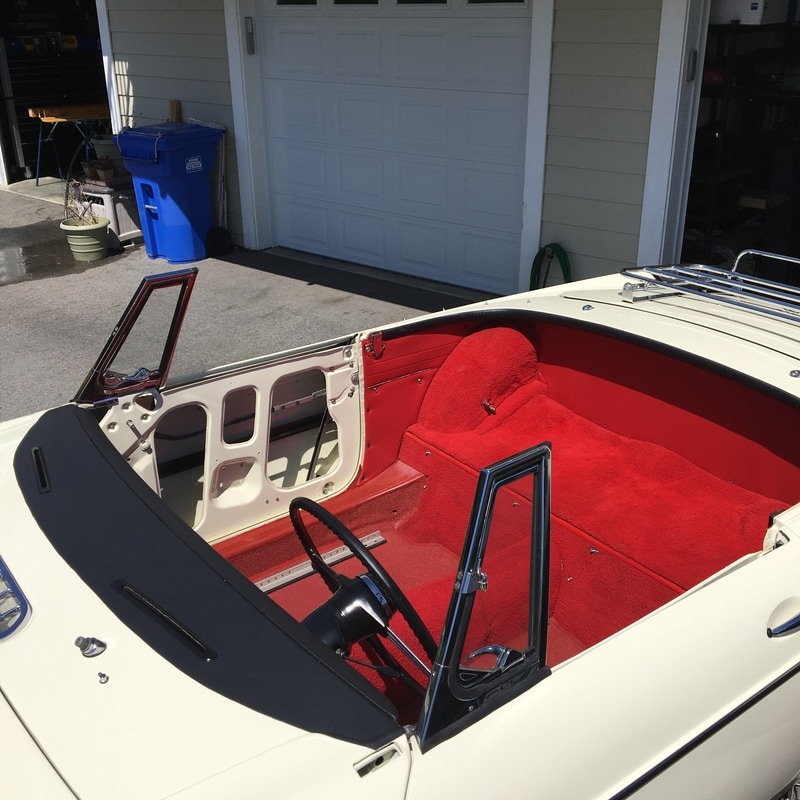 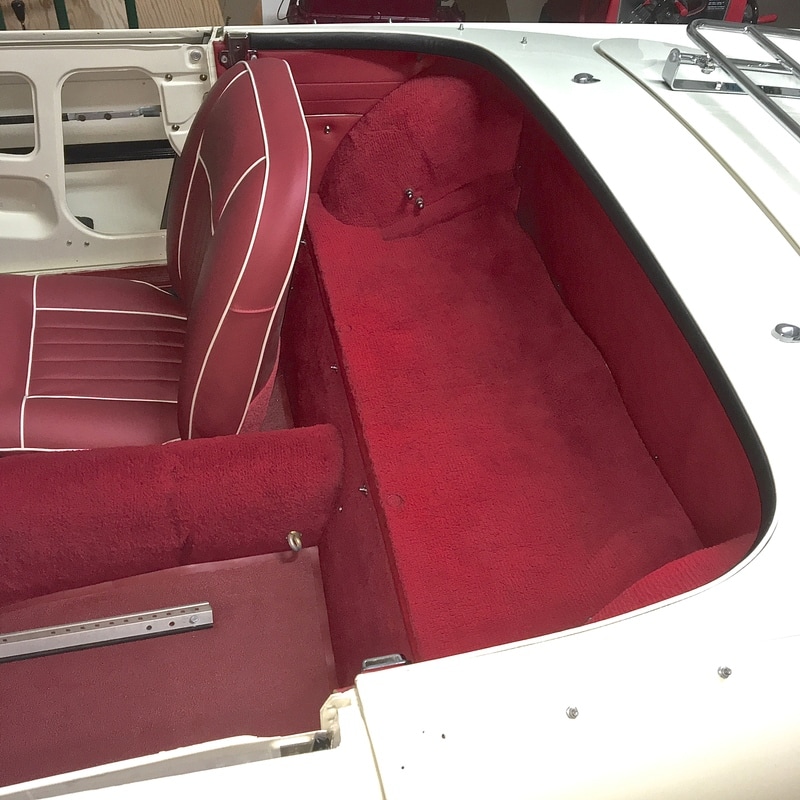 I installed the door handles, and much of the inner door mechanisms for the latch/lock and wind up window assemblies, including the 1/4 vents. I replaced the fuzzy window guide strips too.
With a battery hooked up, I proved out all of the electrical auxillary functions like lights, horns and I even got the old AM radio working! 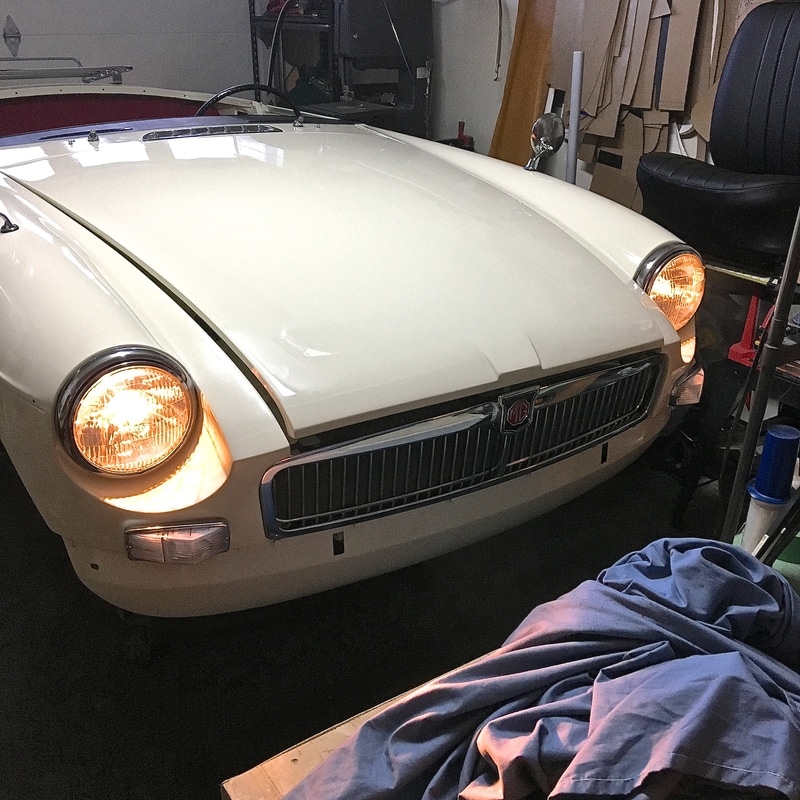
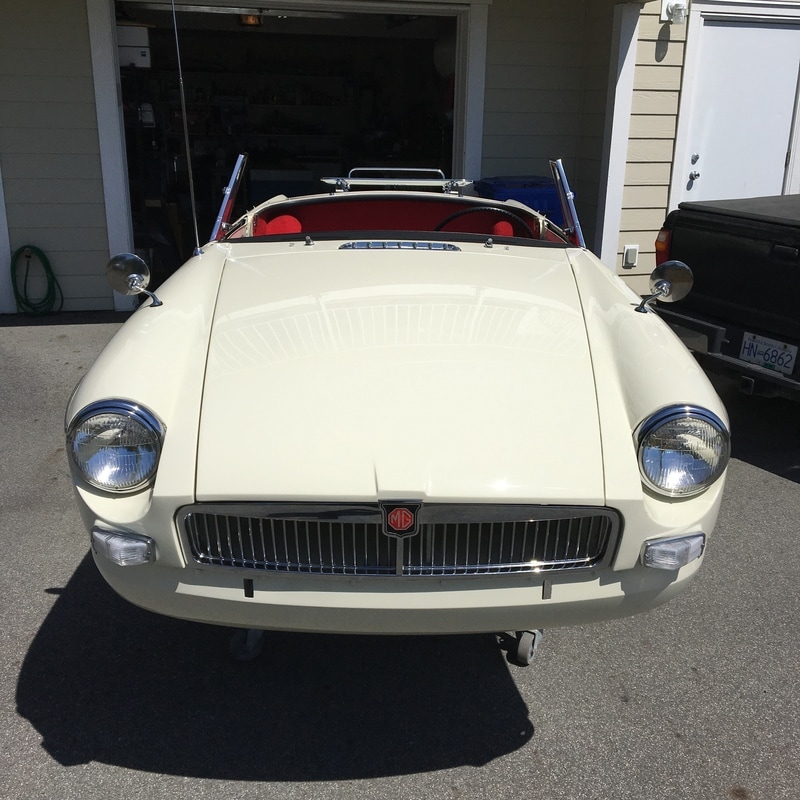
 The MGB is starting to come to life! I have been absolutely loving the satisfying process of restoration too. Next week I hope to be installing the engine and drive train, so stay tuned.
Until next time -
1 Comment
Edward Skevington
1/21/2018 01:01:17 am
U do brilliant work could compete with any show car Your comment will be posted after it is approved.
Leave a Reply. |

Archives
December 2023
|

 RSS Feed