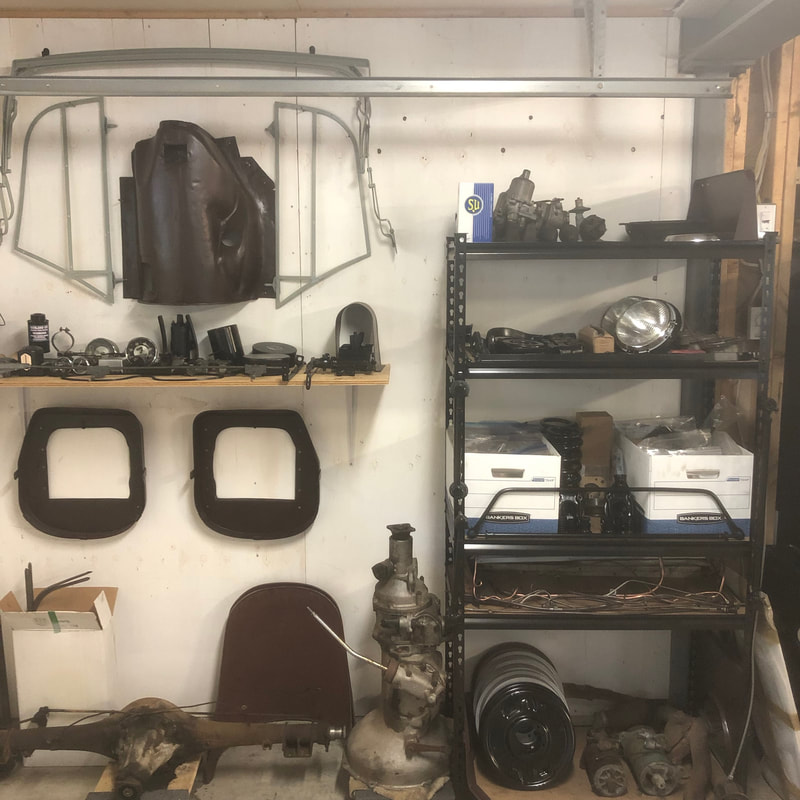
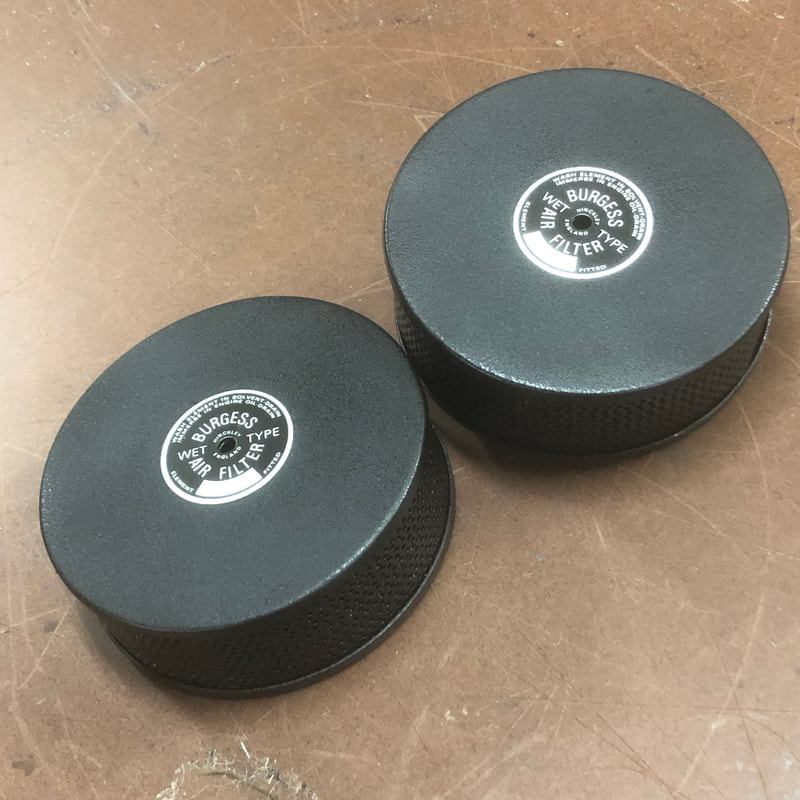
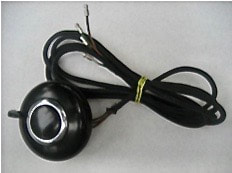
 It's been months since I've had any time to work on my BN1. However these past weeks saw a few more things done.. First off, I should mention that I have at least been tracking down sources for much of the parts needed for the restoration, including some of the "unobtainium" parts that are hardest to find. I have put together lists of all the various sources for the parts I'll be needing and how much things will cost. This way I can slowly work my way through the various source orders as I have the money to cover each one. It also helps having so many friends and clients in the Healey community. Since I started this restoration I've been able to reach out to acquire and often trade upholstery work for some of the rarer parts I've been hunting. Over the past few months I've acquired several of the rare parts on my most wanted list: - I found a pair of original Lucas 700 headlamps from my good friend Trevor Parker - these were standard on all export Healey 100's into Canada - Thanks again Trev! 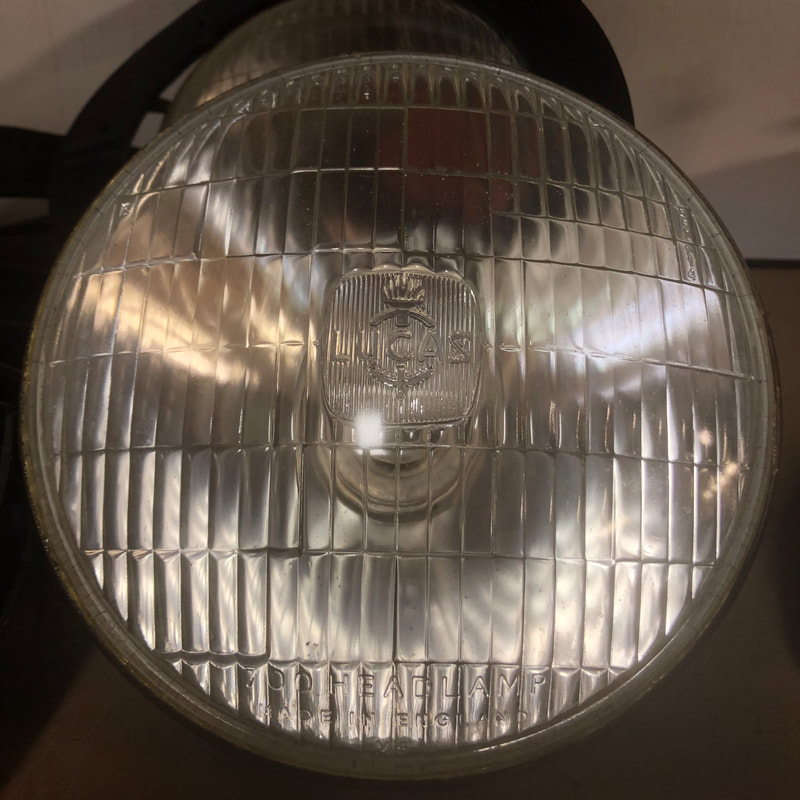 I also found a pair of original horns, and a pair of Burgess air filters from my good friend Richard Korn - thanks again Richard!
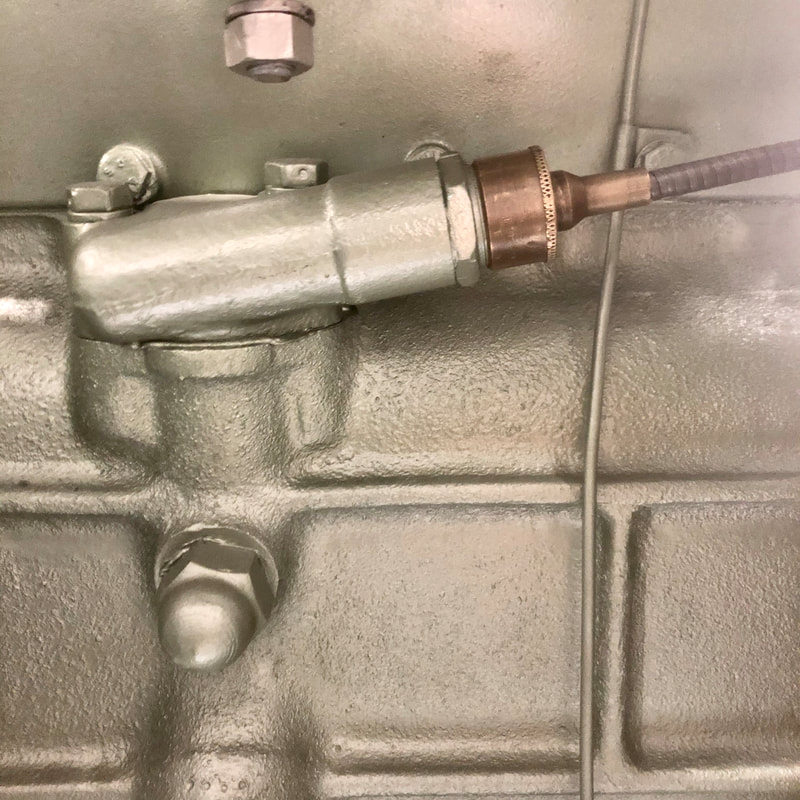
 I've been able to score some of the most difficult to find "unobtainium" pieces through my friend and client Curt Arndt - Curt has been collecting parts for his own beautiful BN1 restoration for decades and now I'm honoured to be making and installing his new interior for him - in original vintage materials that he's found! - I'll be happily covering this job in detail through future posts. - As partial payment Curt has been able to provide me with several original and rare pieces that I was needing, like a correct BN1 generator commutator end - I can rebuild my current one that has replacement ends from a BN2 to at least have the correct ends on it:
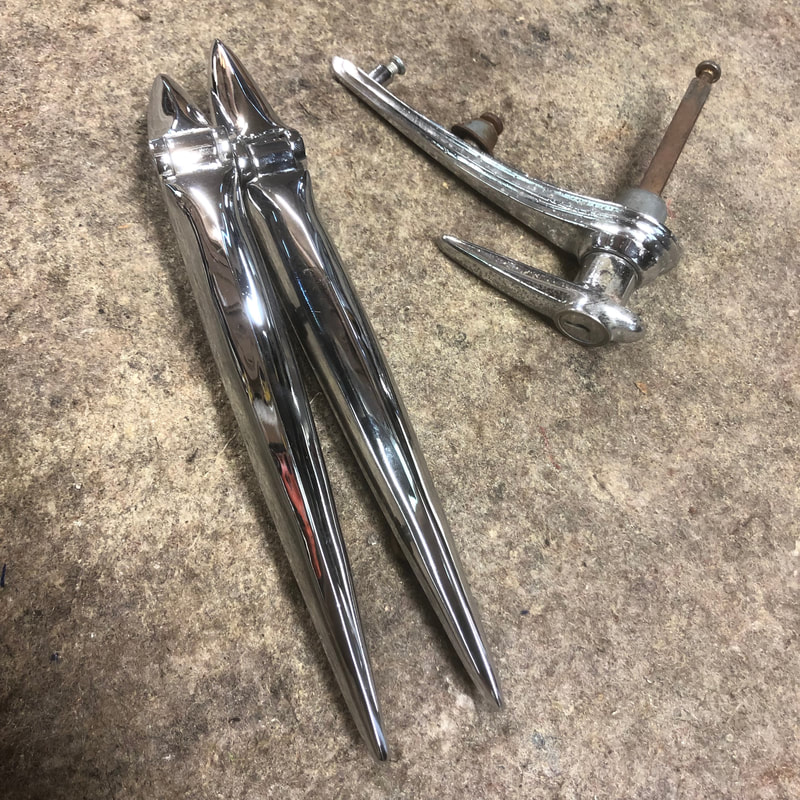
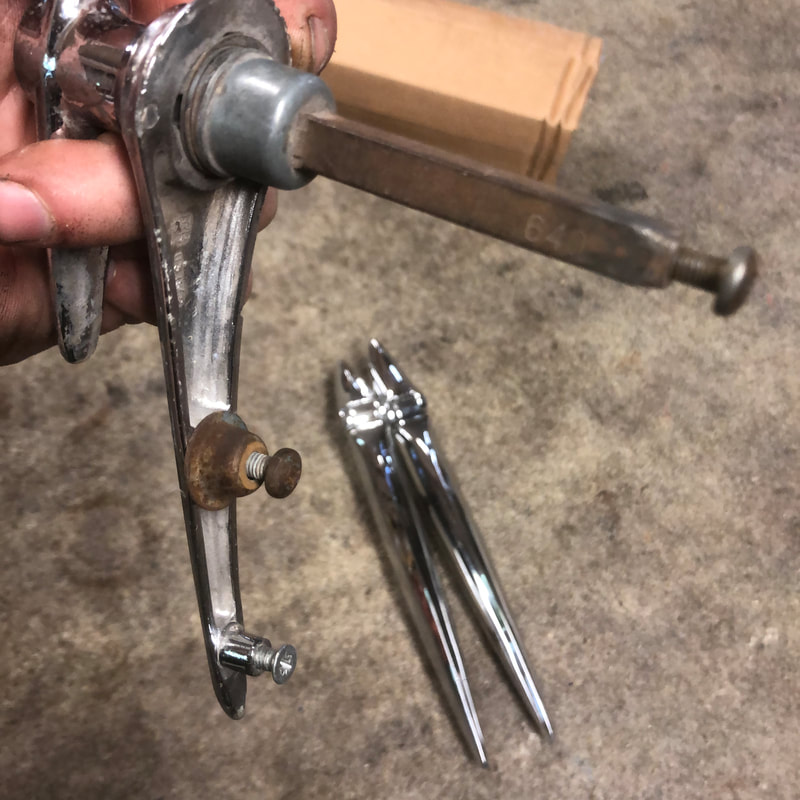
 Recently I went to our local Old English Car Club restoration fair and found a few more pieces that I snatched up including: a good set of original boot lid hinges, and a correct original boot lid handle - I'll need to get a new key for it which can be sourced through britishcarkeys.com by giving them the key number which is inscribed on the inner shaft...
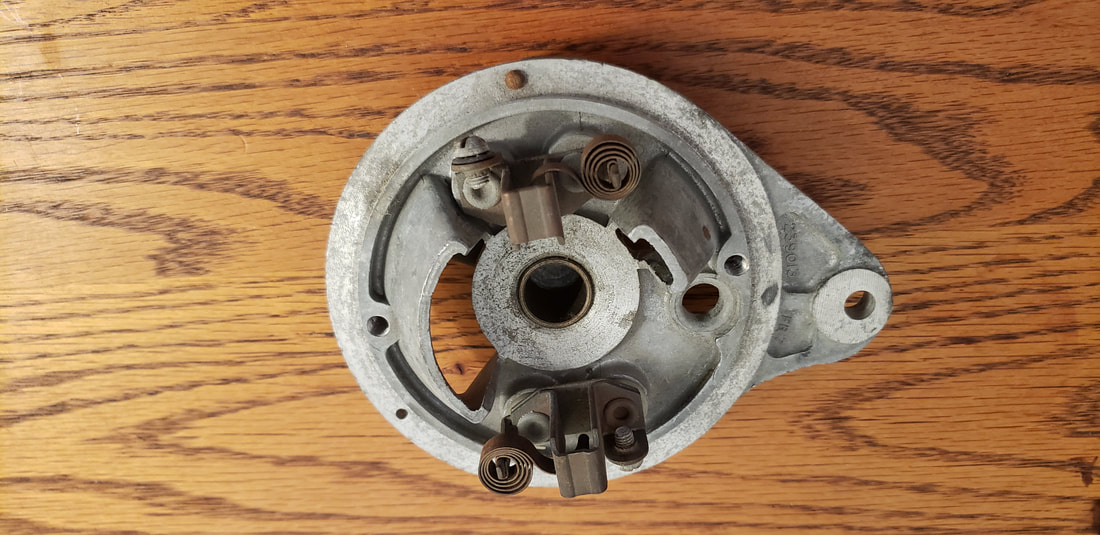
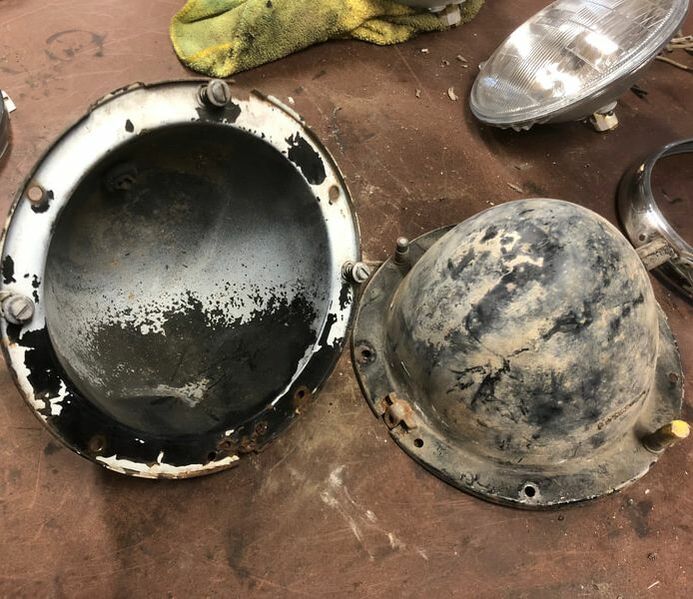
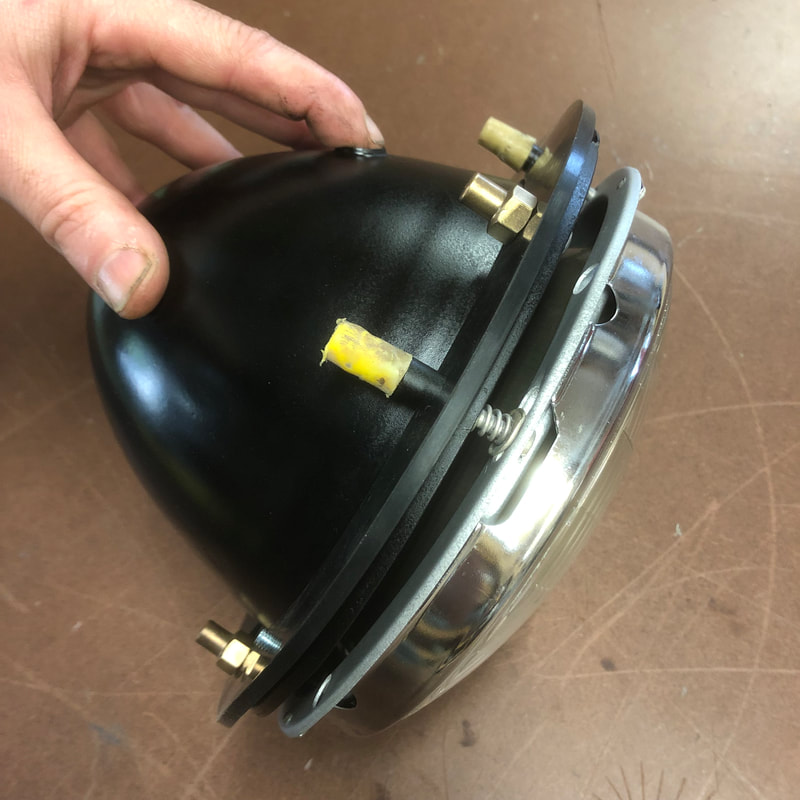
And a pair of original Rainbow wiper blades: 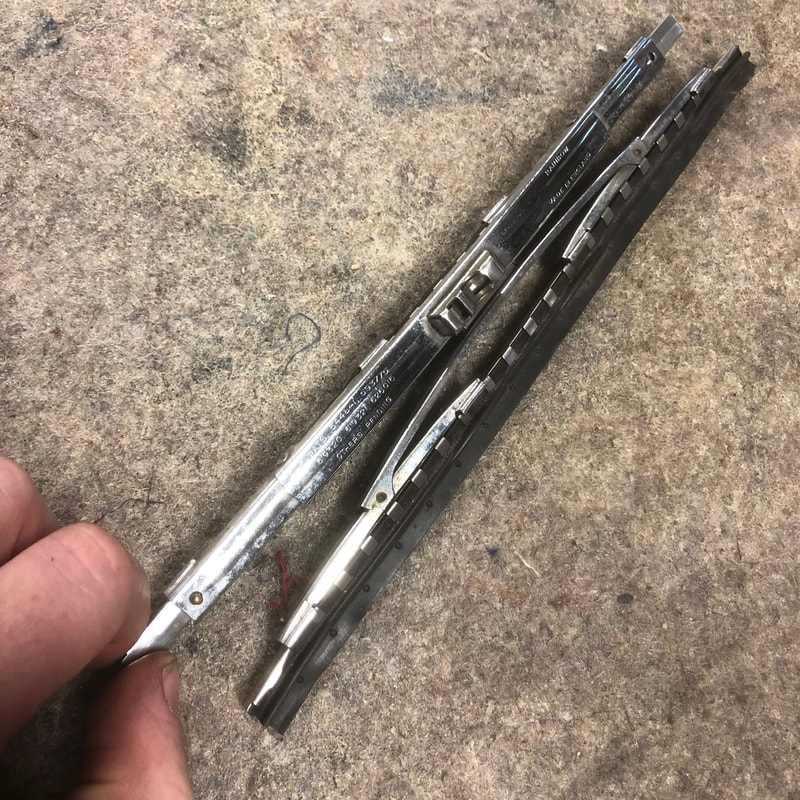 Last weekend I went down to our local sandblast "Blast-It" center and stripped a few more parts that I also primed & repainted throughout the day... I redid the headlight bowls and cleaned and polished the chrome rings and brass nuts, I re-plated the adjustment screws too and reassembled them with my new headlights and original plastic caps on the backs of the adjustment studs - curiously my plastic caps were yellow? I've only seen them red before...
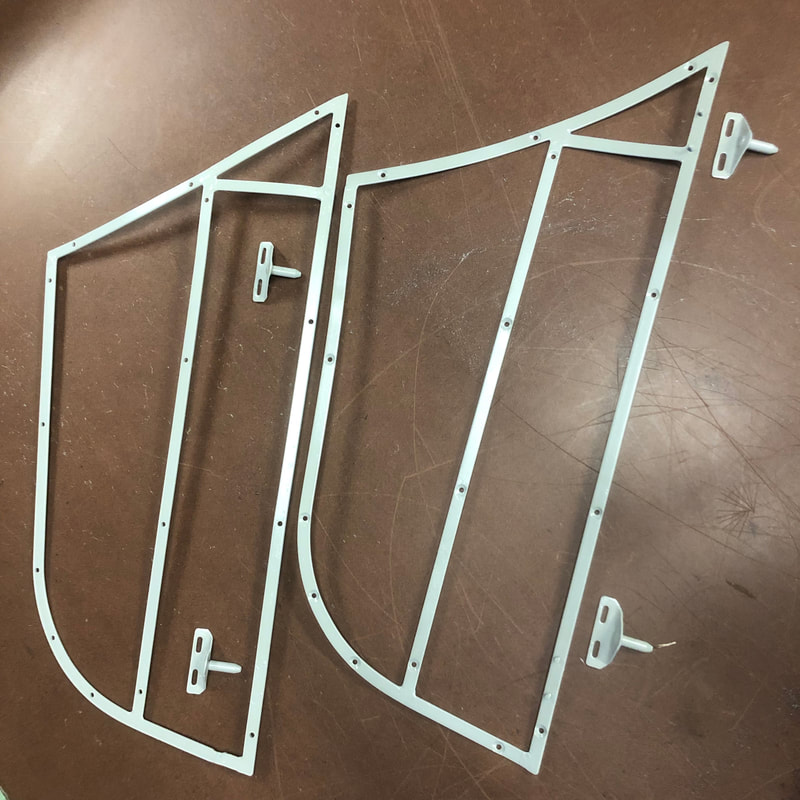
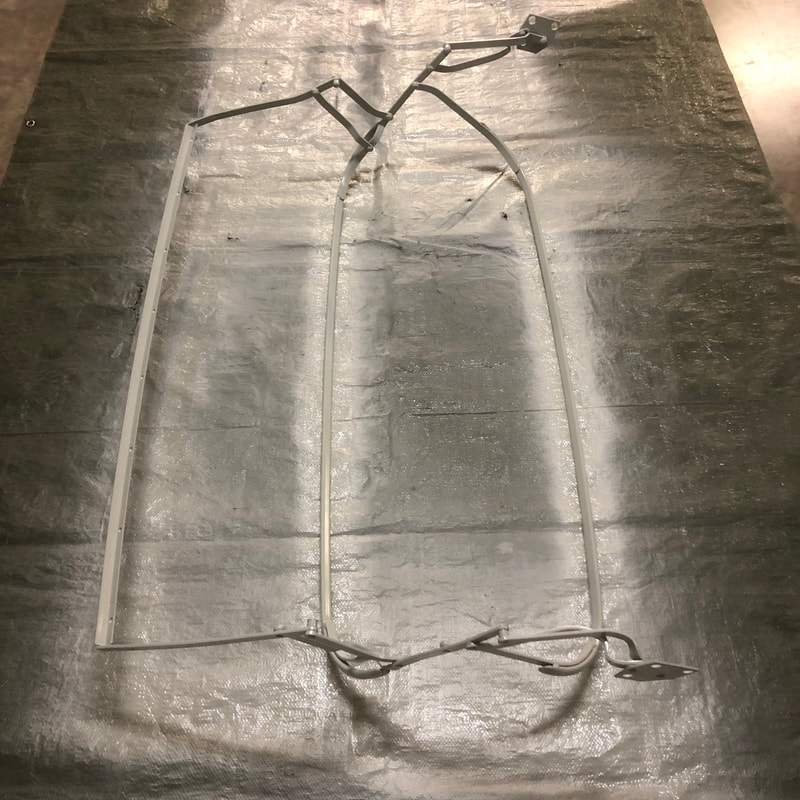
I also stripped and repainted the side screen and top frames in medium grey:
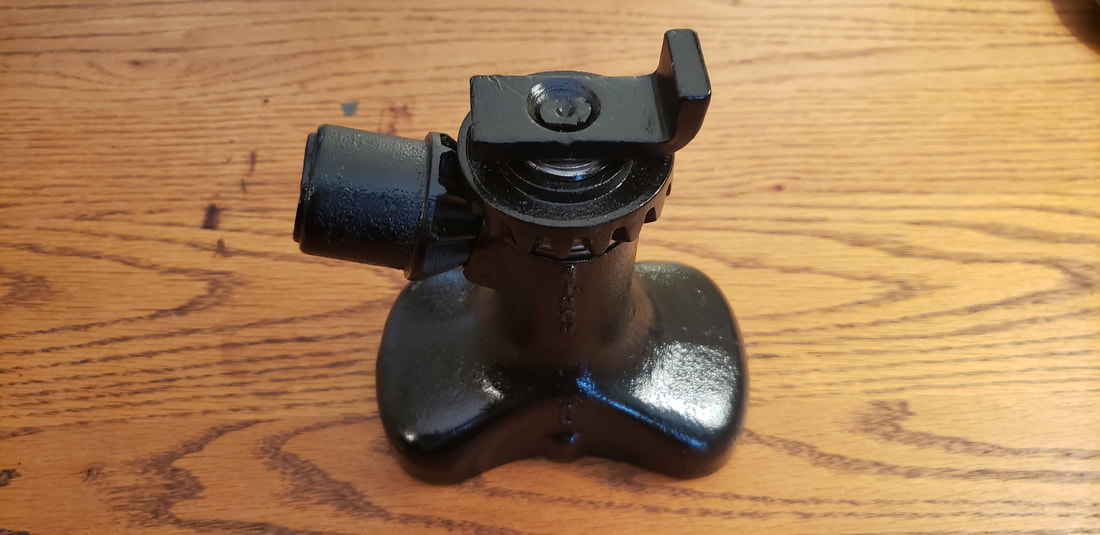
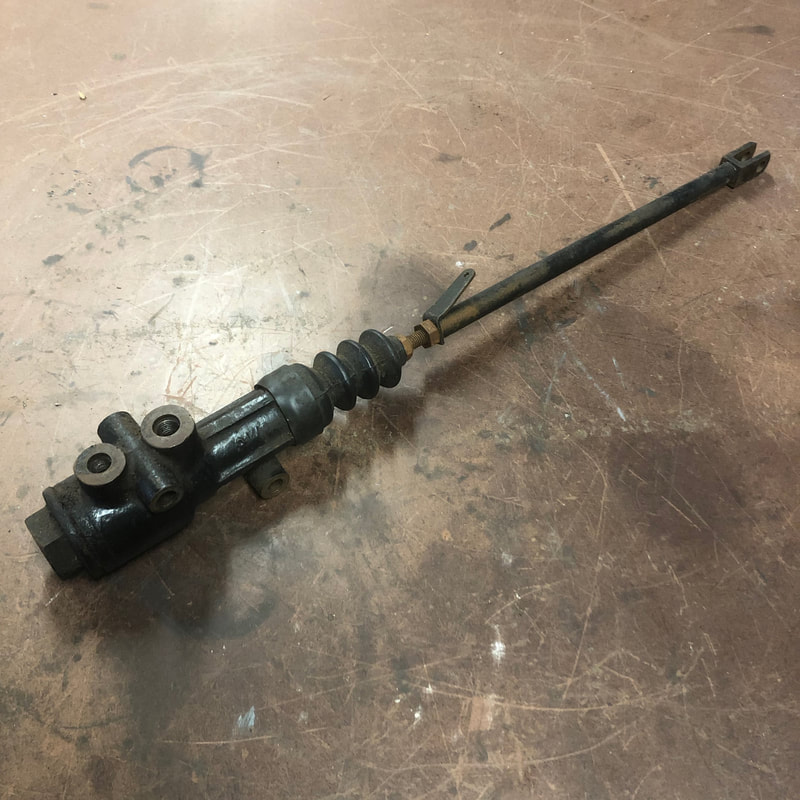
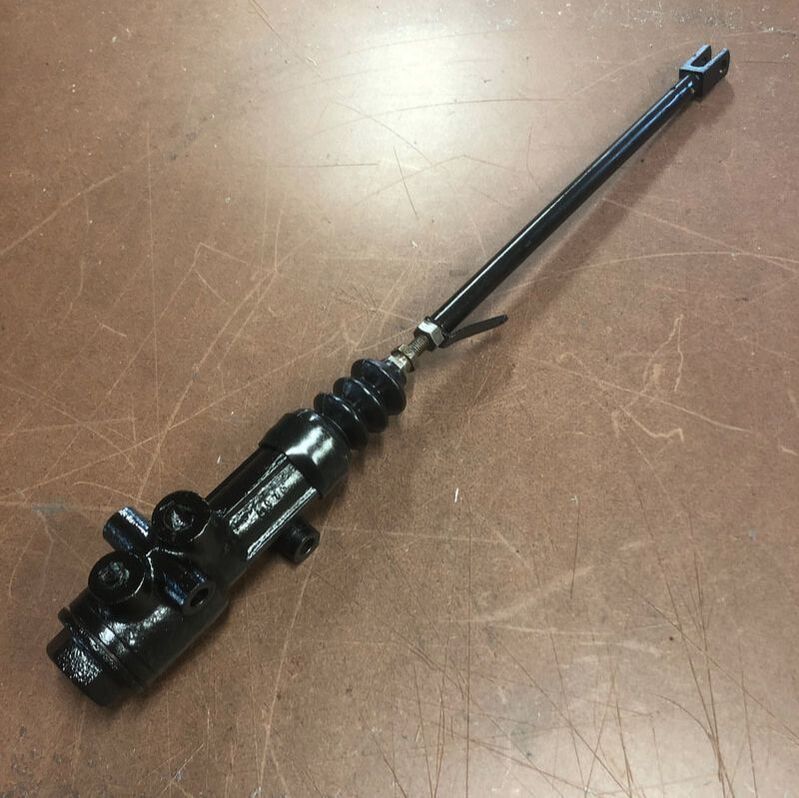
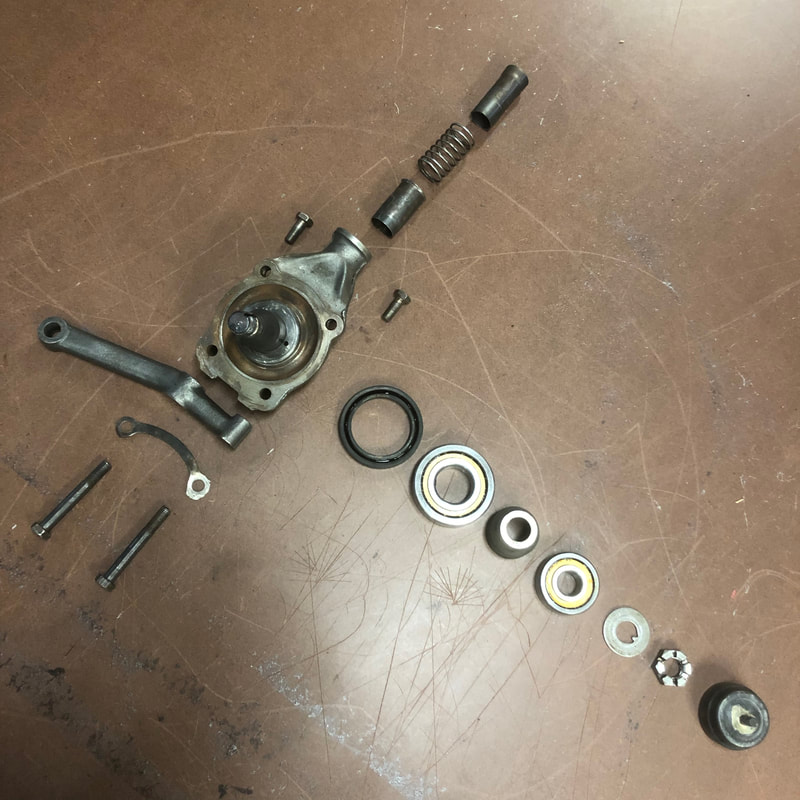
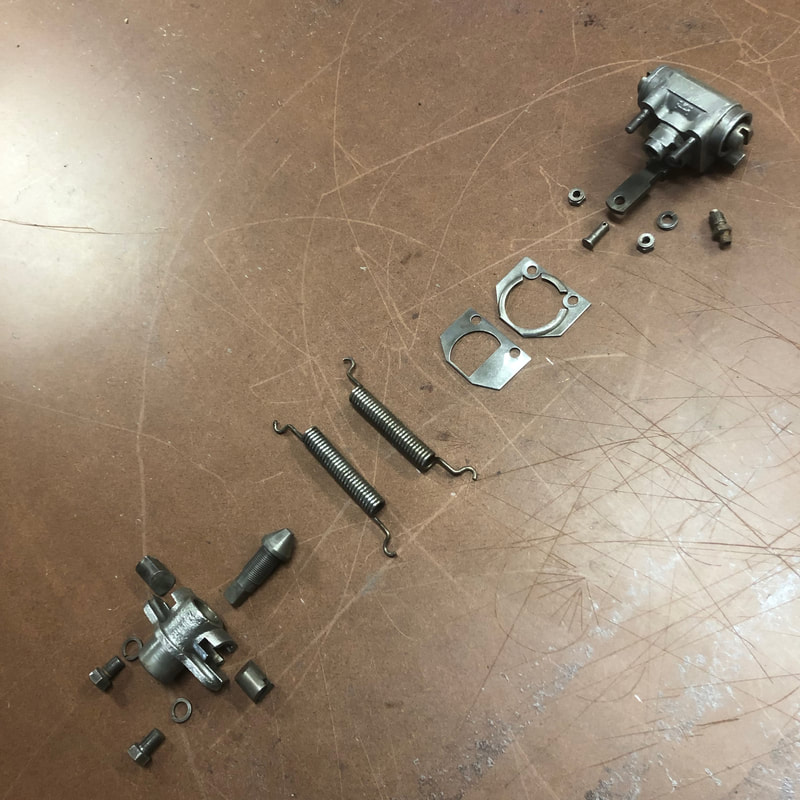
I also rebuilt the brake master cylinder using a rebuild kit and following the factory workshop manual closely. The only tricky part was finding the proper 'red' brake grease to lubricate the rubber boot. Red grease is specifically designed to be compatible with rubber parts as well as brake fluid.
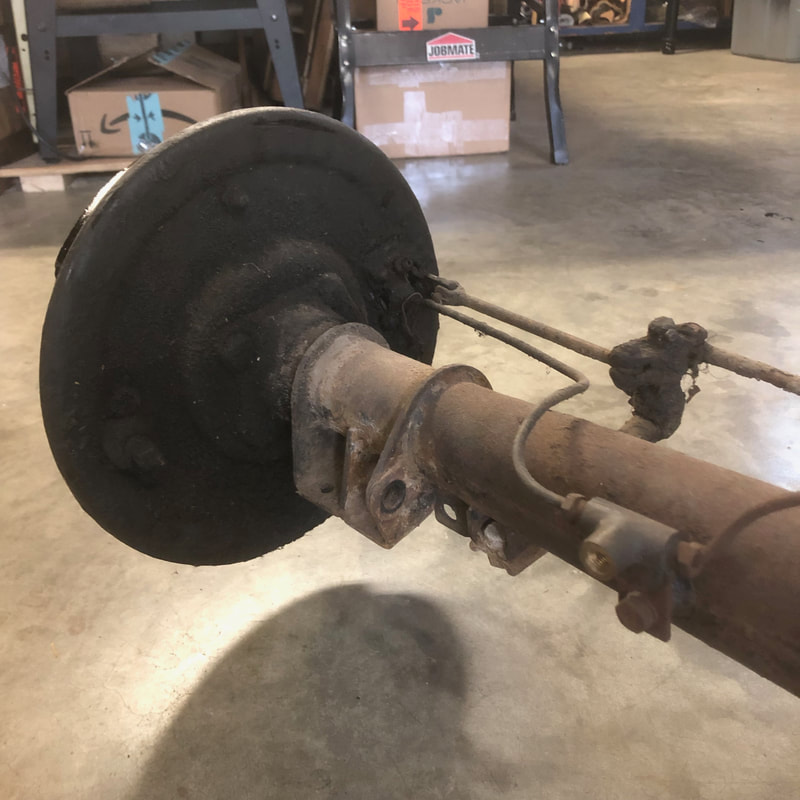
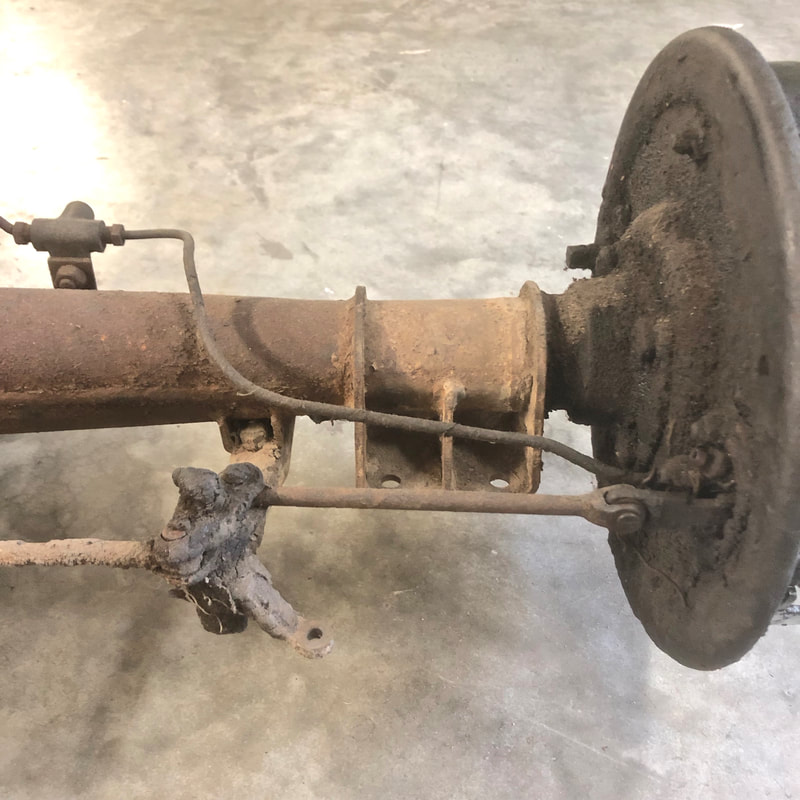
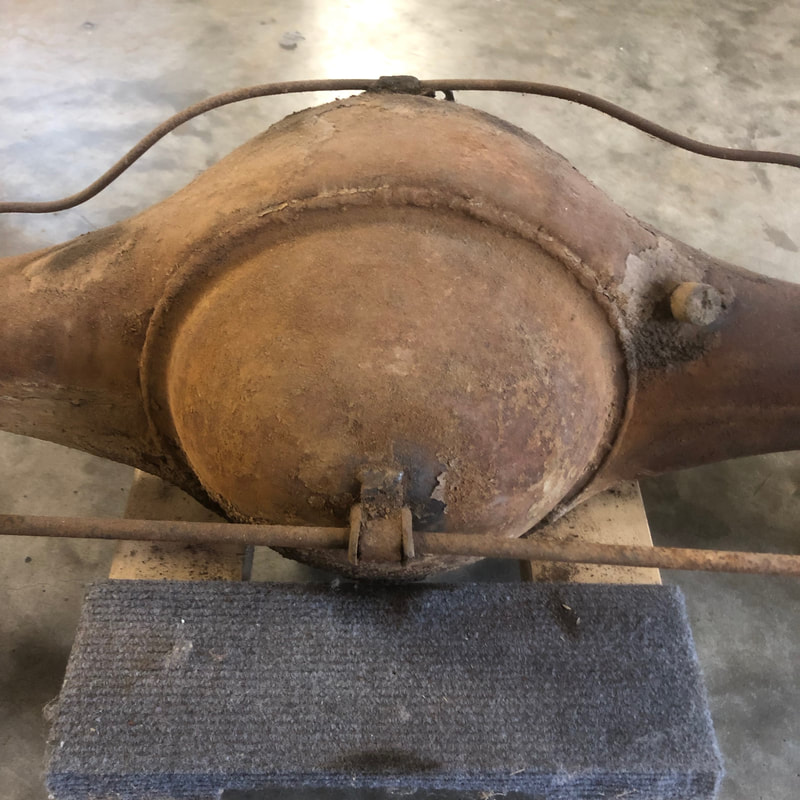
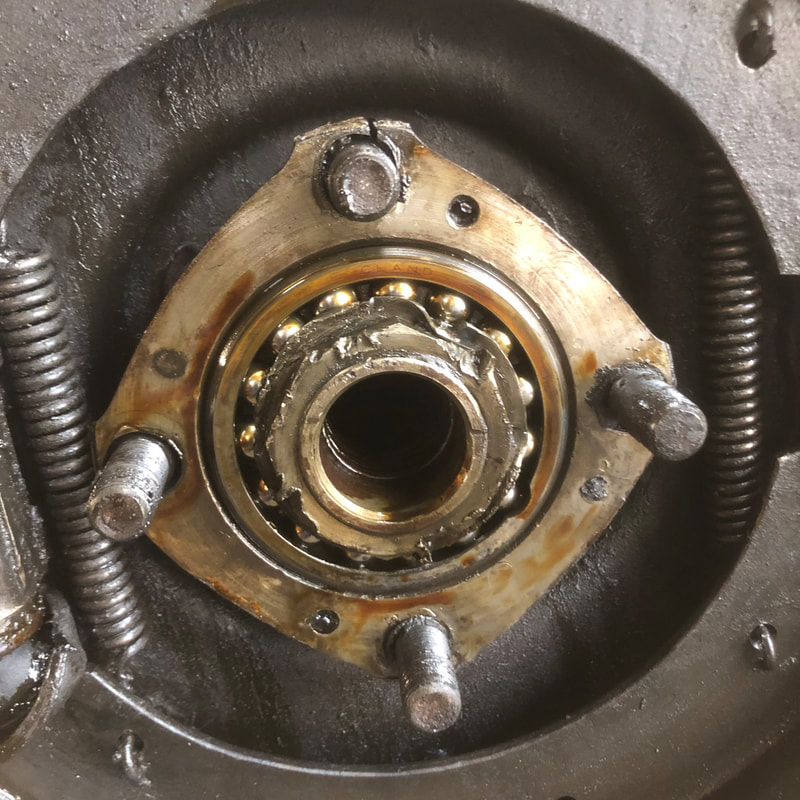
The other thing I started work on was the rear axle & hub assemblies. I first took several pics of it all still assembled. and then proceeded to remove the splined hubs, brake drums & axle shafts...
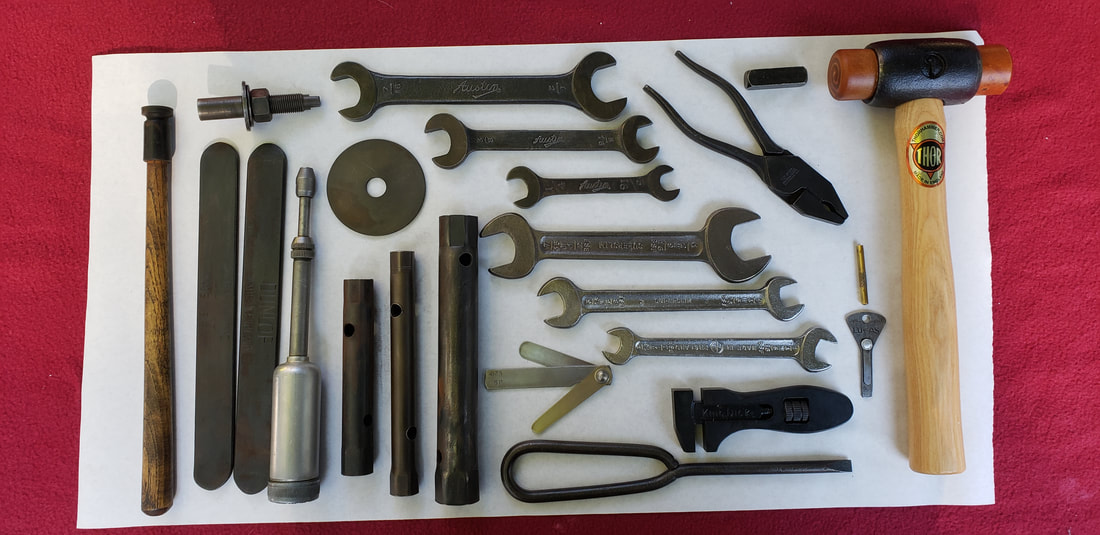
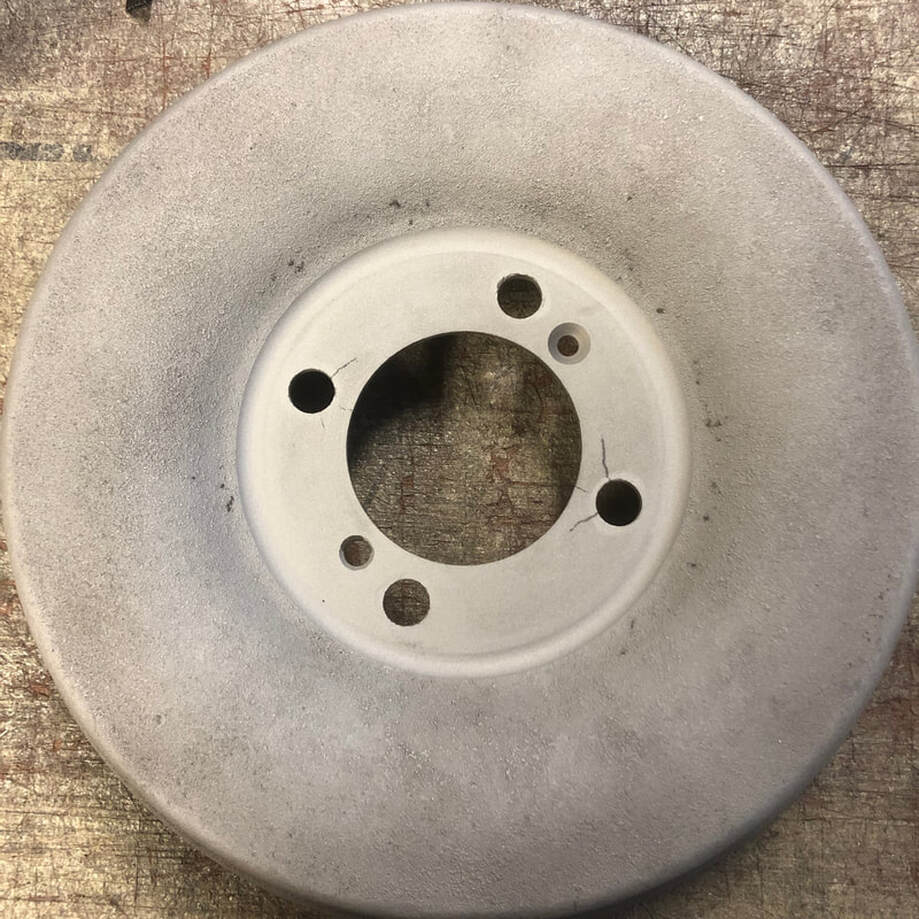
I was alarmed to discover that someone has replaced the 4 wheel hub studs on one side only with new studs and nuts that are larger than the other side! I had to use different wrenches on either side just to remove the hubs and axle shafts. In fact the side that has the replacement studs also has a crack in the inner hub where the one of the studs is located:
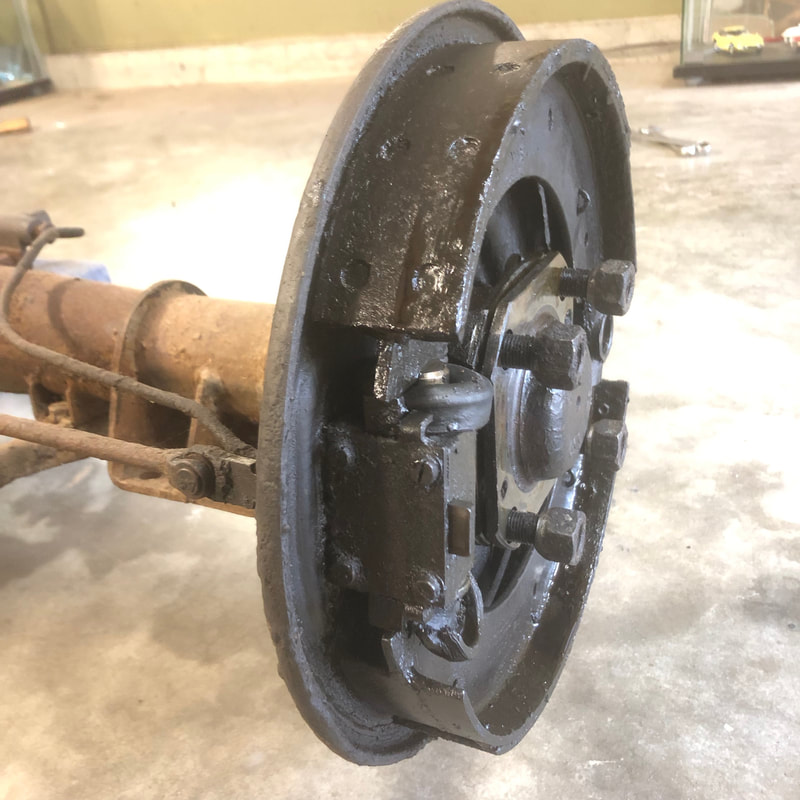
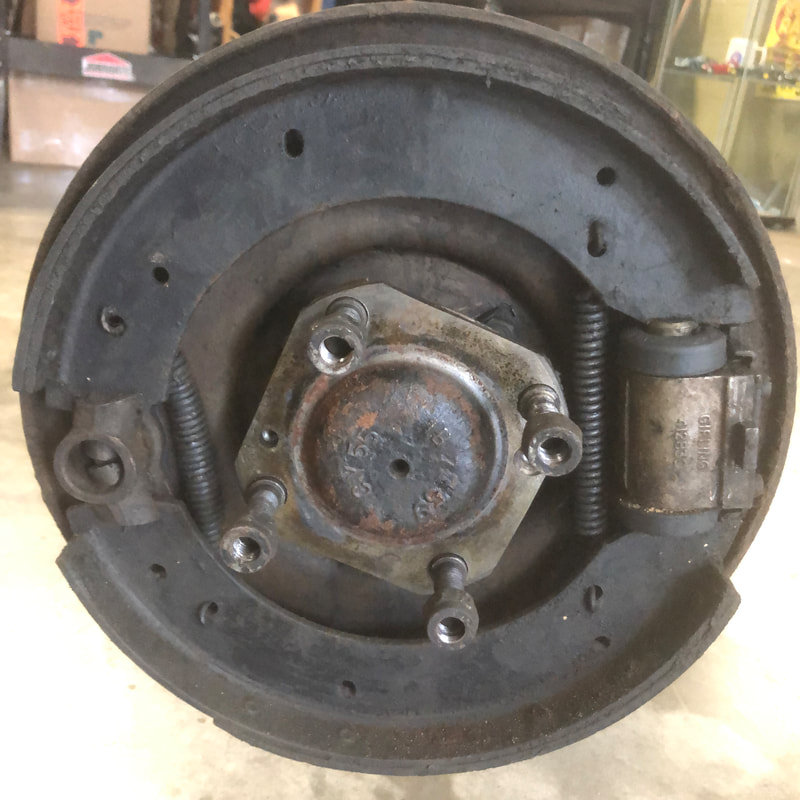
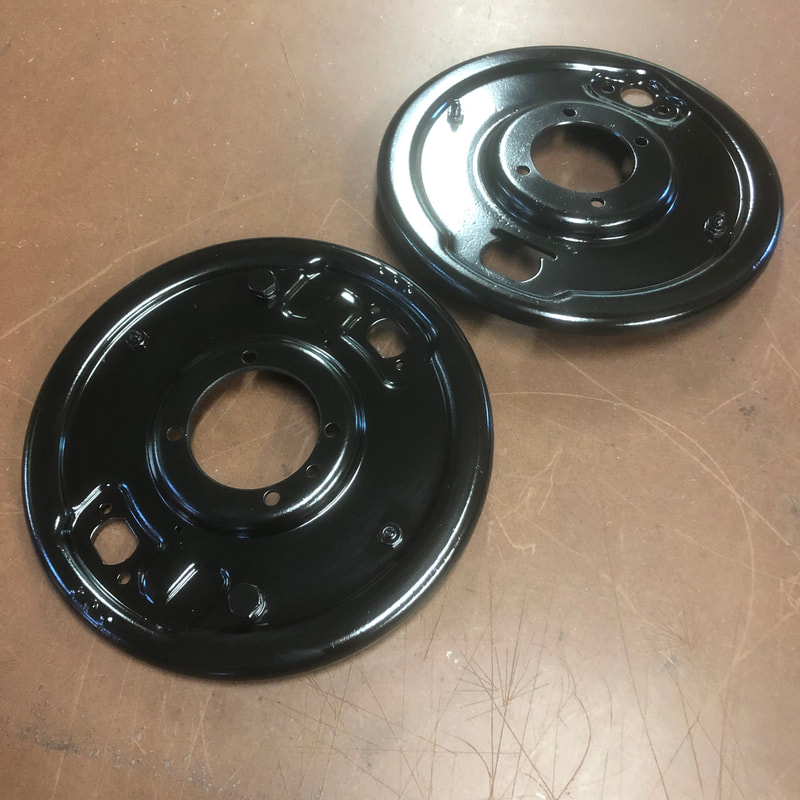
I've also discovered that the same rear wheel has cracks in the brake drum and even shows evidence of the wheel falling off! there are some very deep horizontal gouges along the bottom edge of the back plate - ouch! - if only this car could talk! - while the back plate might be repairable, replacing the cracked early drum might be tricky to source. Luckily I believe I found one through my good friend Michael Salter, thanks again Michael! 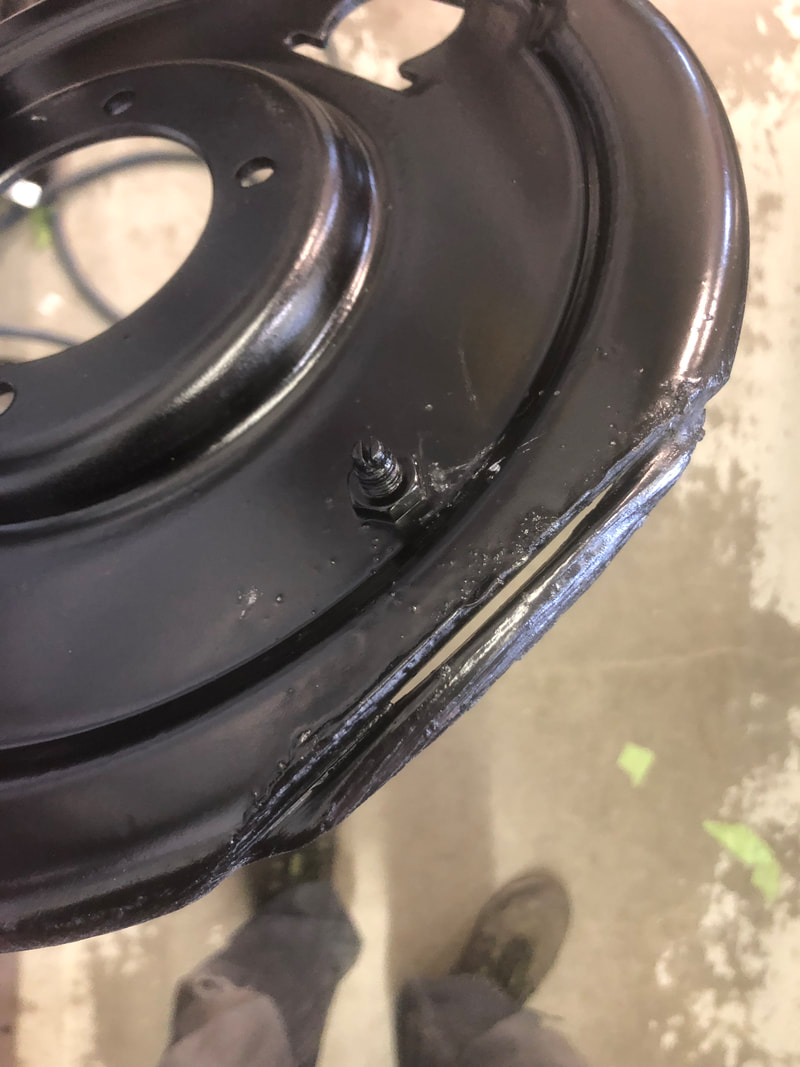 I also got my front hubs & kingpin assemblies disassembled. I've already got new kingpins, seals and bushing sets ready to go, however upon further inspection I've decided I'm going to replace all 4 of the splined wire wheel hubs. I'll eventually be getting 4 new wire wheels too so I'll feel better knowing that all the splines are new. 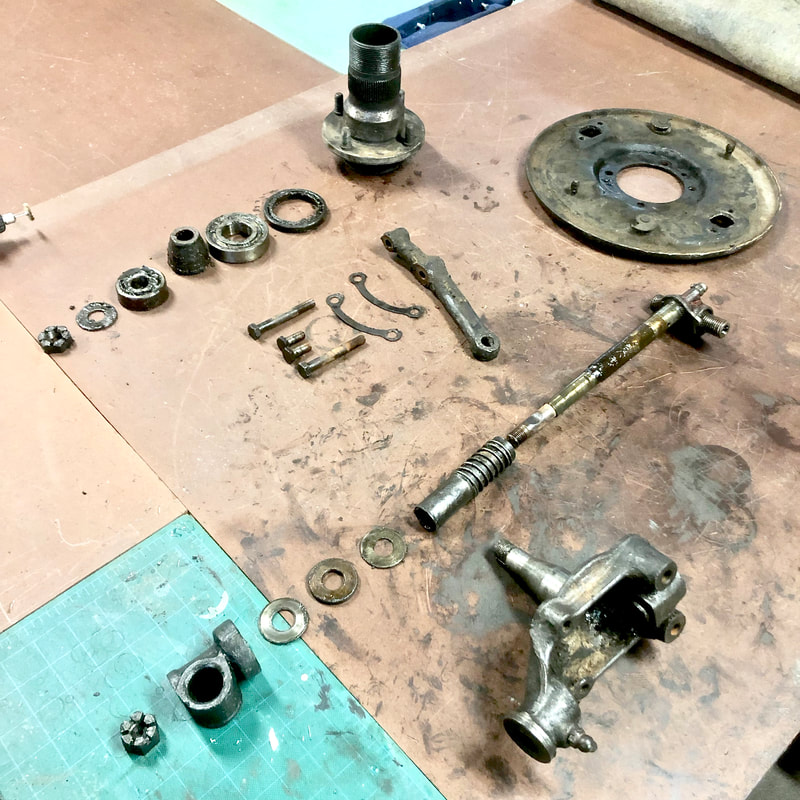
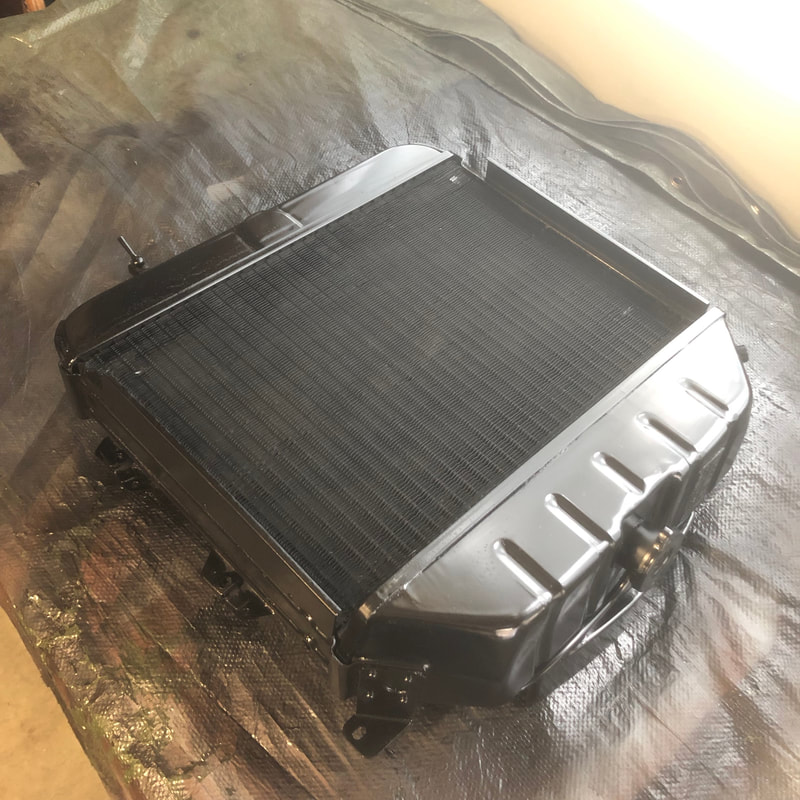
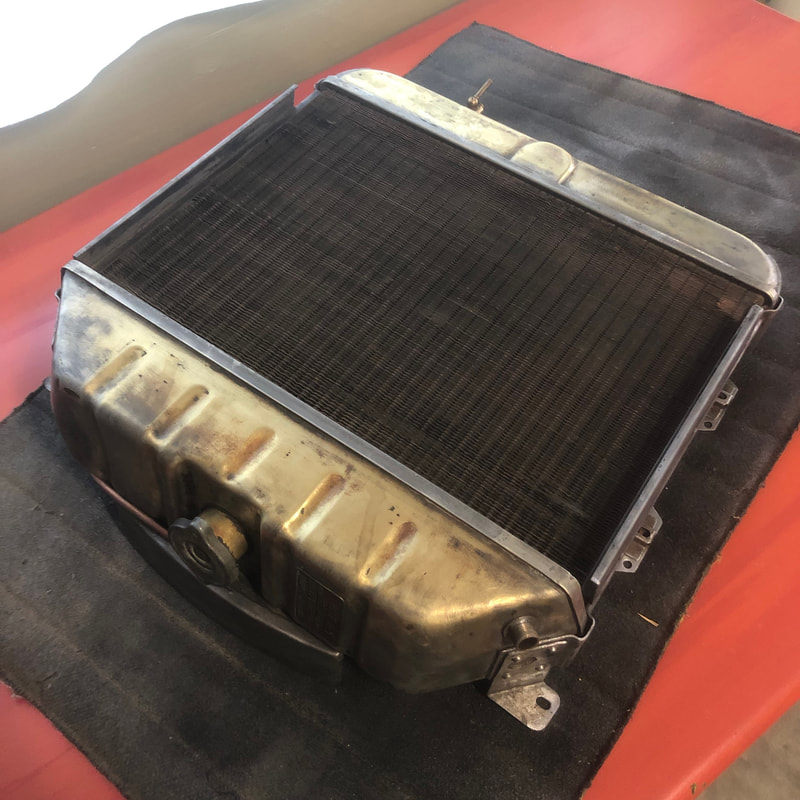
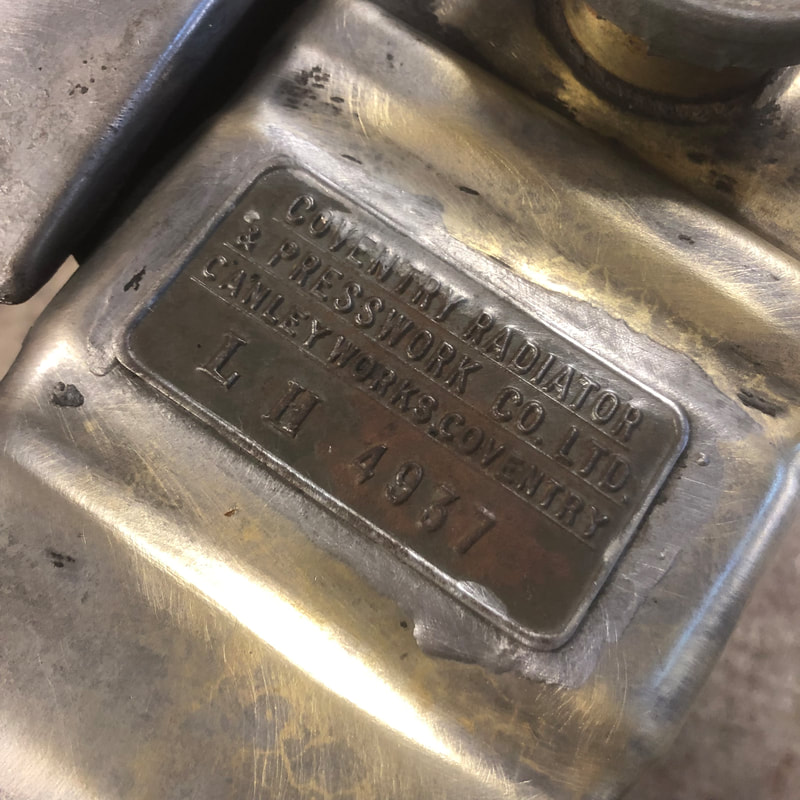
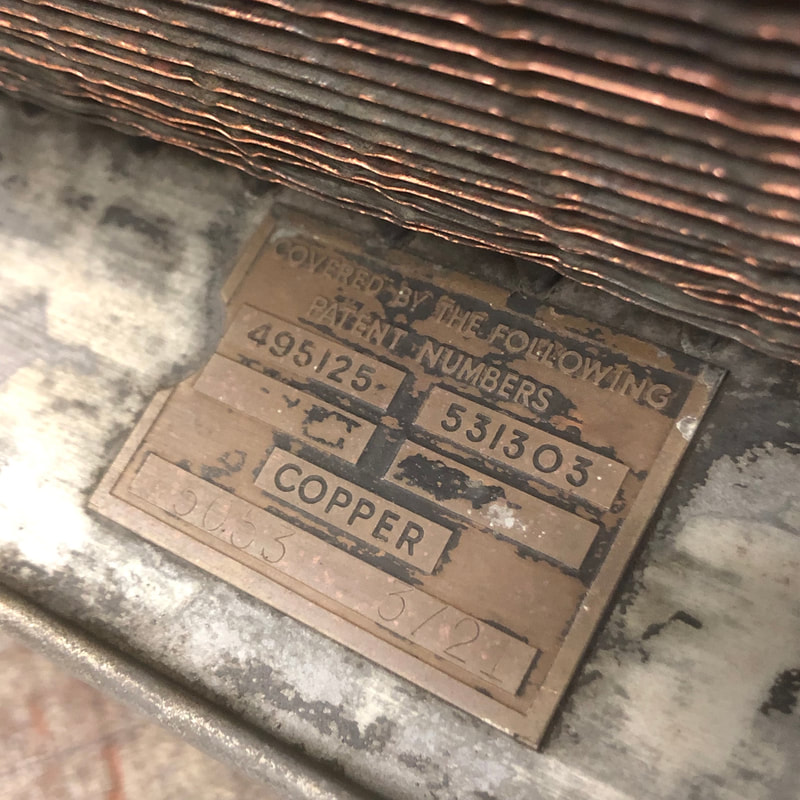
I also cleaned up my original radiator. I thoroughly flushed it out with boiling water and then cleaned it to bare metal with a series of gentle brass wire wheels in my drill. The rad seems to be the original one to the car and is still in great shape - no leaks and still has all the original date and manufacturing stamps:
 Now that I've sold my MGB, I'm finally able to pay back the loan for my Healey which I'm very happy to have settled. I can look forward to many more months (probably years) of meticulous restoration work ahead - but thanks to good friends who've been helping me acquire these rare parts, it's already starting to shape up very nicely! Thanks again everyone! Until next time -
0 Comments
Your comment will be posted after it is approved.
Leave a Reply. |

Archives
December 2023
|

 RSS Feed