|
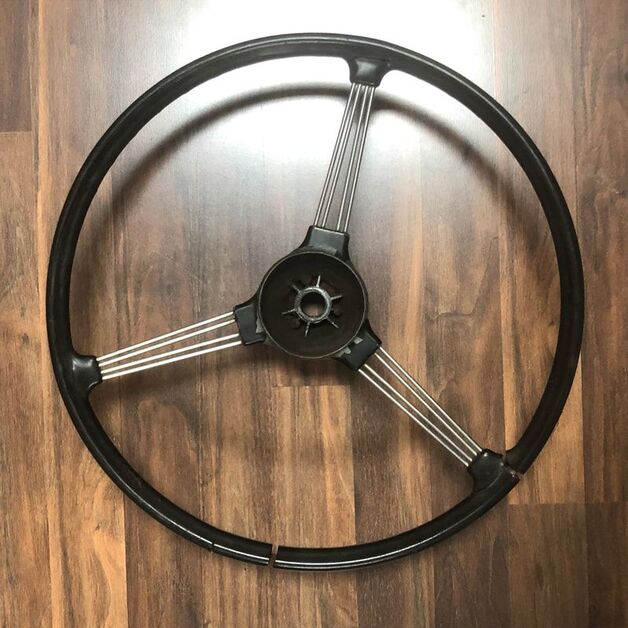
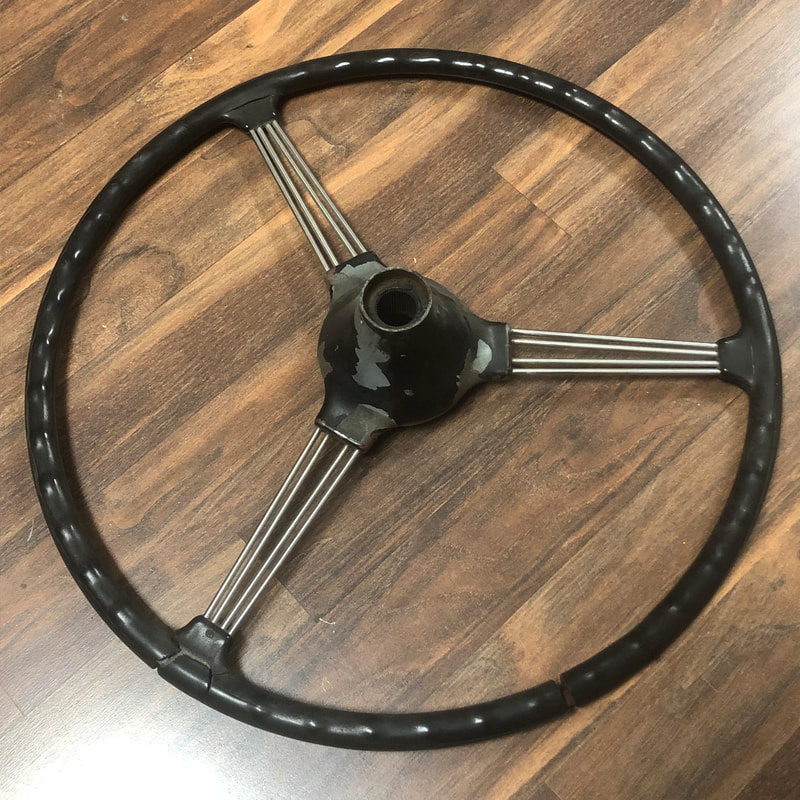
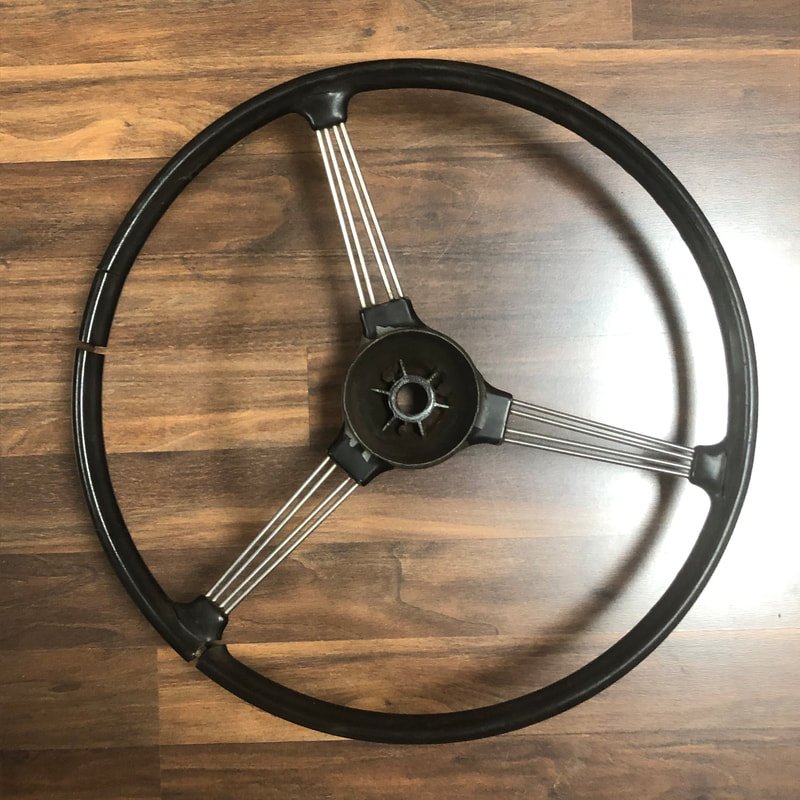
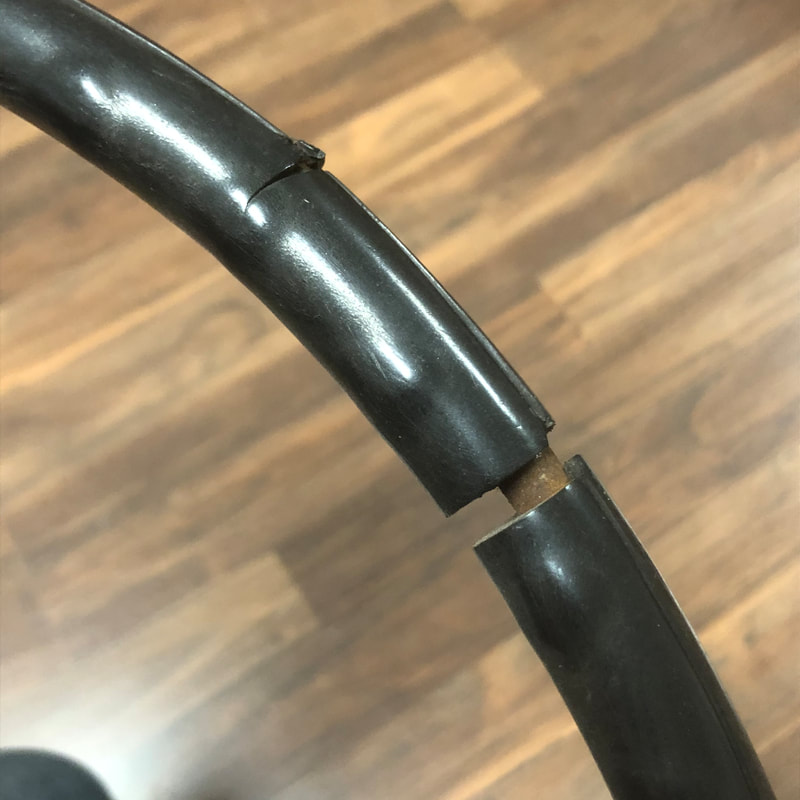
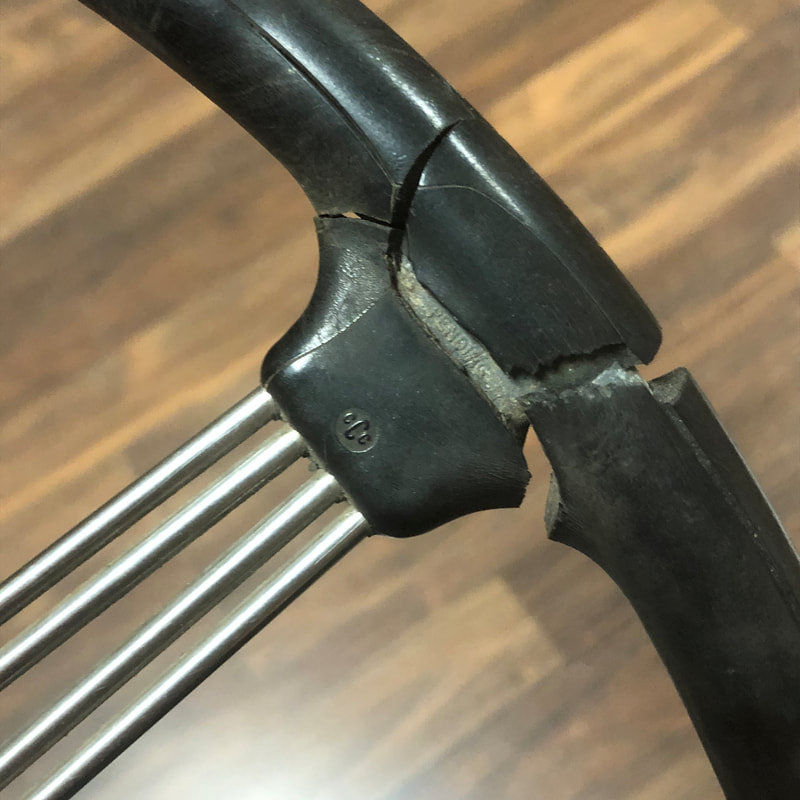
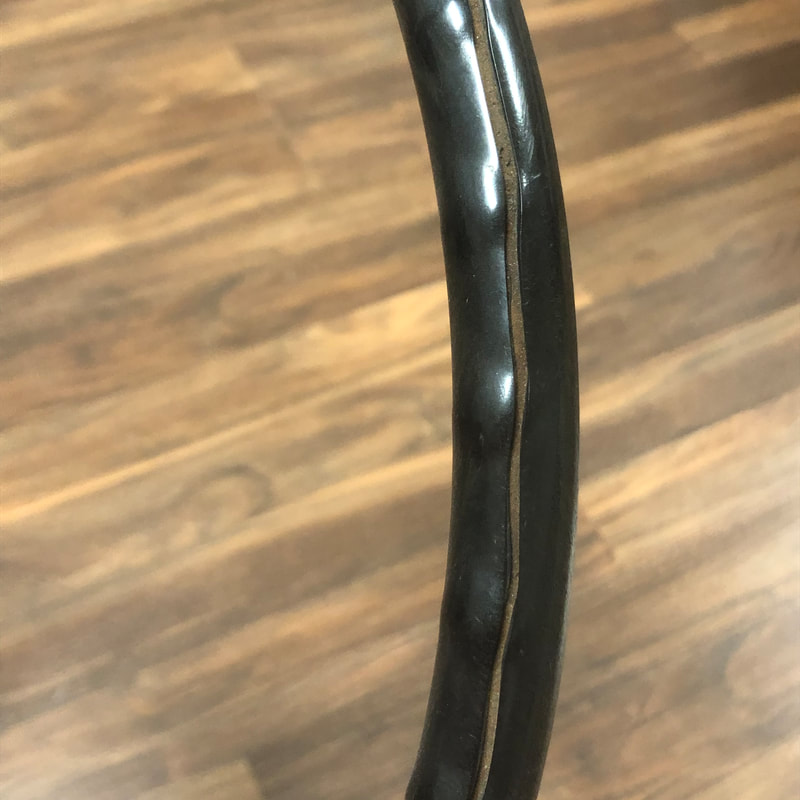
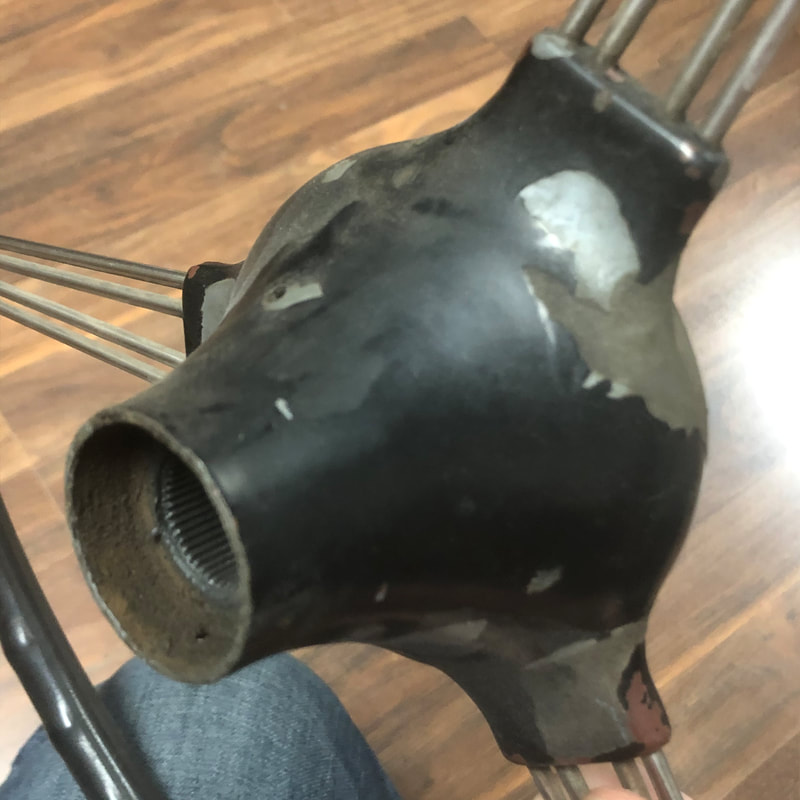
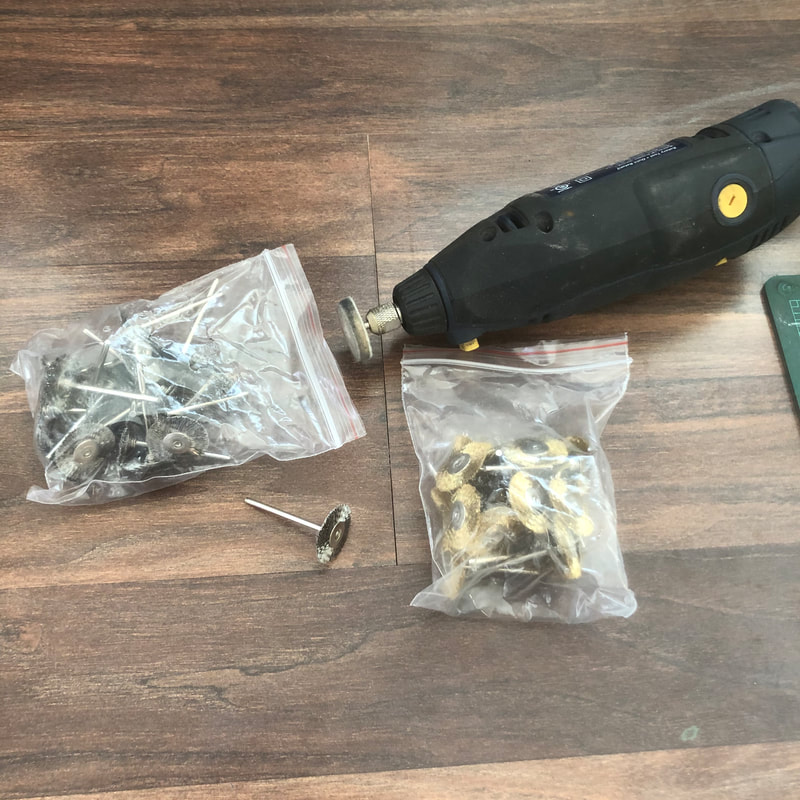
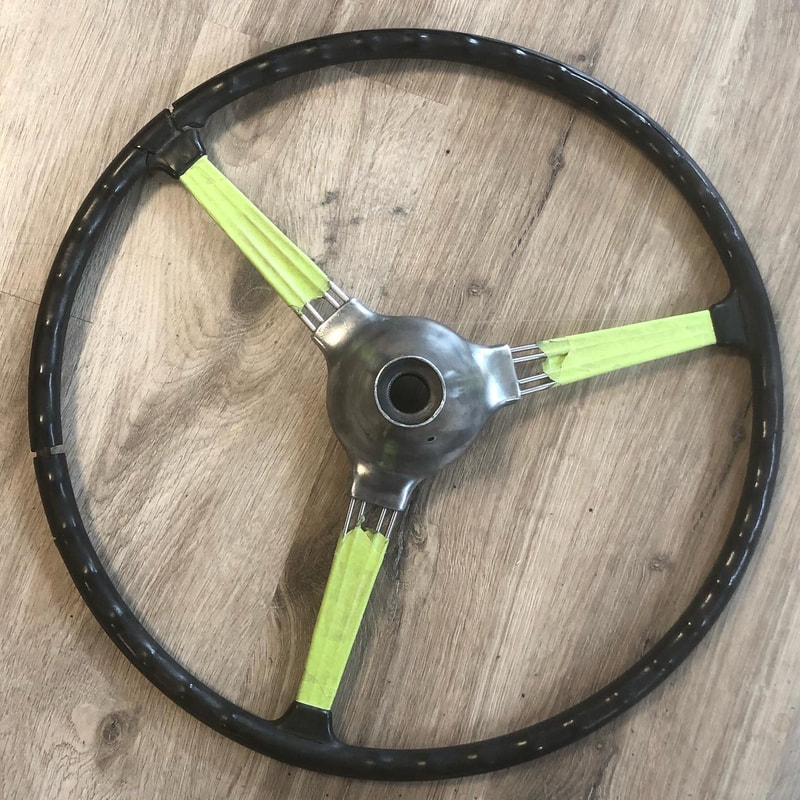
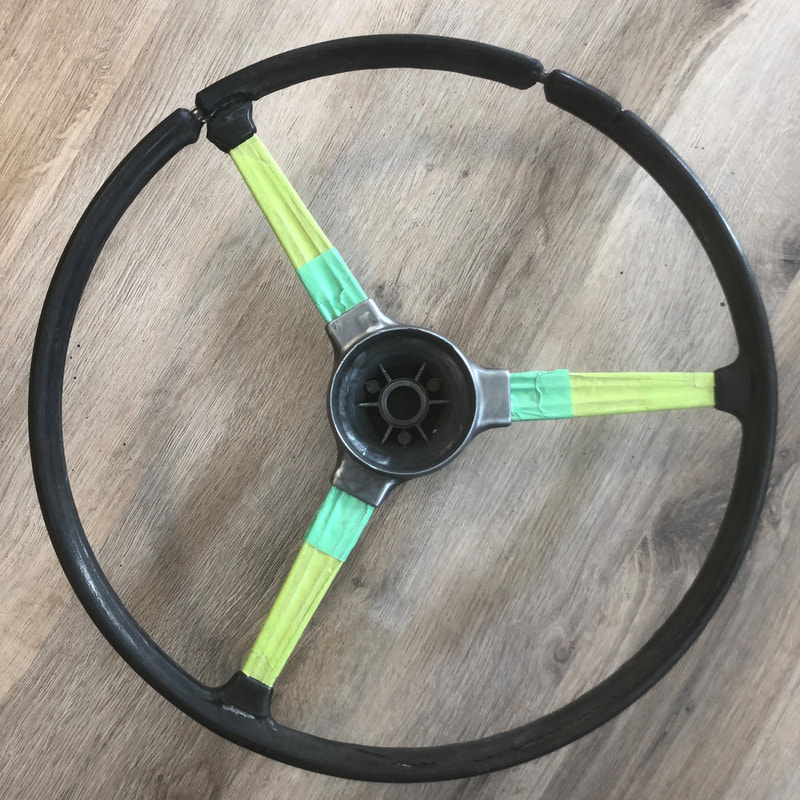
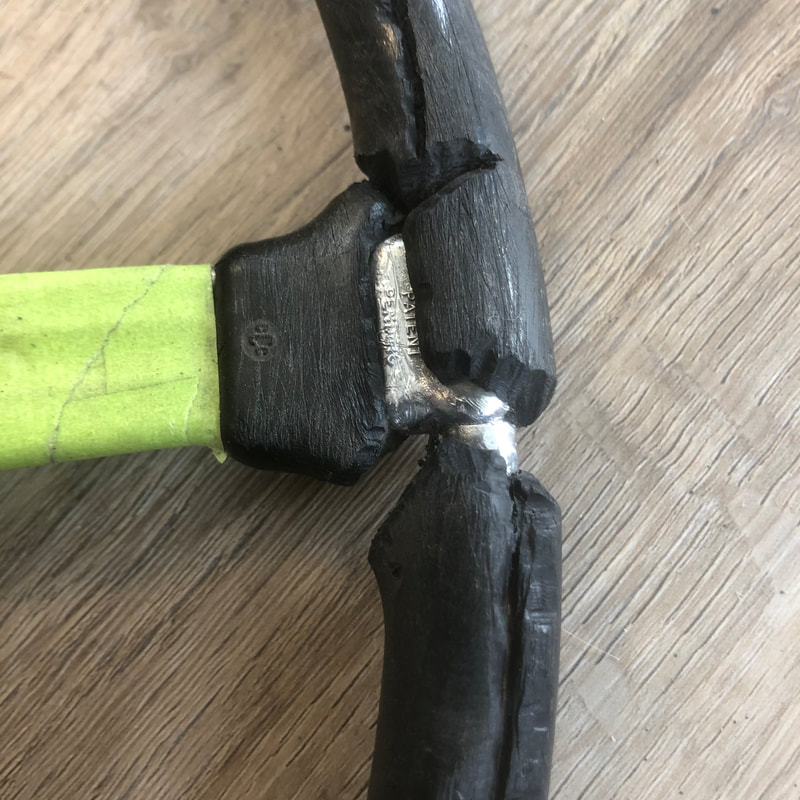
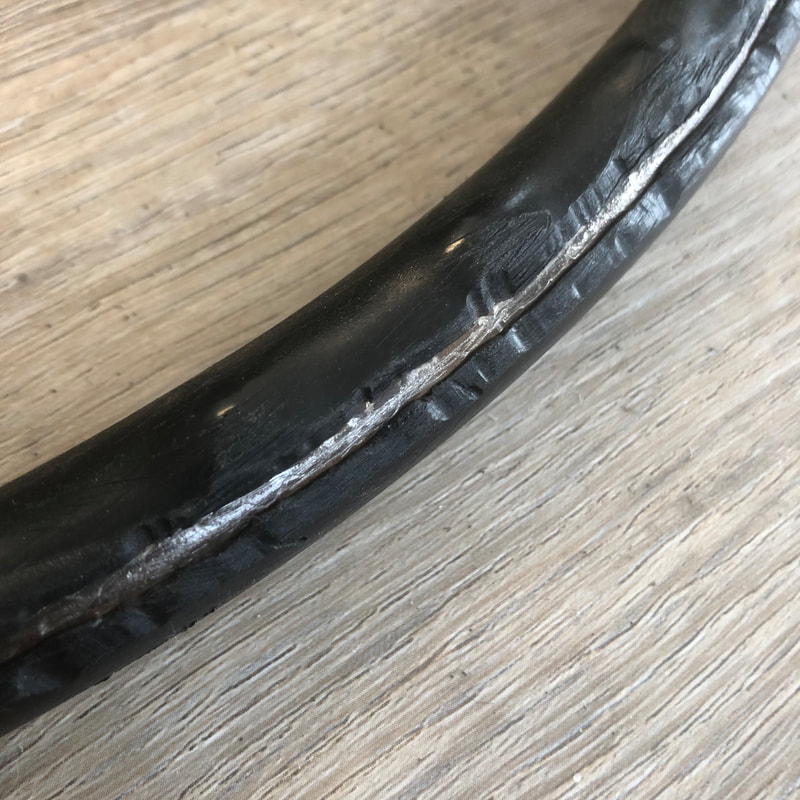
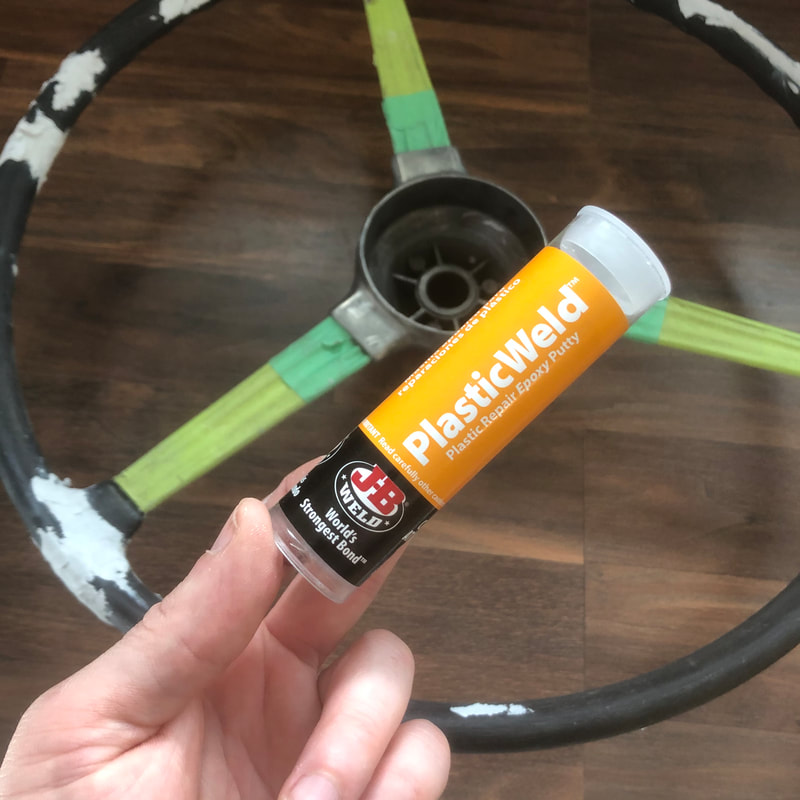
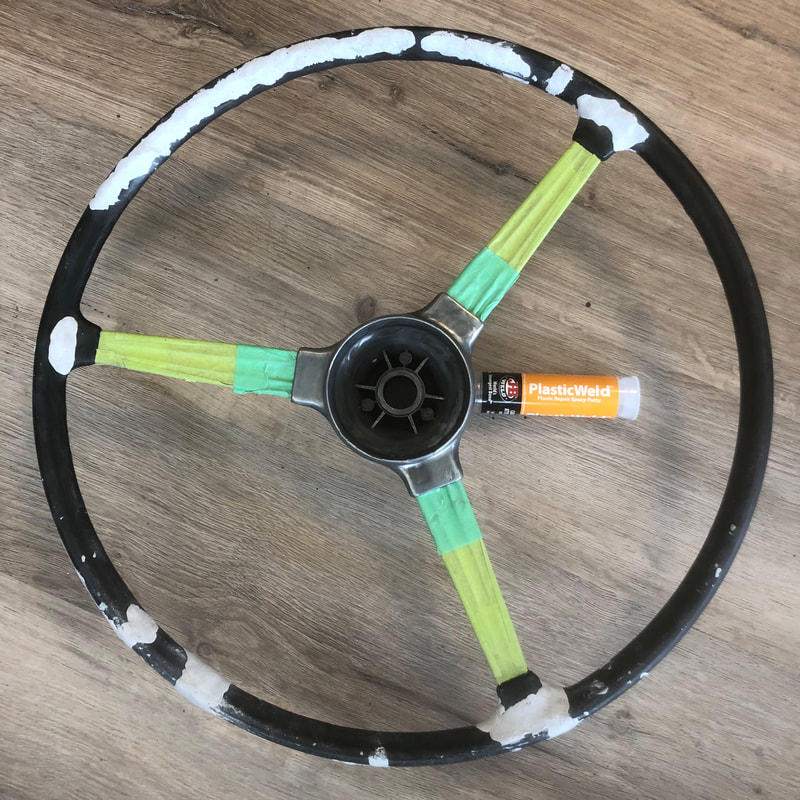
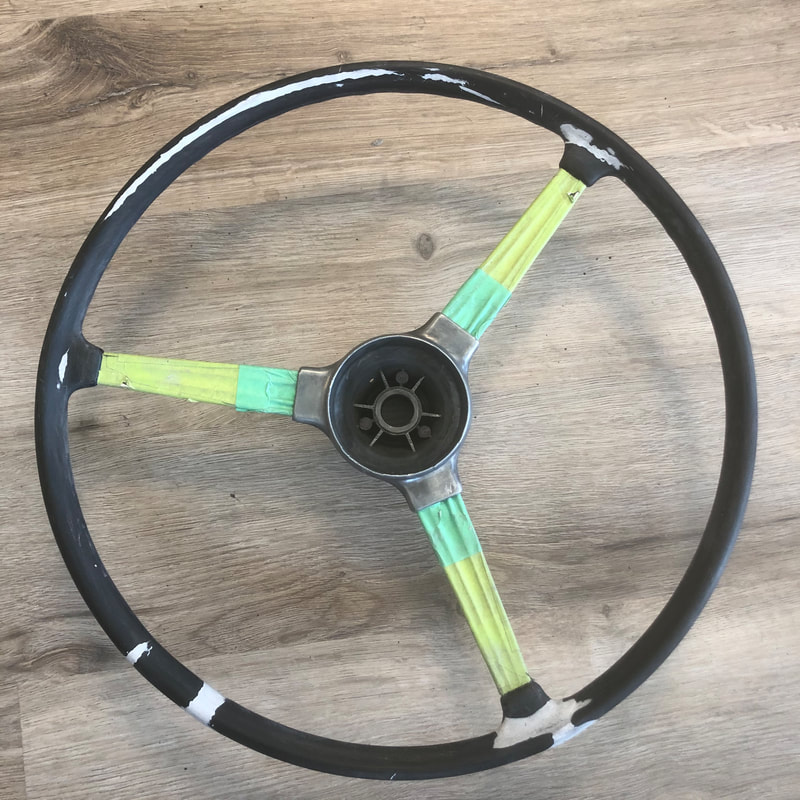
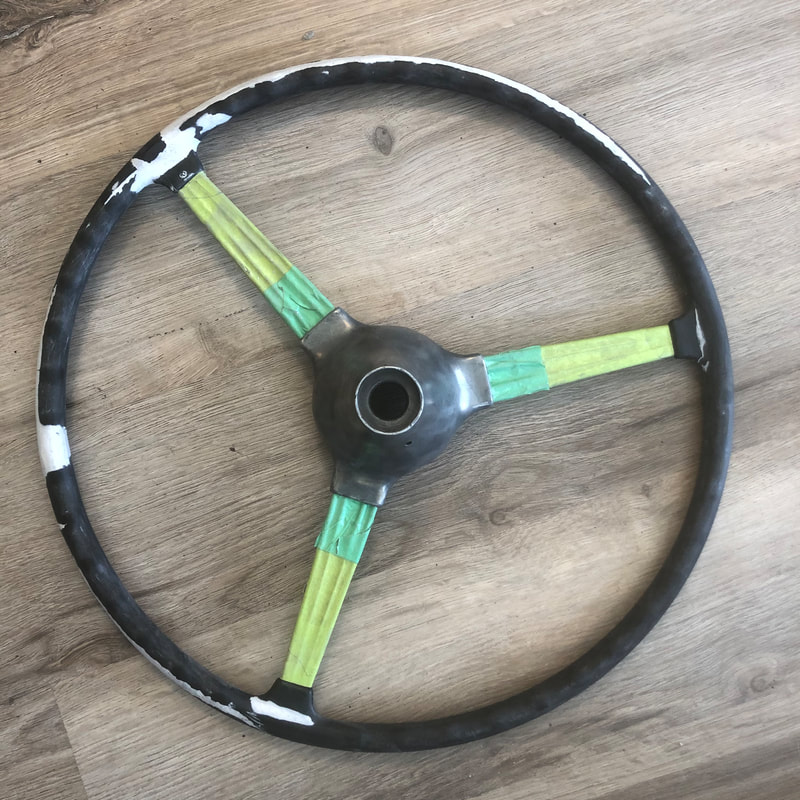
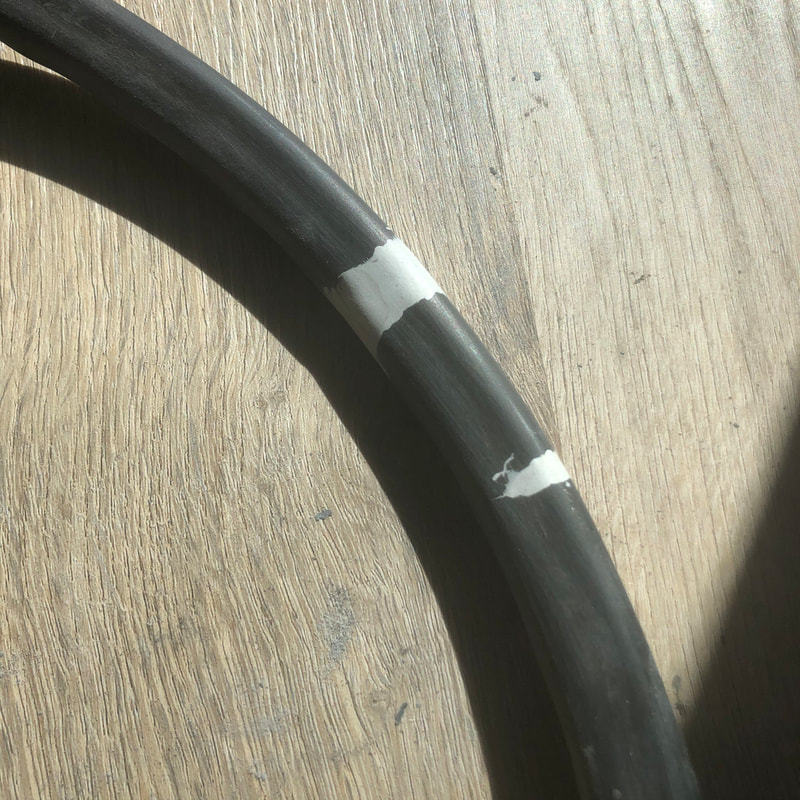
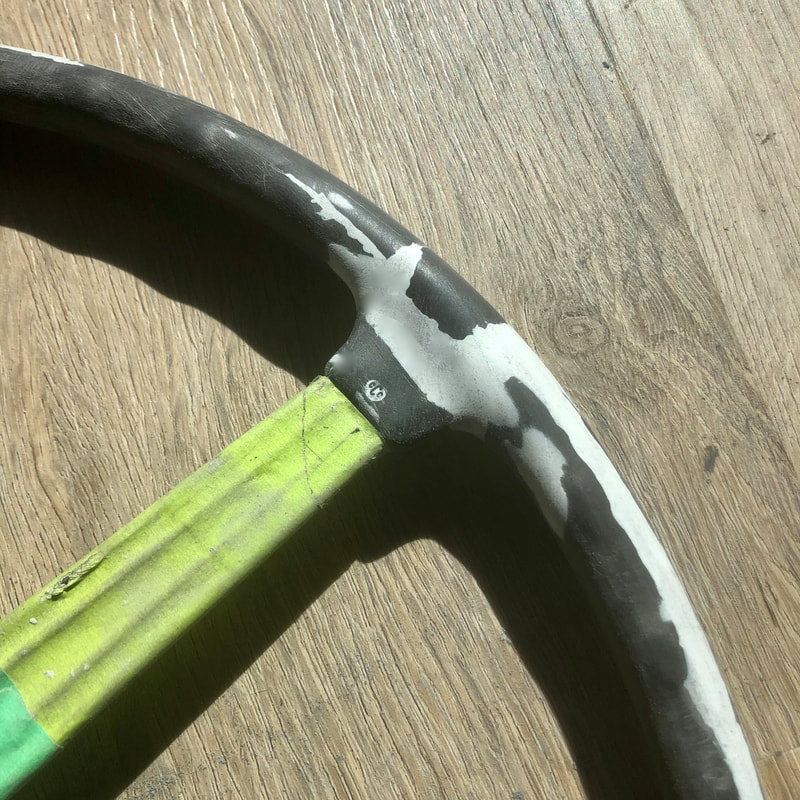
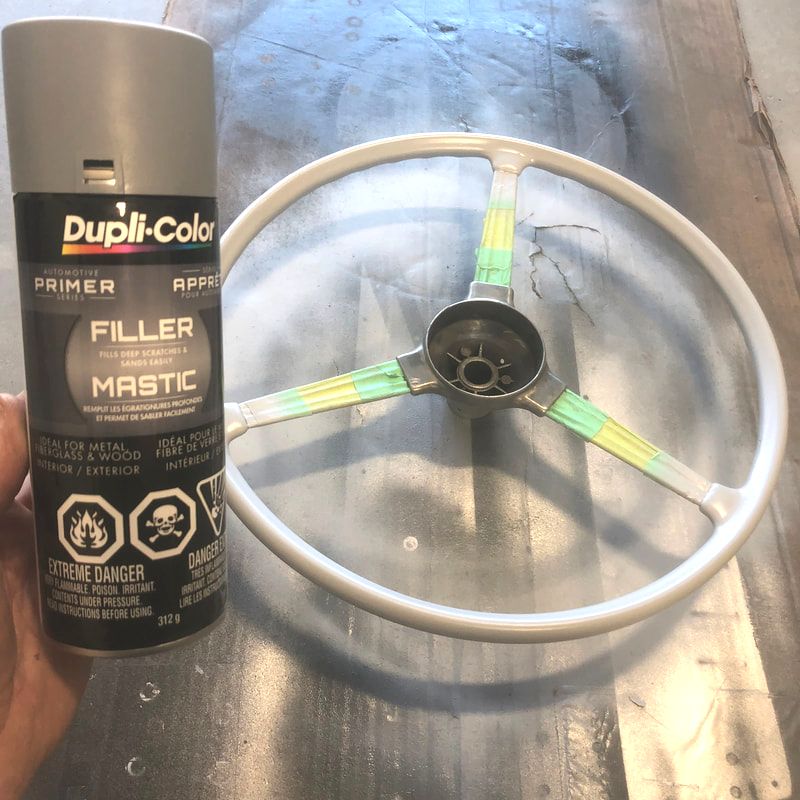
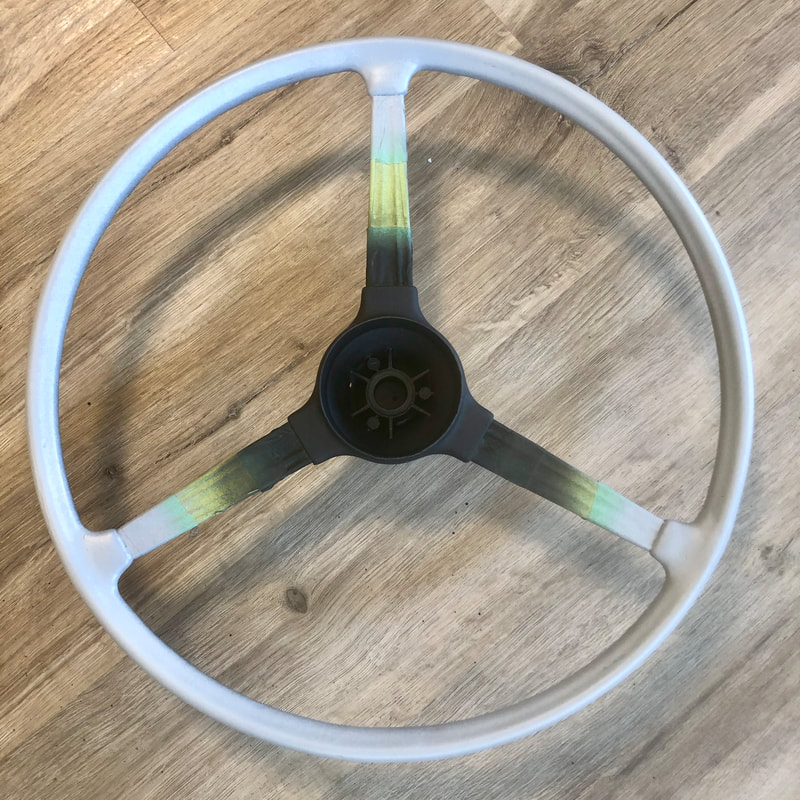
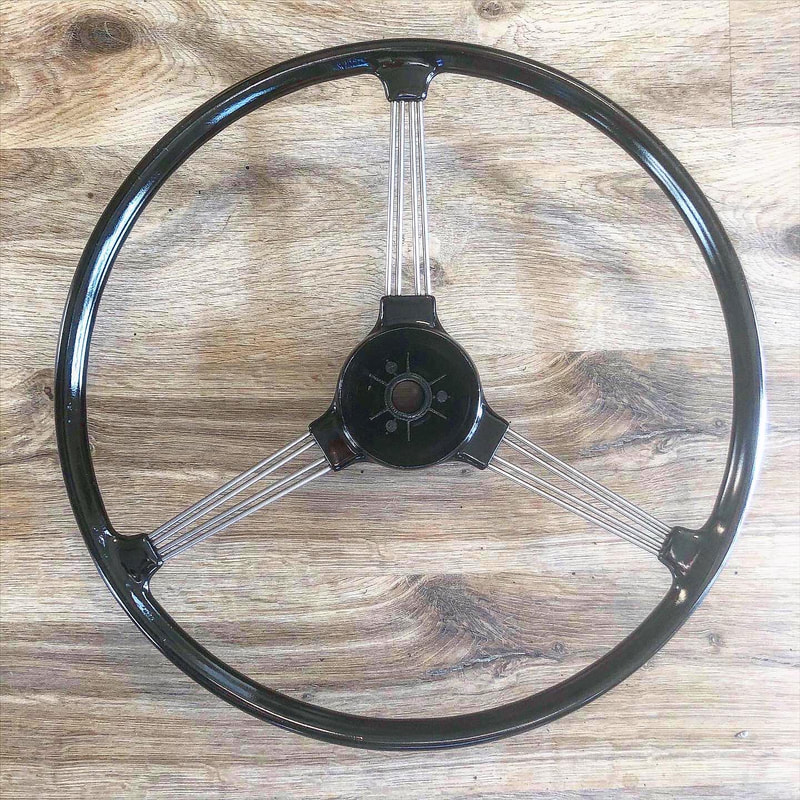
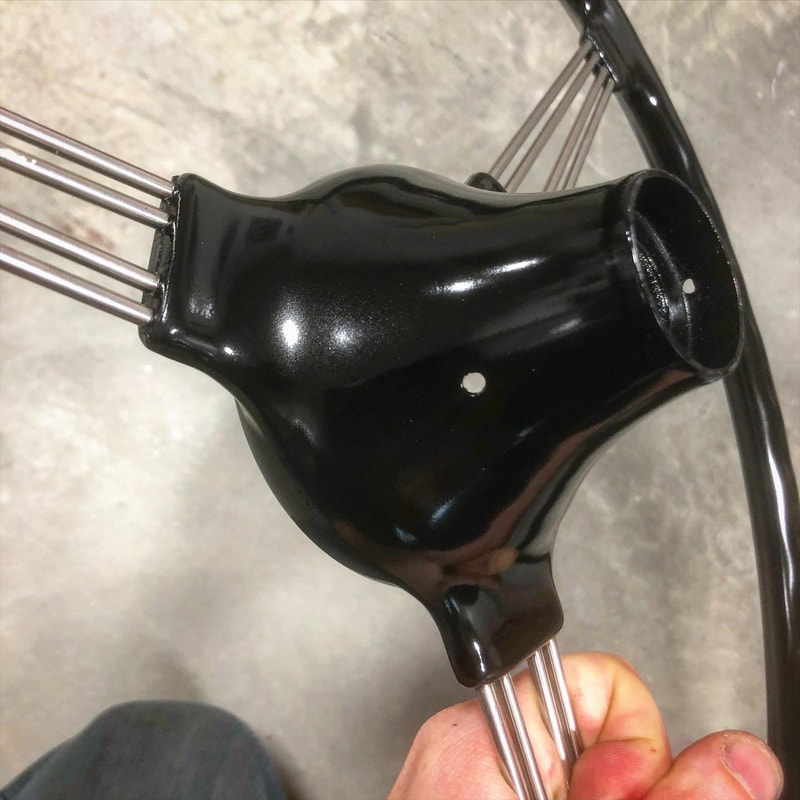
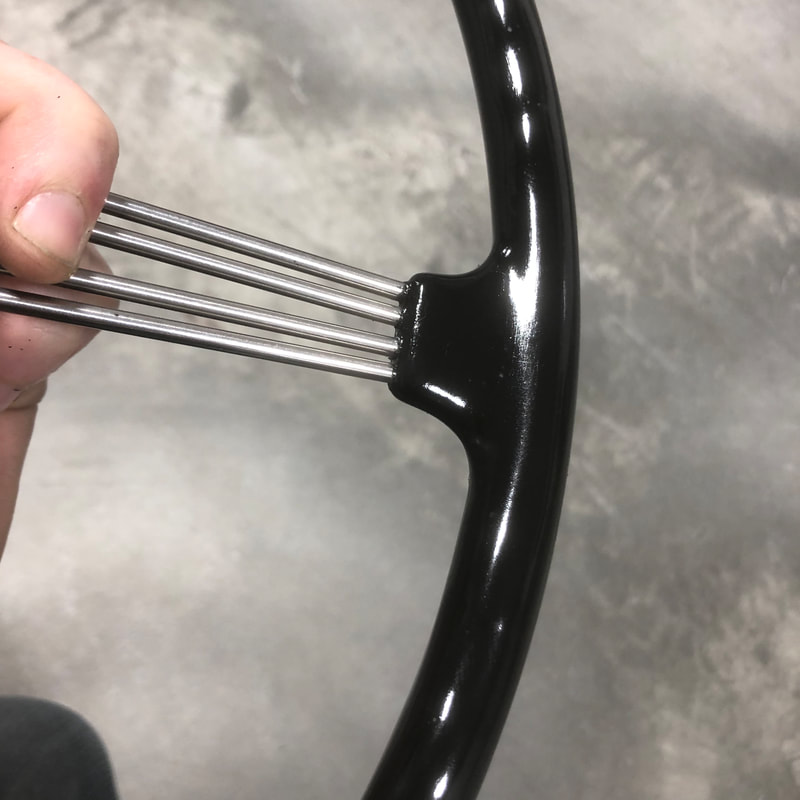
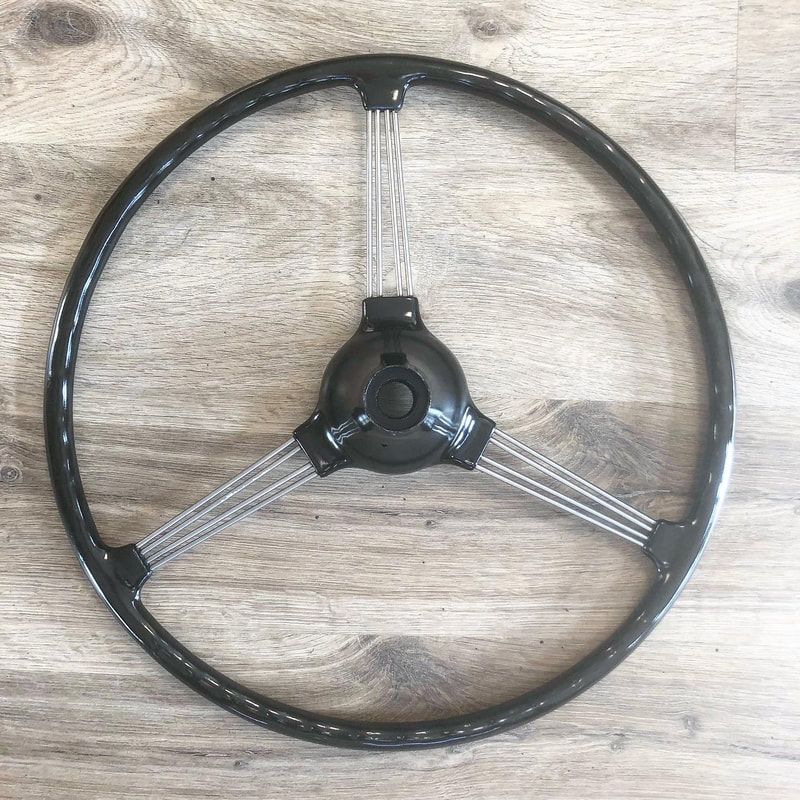
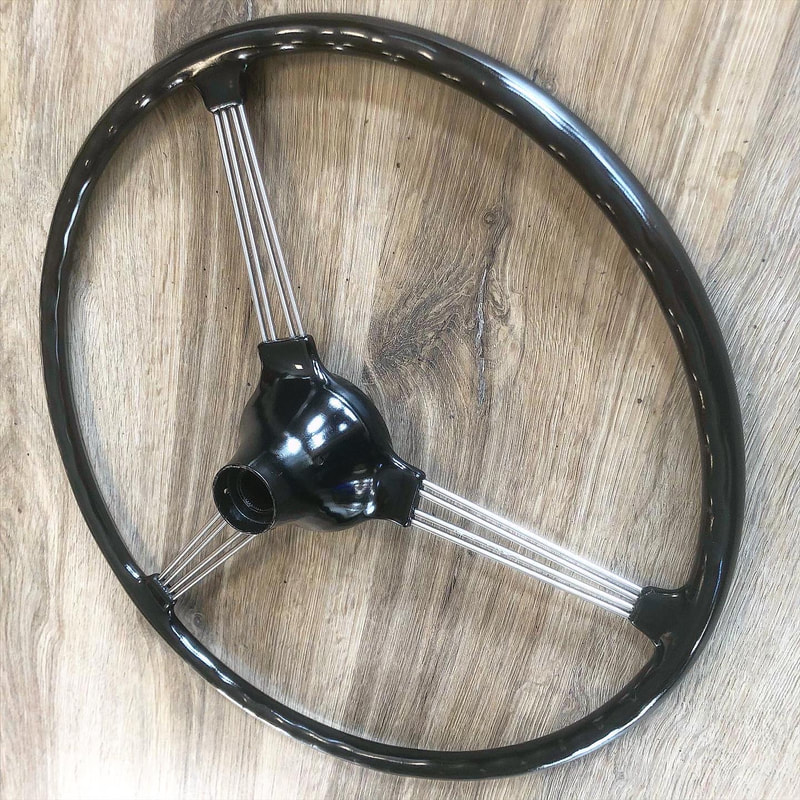
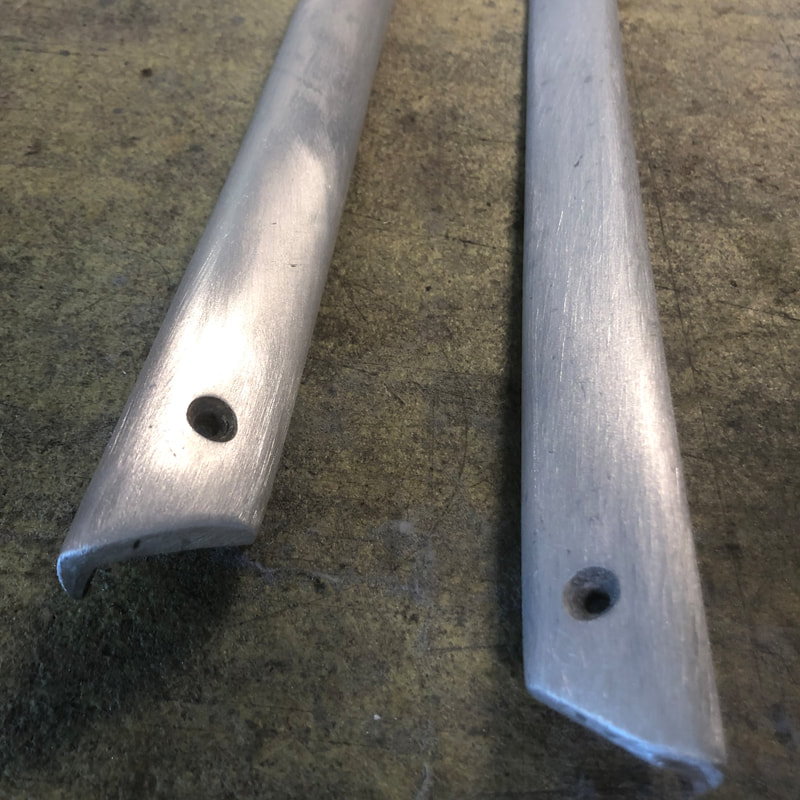
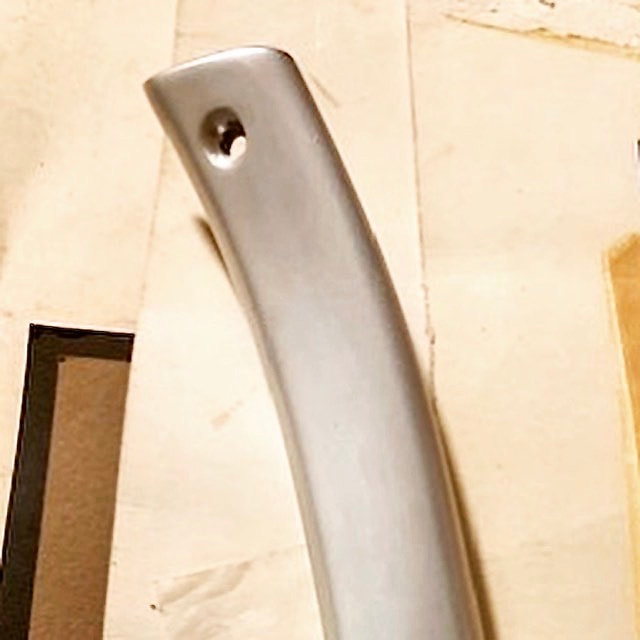
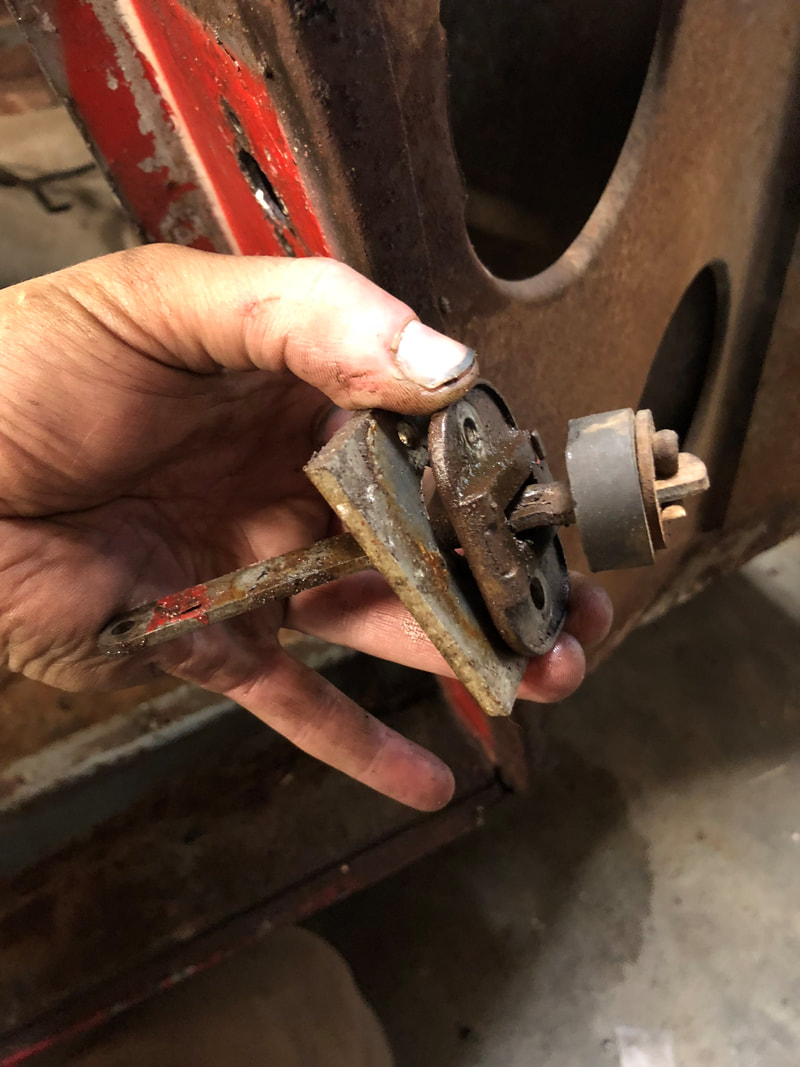
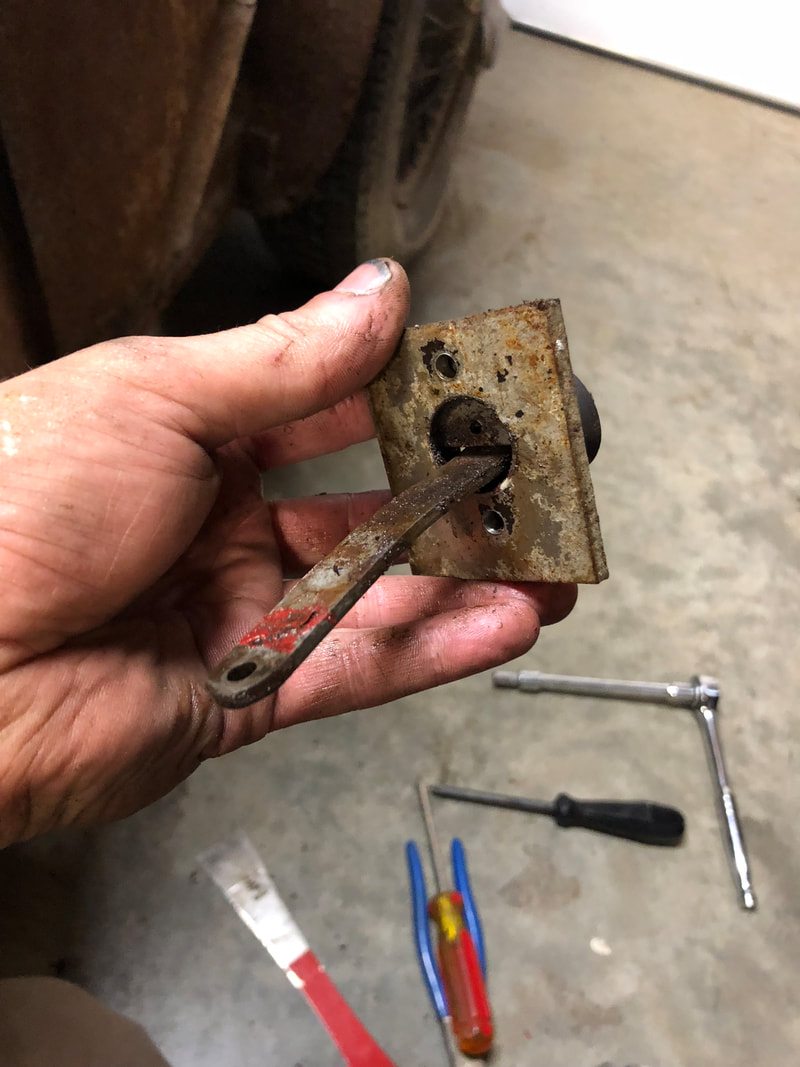
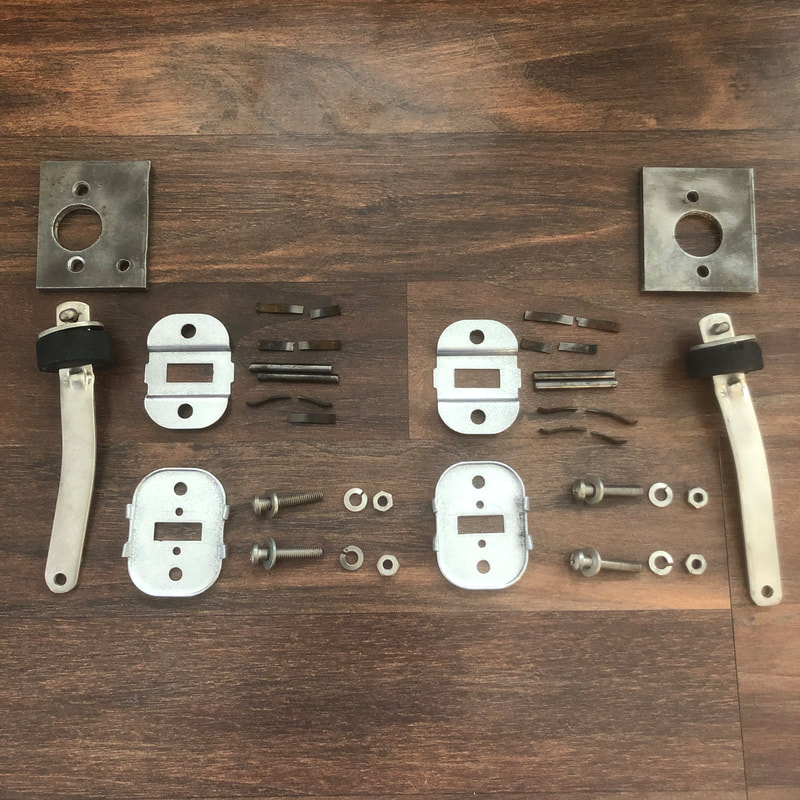
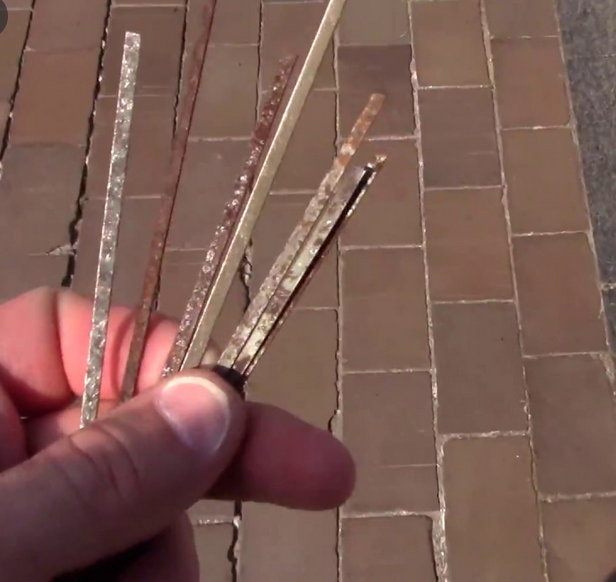
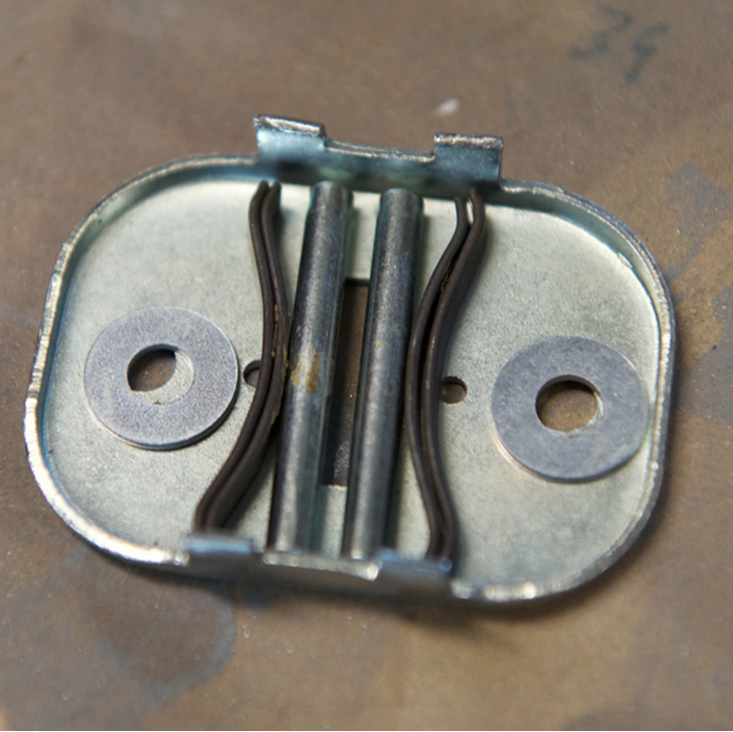
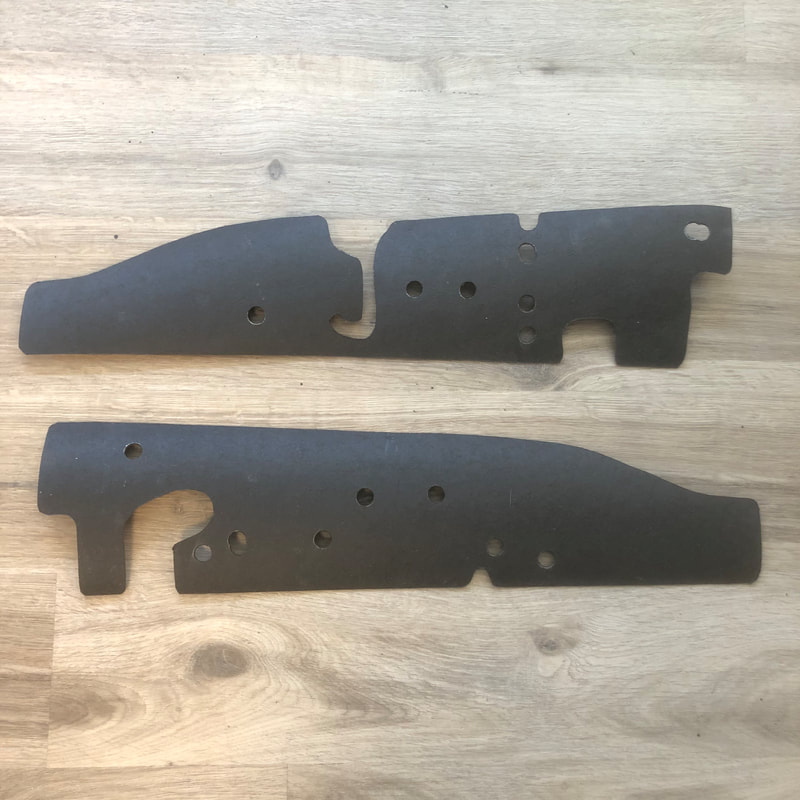
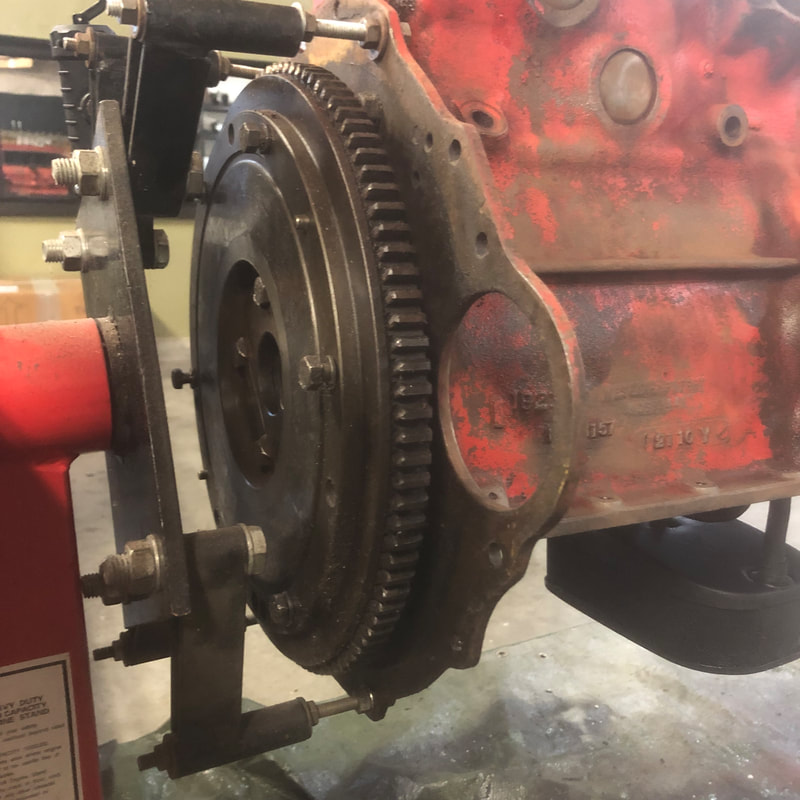
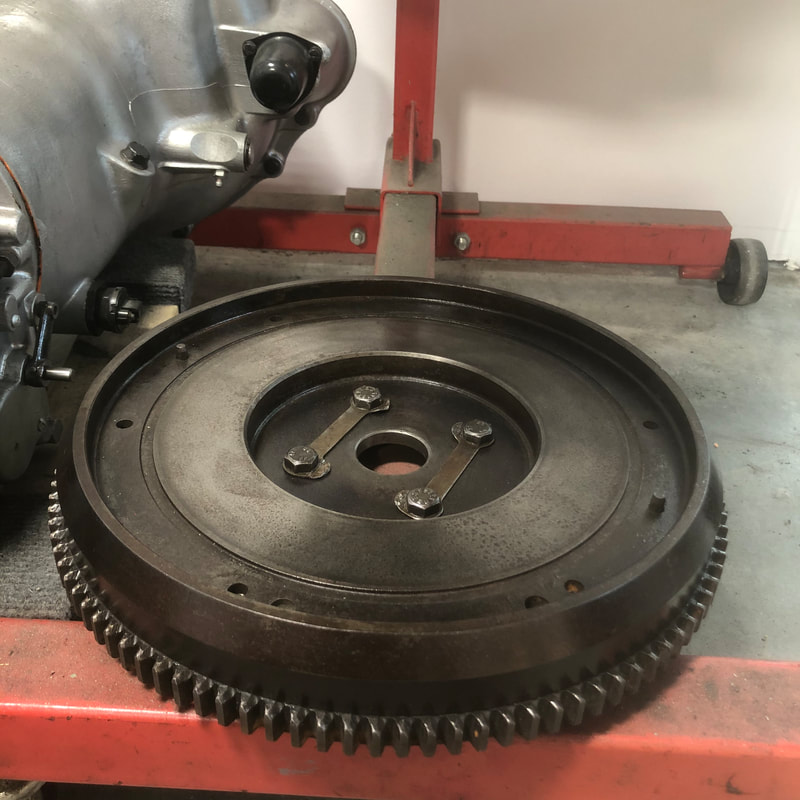
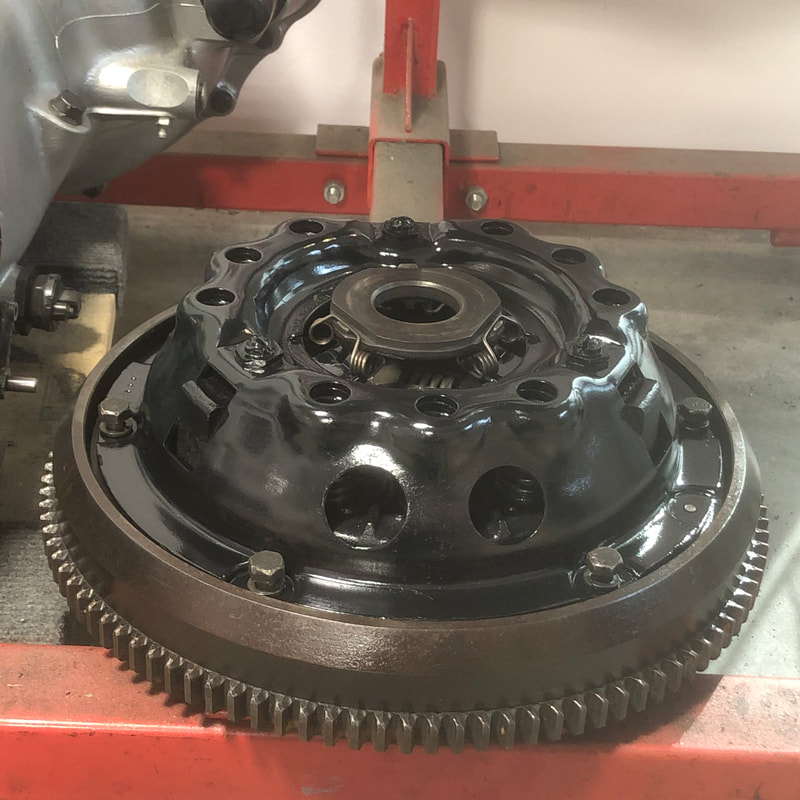
I decided to take on the task of restoring my Healeys original 17" non adjustable steering wheel. My BN1 built December 1953, was just a few weeks into the change from adjustable to non-adjustable steering wheels. In exchange for the non adjustable wheel, the seats were given adjustable sliding tracks. As you can see, the original hard plastic rim was severely cracked in numerous places, so I started by documenting and thoroughly cleaning the entire wheel... I used a series of Dremel attachments to get into the cracks and clean away any rust, and also to polish the chrome spokes... I then used a tapered grinder bit to open up the cracks and bevel the edges out, followed by roughing up the surface with course 80 grit sandpaper... Then I mixed up some 'JB Plastic Weld' which is a 2 part epoxy putty you kneed together in your hands to mix, and then push the putty into all the cracks making sure to slightly overfill each one... I let it dry 48hrs before sanding it smooth, then mixed up some more to fill any areas that I missed the first time... After 2 applications, with days of drying time in between, I sanded the entire rim smooth... Then I applied a generous coat of this sandable filler primer that will again help to fill the finer cracks and level out the repairs... After several more days to let the filler primer fully cure, I sanded it out smooth again with progressively finer grits of sandpaper. I then primed the entire rim and center again with black sandable filler primer before finally painting it gloss black... Speaking of sanding; while the steering wheel dries, I started the time consuming process of sanding and polishing my aluminum cockpit rails. These rails were originally finished in a satin anodized finish, which I will have redone once I get them smooth again. As usual mine had lots of little dings and deep scratches that require sanding out. Starting with course 120grit and eventually working down to 2000. So far I've only got them down to 320, so there's still a long way to go! Once I finish the sanding/polishing process, I'll be sending them out to be anodized at a local shop here called Altech Anodizing. My friend Harry Watson just had his BN2 rails annodized there and sent me this pic of their results which look just right! : Meanwhile, I've also started to restore my original door check straps. Mine are the early BN1 style that will require some careful pre-installation before I finally attach the front fenders for painting... After disassembly and cleaning it's clear that I'll need to replace all of the tiny leaf springs that have all broken in half... After lots of digging online I've found that repro springs are unavailable, there are entire repro check straps available for TR2/3 which are the same mechanism, but apparently the springs are too thin and don't work. The best option I've heard of is to make them out of some 'street sweeper bristles' - which are sprung steel and just the right size! - Now I've just got to find some... As the anticipation builds for my painted chassis to arrive home in a few weeks, I decided to prepare some of the first items I'll be installing on the car. I cut a new set of these heavy tar paper panels that will glue to the inner upper firewall as original. I have correct patterns for these tar paper panels for Healey 100's, as well as later (3 pc) 6cyl Healey models, so if anyone needs a set, they're available through Rightway Heritage Trimming - Finally, I decided to replace the significantly lightened flywheel that had been previously added to my BN1, with an original, heavier 100 flywheel... After much reading and chatting with experts, it became a concern that running a lightened flywheel with the vulnerable early 3 speed gearbox runs risk of damaging the gearbox due to the extra torque transferred back from the less dampened flywheel. The engineers who developed these had good reason to add the weight they did, and I feel it will provide smoother operation and longer life to the early gearbox. - I've gone back to original spec with everything else, so this was the last thing to fix! Well that's all for now, as I mentioned Jetstream are getting very close to final paint on my finished chassis, so I expect it will be coming home very soon!
Until next time -
1 Comment
Harry Watson
5/12/2021 07:52:18 pm
Lots of really nice detailed work as usual Geoff. I like the work on the steering wheel. I have two i will attempt in the near future. Looking forward to delivering my car to you mid June for a new interior.
Reply
Your comment will be posted after it is approved.
Leave a Reply. |
Archives
December 2023
|

 RSS Feed