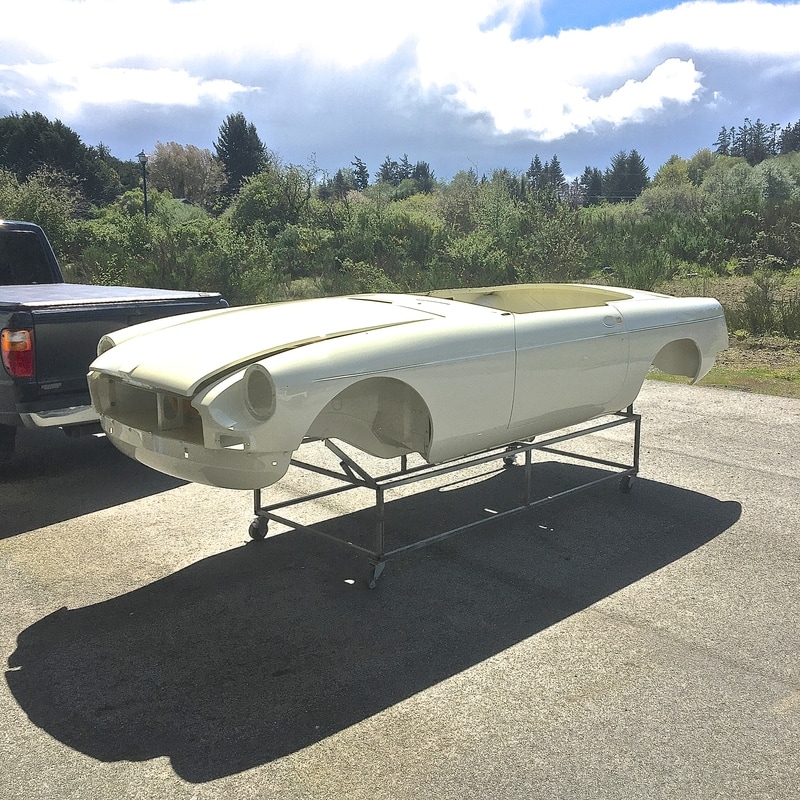
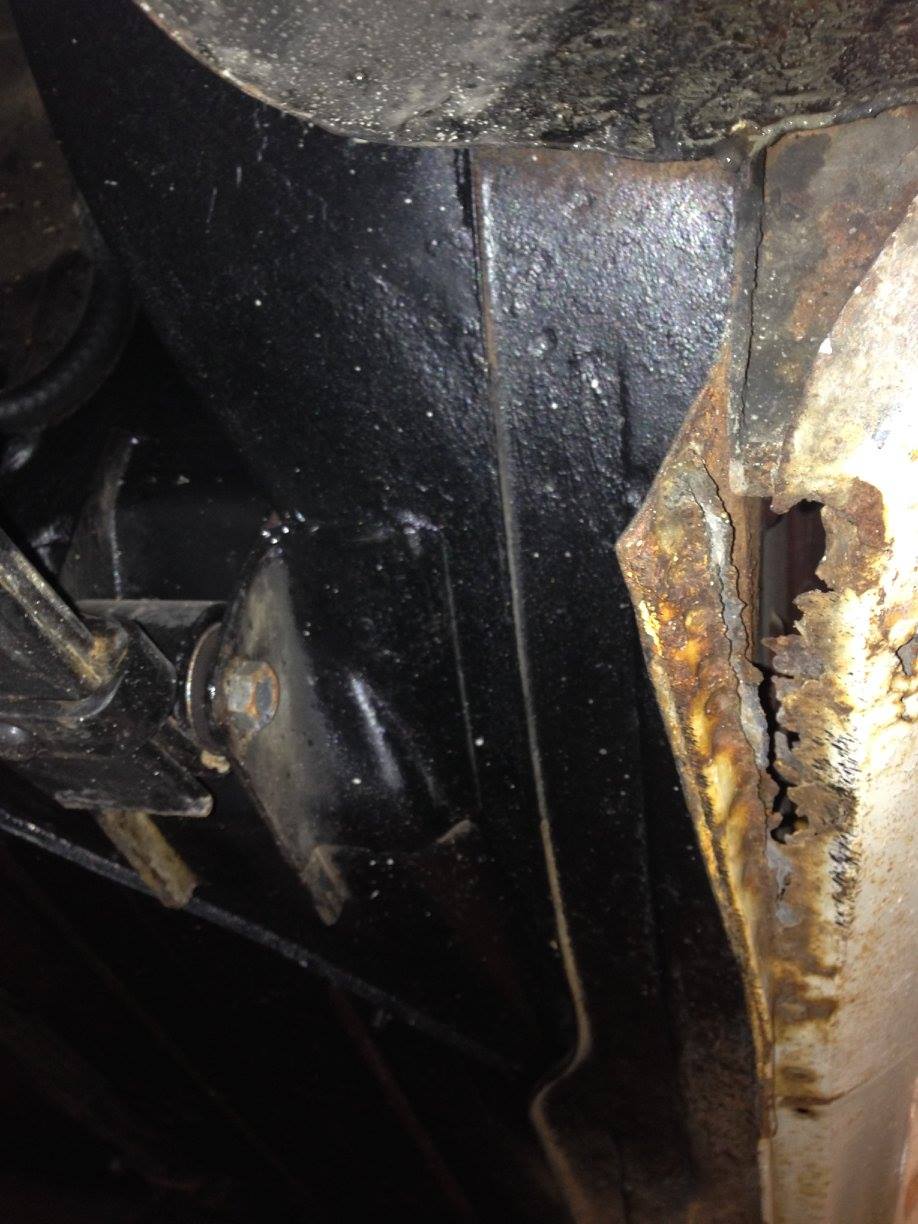
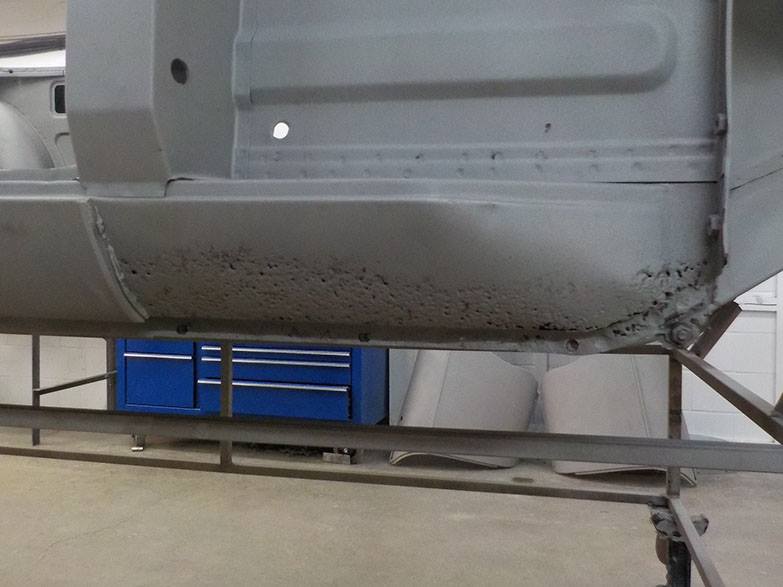
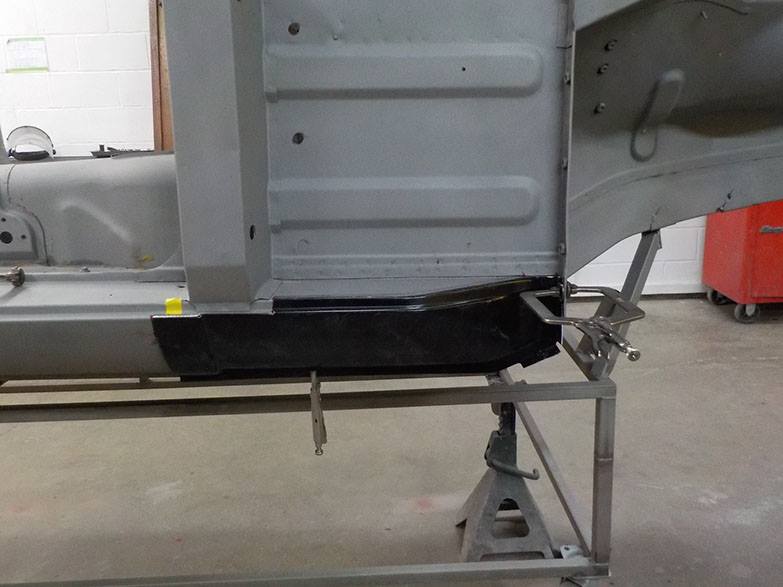
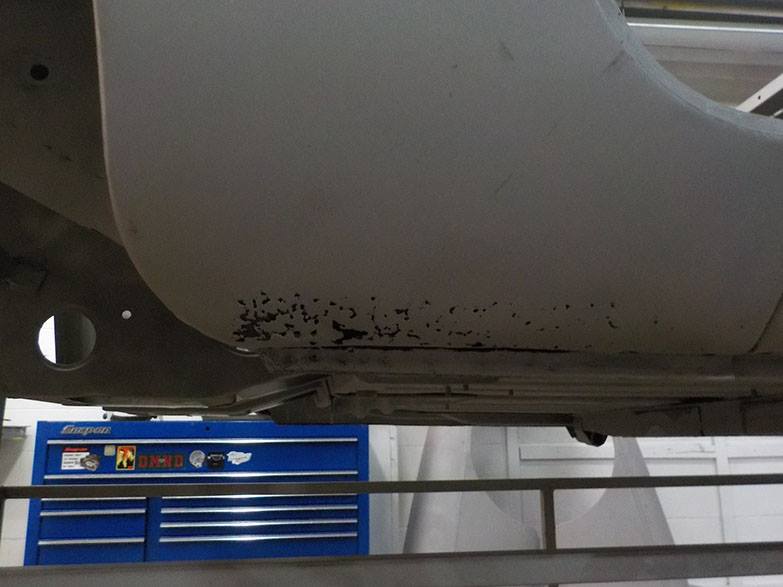
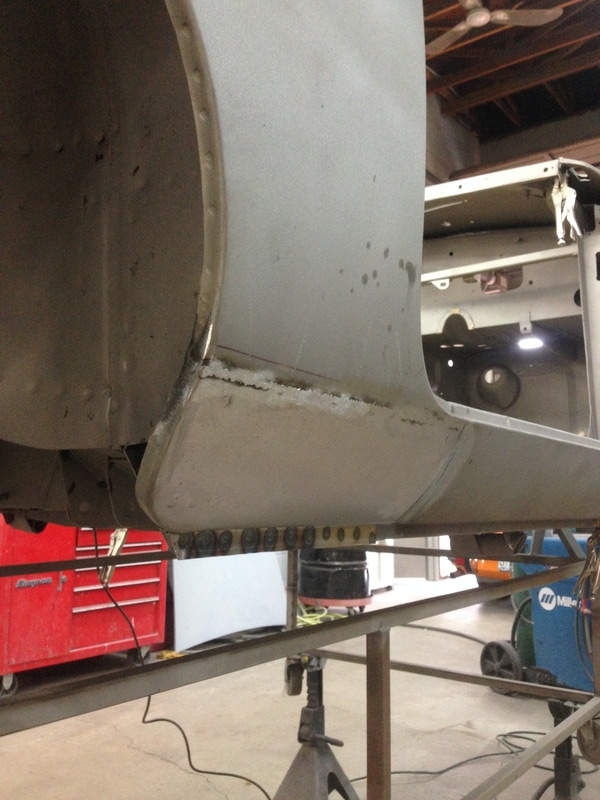
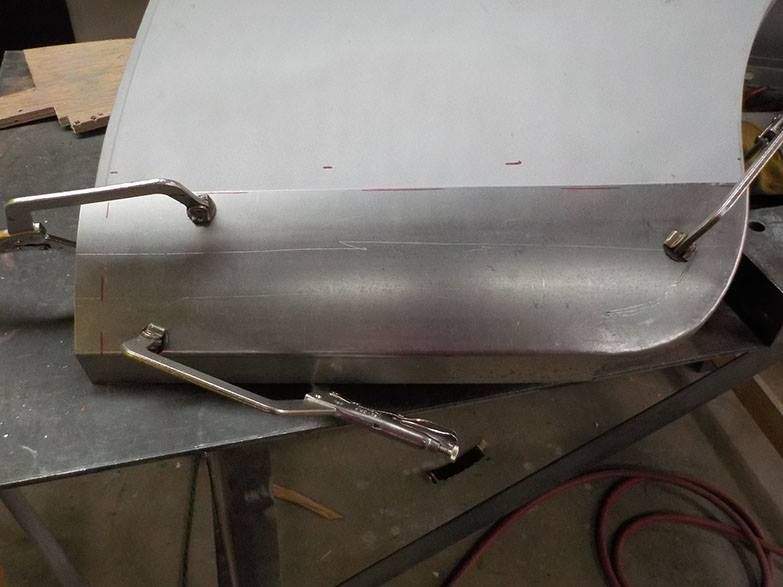
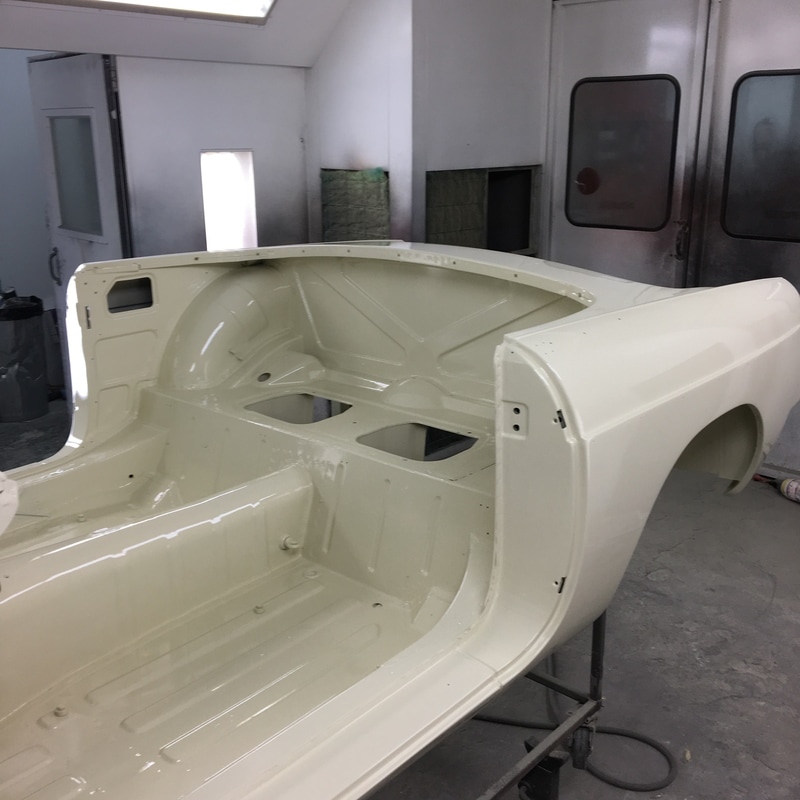
 After months of being away at Coachwerks for all the metal and paint work, the body shell has finally come home and looks absolutely stunning! 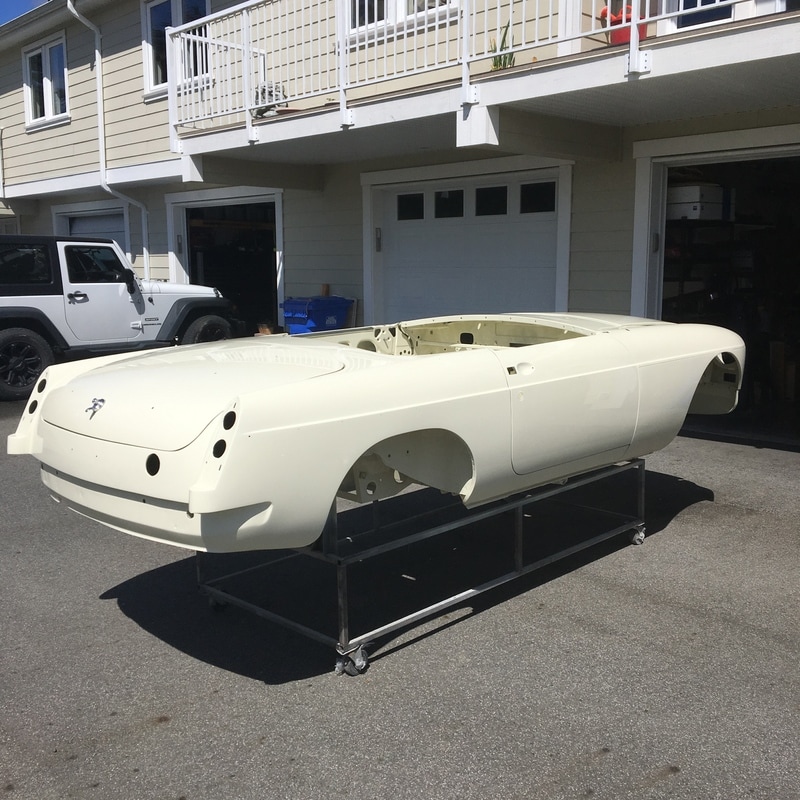 I first had the entire body shell sandblasted to bare metal at Quickstrip. Then the guys at Coachwerks got to work replacing any metal that needed repairs. It needed the front and rear inner and outer sill sections to be repaired on both sides as you can see here:
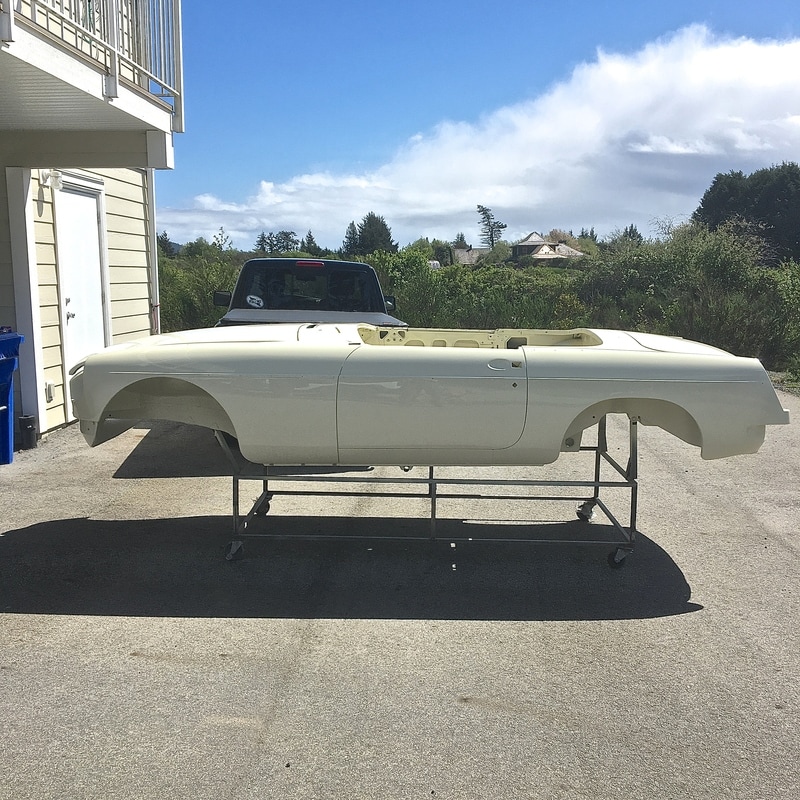
During the metal repairs, they even found this neat little magnetic tin with a new/original set of keys for the car! It was hidden in a frame section underneath... 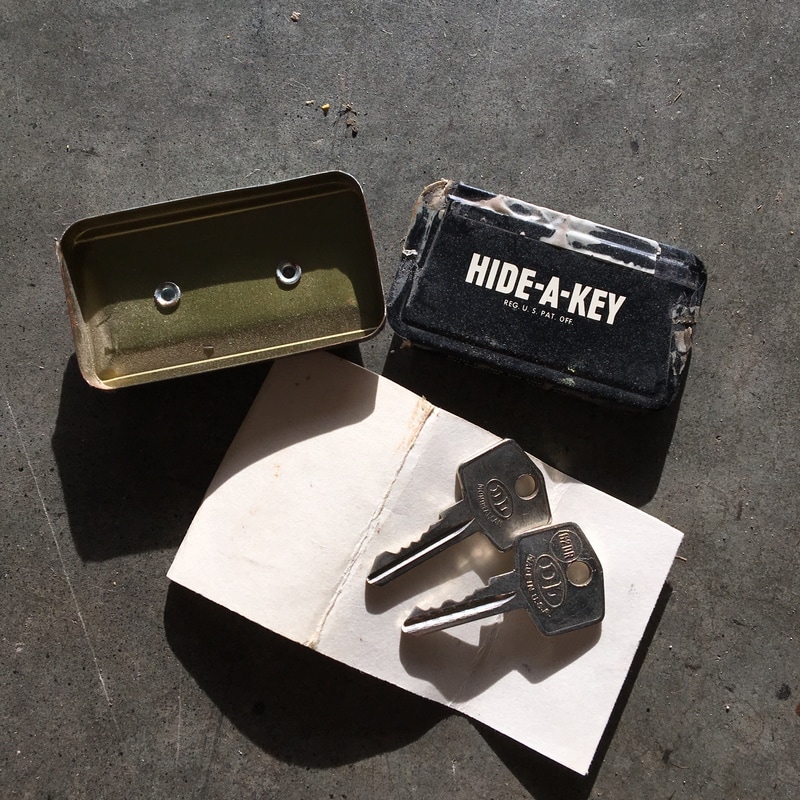 After the metal had been sorted, the body was primed, seam sealed and sanded perfectly smooth. The underside was sprayed with a textured "rock guard" coating just like the factory did. Finally the body was painted completely with all the fenders, doors, and panels being sprayed inside and out... 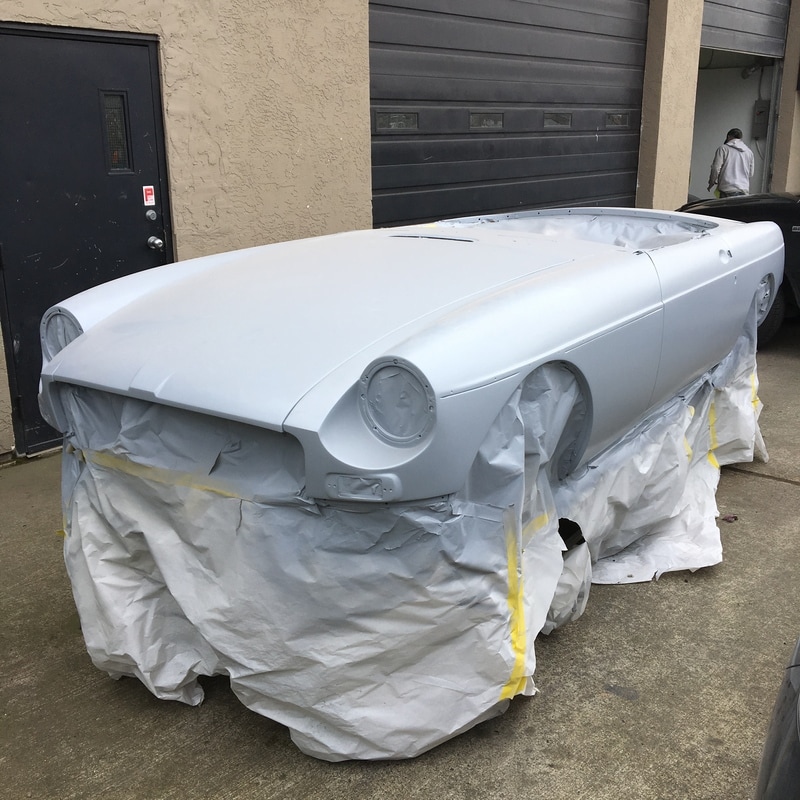 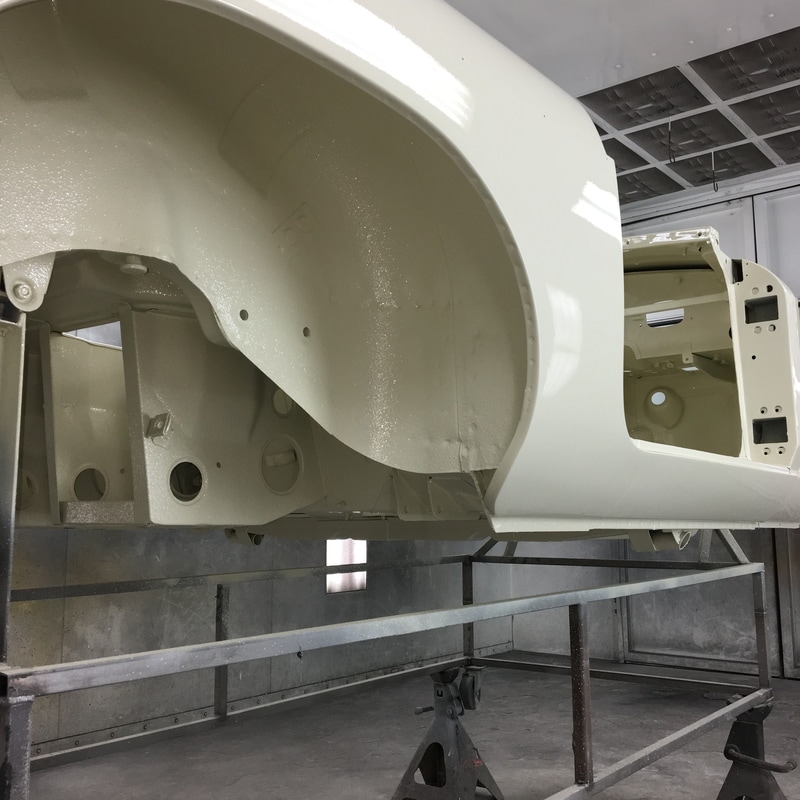
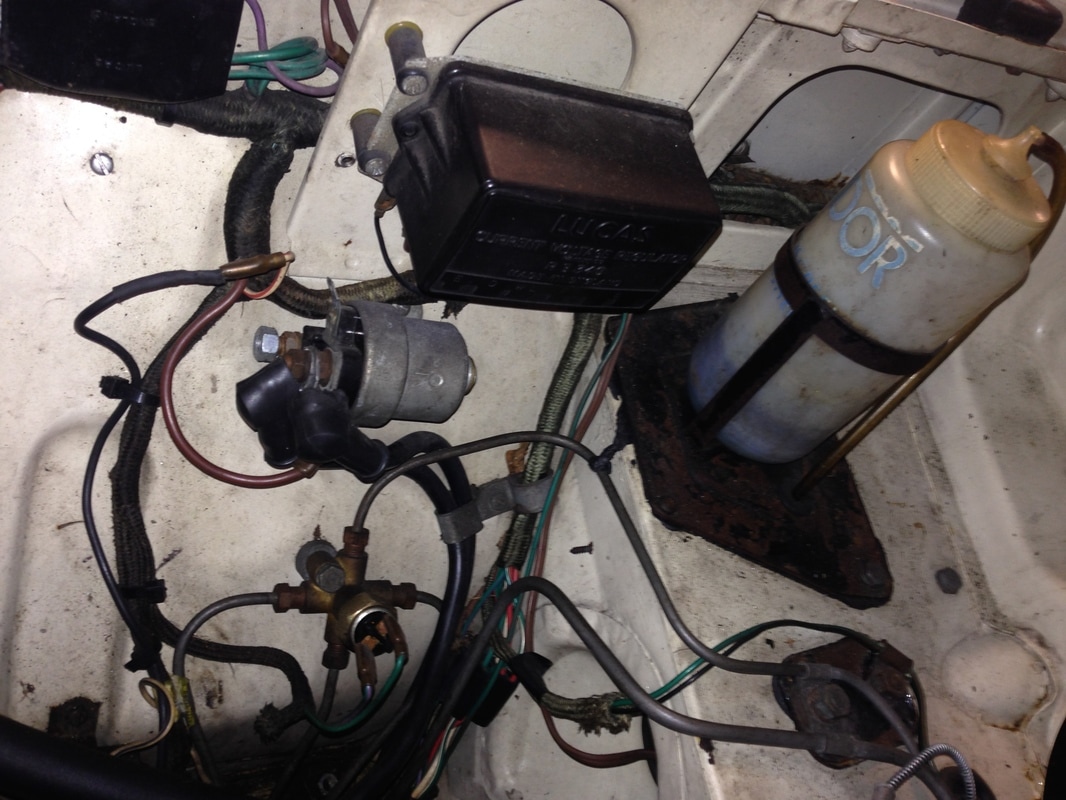
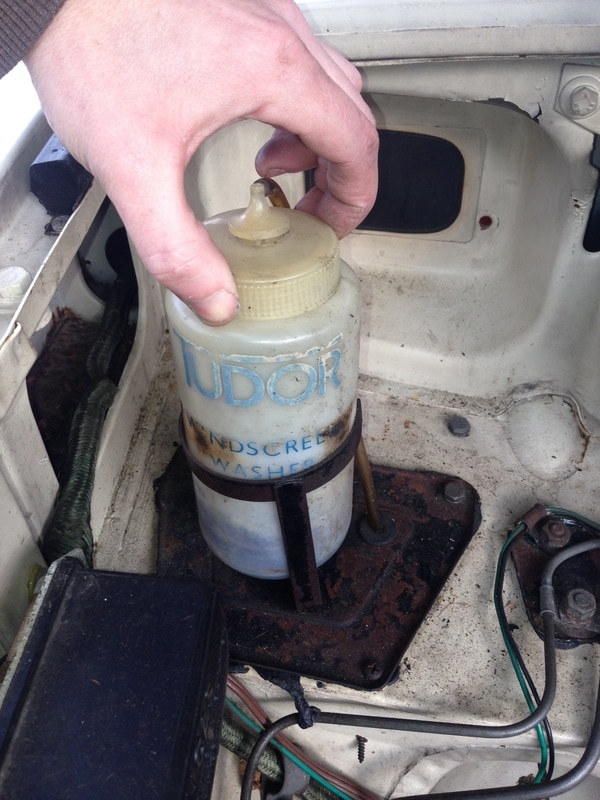
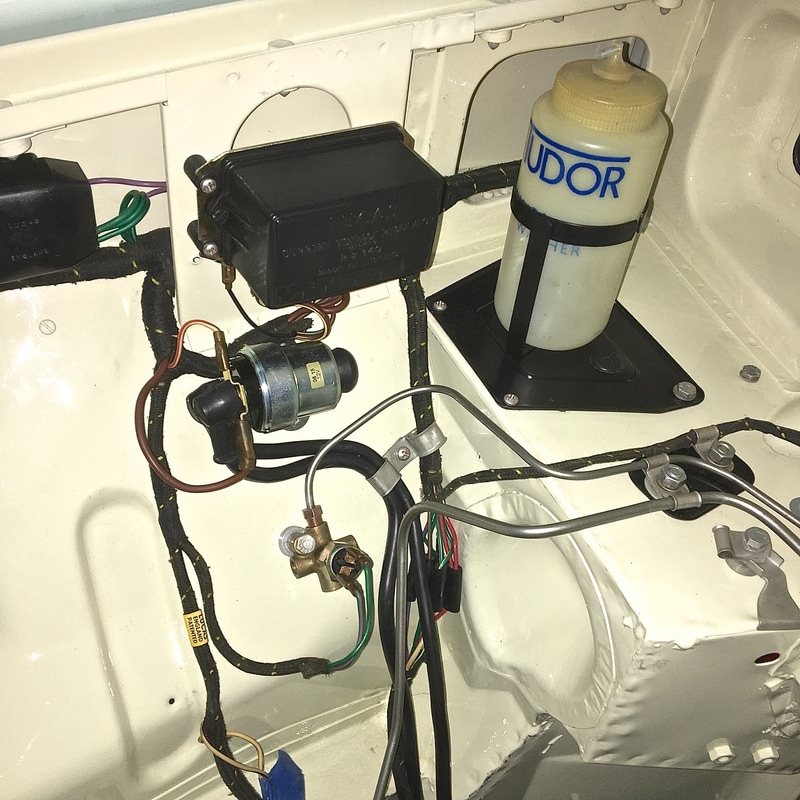
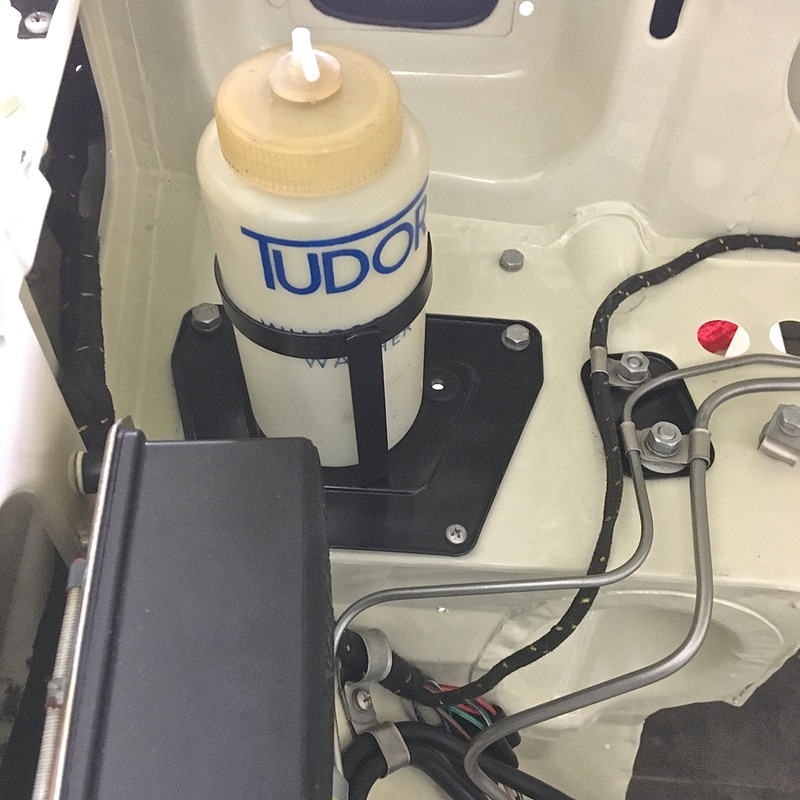
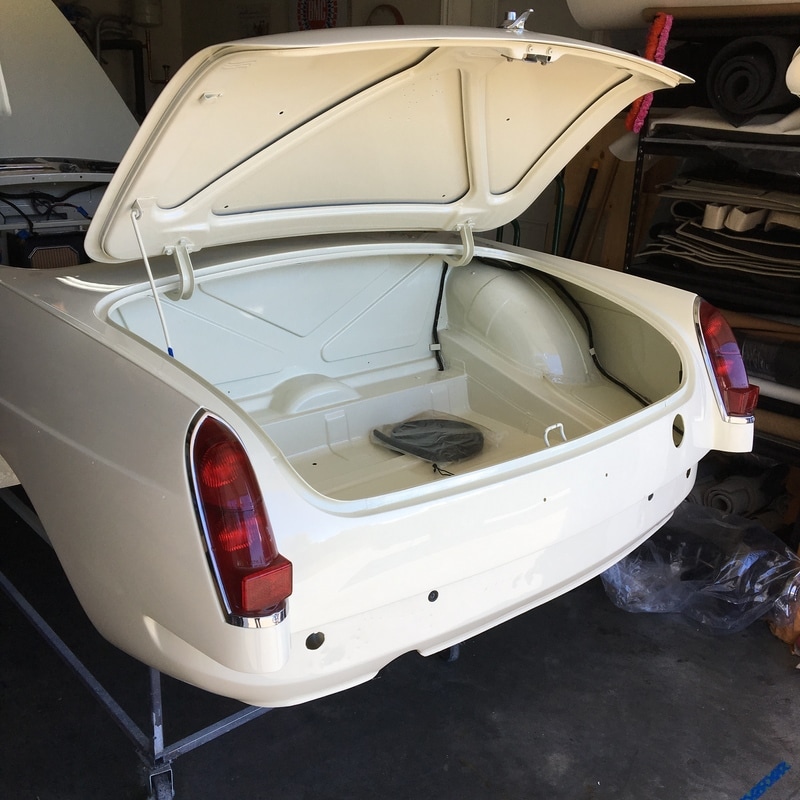
As you can see, Coachwerks did an outstanding job! I'm brimming with excitement and gratitude as I'm now entering the most rewarding part of any restoration: putting it all back together again with all the freshly restored components! I started the first evening by opening box after box of all my freshly restored parts and setting the parts and bags of hardware out in the general areas they'd be getting installed. The first thing I decided to tackle was installing the wiring harness... 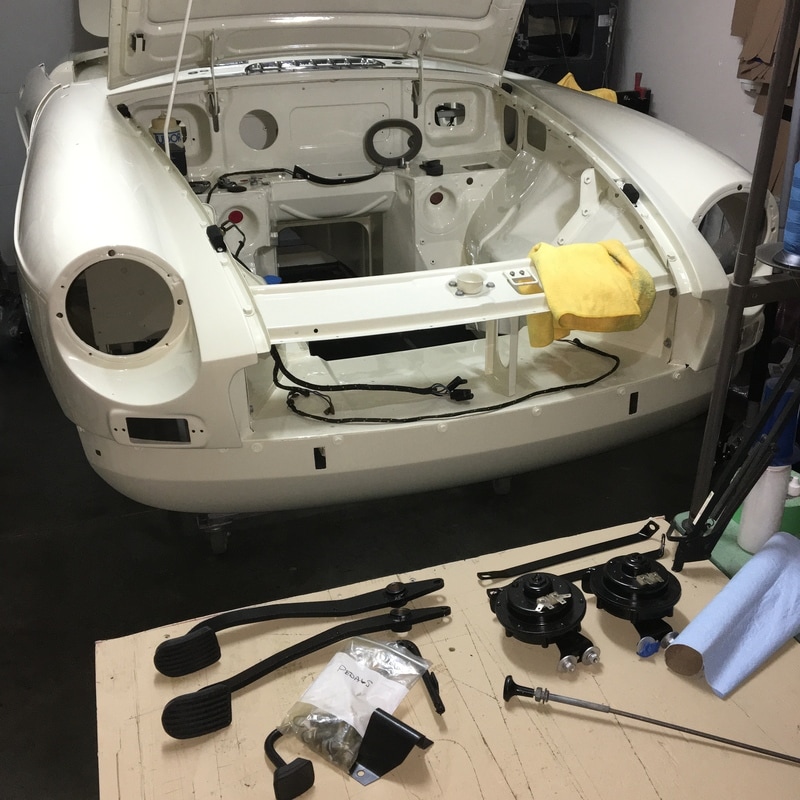 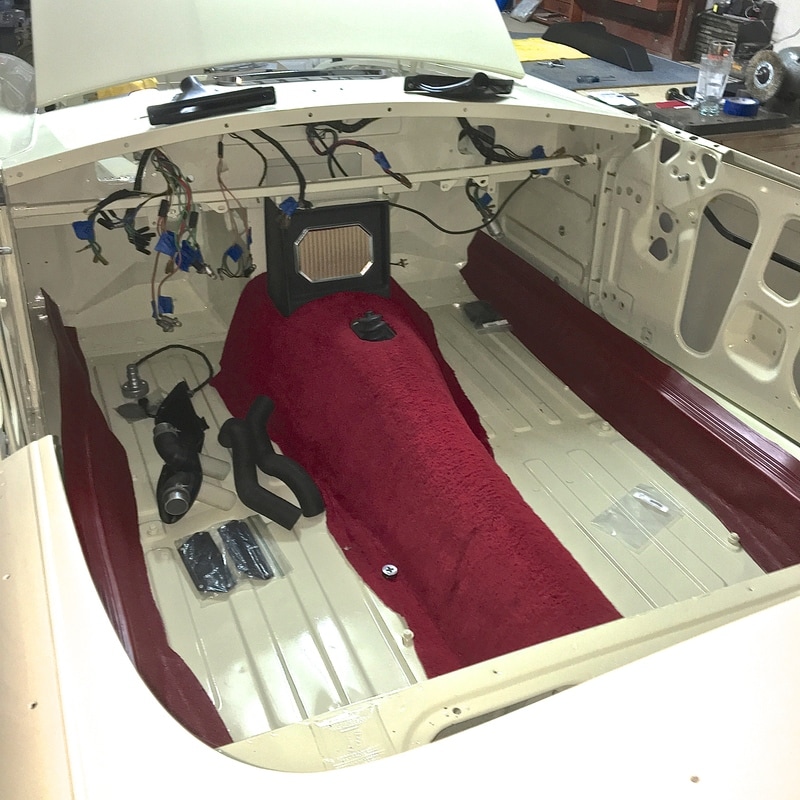 With the harness routed correctly through the car, I began installing and hooking up the rest of the electrical components one by one. I made sure to clean and use a light smear of dielectric grease on every electrical connection as I put things together...  Some before and after shots:
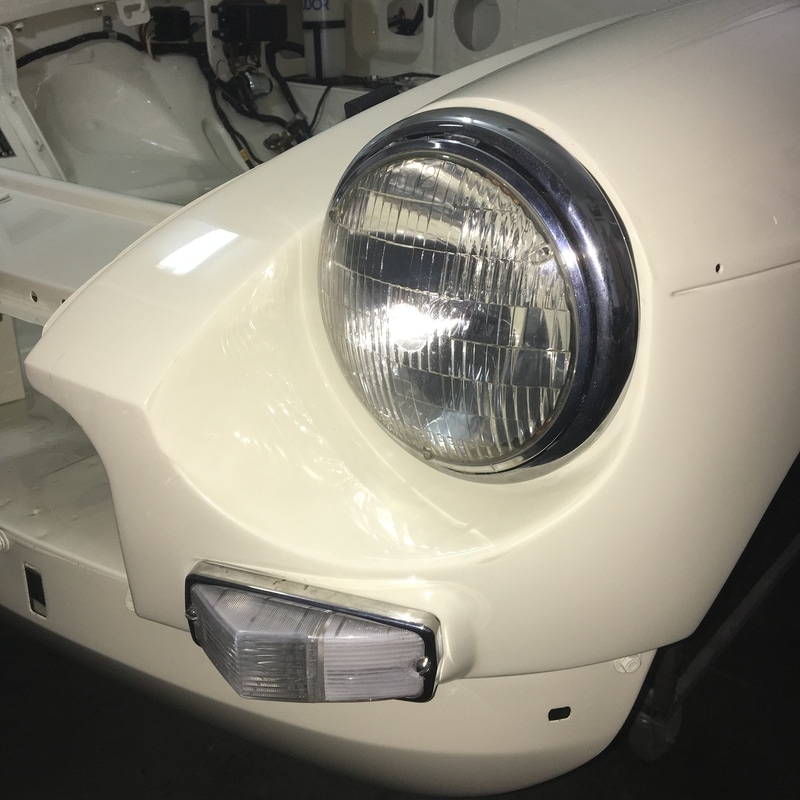
Of course as I go along, I have to re-tap each and every threaded hole on the body to clear the threads of excess paint from the body shop... 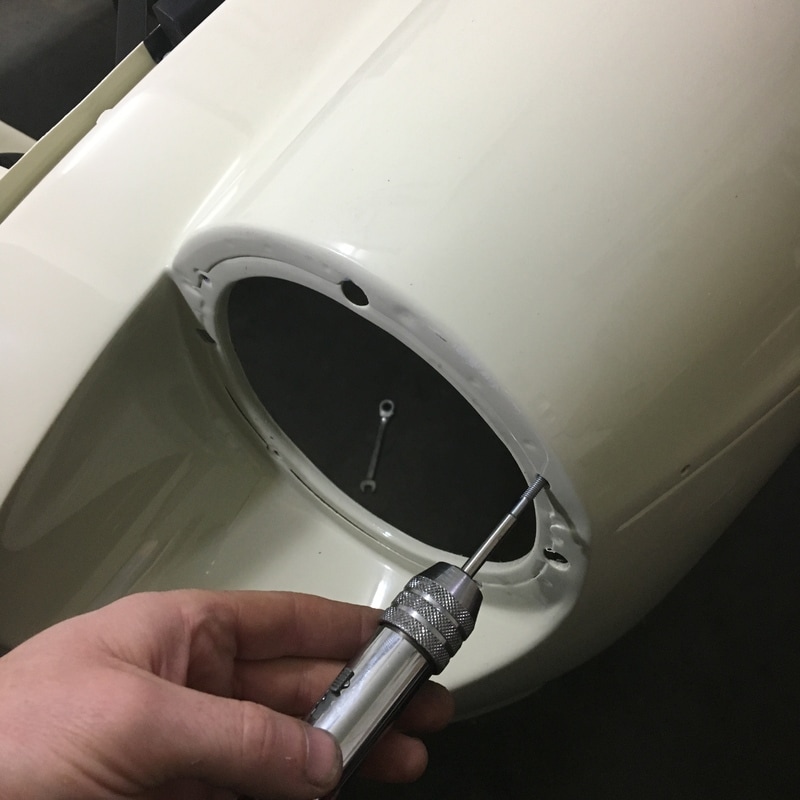 Here are the front headlamps and signal lights going in...
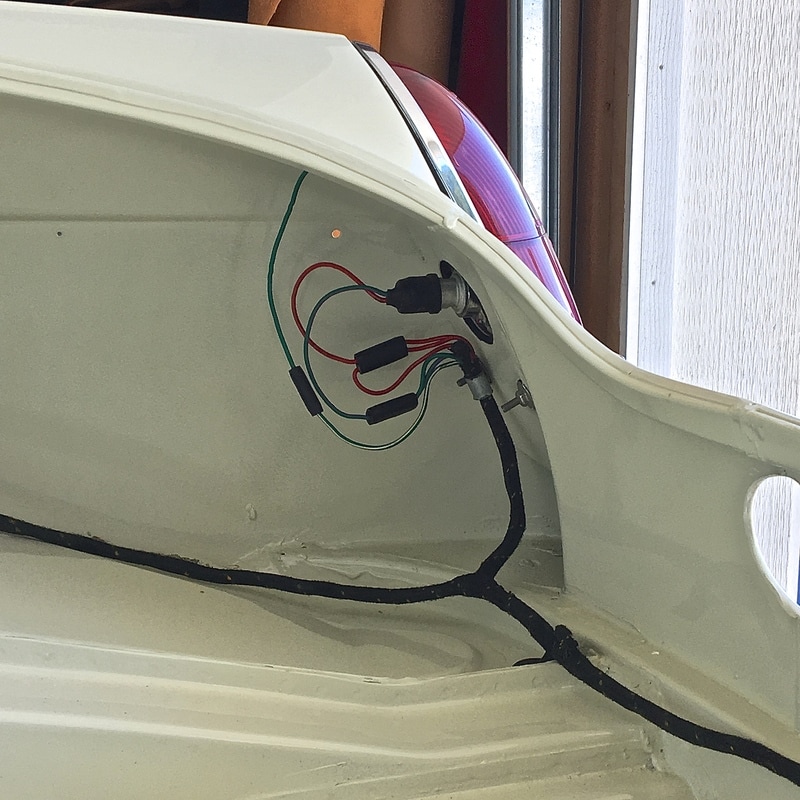
And the rear tail lights,..
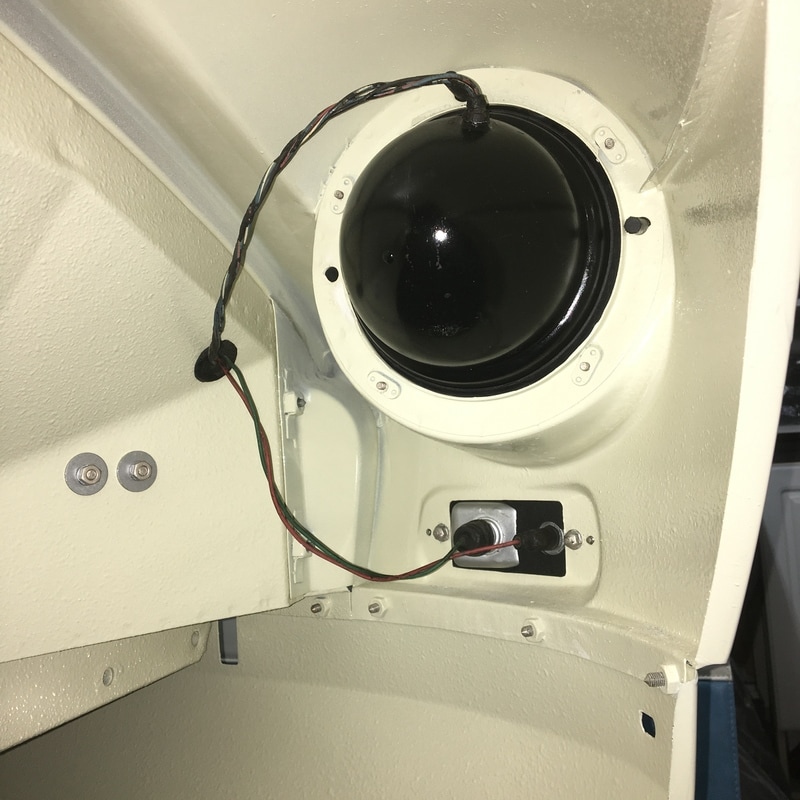
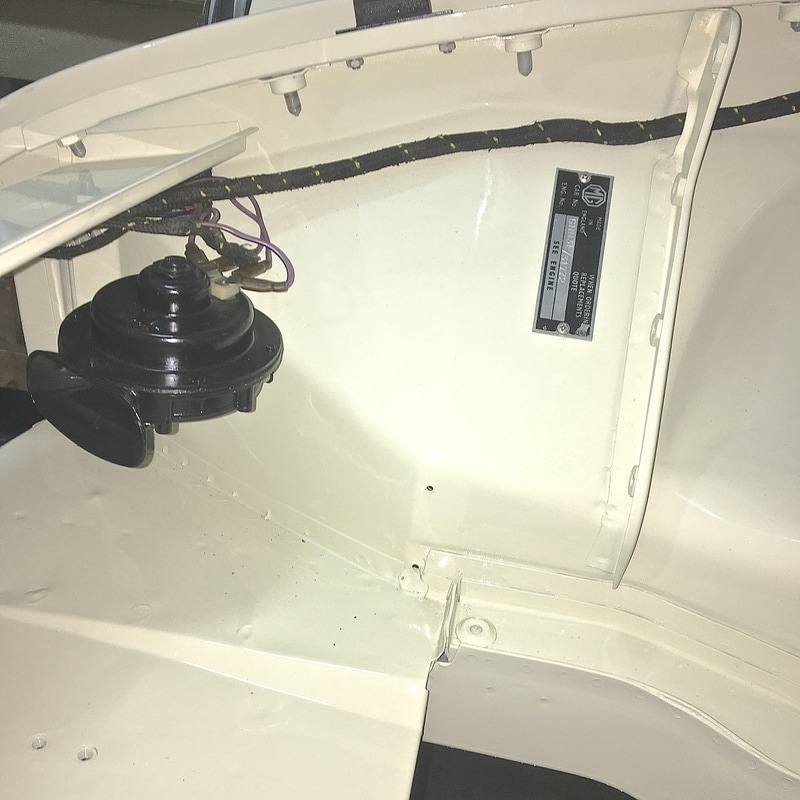
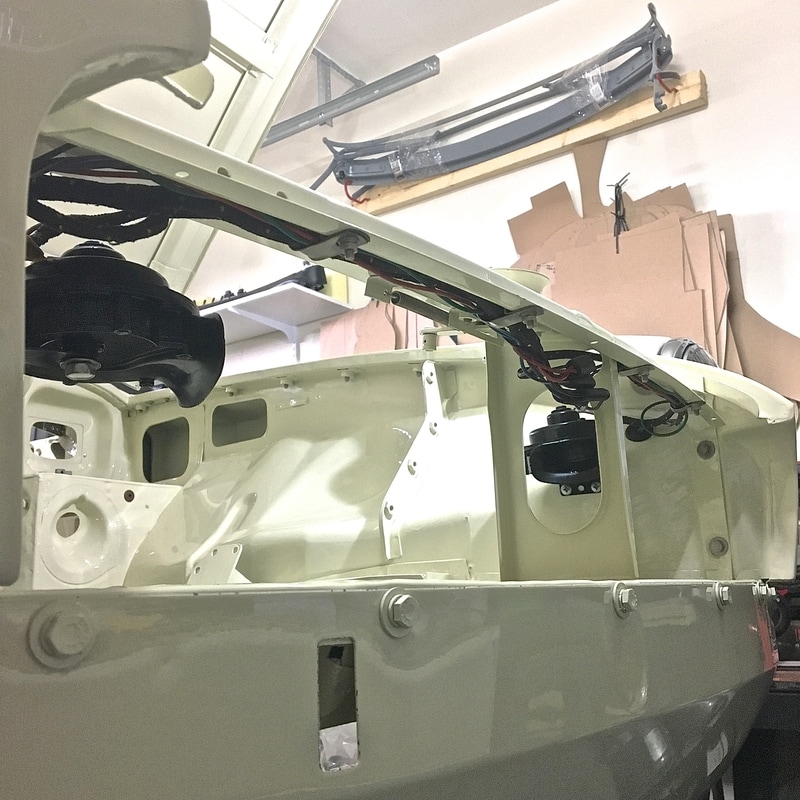
Here are the new/OE horns with their wiring correctly routed under the front rail: With each component I install, I study and review my original photo's and research to make sure I'm using the correct hardware and orienting them to be exactly like the original was.
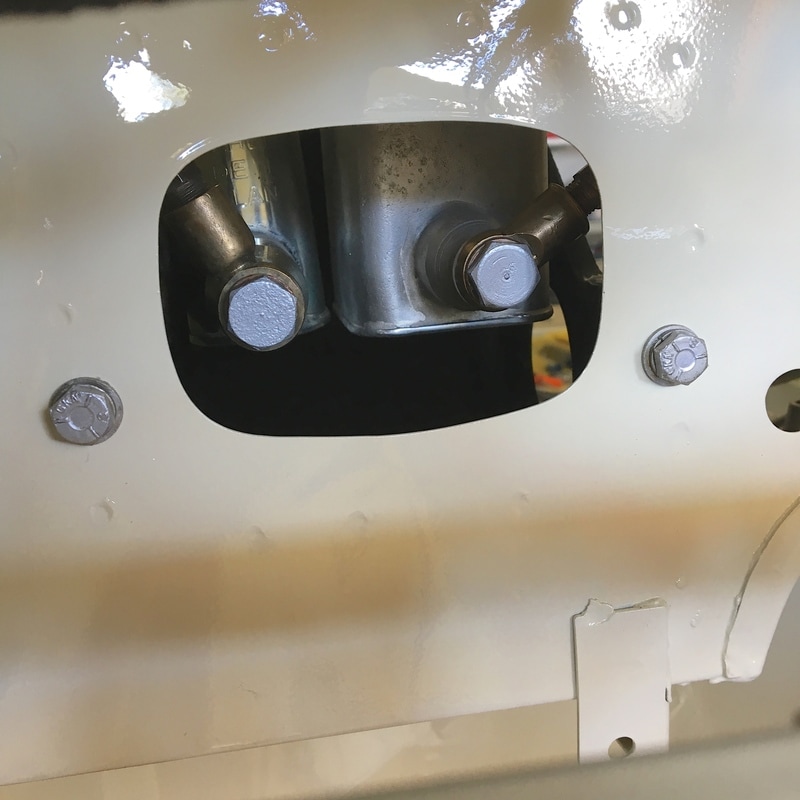
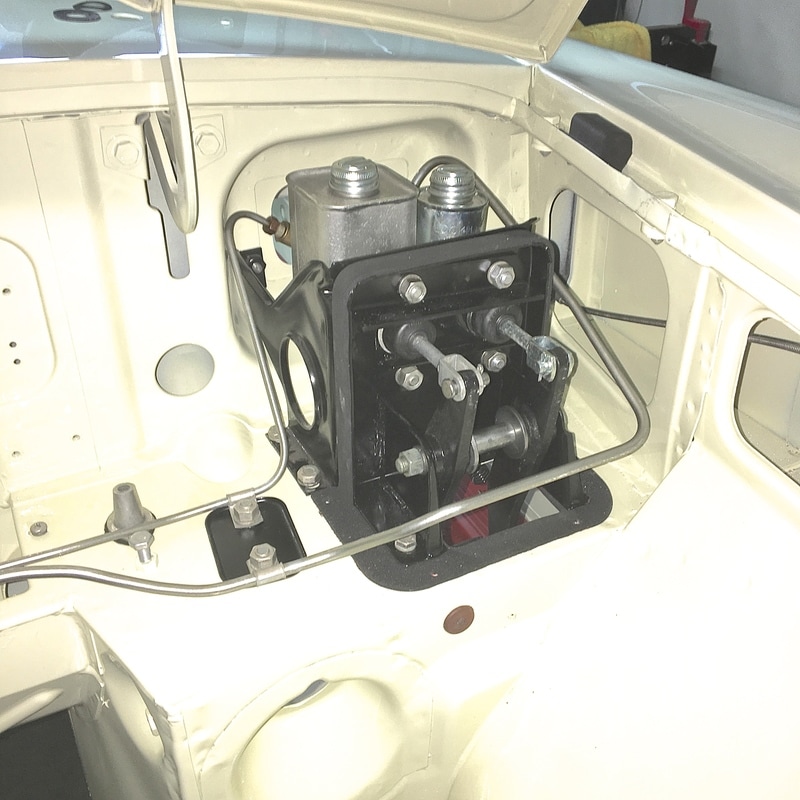
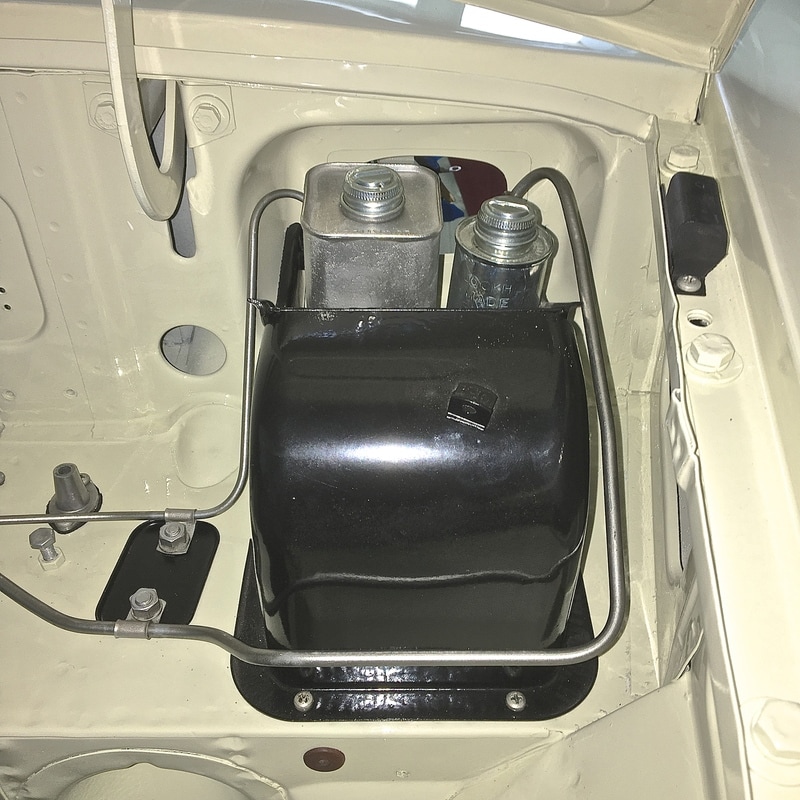
Today I installed the brake and clutch master cylinders and pedals. I started by installing the rubber gasket to the body and then fitting the brake and clutch feed lines to the backs of the master cylinders as I positioned the pedal box assembly in place on the firewall. 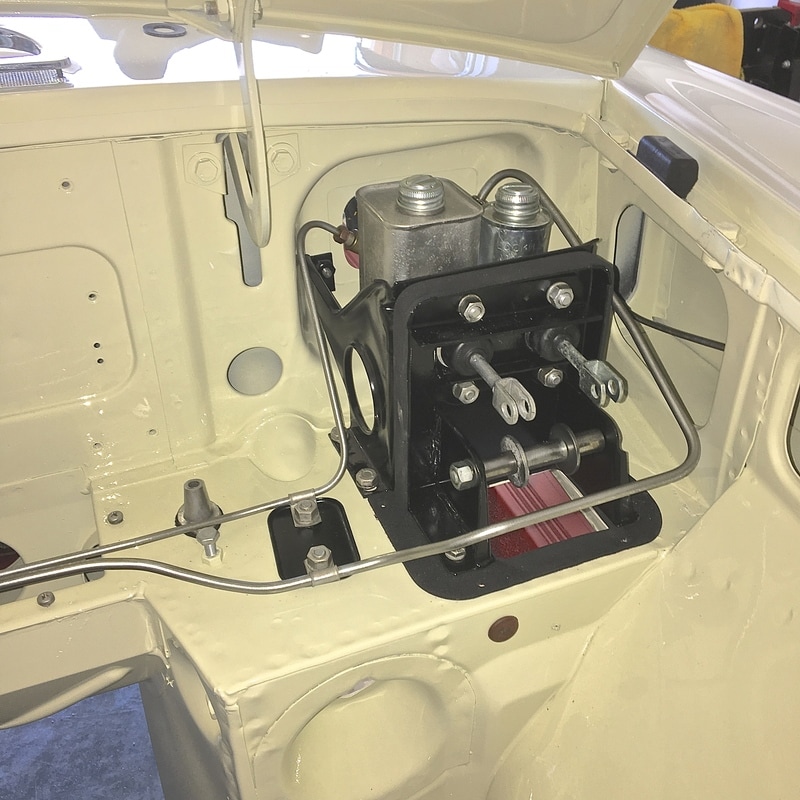
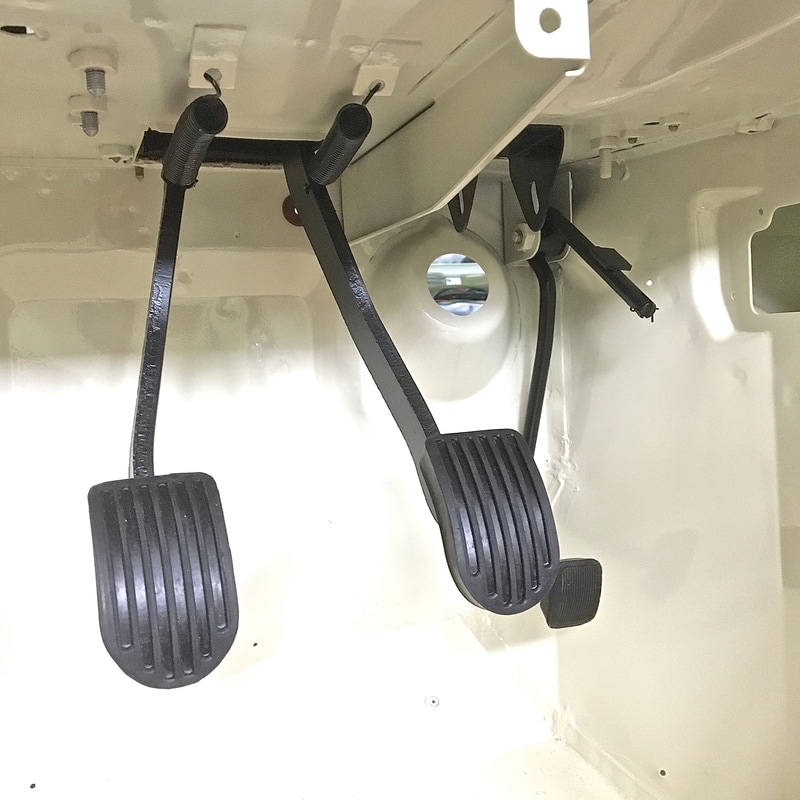
Then the pedals are installed with a smear of grease on the pivot bushings and some new clevis cotter pins...
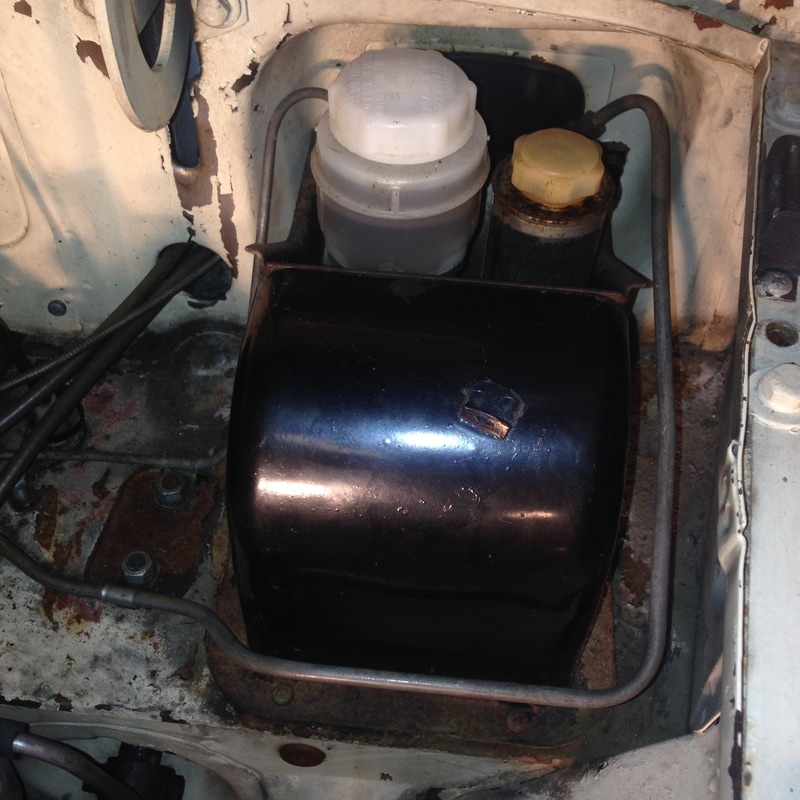
then the cover panel is screwed in place to finish it off.. 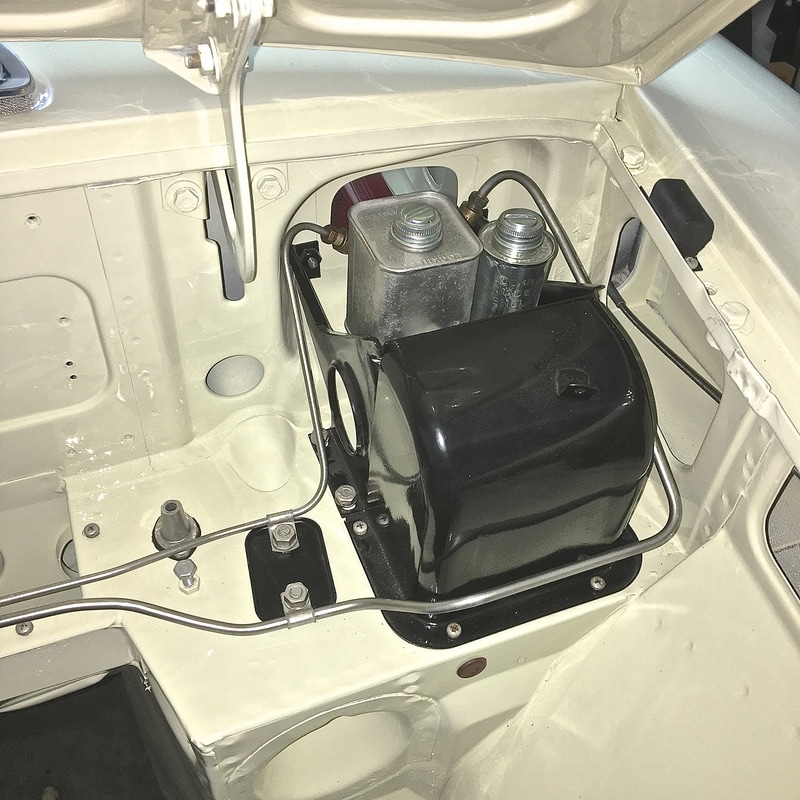 Some more before & after pics:
As you can see, the car is coming along nicely!
It's been somewhat of a life long dream to finally be restoring a classic car of my own, and besides finally driving it, this has been the most satisfying & rewarding part! It has been a joy to be meticulous in the final detailing of each piece I assemble to make sure that it's going to be protected against corrosion and looks/fits & works correctly. There's lots more to come on this project as the car comes together so stay tuned! Until next time -
1 Comment
|

Archives
December 2023
|


 RSS Feed