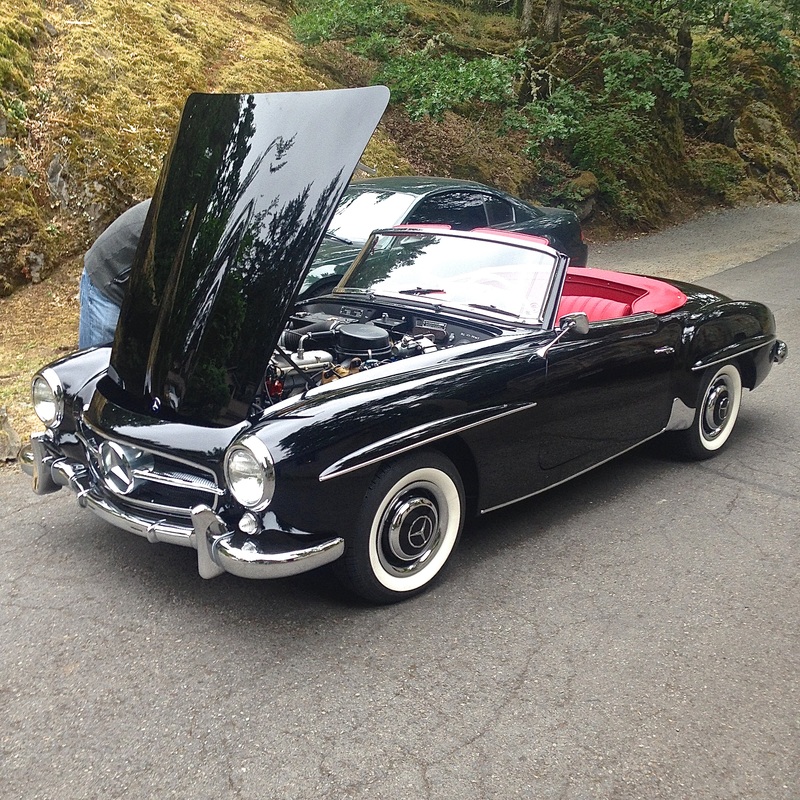
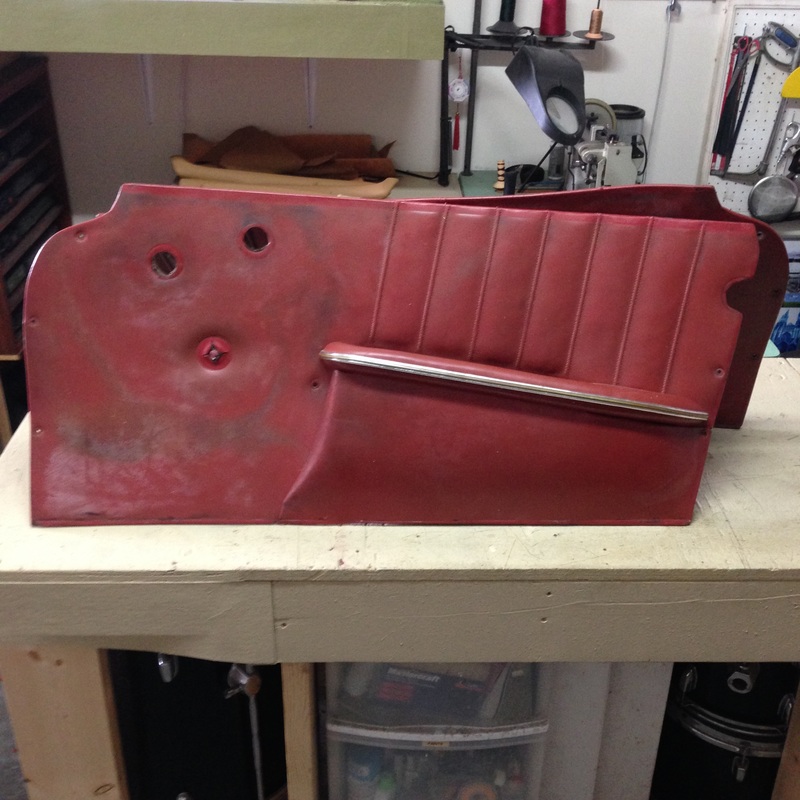
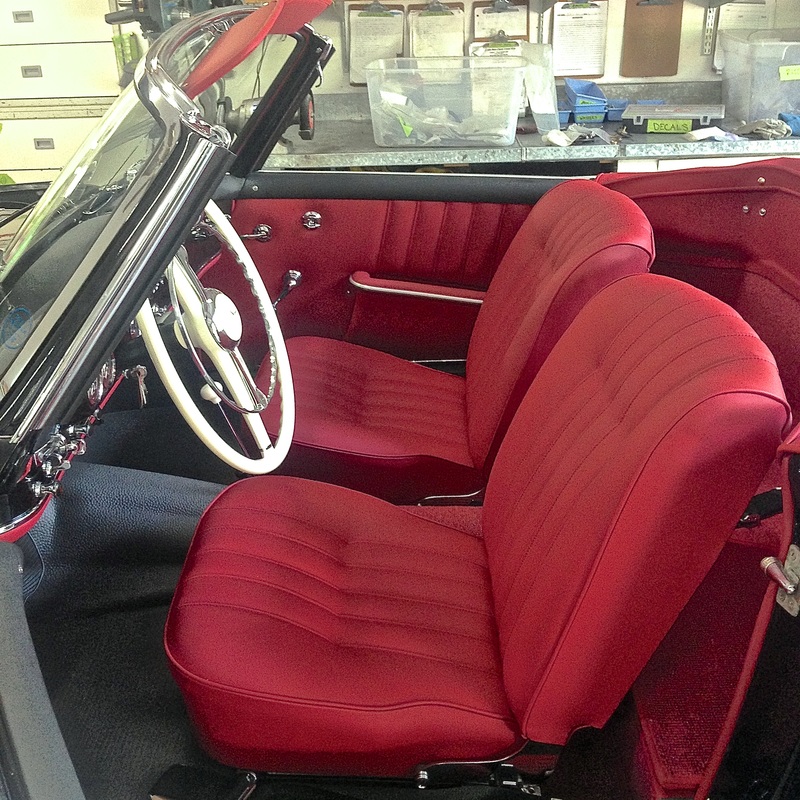
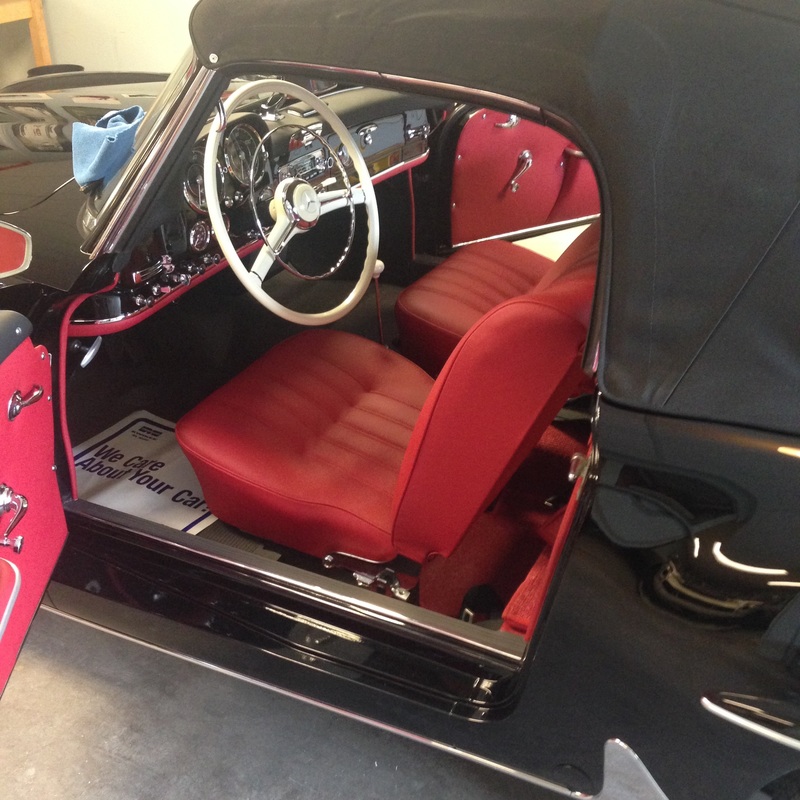
 Back in the spring of this year I had the opportunity to trim this beautiful 1958 Mercedes 190SL for Rudi and Company. They restored the car back to it's original delivery specifications including some special order interior colour accents that were unique to this car in particular. Where as most 190SL's with a red interior would have had red throughout, the original order for this car showed it had a black dash top and door top rails - a nicer contrast than the standard red on those items! I purchased material kit's from GAHH in the correct Roser Red leather appropriate for this vintage of Mercedes. I started by making new door panels following the originals exactly. I cut the new panels and carefully stripped and reused the original metal and wood components. These door panels with their inner pockets, armrests and pleats are a great example of the very high level of craftsmanship that Mercedes put into their cars back in the day. I have yet to come across another car manufacturer that put in this degree of quality and detail in their upholstery work. In many places throughout the interior, the leather was often hand skived to be paper thin along edges that needed it for clearance purposes or for hiding joints in the material, these sorts of important practices definitely take more time and patience to master but really pay off in the end!
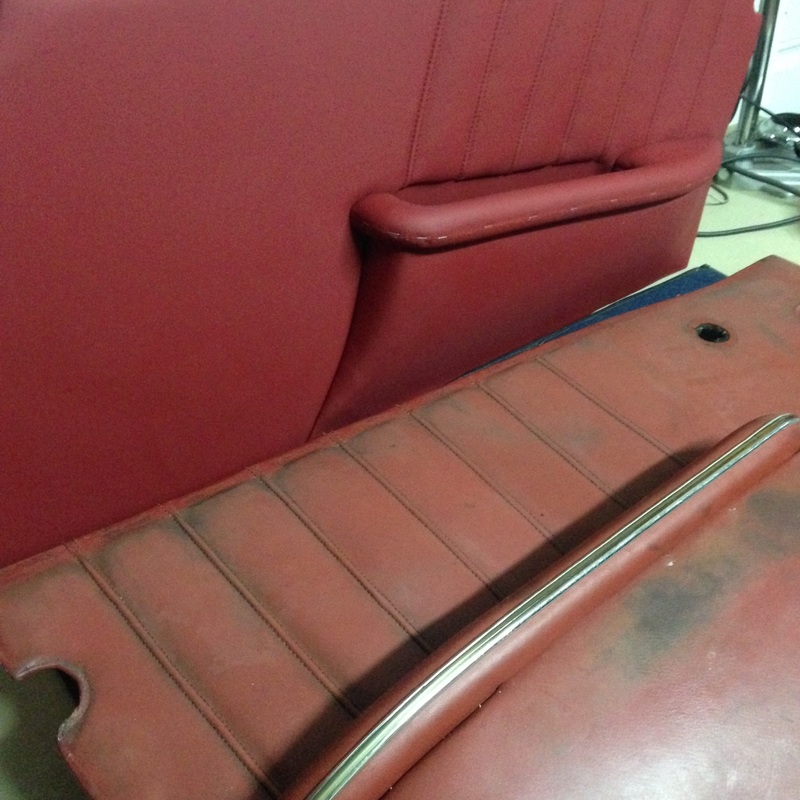
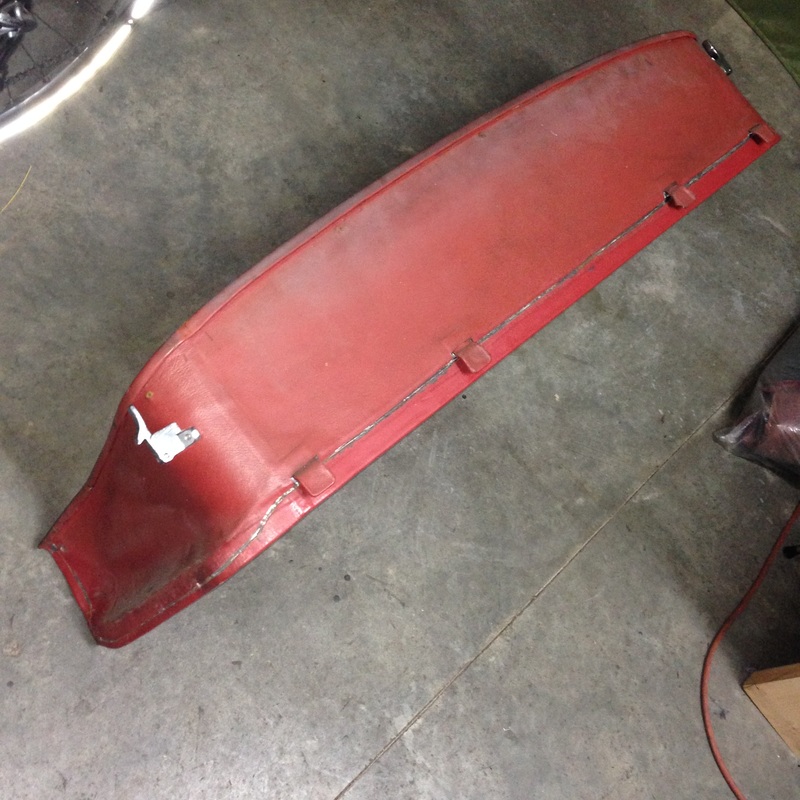
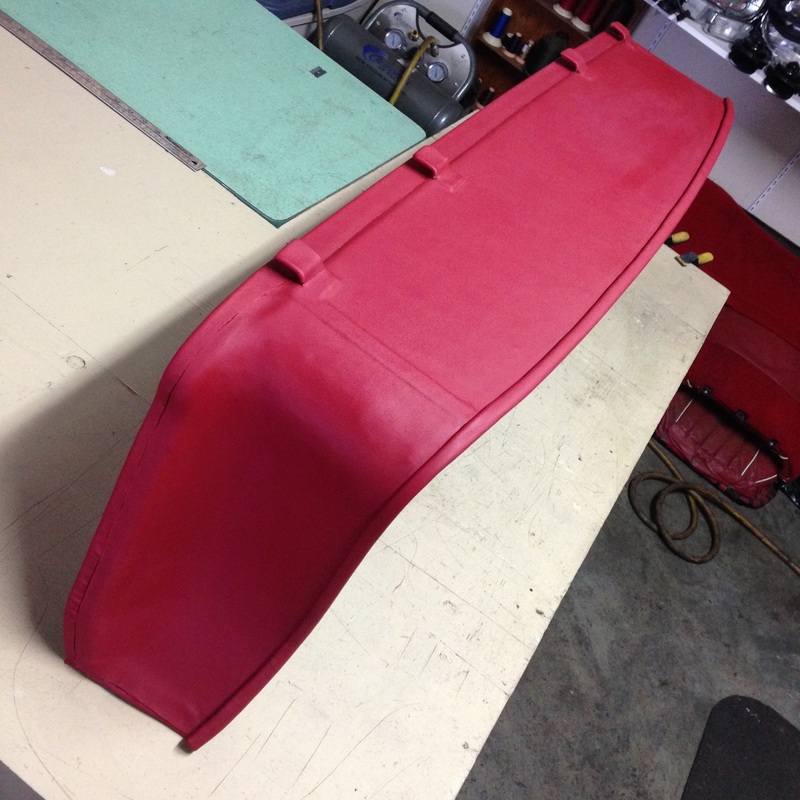
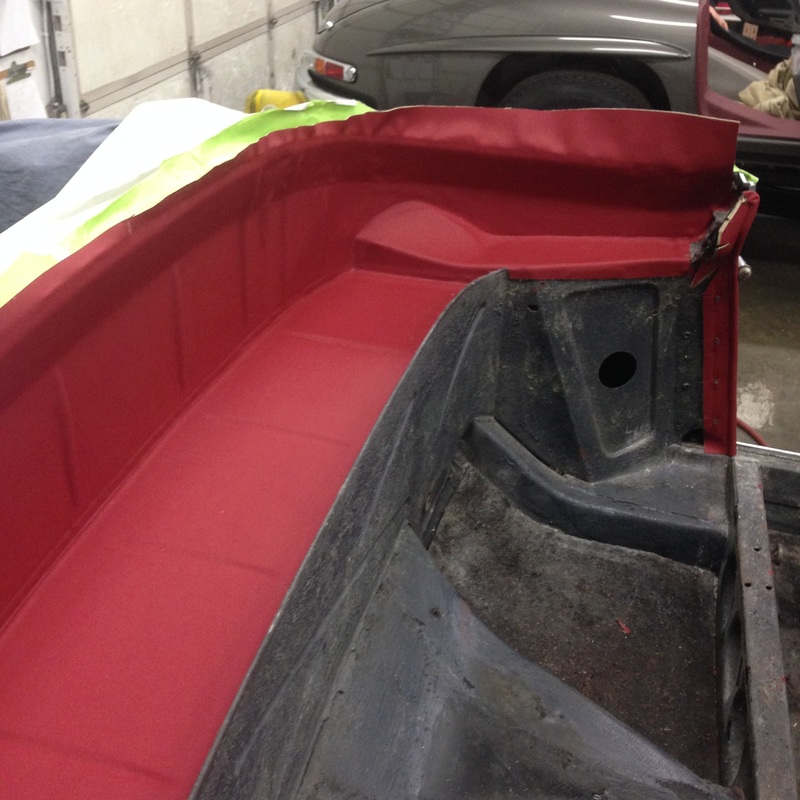
With the door panels complete, I next stripped and recovered the rear cockpit surround/top stowage divider panel in new leather, skived along all the joins.
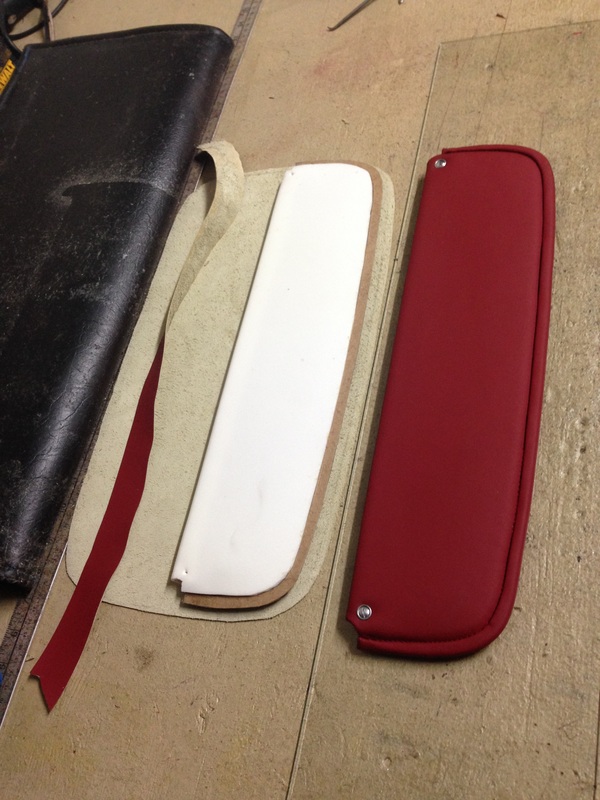
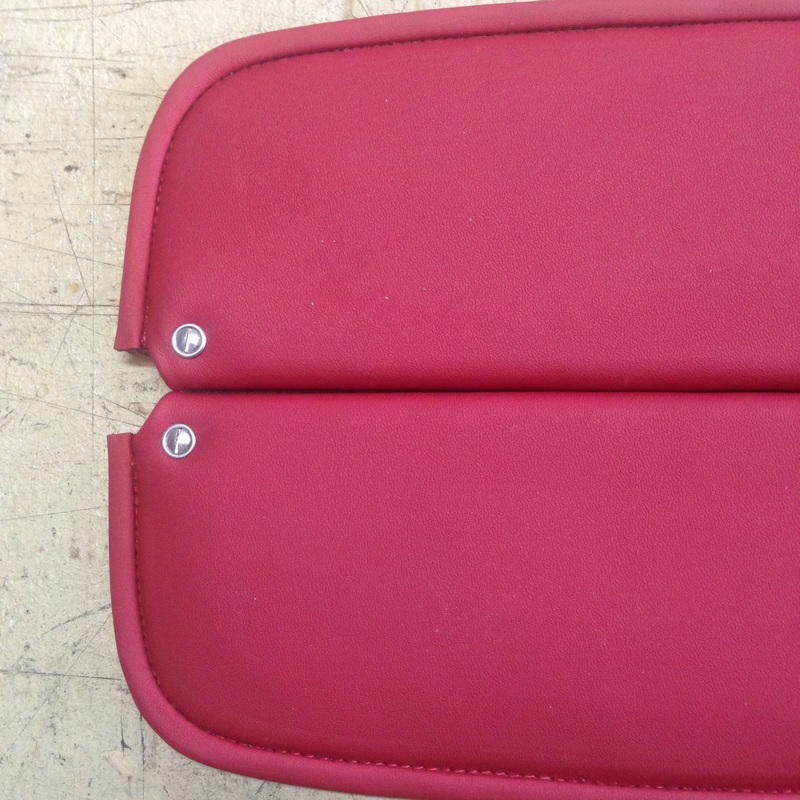
Next I tackled making up the new sun visors: I made these virtually from scratch using just the original wire frame inside and building up a new inner structure that I carved/shaped by hand. Then they were covered in leather and bound with thin hand skived leather strips.
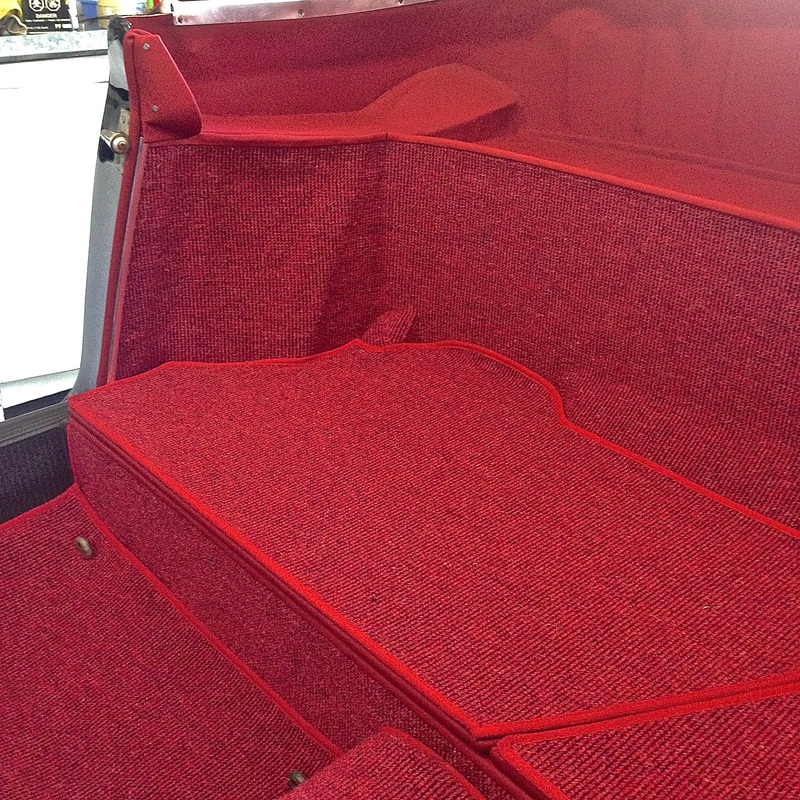
Next I began installing all the rear cockpit leather on the car. Each piece had to hand cut to fit and the edges hand skived to hide the joints, with the leather in place, the adjoining carpet sections could then be installed and the leather Windlace along the door pillars...
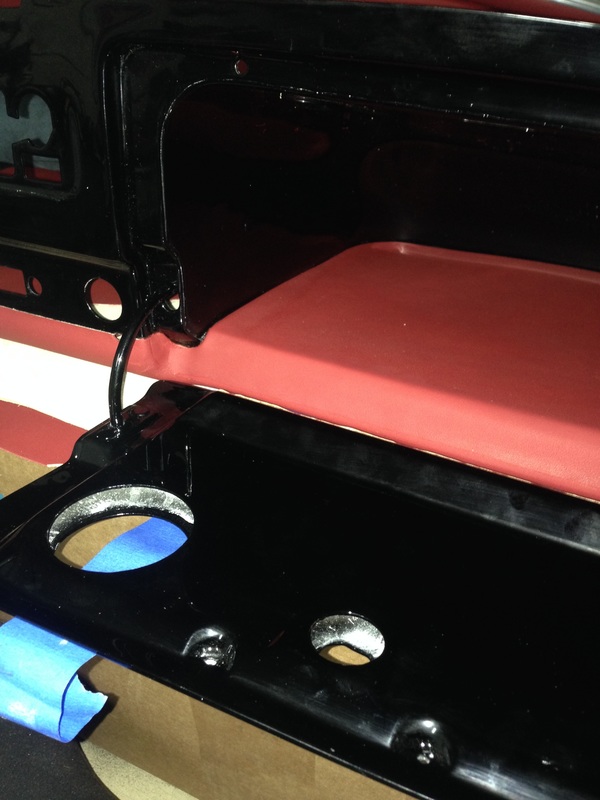
Moving to the front of the cockpit, I installed the long single piece of black leather that covers the dash top - this takes a lot of patience and finessing to coax the leather in place around all the compound curves and get rid of all the wrinkles! 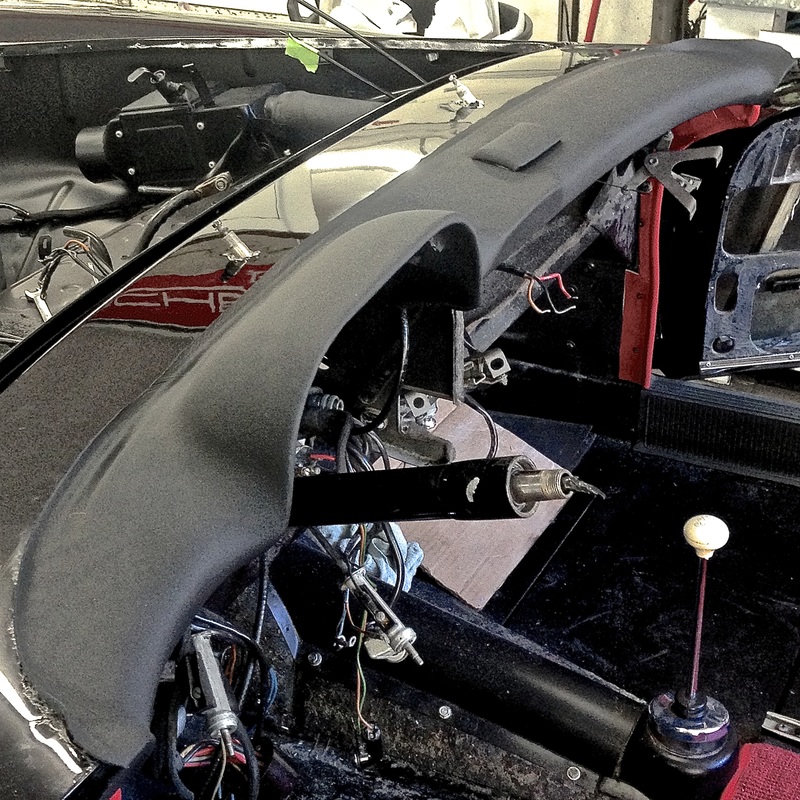 With the dash top installed, it was time to cover the lower dash in thin foam and hand skived leather so the dash itself could be installed in the car. These pieces of leather all had to be skived very thin especially around the glove box door so the chrome trims would still look and fit as they should...
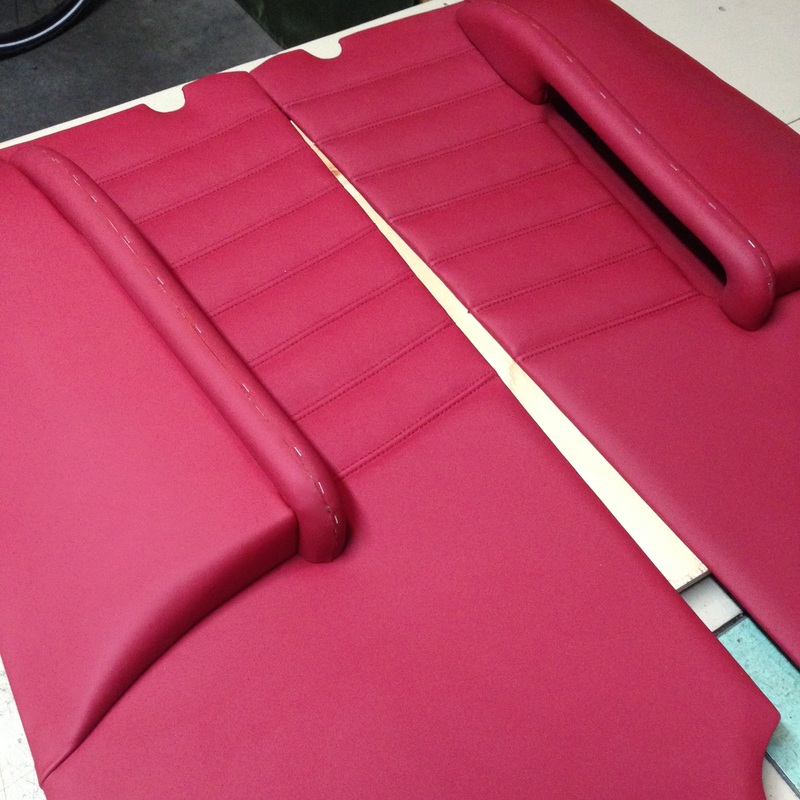
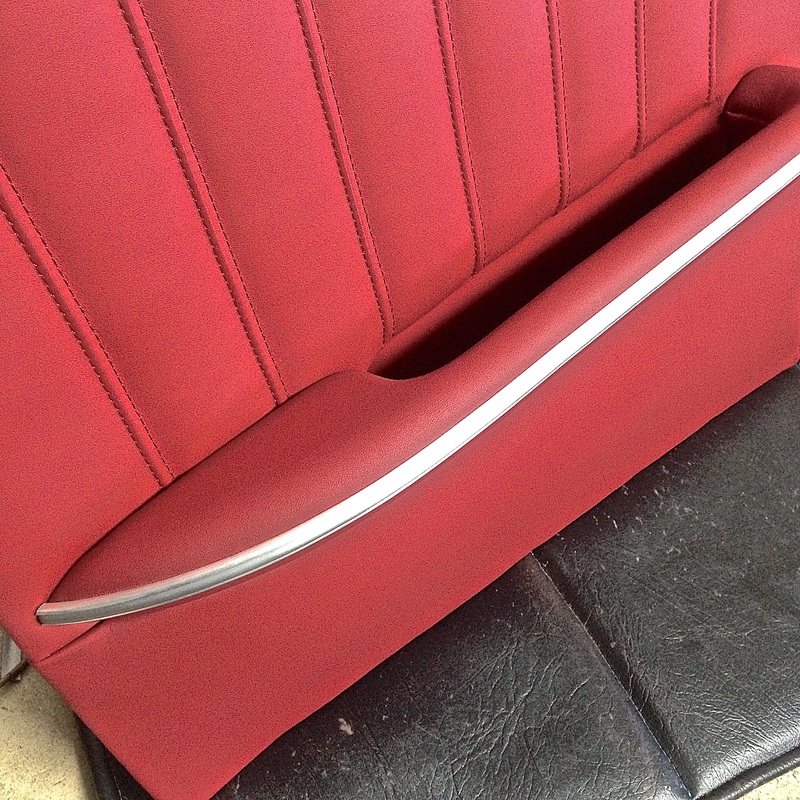
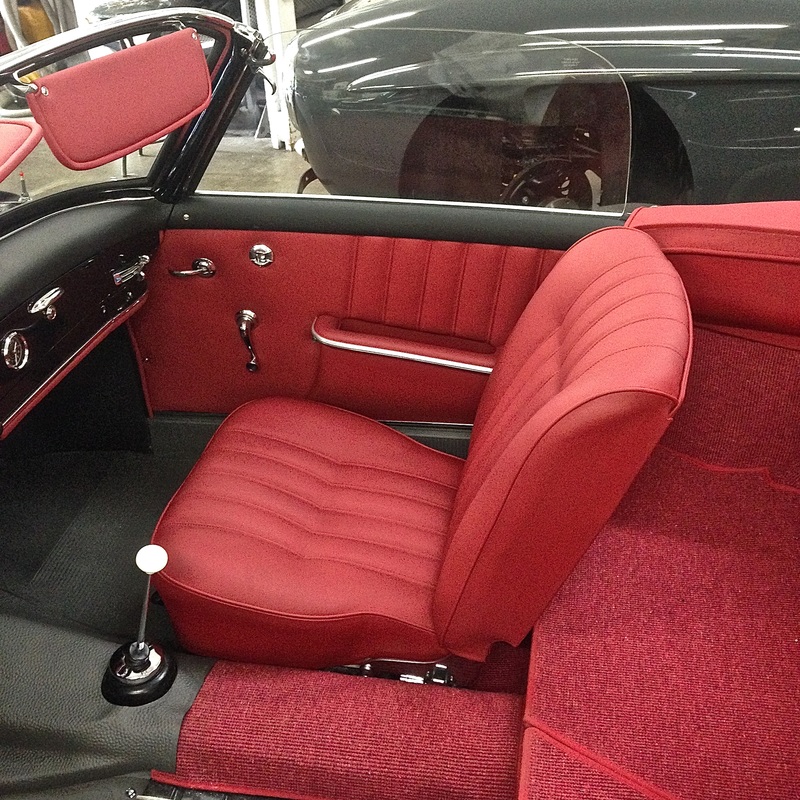
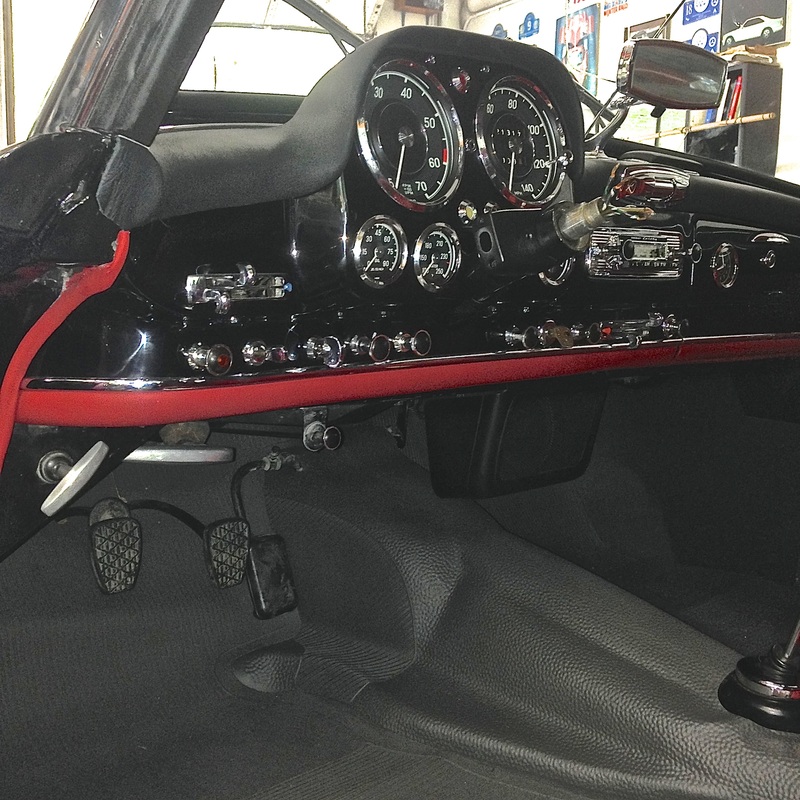 With the dash installed, the rest of the interior started to really come together, the rubber floor mats and kick panels could all be cut and put in place, as well as my new door panels with contrasting black top rails unique to this car... 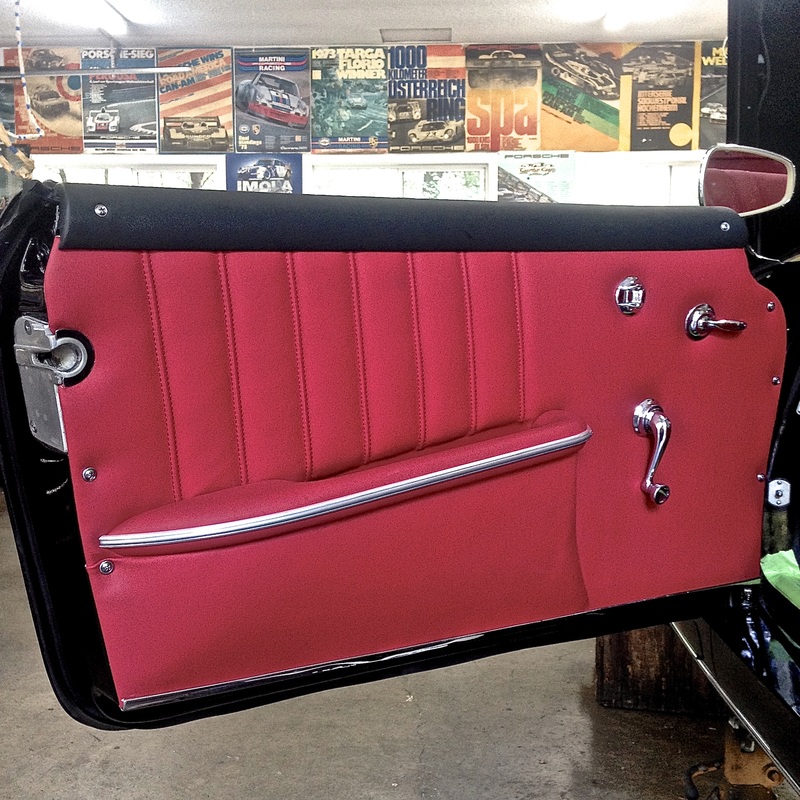 The seats were another time consuming adventure but care and patience resulted in beautiful results! As always, I restructured all the inner foam to get them nice and smooth and the correct profile. Lot's of hand stitching was involved with these old Mercedes seats too - just as they did originally - 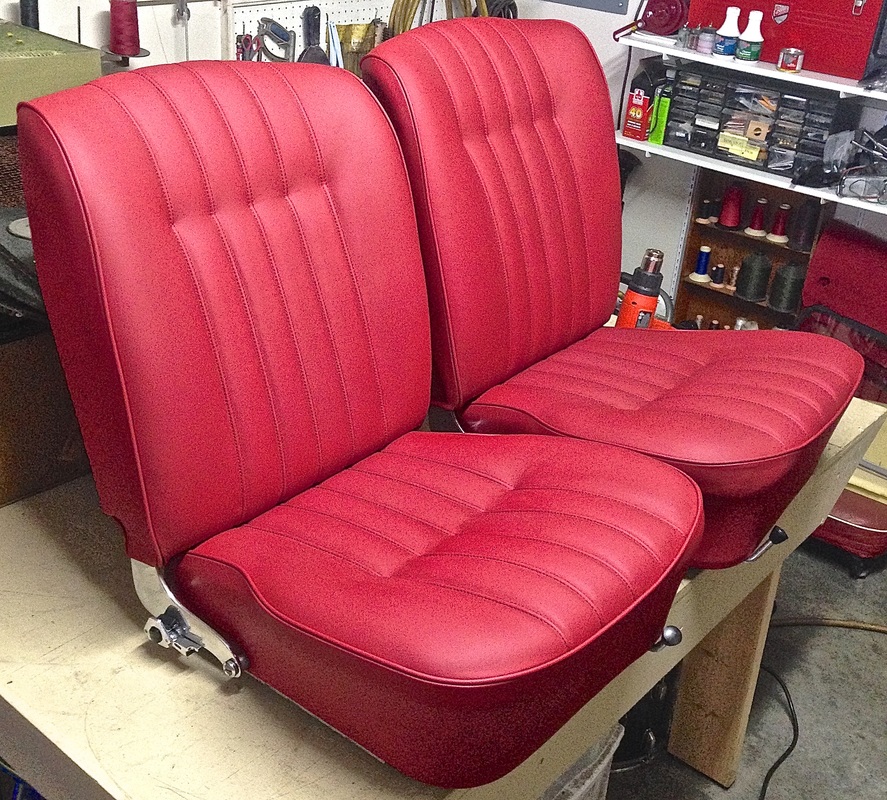
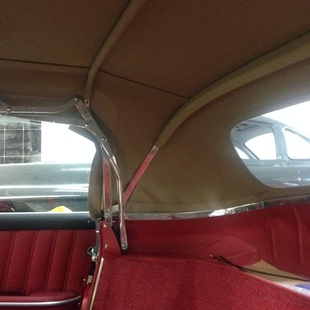
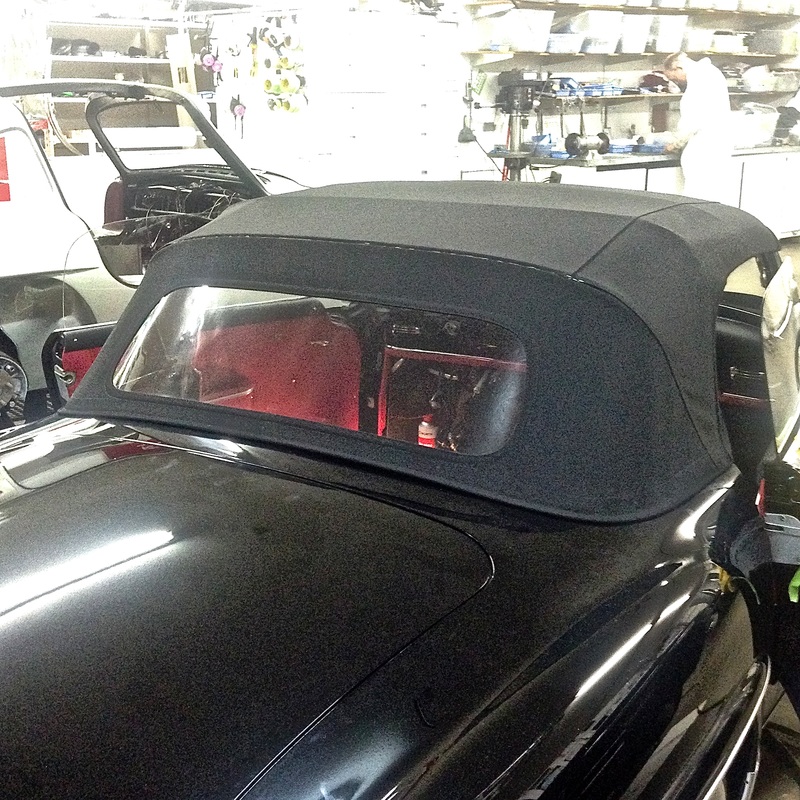
Finally came time to fit the top. I sourced a new top from GAHH in the correct German canvass. I started first by fitting the chrome top frame to the car and making sure it functioned properly. Then I covered the inner frame sections with tan Bowdrill, installed the new webbing strips to keep the bows in line, and finally the top itself...
With the top installed, I fit the rear cockpit divider panel in place and then fit the leather boot cover that covers the top when it's folded down... 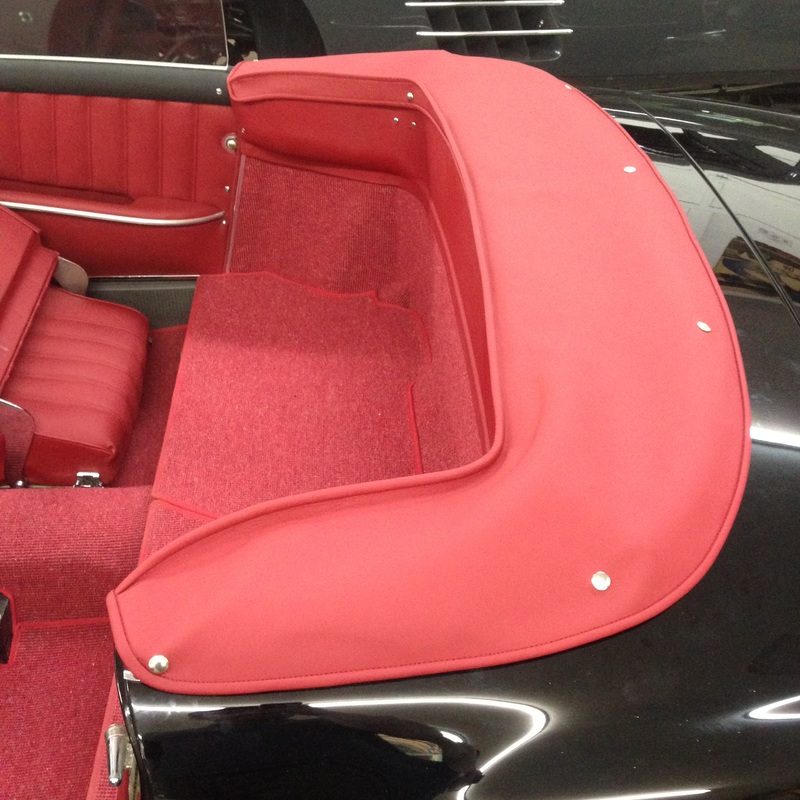 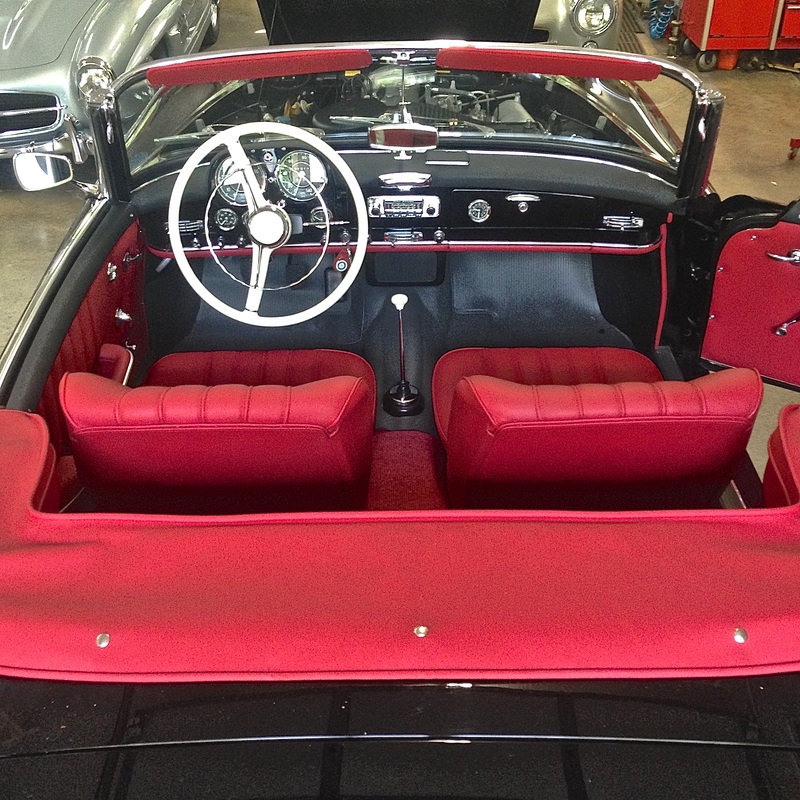 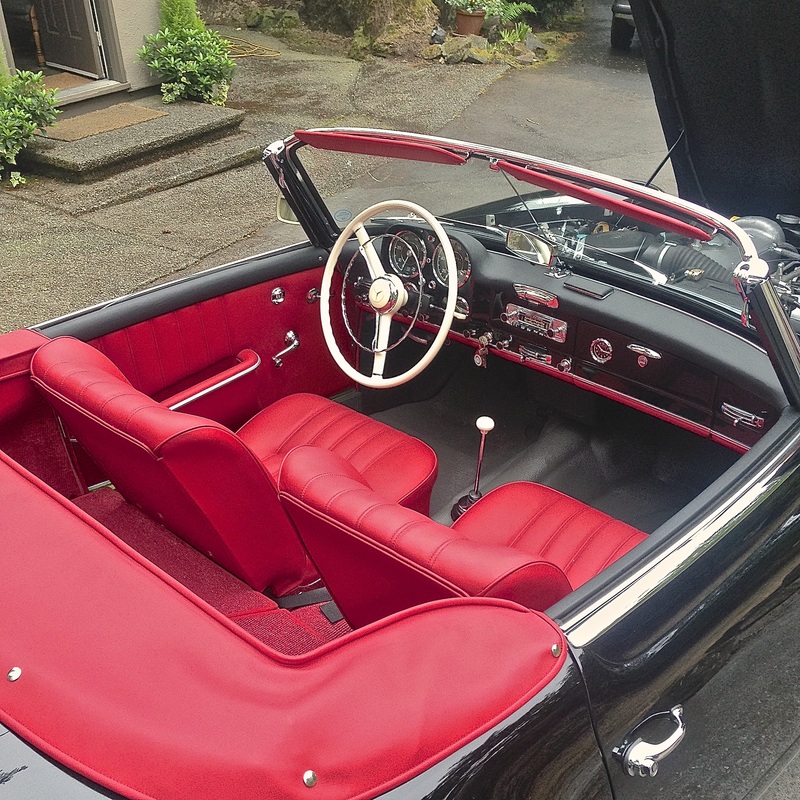 And there you have it, another one done and ready for the road!
All in all, this was a very enjoyable and rewarding job to do. As with most of these vintage Mercedes the level of detail and craftsmanship required was a welcome challenge that required a lot of patience and experience to get right. These jobs are what keep us on our toes and make us better trimmers! Until next time -
0 Comments
Your comment will be posted after it is approved.
Leave a Reply. |

Archives
December 2023
|


 RSS Feed