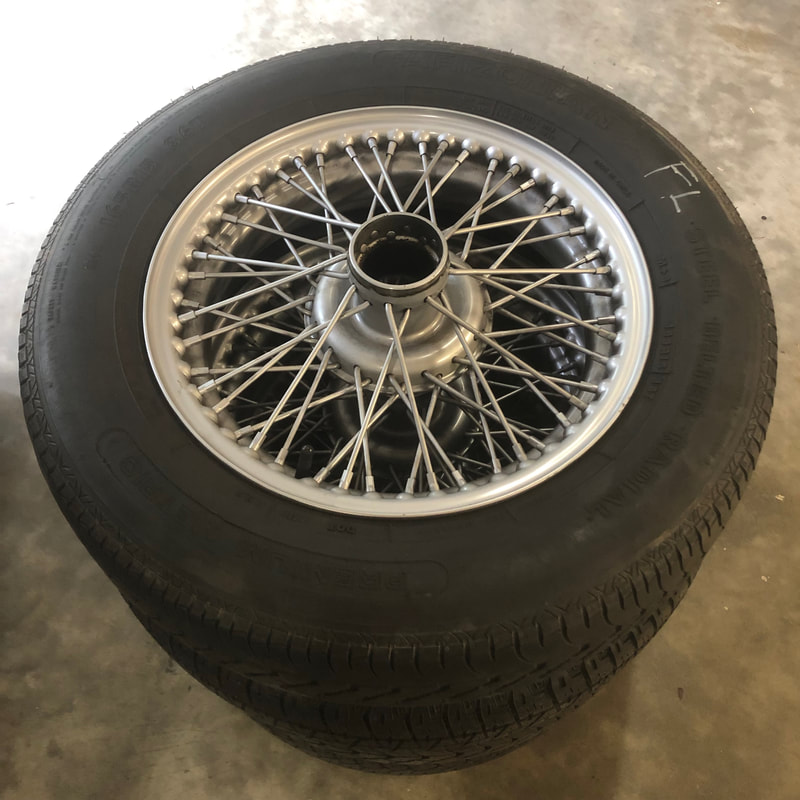
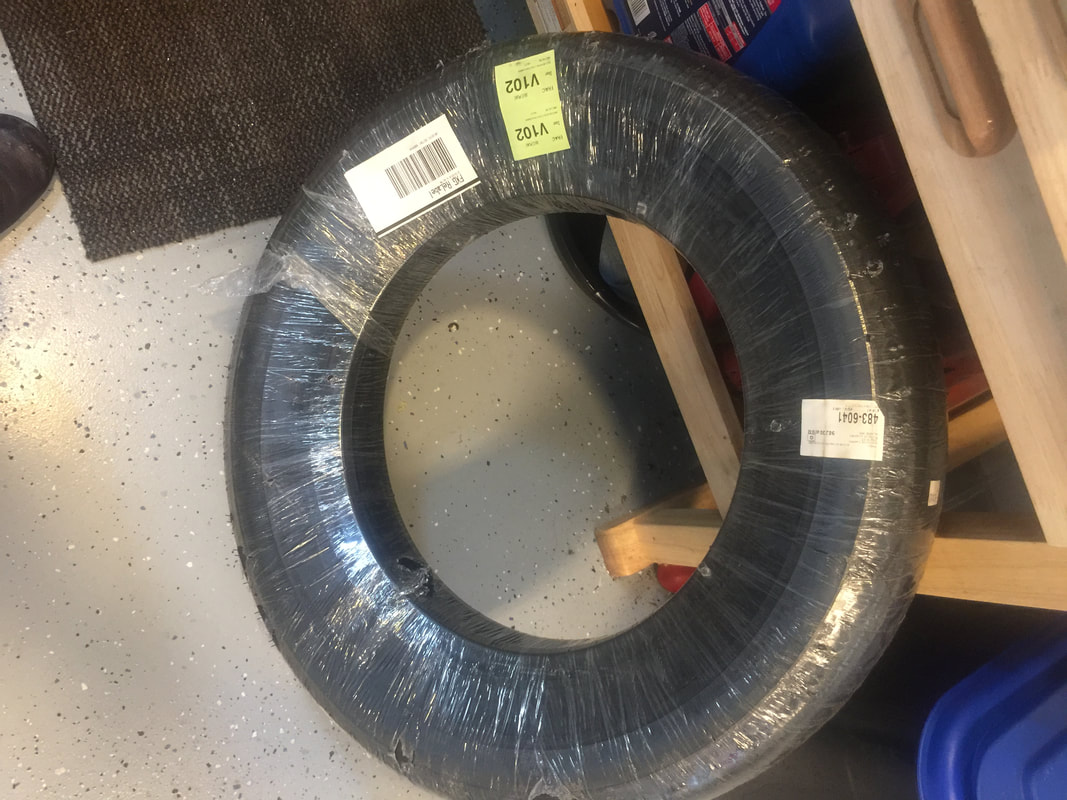
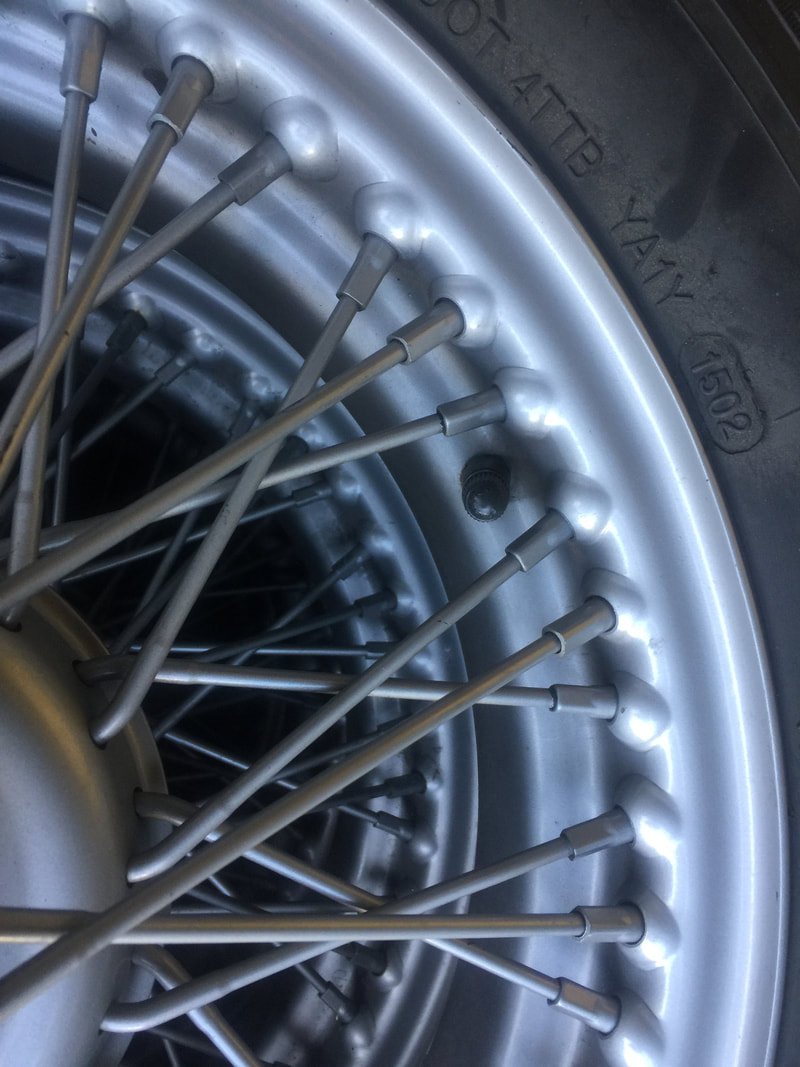
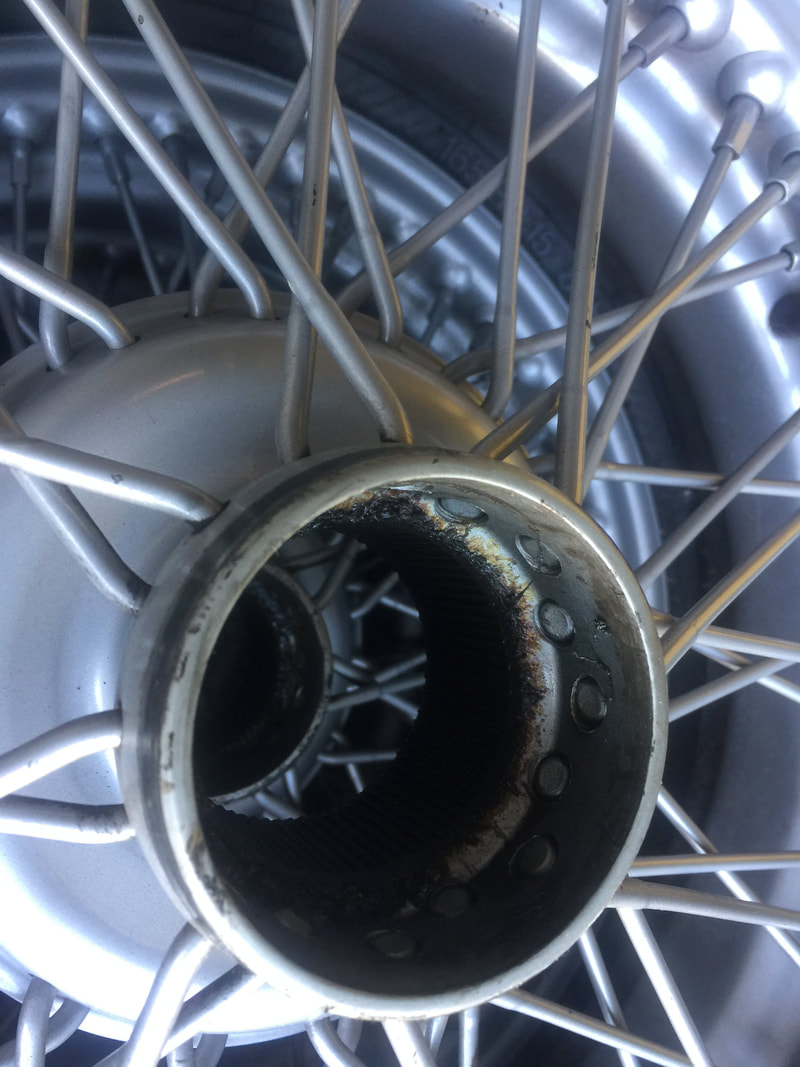
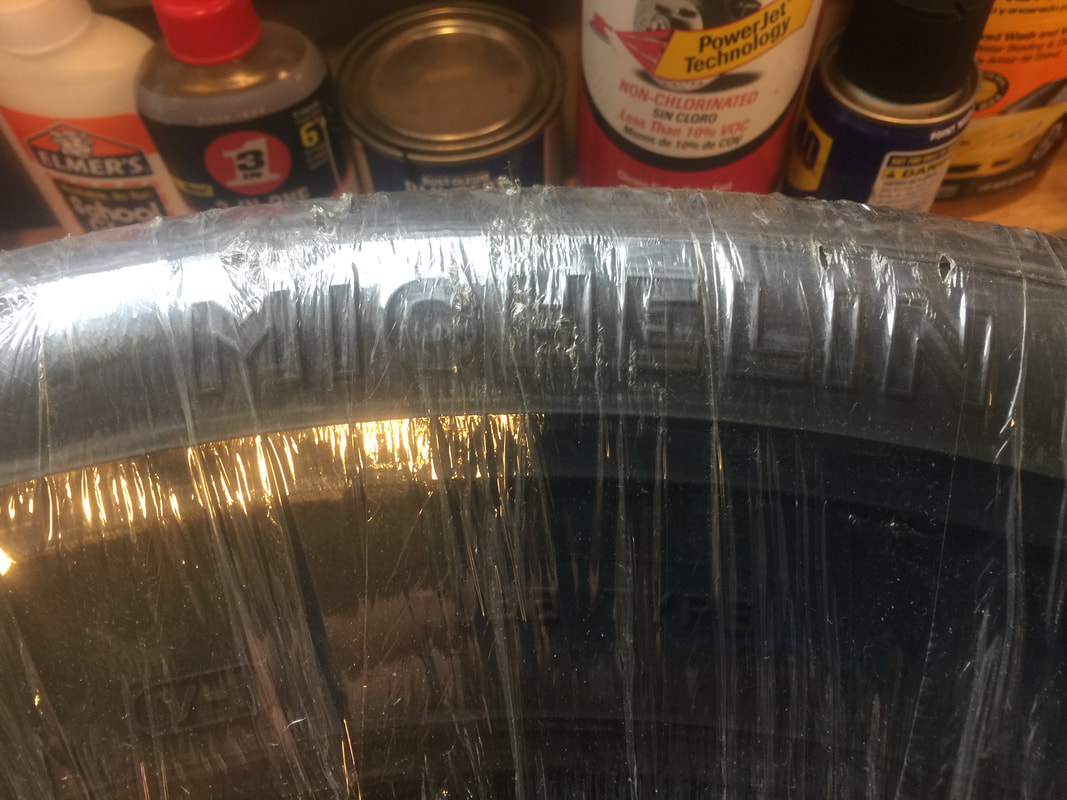
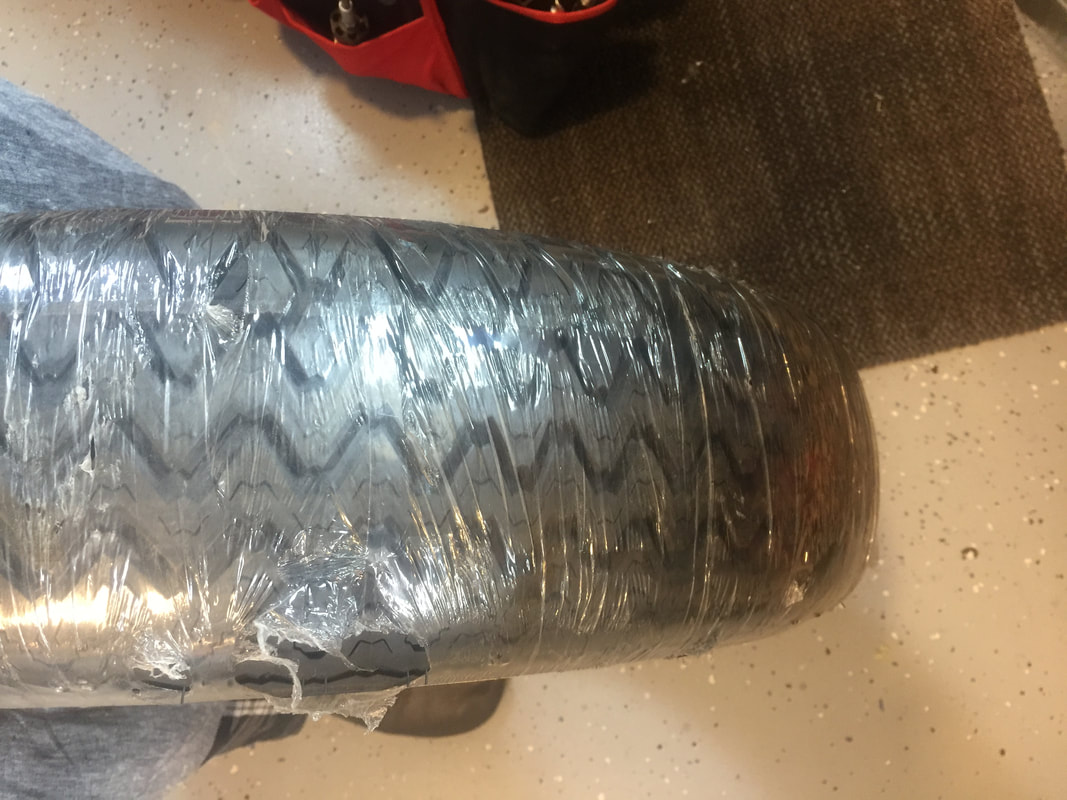
 How does one afford to restore an Austin Healey on a modest budget these days? Well for me, I've been lucky enough to be able to trade my skills for some of the rare parts or services I'm needing! - Over the past few months I've made some great new friends through the hobby and have been able to trade my handcrafted upholstery work for some of the essential parts needed on my BN1's checklist - Some of the more recent additions include: This set of almost brand new/slightly used 48 spoke painted wire wheels, with a brand new set of Michelin X tires and tubes! - These come from my new local friend Harry Watson who has a '56 BN2 I'm honoured to be doing a complete interior on - Thanks again Harry!
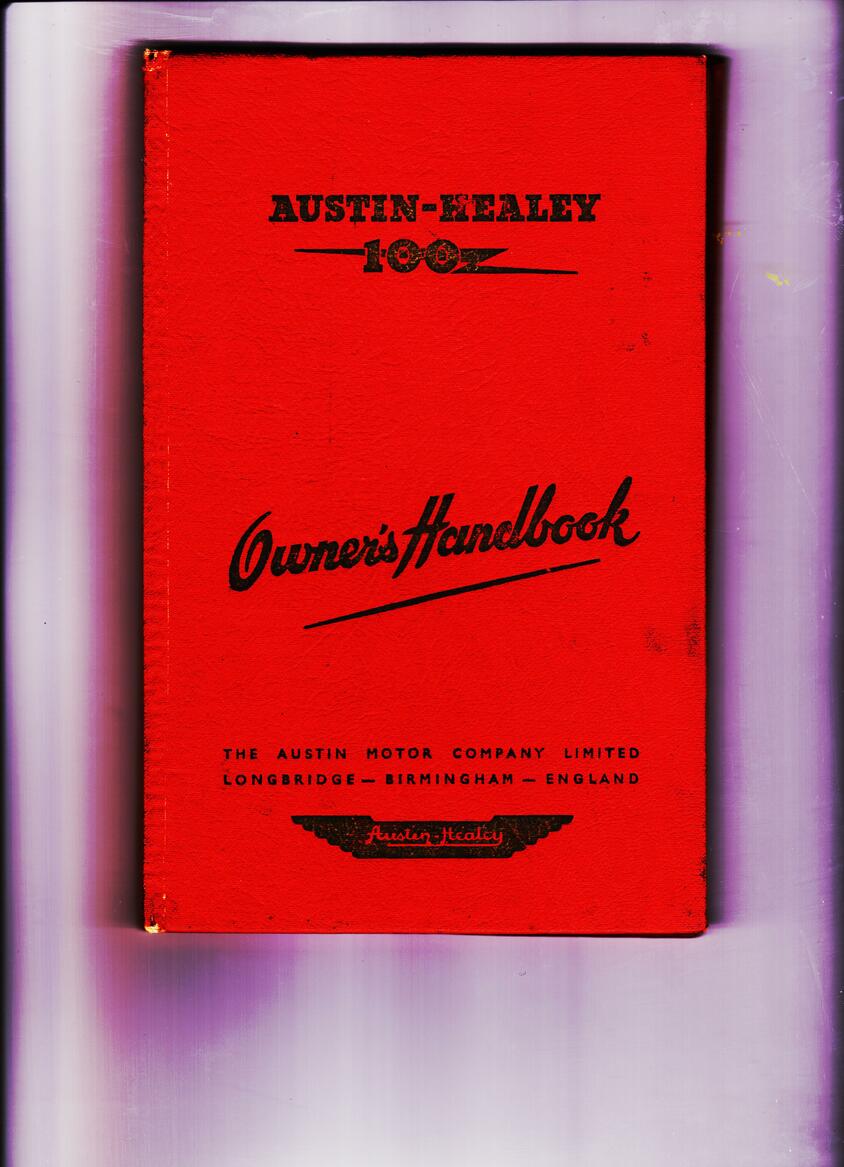
 I recently found this package deal available in the used parts section of our monthly Healey club magazine: an original Sept '53 Healey 100 owners handbook - originally sold through Fred Deeley's here in Vancouver!
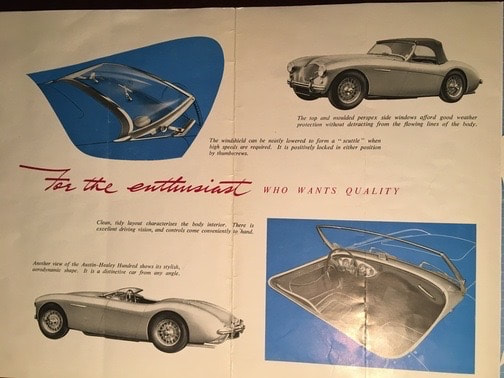
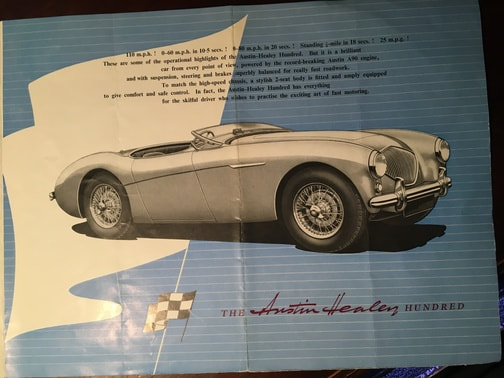
Also included, is an original Healey 100 sales brochure, - and! ,... 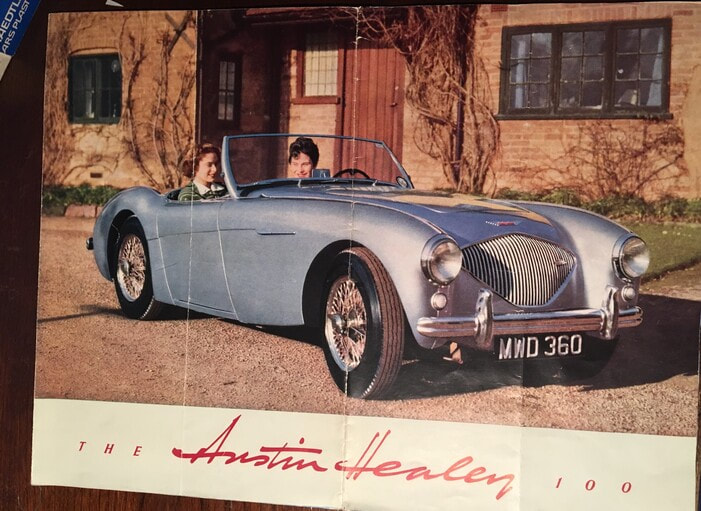
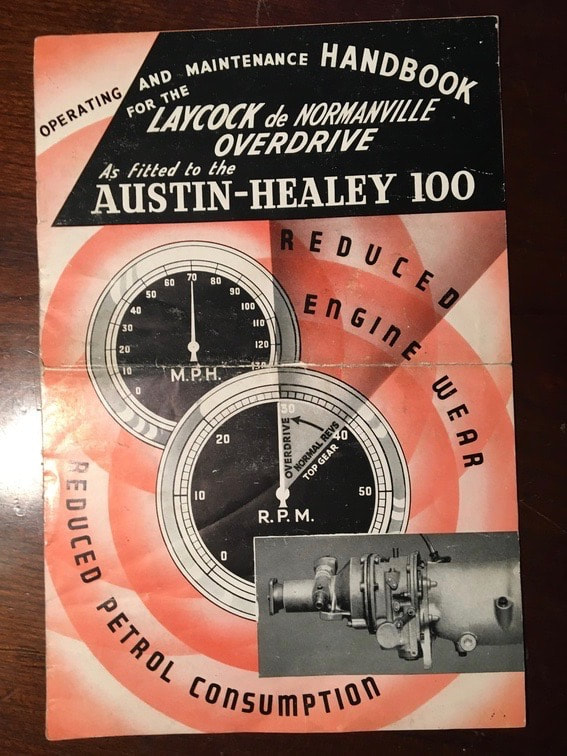
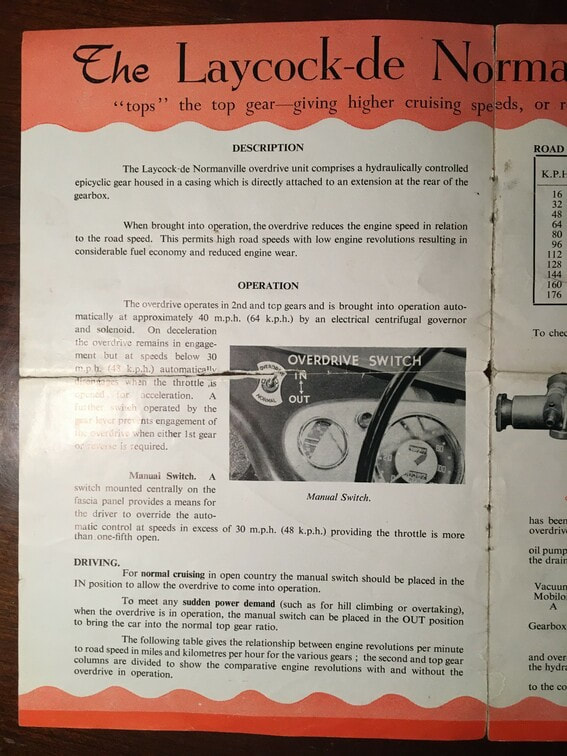
- a Lacock De Normanville Overdrive handbook, and,...
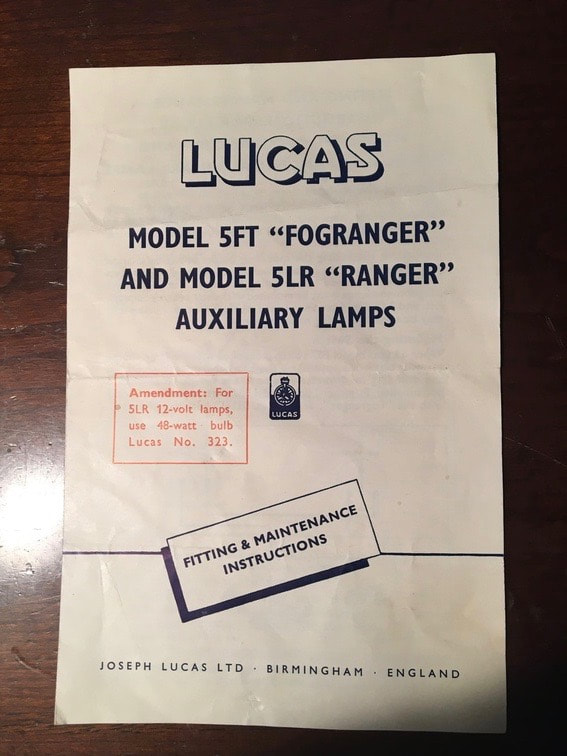
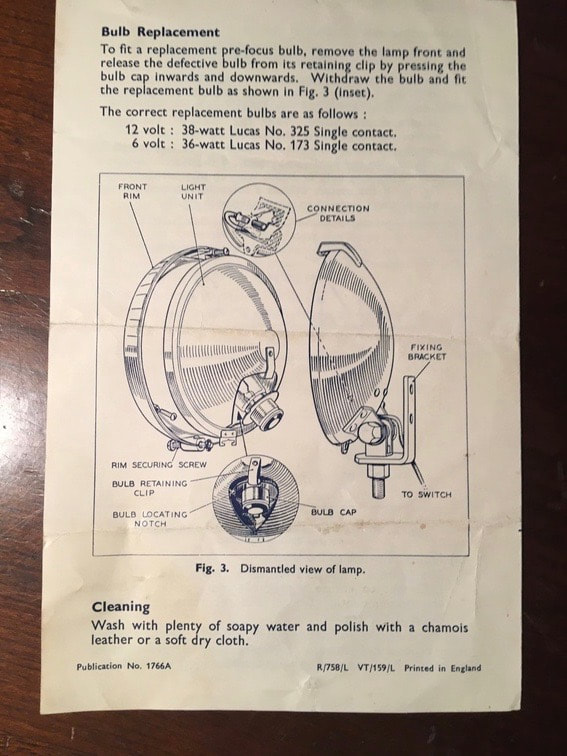
- a Lucas auxiliary lamp instruction manual. These 4 dealer items were being sold as a package deal and, when I inquired I was able to work out a partial trade for these items in exchange for installing a new top on Brian Drab's Austin Healey BJ8! These items will look great together on display in the boot! - Thanks Brian!
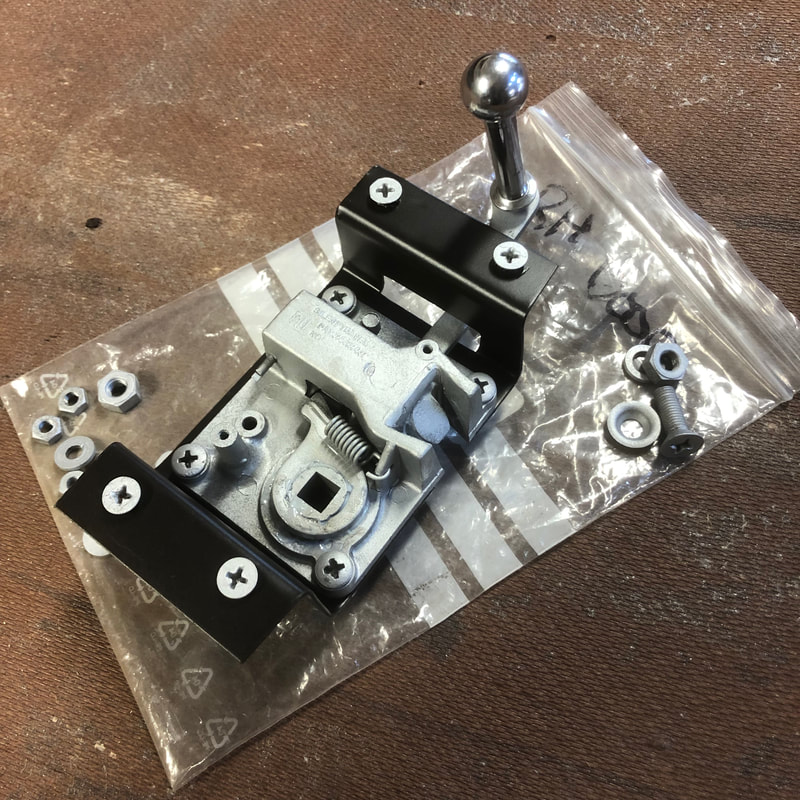
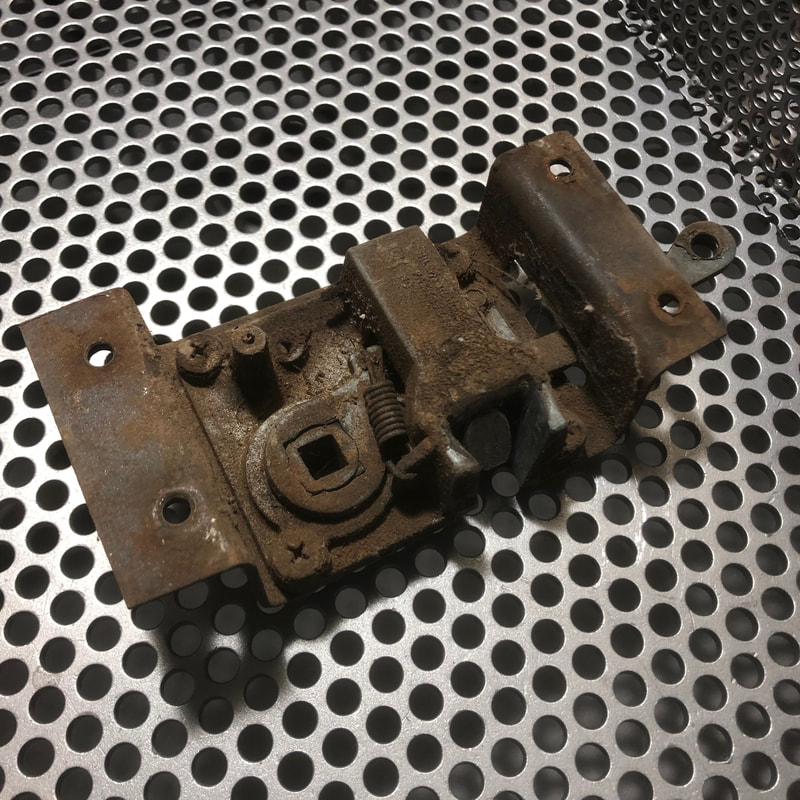
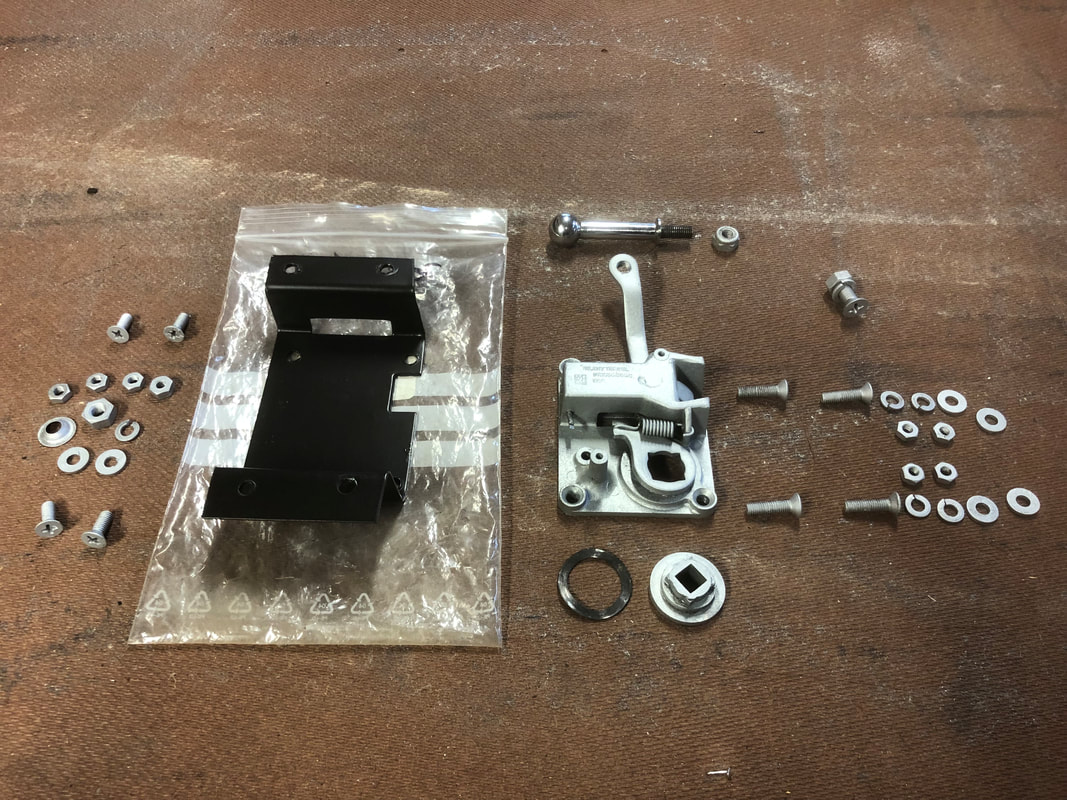
Curt Arndt has been carefully restoring and assembling a complete factory tool kit for me, including all the pieces as they would have been in 1953. He recently sent me this pic to show the completed set -absolutely gorgeous Curt! - I can't wait until these arrive 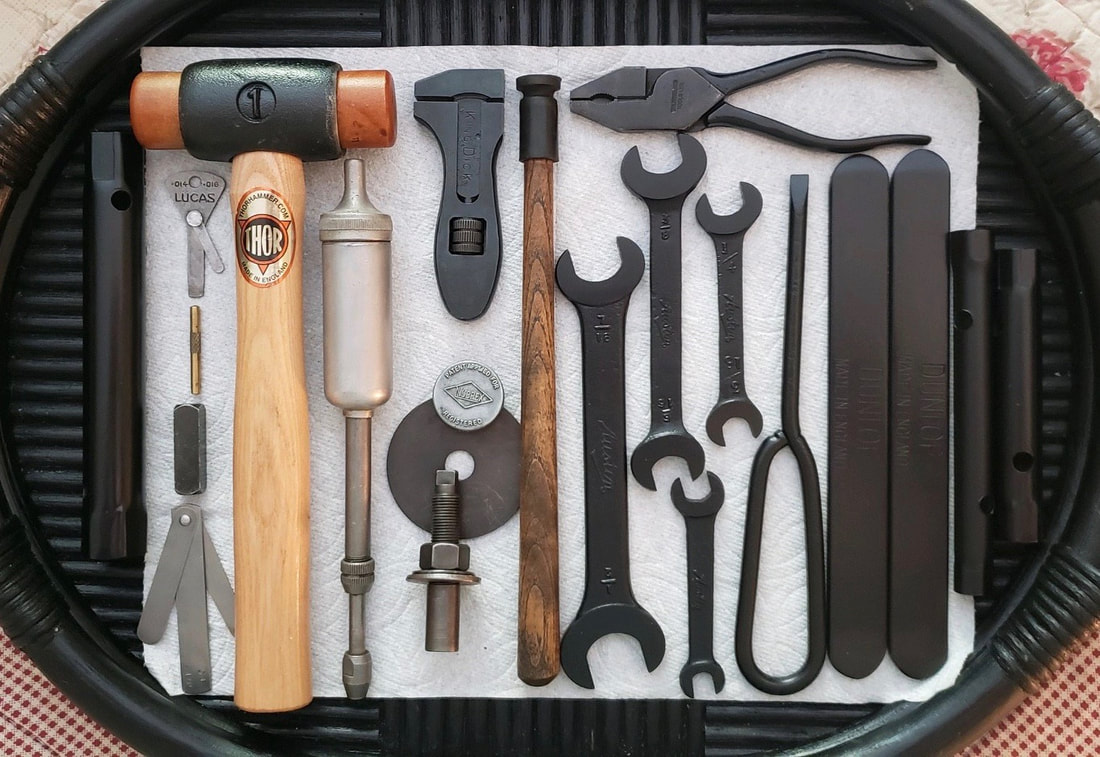 In the meantime I've cleaned up and restoring a few more old parts, like these brass brake and fuel line fittings: 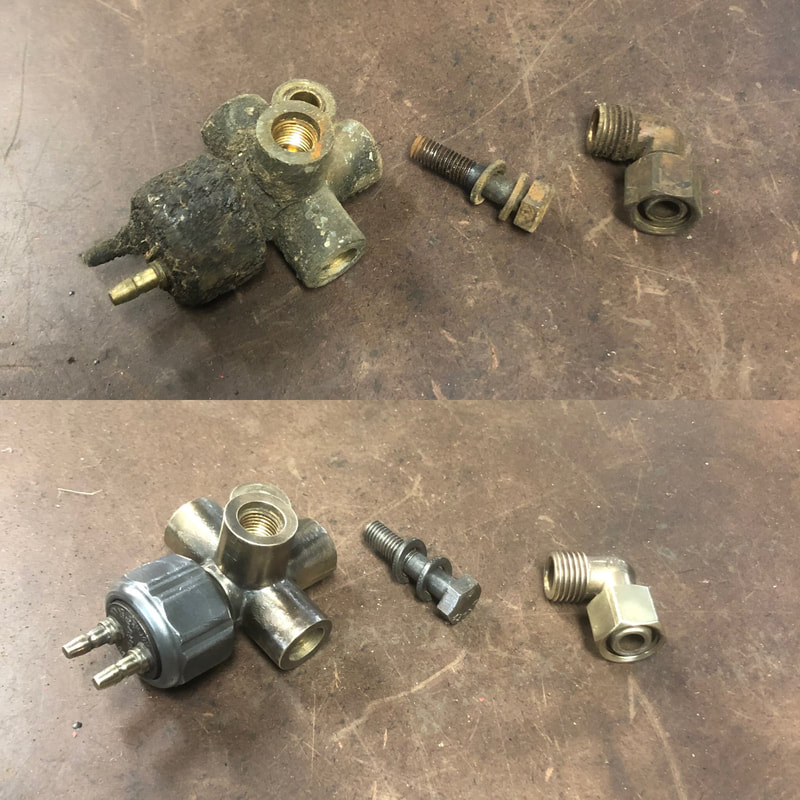 I finally got my rear axle put back together with a new diff gasket, and then proceeded to paint it, - first with a coat of self leveling, corrosion resistant Por15 to protect it, -followed by a coat of semi-gloss black spray enamel. 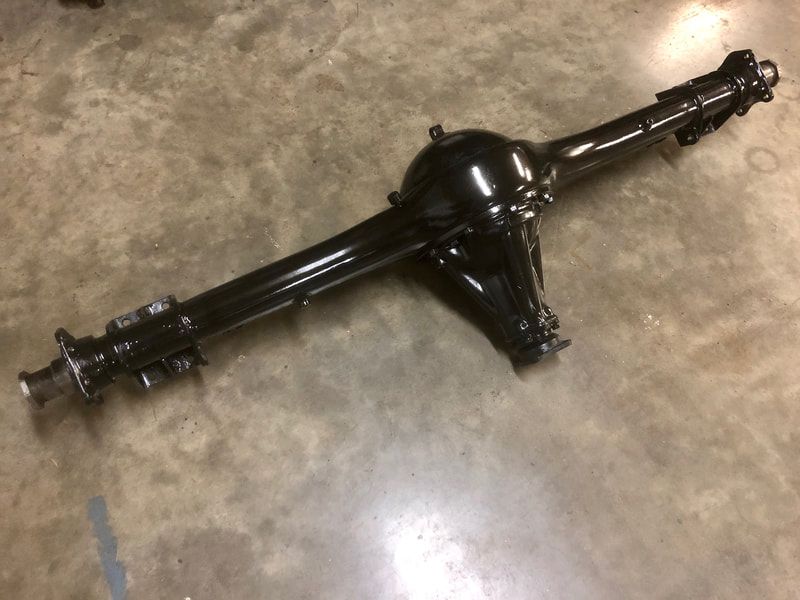 I restored my inner door latch assemblies by carefully taking them apart, glass-bead blasting them clean, re-painting the outer frames, polishing the chrome, re-plating the fasteners, and reassembling them with fresh white grease so they operate smoothly...
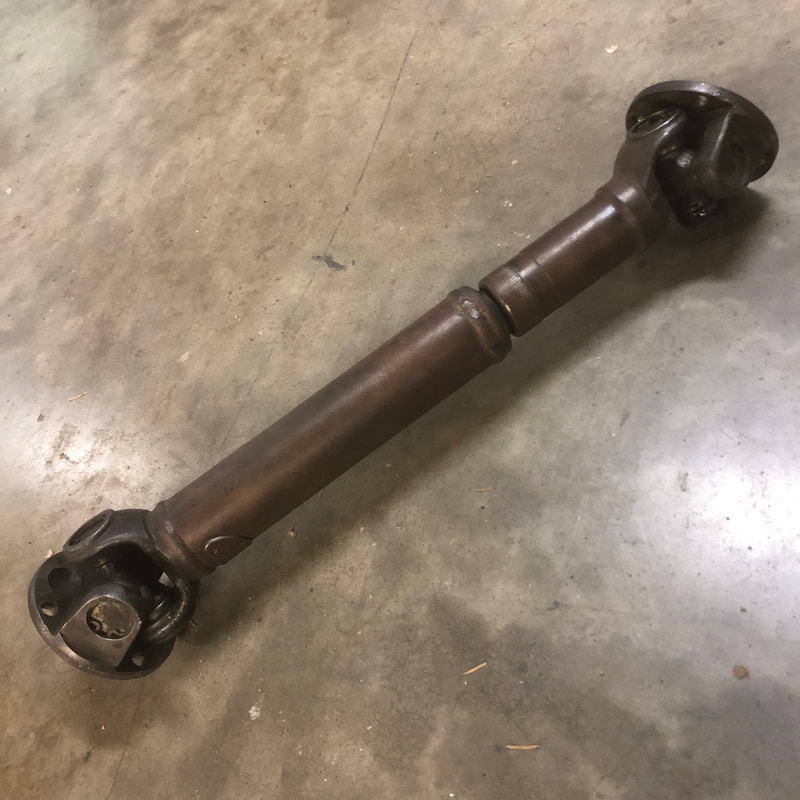
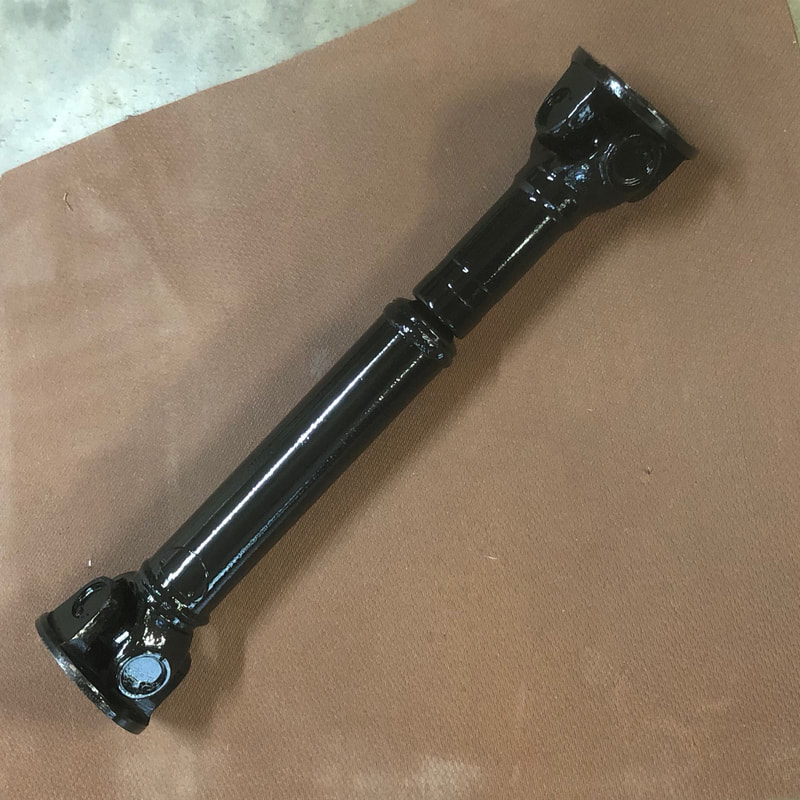
 I thoroughly cleaned the driveshaft, inspected the U-joints which all seem to be in great shape with no knock or play. So I proceeded to prime and paint in black and re-greased the joints.
Finally, I've nearly completed making up all my interior components too, including the carpets, all the Armacord linings, all the vinyl panels and covers, and the tonneau and various stowage bags...  On Friday I had my good friend Trevor Parker come by and help me deliver my engine block, head, and components to Mid Island Machining to be cleaned, inspected and trued again. Trevor has a BN1 and a BN2 and has been incredibly helpful throughout this entire restoration. For a while now I've been perplexed by these peculiar casting date codes on the block - My block has the correct numbers to correspond to my car on its Heritage certificate, yet these casting dates seem odd -normally there would be a day/month/year date on the lower right here, but mine seems to have a Y for the year? - or - Could the other number ending in '57 be the casting date? meaning this a disguised replacement block from '57??? - The plot thickens - 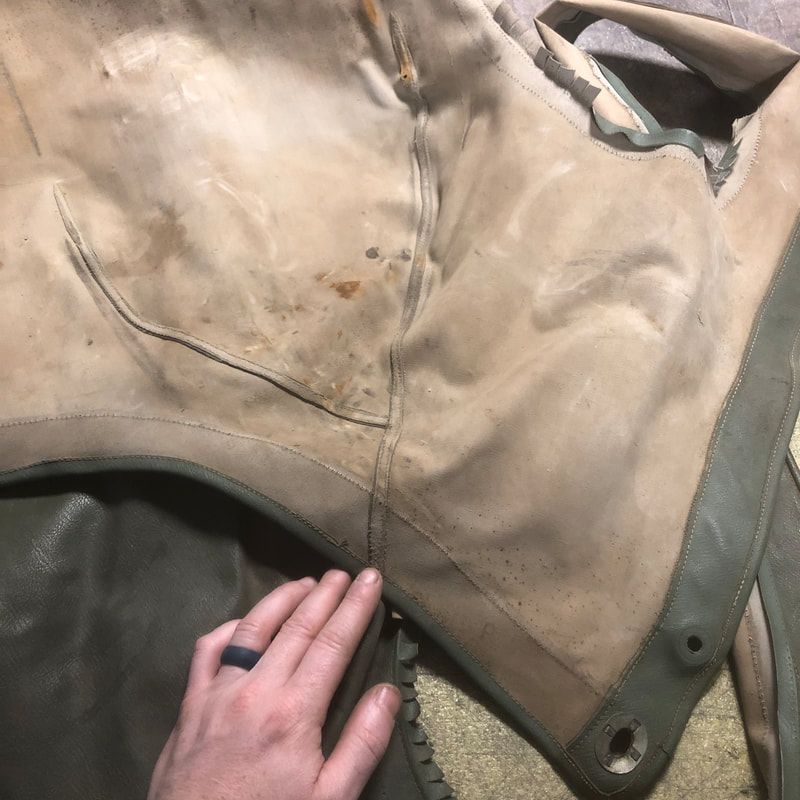 Anyway,
As you can see, there's lots of things happening again with my BN1 restoration. I'm grateful to be continually meeting and speaking with other Healey owners, who often become clients as well as friends, sharing advise, sharing parts, sharing in this hobby together - it's a wonderful community to be a part of! I very much look forward to the day that I can drive my finished Healey in convoy with others to National events like Conclave, which this year was held in Dead Wood, SD - Judging from all the pics it looks like it was a really good one! We'll make it out to one soon I hope! Until next time -
0 Comments
Your comment will be posted after it is approved.
Leave a Reply. |

Archives
December 2023
|

 RSS Feed